
![]()
Introduction
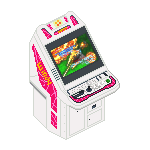
This section is about the various joystick and arcade project I've own and worked on over the years plus 600dpi scans of some arcade manuals I have and lots of Konami Windy II photos when I done the strip, clean and rebuild.
What's New
10th December 2023
The three PSU's used in the Konami Windy II arcade machine have been discontinued (Cosel November 2022), there are replacements for the 5v and 12v but not the 3.3v, I've added the links and information to the Konami Windy II page.
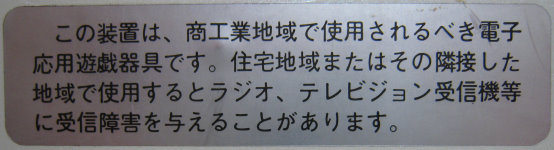
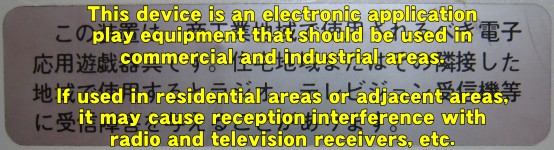
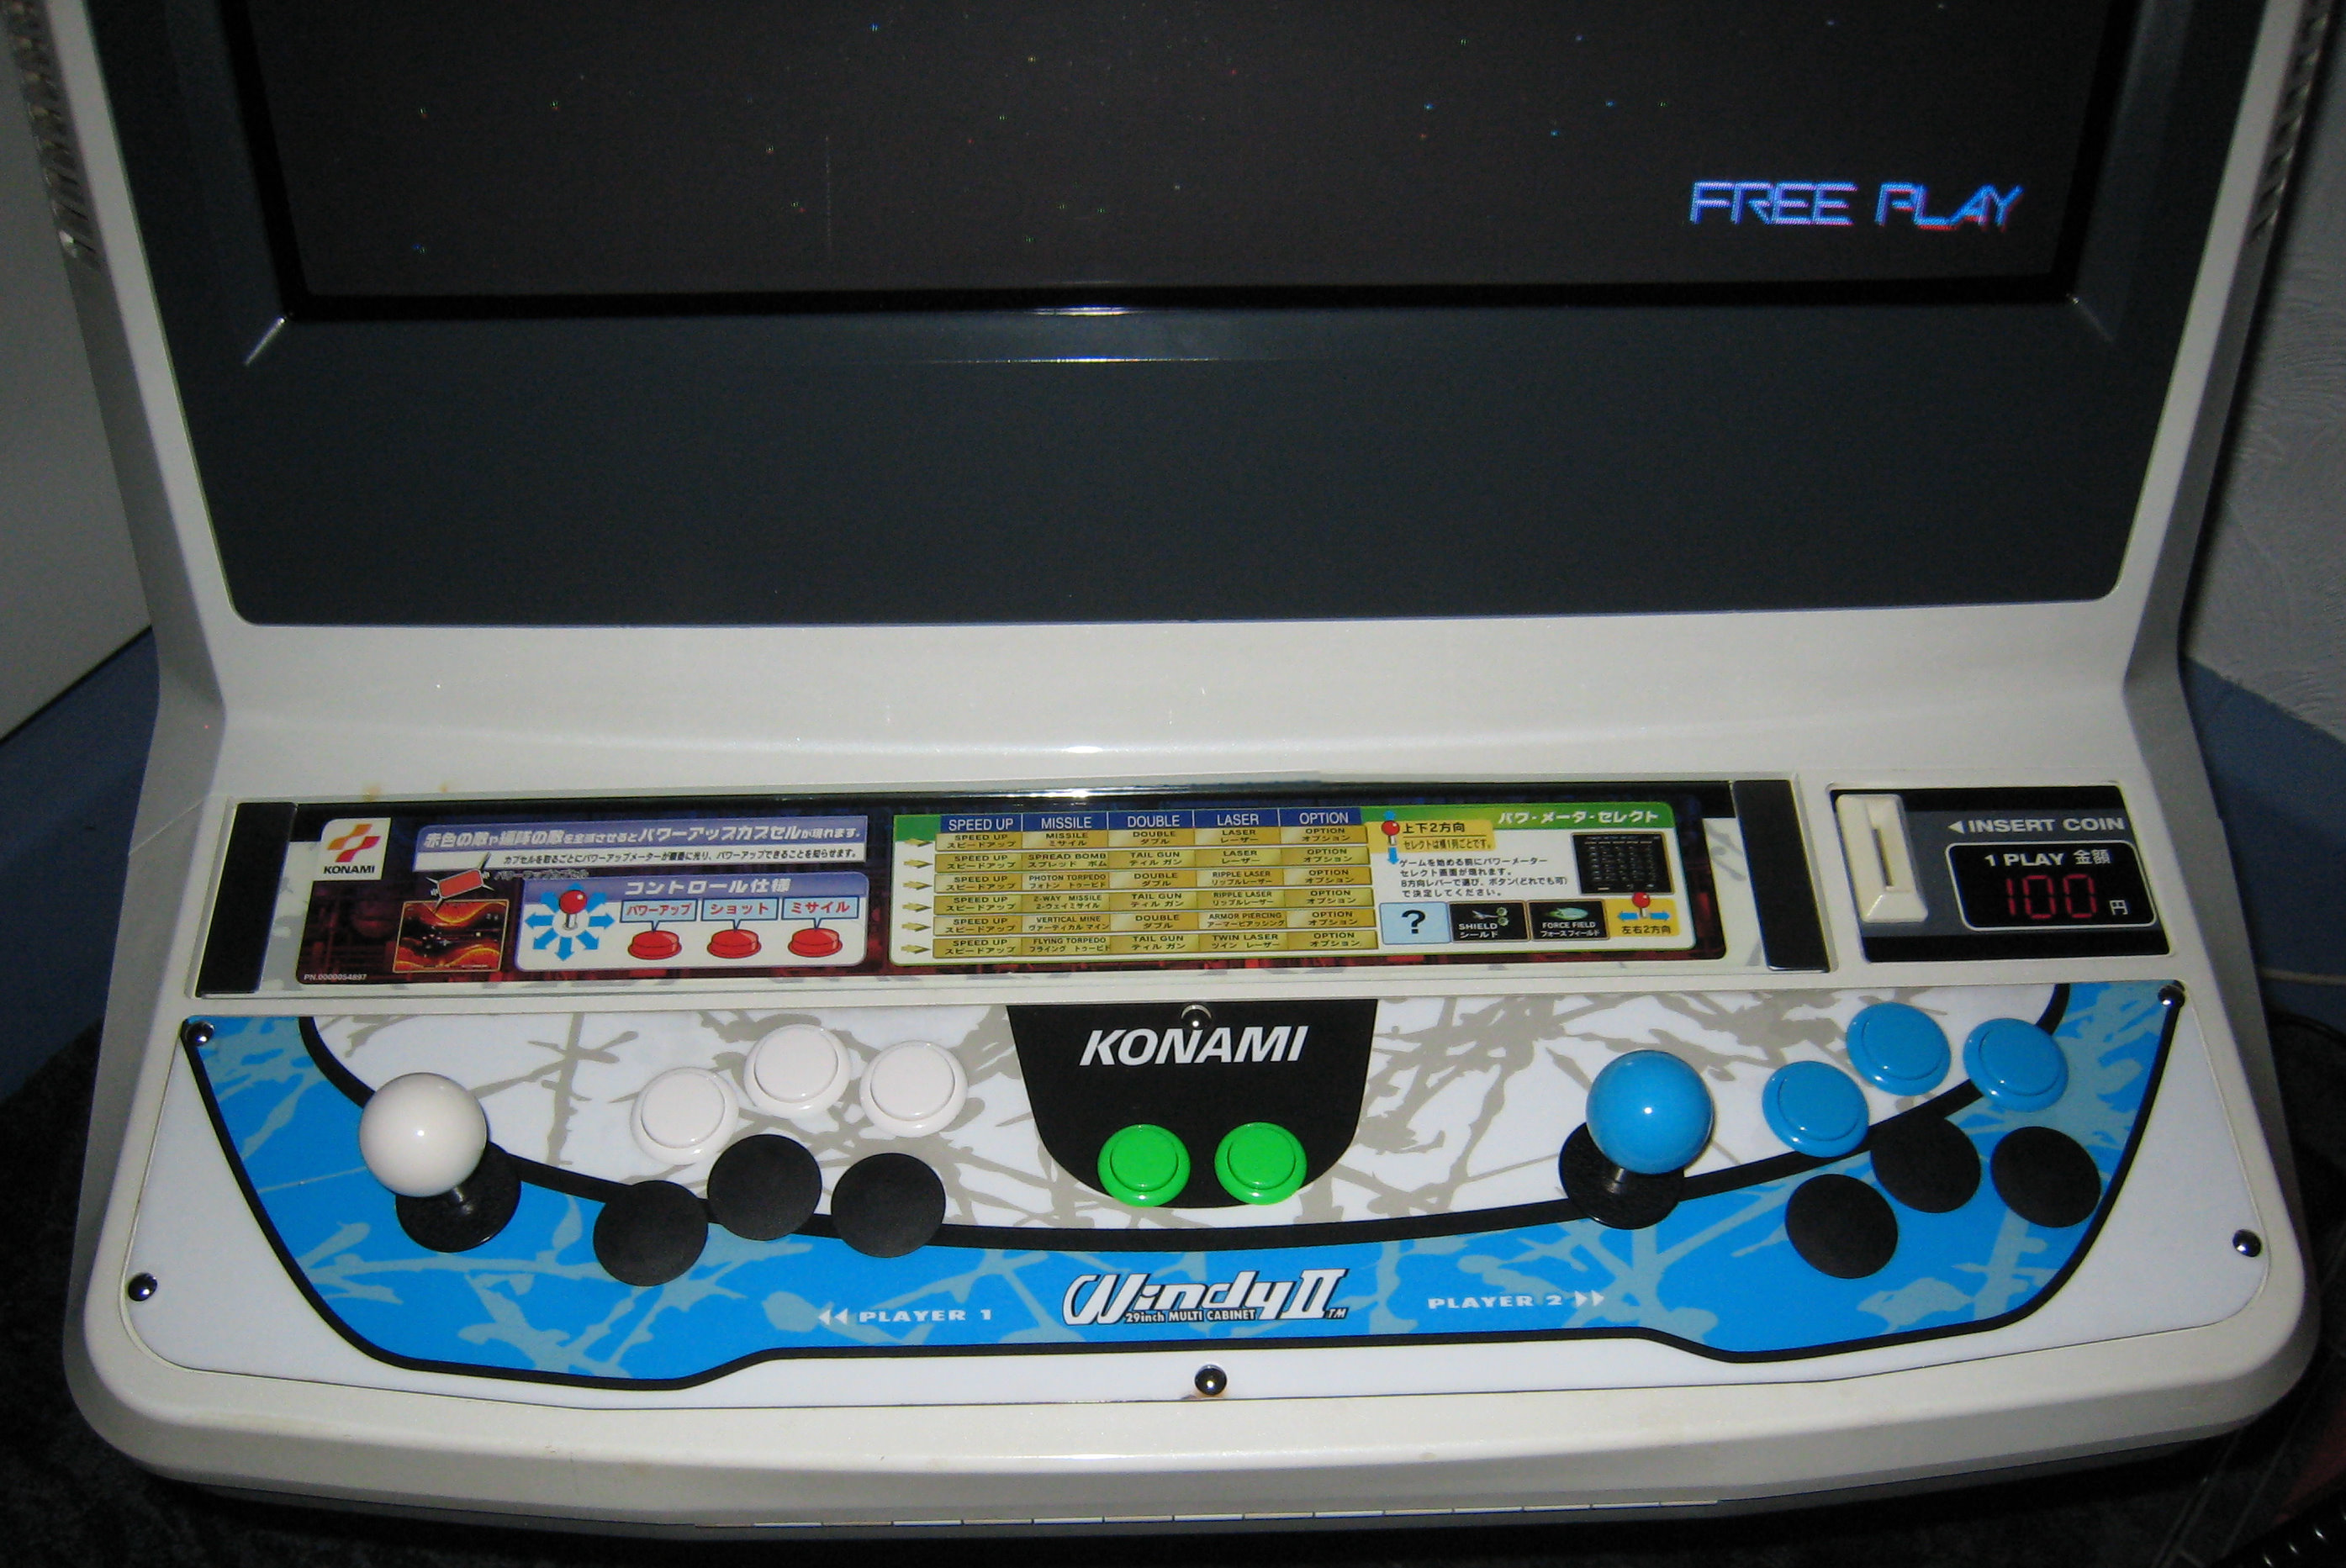
Also added English translations for all the stickers and labels used on the machine.
Here's an example:-
2nd April 2022
I've added a few more photos to the Konami Windy II rebuild section showing the Coin Cash Box, Coin Return doors and the Konami JVS Main Board connectors., these were photos taken over ten years ago now but were never used.
2nd October 2020
I was just going through the original Windy II photos I took and added a few detail shots that I never previously added.
Also read through the Konami Windy II rebuild section some more and cleaned up some of the text, added some PCB code numbers, a few images for the Noctua fan I installed in the rear section, coin mech and joystick springs.
12th August 2020
I've added 600dpi scans for the 1986 Capcom game Hyper Dyne Side Arms and my brother translation for 1987 Taito Corporation game Wardner no Mori, both in the arcade boards section
28th April 2020
The three power supplies used in the Konami Windy II are manufacturef by Cosel and yes even after all these years they still make them.
You can get them from RS, Mouser and Digi-Key, they are not cheap and seem to be priced between £70-100 each.
The 5V and 3V PSU's have some extra options or they will not work in the machine (there are quite a few variants of each supply).
R: with Remote ON/OFF
Y: with Potentiometer
Top PSU - 5v - Cosel - LDA75F-5 RY - https://en.cosel.co.jp/product/powersupply/LDA/LDA75F/
Middle PSU - 3.3v - Cosel - LDA150W-3 R - https://en.cosel.co.jp/product/powersupply/LDA/LDA150W/
Bottom PSU - 12v - Cosel - LDA50F-12 - https://en.cosel.co.jp/product/powersupply/LDA/LDA50F/
Also added some new images of the PSU's to the Konami Windy II page
31st March 2016
I finally got around to looking into the issue with the second home made Supergun and have concluded the original PSU doesn't work, I had a spare PSU I bought from Japan a few years back, fitted that and all is now working.
25 years in the making and it's finally finsihed, see the Supergun section for all the details.
Looks like I may have to start on version 3 now.
17th May 2015
Added a scan of the Windy II Flyer.
Also added version 8 of Gradius Corner pixel art.
1st November 2012
Two new shoot'em-up arcade boards added to my collection.
Trigon (Konami) and Side Arms Hyper Dyne (Capcom).
Side Arms Hyper Dyne is in superb condition with the original instruction card and operators manual.
6th October 2012
I've started to add photos of the arcade boards I own including all the artwork that comes with them.
29th April 2012
The Konami Windy II rebuild is now complete, see that section for more finished images.
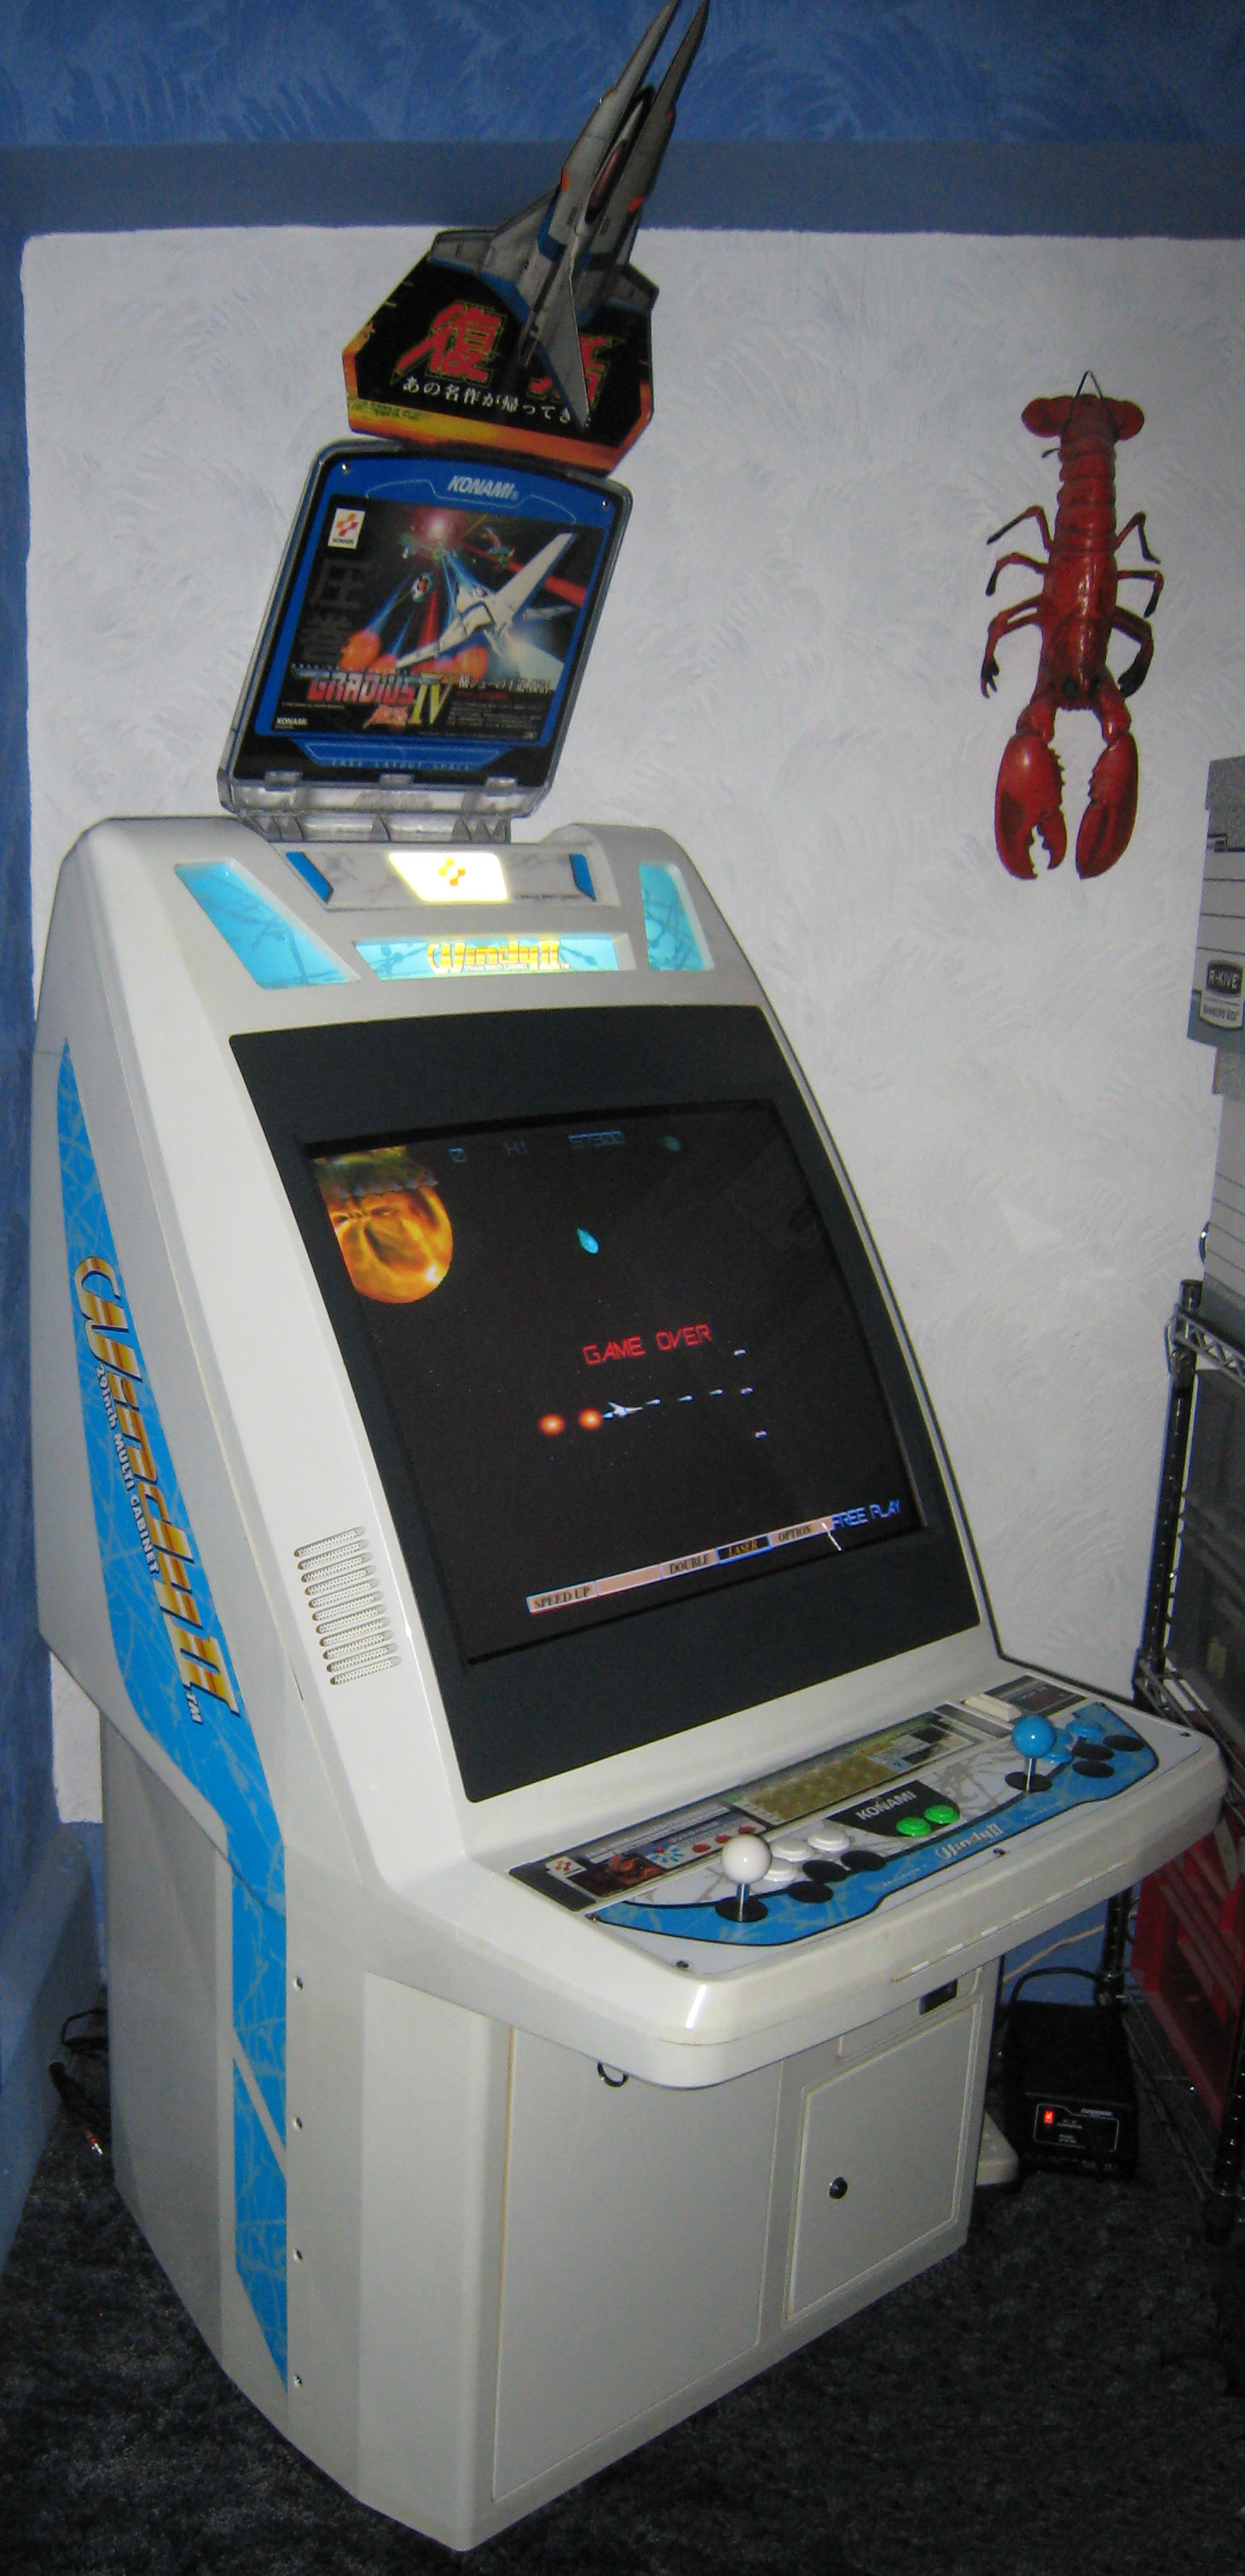
Trivia:- That plastic lobster is over thirty years old!!!
24th April 2012
Slack Joystick Modifications, (also added to the Konami Windy II rebuild section)
I find the Sanwa JLF that's in the machine is fine for Street Fighter type games but for Shoot'em-ups and Platform games its a little too slack, so after doing some research I found that the Seimitsu LS-33 and Seimitsu LS-55 springs are the same diameter as the Sanwa JLF spring which makes them interchangeable.
After acquiring the Seimitsu LS-33 and Seimitsu LS-55 springs I decided to test their strength on a spring testing machine to show the differences between the three springs.
The machine is essentially a press with a set of scales on the bottom, as the spring is compressed the scale is deflected by the power of the spring giving a scale deflection weight in grams.
I also completed some measurements by combining the springs (ie. Sanwa JLF & Seimitsu LS-55 combined = 1350g or 1.35kg).
At least this gives you an indication that the Seimitsu LS-55 spring is 50% stronger than the Sanwa JLF, this make the joystick less slack and better for the type of games I play.
| Type | g | g | g |
|---|---|---|---|
| Sanwa JLF | 600 | ||
| 900 | |||
| Seimitsu LS-33 | 400 | 1350 | |
| 1150 | |||
| Seimitsu LS-55 | 900 |
23rd April 2012
I've translated the Wardner no Mori Service Instructions, finally I know what all the DIP Switches setting do, this game has no Free Play option so I guess I'm going to have to get some more 20 pence pieces.
The Game Manual is going to take a little more time to do as there's a lot of Japanese.
21st April 2012
The Windy II PSU and rear exhaust fans have both been replaced with Noctua NF-B9 92mm fans, nice and quite now, also added some translations for the rear panel outputs.
18th April 2012
Wardner no Mori is one of my all time favourite platform games made by Taito Corporation (株式会社タイトー) in 1987, as I have the manuals I thought I would scan them at 600dpi, there are two manuals with this game
Game Manual and Service Instruction, I will try to translate some of these later in the week (especially the DIP Switch settings).
The Game Manual is five pages and looks like instruction on how to play the game as well as the game story, strange as only the arcade operator would see this.
The Service Instruction is just standard JAMMA pinouts for controls and DIP Switch settings.
15th April 2012
I wanted to know what some of the manual said about setting to boards to Stereo Sound, so I just spent a few hour translating it, I then thought I would make an English version of the JAMMA - JVS Conversion Kit from Konami manual (I say manual, it's only two pages).
Only page 1 done at the moment, should get page 2 done soon.
Just finished page 2, also edited page 1 a little bit more.
9th April 2012
I decided to move the Konami Arcade Machines section from Gradius Home World to here under Arcade Information.
7th April 2012
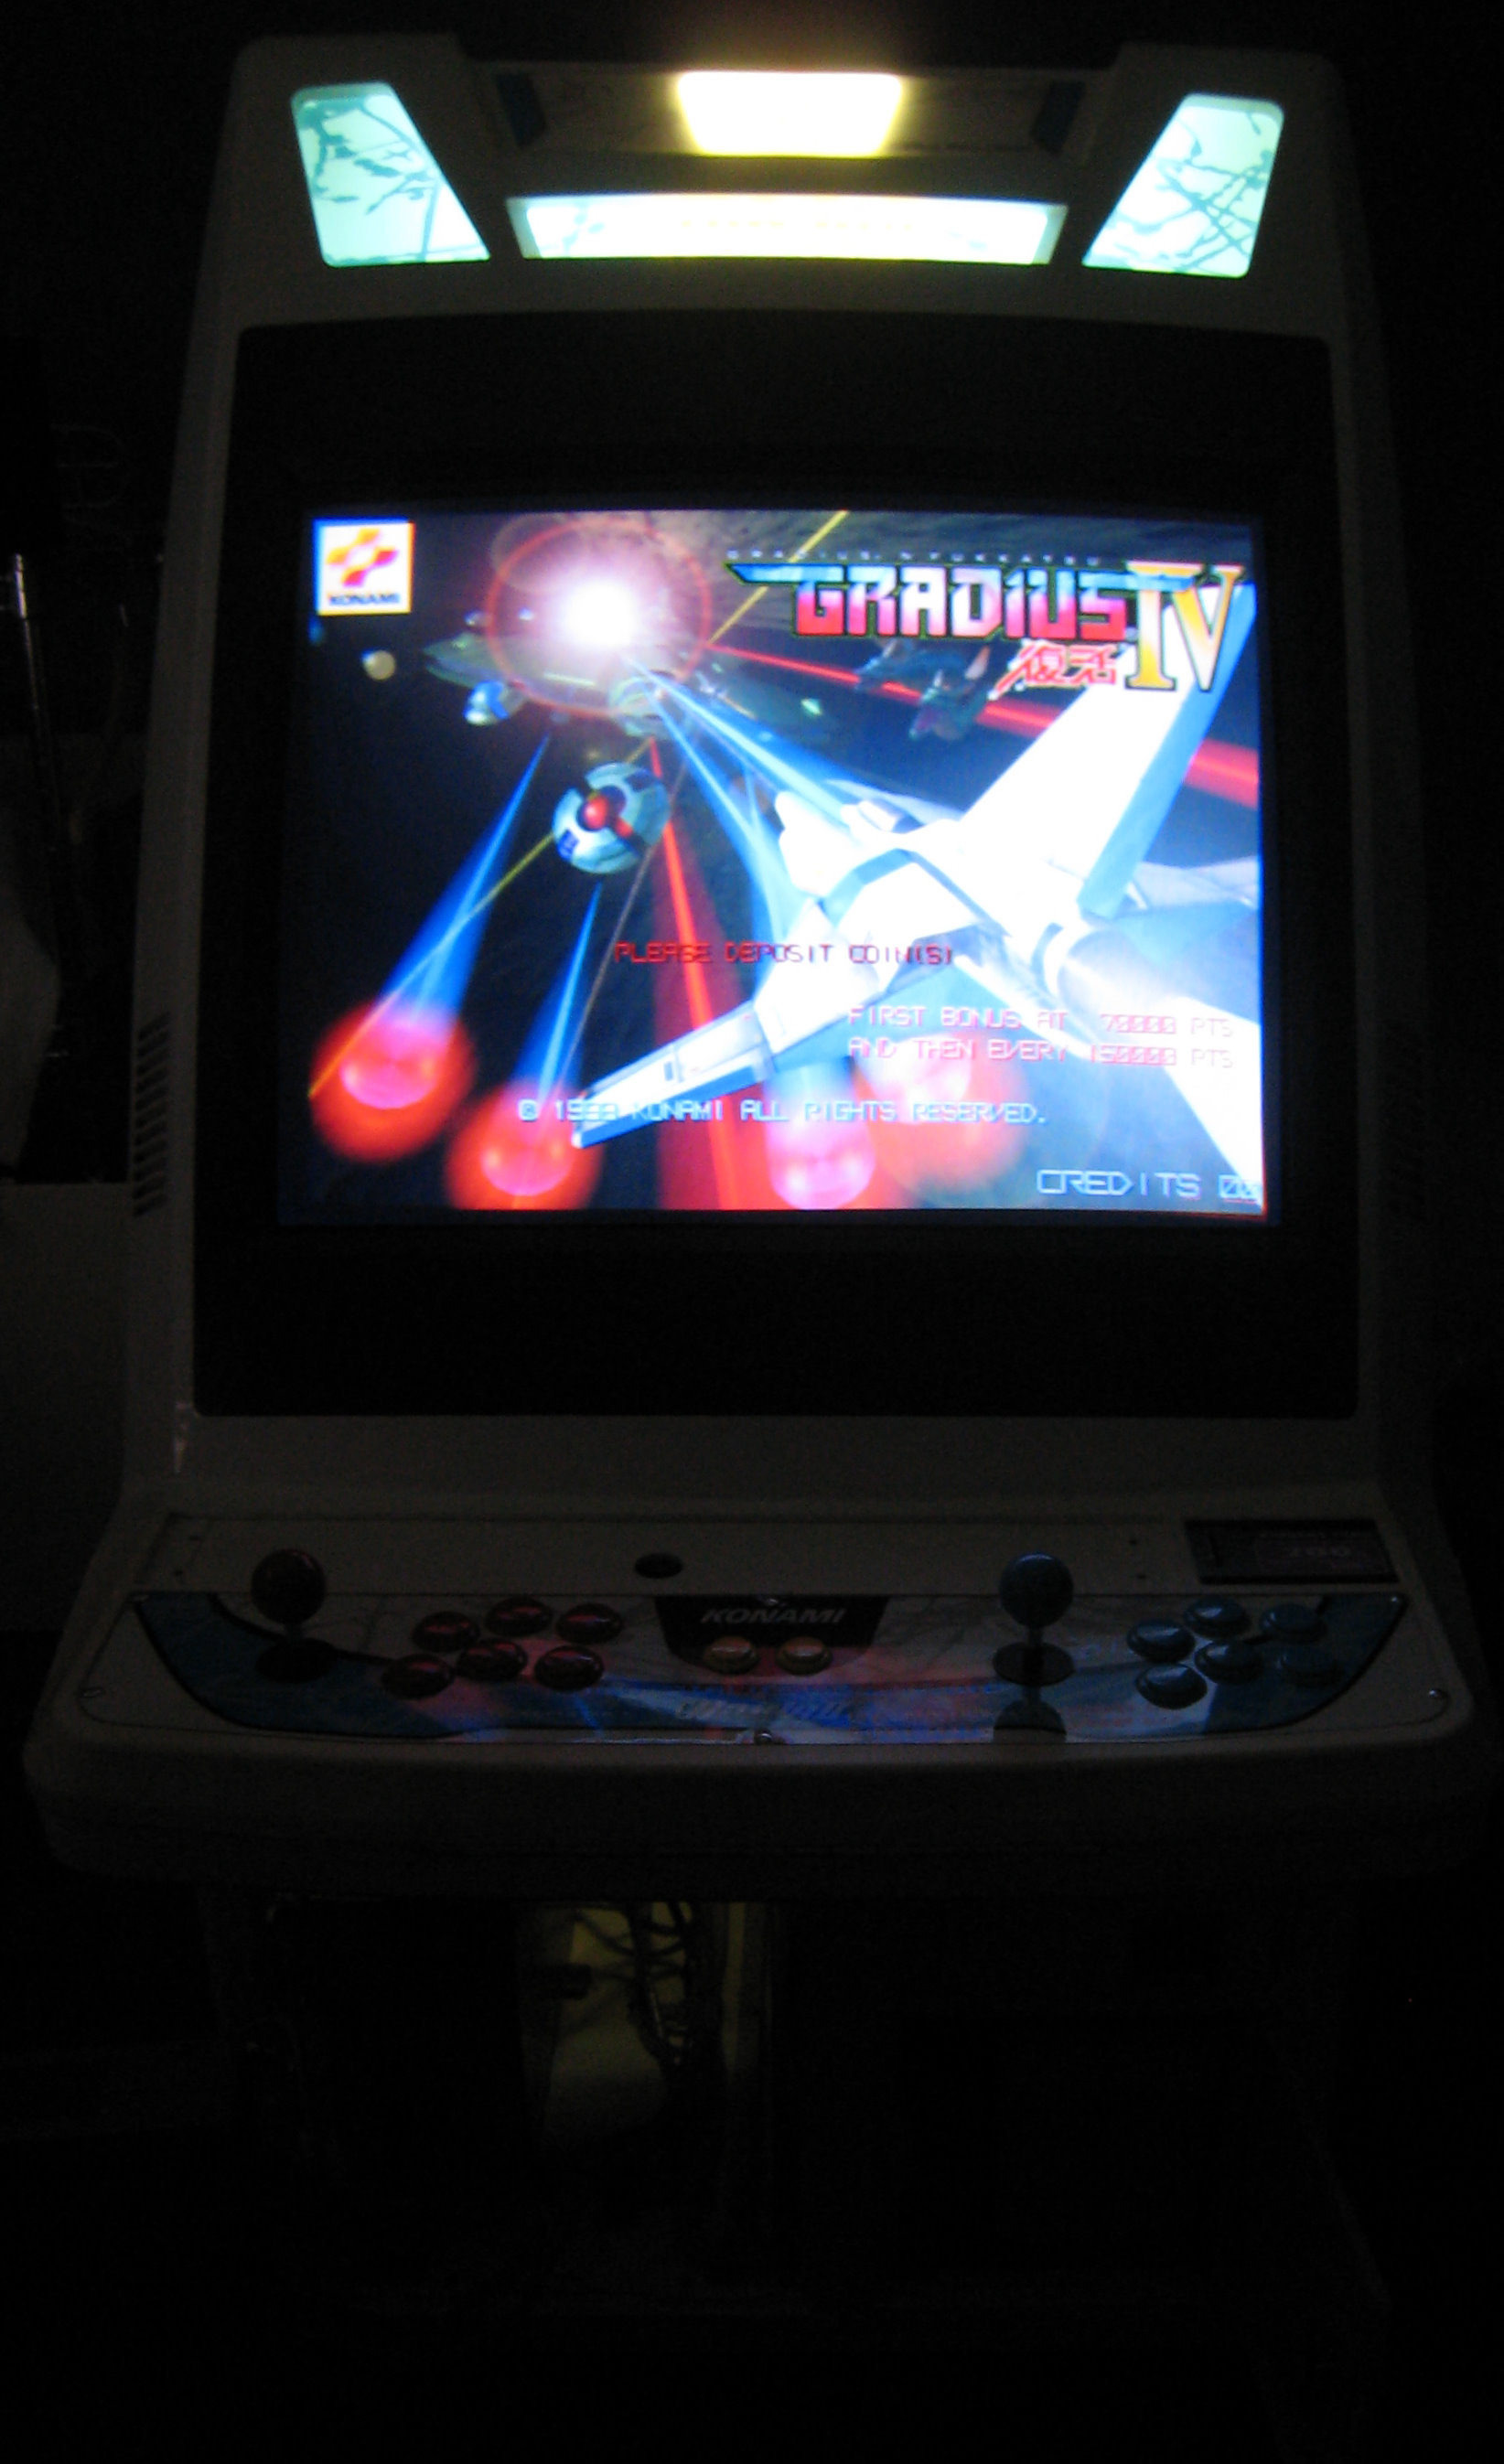
Monitor install complete, all connections have been checked and the machine fired up first time with no issues.
I have some new buttons (as they are the wrong colours) and some quiet fans on order so it's not quite done yet but at least the machine's now playable.
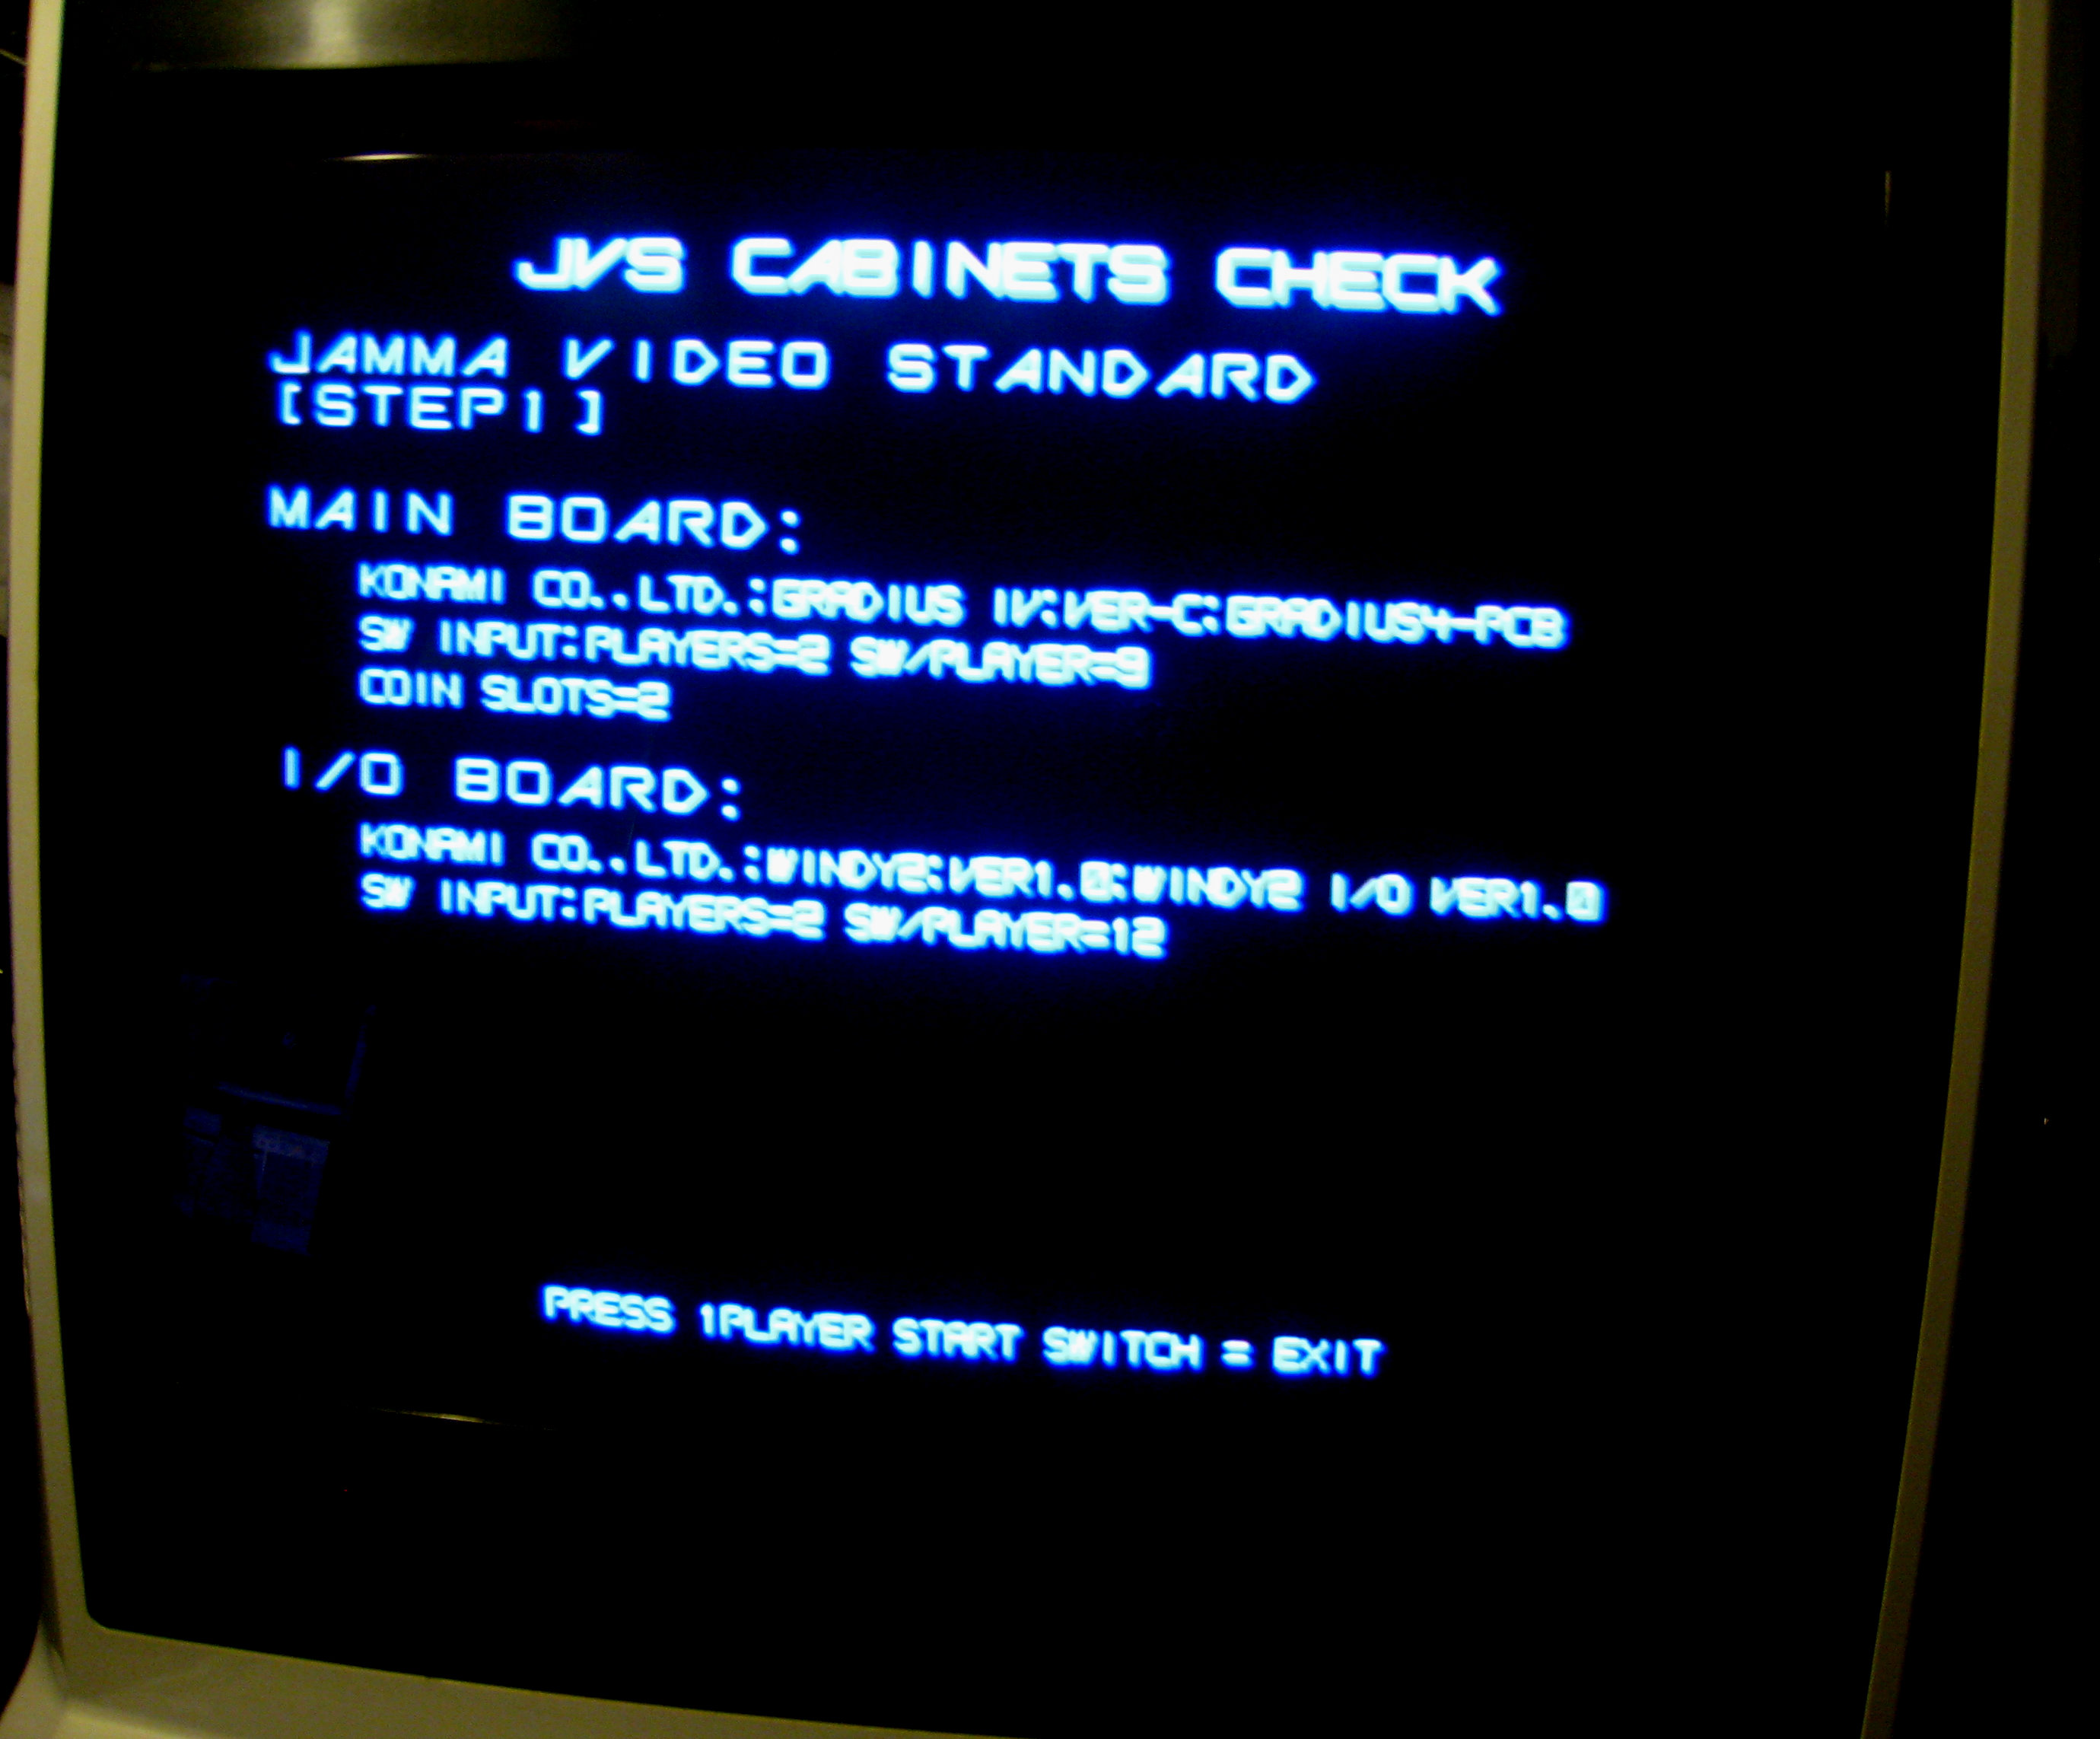
I've also added 600dpi scans of the JAMMA to JVS instruction sheet and some 600dpi scans of the Operator's Manual, I planned on scanning the complete manual but scanning is such a chore I'll do the rest at a later date..
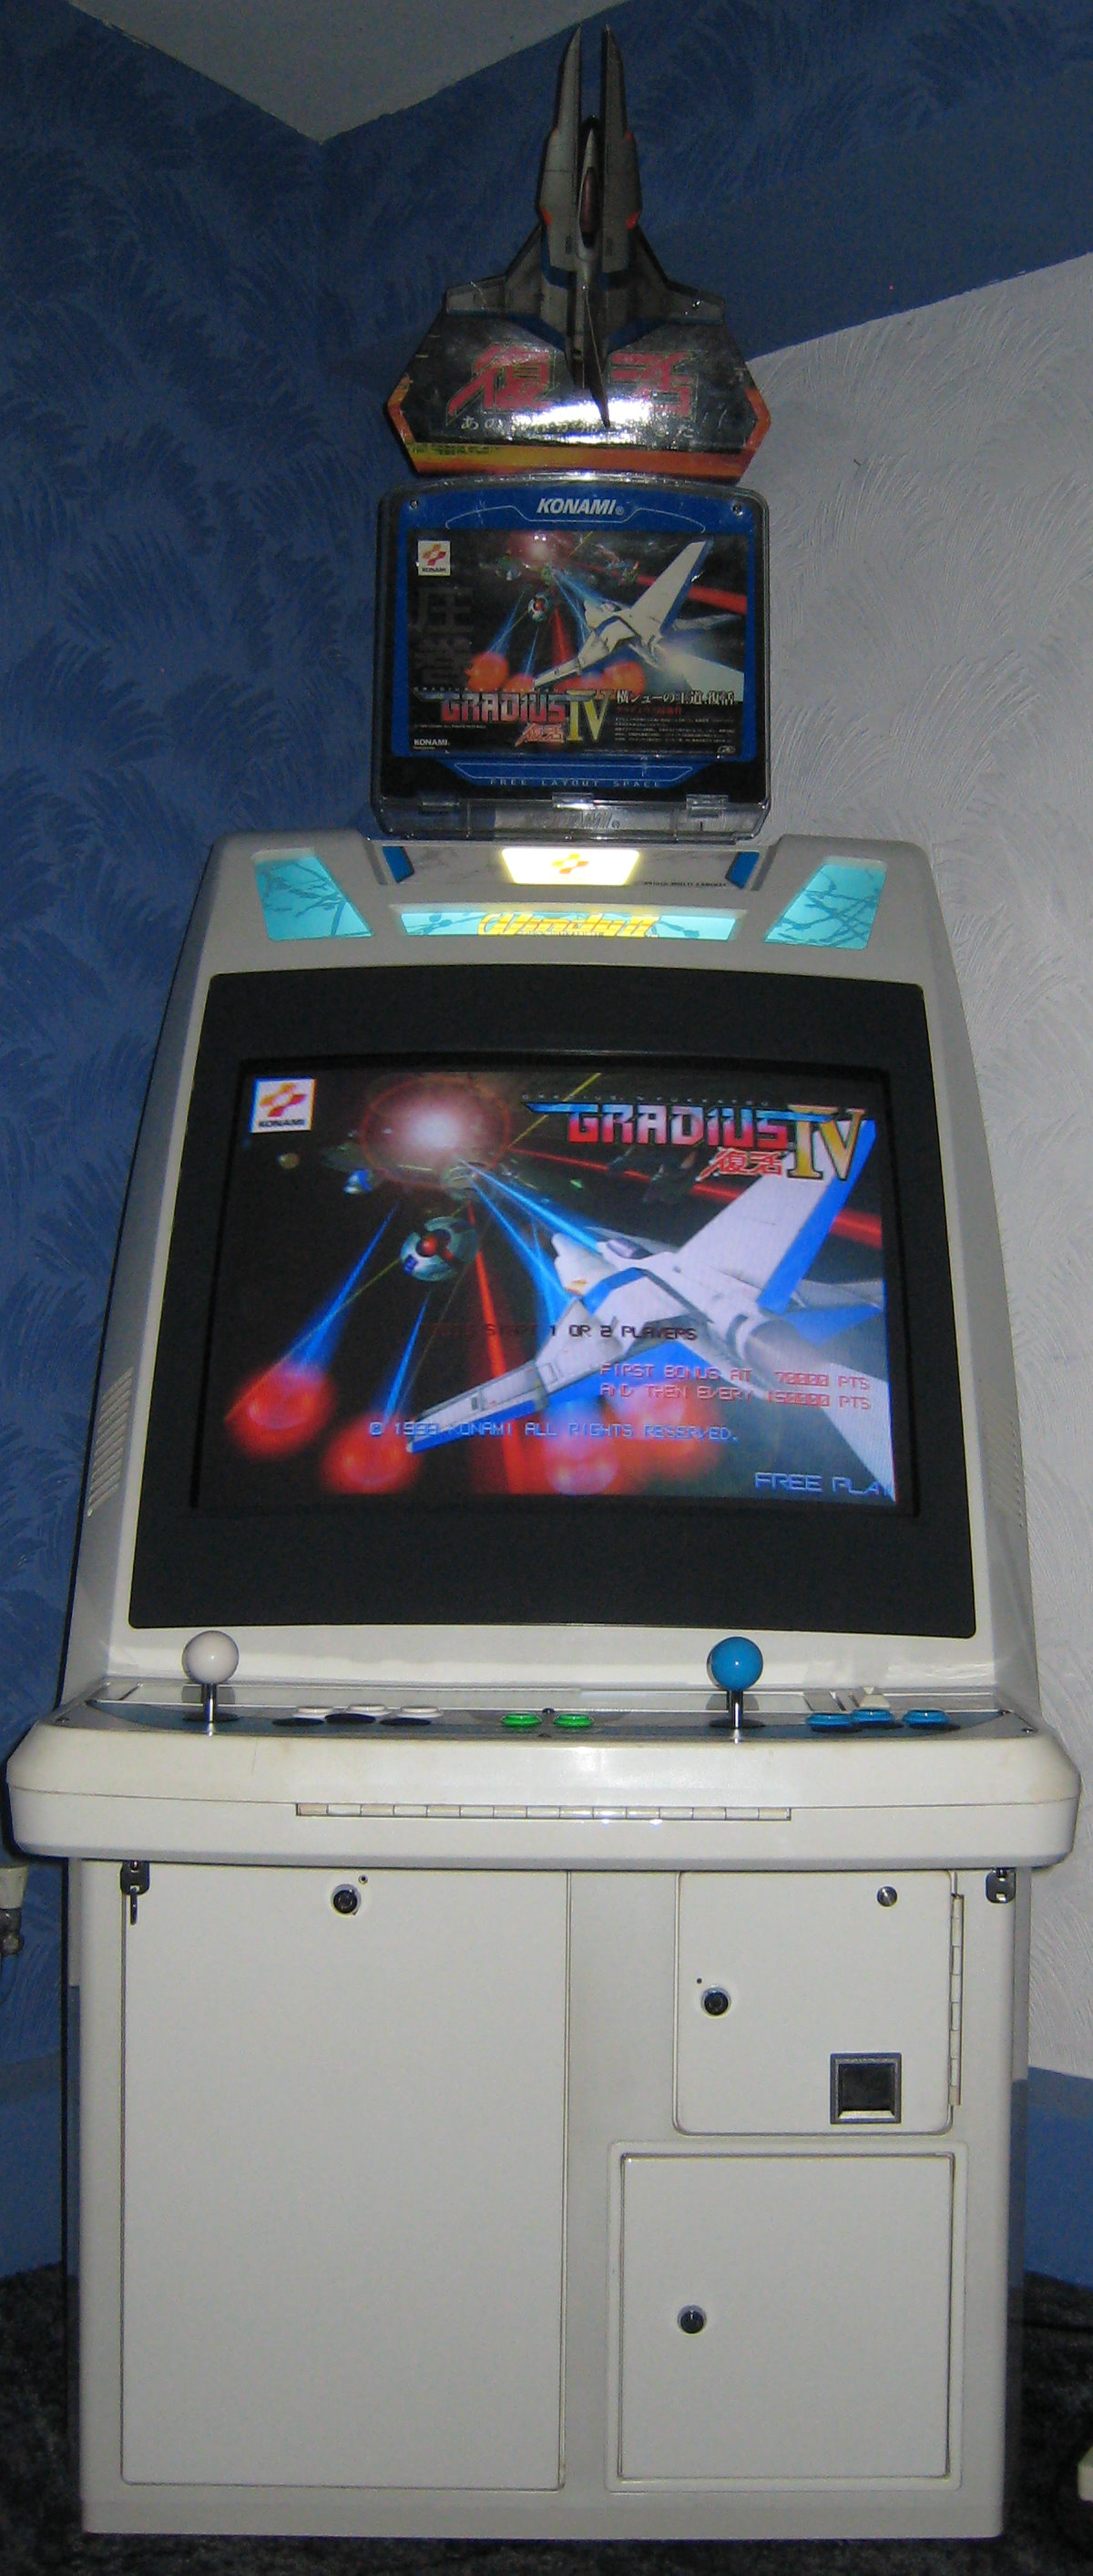
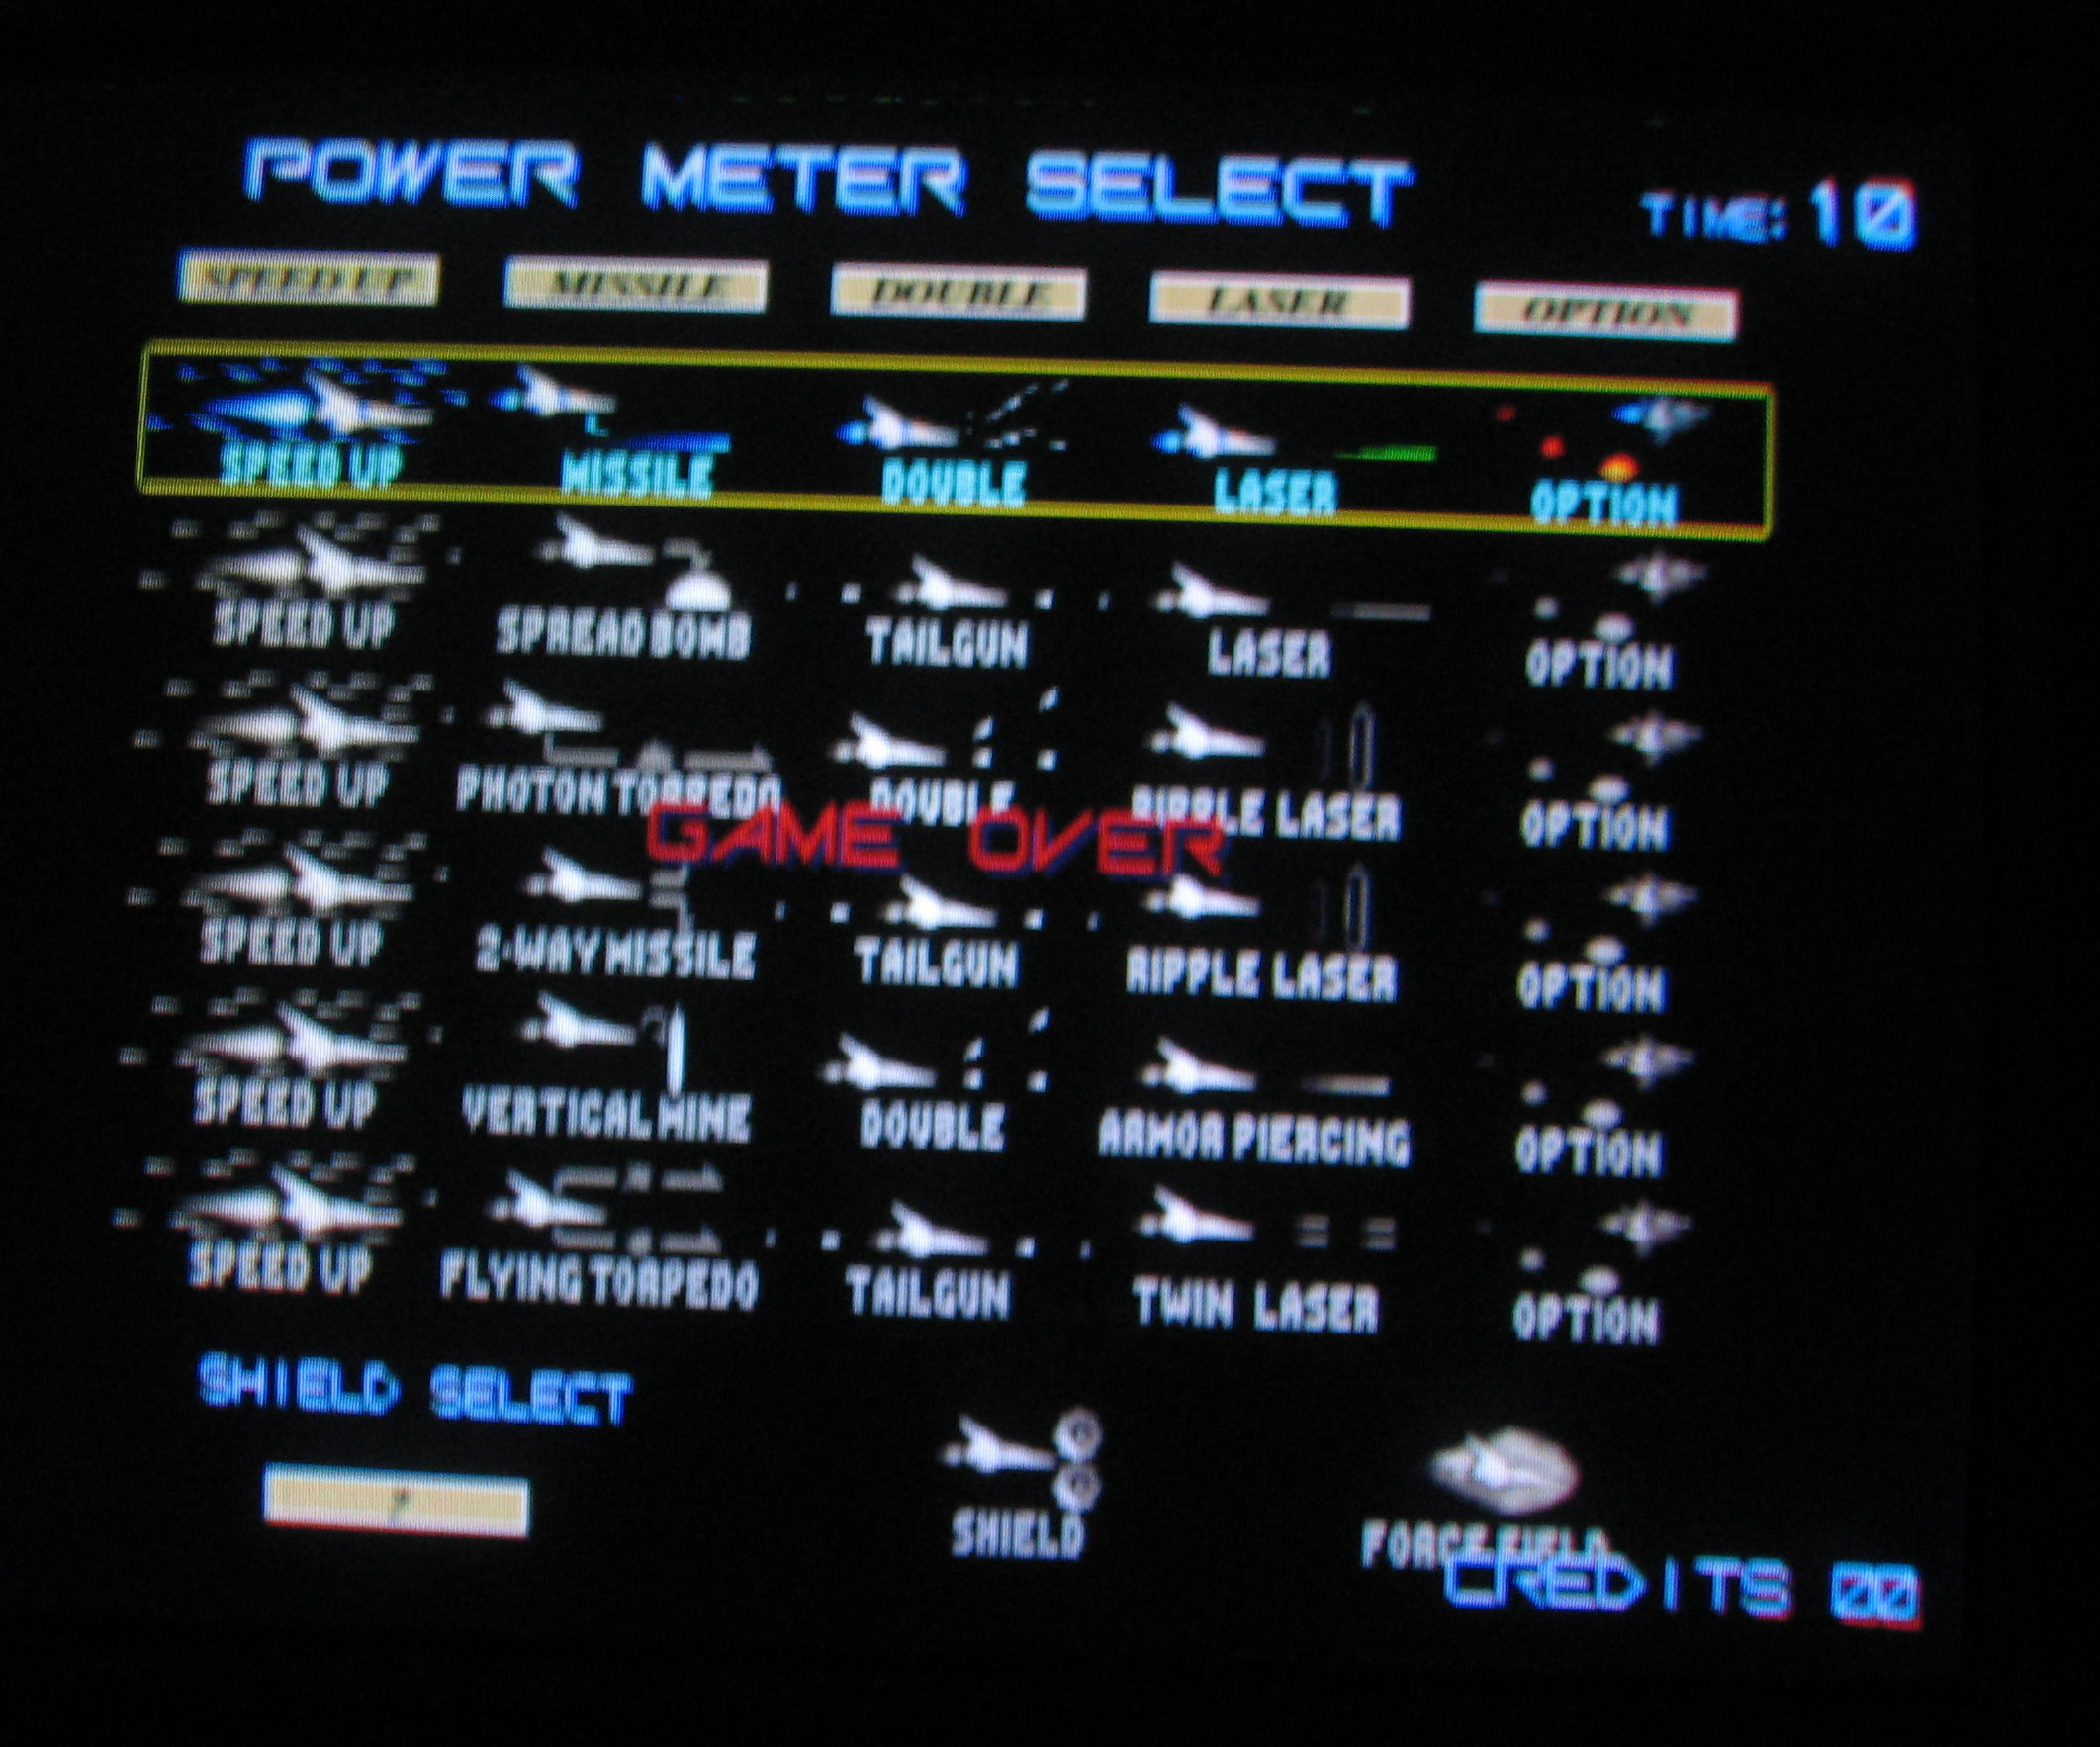
Here's Gradius IV ~Fukkatsu~ (グラディウスIV~復活~) playing on the more or less completed machine.
5th April 2012
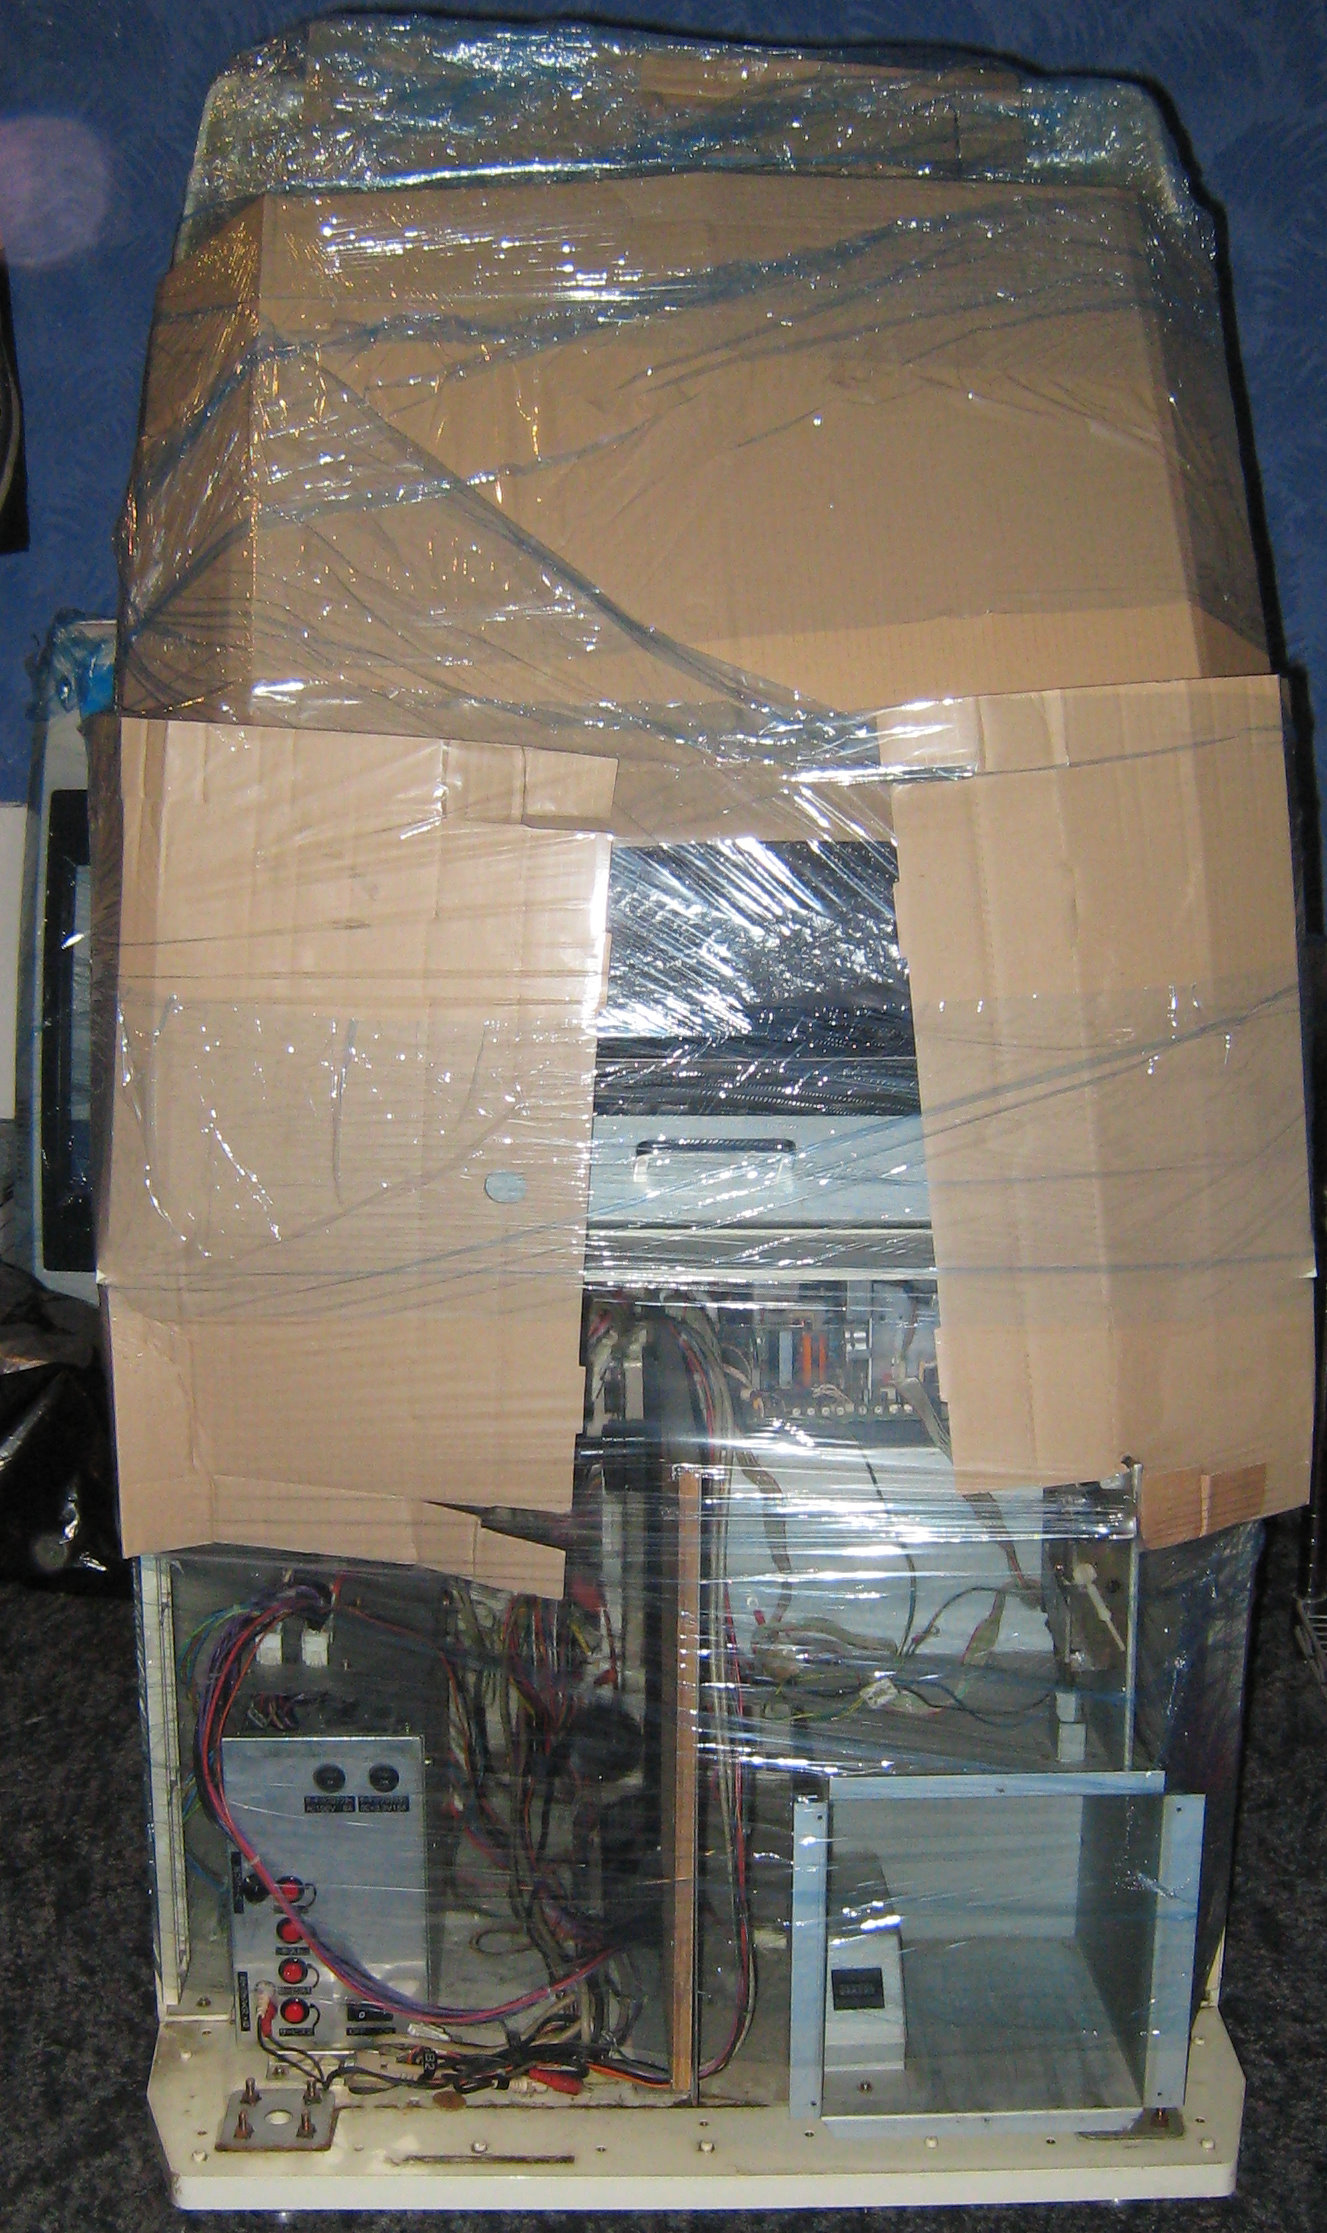
More images added for the Konami Windy II rebuild, onto the tricky bit now - the monitor install.
3rd April 2012
More images added for the Konami Windy II rebuild.
It's going a little slowly at the moment due to Maplins not having the Spiral Wrap I wanted.
I now have Spiral Wrap so the wiring wrapping should be completed soon, with Easter this weekend I should be able to crack on and maybe even get the thing finished.
28th March 2012
The Konami Windy II section is getting a lot of updates in no particular order.
Added lots images of the Toshiba Remote board and Konami JVS boards that may be of interest.
I've also started the machine assembly, not a lot at the moment (only wheels and feet) but it's a start.
26th March 2012
I've started a tear down, clean and restoration of my new Konami Windy II machine I just acquired.
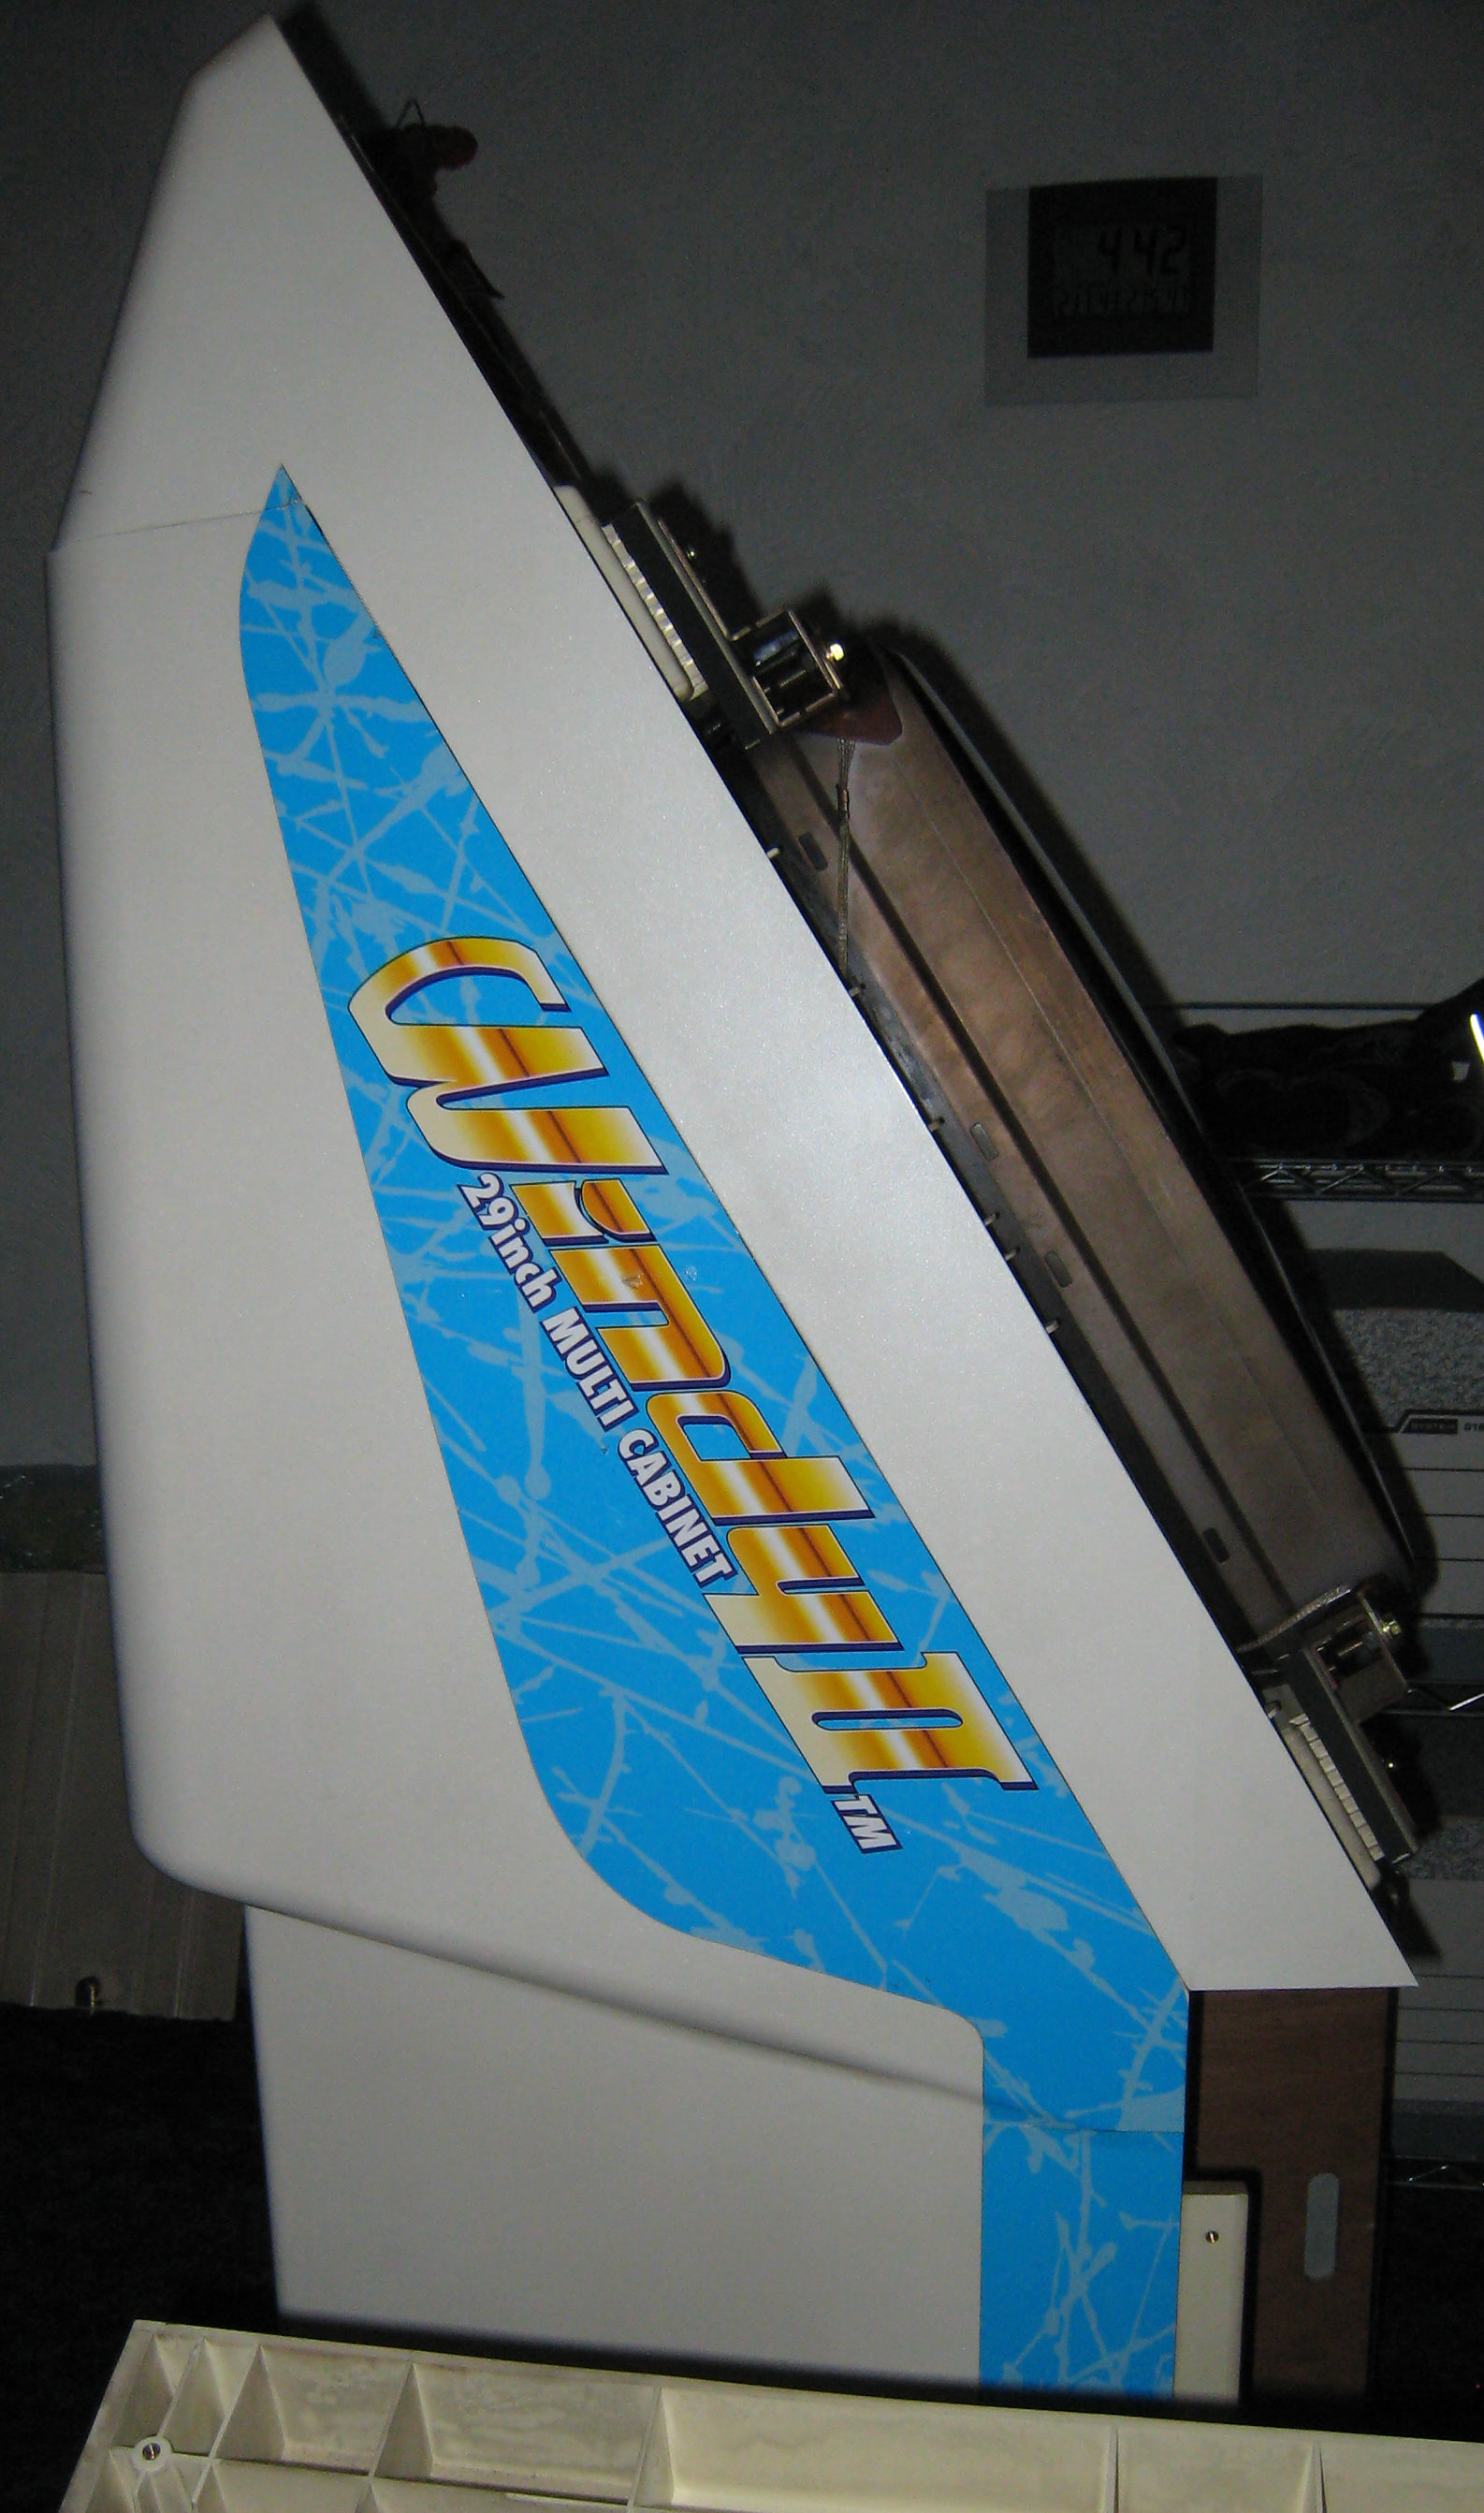
23rd March 2012
I've just bought the largest and heaviest Konami item ever, more info soon.
Also tweaked a few bits here and three, removed dead link in the Links section and added country information for the shop.
23rd December 2011
I've remade the Wonder Boy JAMMA conversion loom as the one I had with the game was a very poor quality loom which was causing more problems with the game.
Also made a second joystick for the Supergun using a beat up and rusty Hori Virtual Fighter 4 PlayStation 2 joystick, this thing must have been stored in a lake or something, not the best I've made as the joystick and buttons are not arcade spec but it's better than nothing.
16th October 2011
Moved the current project page around a bit, finally sorted out what buttons and joystick directions are on my JAMMA loom.
Modified the original Super Gun to have Coin Switch 1 (or 2), Test and Player 2 Start on the joystick rather than the Super Gun as I had three connectors spare on the Joystick loom.
I may start work on the second Super Gun that never powered up to see if I can find out what the problem is.
1st October 2011
Added some bits of information and colours to the Current Project - GameStone's Arcade section.
Modified the site style to make the text more readable, increased the site width slightly, modified all the pages to HTML5 and CSS 3, also added some new links.
14th August 2011
Changed this section logo to included some arcade machines (Konami's Windy (1 Player) and Windy II (2 Player) with horizontal monitors drawn by GameStone), if you're interested, I've drawn all the views on my art page of Gradius Home World.
Added my mint condition XEXEX to the collection page.
Also updated the Links section with some new links.
2nd January 2011
Changed the name of the Arcade Machines section to Arcade Information, also split the section into three pages as it was getting a little too big for one page..
Added lots of information on the Gradius related games for running then in stereo.
I've found a source for the JST Stereo out connector and ordered some of them.
1st January 2011
Added quite a few images to the Arcade Machines Section of the various project I've been involved in over the years.
Updated lots of info about the various stereo audio games in the Arcade Machines Section.
30th December 2010
Opened a new section called Arcade Machines, this lists all the machines I've owned and still own over the years.
7th March 2010
I've decided to add some new information to this section about the various arcade machines and PCB's I've own over the years.
This will be expanded when I get around to it.
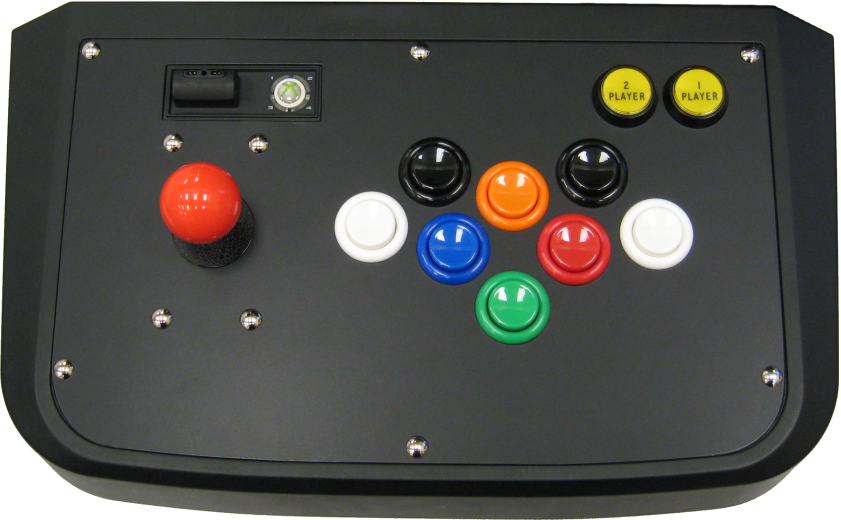
Started a new project for a home arcade system for JAMMA based games called GameStone's Arcade.
20th June 2009
Added the in process images, the project is now complete and onto the next.
16th June 2009
Sorry for the lack of updates but things have just started to progress very quickly and over the last two weeks the project has been completed, I'll be added some pictures and in process information this weekend.
Here's a quick image of the completed project.
14th February 2009
Added wiring colours and joystick ribbon cable pinouts.
The parts I've ordered from Japan have been sent, including small M4 Coach Bolts for the Joystick mount and a second joystick with a Vermilion coloured ball.
5th February 2009
More images and informational progress added to the new section.
It's taking longer than expected but the project is still moving forward.
25th January 2009
Change the layout and generally cleaned up this section.
After the hassle of working with wood I've decided to go back to metal for the new project.
26th May 2007
Changed all the pages to php and changed the contact form on the Contact page to a newer version.
18th November 2005
All adverts removed from this site, deleted some old broken links from the Links page, changed the style of the site to my newest version of my style sheet (CSS).
Not much else to add.
10th December 2004
One link added to the Links section.
21st November 2004
Changed the site layout with some new techniques I have learnt, the project has not been cancelled, it's just been put off until next year.
4th July 2004
New GSRcade logo added to the site.
I have been making the Jefcade Mk II for my collection of arcade boards,
29th June 2004
This little reply is to an email I got from Bill Moore (his return email address did not work for a reply)
The keyboard method I used was very time consuming to do, was quite a bodge
(at the time) and I would not recommend it.
The two ways I would recommend is the used either a PlayStation pad as I'm
using in my GSRcade or an I-PAC which is essentially just a keyboard
controller, I choose the PSX Pad approach because it has 10 buttons, cheaper
to buy and can also be used on an actual PlayStation or PS2.
http://www.ultimarc.com/ipac1.html
The I-PAC method is proberly easier to wire up for a machine but its up to
you. Wiring diagrams are not really needed at the I-PAC has all the control
outputs marked and you just wire the buttons and joystick to that, quite
simply really.
Thanks and I hope you project goes well, please keep me informed of your
progress.
30th May 2004
Added some images for the previous versions of my Joysticks, I'm planning on updating the Jefcade joystick so I can play my Gradius IV Fukkatsu board. Updated some of my CAD drawing with some of the new information I have got from the working prototype.
29th May 2004
Finally got around to finishing the fully working Prototype, also because the thing is based a PlayStation Joypad it can be used on the PC (with converter) but more importantly on the PlayStation 2 when Konami's Gradius V comes out in a few months ^_^
10th April 2004
Flexible screw driver attachment finally turned up, it works very well for screwing in the lid screws instead of using a stubby screw driver. I've made yet another metal template for the lid fixings, the projects slowed down for the minute as other things have become more important at the moment but hopefully I will have a rough prototype ready in the next few weeks.
14th March 2004
No the project is not dead, it's just I have been waiting for two weeks now for a flexible screw driver attachment for my drill as some of the screws that hold the lid on cannot be done up.
21st February 2004
Messing around with TurboCAD LE again, updated all my design sheets and also grabbed some images of the GSRcade. I think its starting to come together quite nicely.
20th February 2004
The three templates are complete and I have drilled the holes in the main MDF box panels (I will leave the top till next week as it is a lot of work). When screwing the box together some of the MDF panels split at the edges even though I had drilled a small pilot hole (with clearance holes on the side panels). I'm also not very happy with the finish of the MDF because of the way the material rips and tears quite easy (even when countersinking the holes), I will have to look for an alternative wood for making the main box (probably leave the main top as MDF though).
17th February 2004
The three looms have been made (Joystick, Buttons and Ground) and I've made a metal template for marking out the holes (for the buttons) & Joystick.
11th February 2004
I've made the choice of wire to use (16 strand 0.2mm) and which colour's to use. I was originally just going to use just one colour for the ground (Black) and one colour for the other connections (Red) but this would make fault finding difficult, so I'm now using seven colour's (including the Black ground lead).
8th February 2004
Ordered some more Router cutters for putting on a radius edge instead of a T-Moulding as this should still look professional and not make as much MDF mess. Also ordered a 30mm Forstner Bit for machining the 30mm holes (30mm now instead of 29mm as they don't make a 29mm Forstner Bit), the Flat bit wood drill has some breakout problems with MDF, the Forstner Bit should cure that.
I tried varnishing the top but it did not come out as good as I thought it should, I may just use clear lacquer next just to see how that works out.
Next week I will be making a metal hole template for the eleven 30mm holes as the plastic one has some holes on the wrong place and a metal one would last longer also.
7th February 2004
Tried out the new router bits this morning on piece of scrap MDF and they cut very well, I will be trying it on the actual arcade top this afternoon.
6th February 2004
Steve at work helped me (as he has many times before) by making a template for the top of the controller out of 6mm plastic. This weekend I should be able to start routing out the joystick recess and the four radius corners of the top section (only if the routing bit and flat drill bits turn up that is).
1st February 2004
The holesaw was not so good at drilling the 29mm holes for the Buttons as the teeth quickly clog up and you have to keep cleaning the teeth, you also get a poor cut hole.
I had a 20mm flatbit wood drill and that was much better so I have ordered some 29mm ones online (most places only sell 25mm then 32mm but no 29mm).
Well I've got my first Router and I must say it's actually a lot easier than I thought it would be, this will make recessing the Joysticks and cutting the T-Moulding much easier. I will be making a cutting guide so I can cut some rounded corners on the main section.
31st January 2004
I'm getting used to TurboCAD LE now so the main layout coming along very nicely, I even modeled the Joystick and a Button so I could get the correct dimensions for the wood, this was much easier and quicker than the method I used before which was a cardboard model and a 300mm rule.
The Screwfix order turned up today but was missing the 6mm Coach Bolts (used to hold the joystick in place), I have email them for a replacement.
30th January 2004
The Joystick and lots of Buttons turned up today, I'm quite happy with the 8-Way Happ Ultimate Joystick I ordered. I also have the top panel ready to be machined. Screwfix items have been order and should turn up to tomorrow. Button layout more or less finished in TurboCAD, now I just have to sort out the height of the box (depends where the buttons and Joystick go).
26th January 2004
Designing the button layout in TurboCAD LE v4.1, you can download and use it for free non commercial use, well worth it as it's a very good CAD package, I've used Autocad and IDEAS but the latest versions of these programs are quite complex to use and centre more on 3D work.
25th January 2004
I've decided to use 18mm MDF in the construction of the main box because the wood (if you can call it that) is strong and of consistent quality. Ordered the buttons and joystick yesterday, they should be with me by midweek.
I will be making a prototype lid out of MDF with all the holes on the next week or so (I already have a cardboard prototype), then I can work out the size of the box that goes underneath.
23rd January 2004
Materials planning and manufacturing methods researched, choice of either metal or wood for the main box construction. Steering wheel is on order (I pick it up tomorrow morning).
20th January 2004
Site opened and domain name registered.
[T O P]