
|
|
|
|
|
Supergun
Custom Build v1
I will start this with a explanation of a arcade machine.
There is nothing special in a custom built machine, it's just connectors and wires, no special circuit boards or complex stuff like that.
You just have to make sure the chassis is earthed and make sure that no other cable touches the chassis.
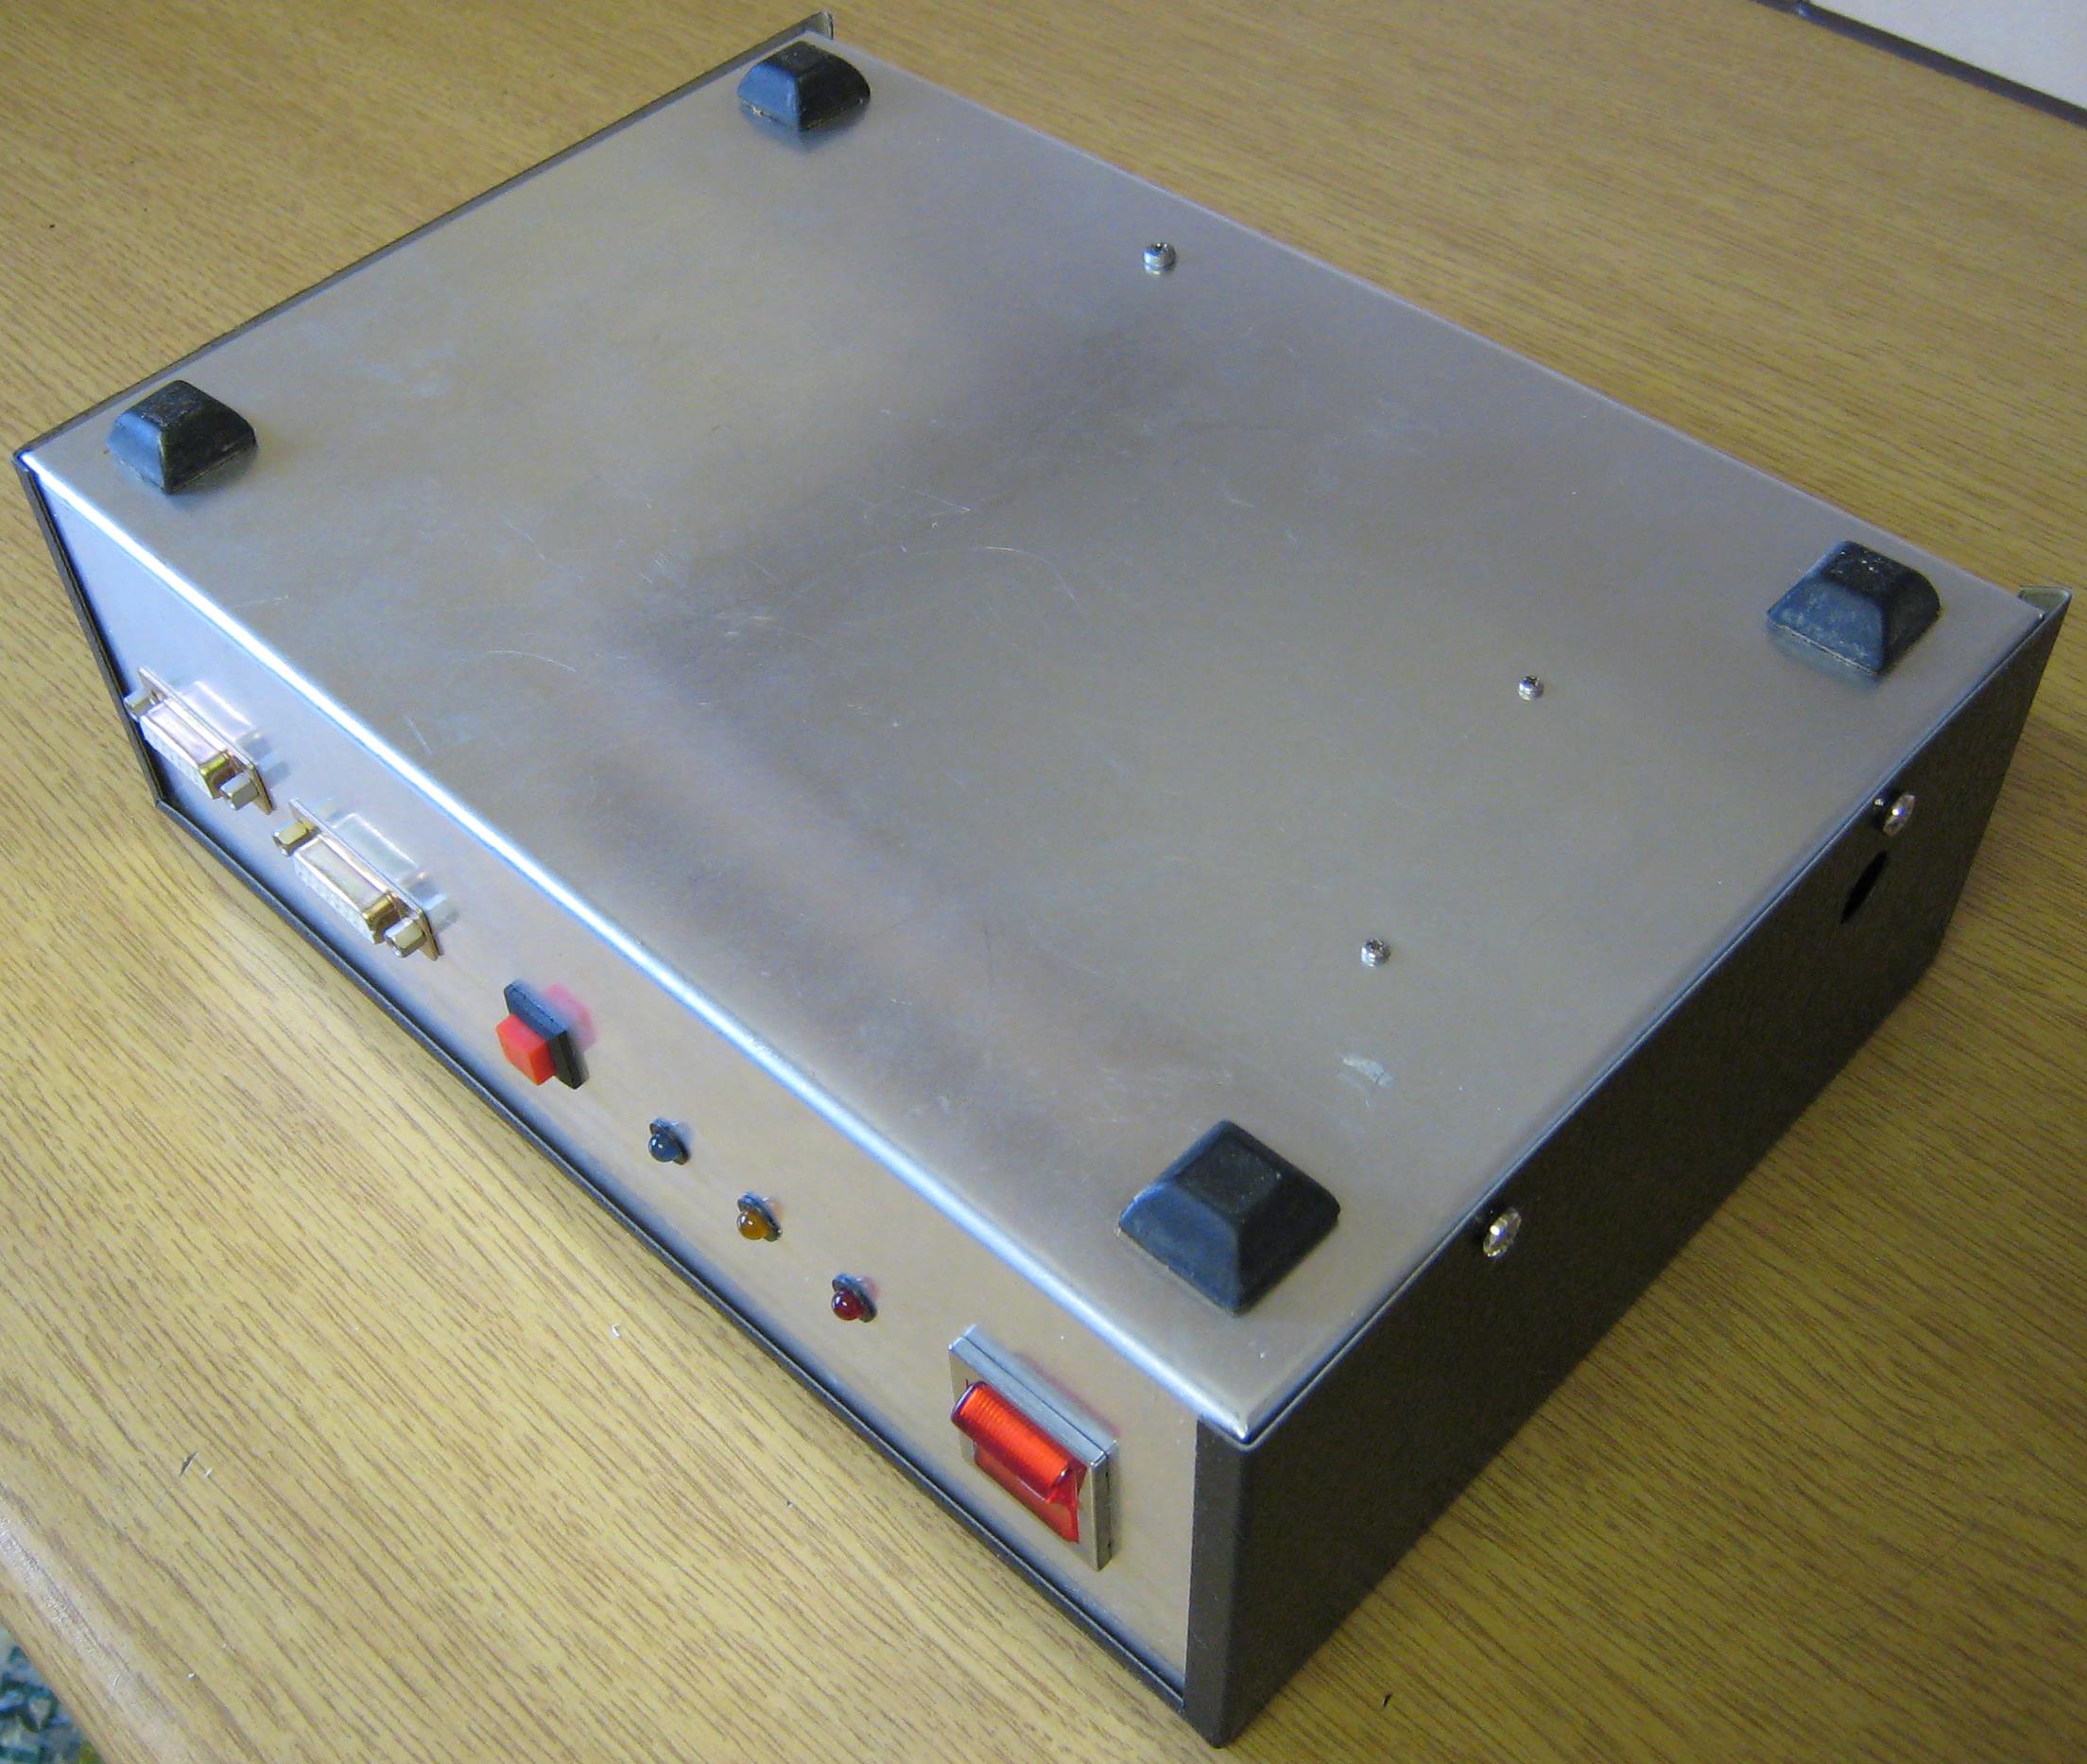
This is a custom build portable arcade made by my brother back in 1994, this was before the name Supergun even existed.
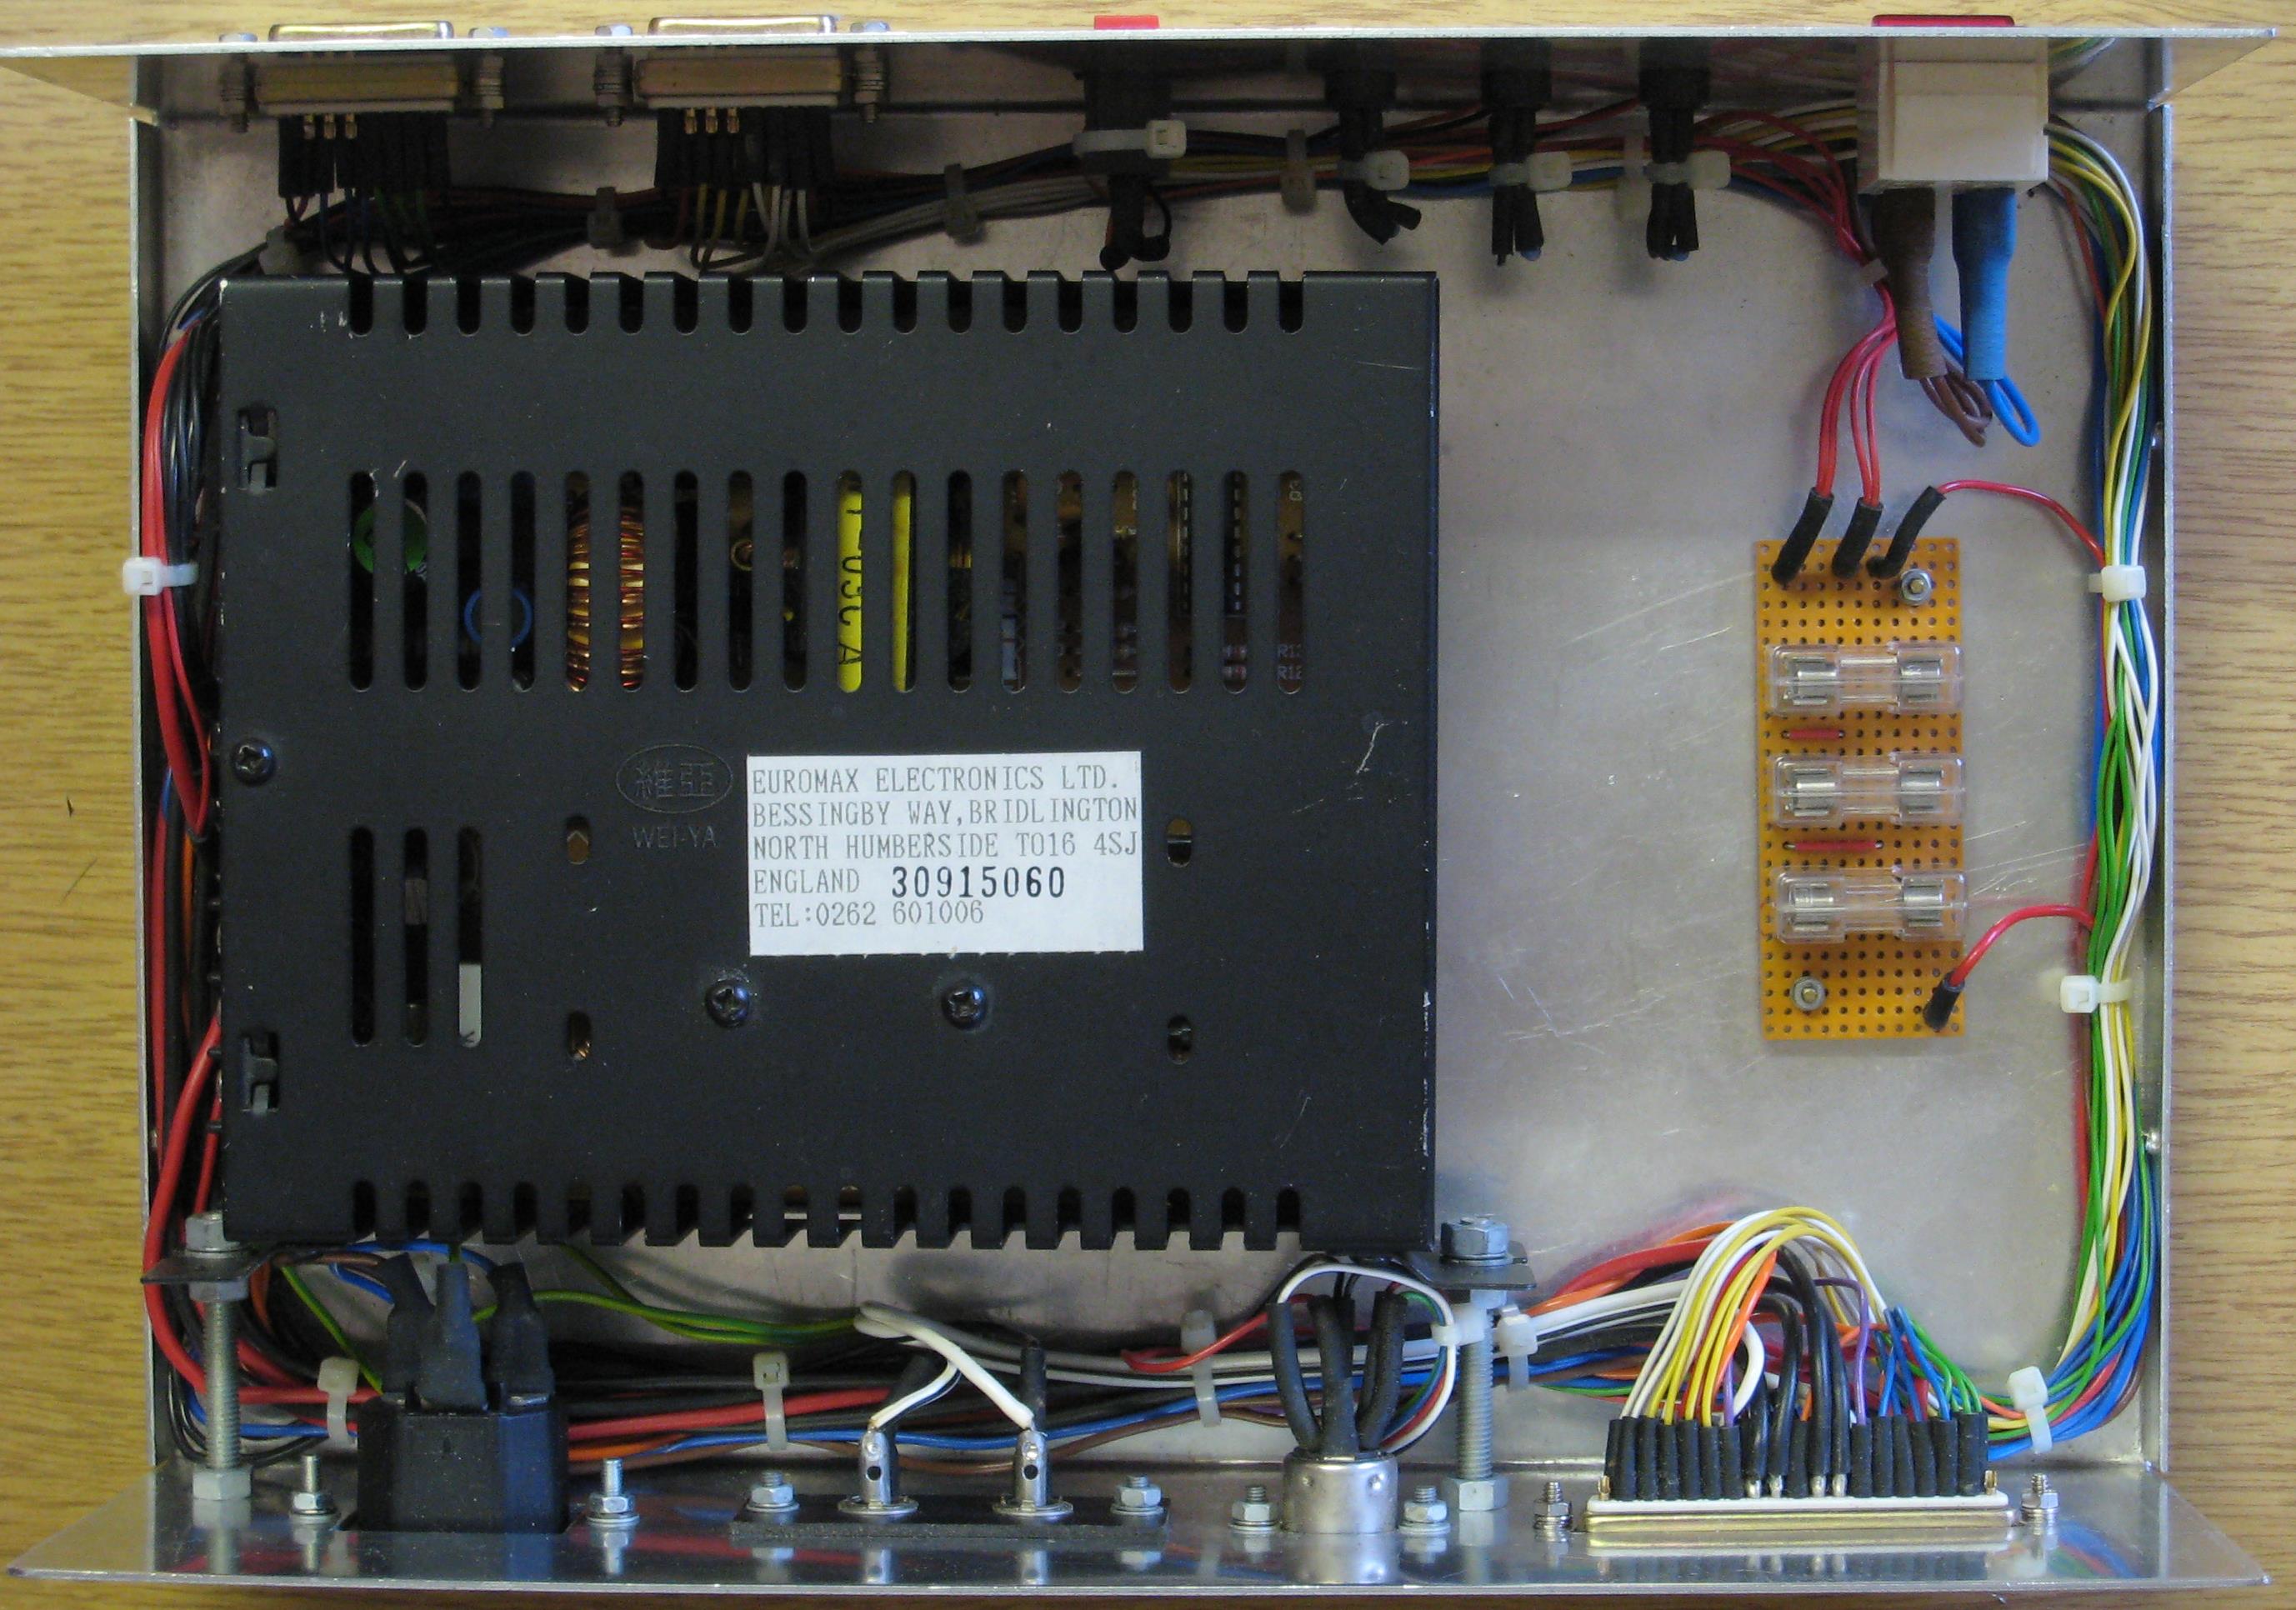
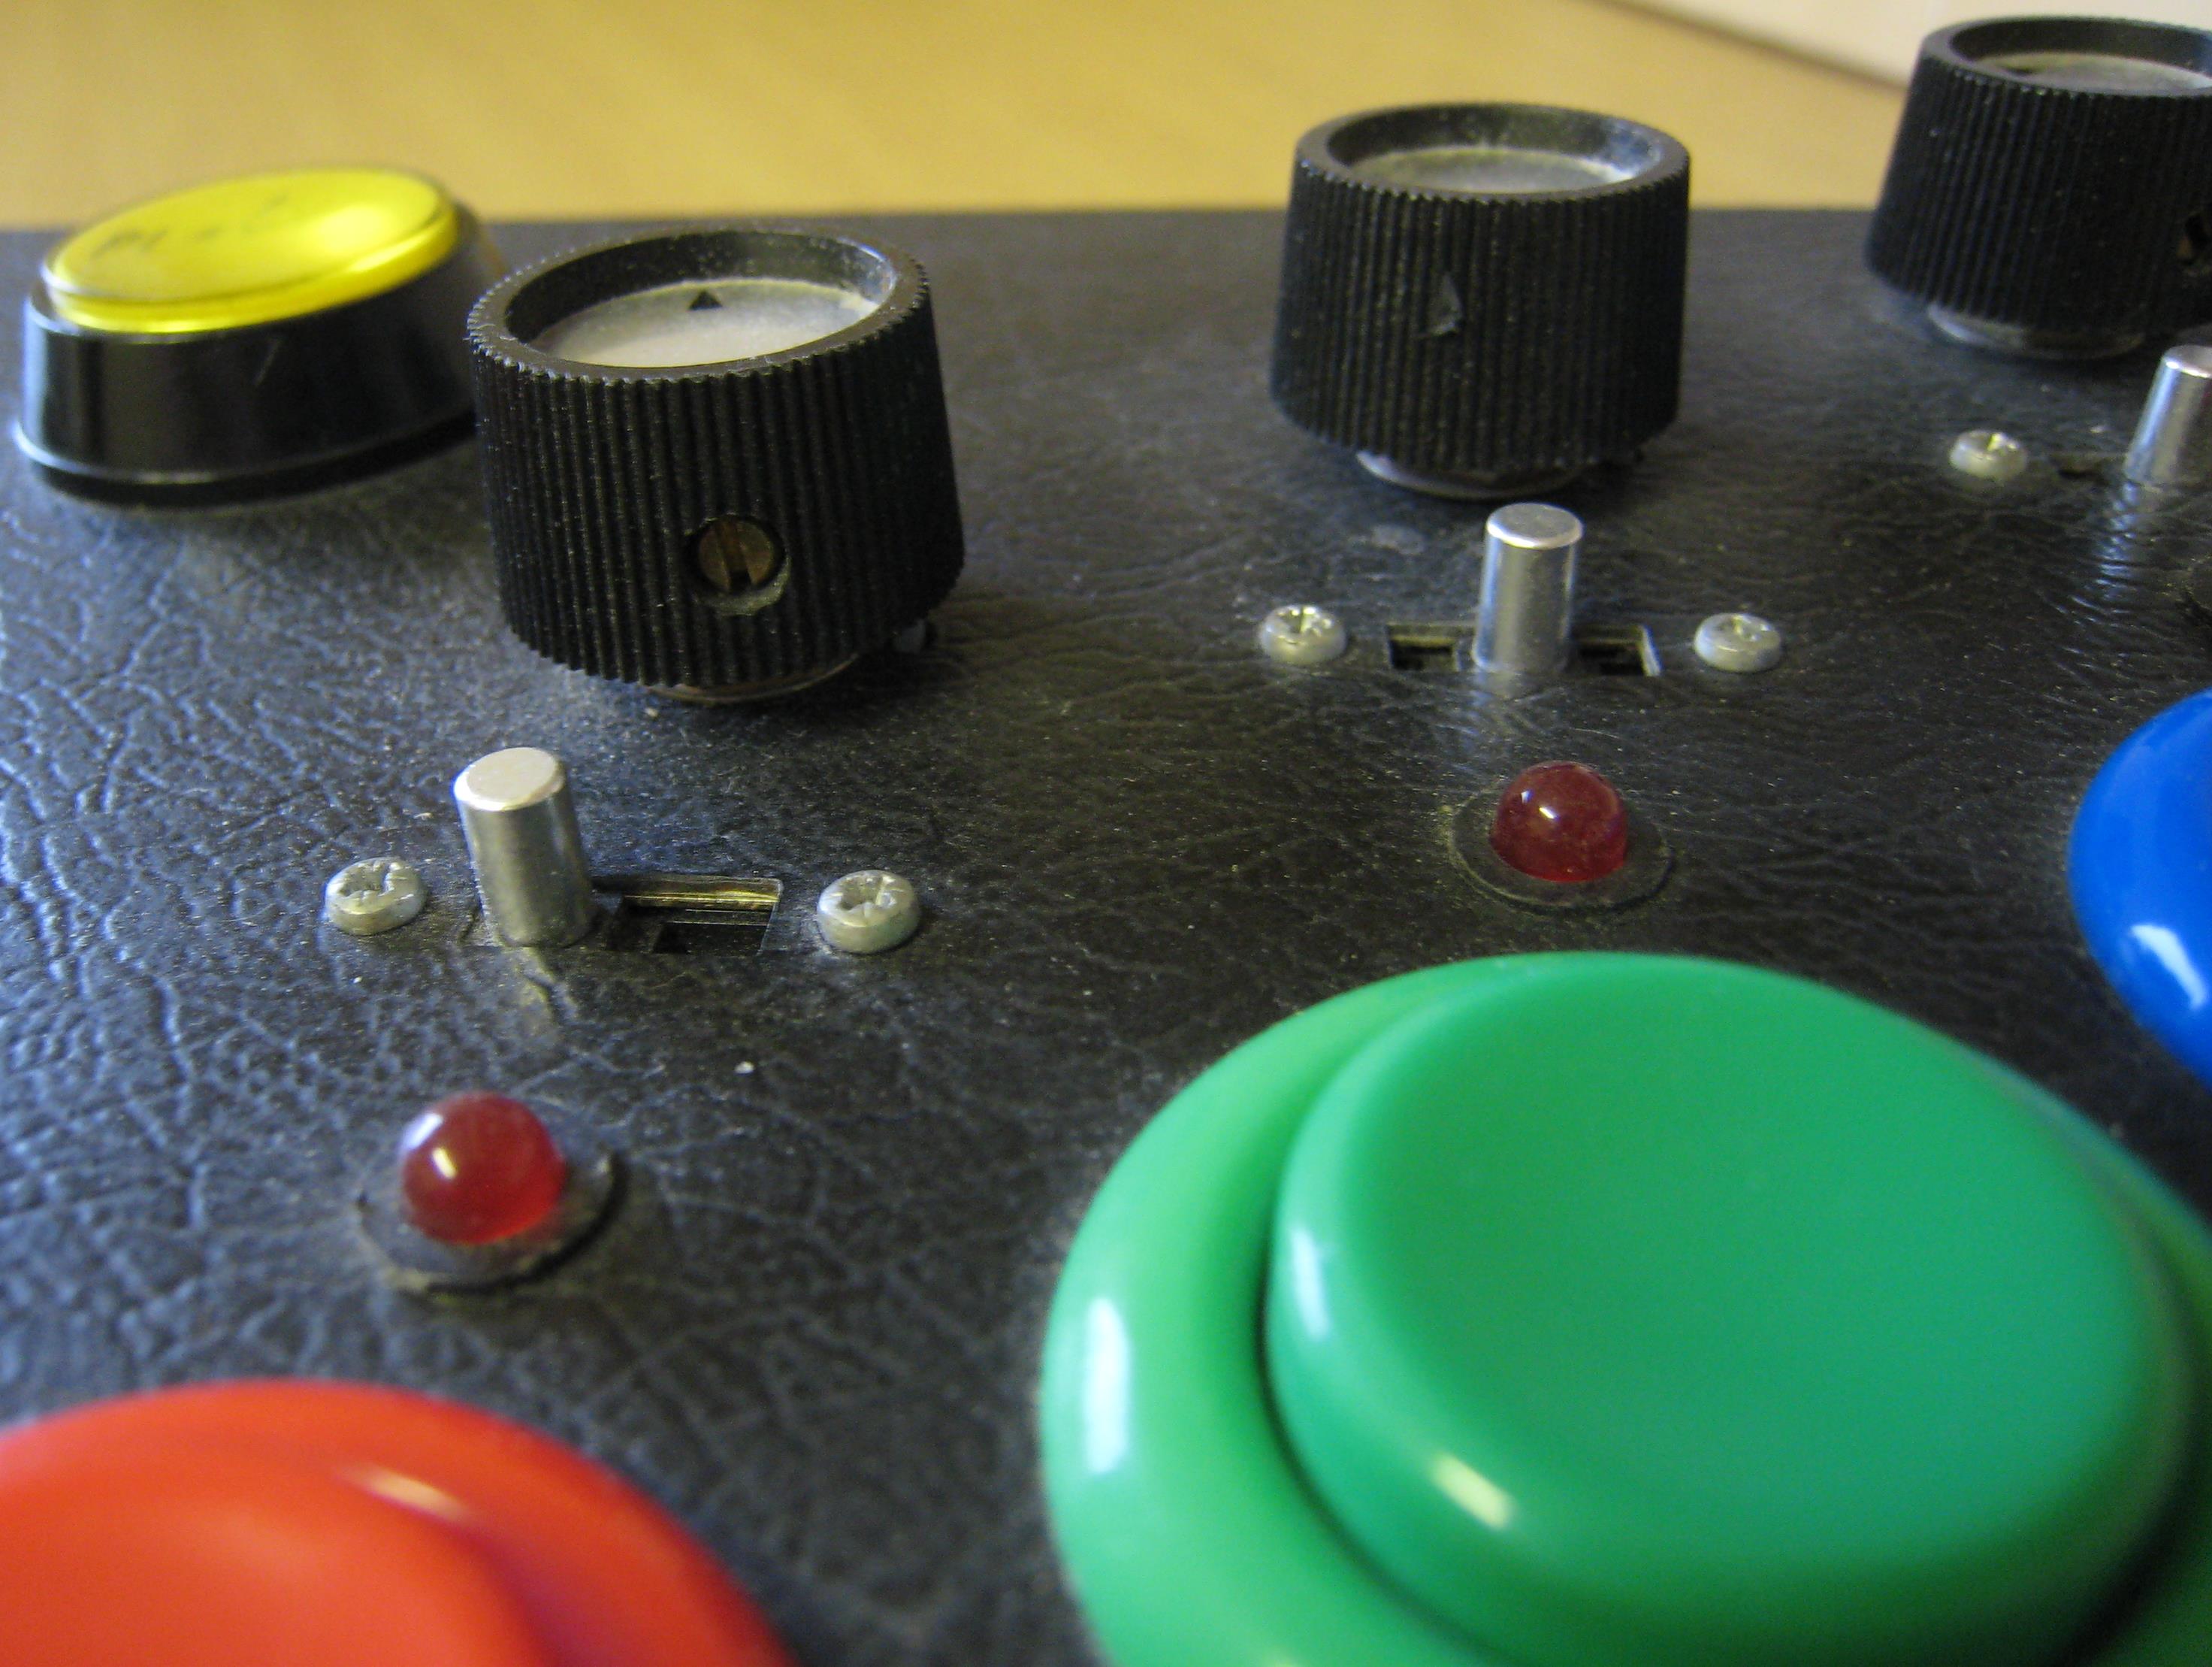
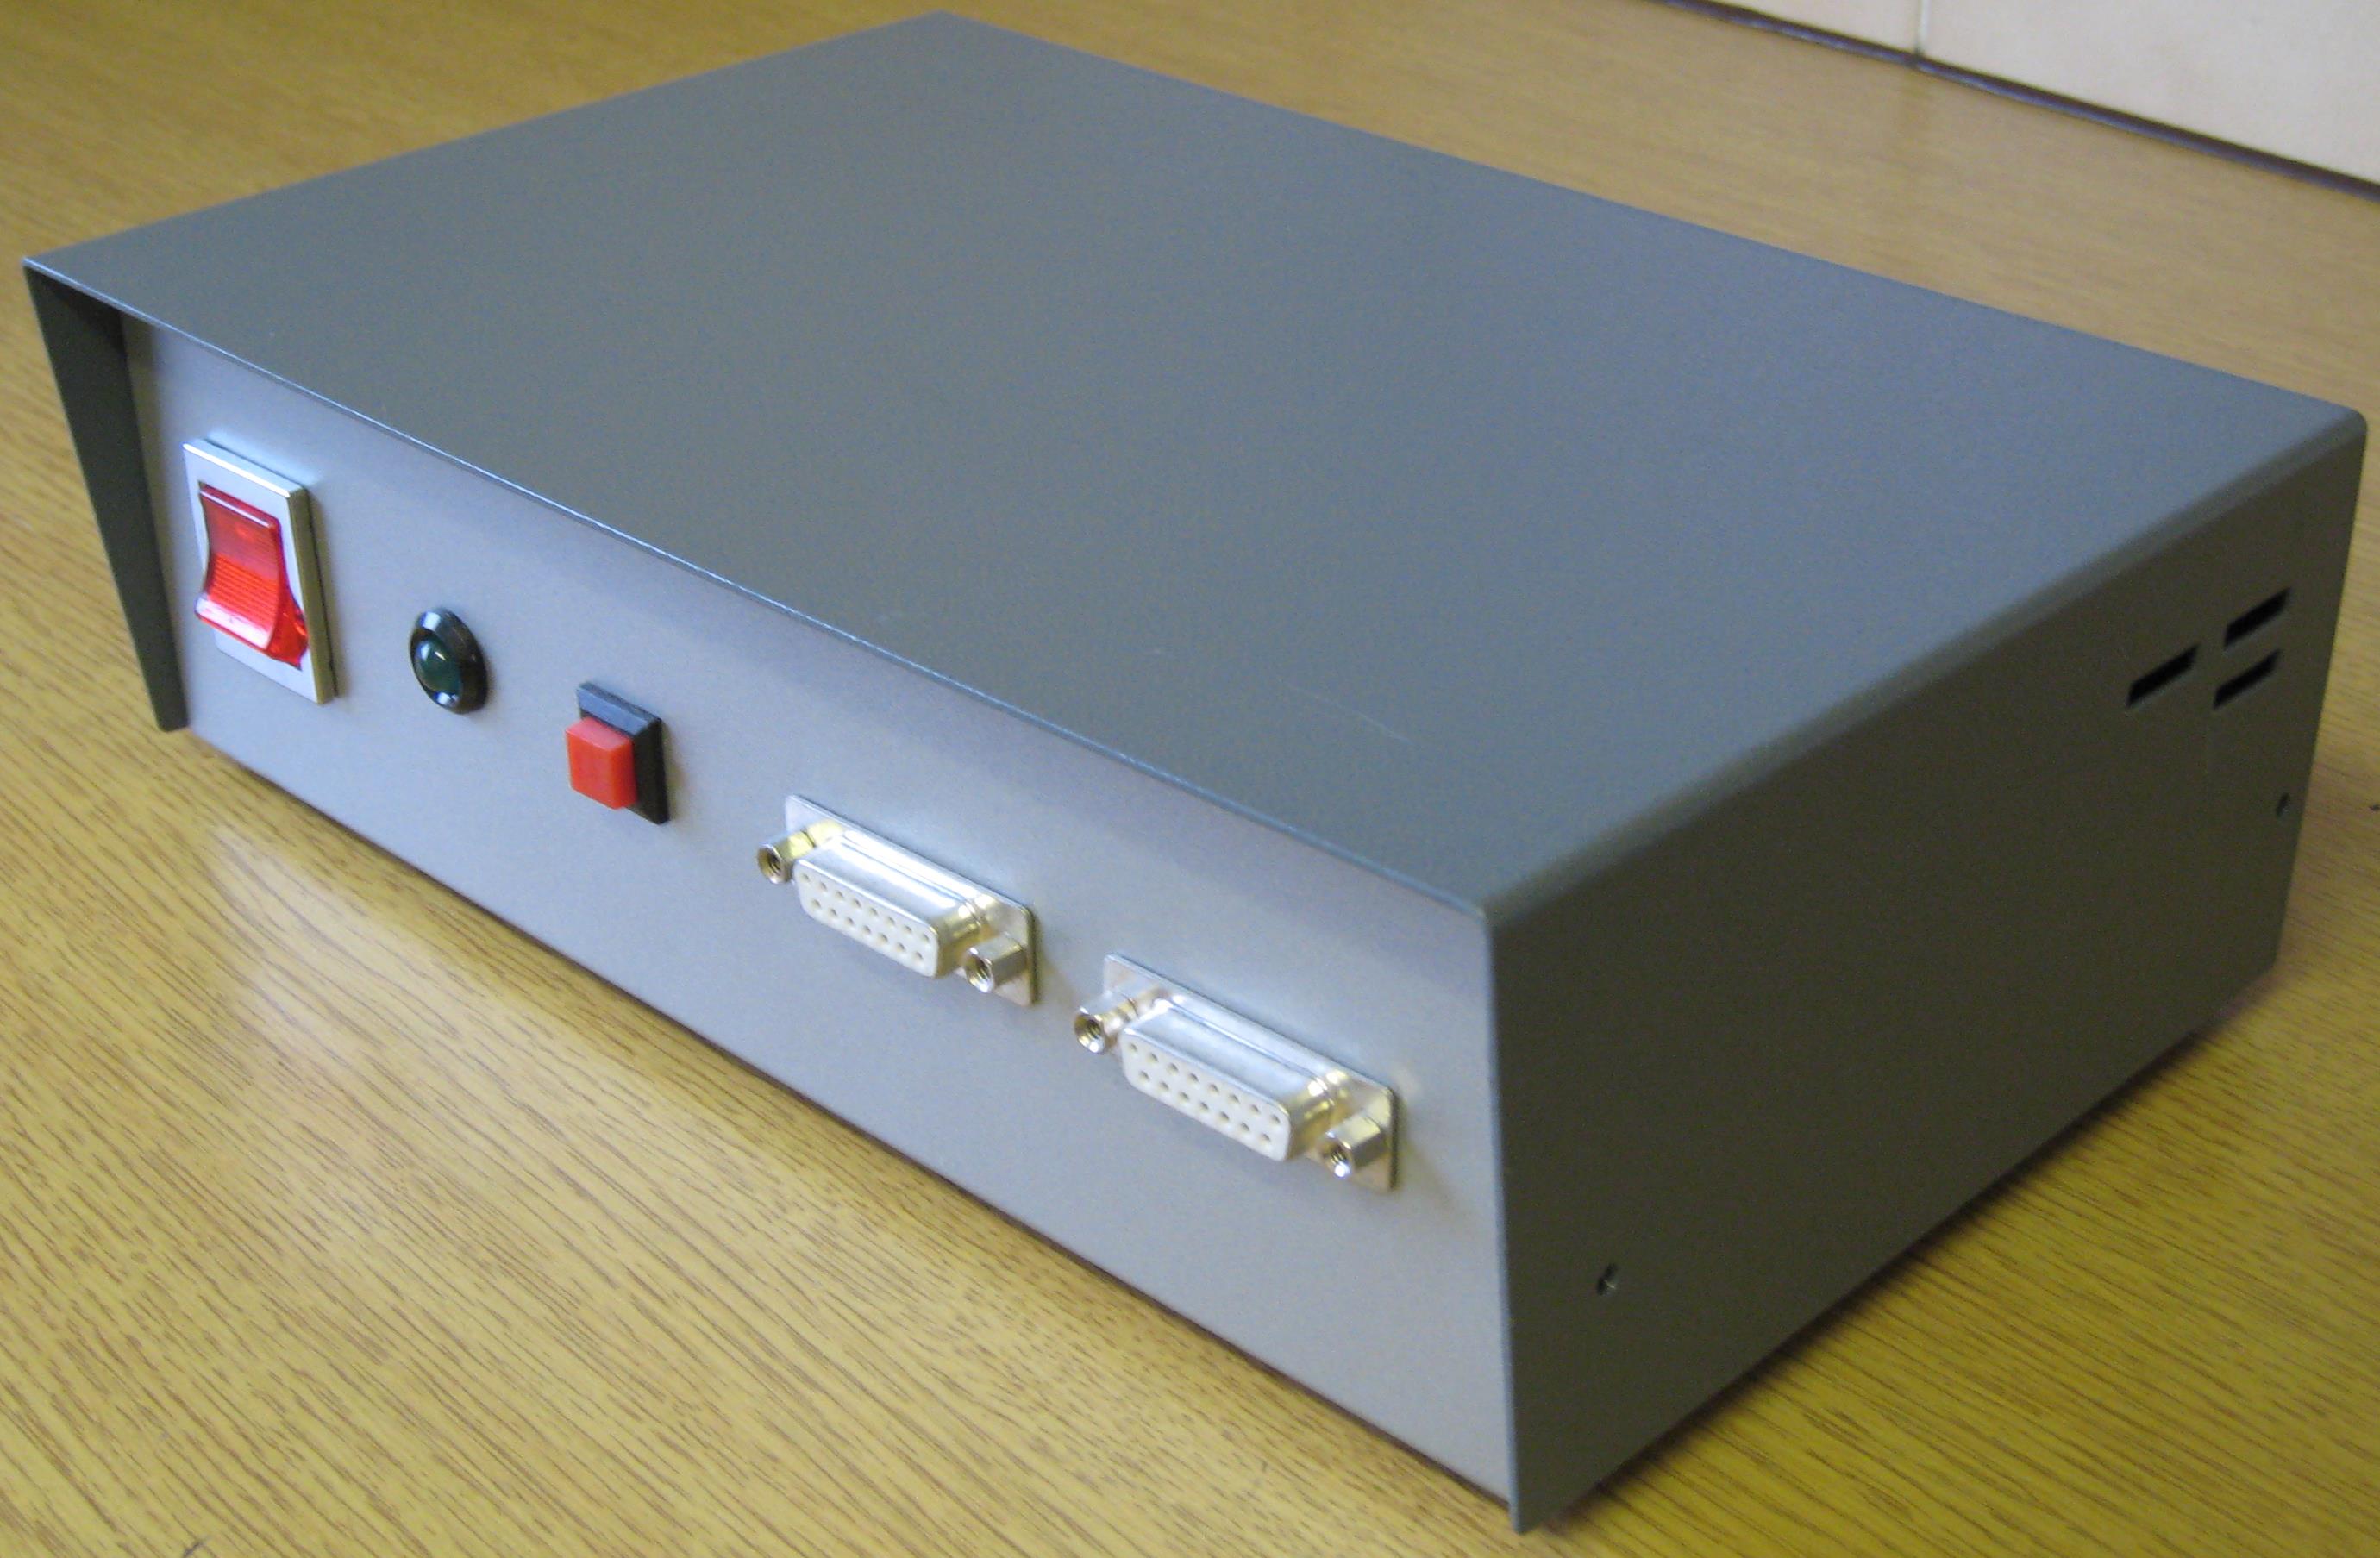
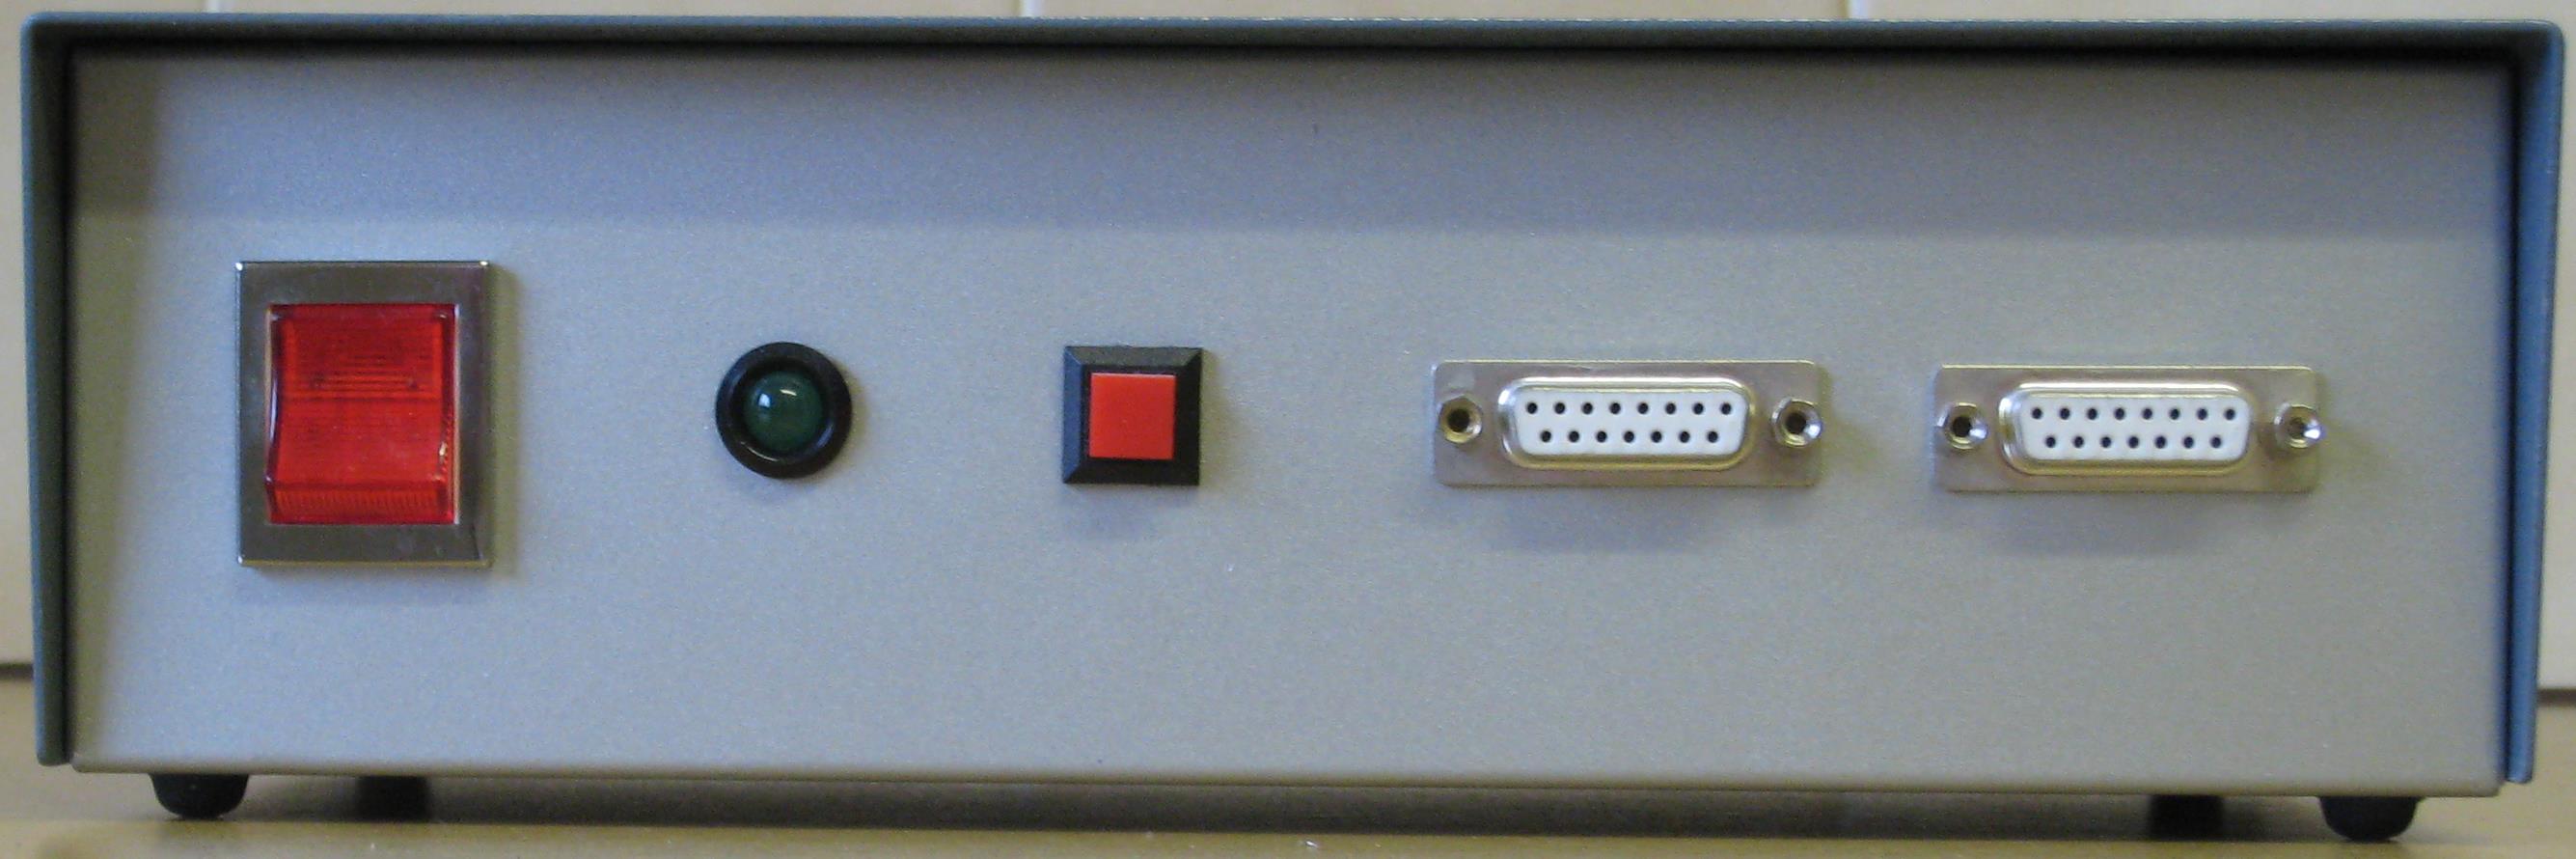
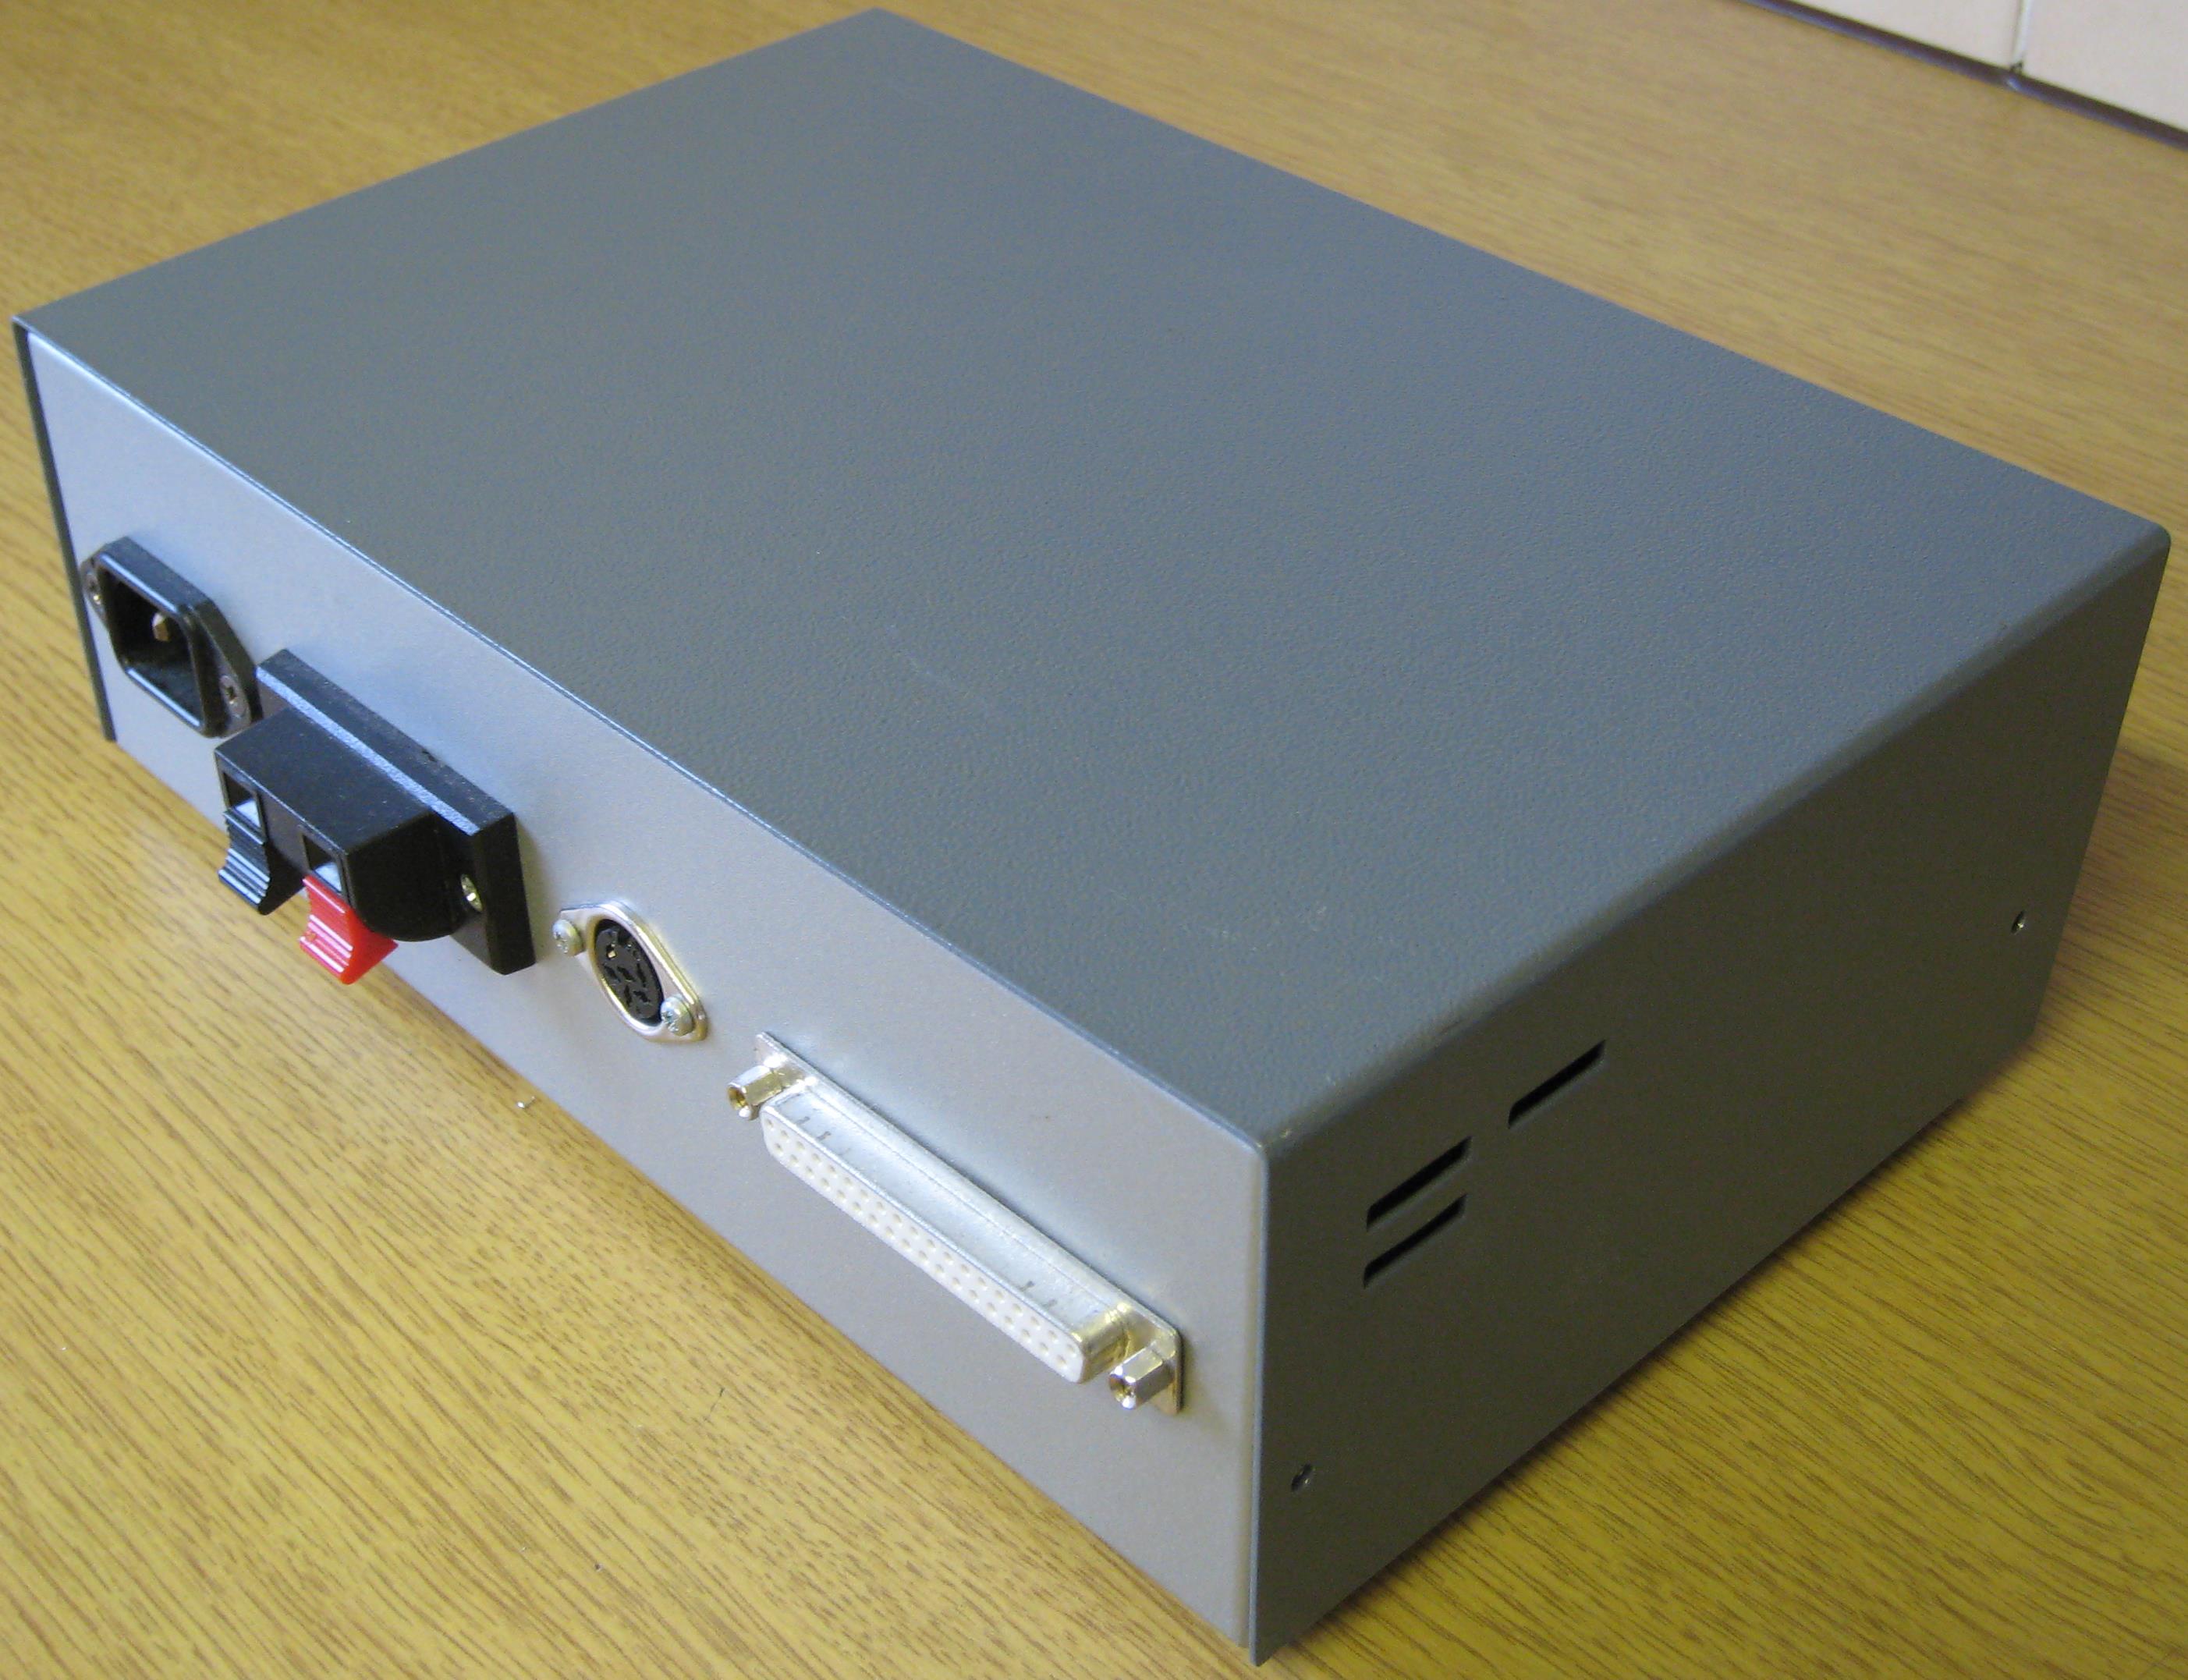
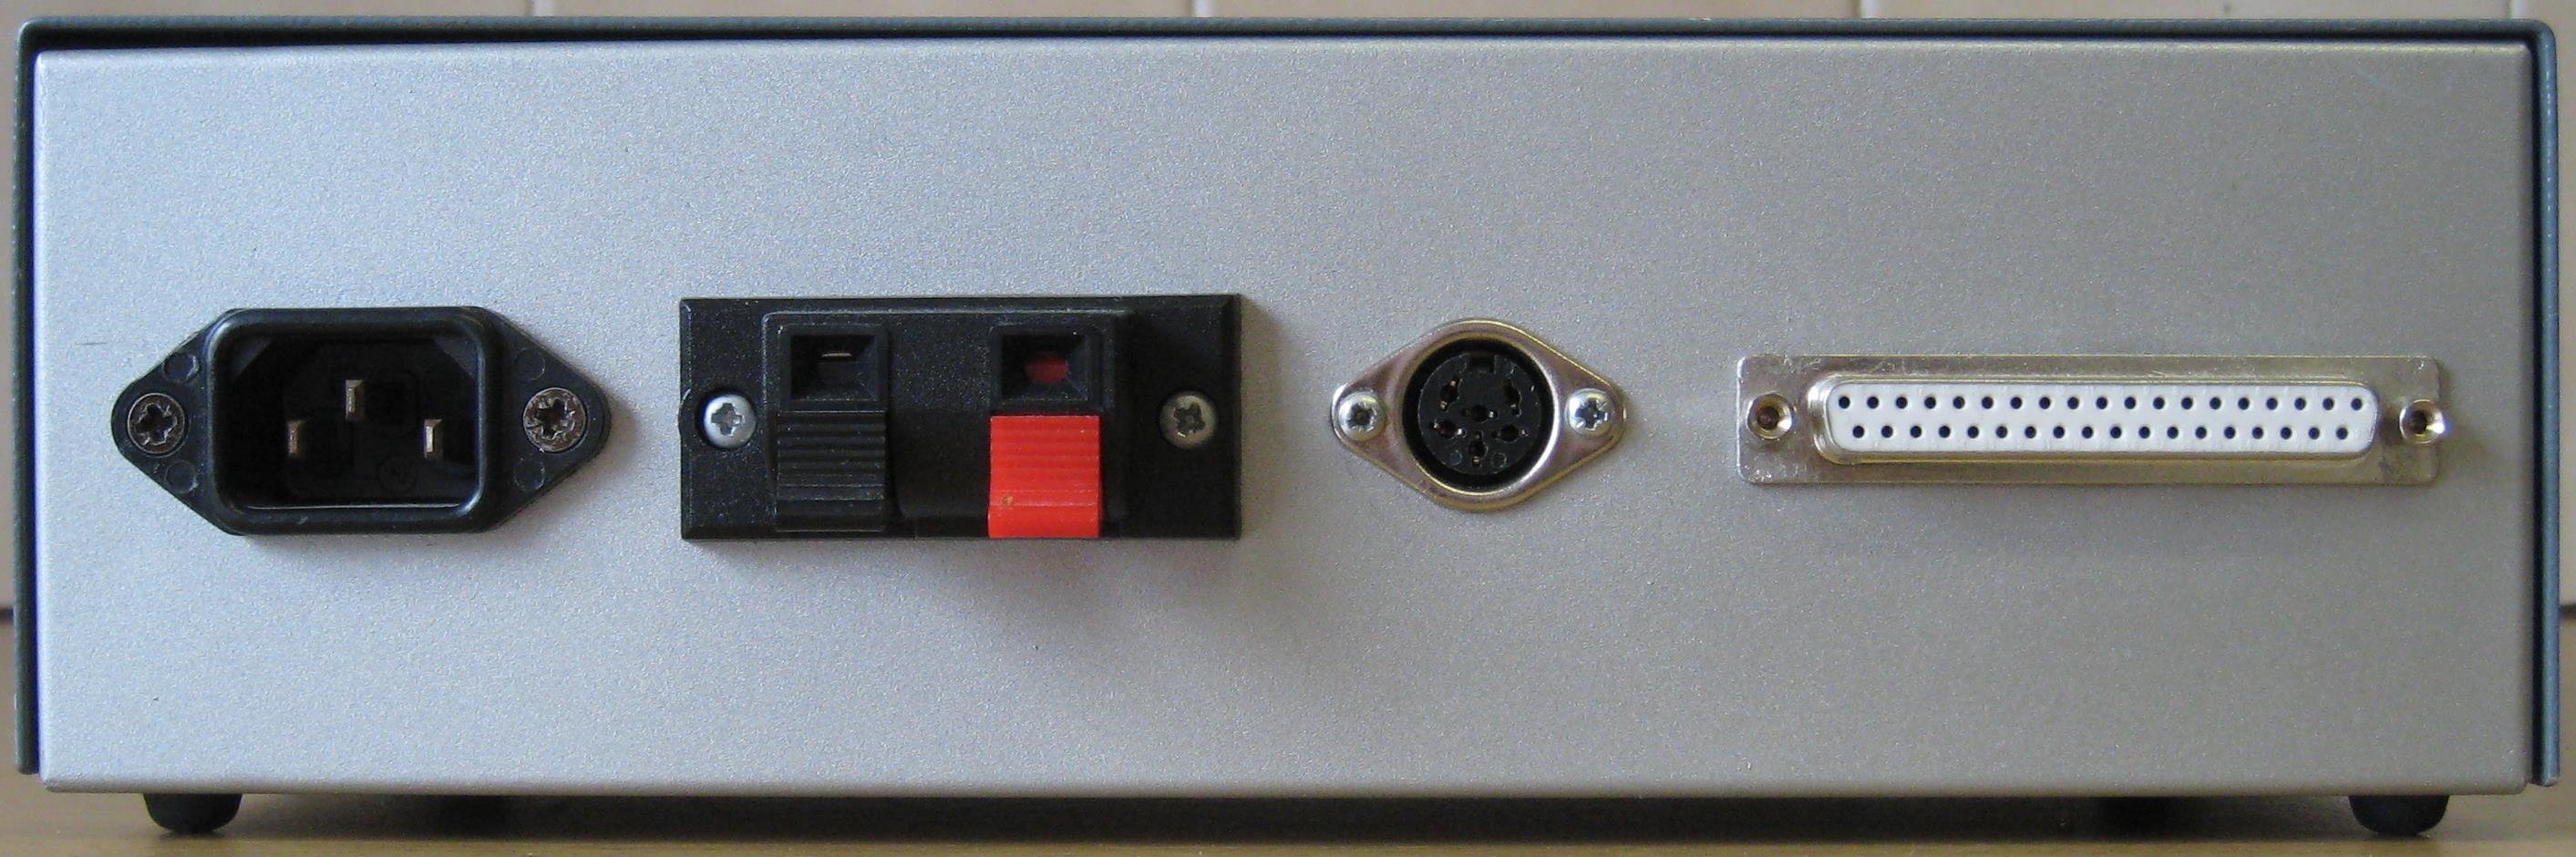
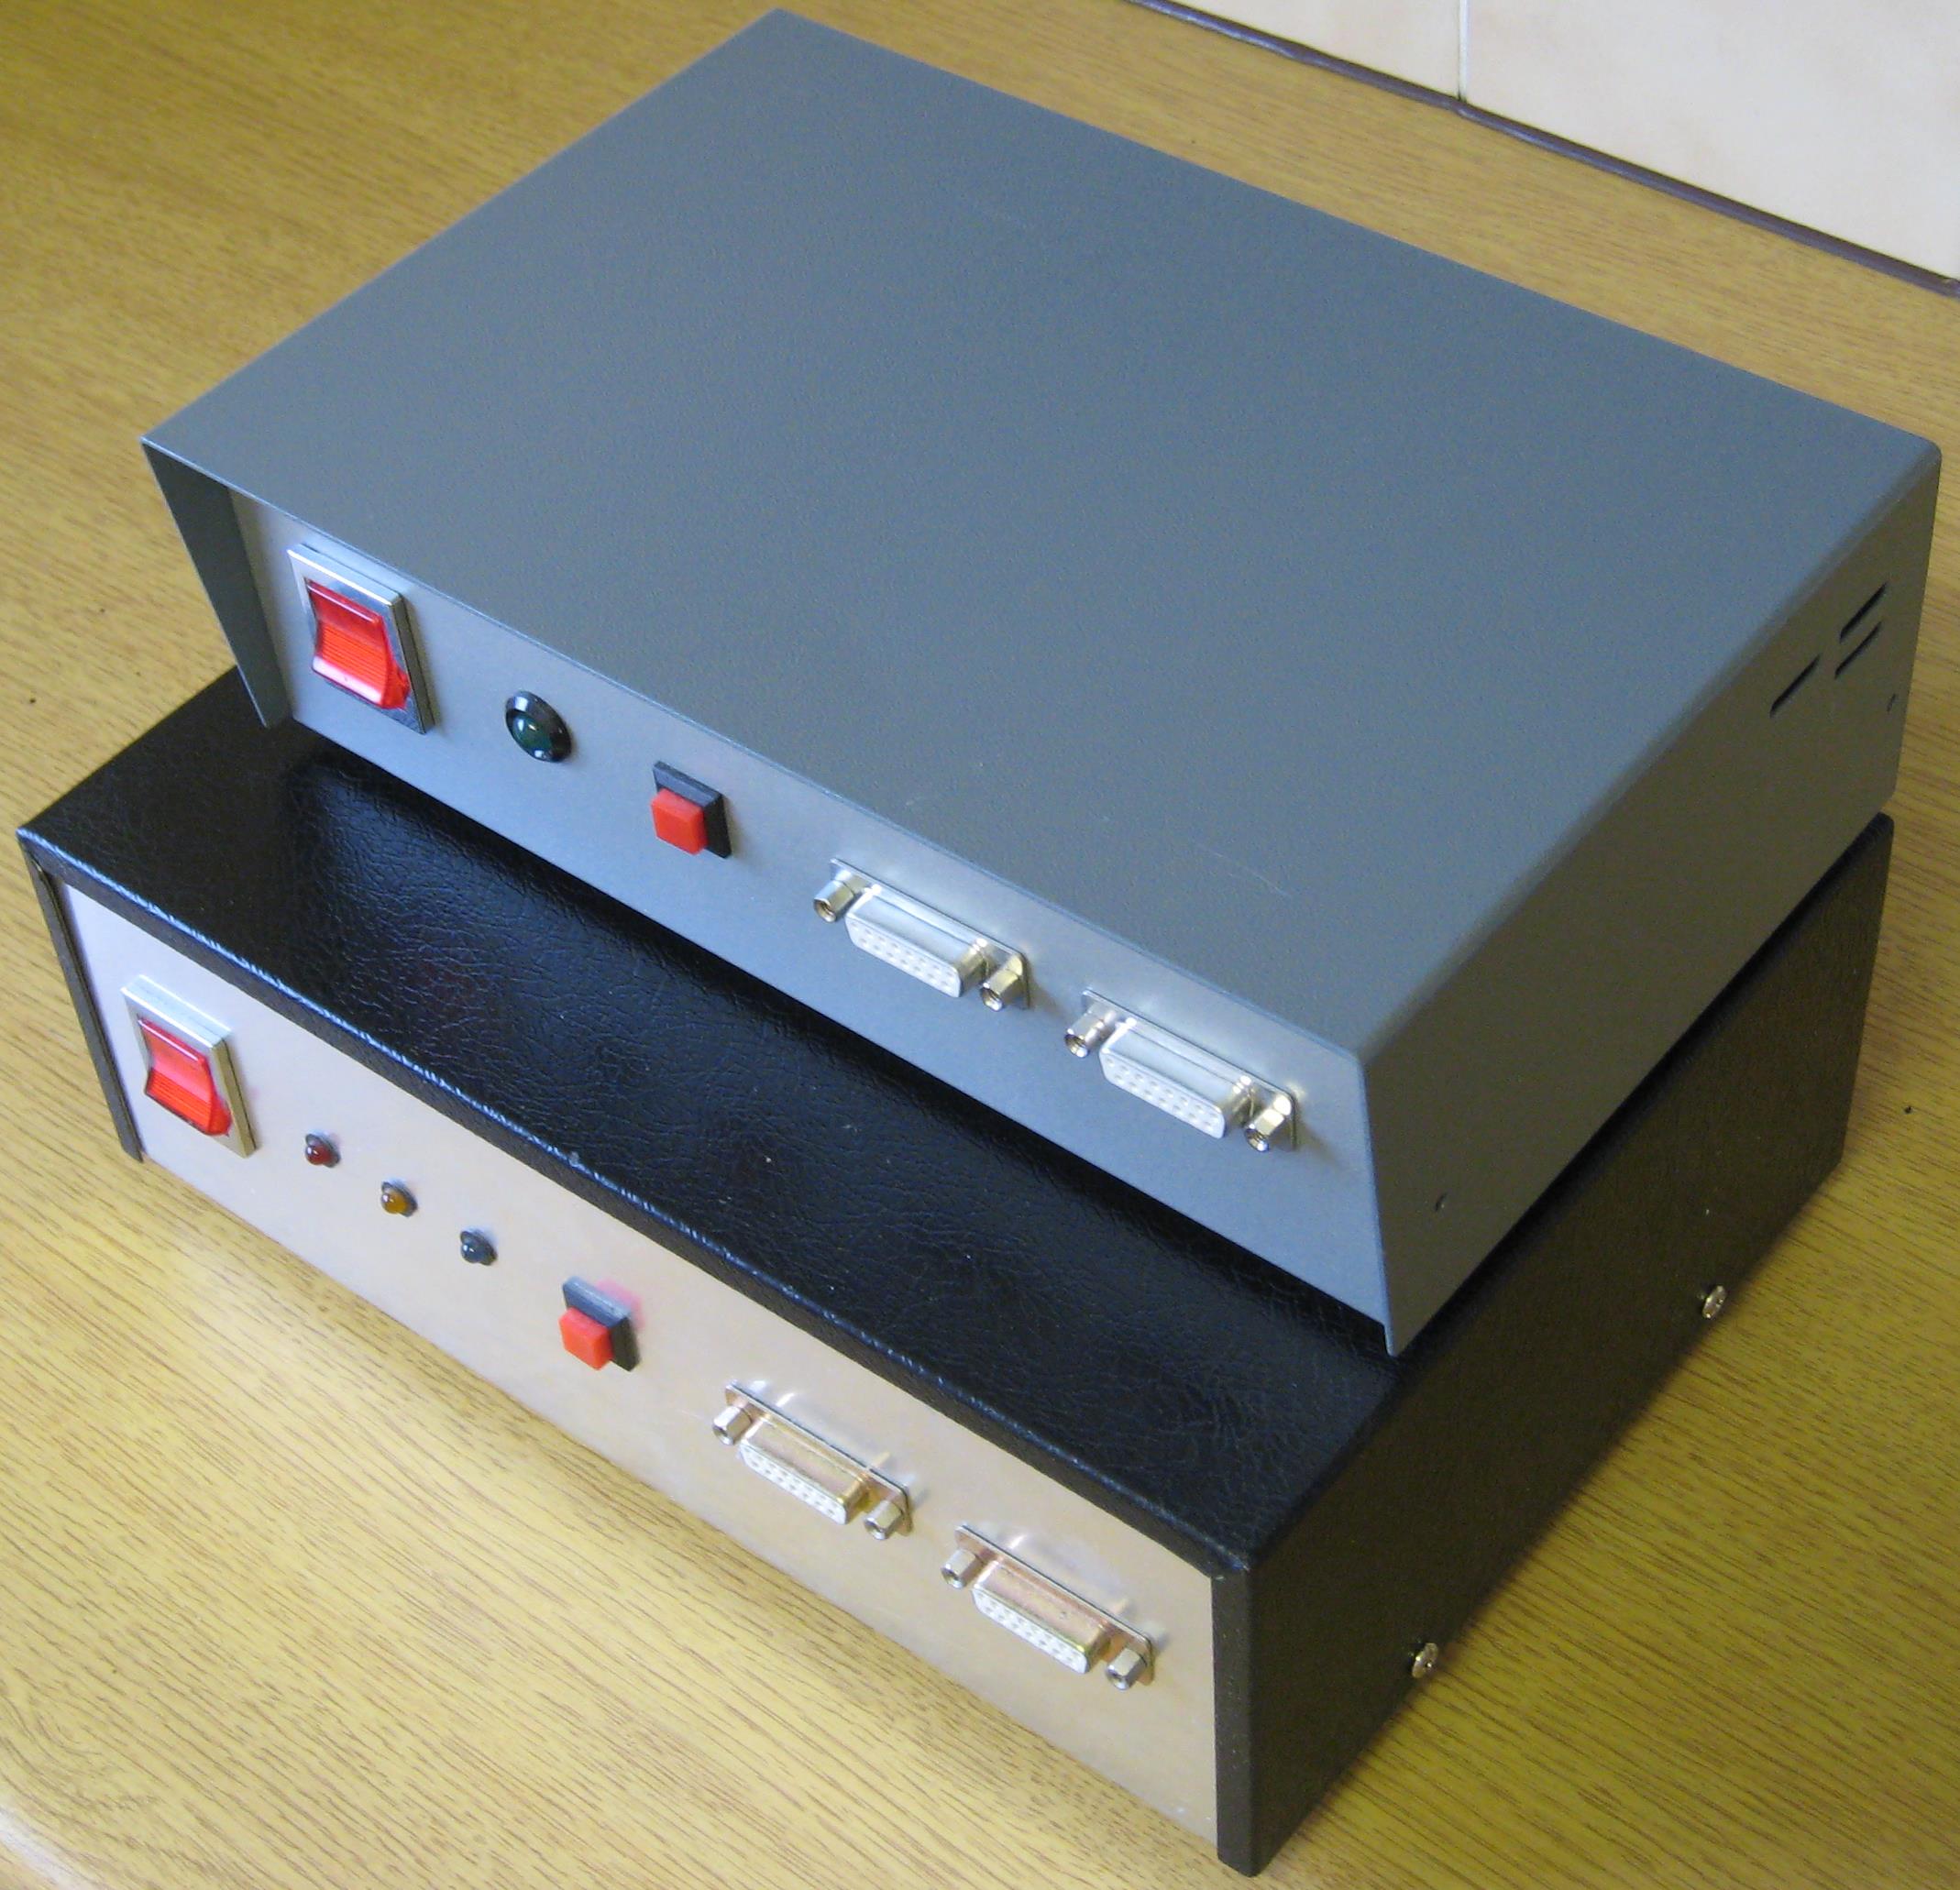
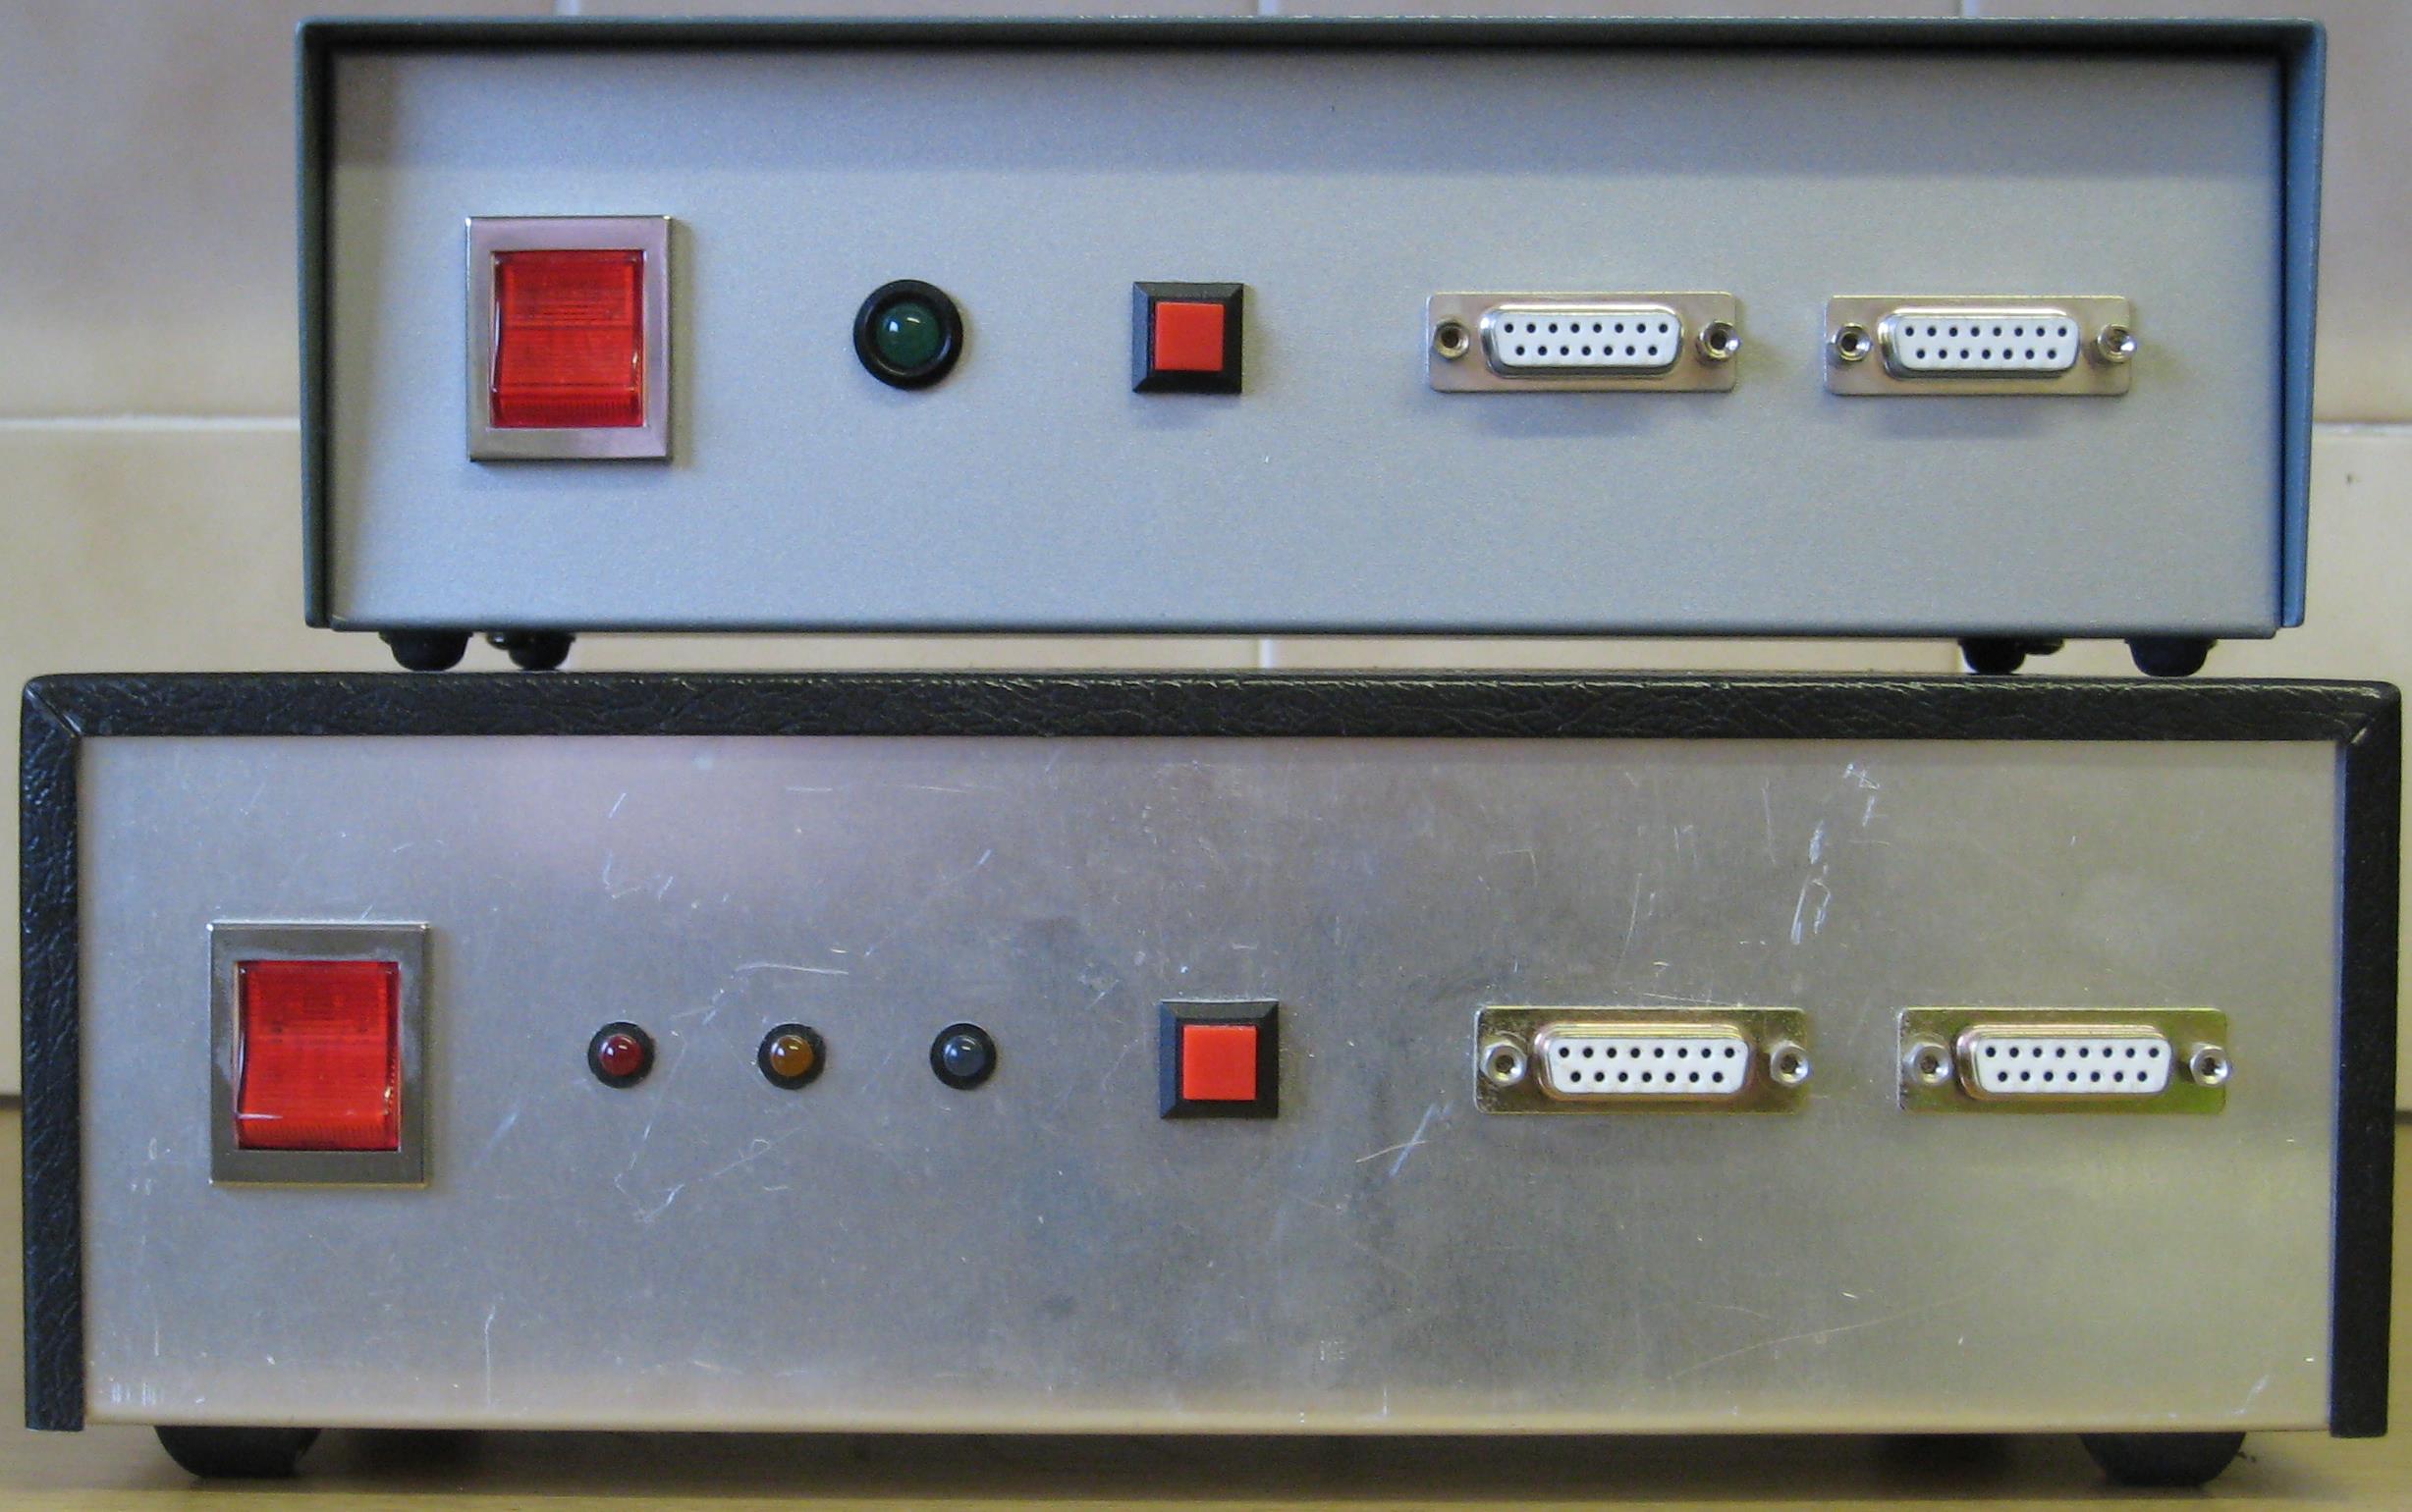
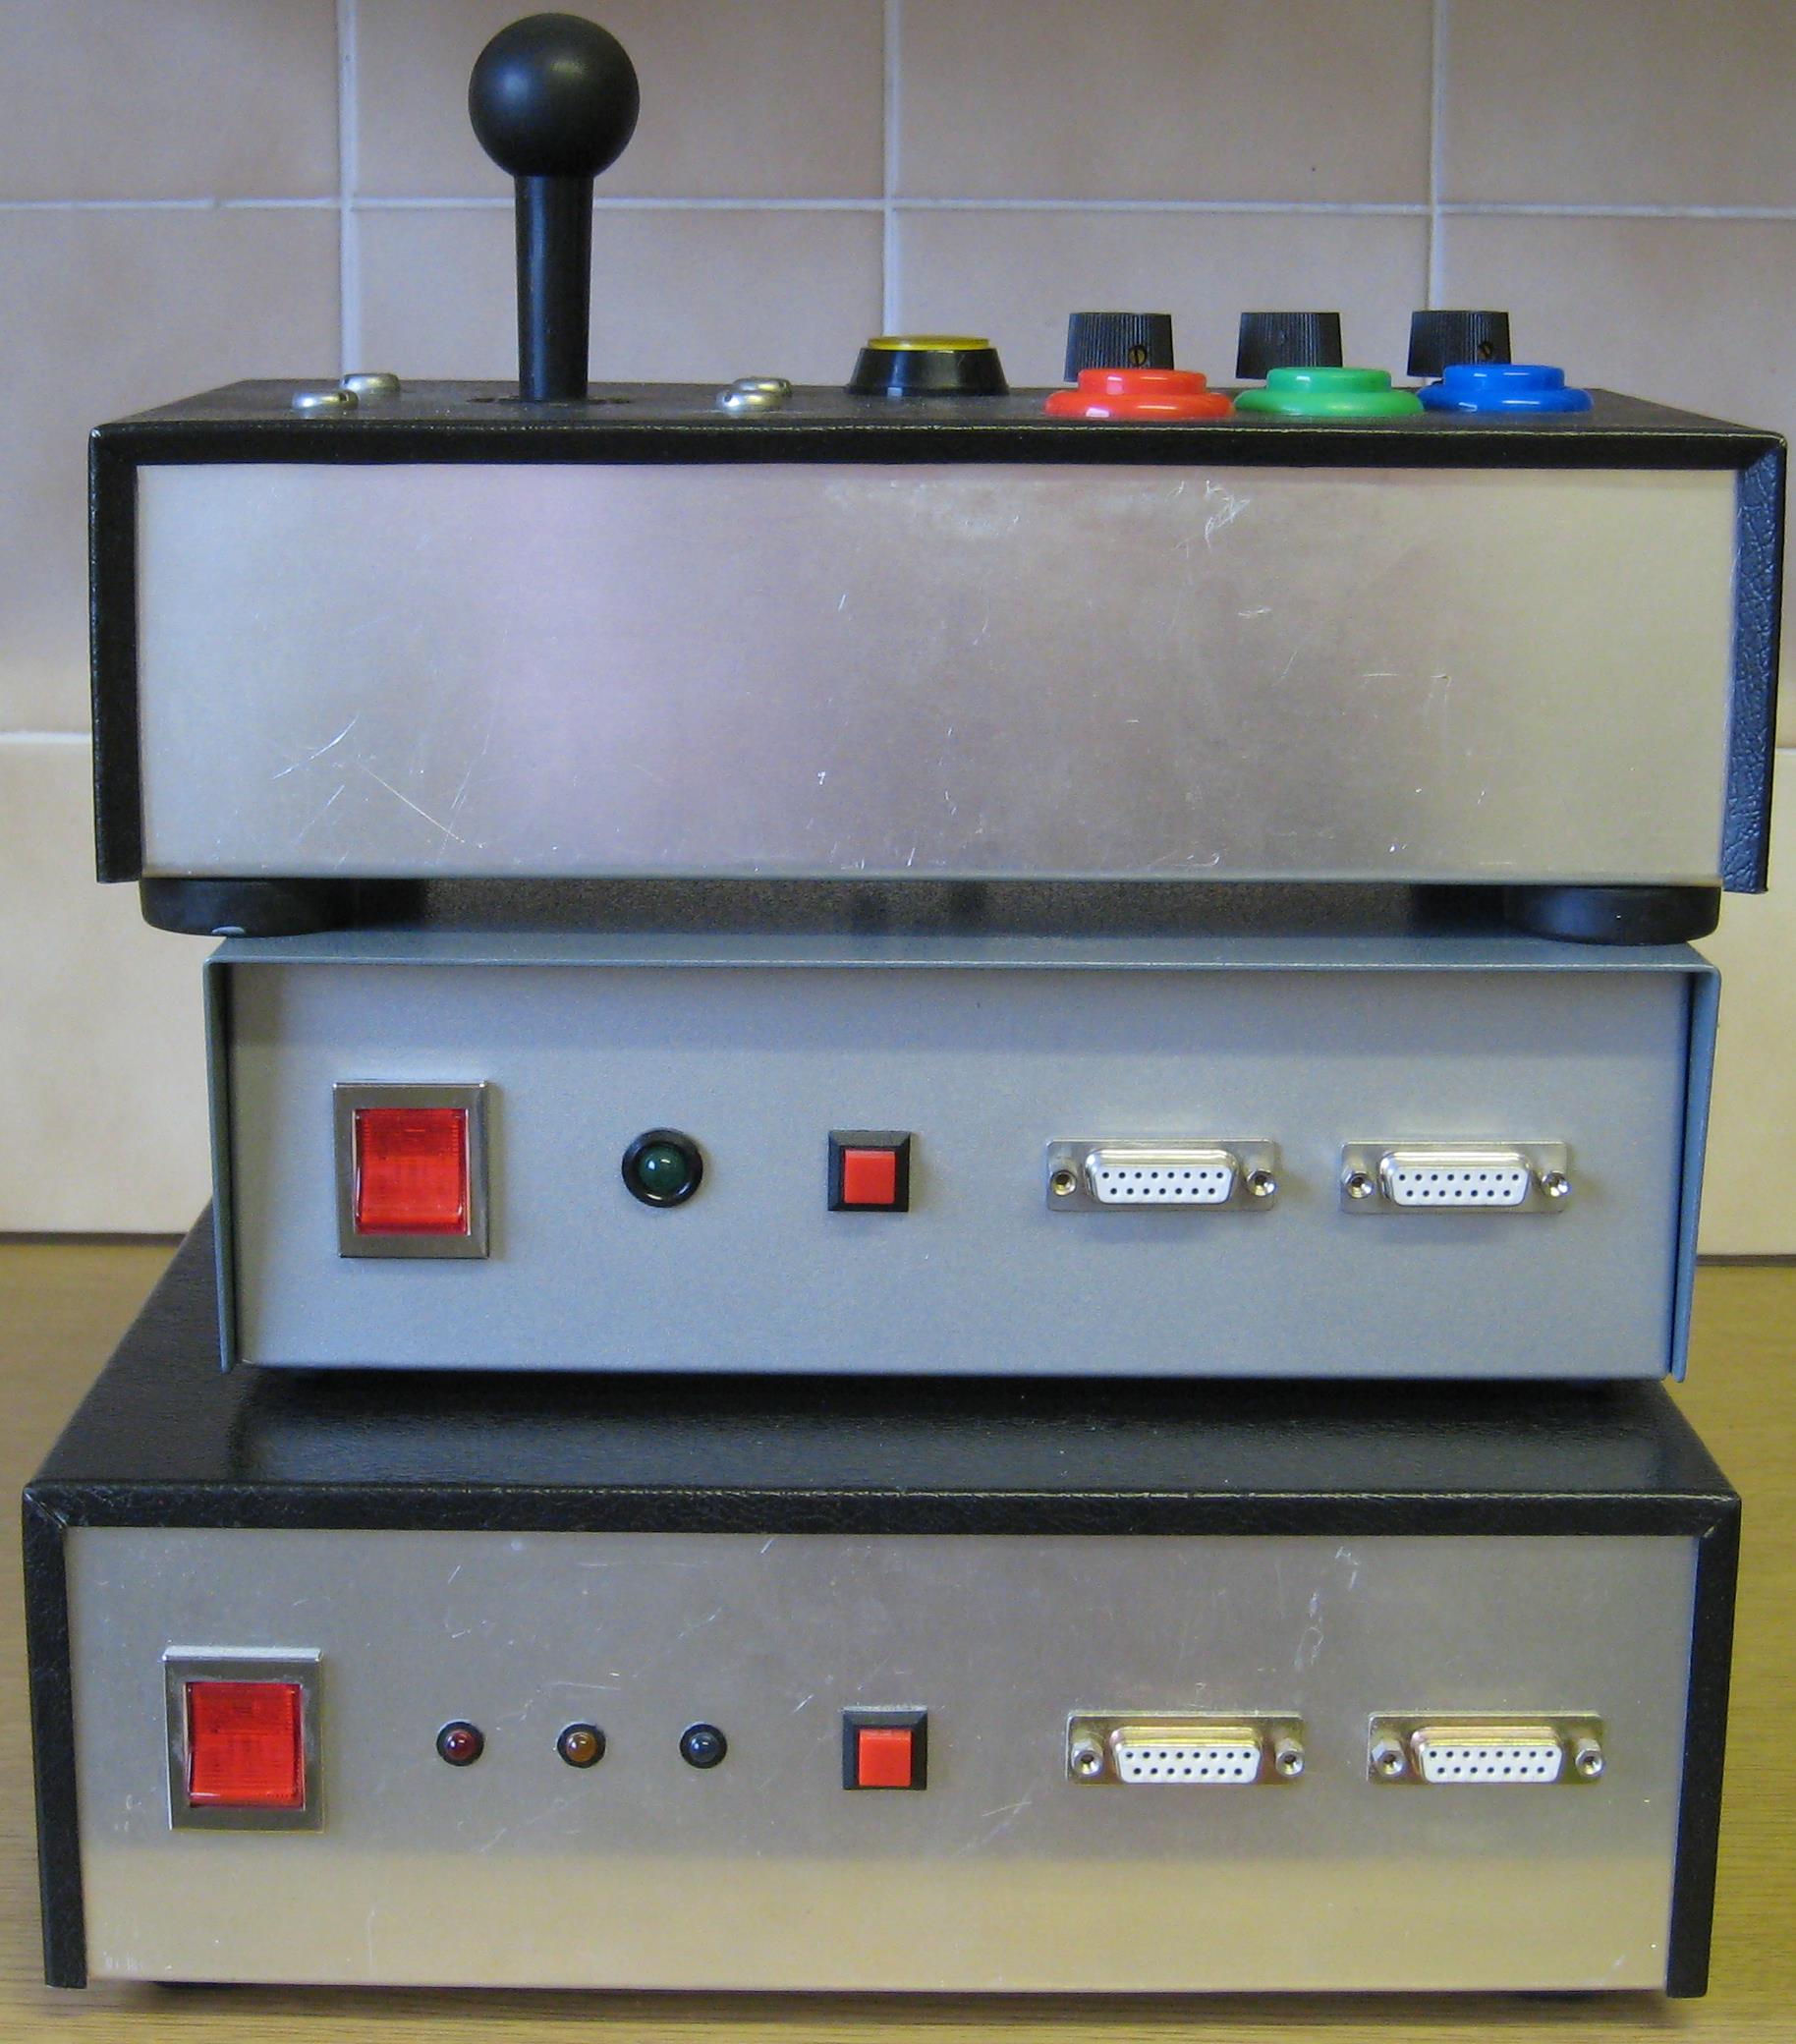
Main Chassis
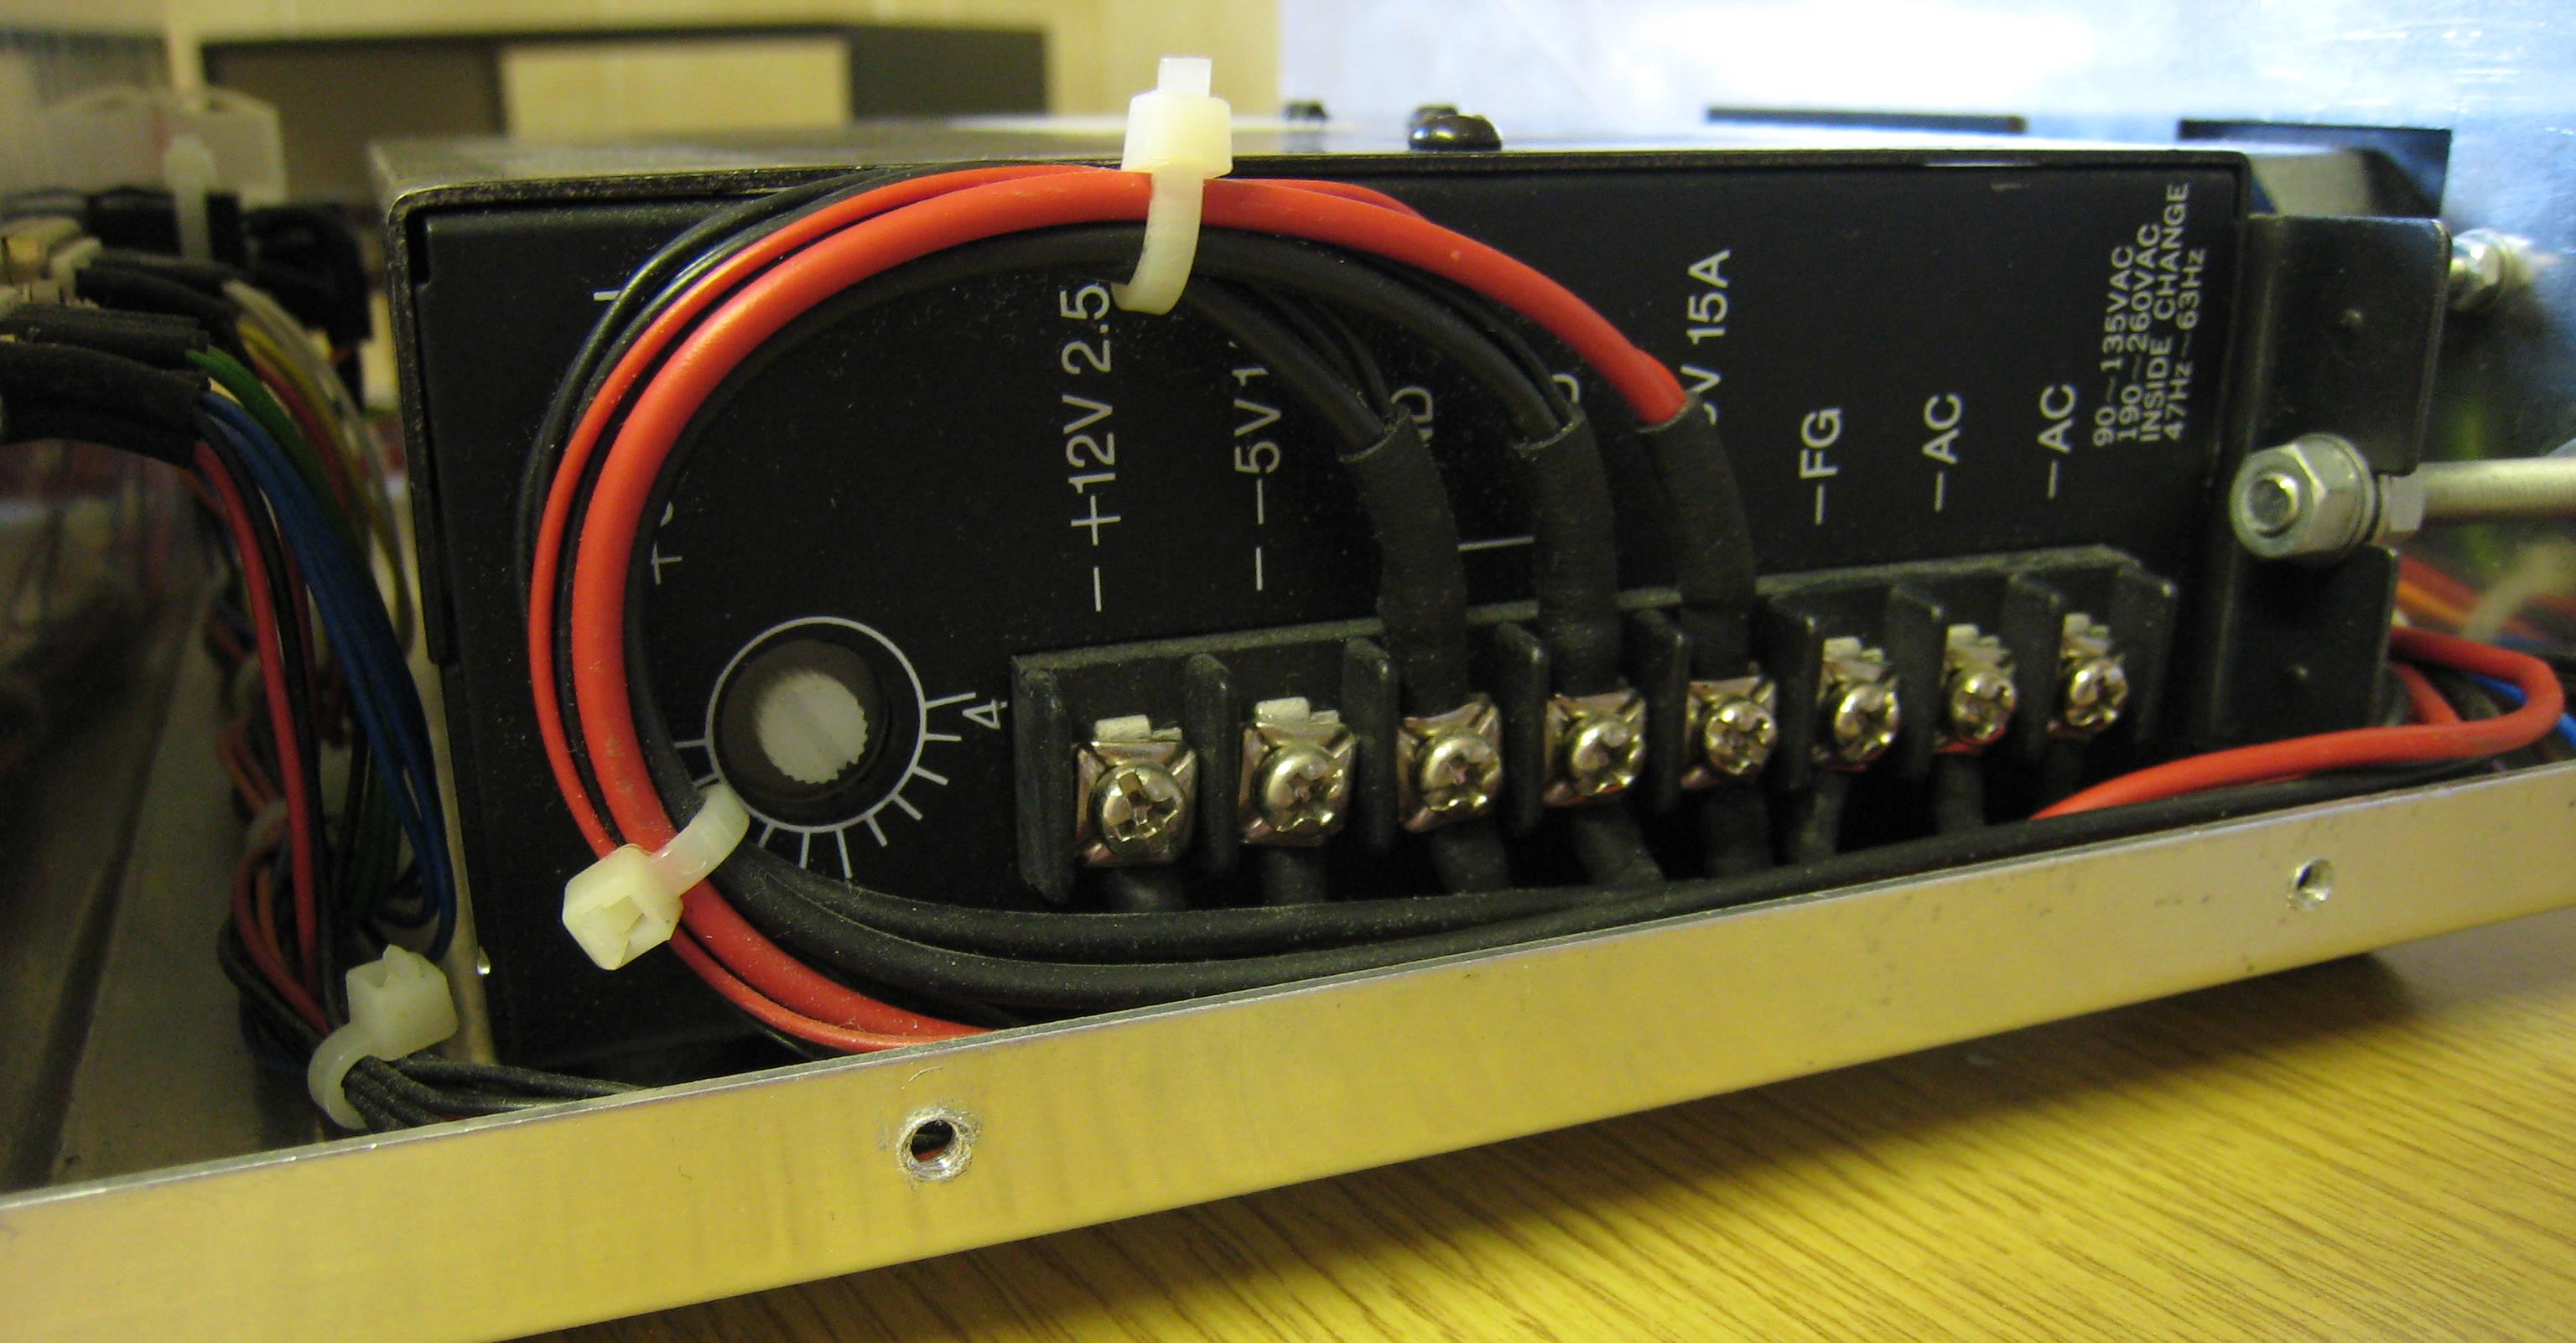
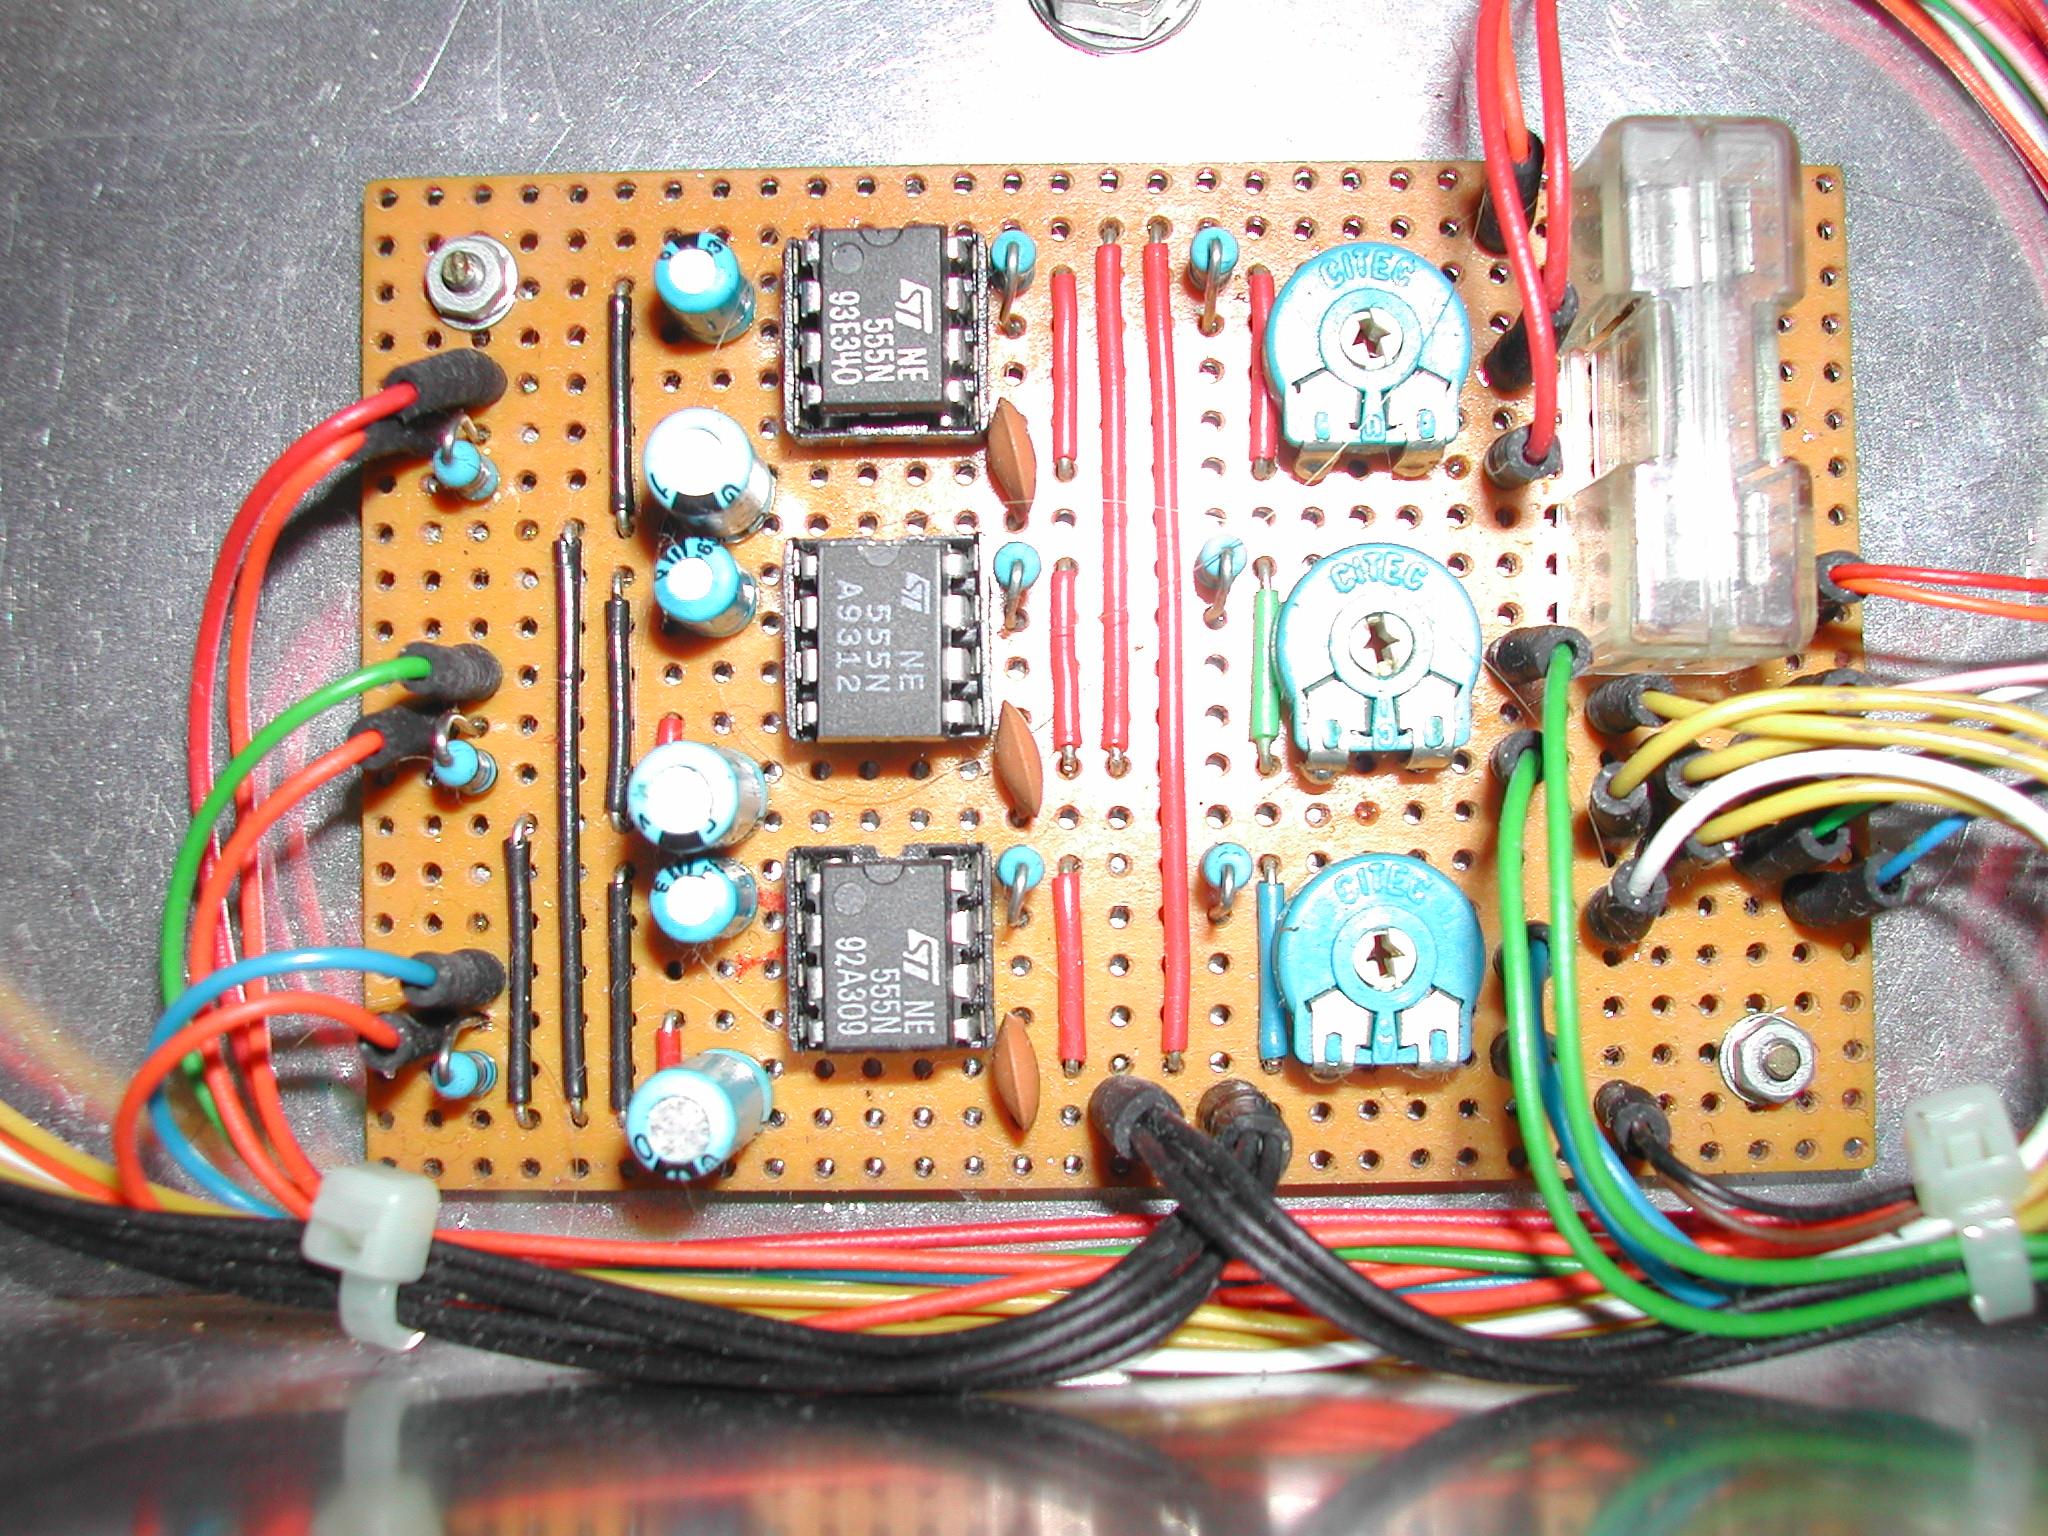
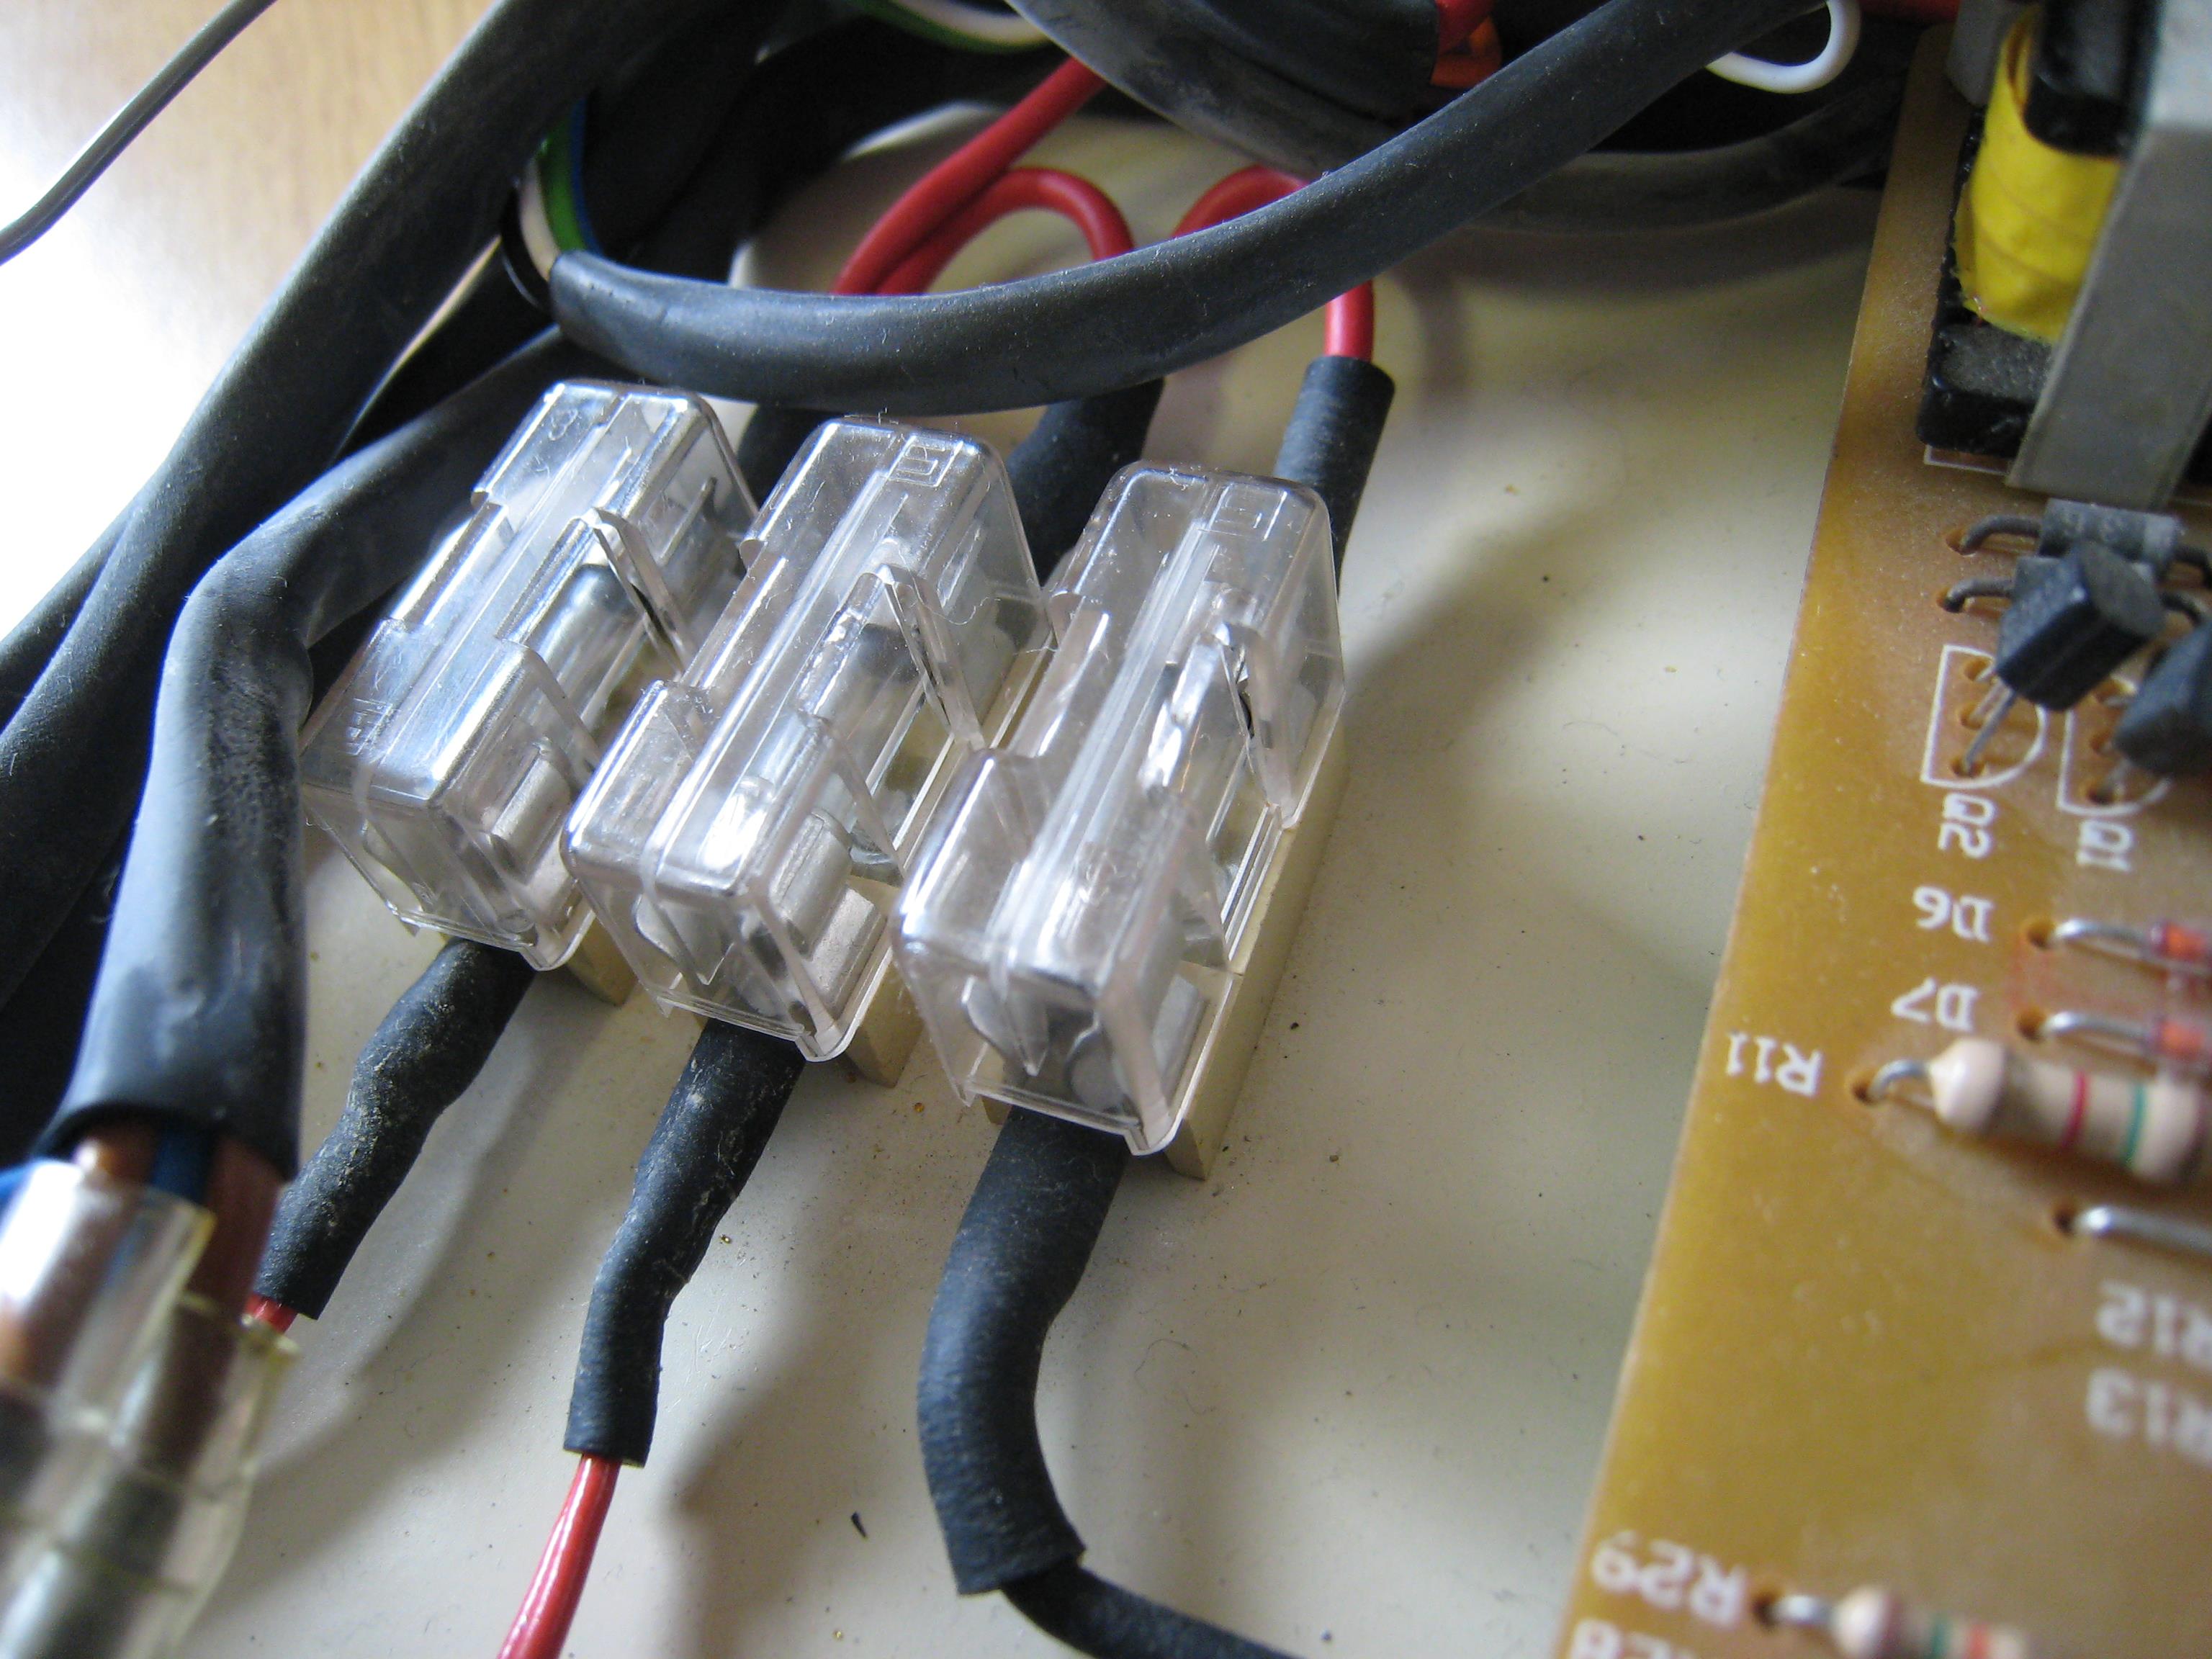
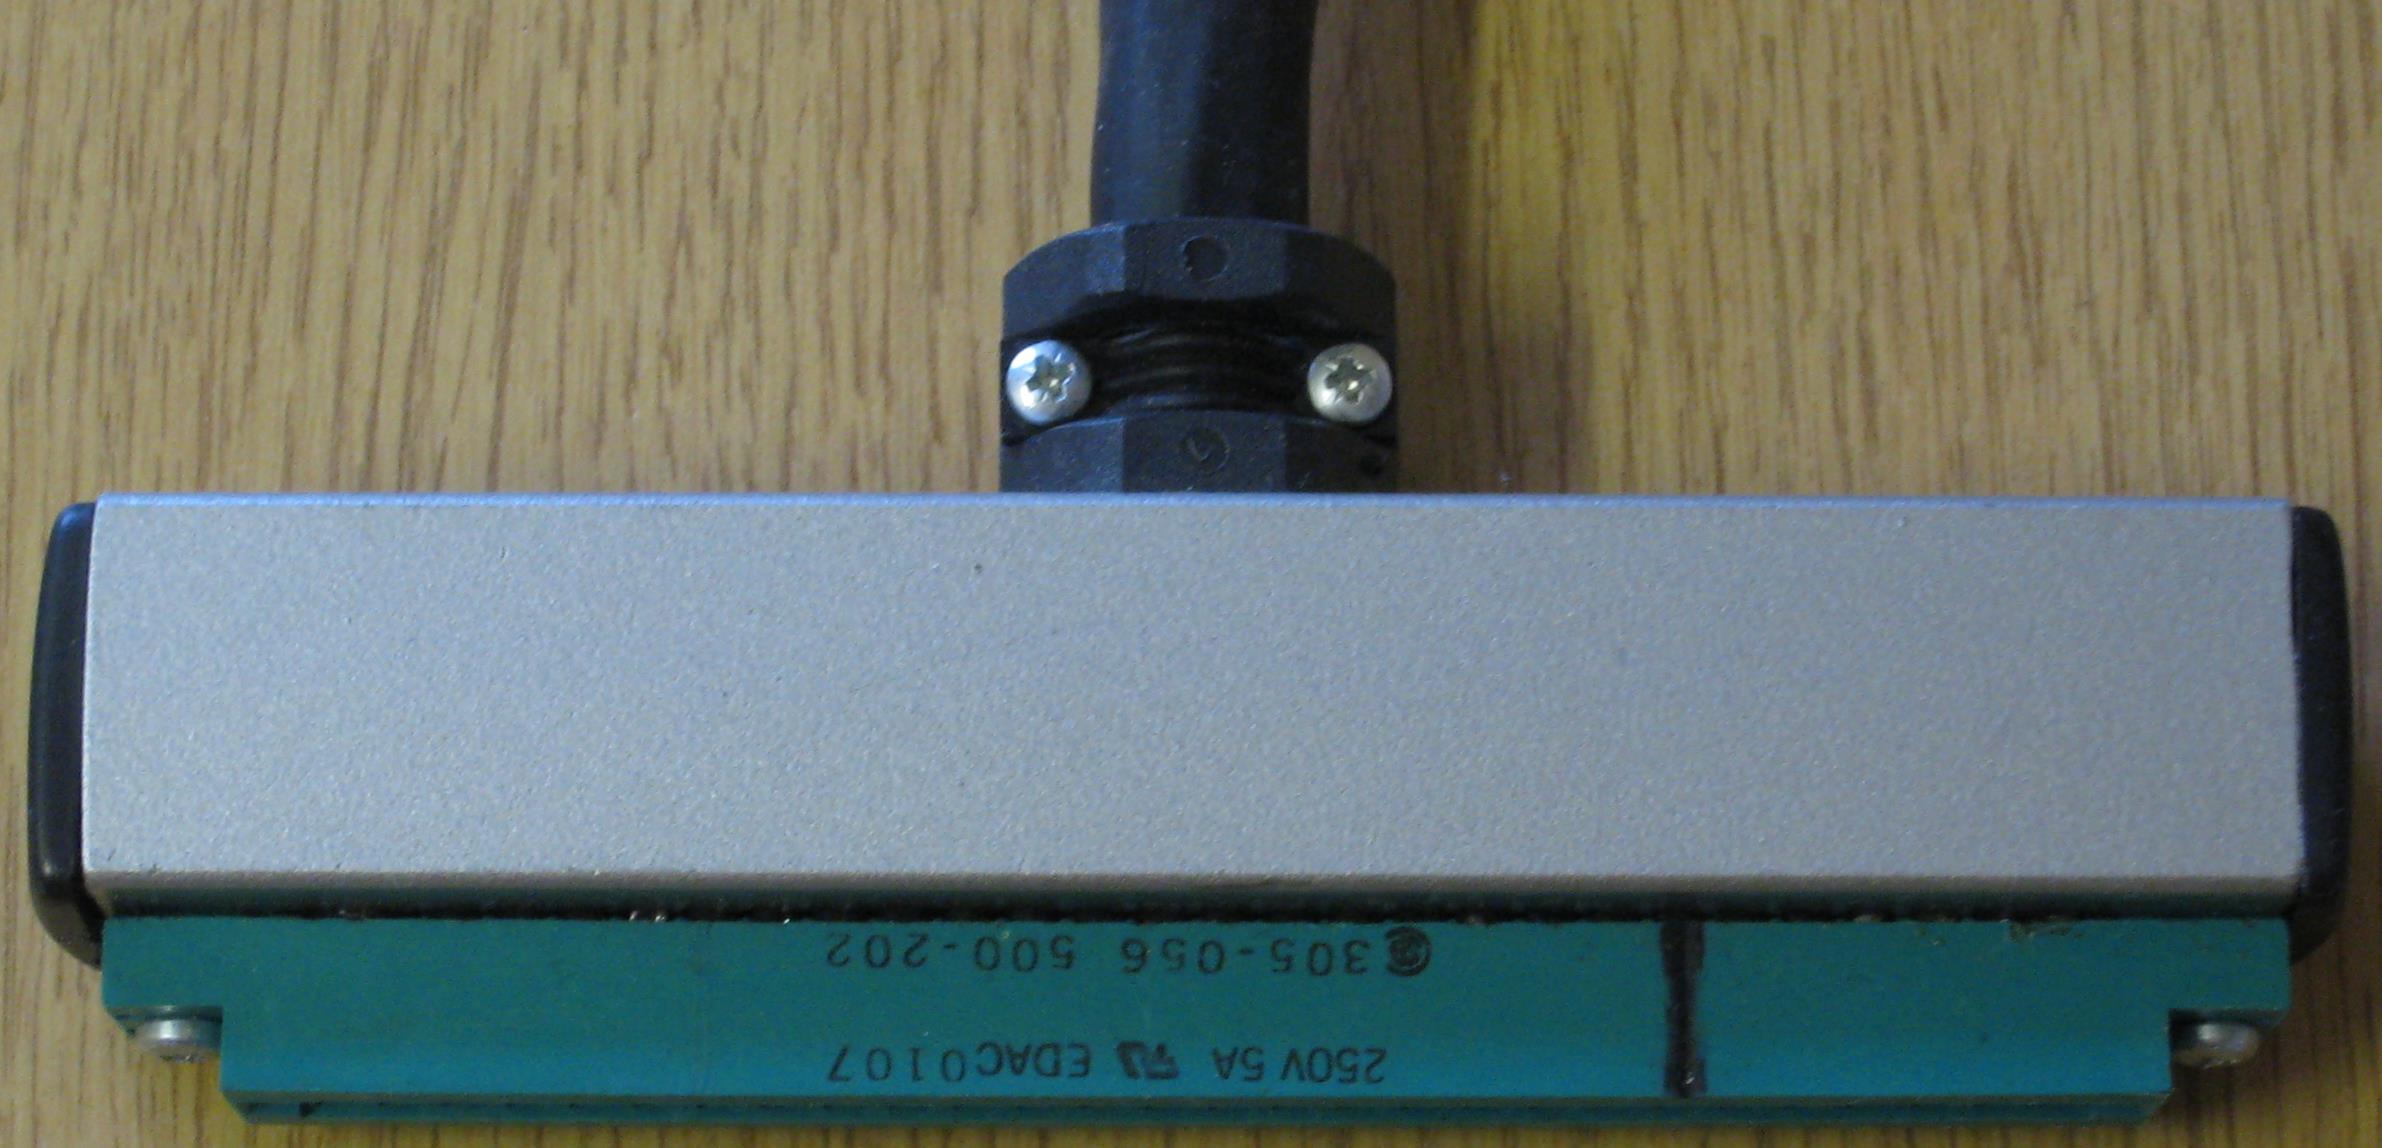
Compact, safety, three fuses for the three voltage lines, three LED's for the three voltages, lighted power switch.
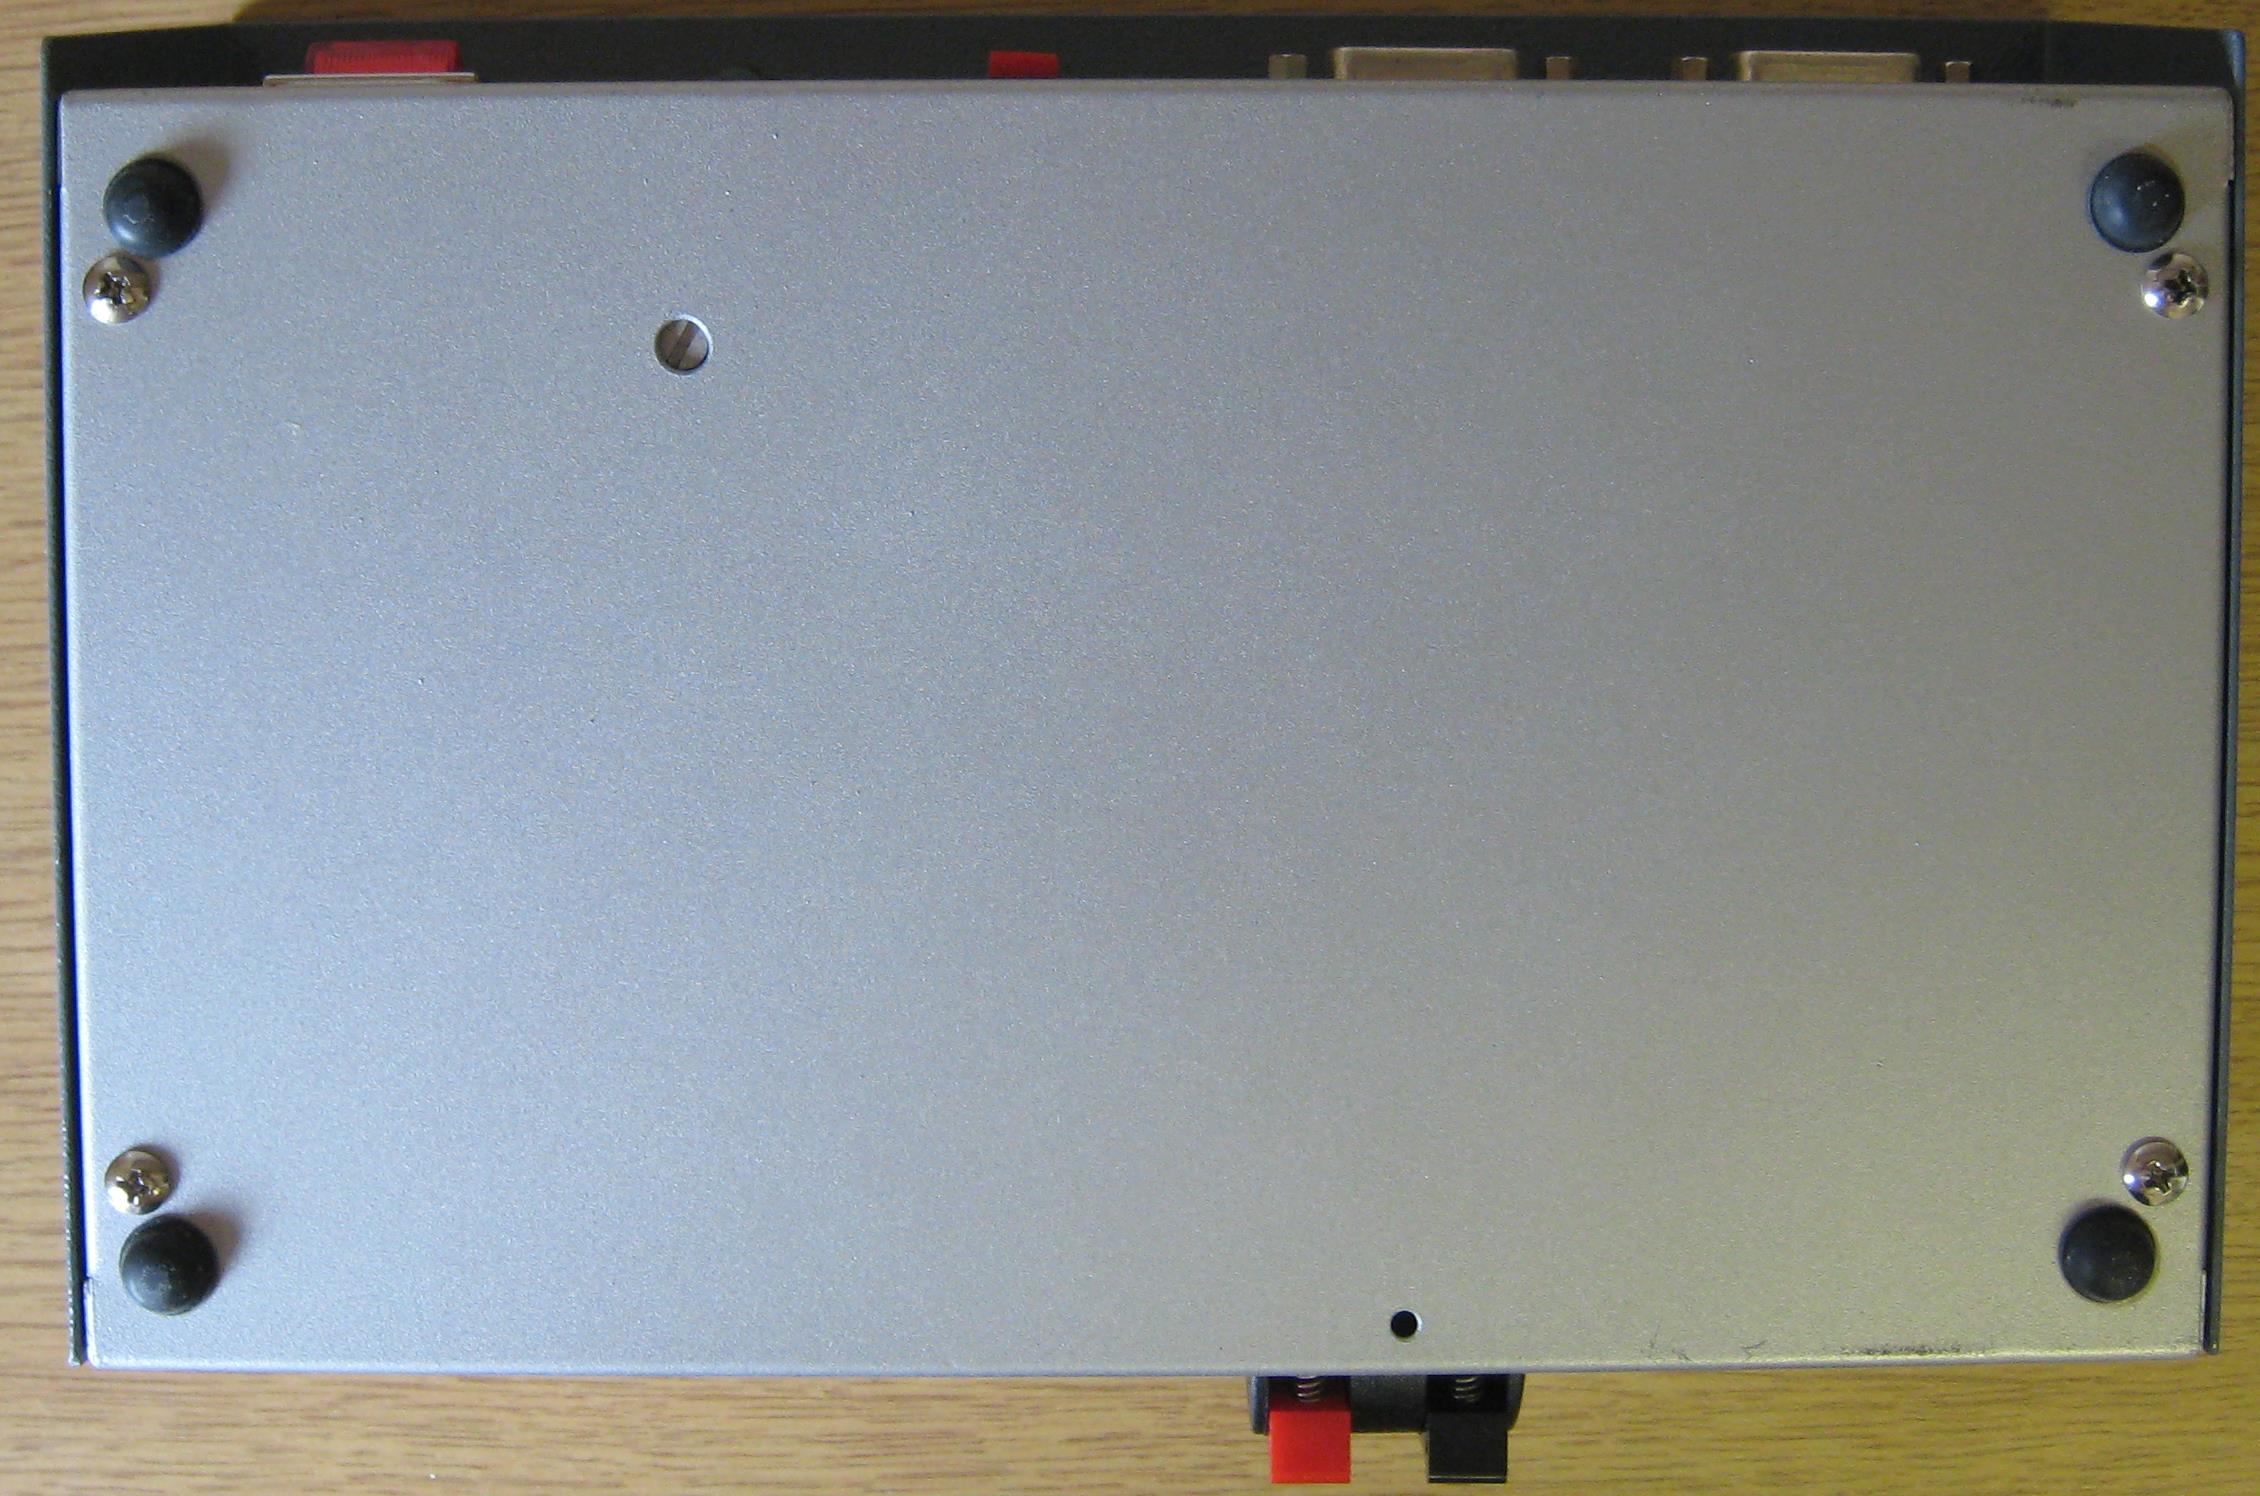
At the time the choice of chassis from Maplins was not that good, this chassis was chosen but is a little bigger than what's required, as you can see there is quite a lot of blank space inside.


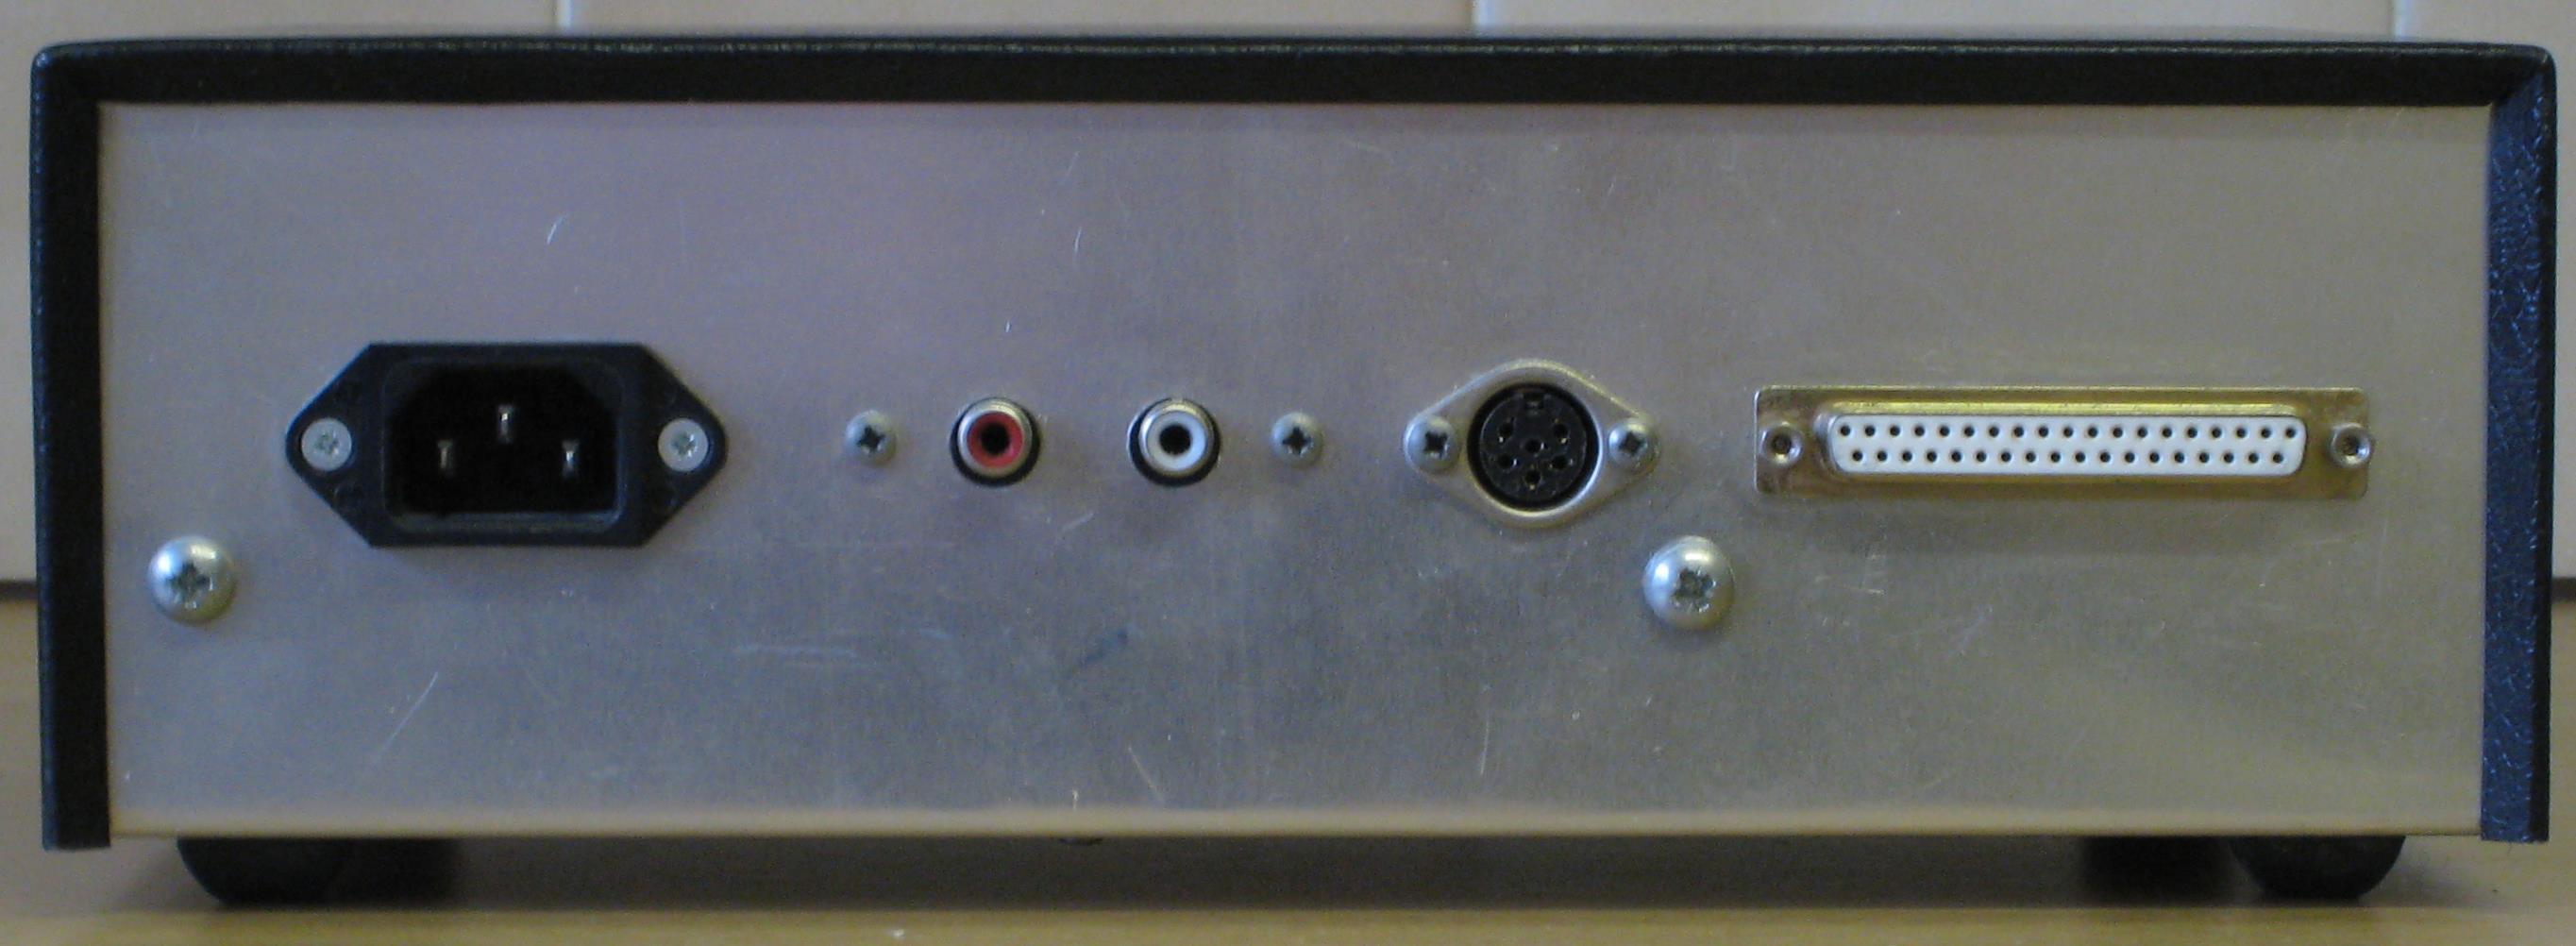


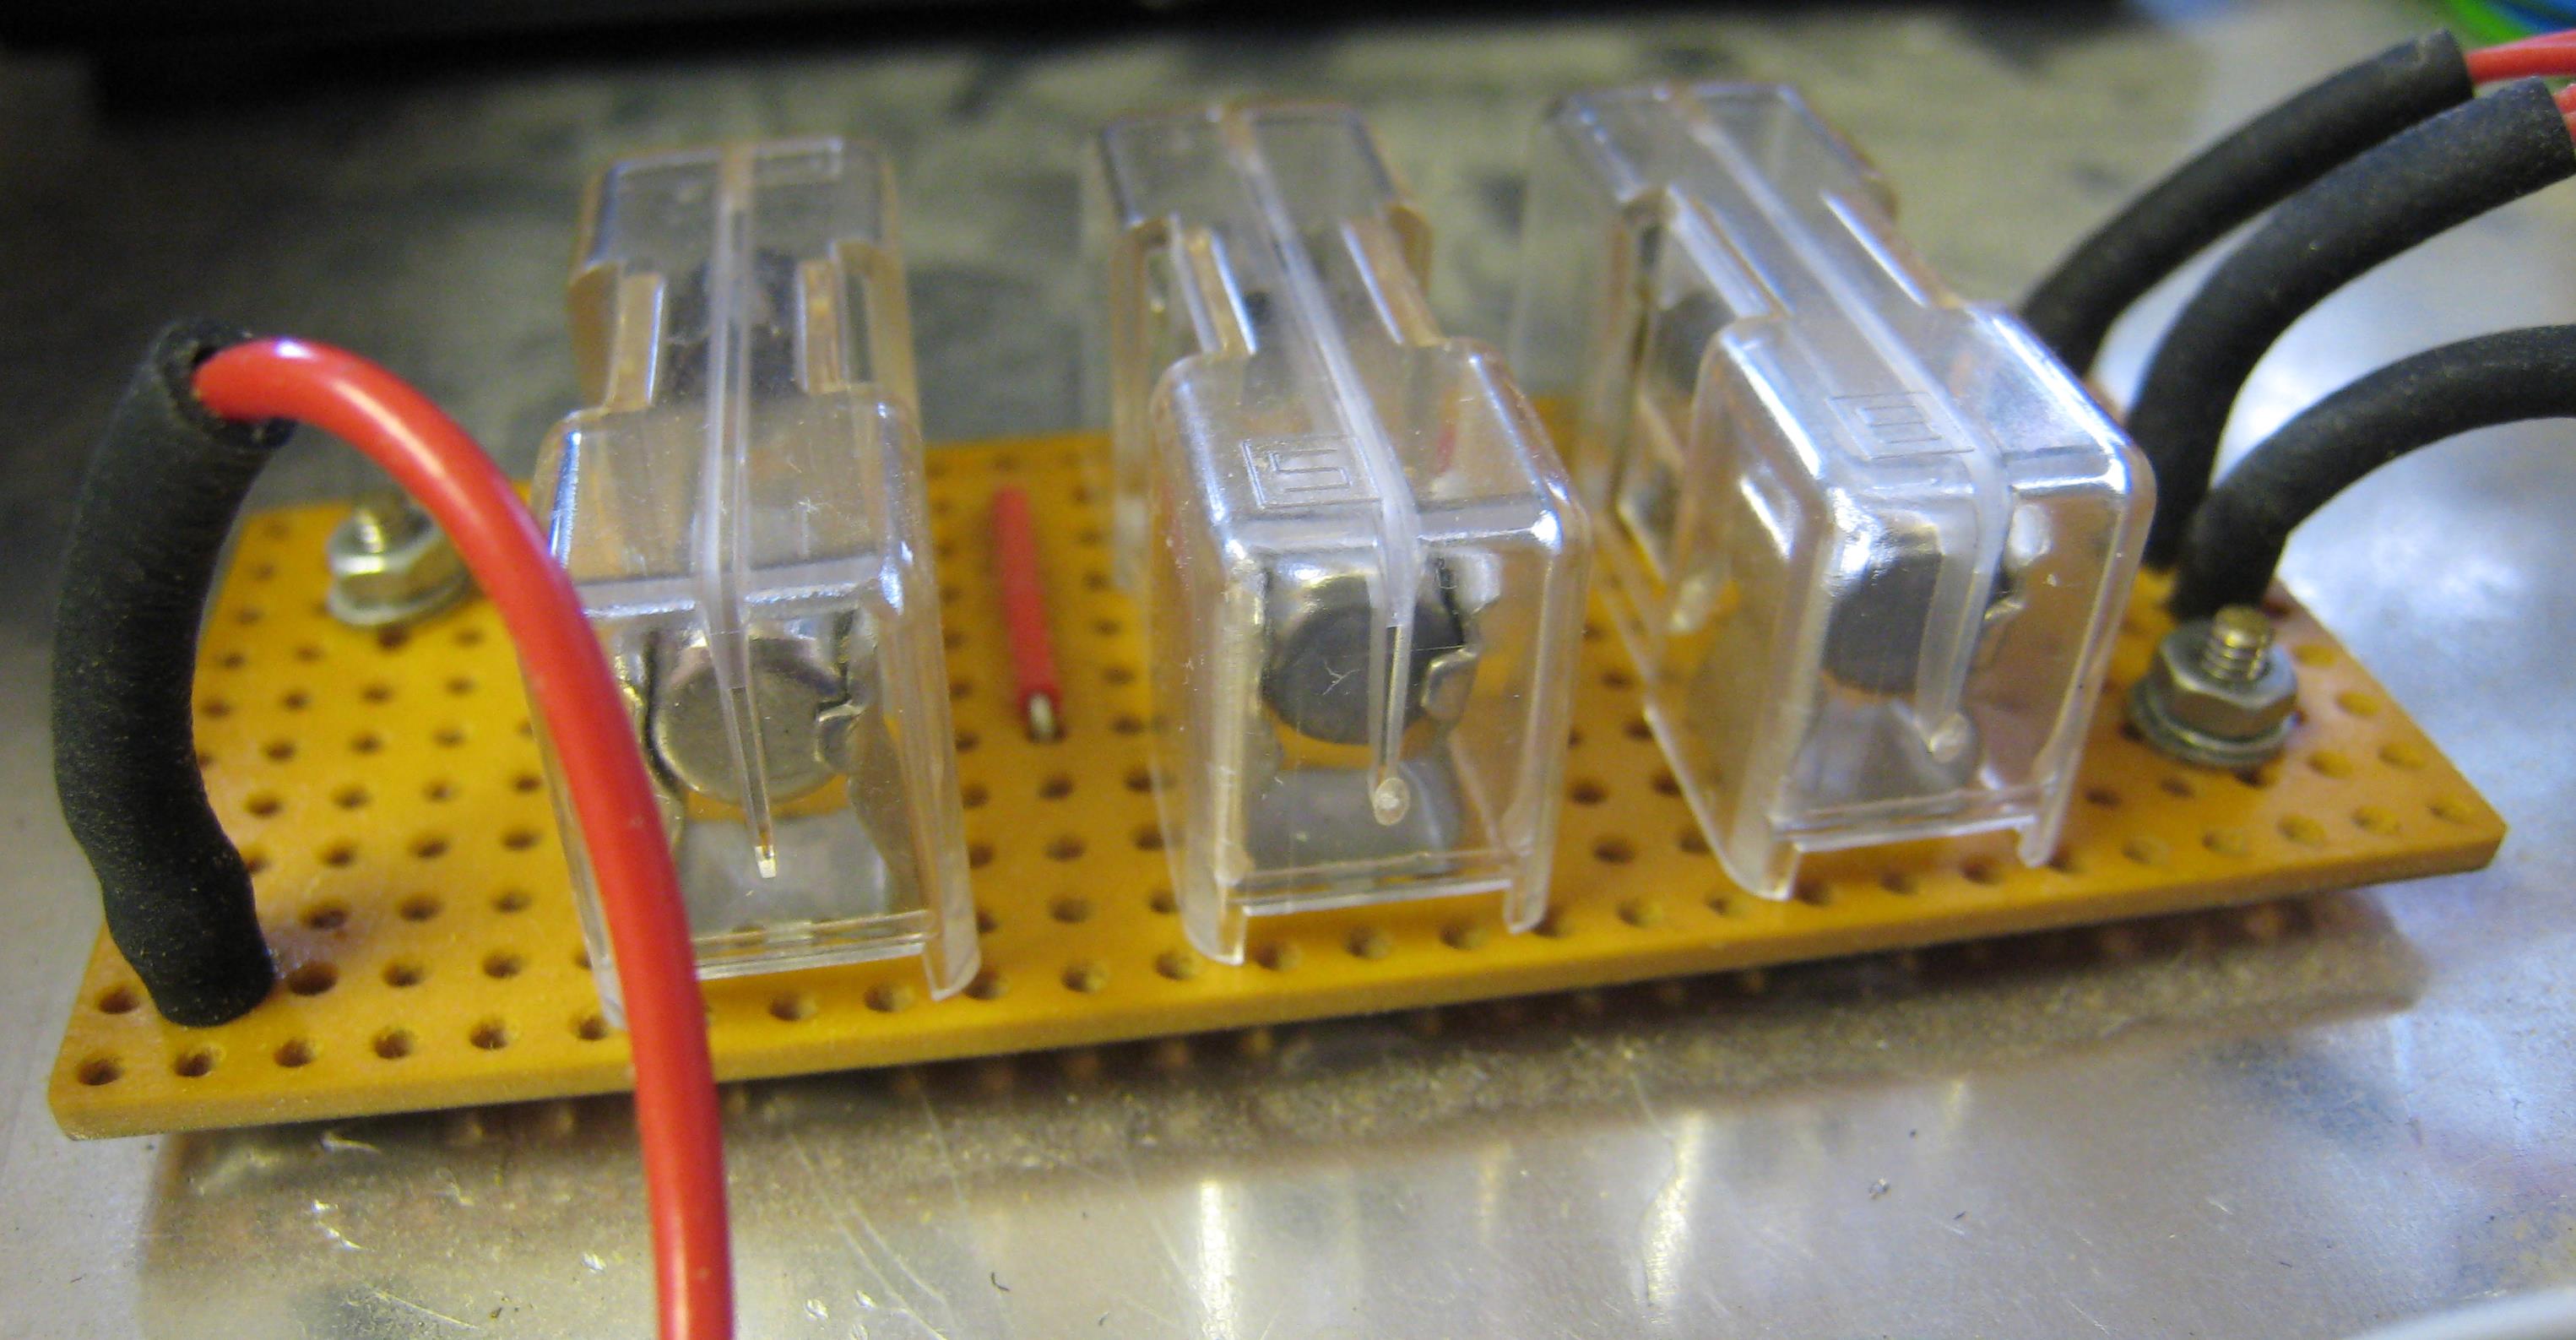

List of components used
Illuminated Power Switch
Three LED's (5v,12v, ?v)
One Player Insert Coin Button
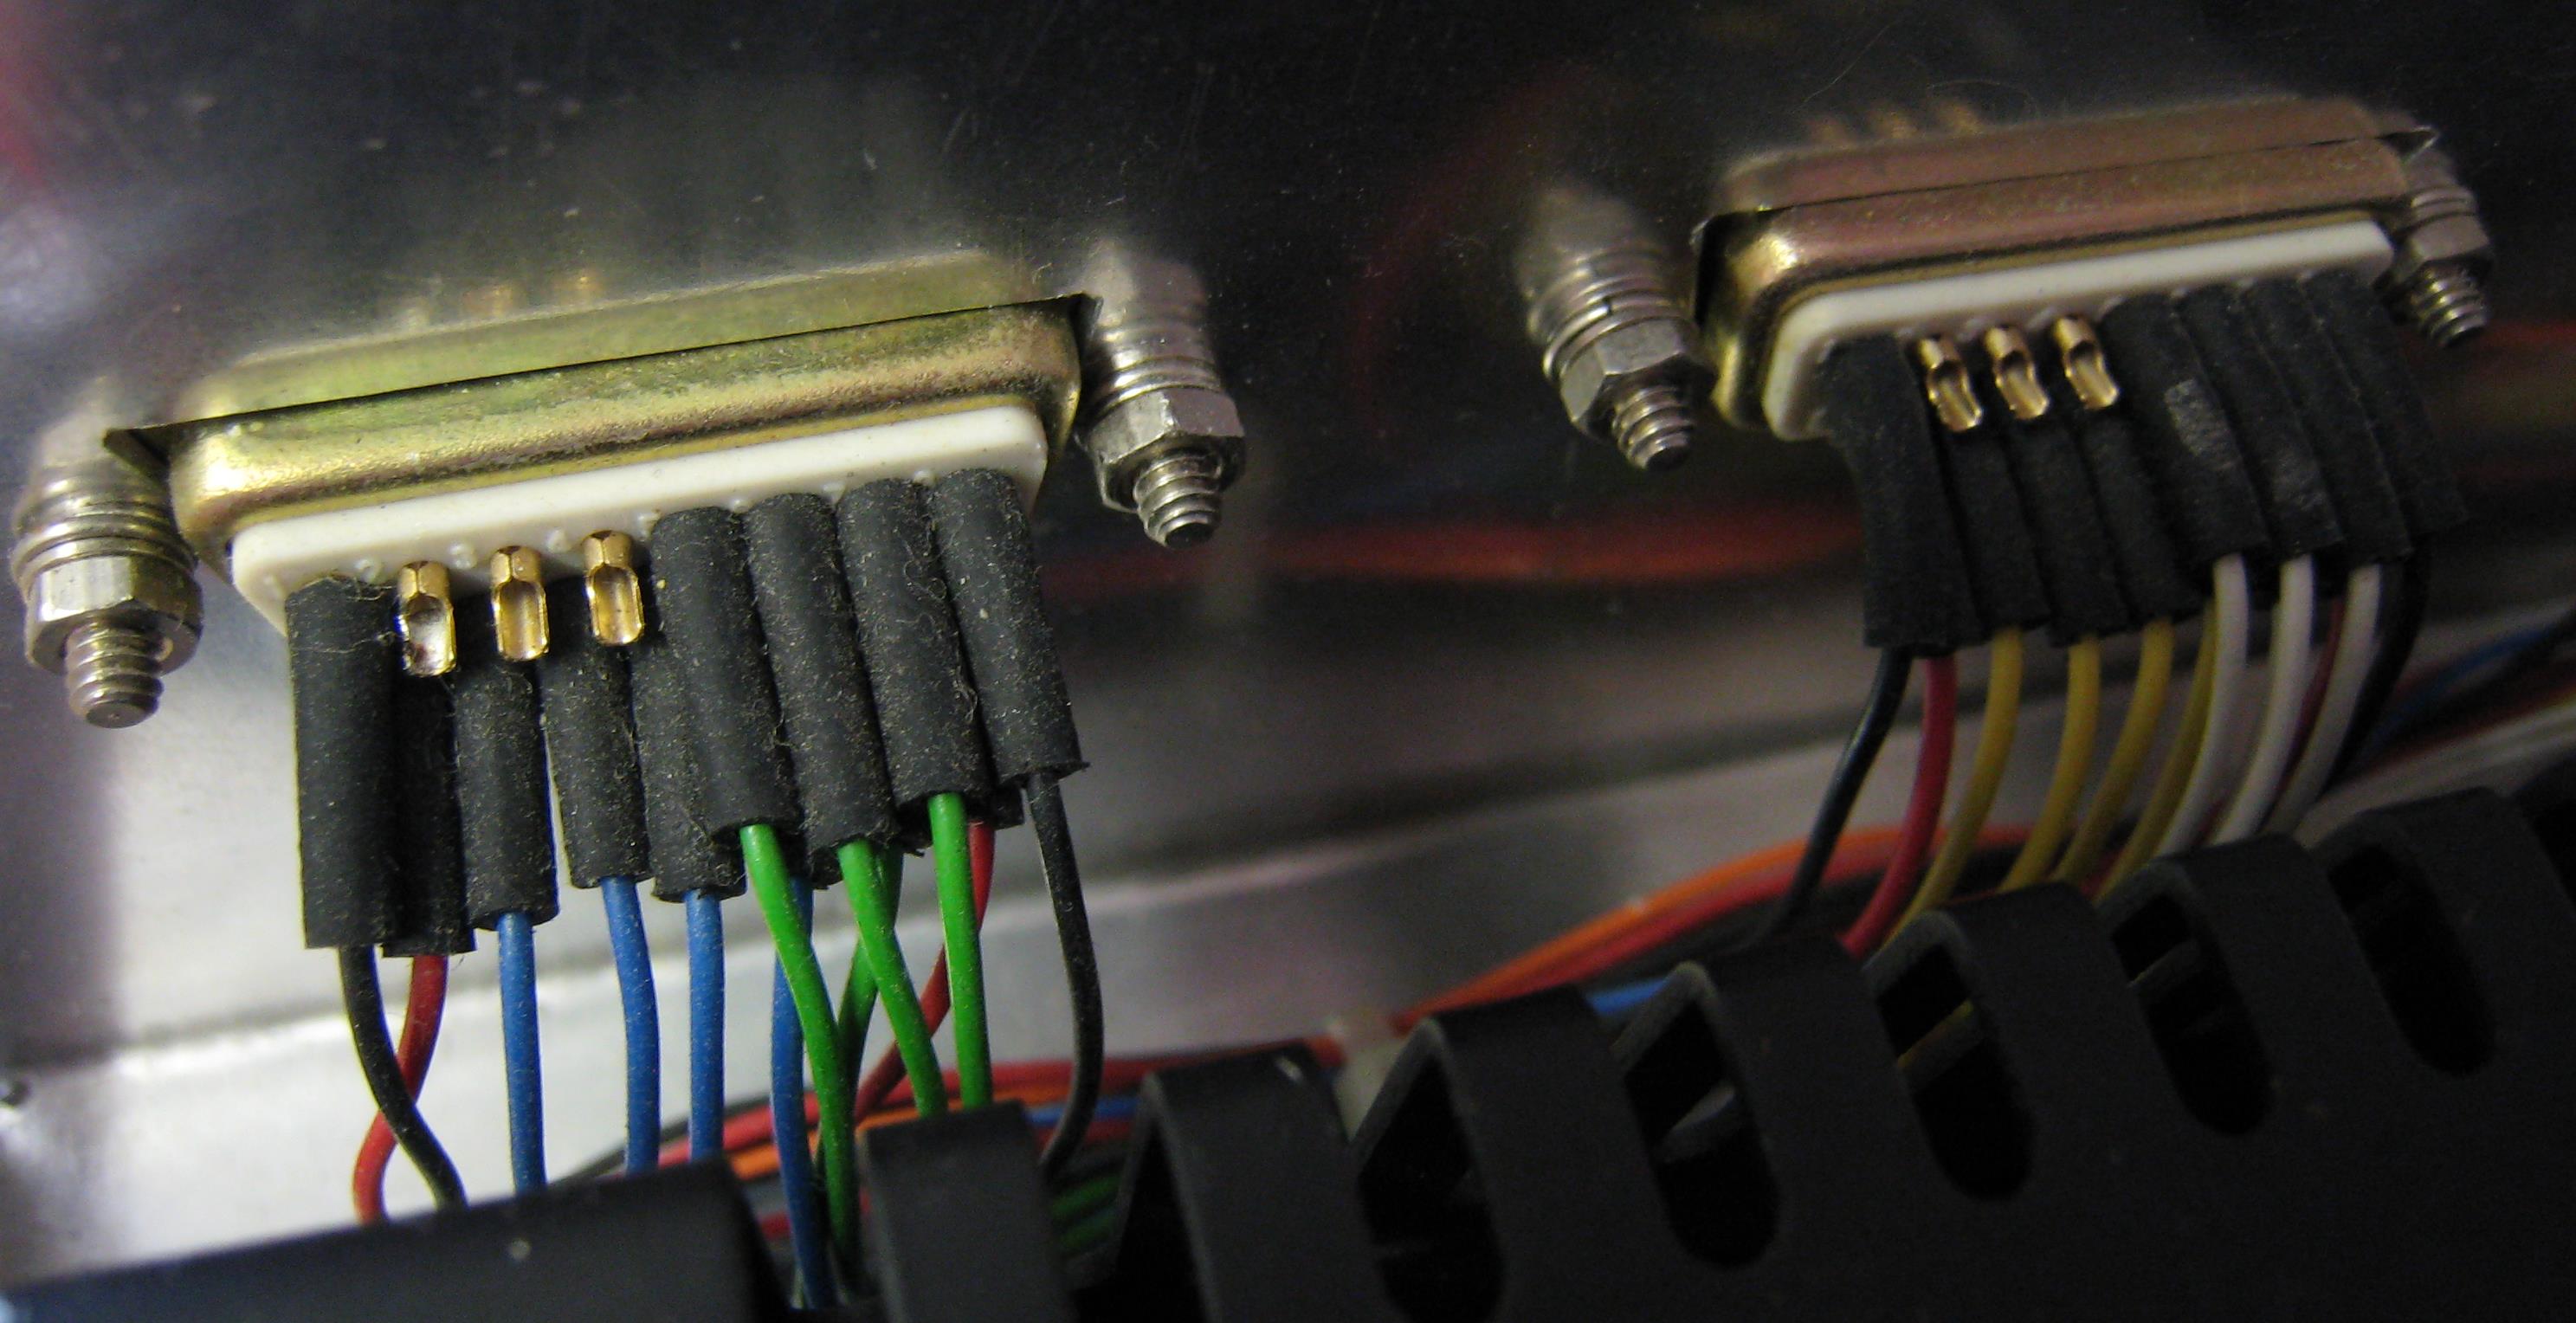
15 Pin D-Sub (P1 Joystick Inputs)
15 Pin D-Sub (P2 Joystick Inputs)
Male Kettle socket
Two Female Phono sockets
6 Pin DIN Socket
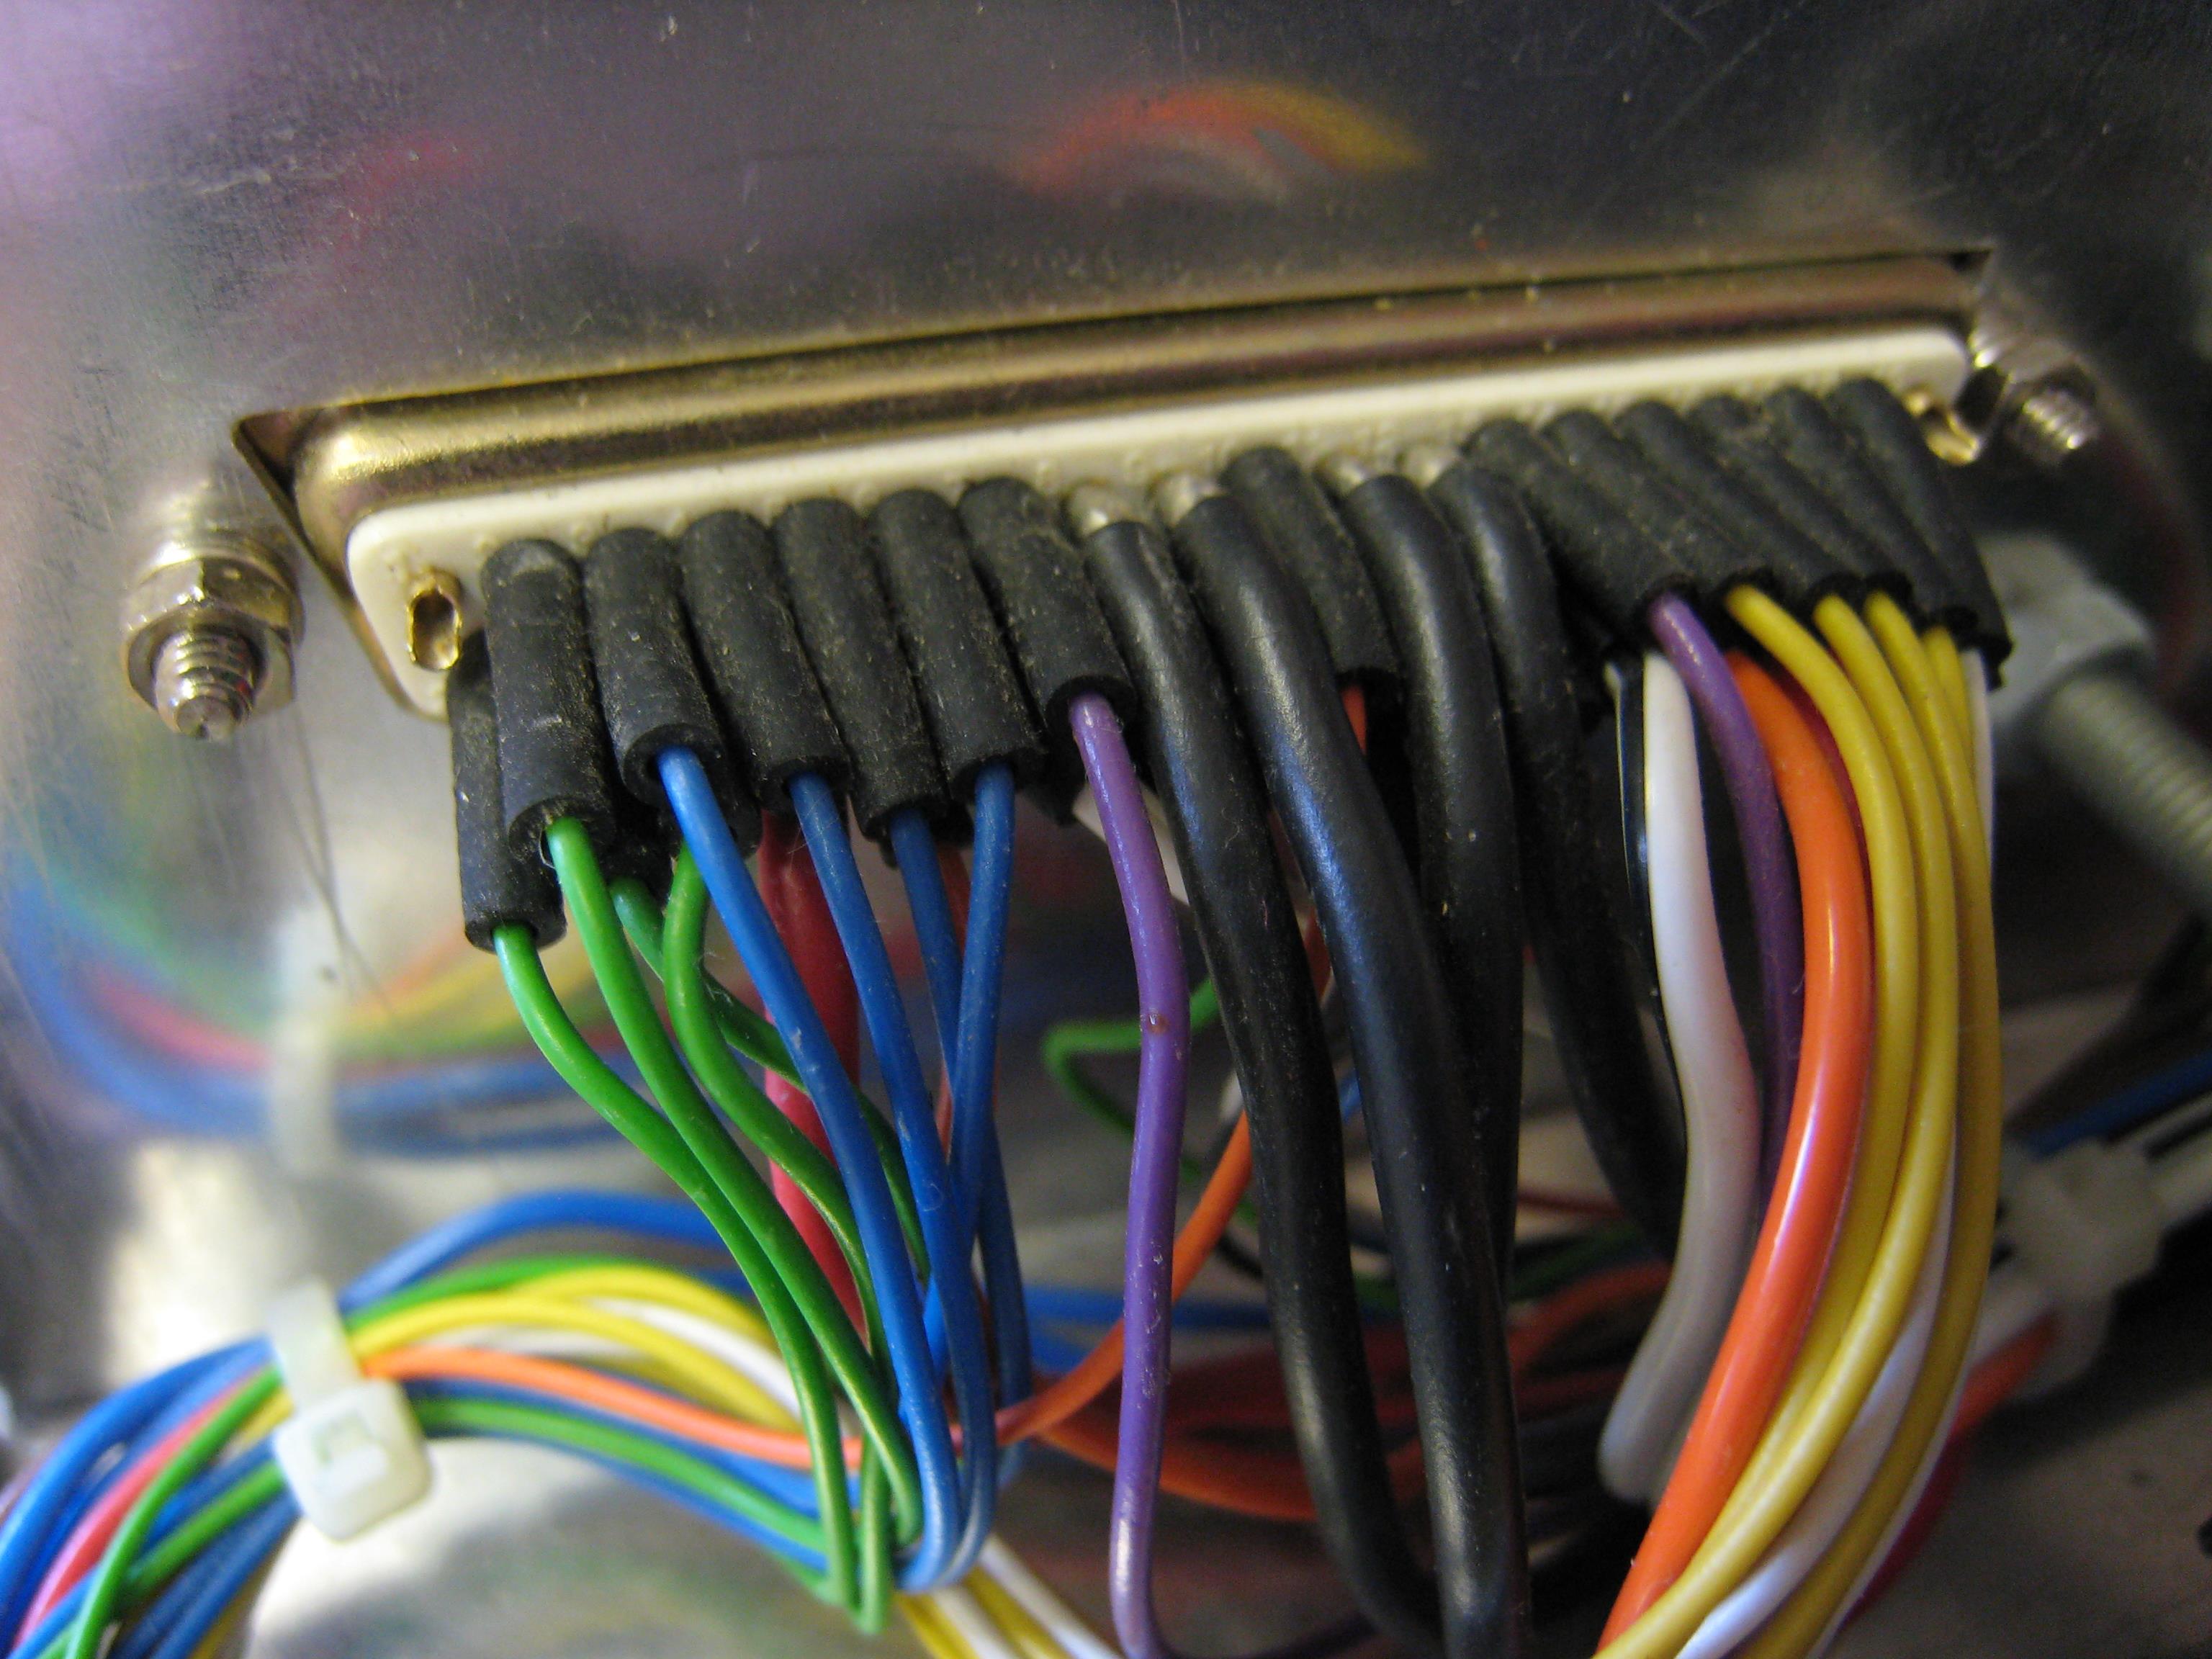
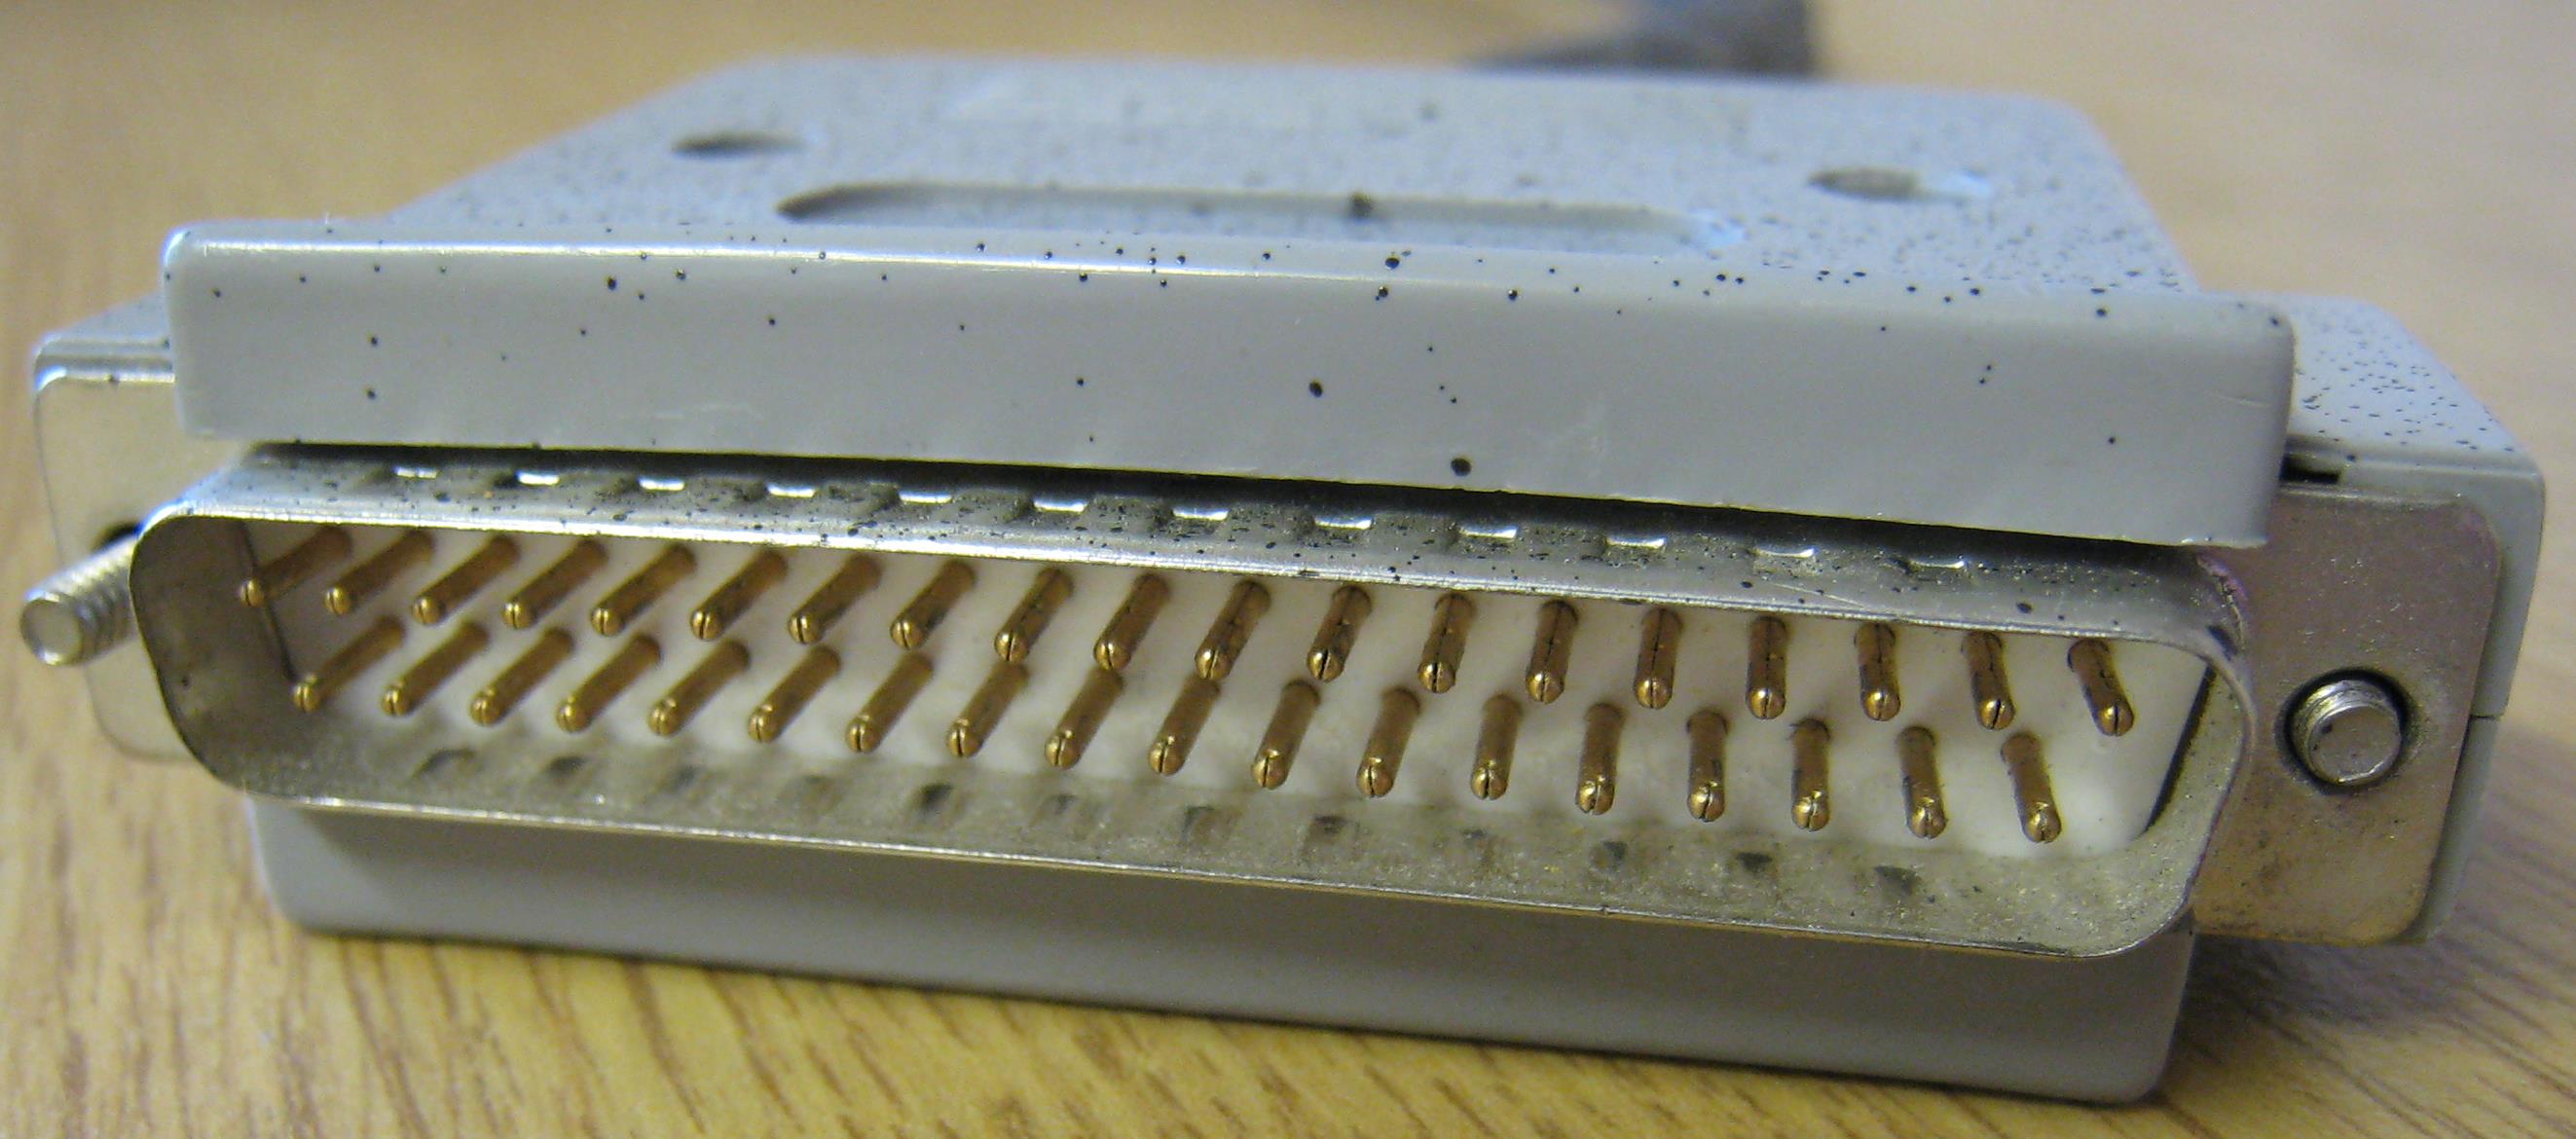
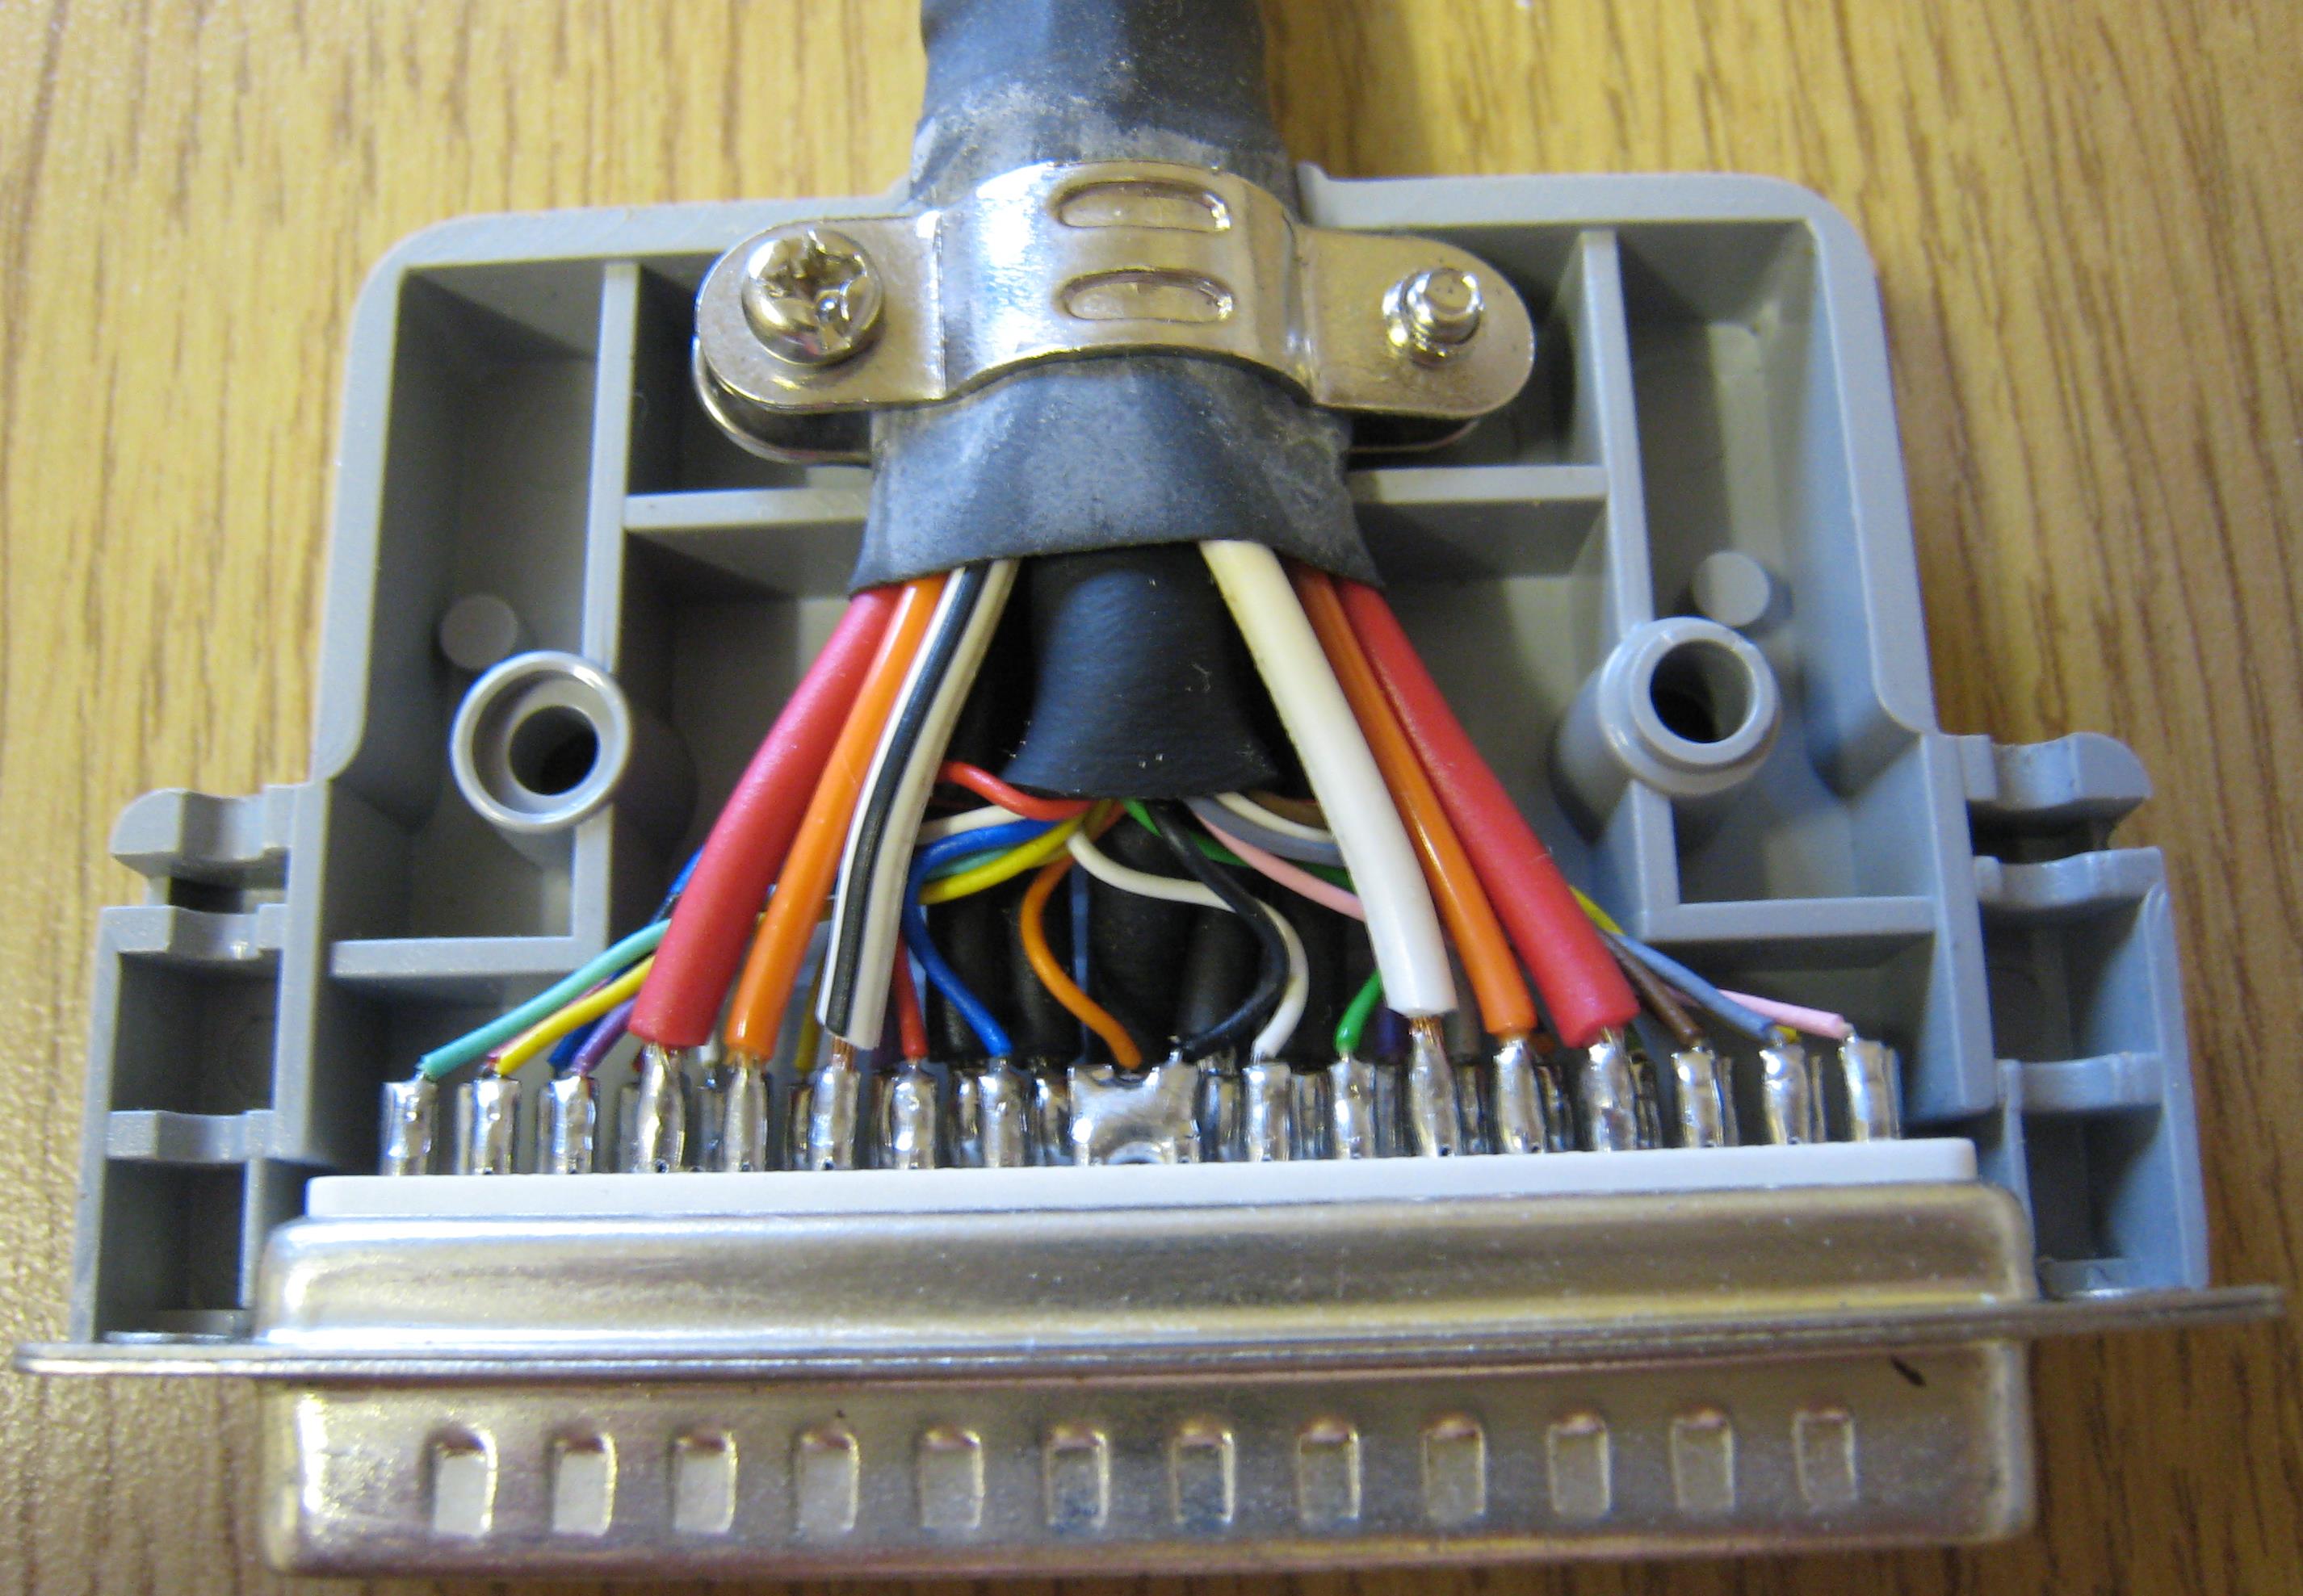
37 Pin D-Shell (JAMMA Input)
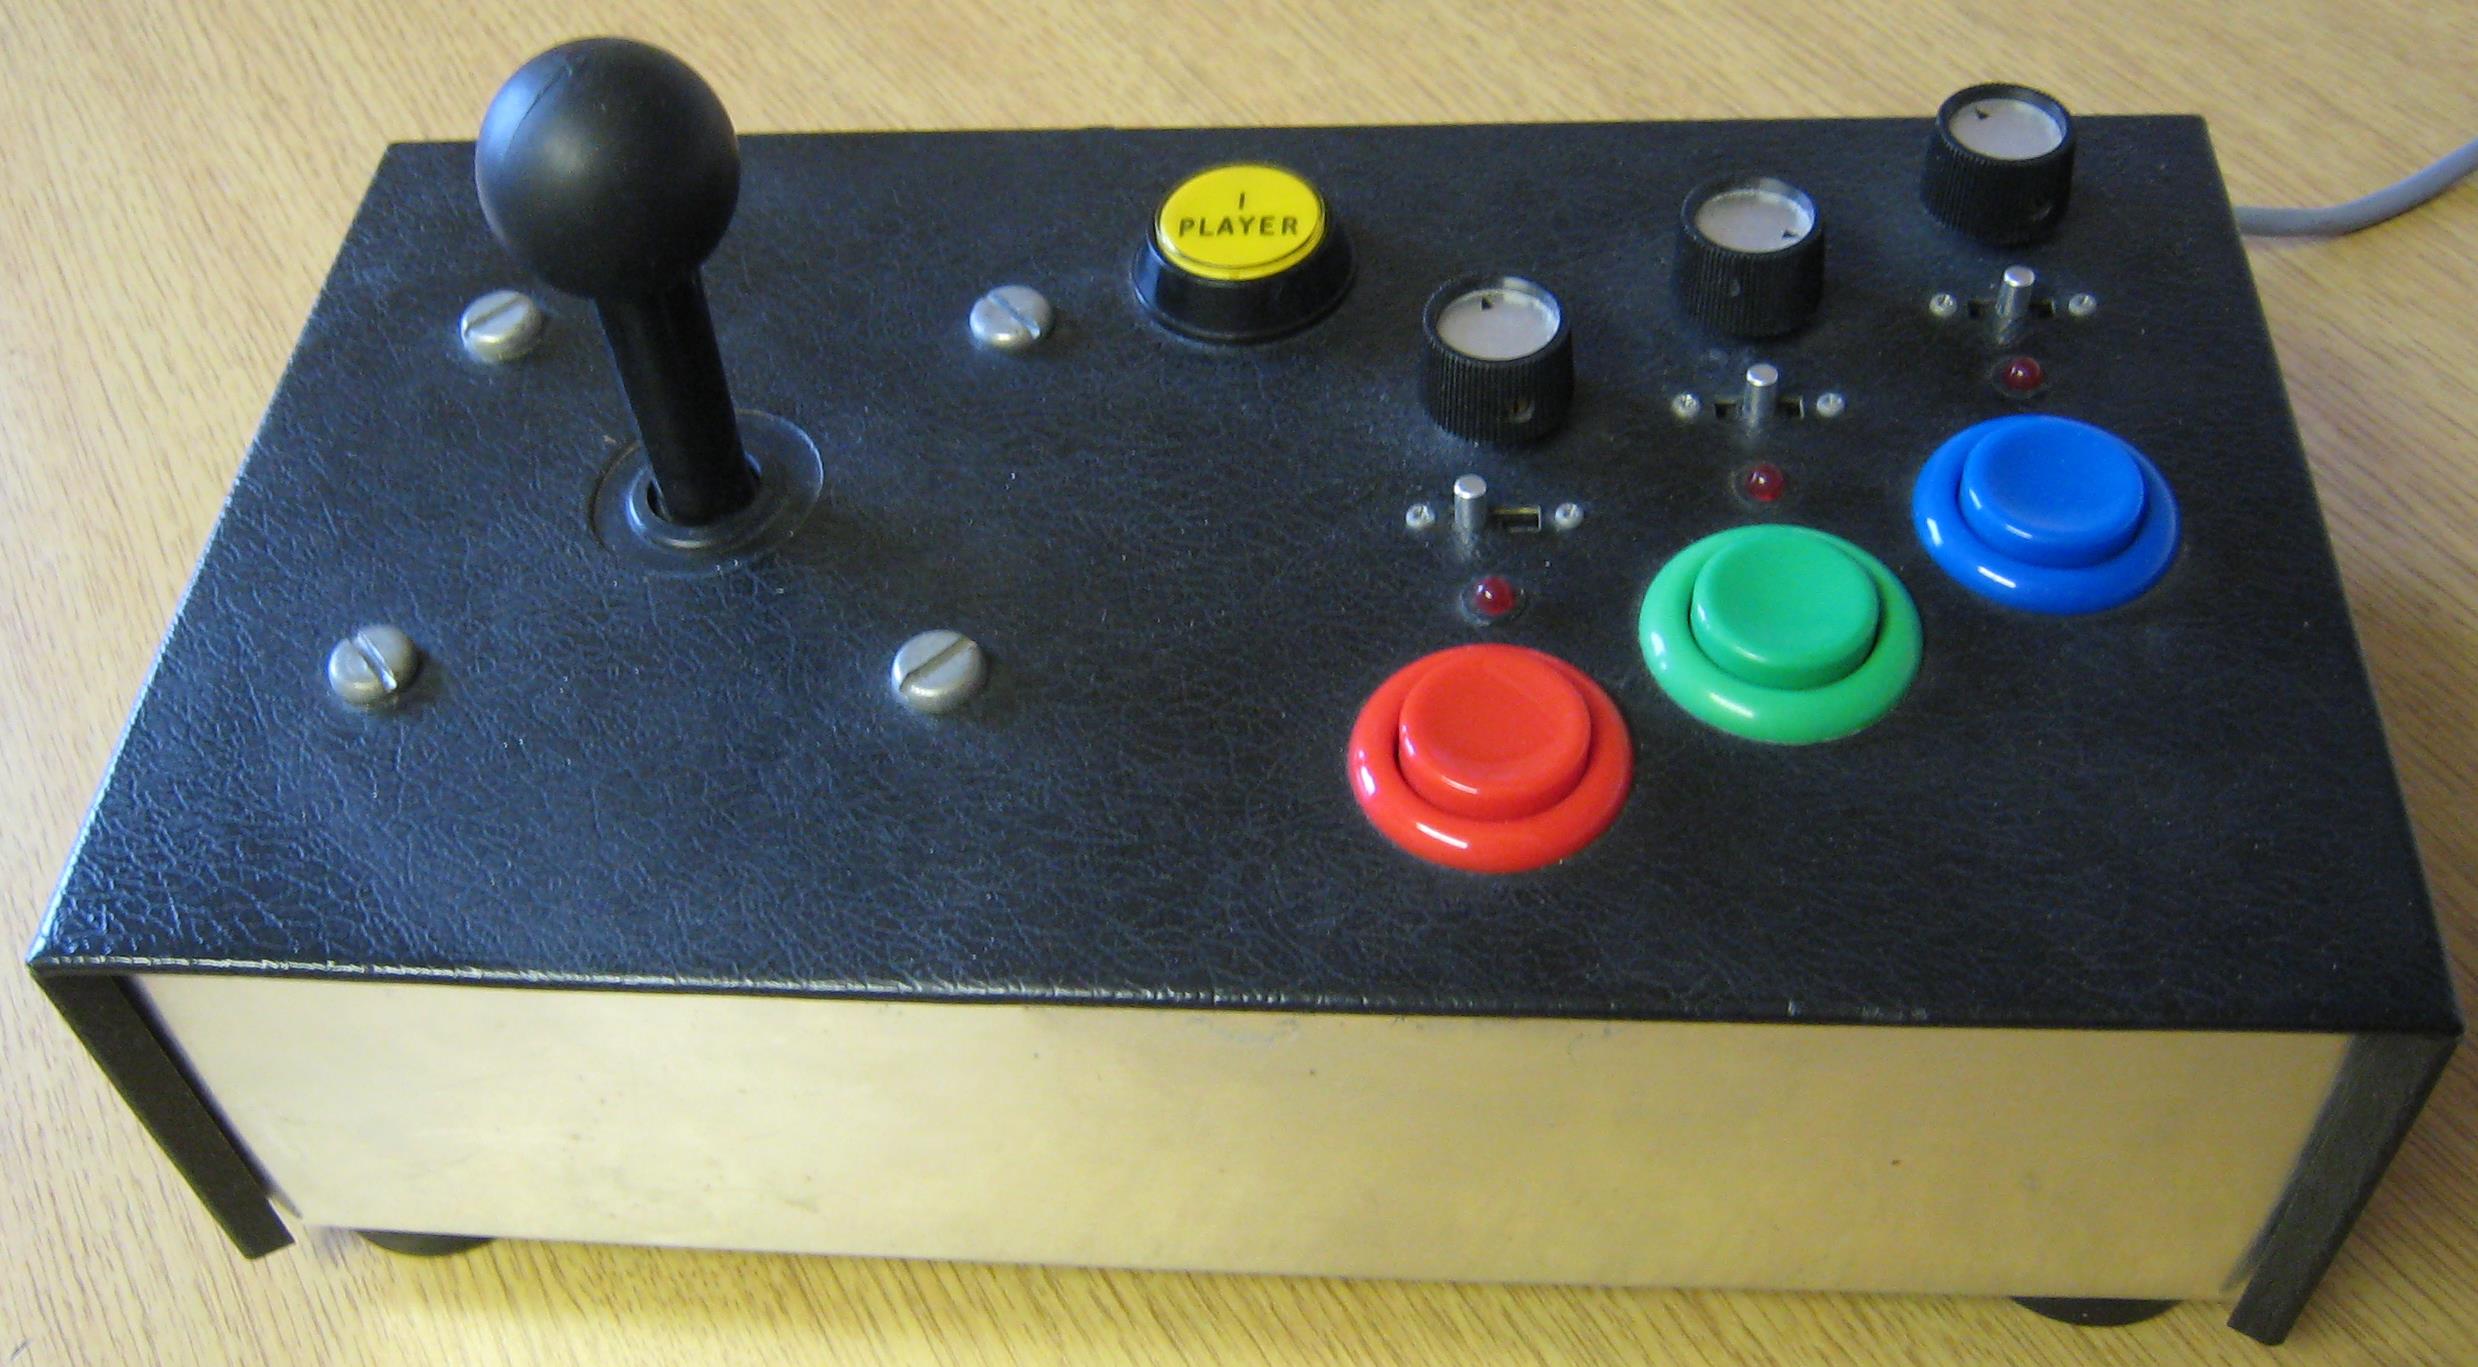
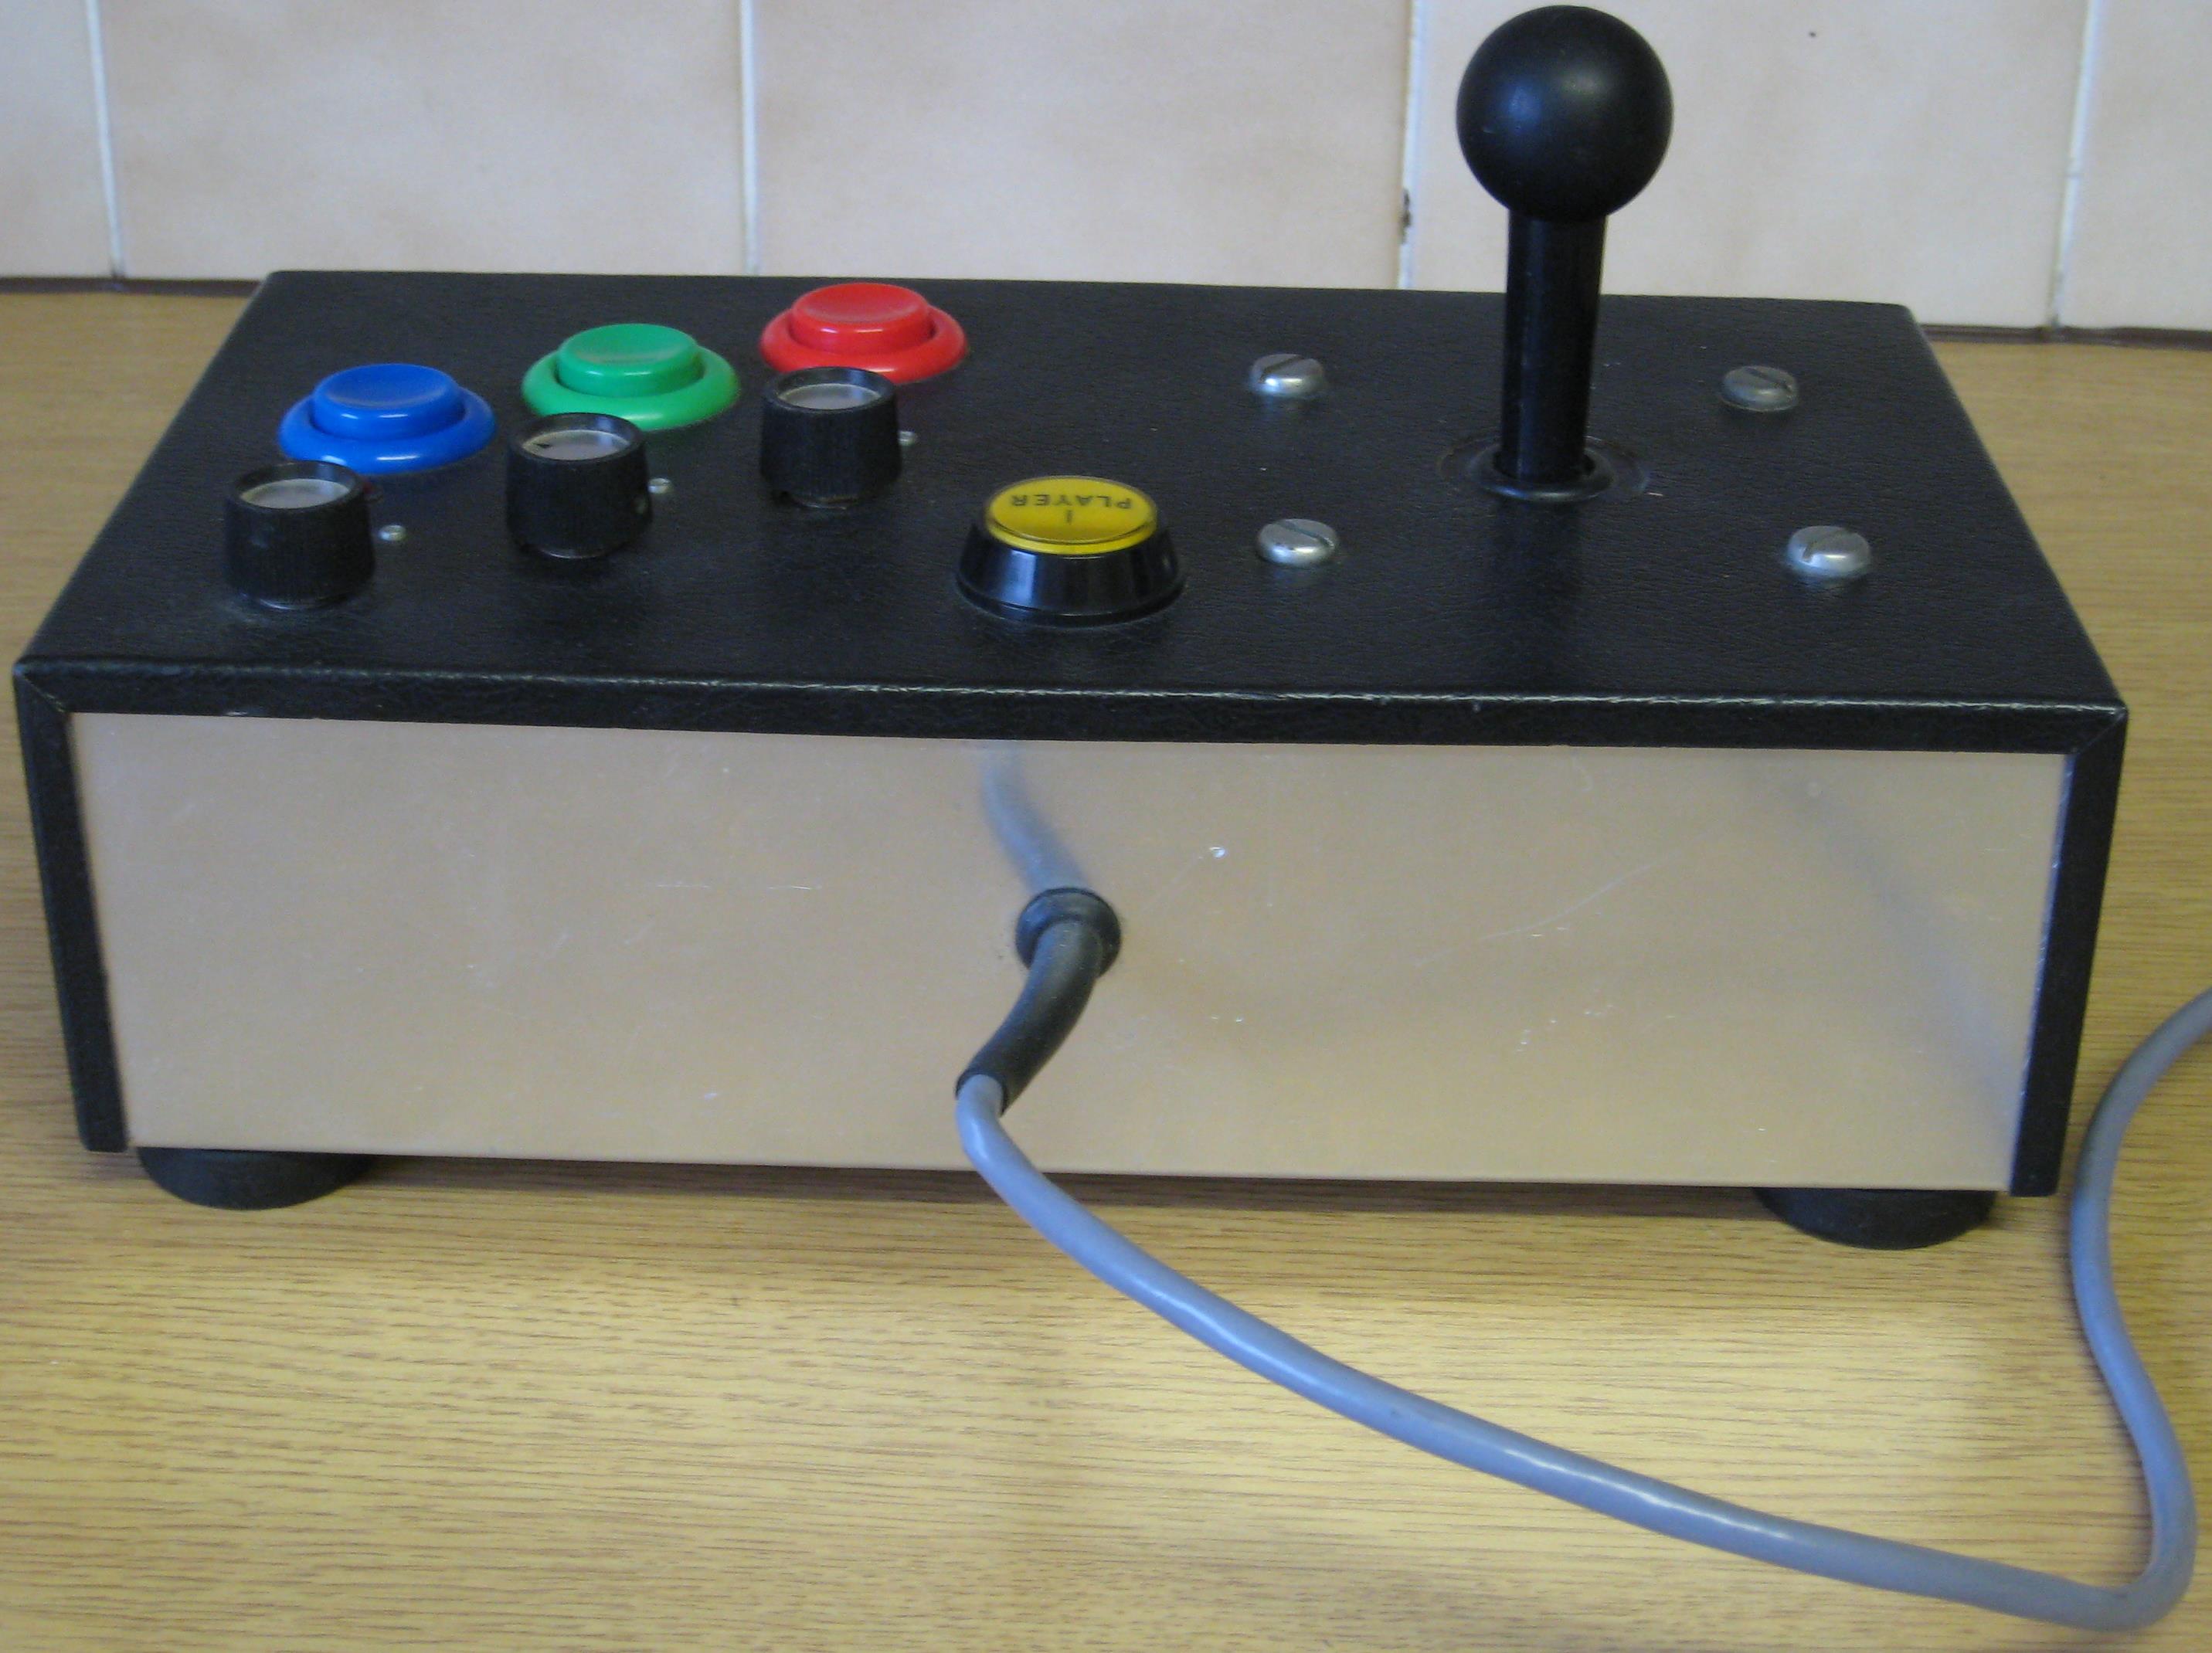
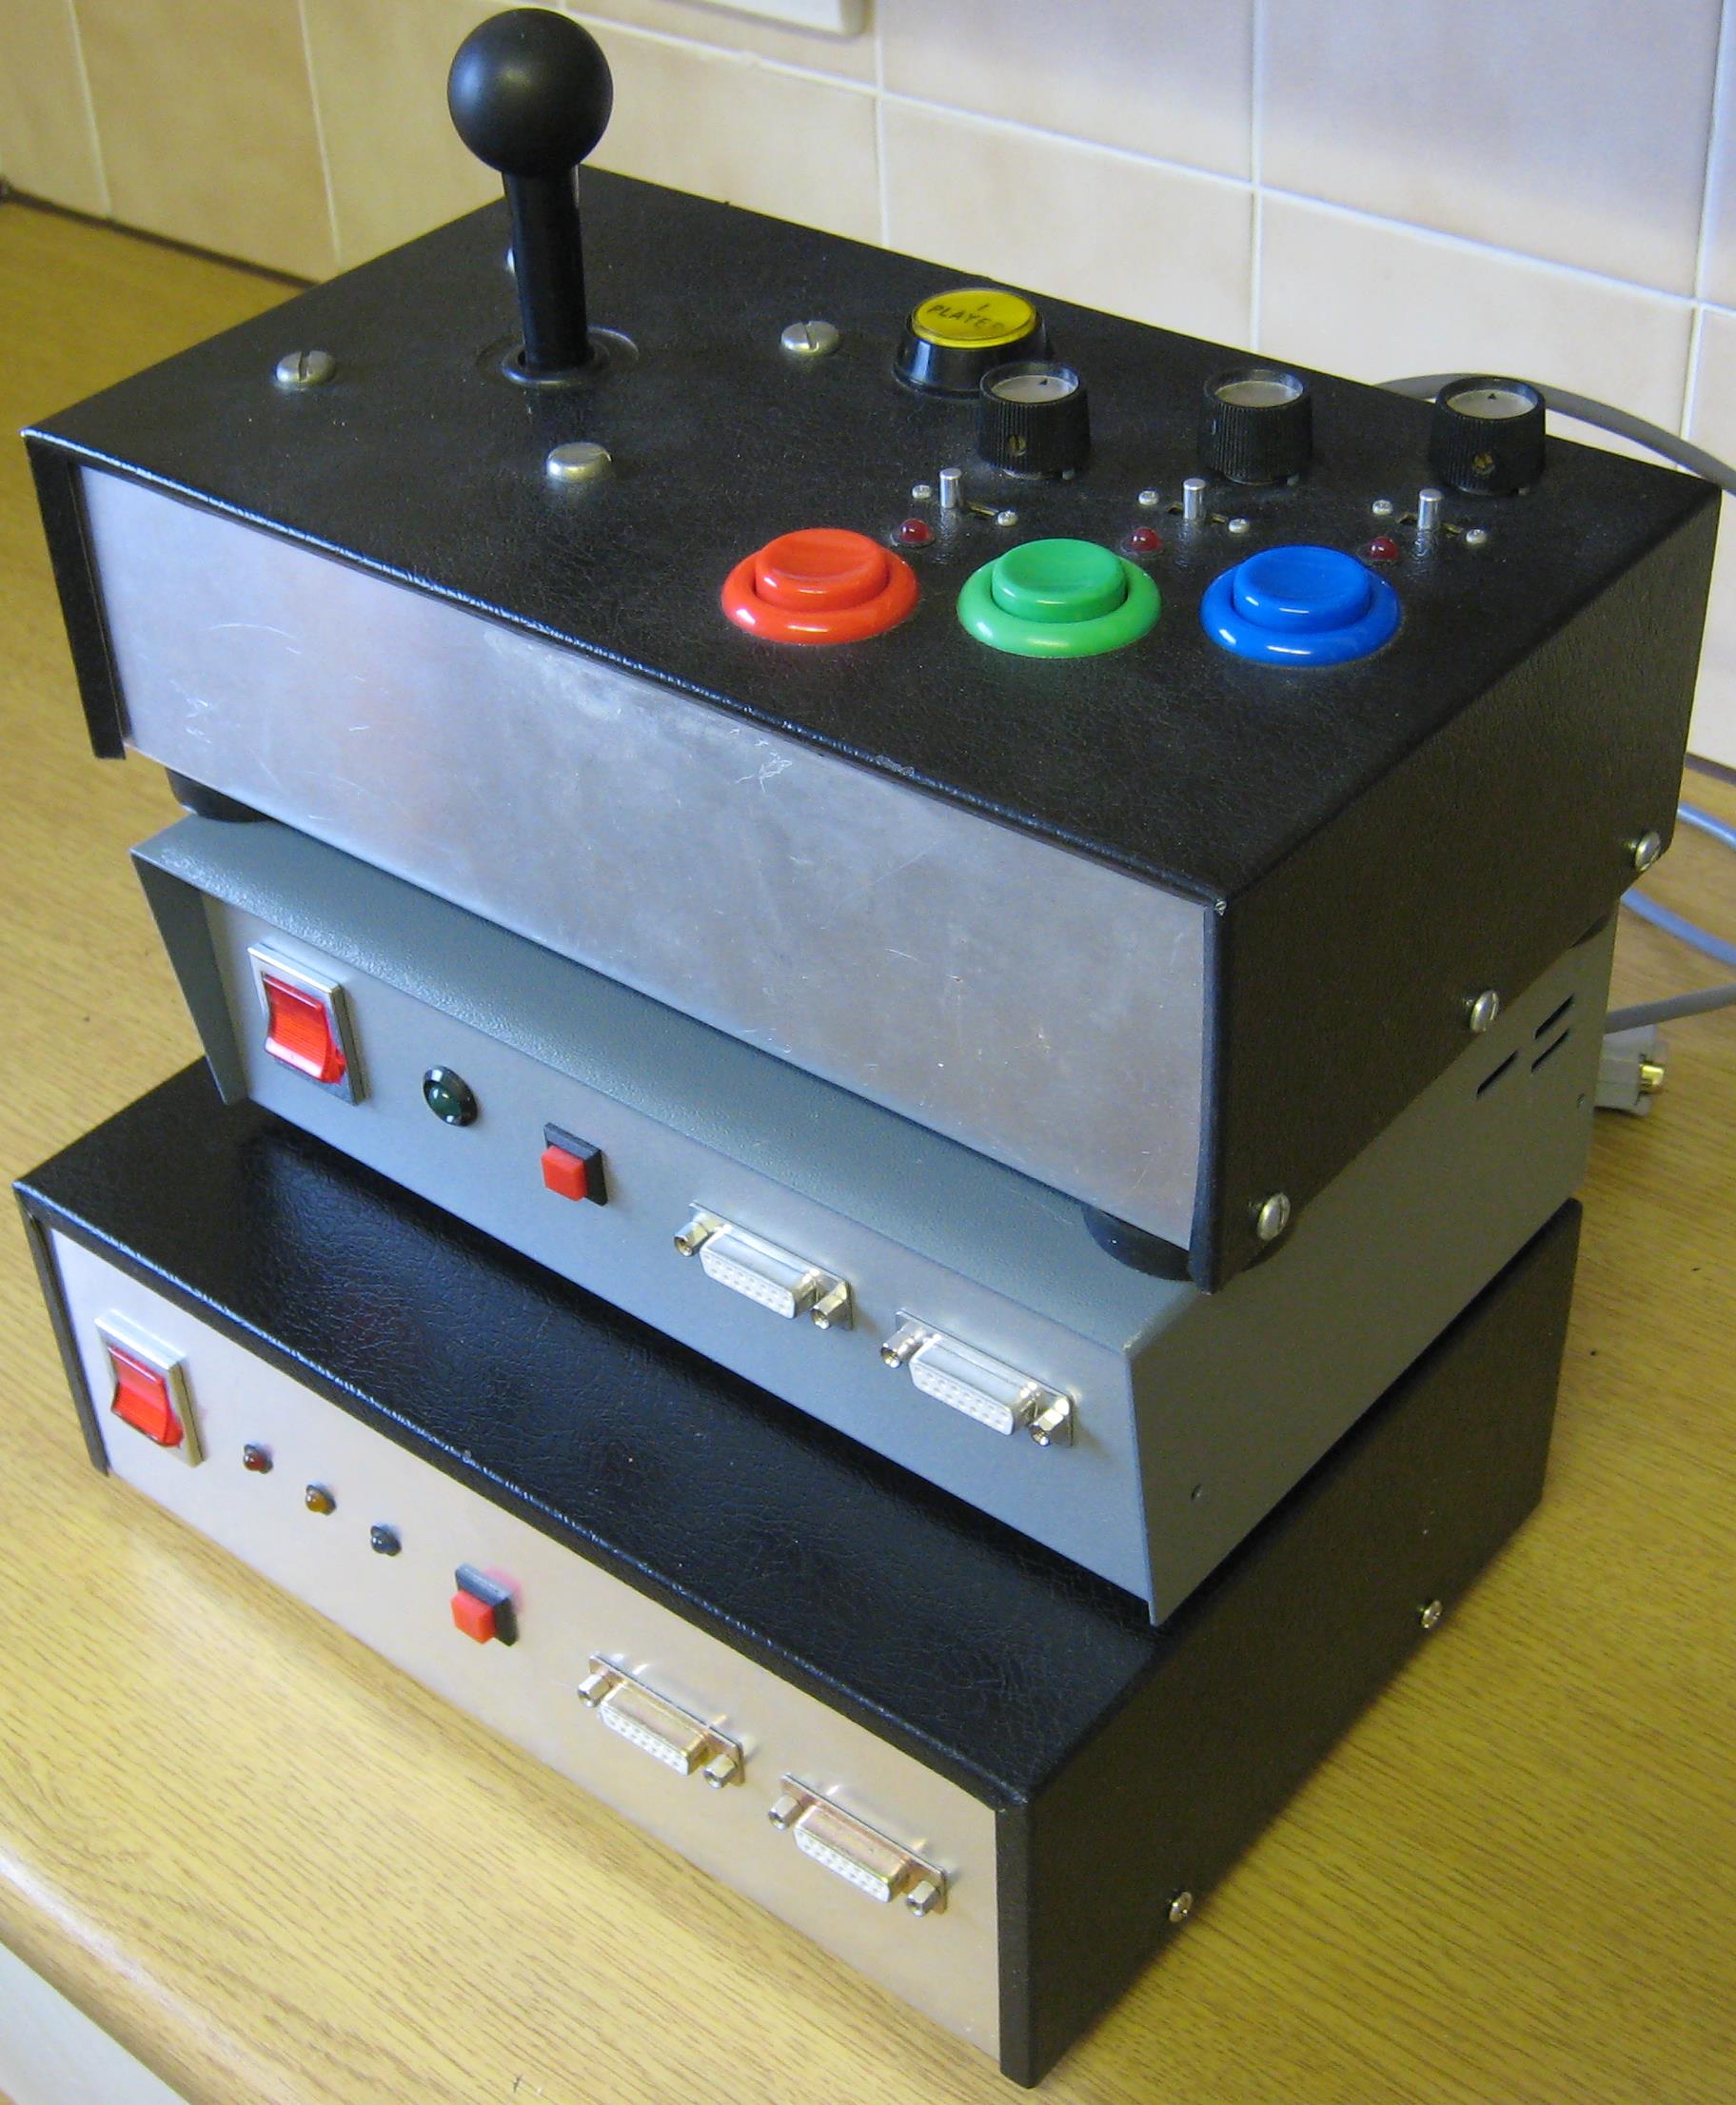
Joystick
Three player buttons, One Player Button, 8 way joystick and switchable autofires on all three player buttons.
If I was designing a second generation joystick, I would make it with a removable connector, less chance of broken cables.


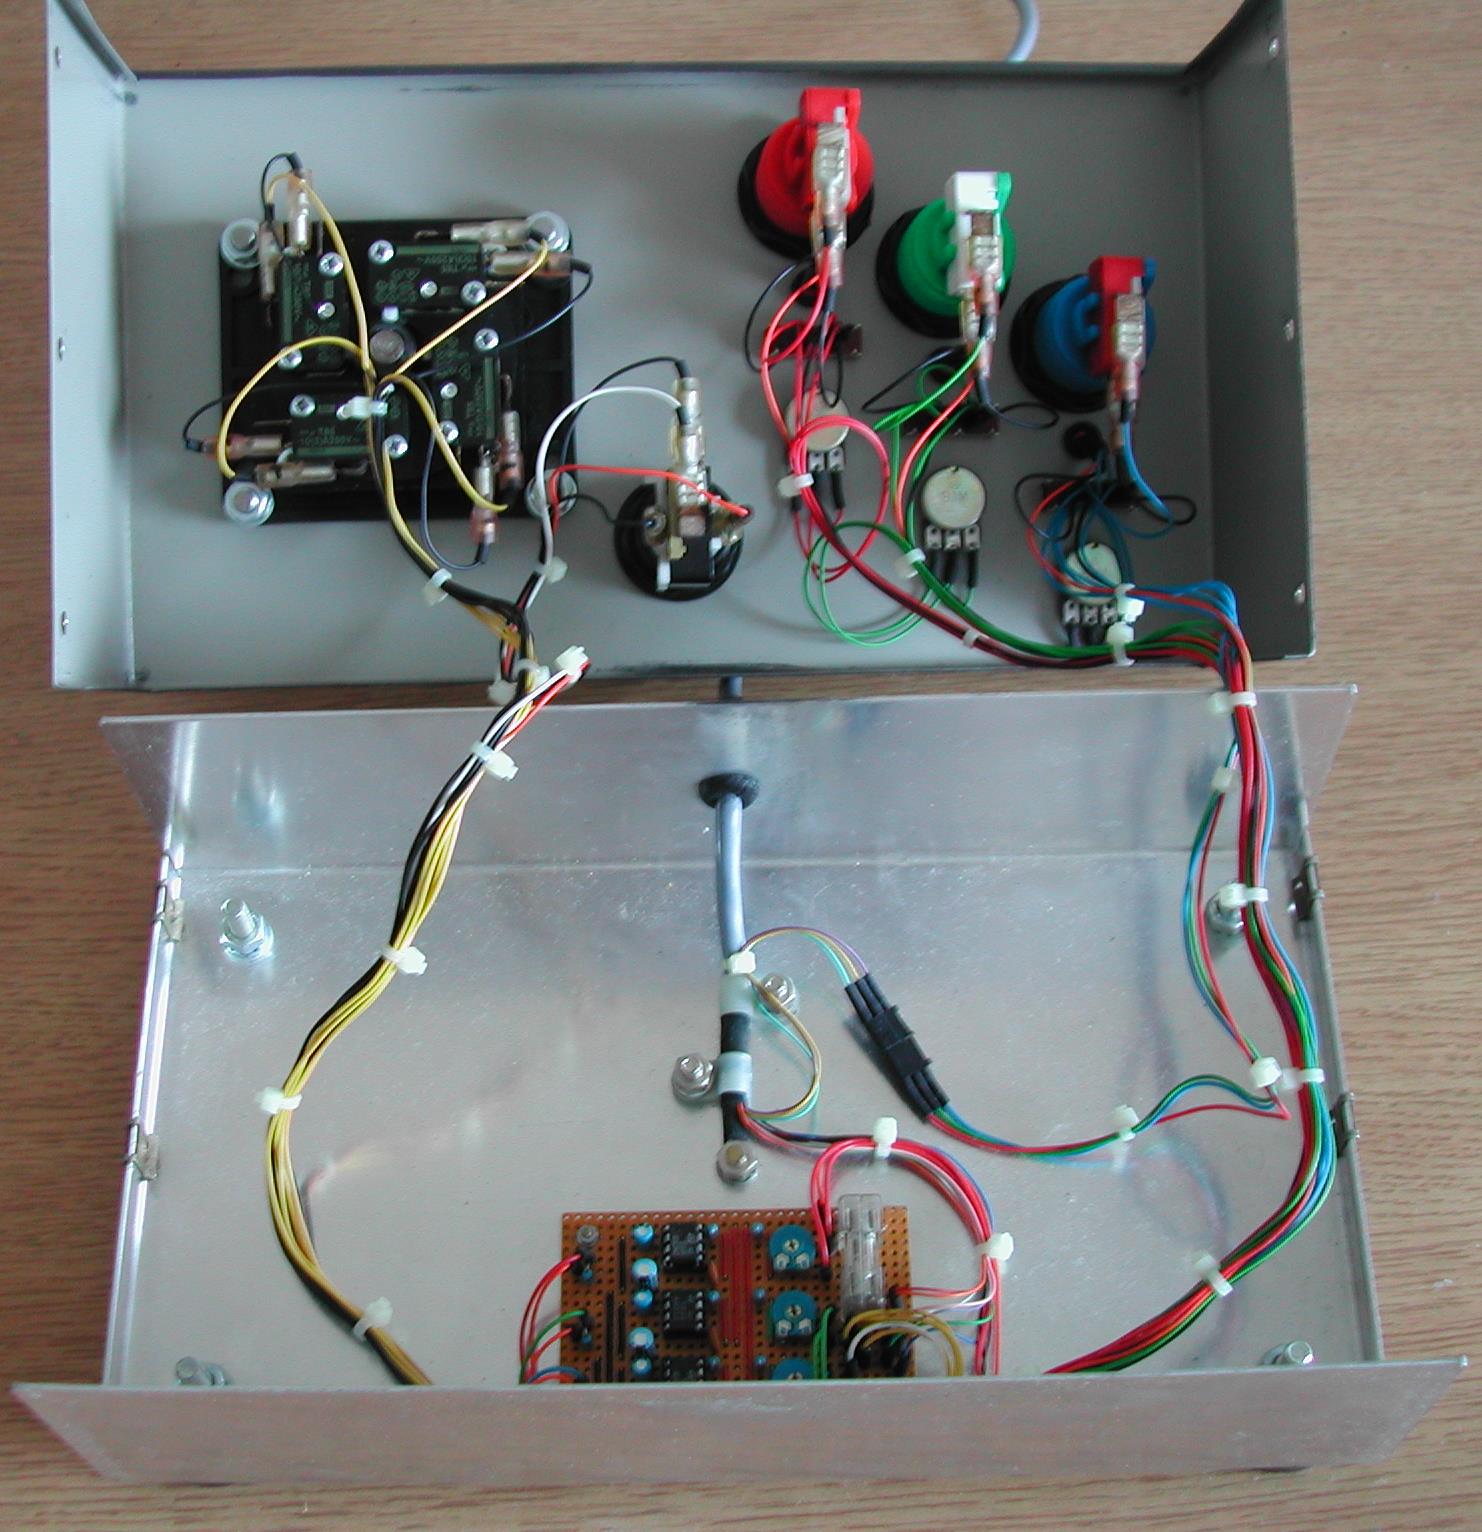

Looms
Standard kettle power cable
This was a good decision as a standard cable, which is easily available, save making one.
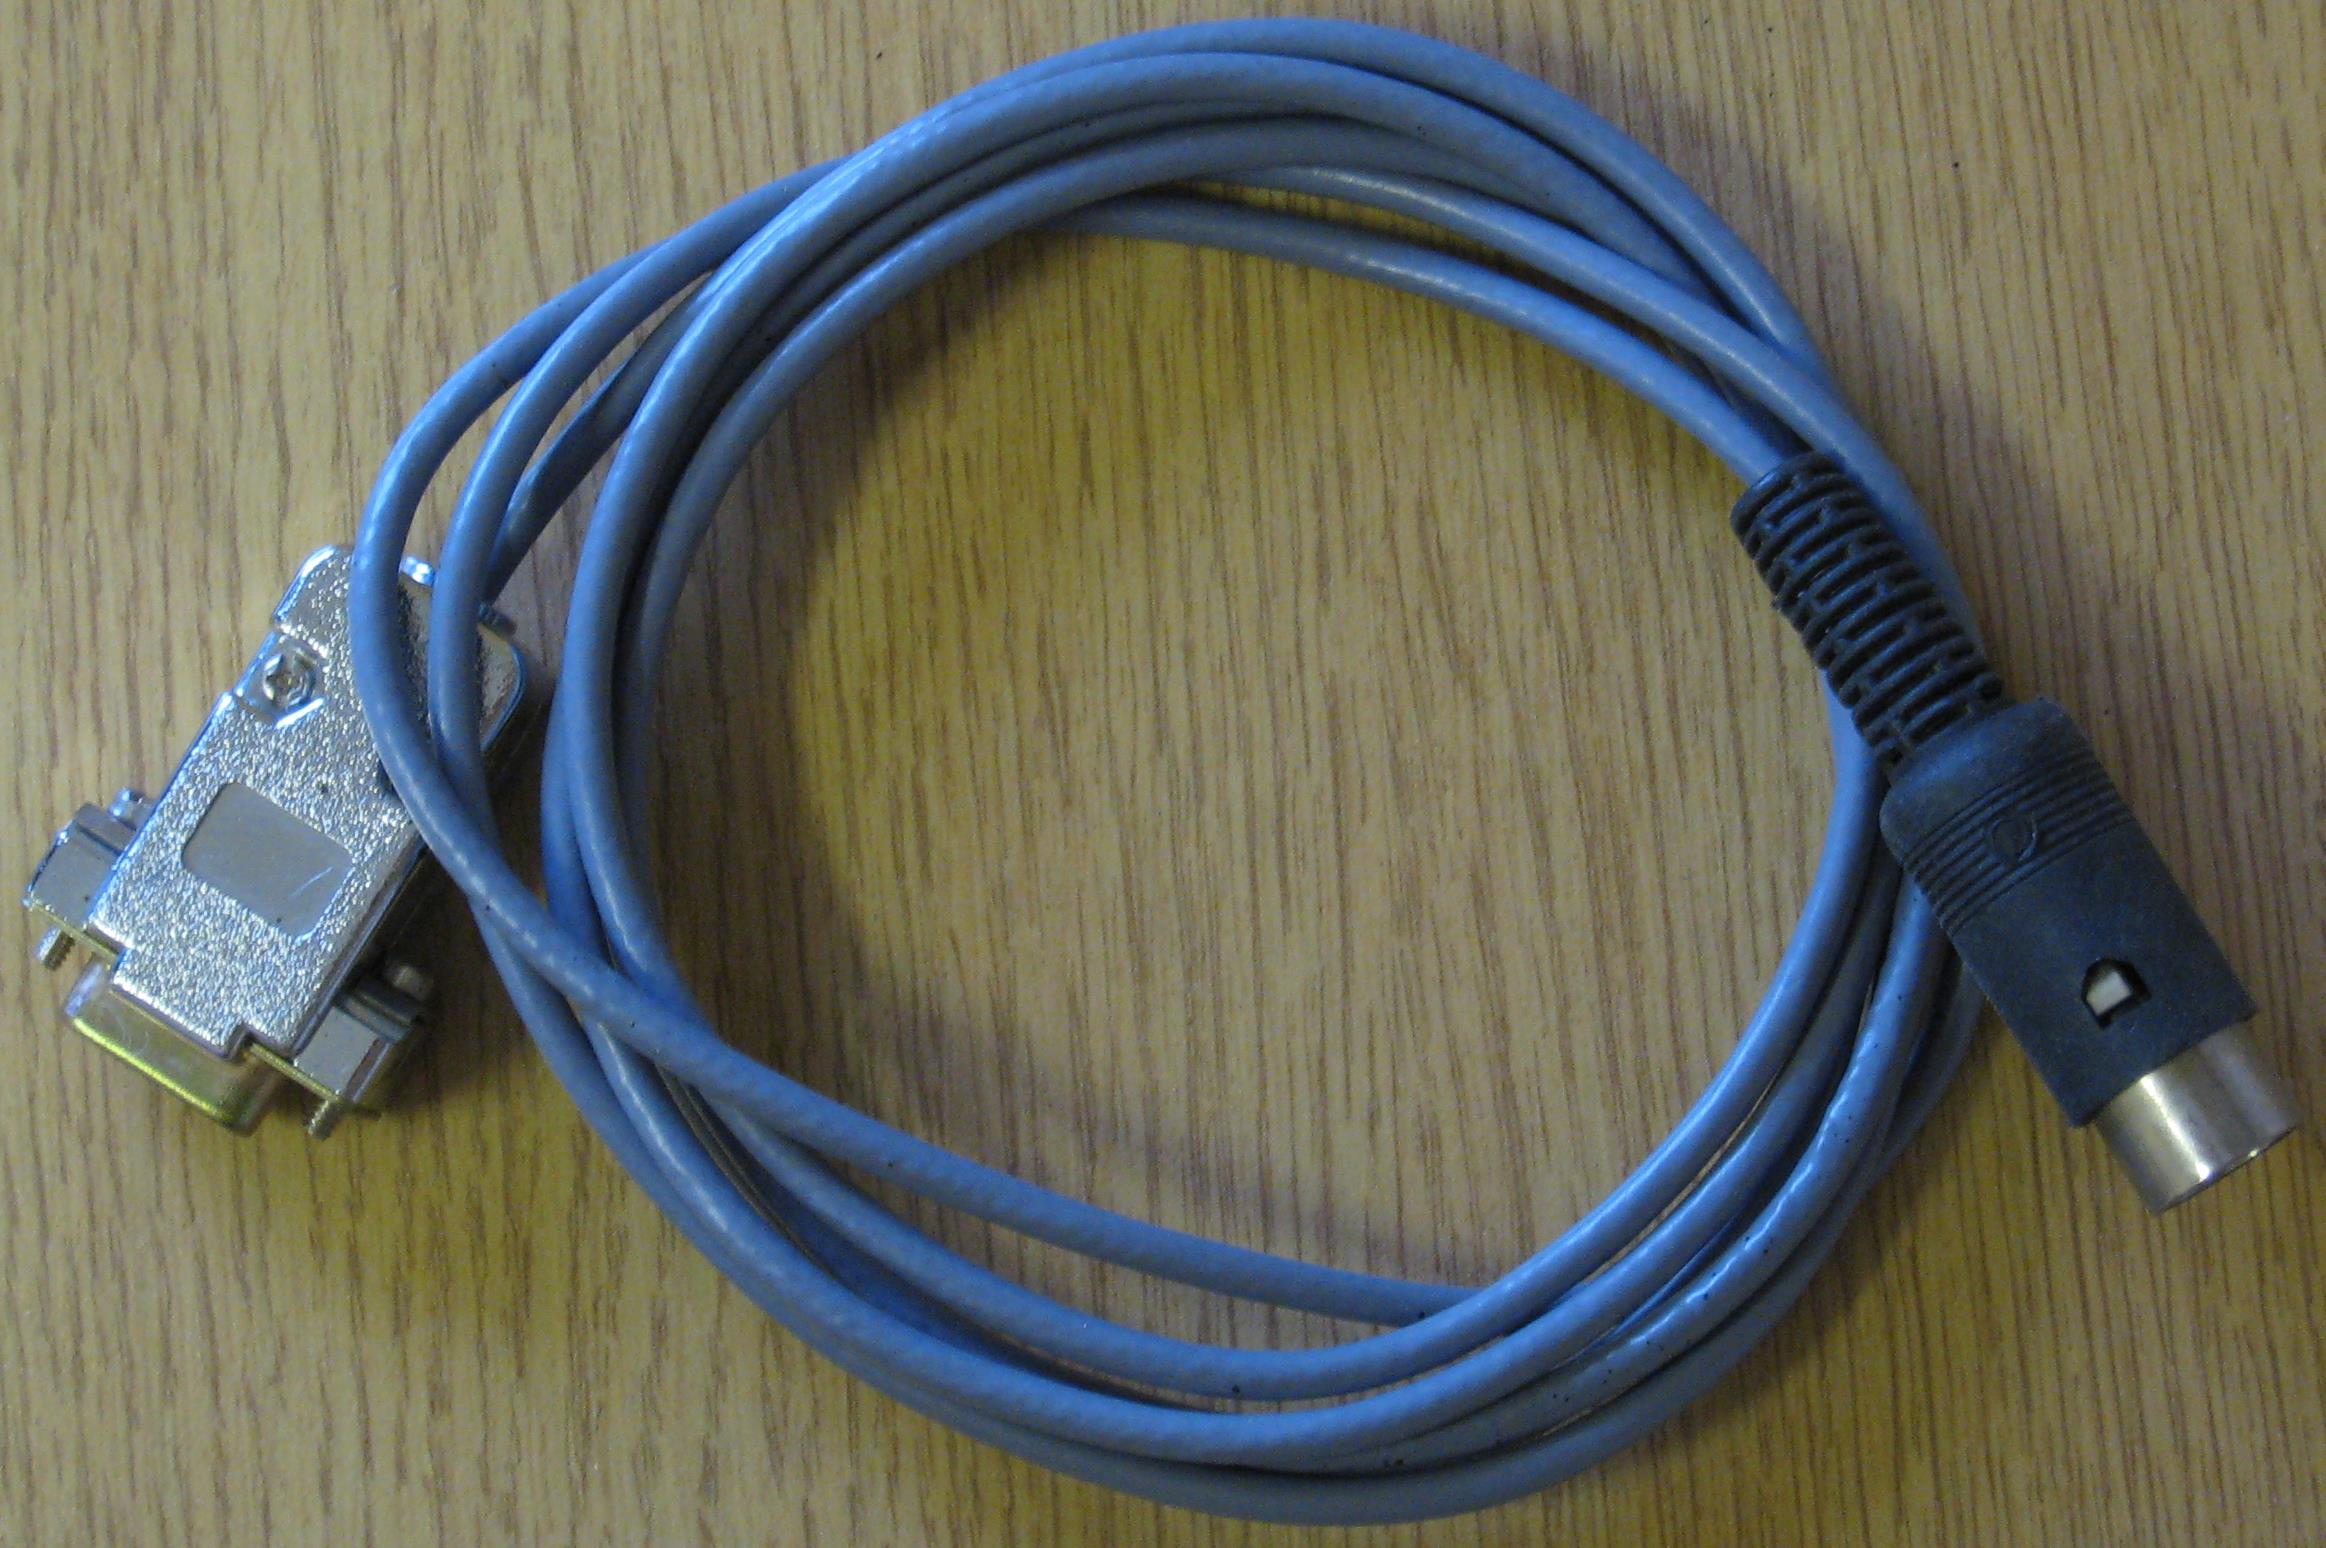
RGB monitor cable
This was a bad decision using the round din connector, they are crap to solder and the pins bend way to easily.


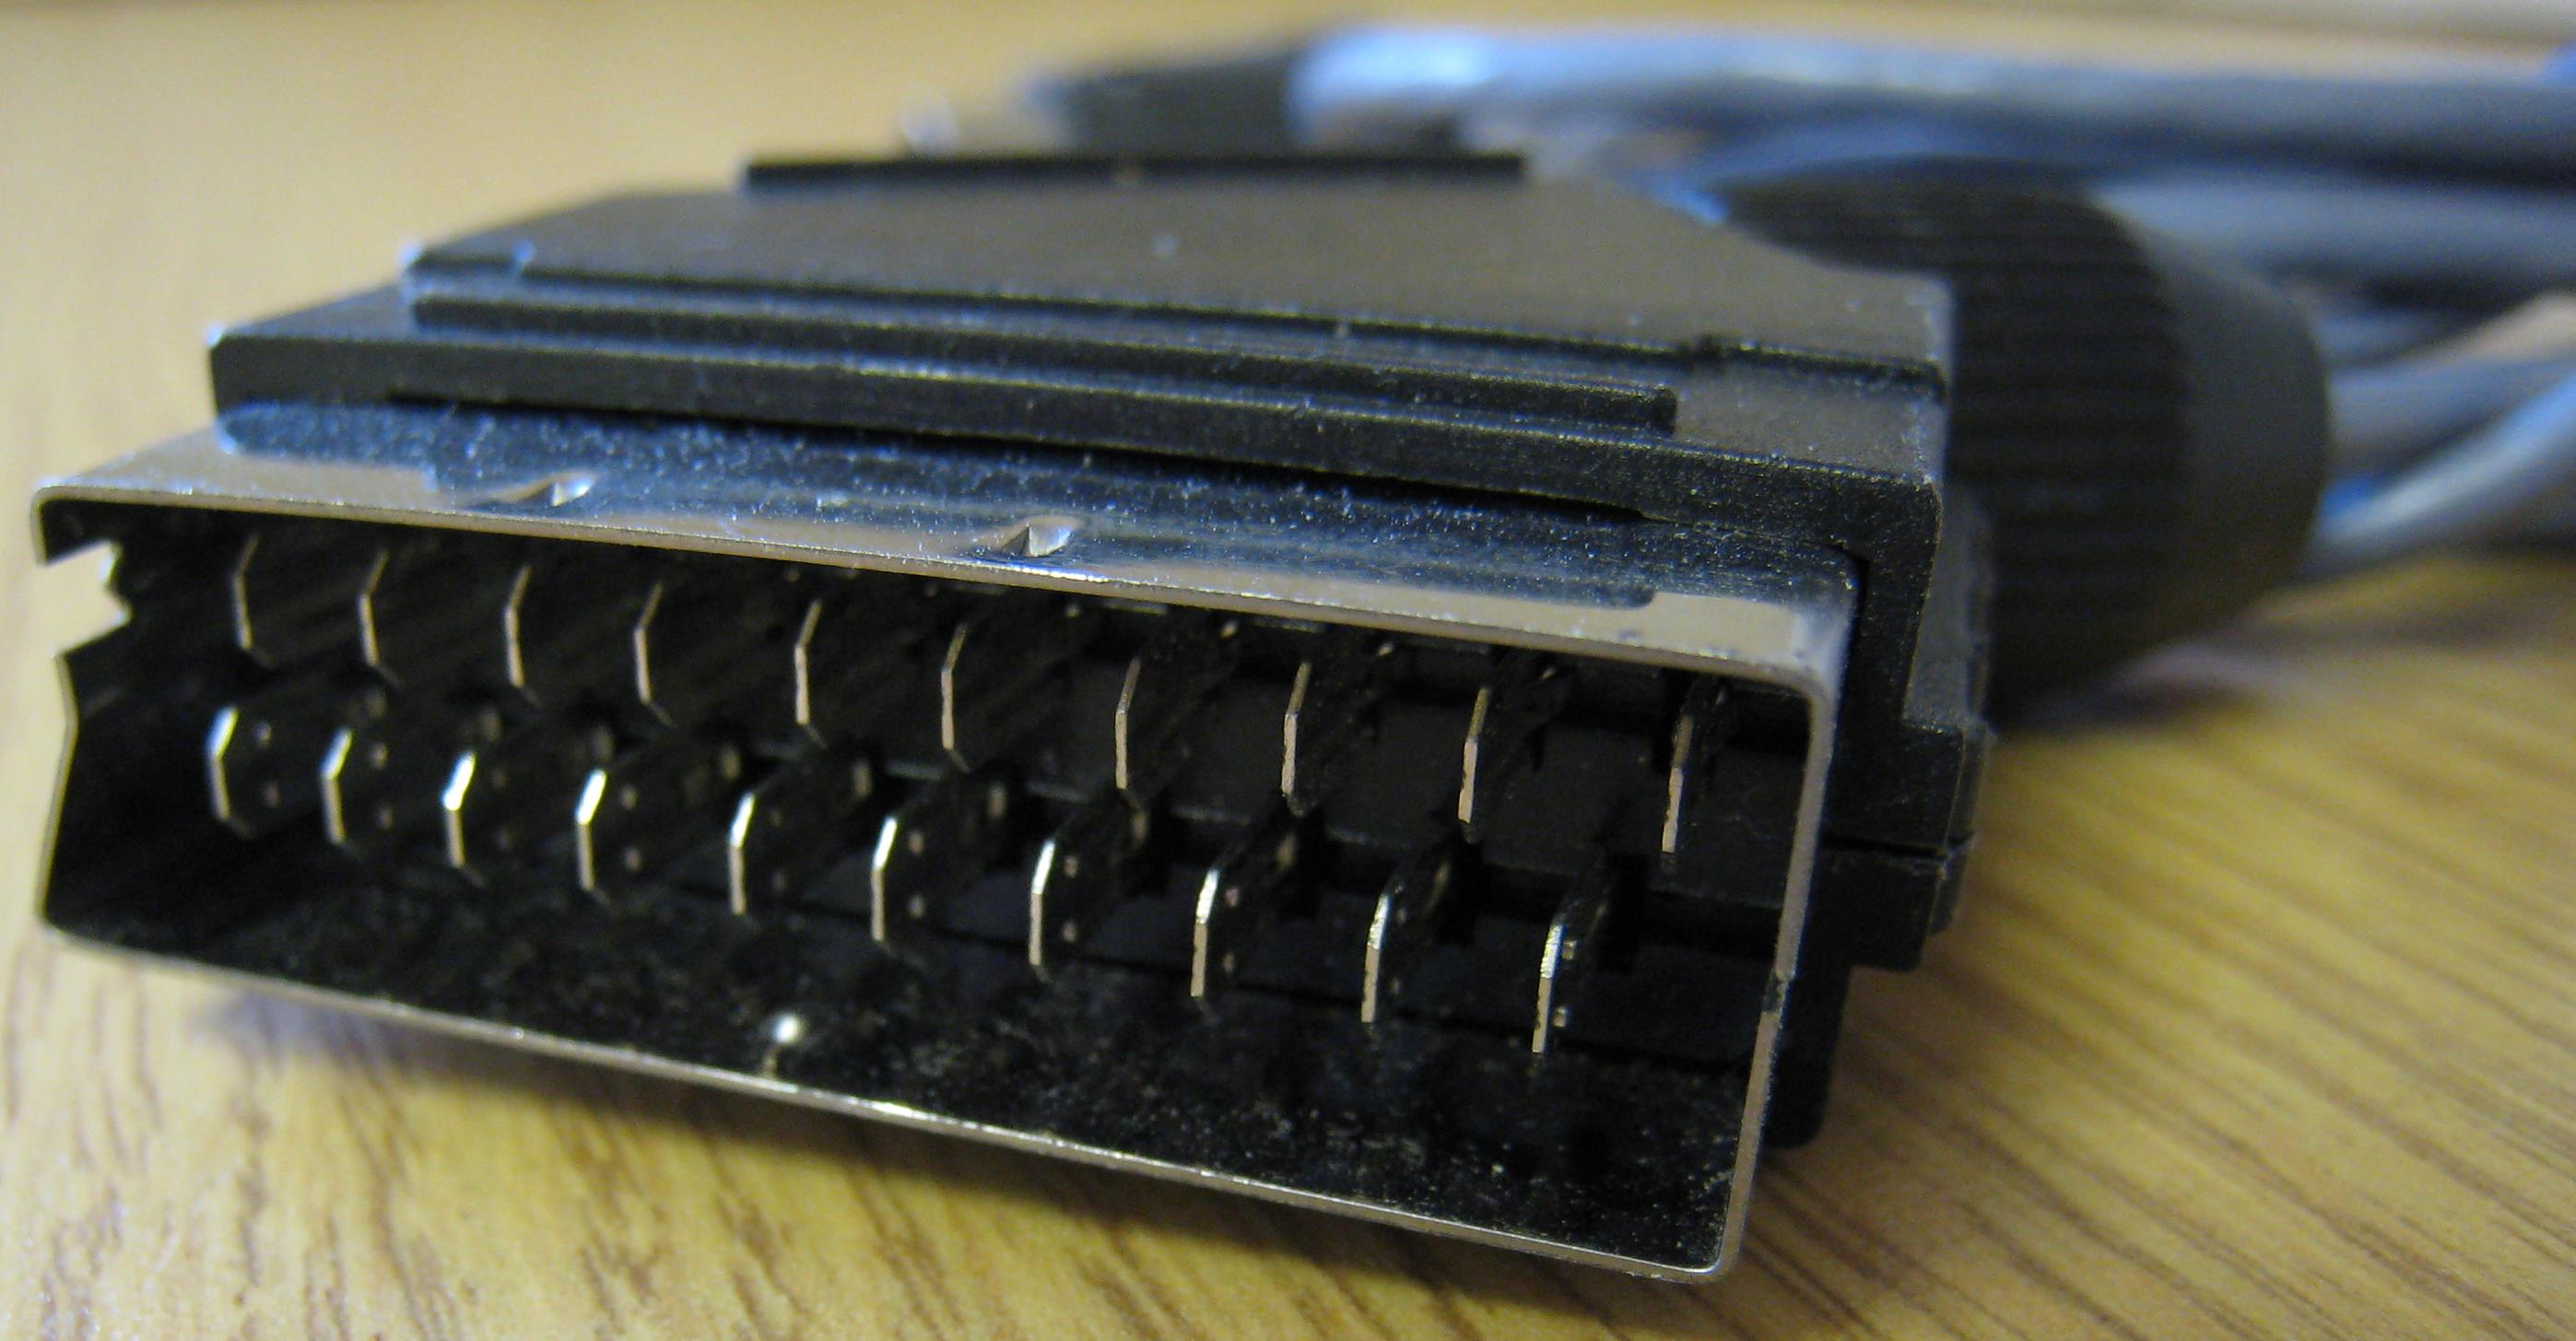
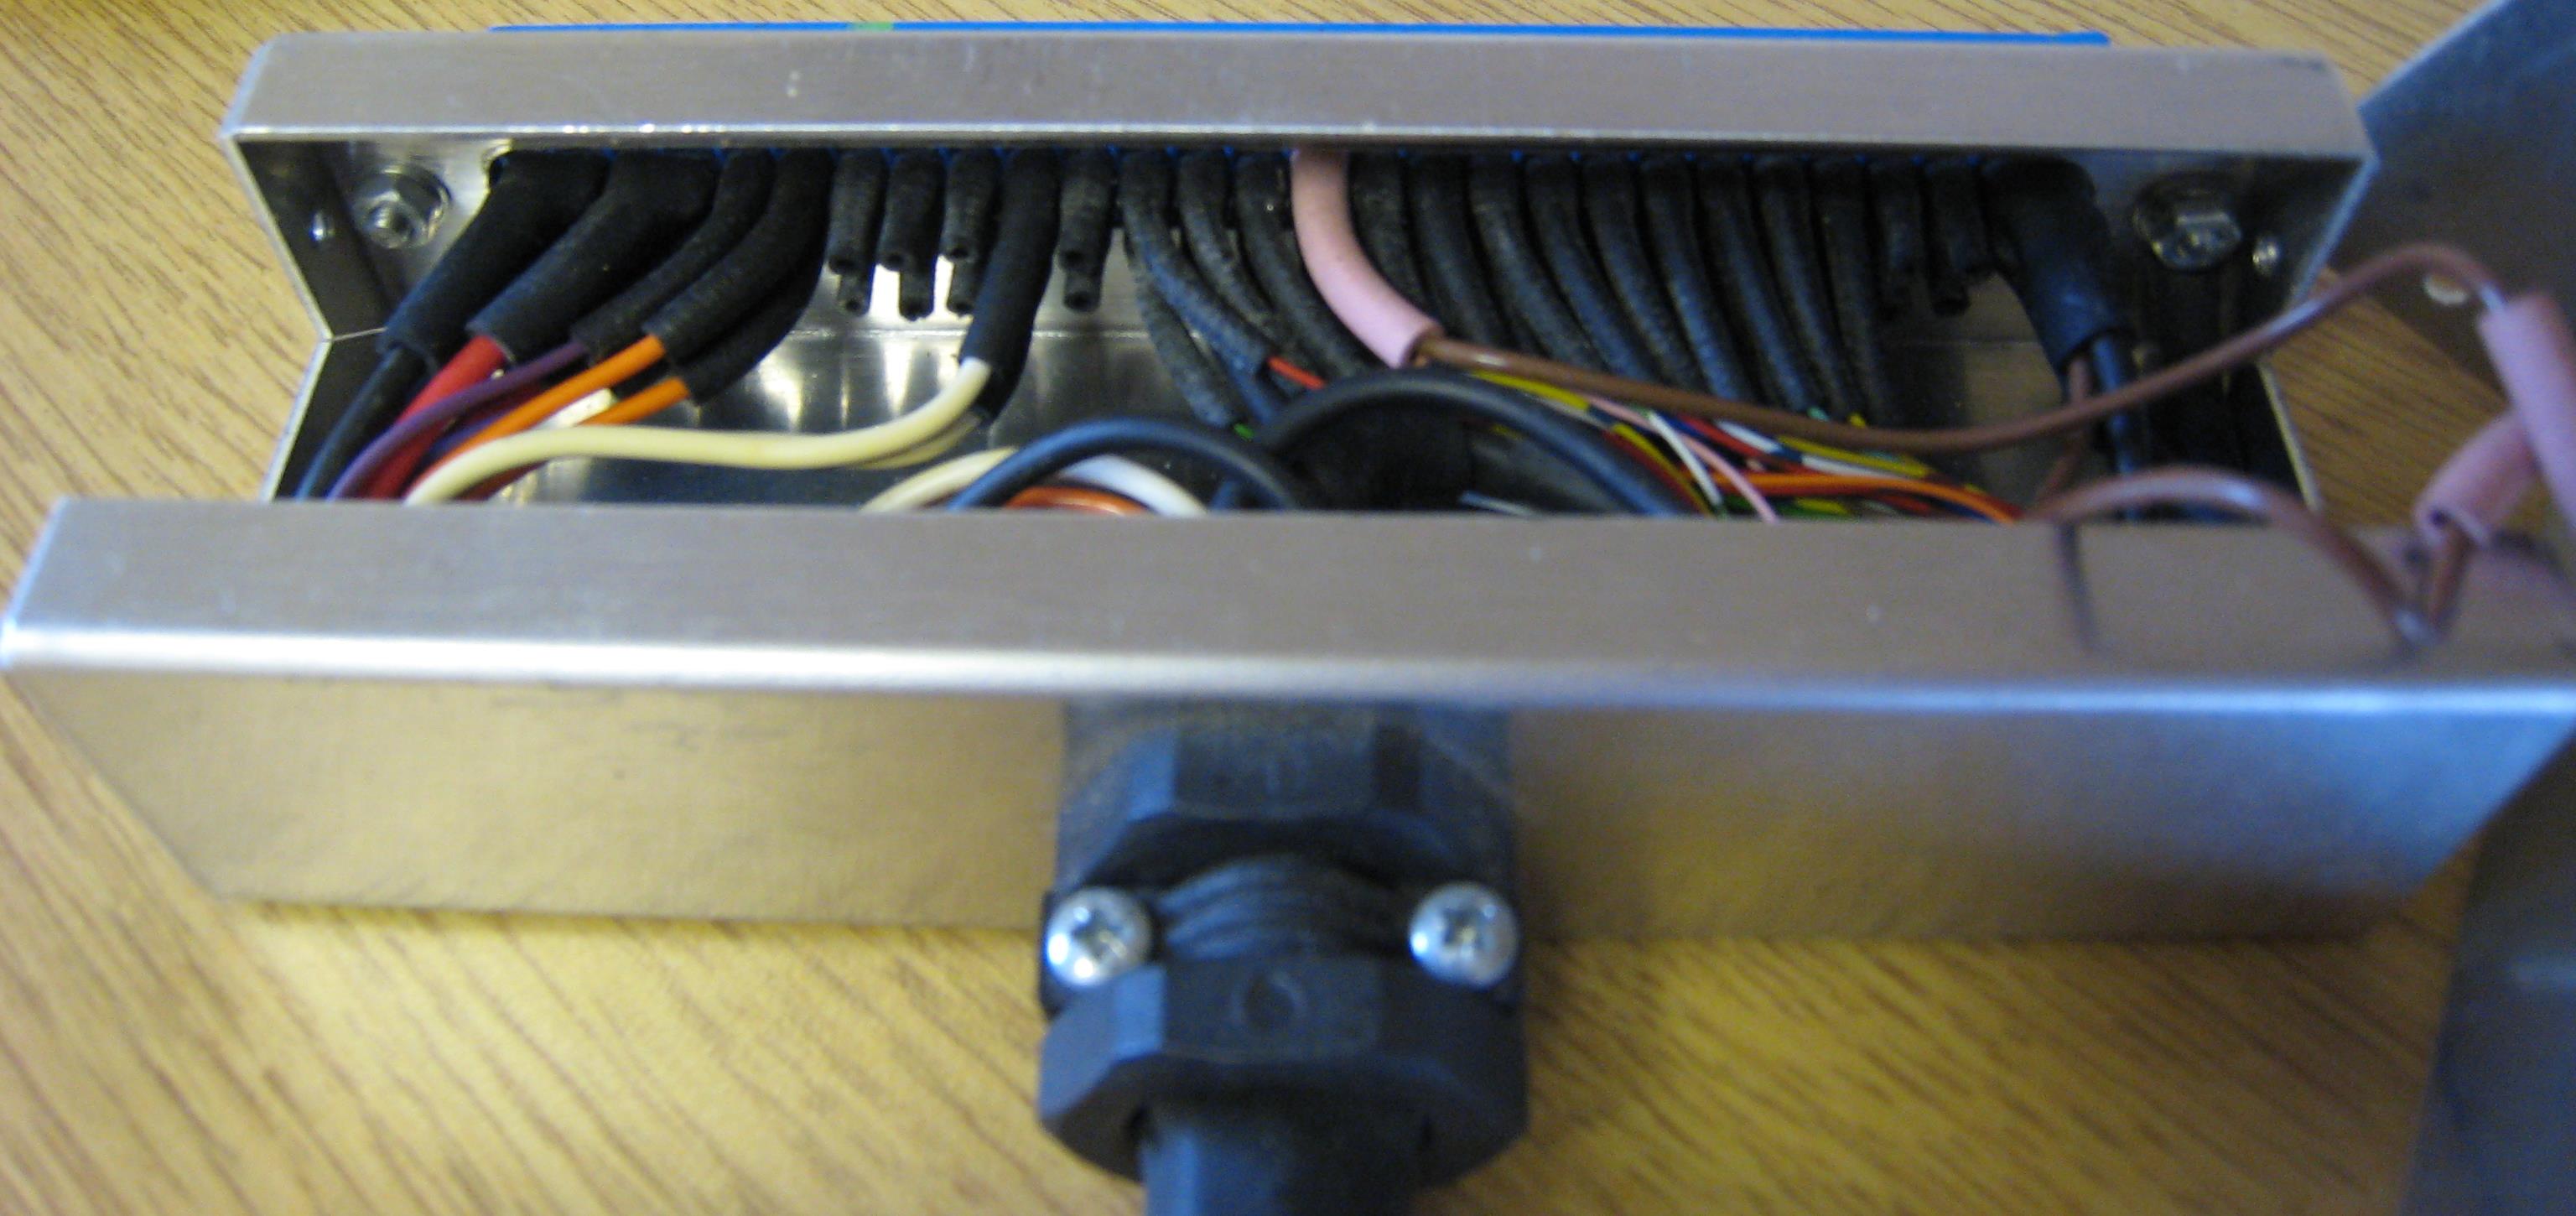
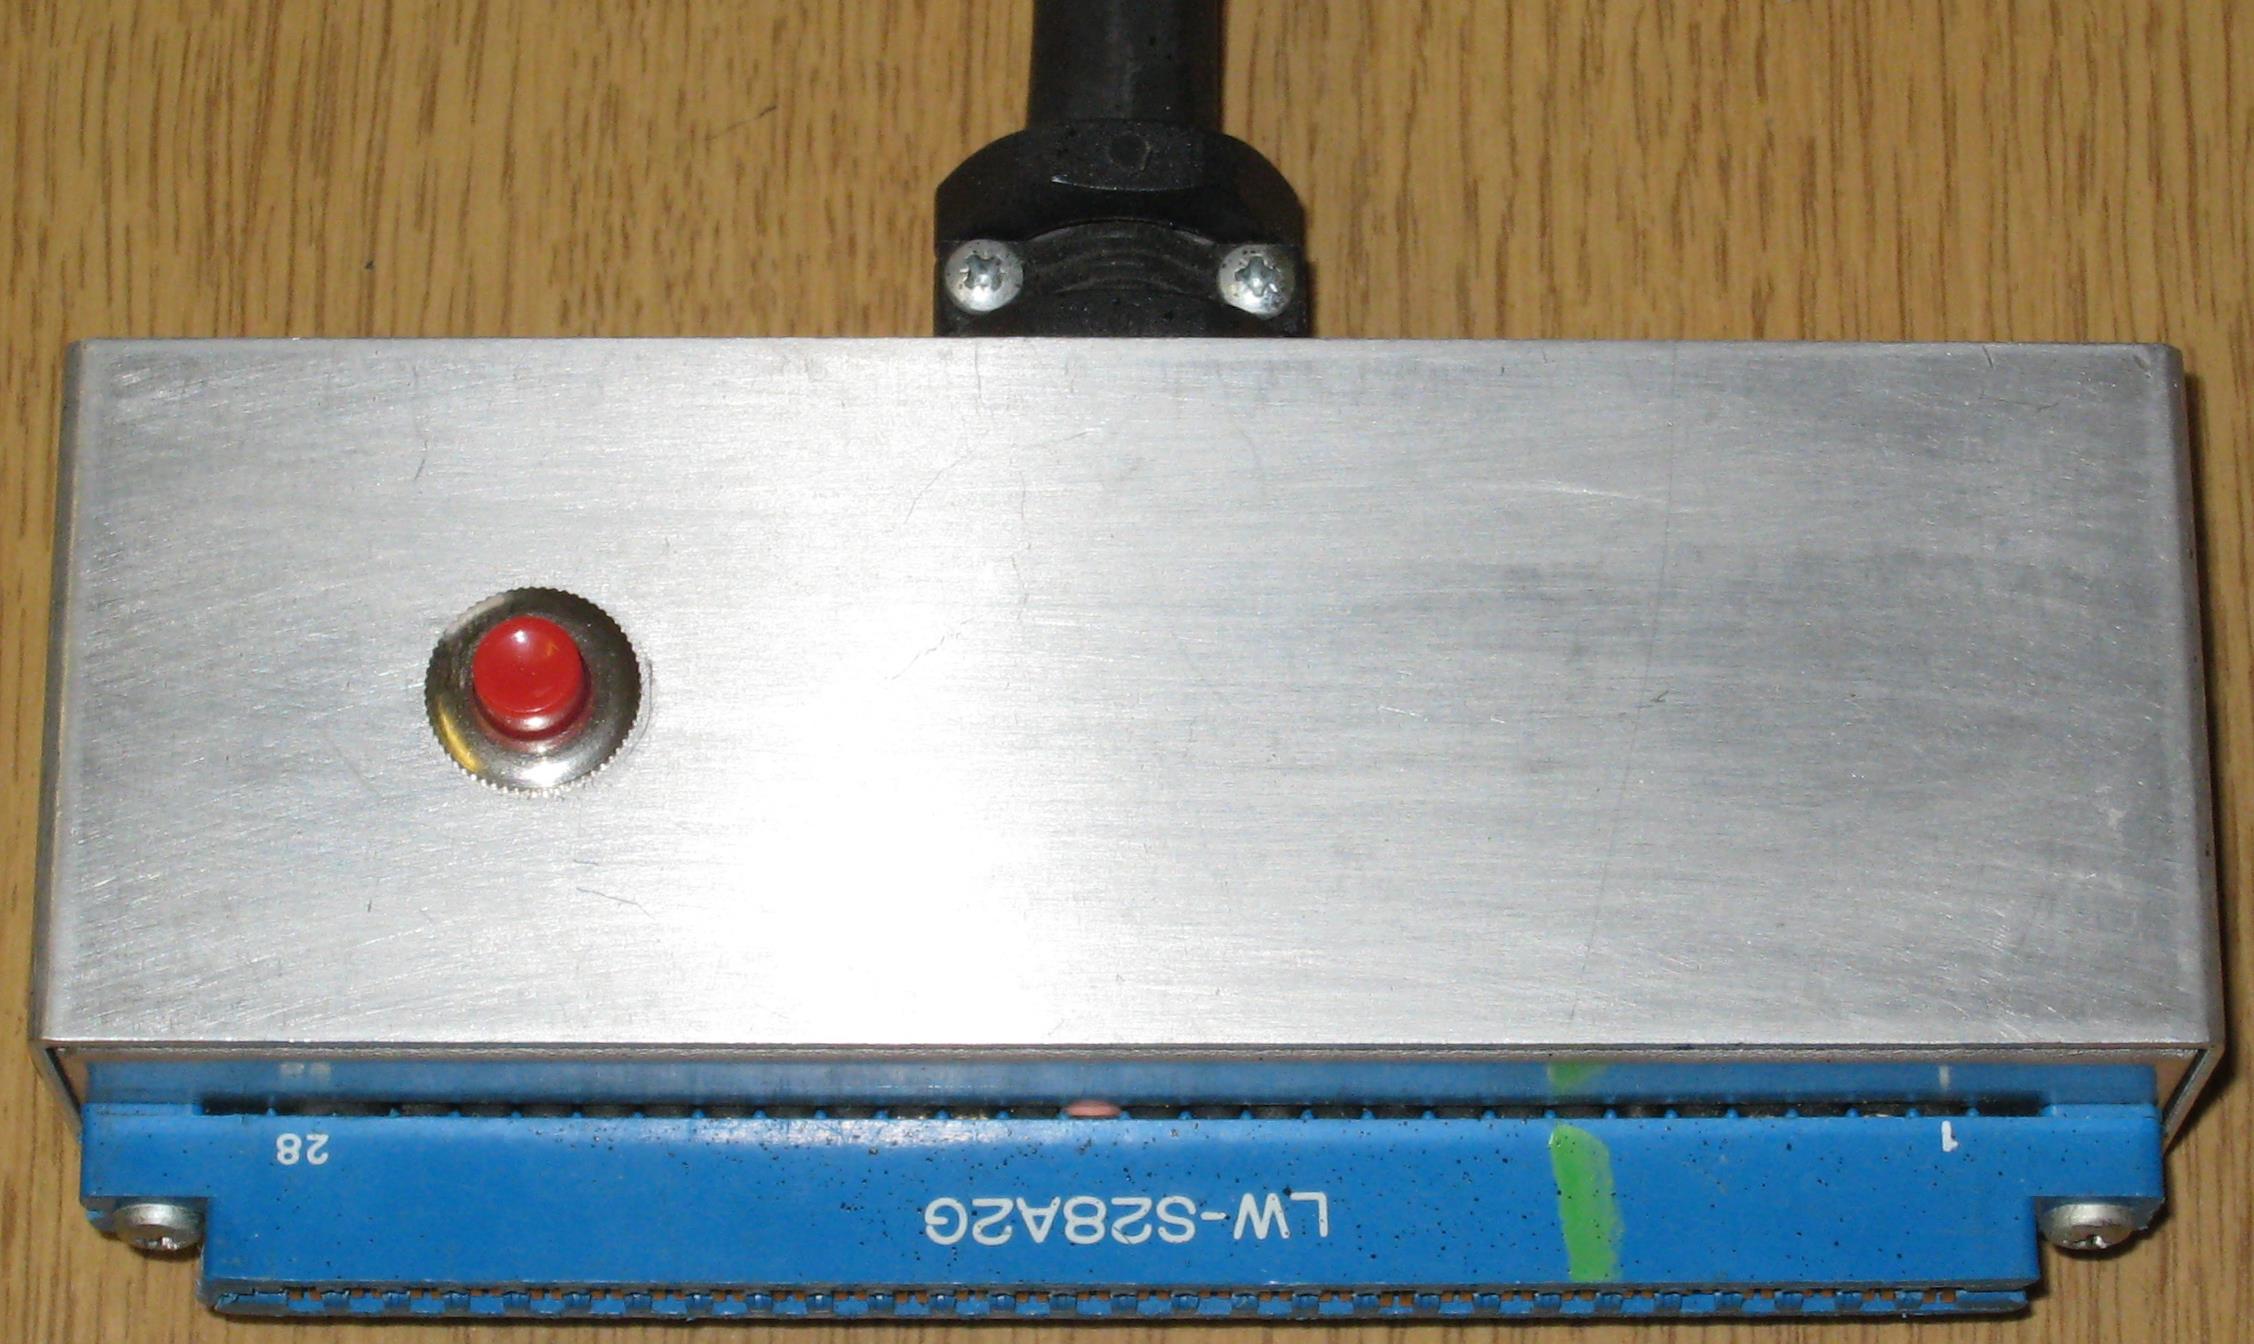
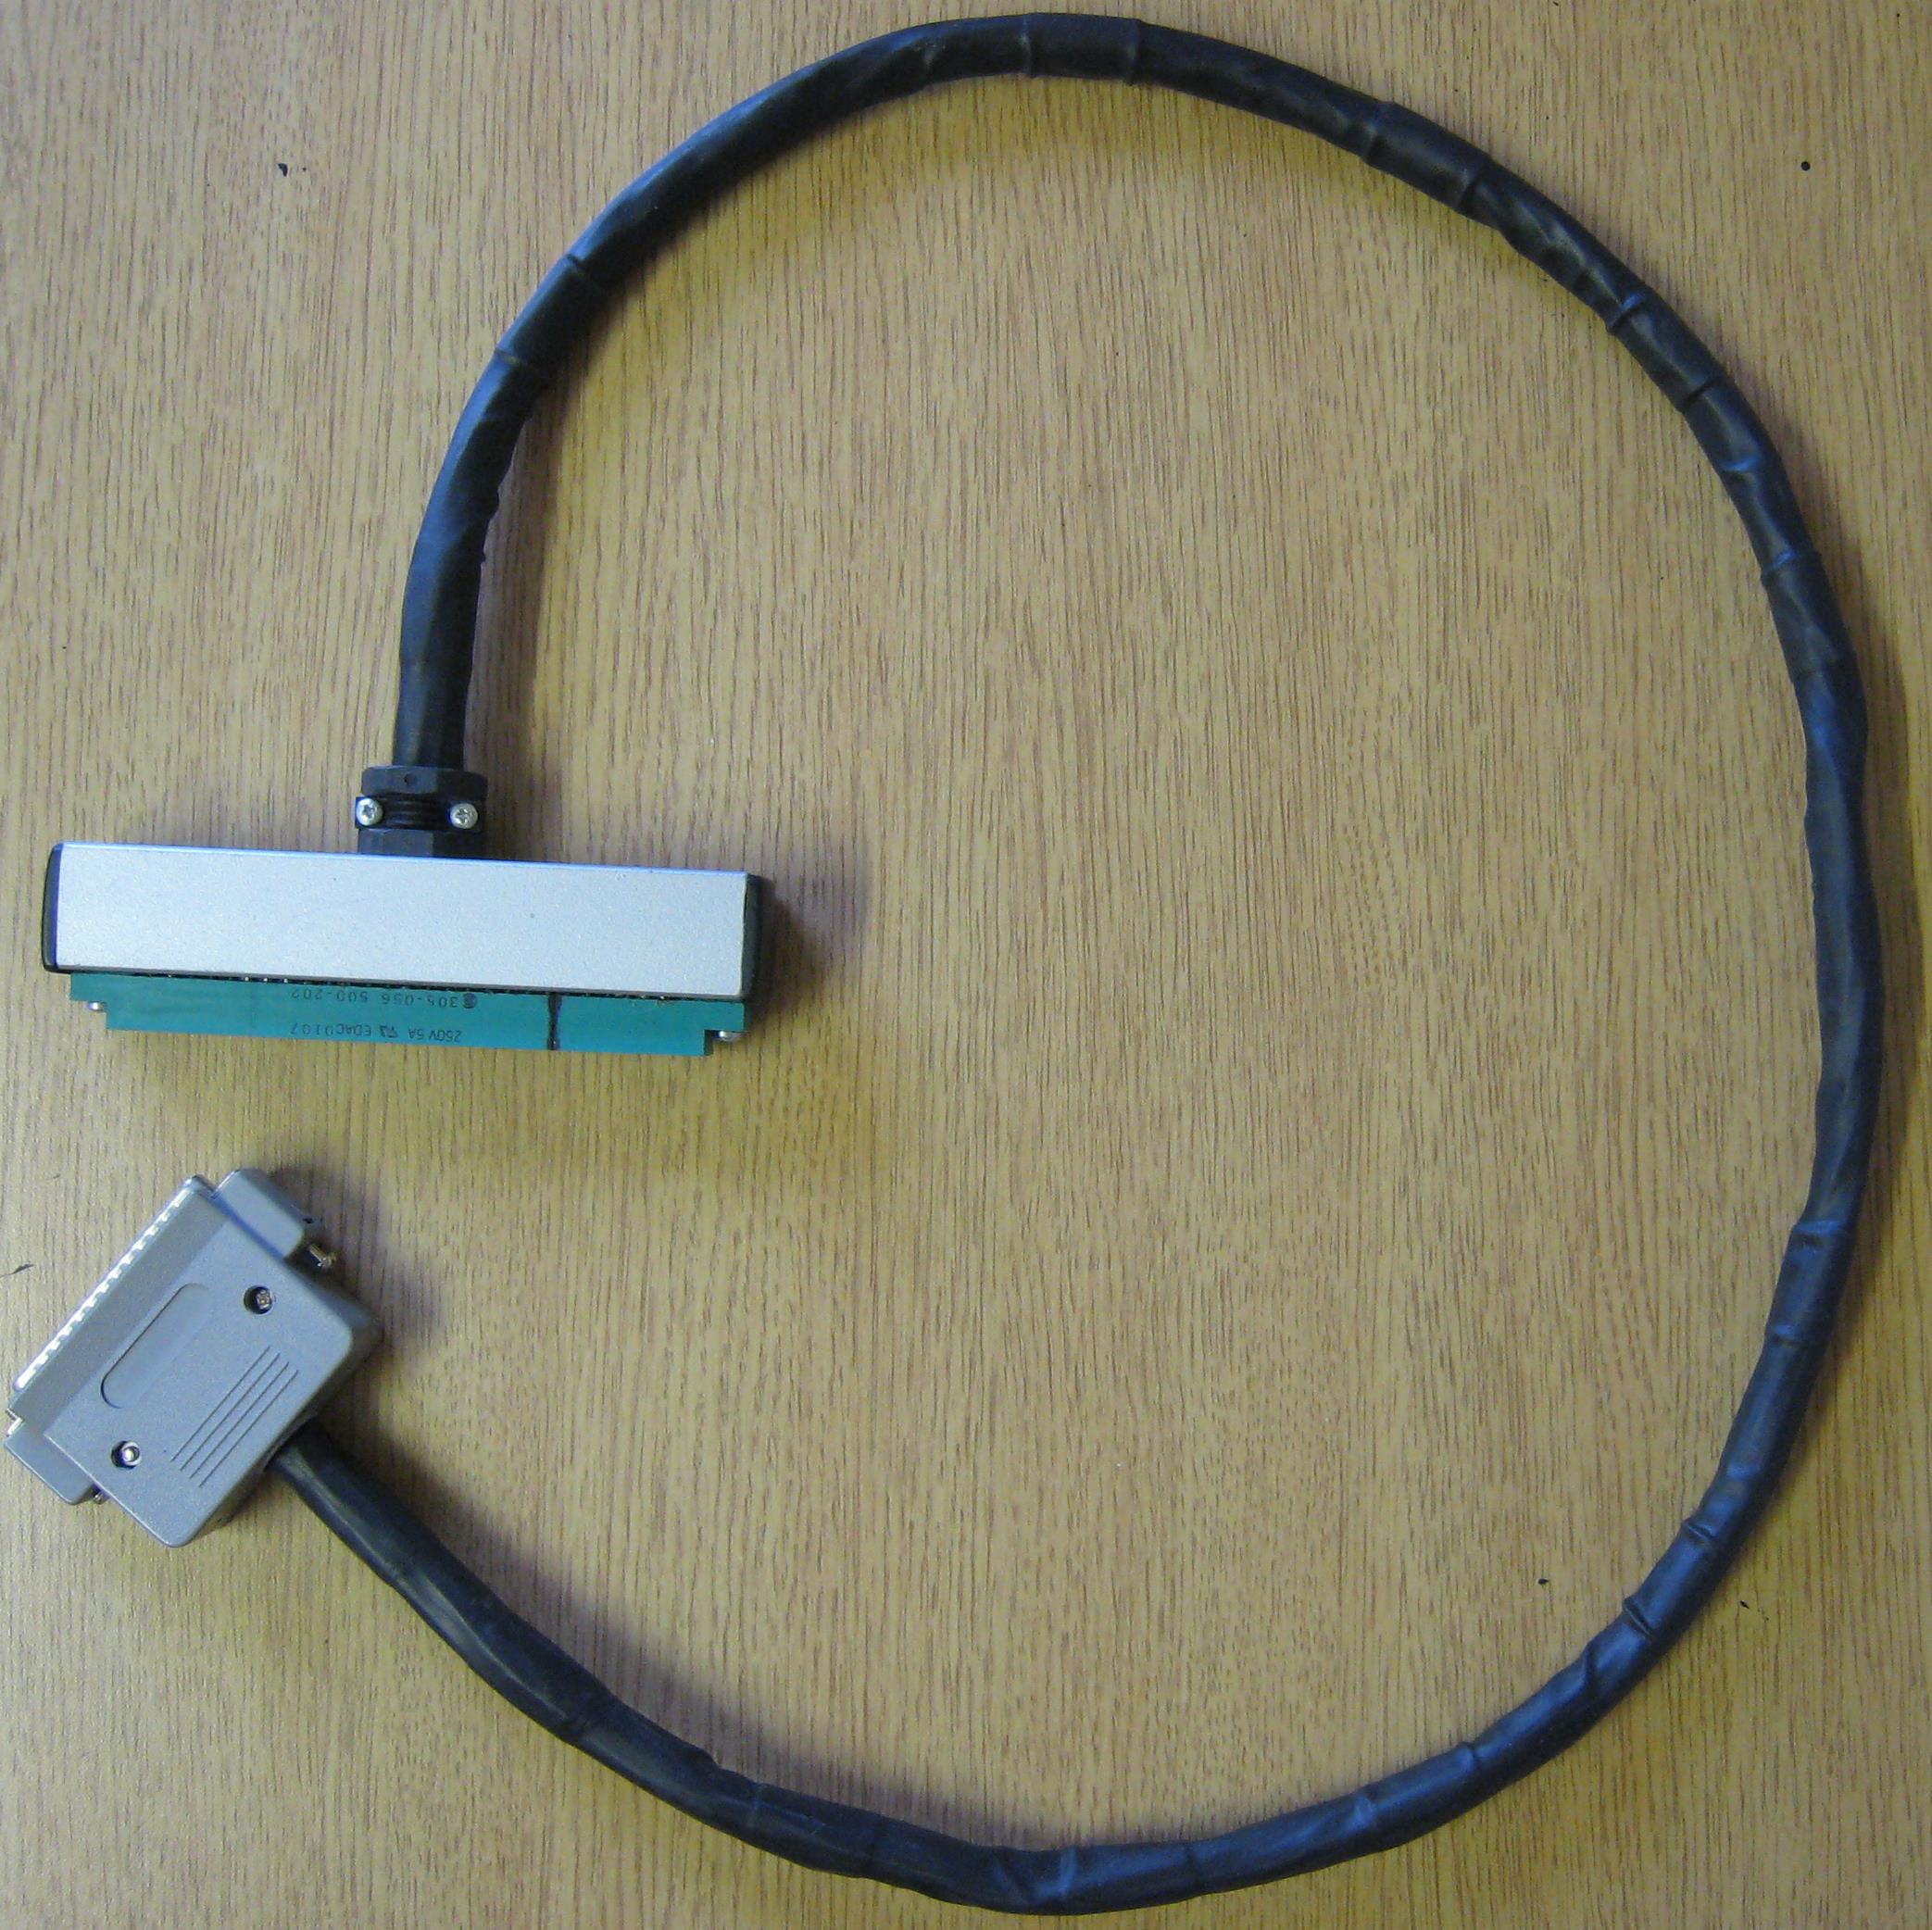
JAMMA Loom
I've never liked the look all the arcade projects I've seen, plan looking bare cables with soldered connectors all showing.
This loom has a custom made aluminium box to cover the JAMMA connector and heat shrink sleeving over the cable length, I added the extra Test button on the aluminium box at a later date.


Audio Connectors
Standard phono connectors, this did not work to well on some games due to the nature of the JAMMA audio standard.
Custom Build v2
Some design decisions made for the first version were a little off and most were sorted out in the second generation.
The new design JAMMA loom works on v1 so that's not the problem.
Change the audio output to a speaker output, as JAMMA is an amplified output designed to plug straight into a speaker, user phono connections was quite a bad choice for v1.
As the PSU is going into a metal box, why keep the PSU in it's own box?
Taking the PSU out of it's own chassis makes the whole design much smaller.
As the chassis is smaller, the three diagnostic LED's where reduced to just one for the 5v Line.
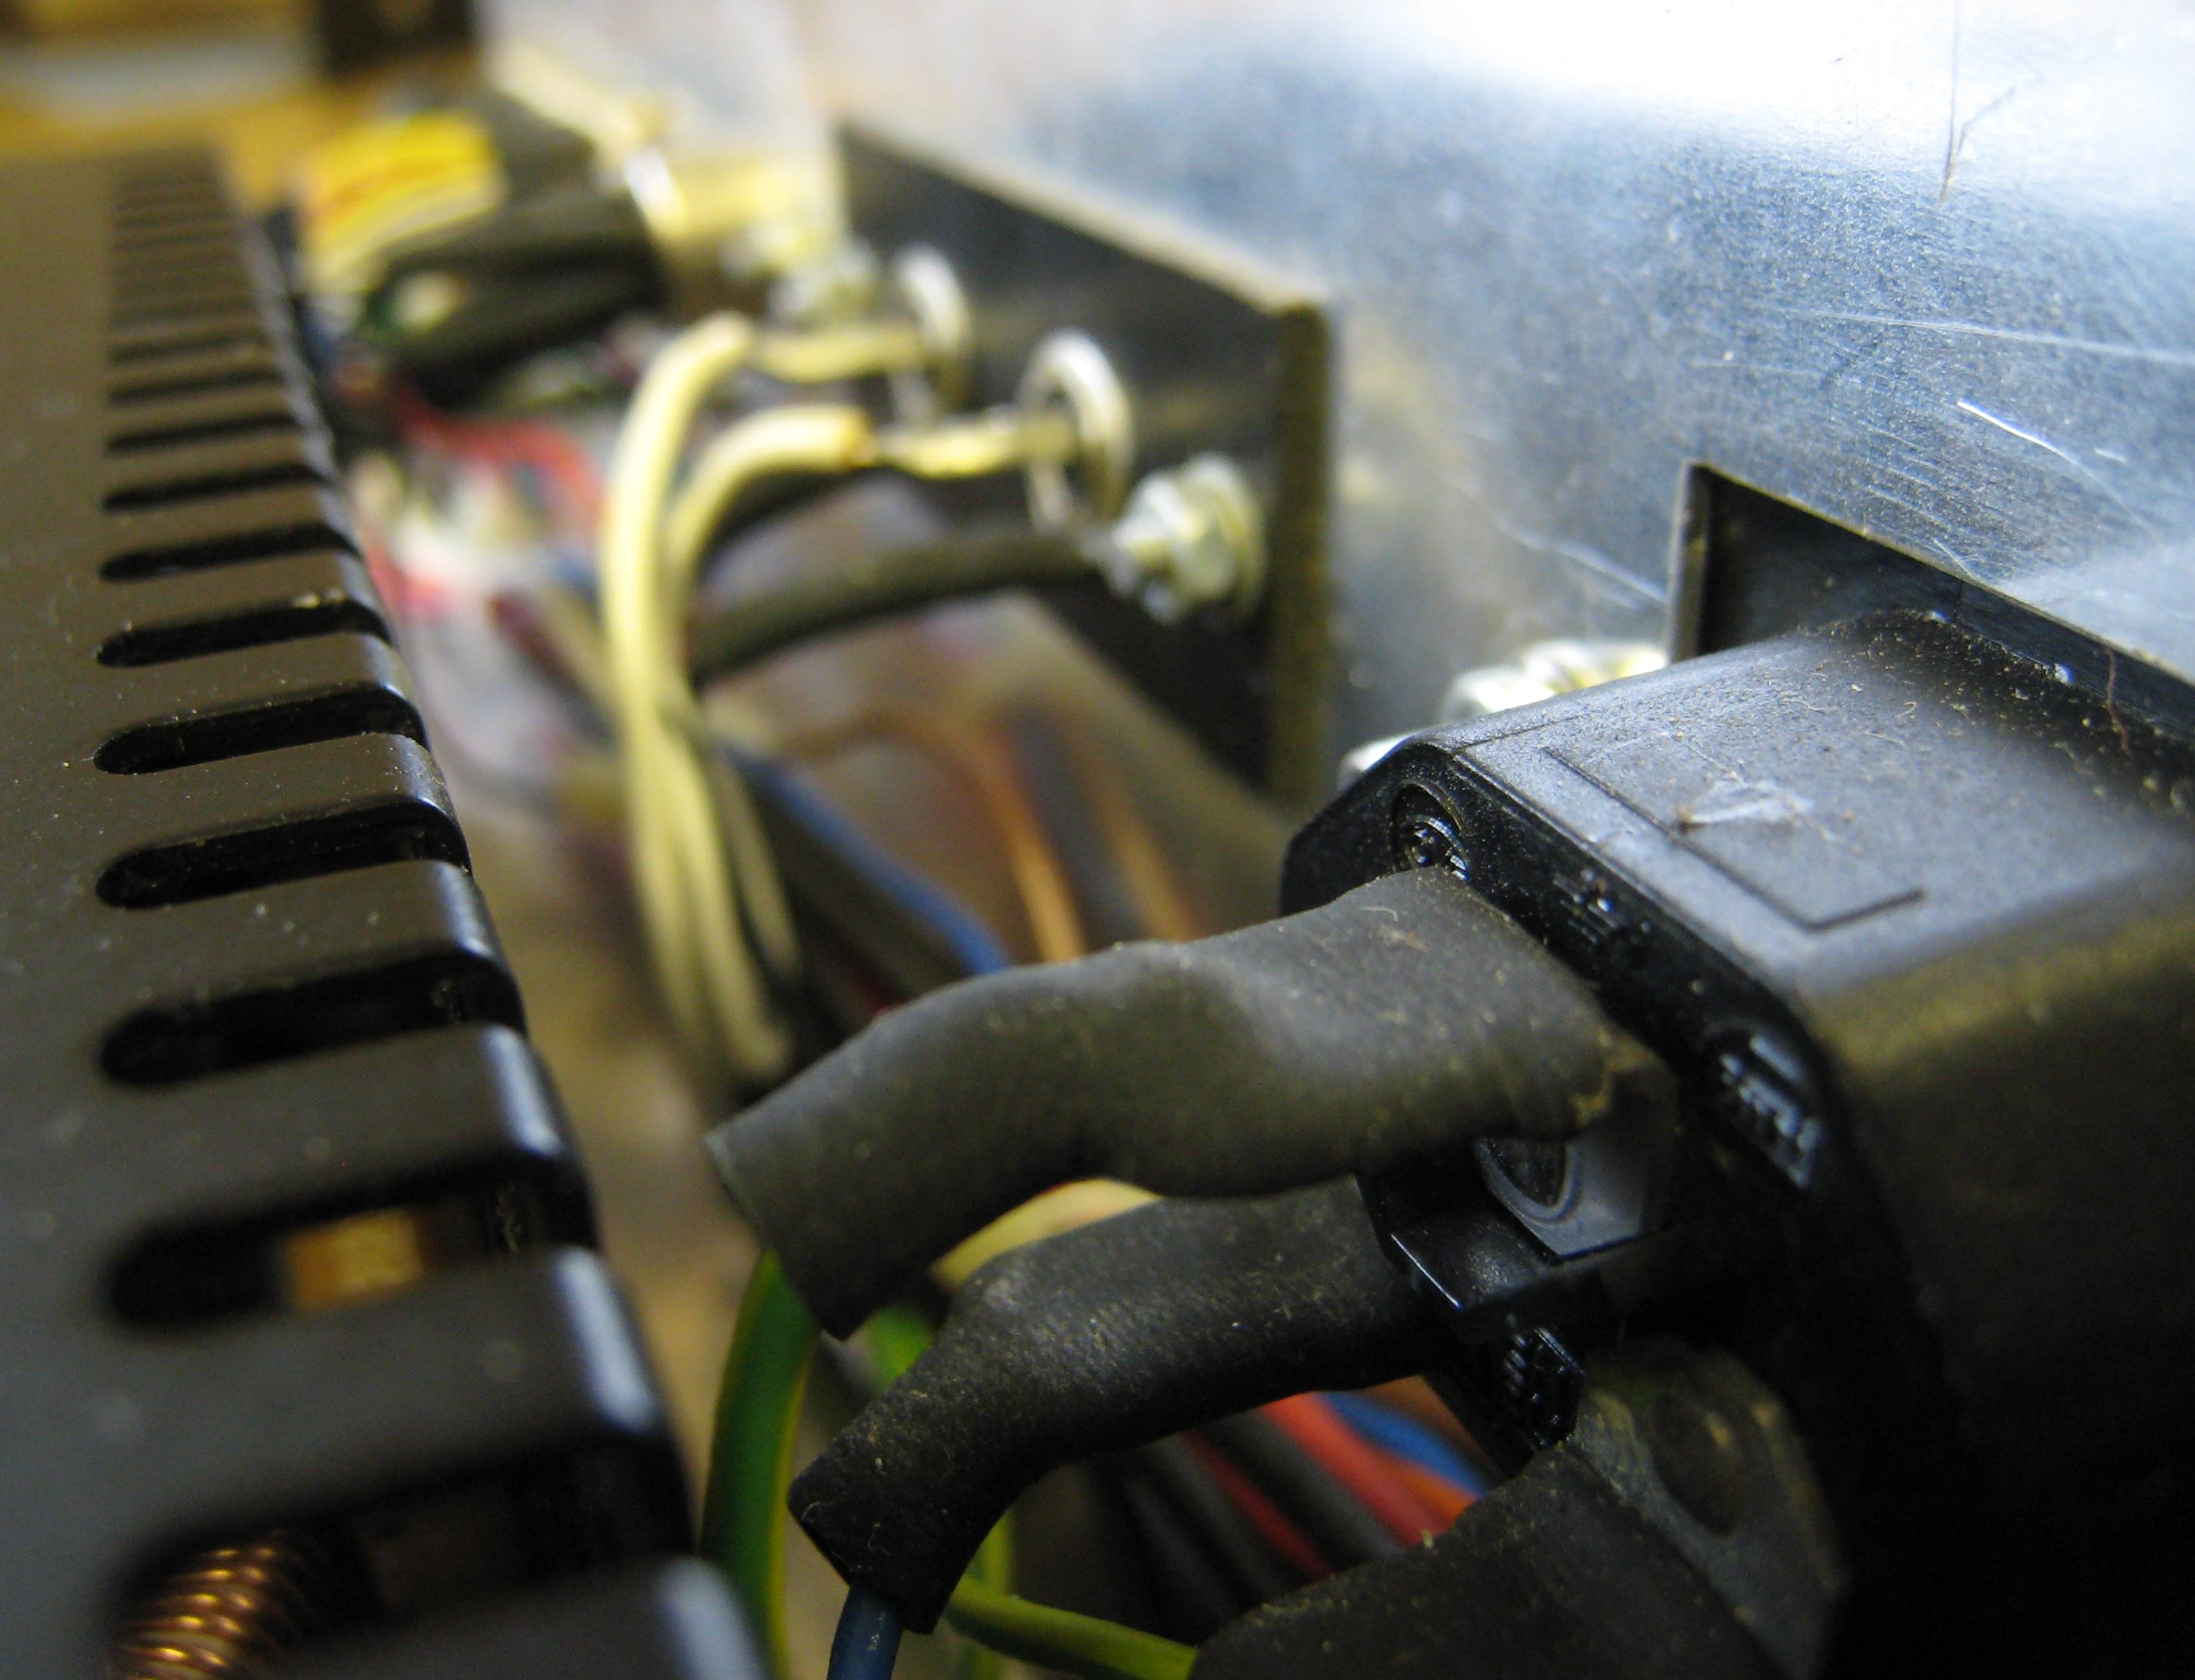
One poor choice is the six pin din connector for the monitor, they are easy to bend the pins and hard to solder, I will look into a better version for v3.
The second generation was almost made, my brother abandoned the project at the shell stage, all the holes were cut and designs made but never wried up or put together.
I wired everything up and tested all the connections but I think the PSU was faulty as it does not power up or show any life whatsoever
This project was originally start by my brother back in 1991, when I took over in 2003 it was all the bits minus a few fixings, the box had all the holes cut, it was just a case of assembling it, the original finish was a pale white but had started to flake off around the cut holes so I shot blasted the base and spay painted it with grey Hamerite Smooth.
I soldered all the connection wired ut up but found out the PSU was faulty.
31st March 2016, I finally got around to looking into the issue and have concluded the original PSU doesn't work, I had a spare PSU I bought from Japan a few years back, fitted that and all is now working.
25 years in the making and it's finally finsihed.
Main Chassis


Loom
Version two of the loom was made with a Dexion Speedframe section with Plastic End Caps made for the JAMMA connector, it was a tight fit but worked out well, much smaller than the aluminium box version, earthed with no chance of electric shock, much better than bare solder joints.
The service and test cables were run to the chassis rather than on the aluminium box like v1.


Comparing v1 arcade to v2 arcade
As you can see, v2 was quite a bit smaller but still used the same connector for the Video, JAMMA and Joysticks.


[T O P]