
|
|
|
|
|
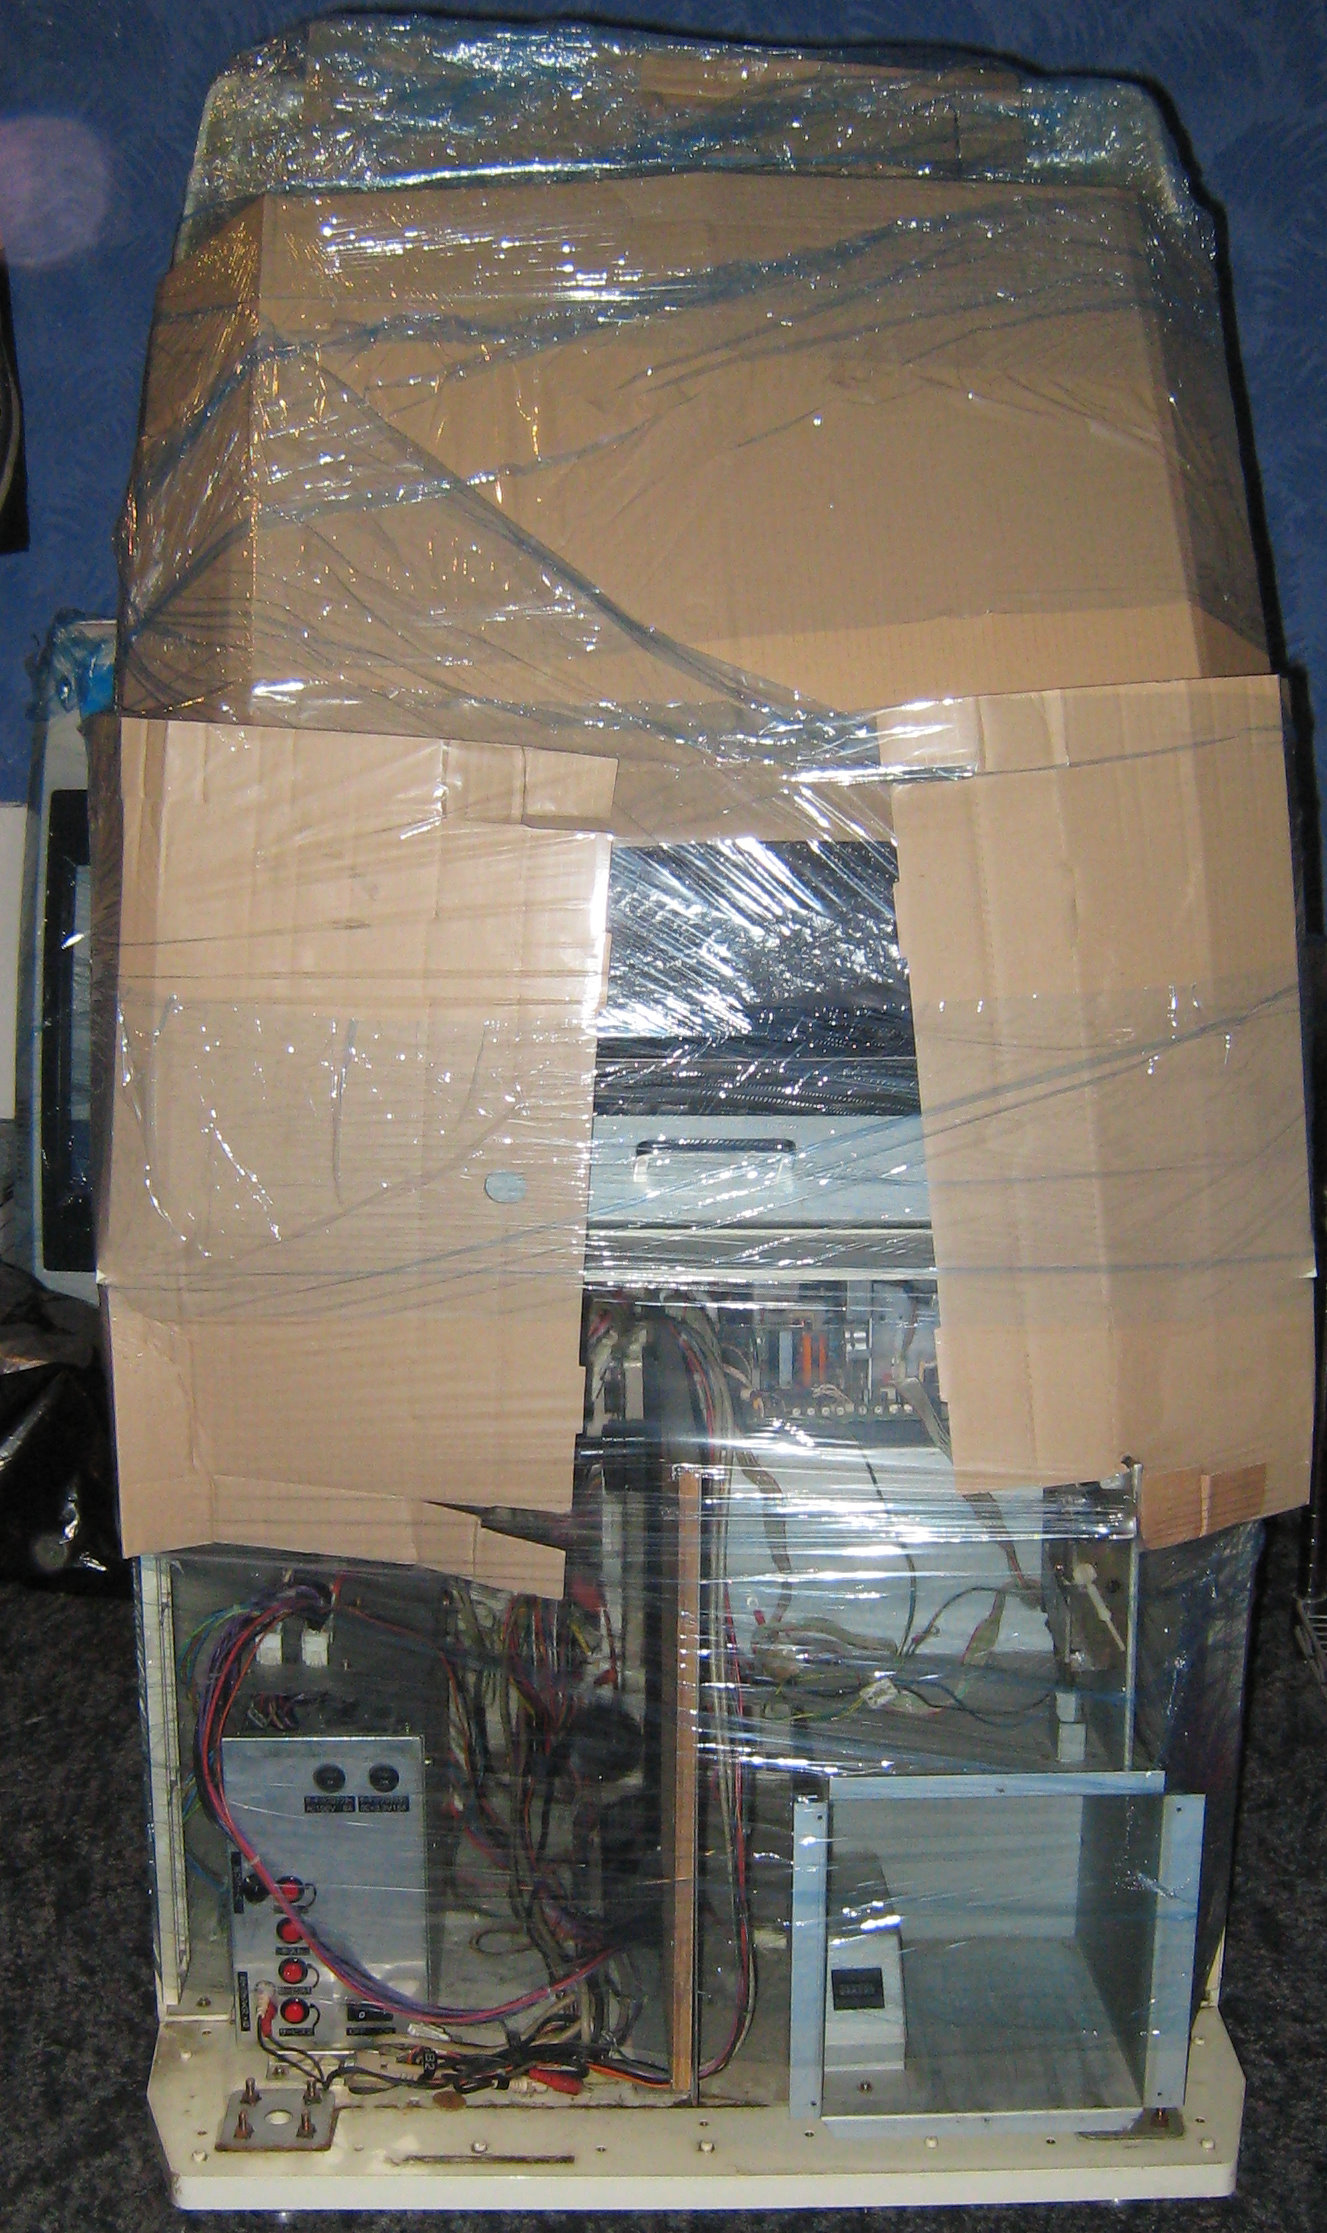
Konami Windy II
Here's a link to another Windy II restomod by Ziggy Cheetos Dust on the Arcade Project forum.
https://www.arcade-projects.com/threads/konami-windy-ii-good-to-great-a-refurb.36282/
Delivered
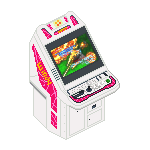
Here the machine as it was delivered.
The machine had to be partially stripped down to fit through various doorways, when it was finally delivered , I decided to clean the front joystick pod which was incredibly filthy, the problem is there's a fan on the back of the machine (for cooling) that sucks air out of the machine, so this machine has been sucking dirt in for decades making it nice and filthy.
The problem is the Joystick Pod came out so clean and new looking that it made the rest of the machine look even more filthy, I then decided to do what someone else had done to a pink Windy on the net and totally strip it, clean it and put it back together again.
So here's the restoration of my Konami Windy II.
The Windy II is JVS, this makes it much harder to follow as it has many cables, it's much more complex when compared to a standard JAMMA cabinet.
JVS has extra circuit boards, VGA, USB and Stereo Audio cables, I've took quite a few images to help with the reassembly, luckily the machine came with the original Windy II operators manual which includes excellent schematics and large diagrams.
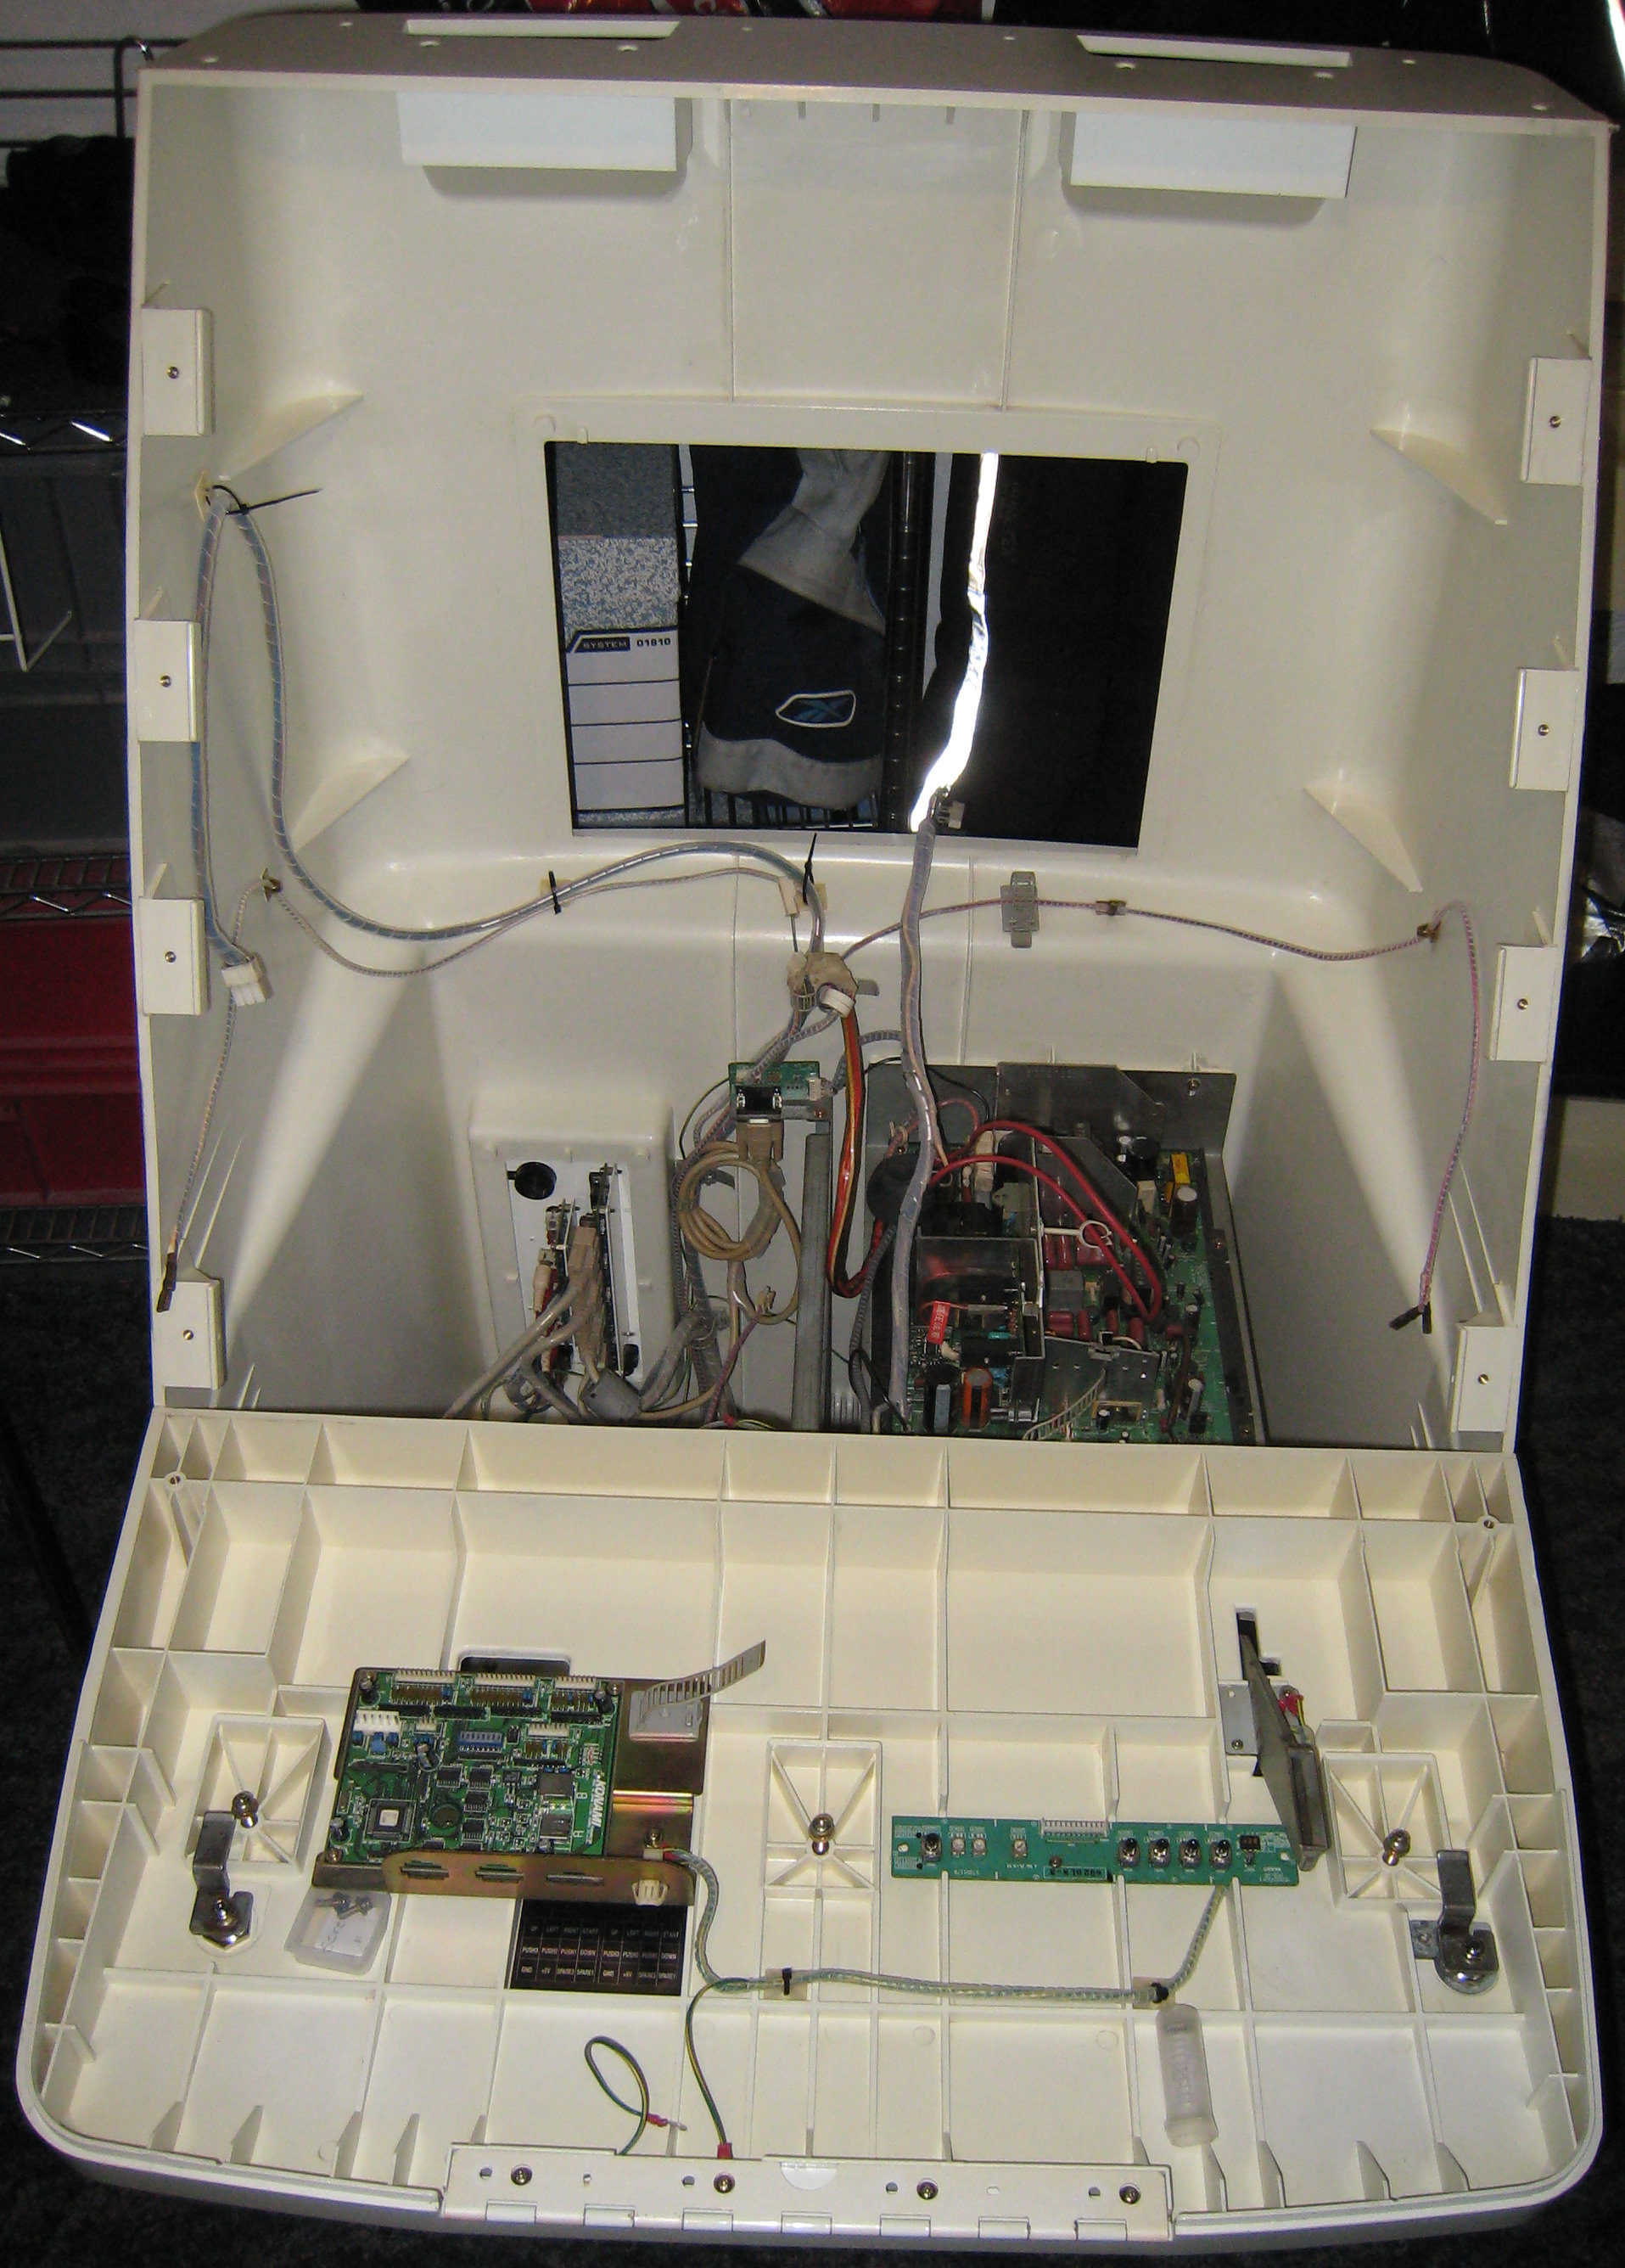
Joystick Pod
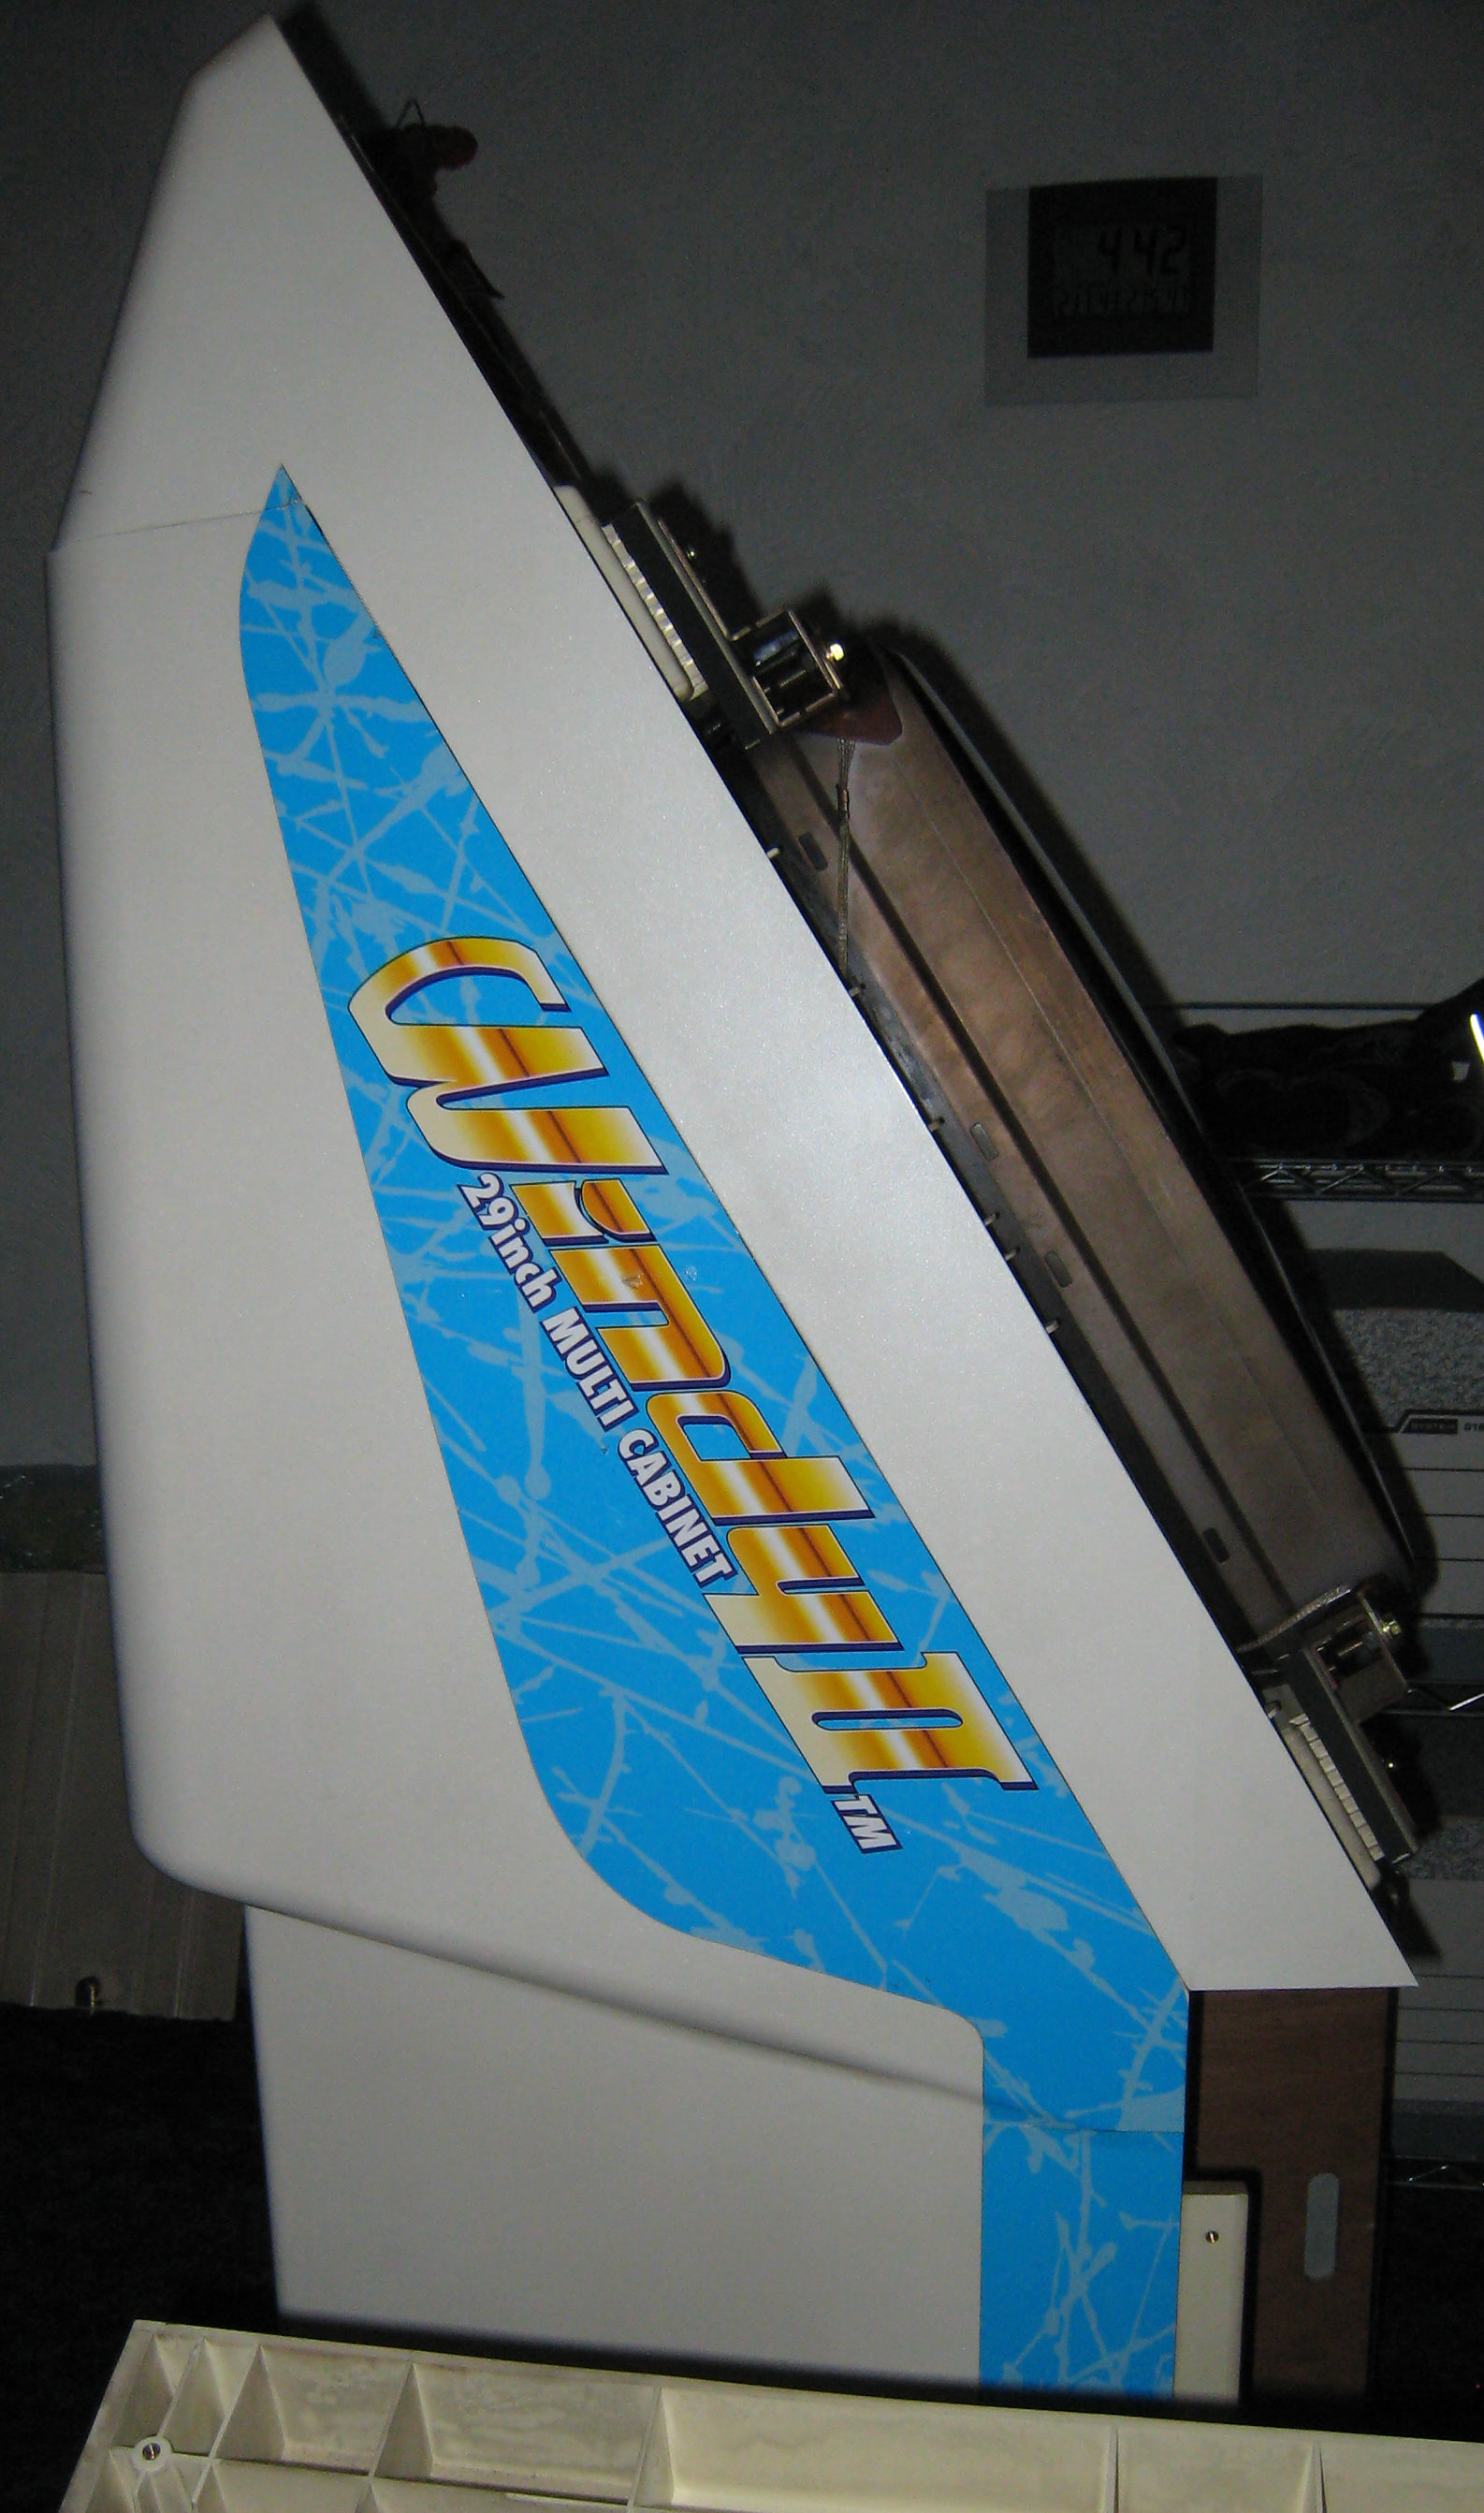
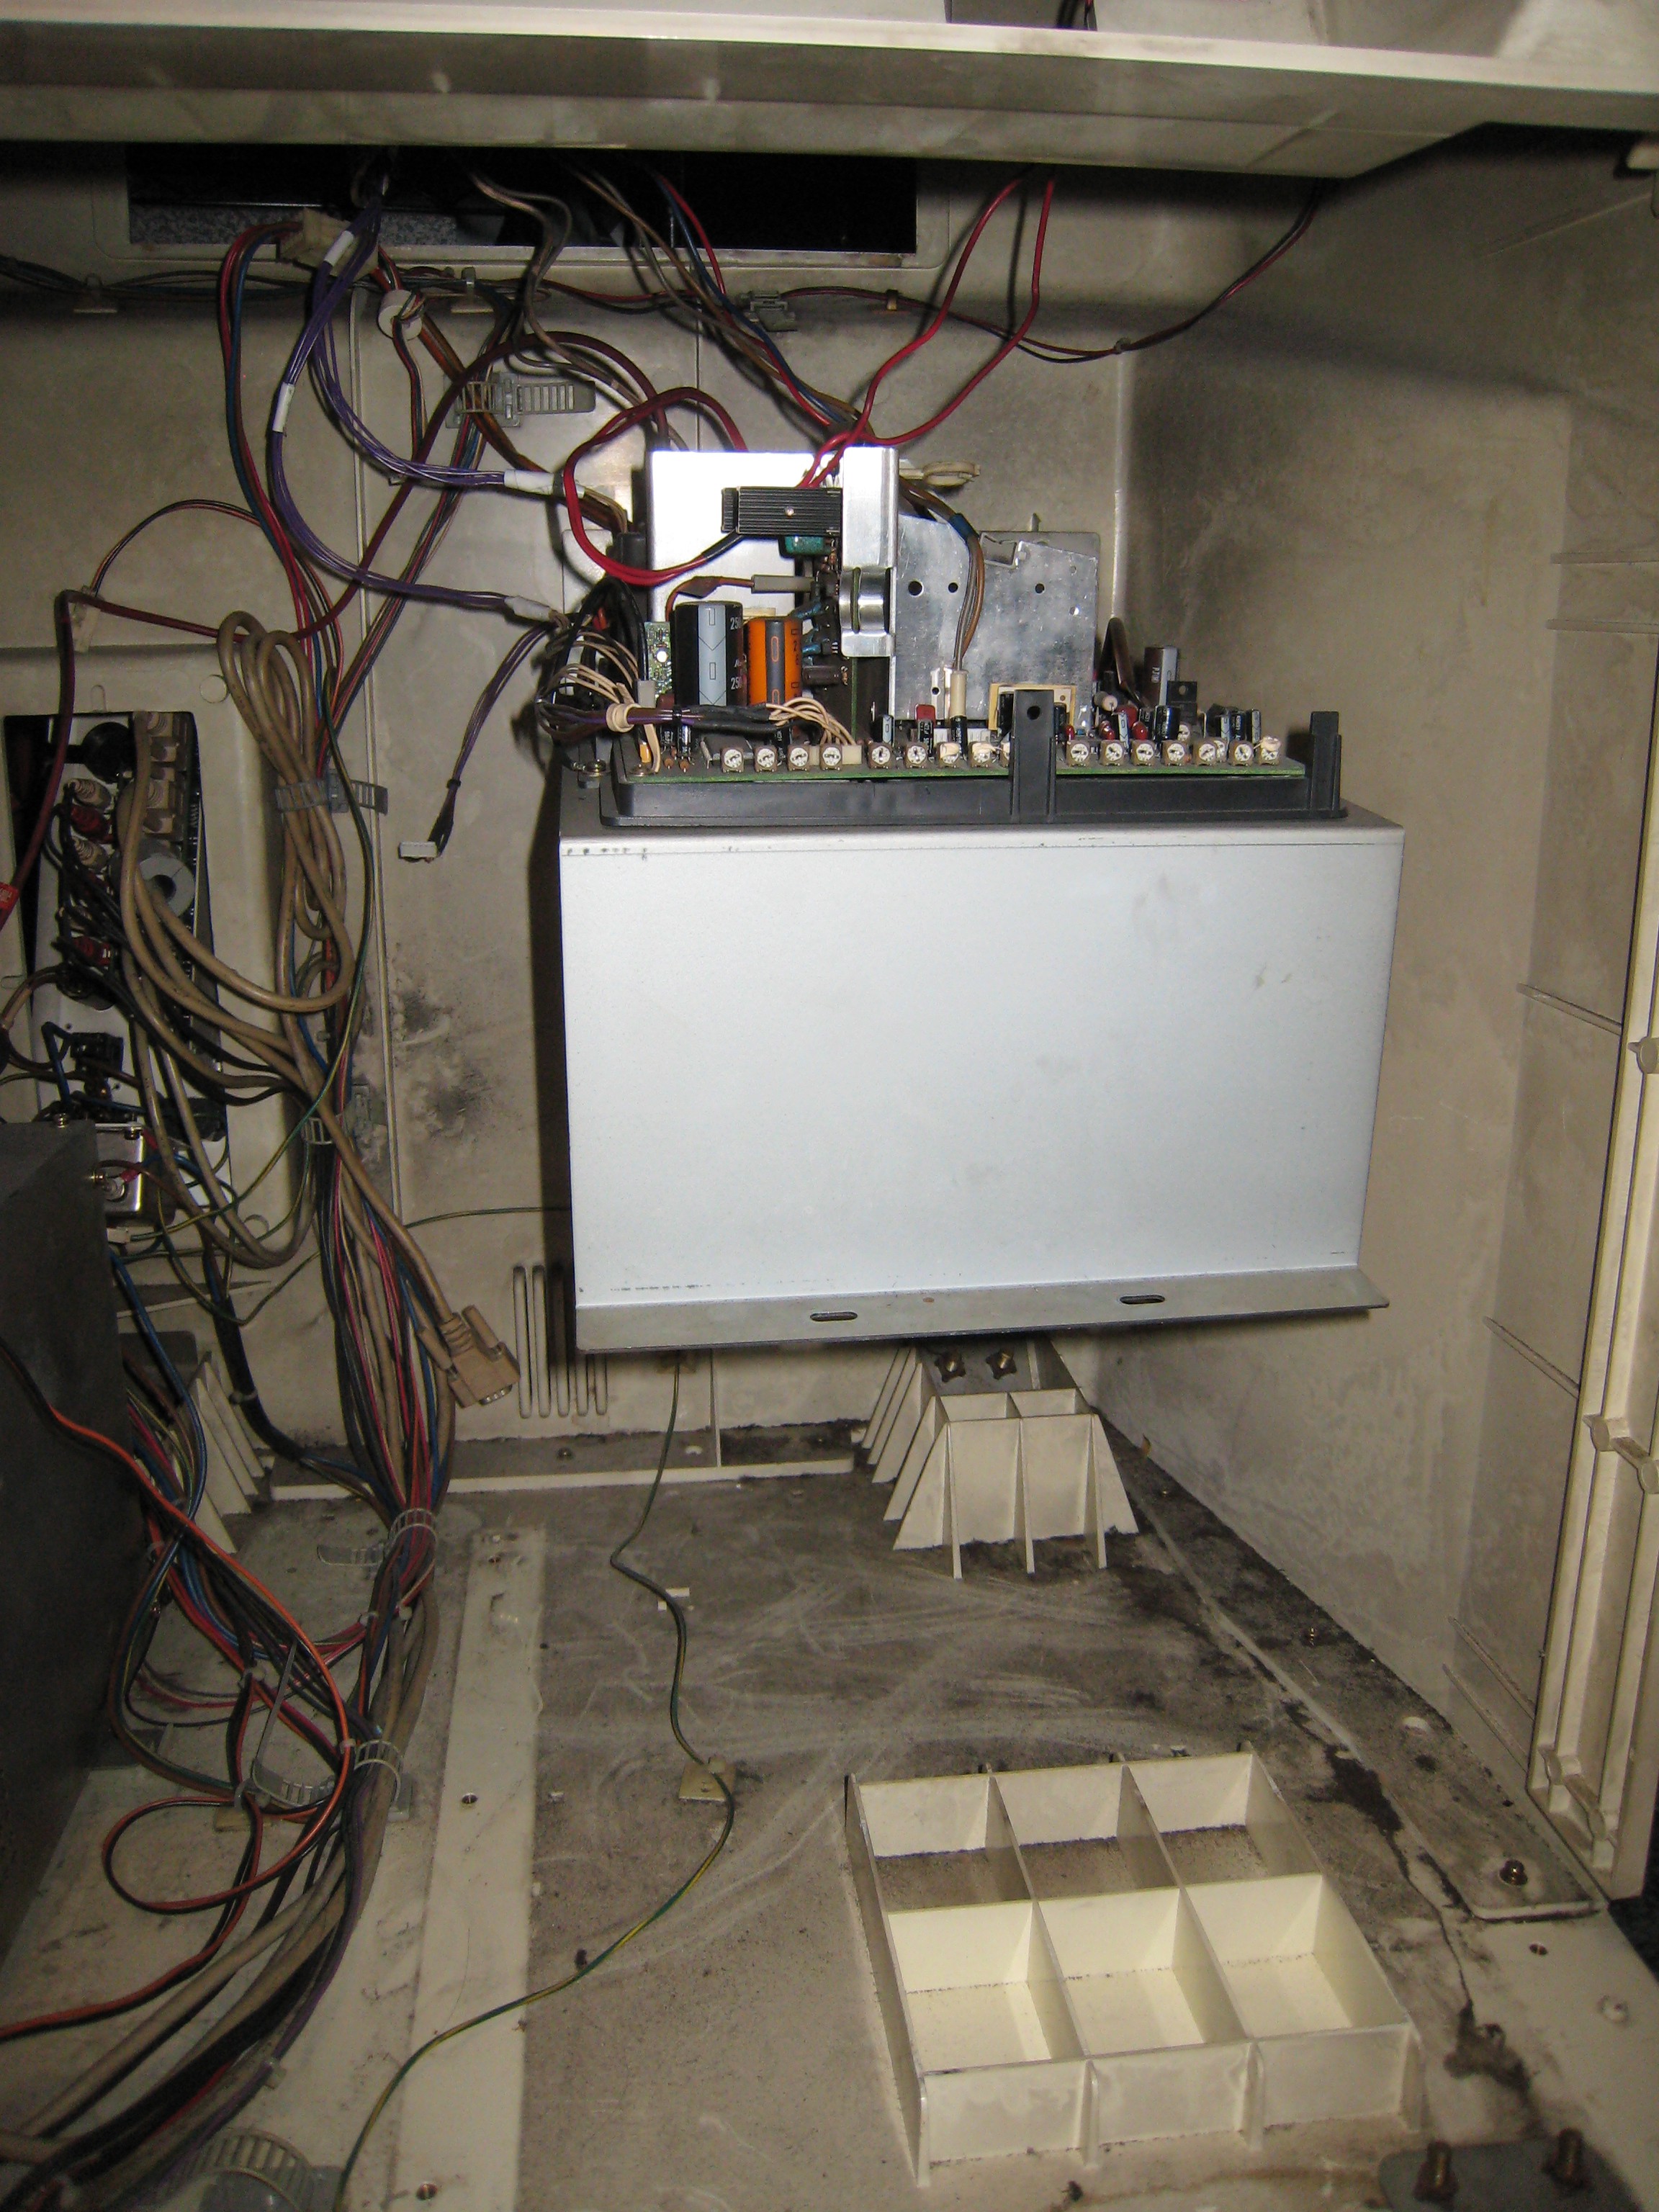
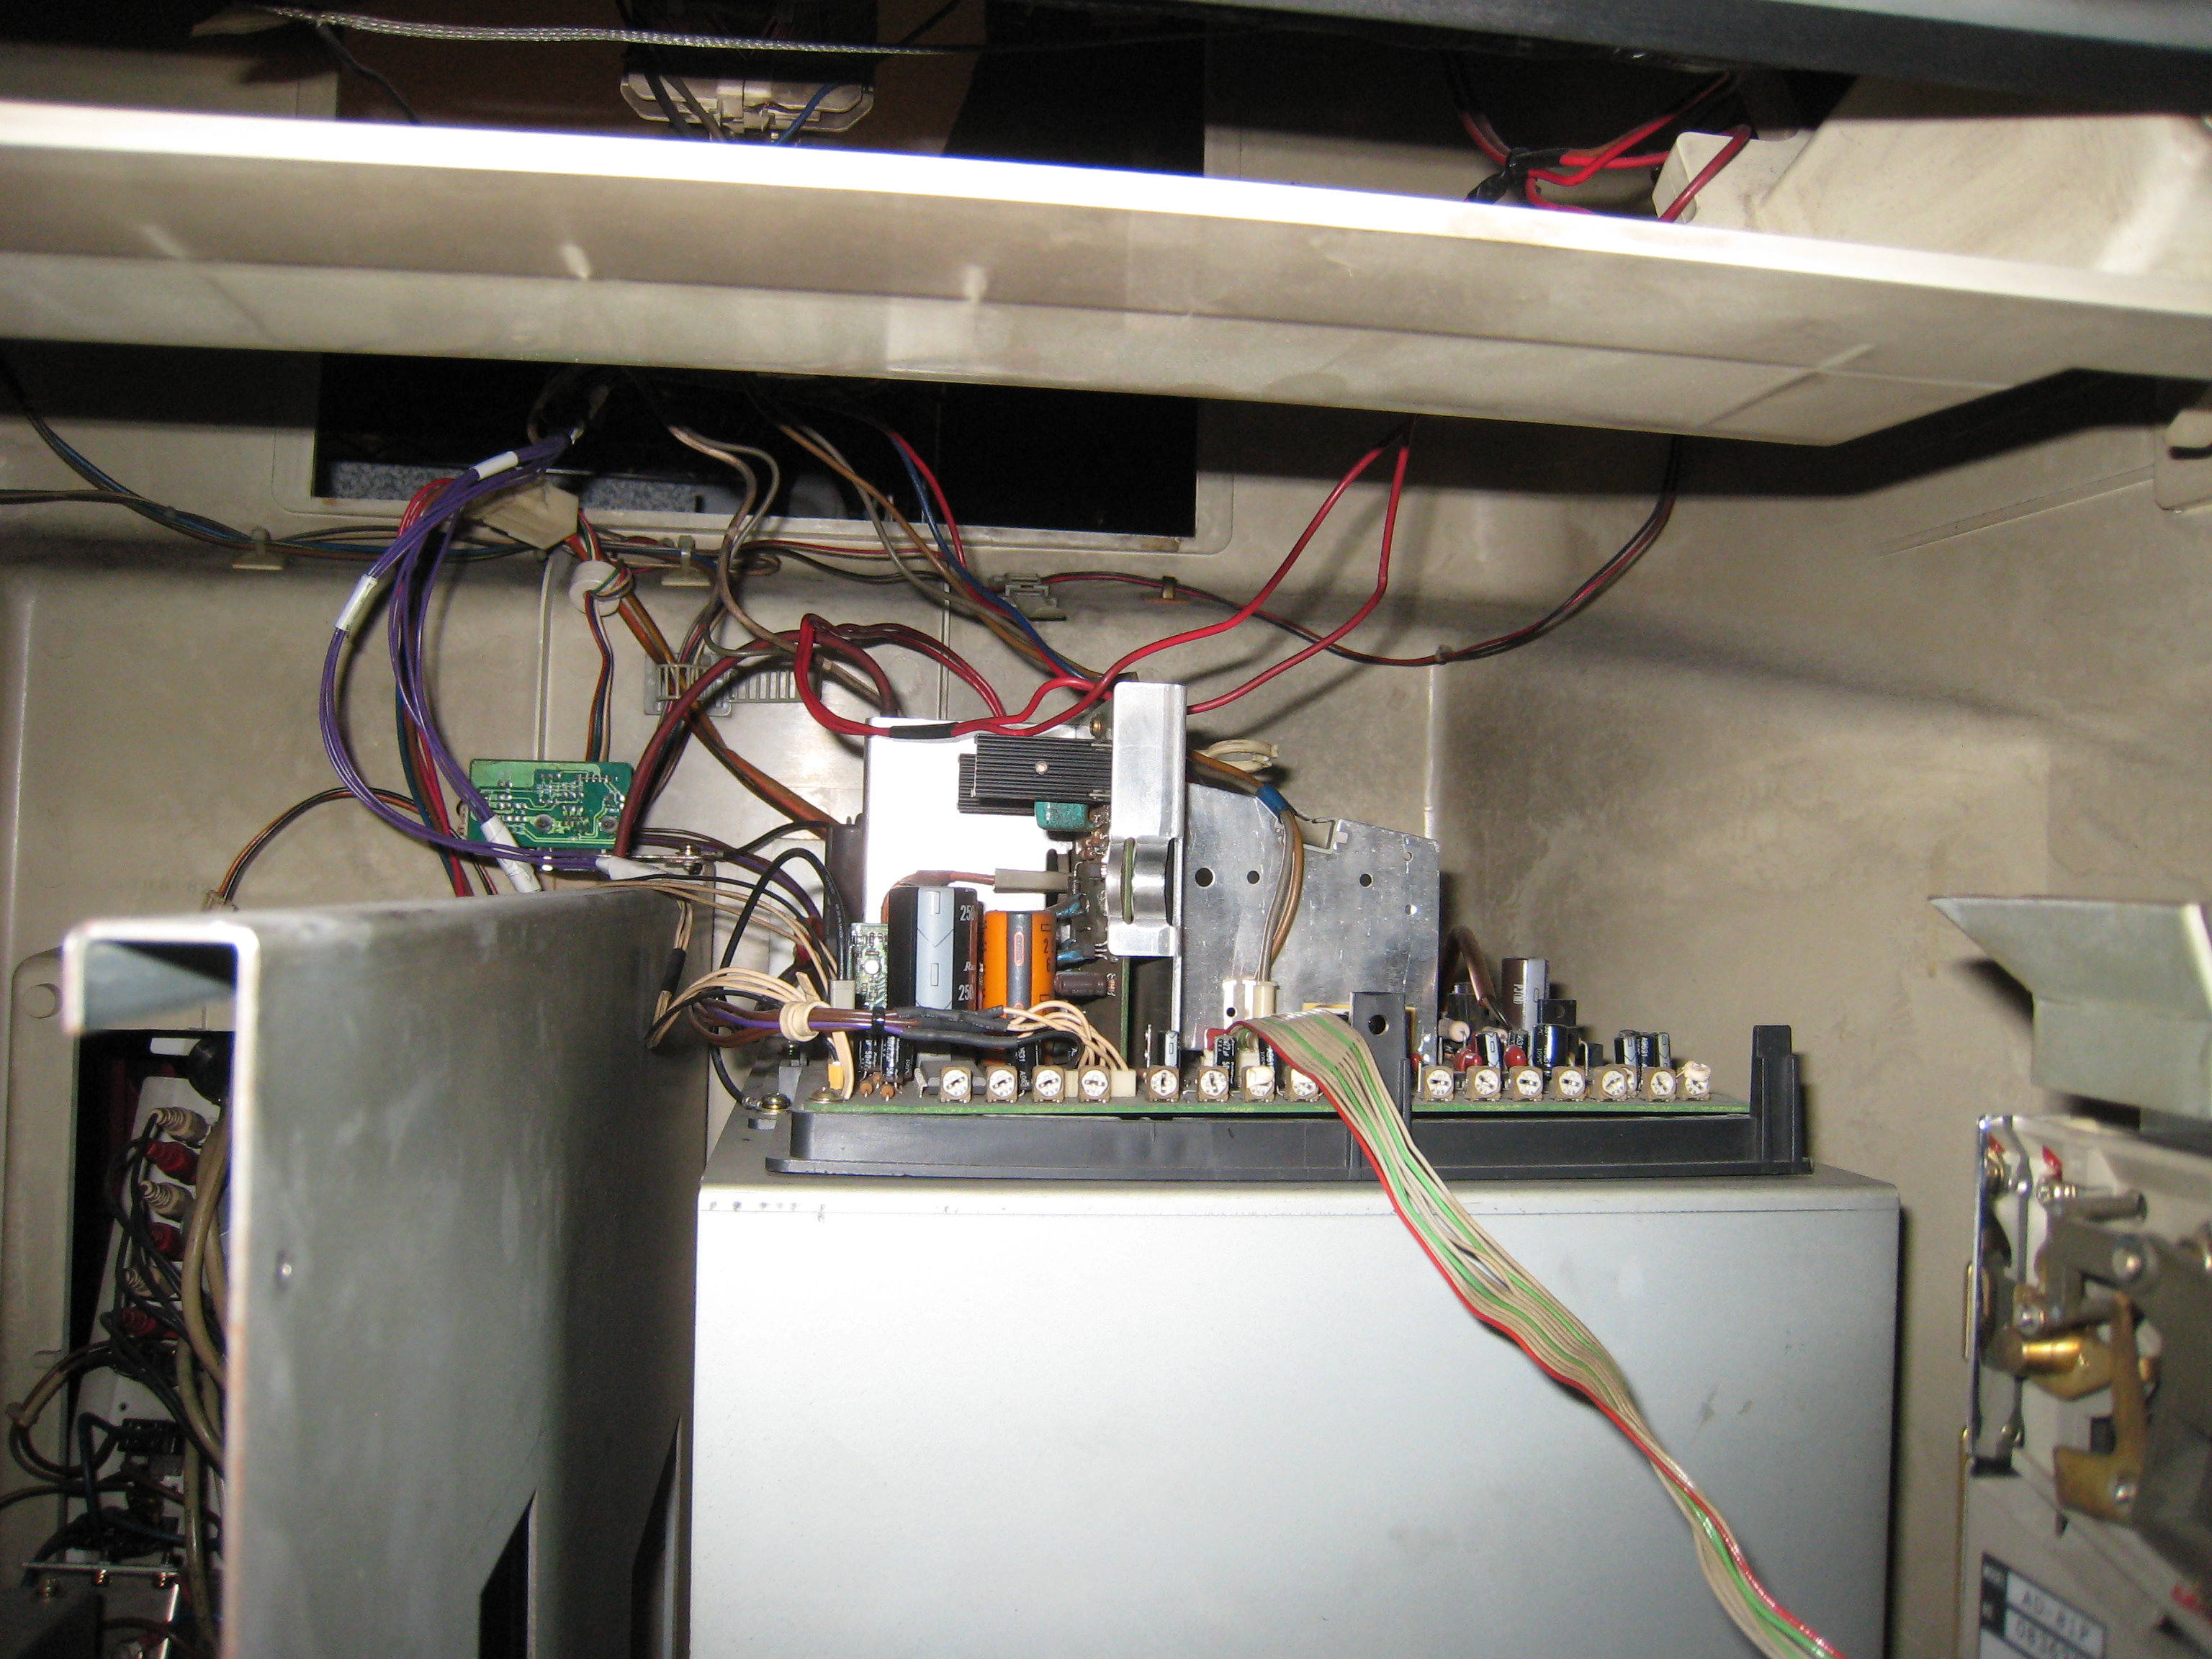
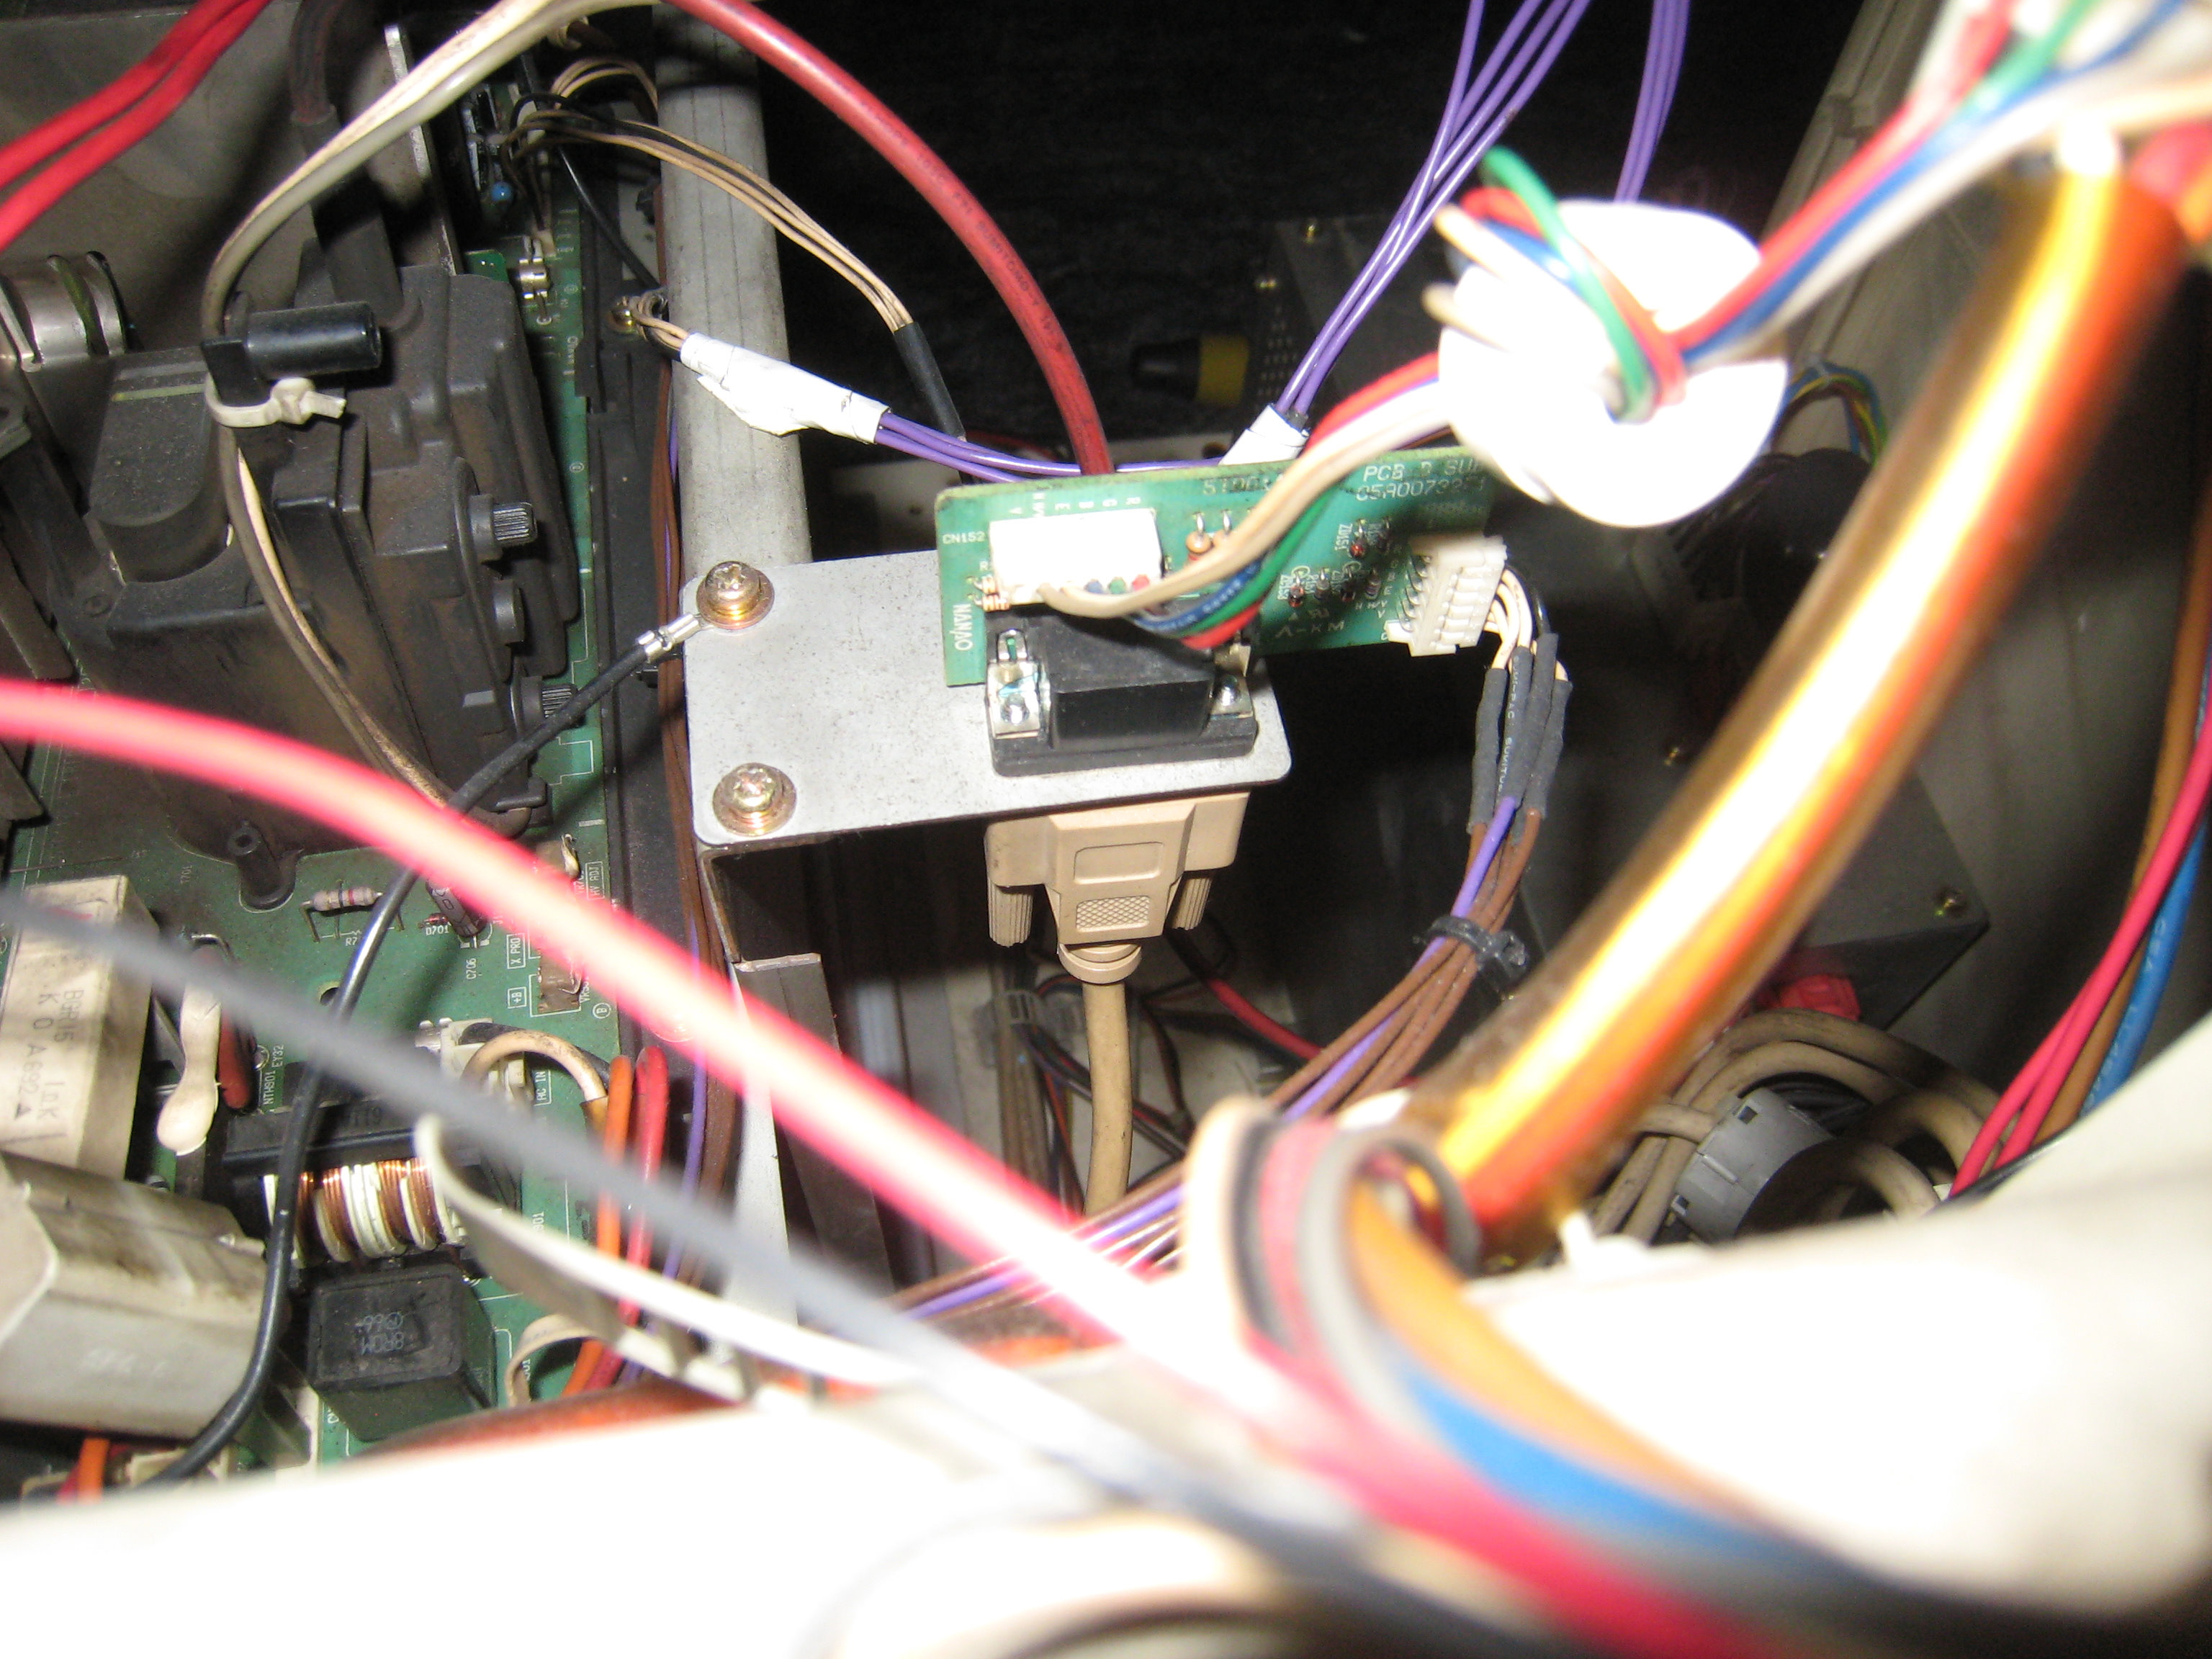
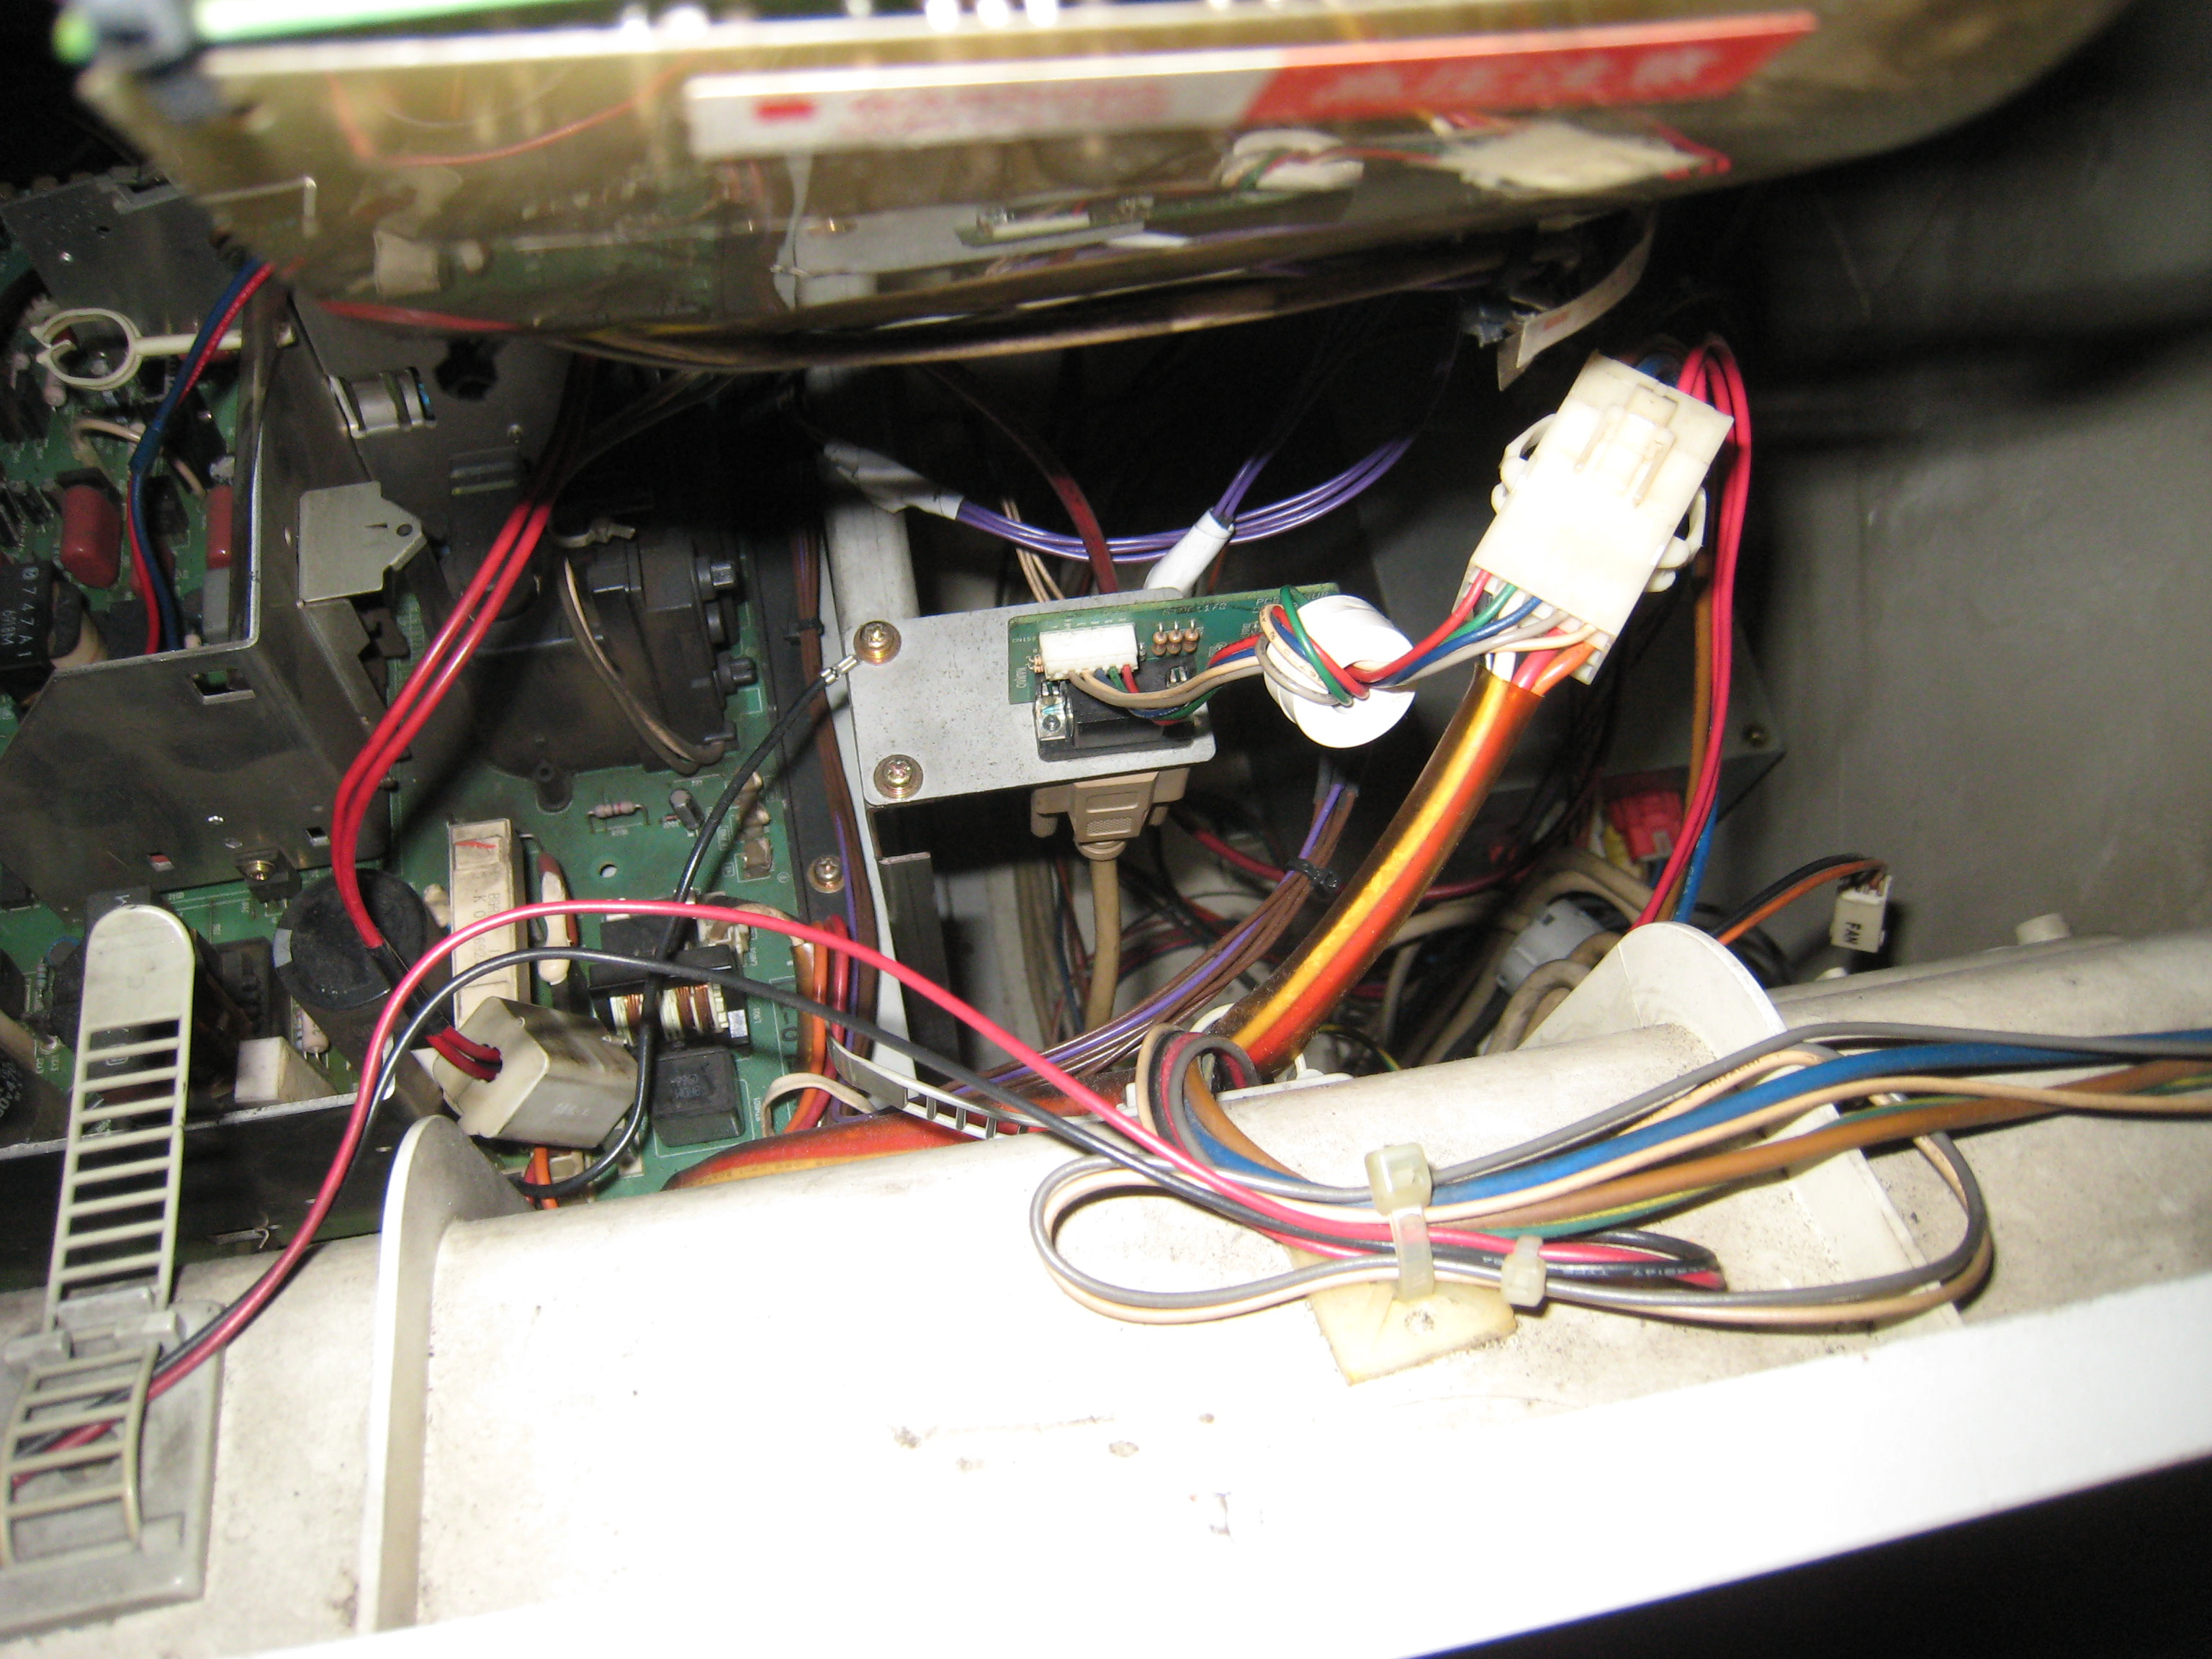
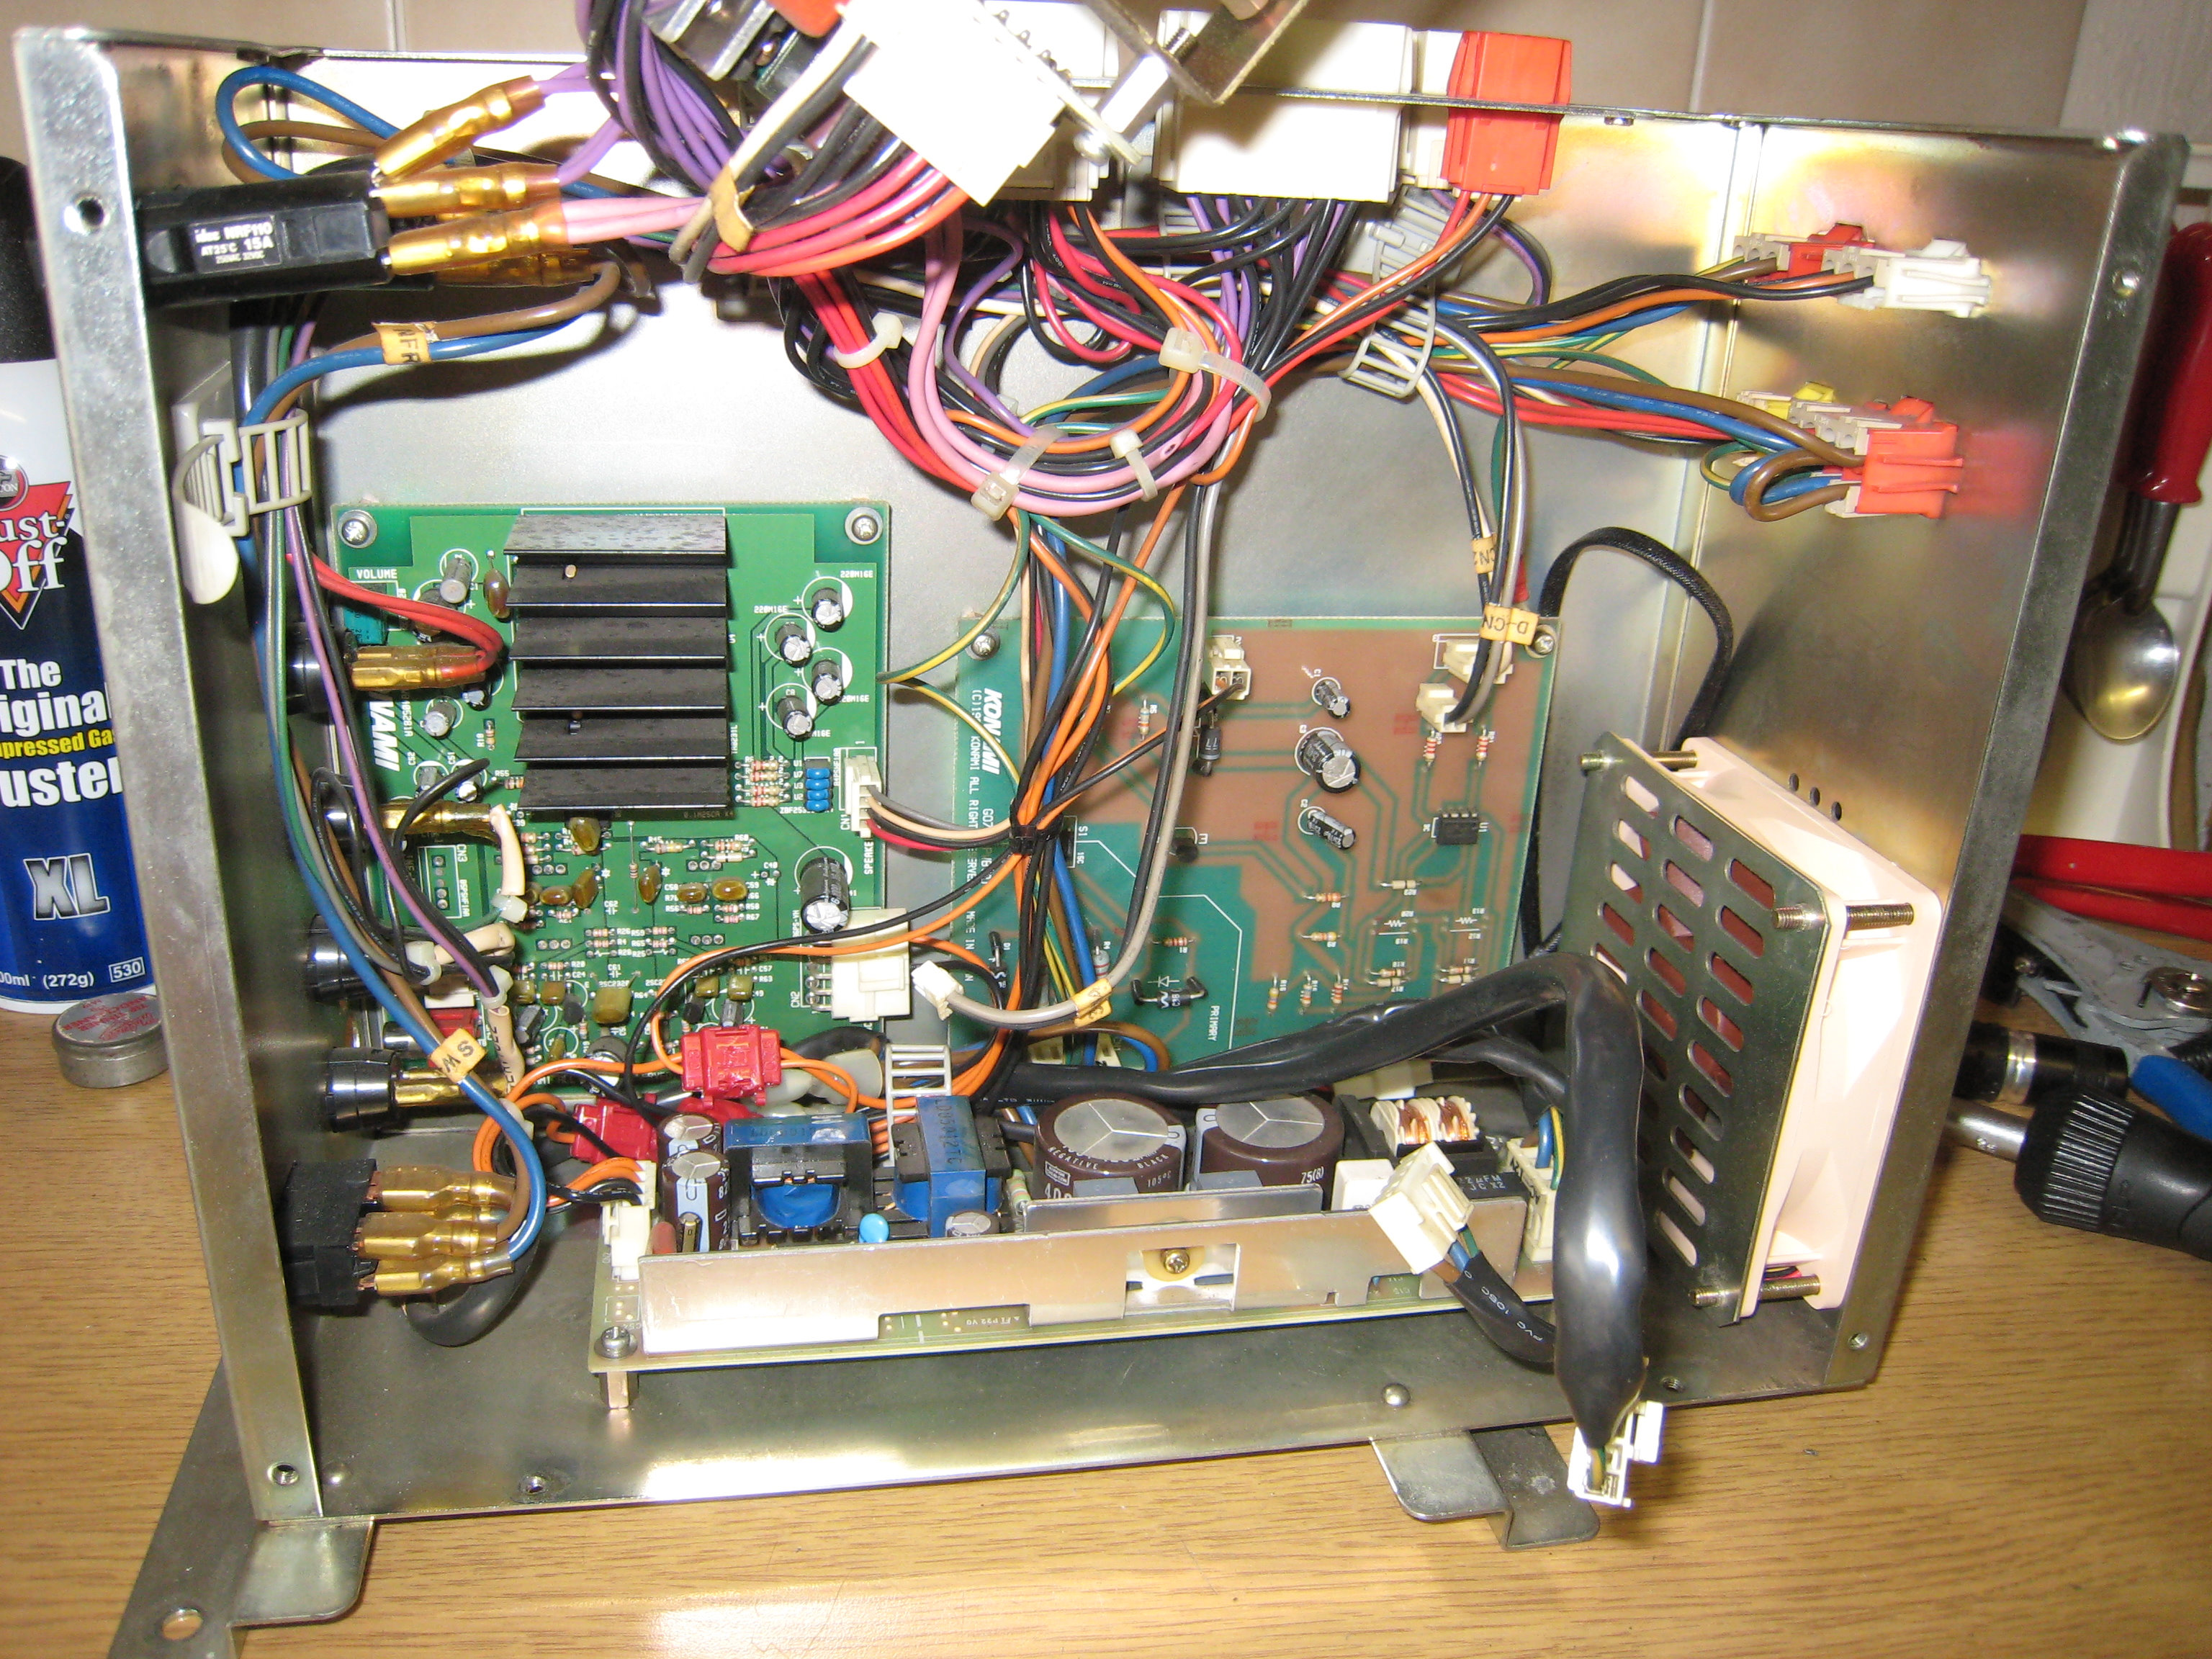
Here's the main joystick wiring with the Toshiba monitor remote board on the right and the JVS control board on the left.

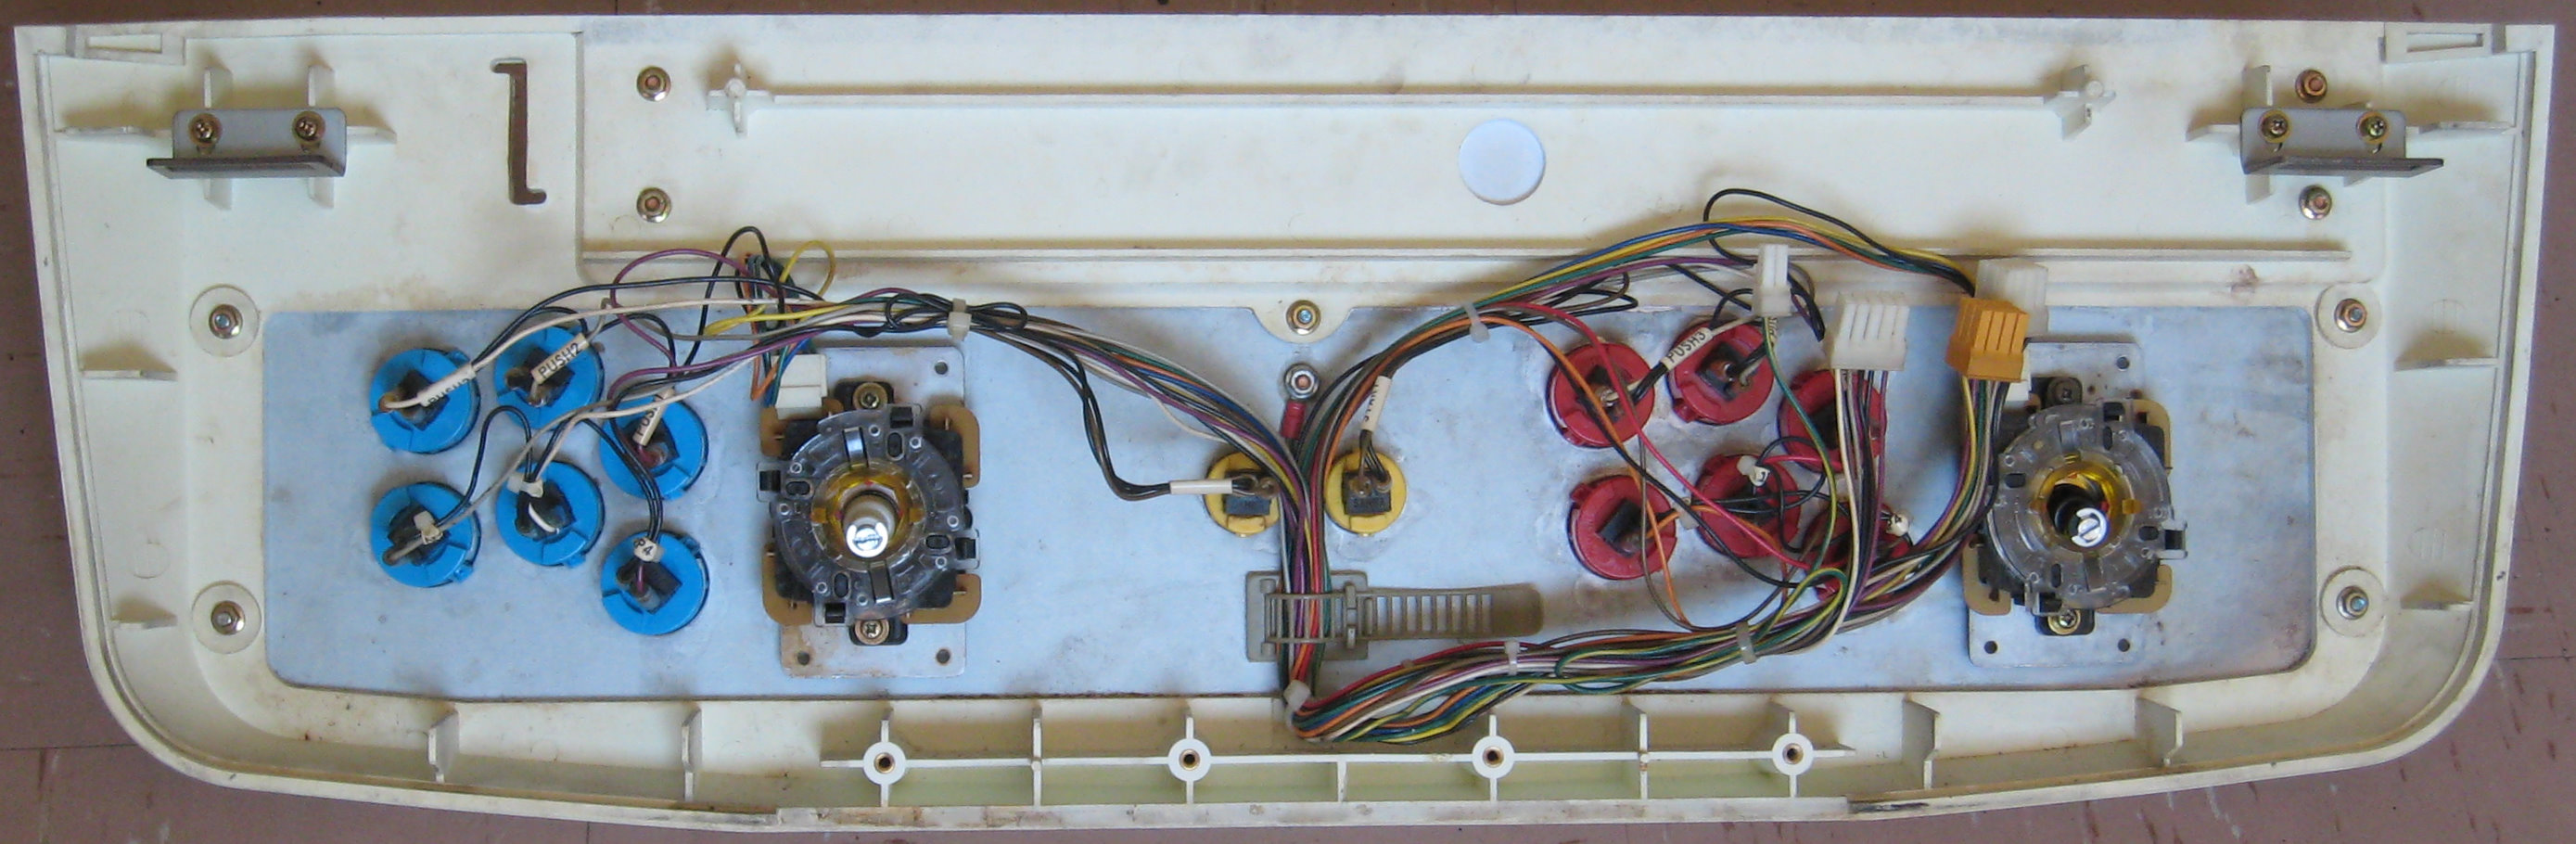
As you can see it was incredibly filthy.
![]()
After Cleaning
It came out great once cleaned, much better than a metal cab which would be covered with rust and would require repainting.
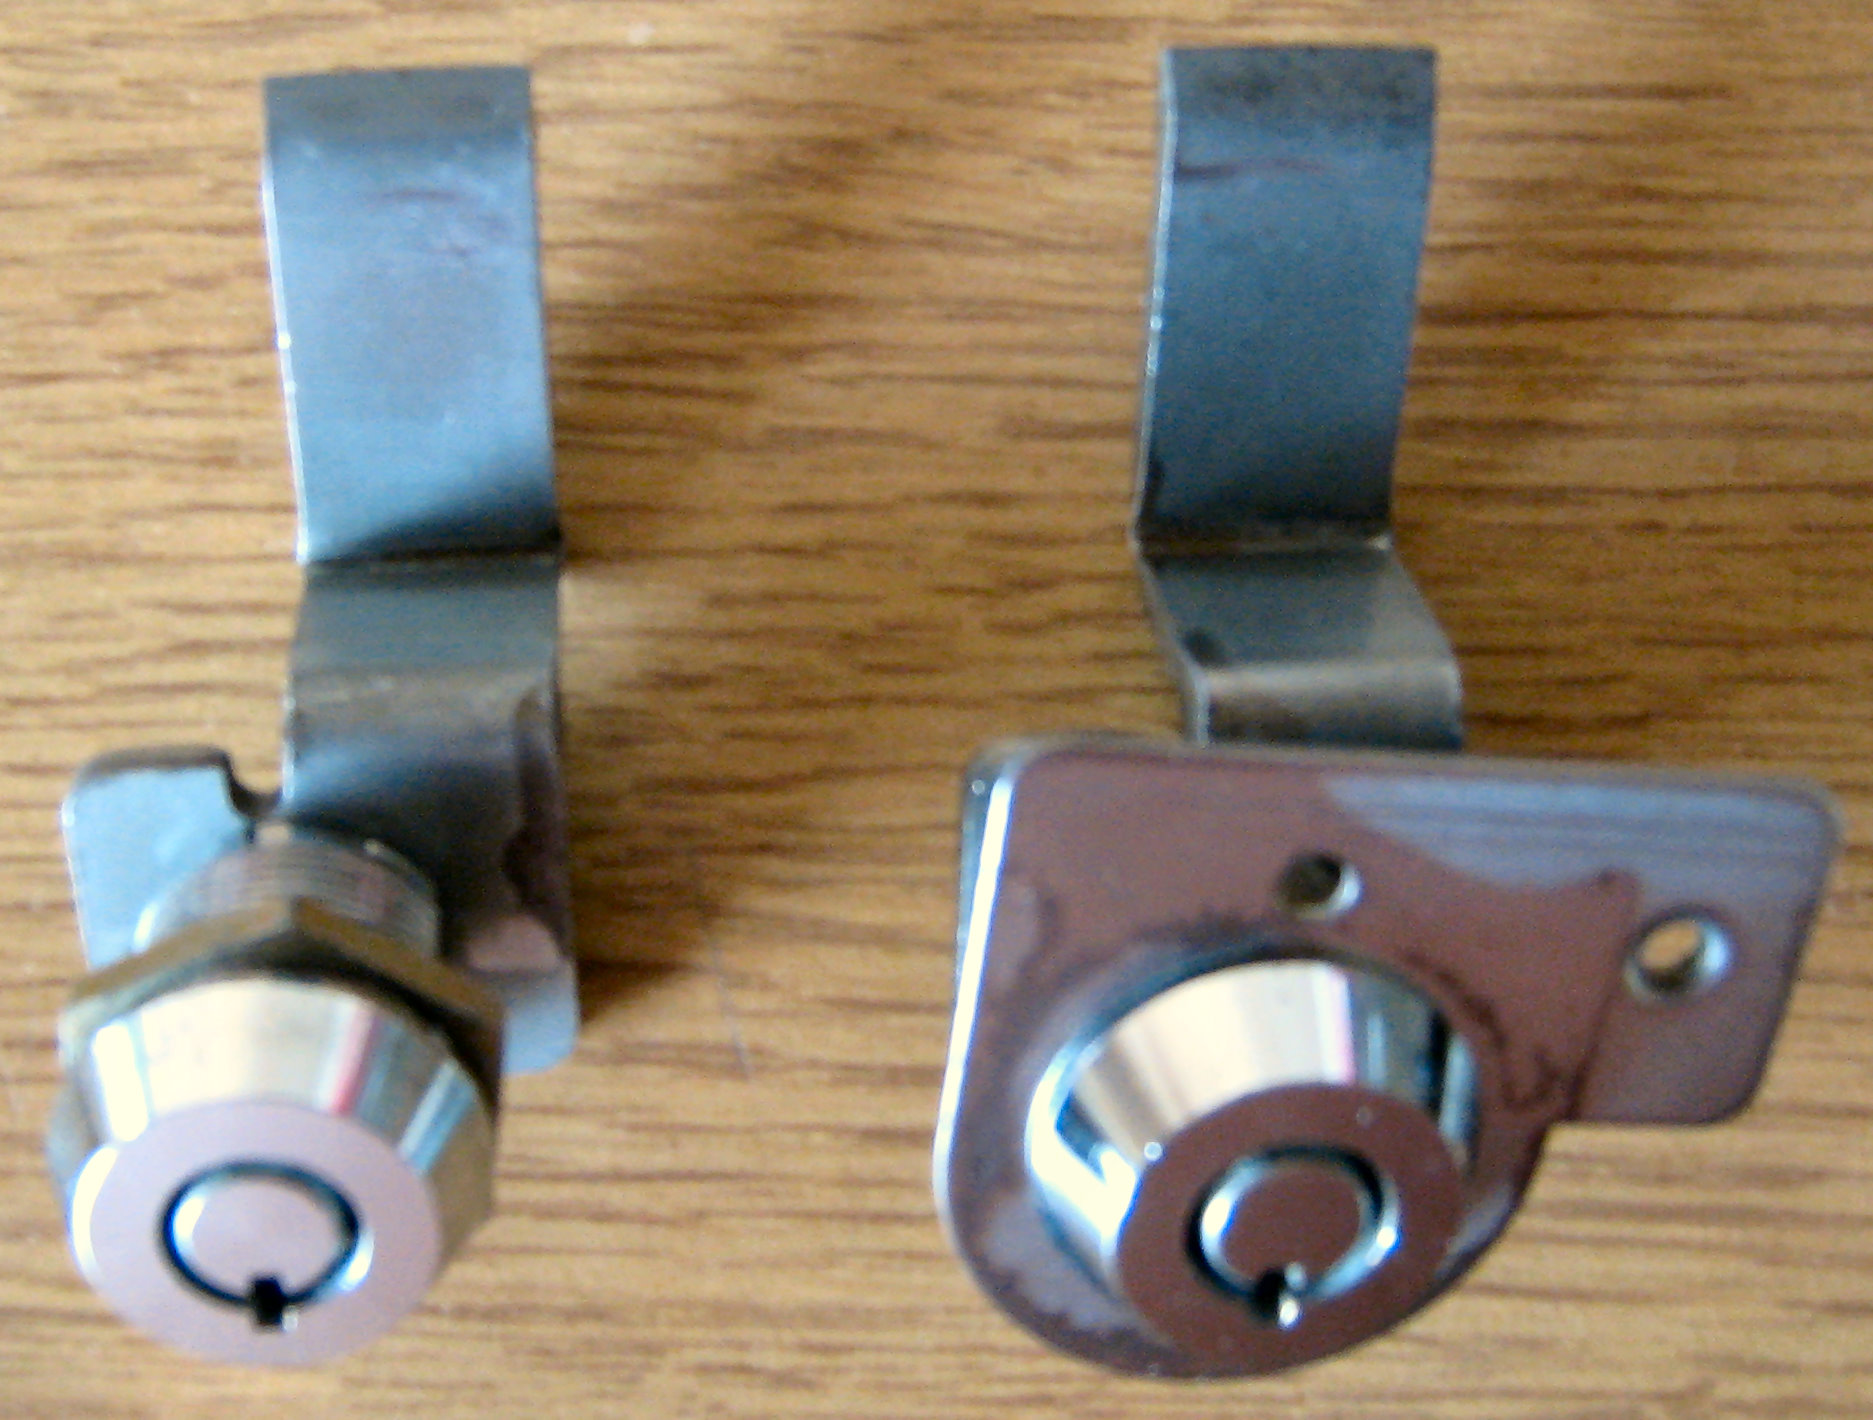
Locks
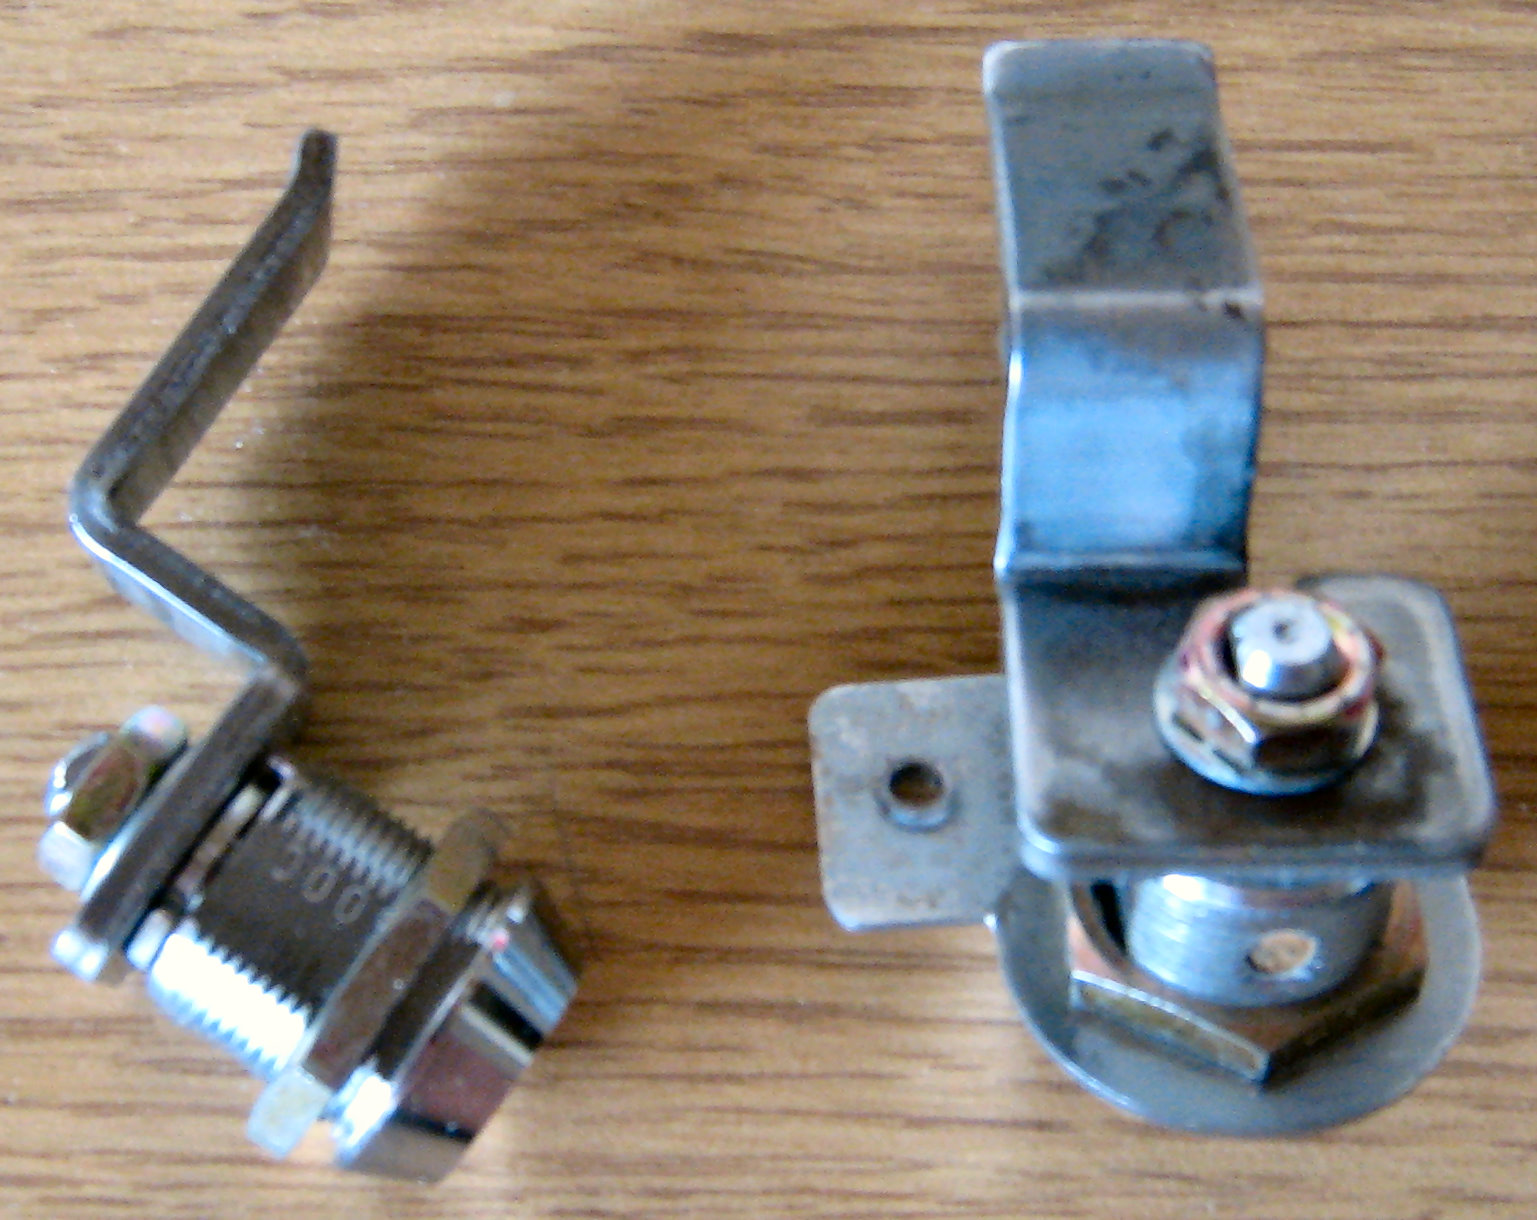
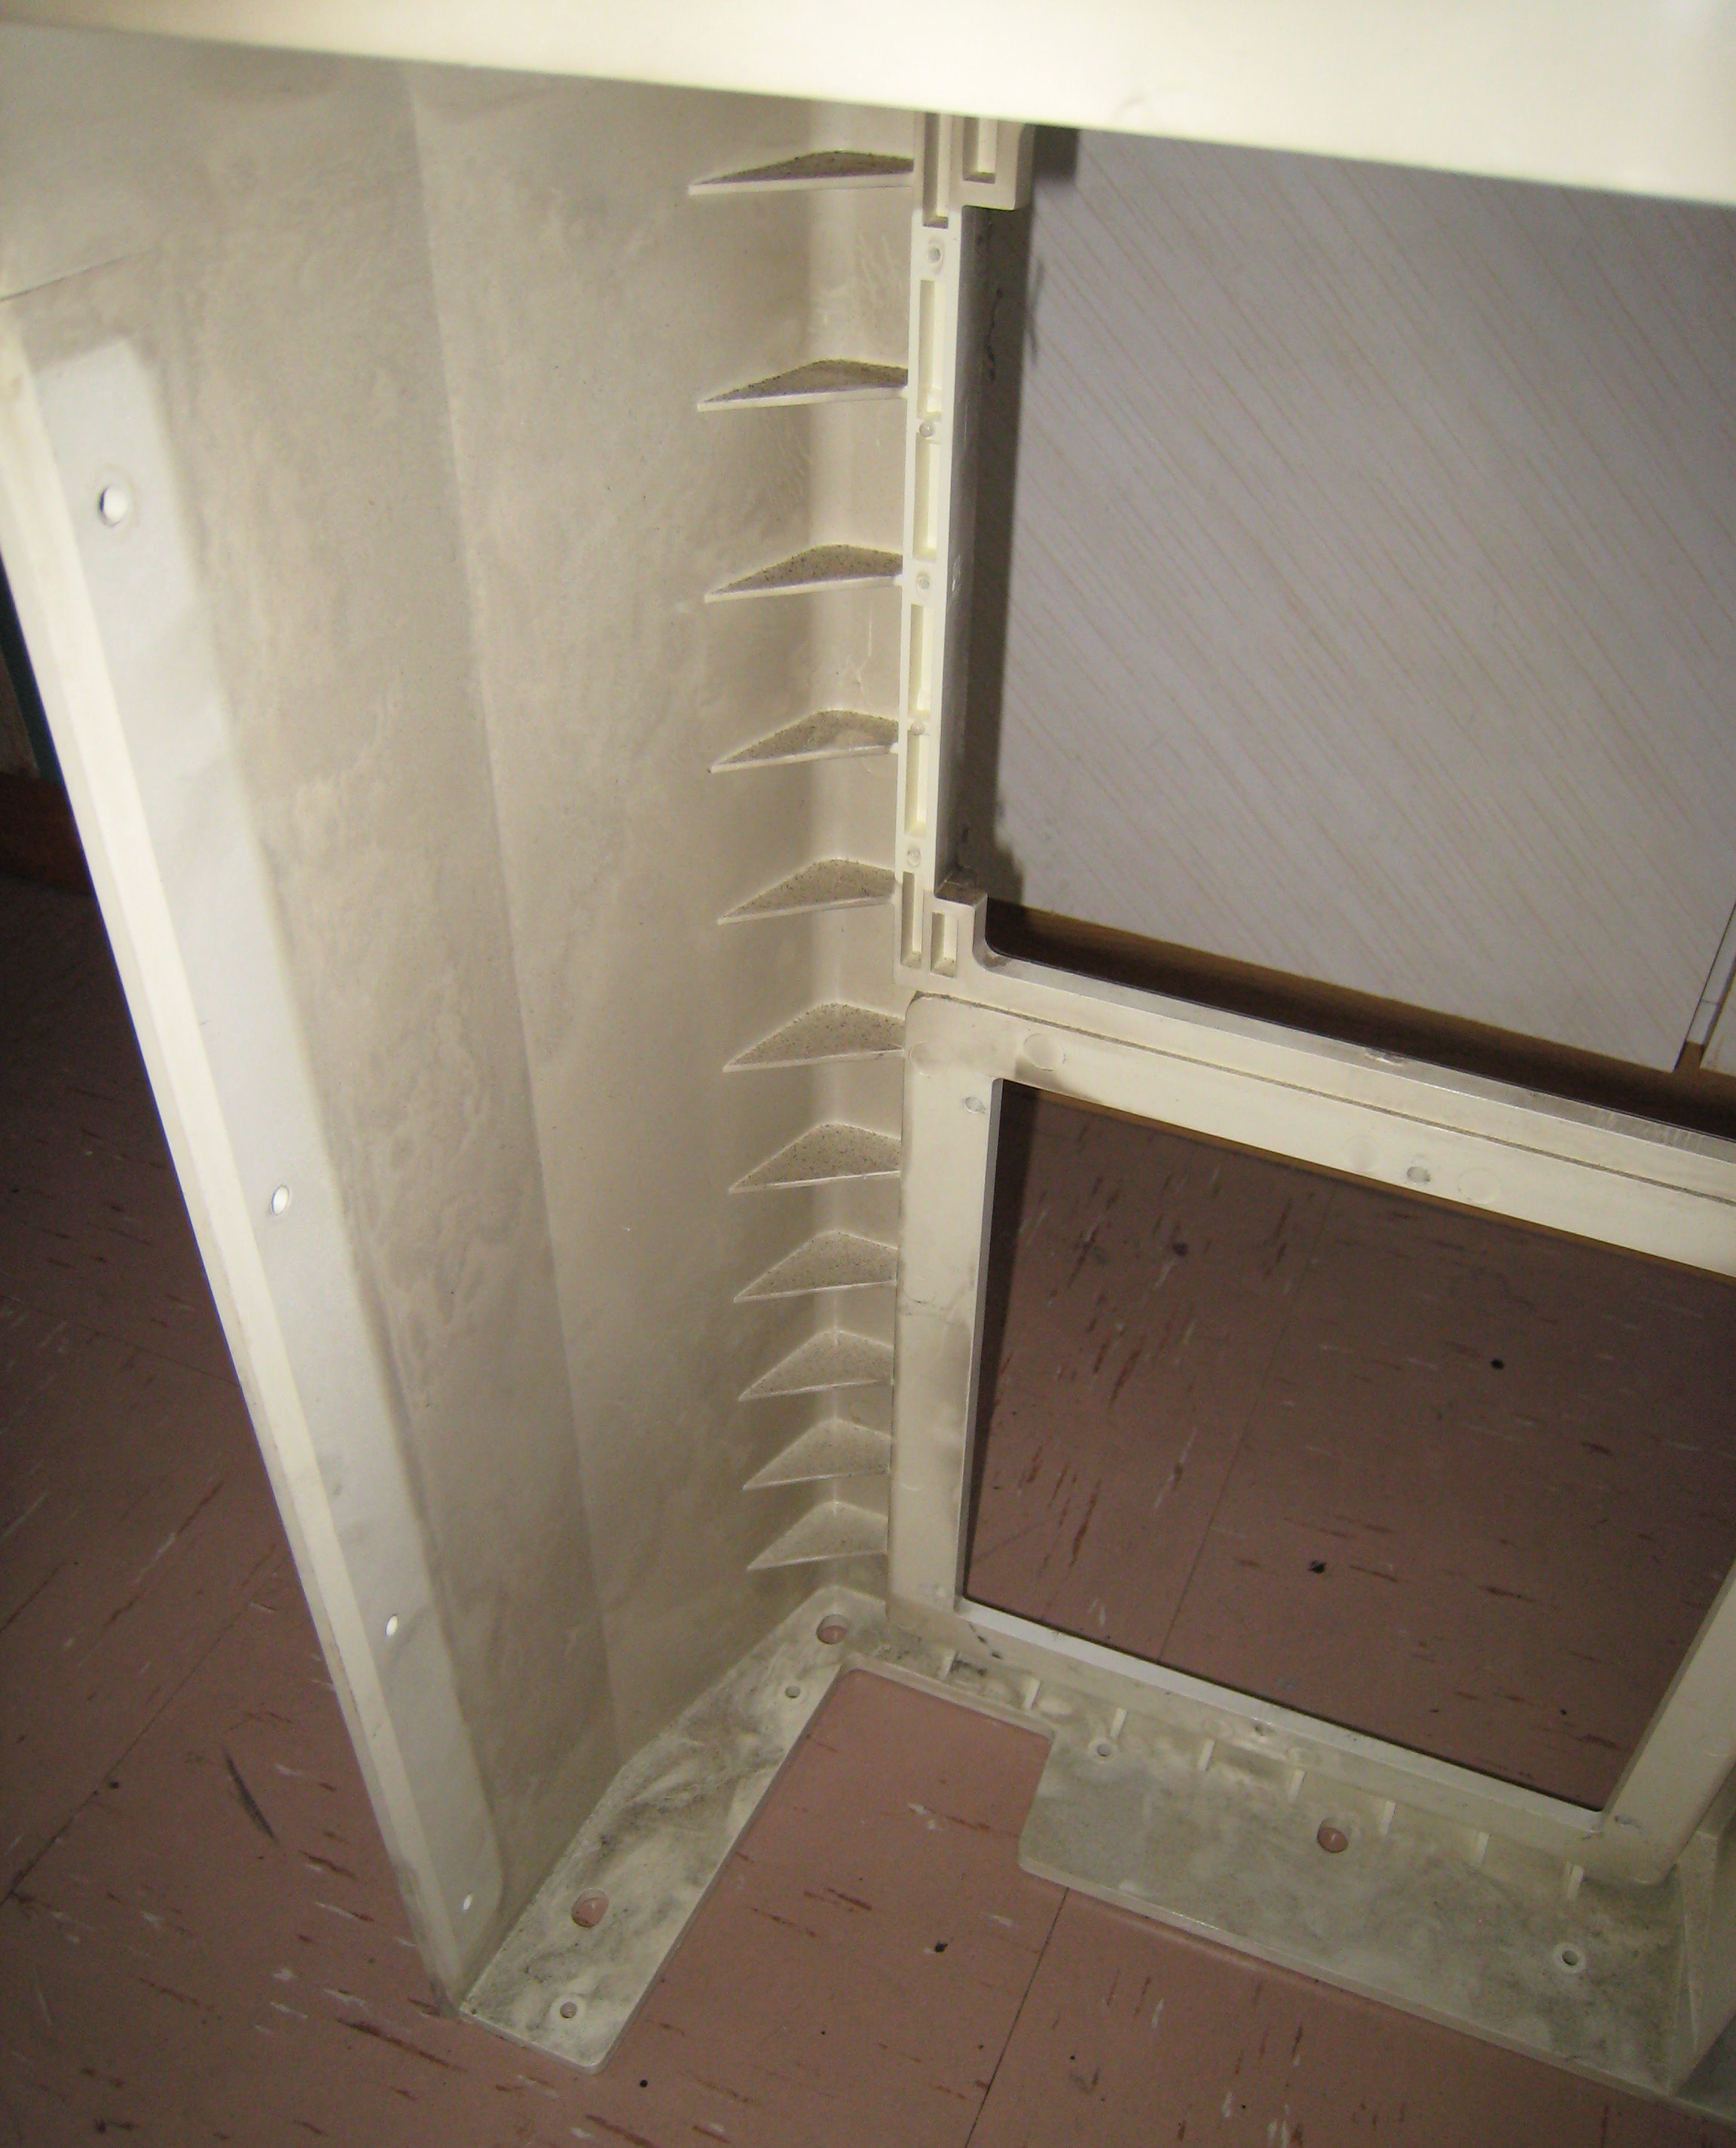
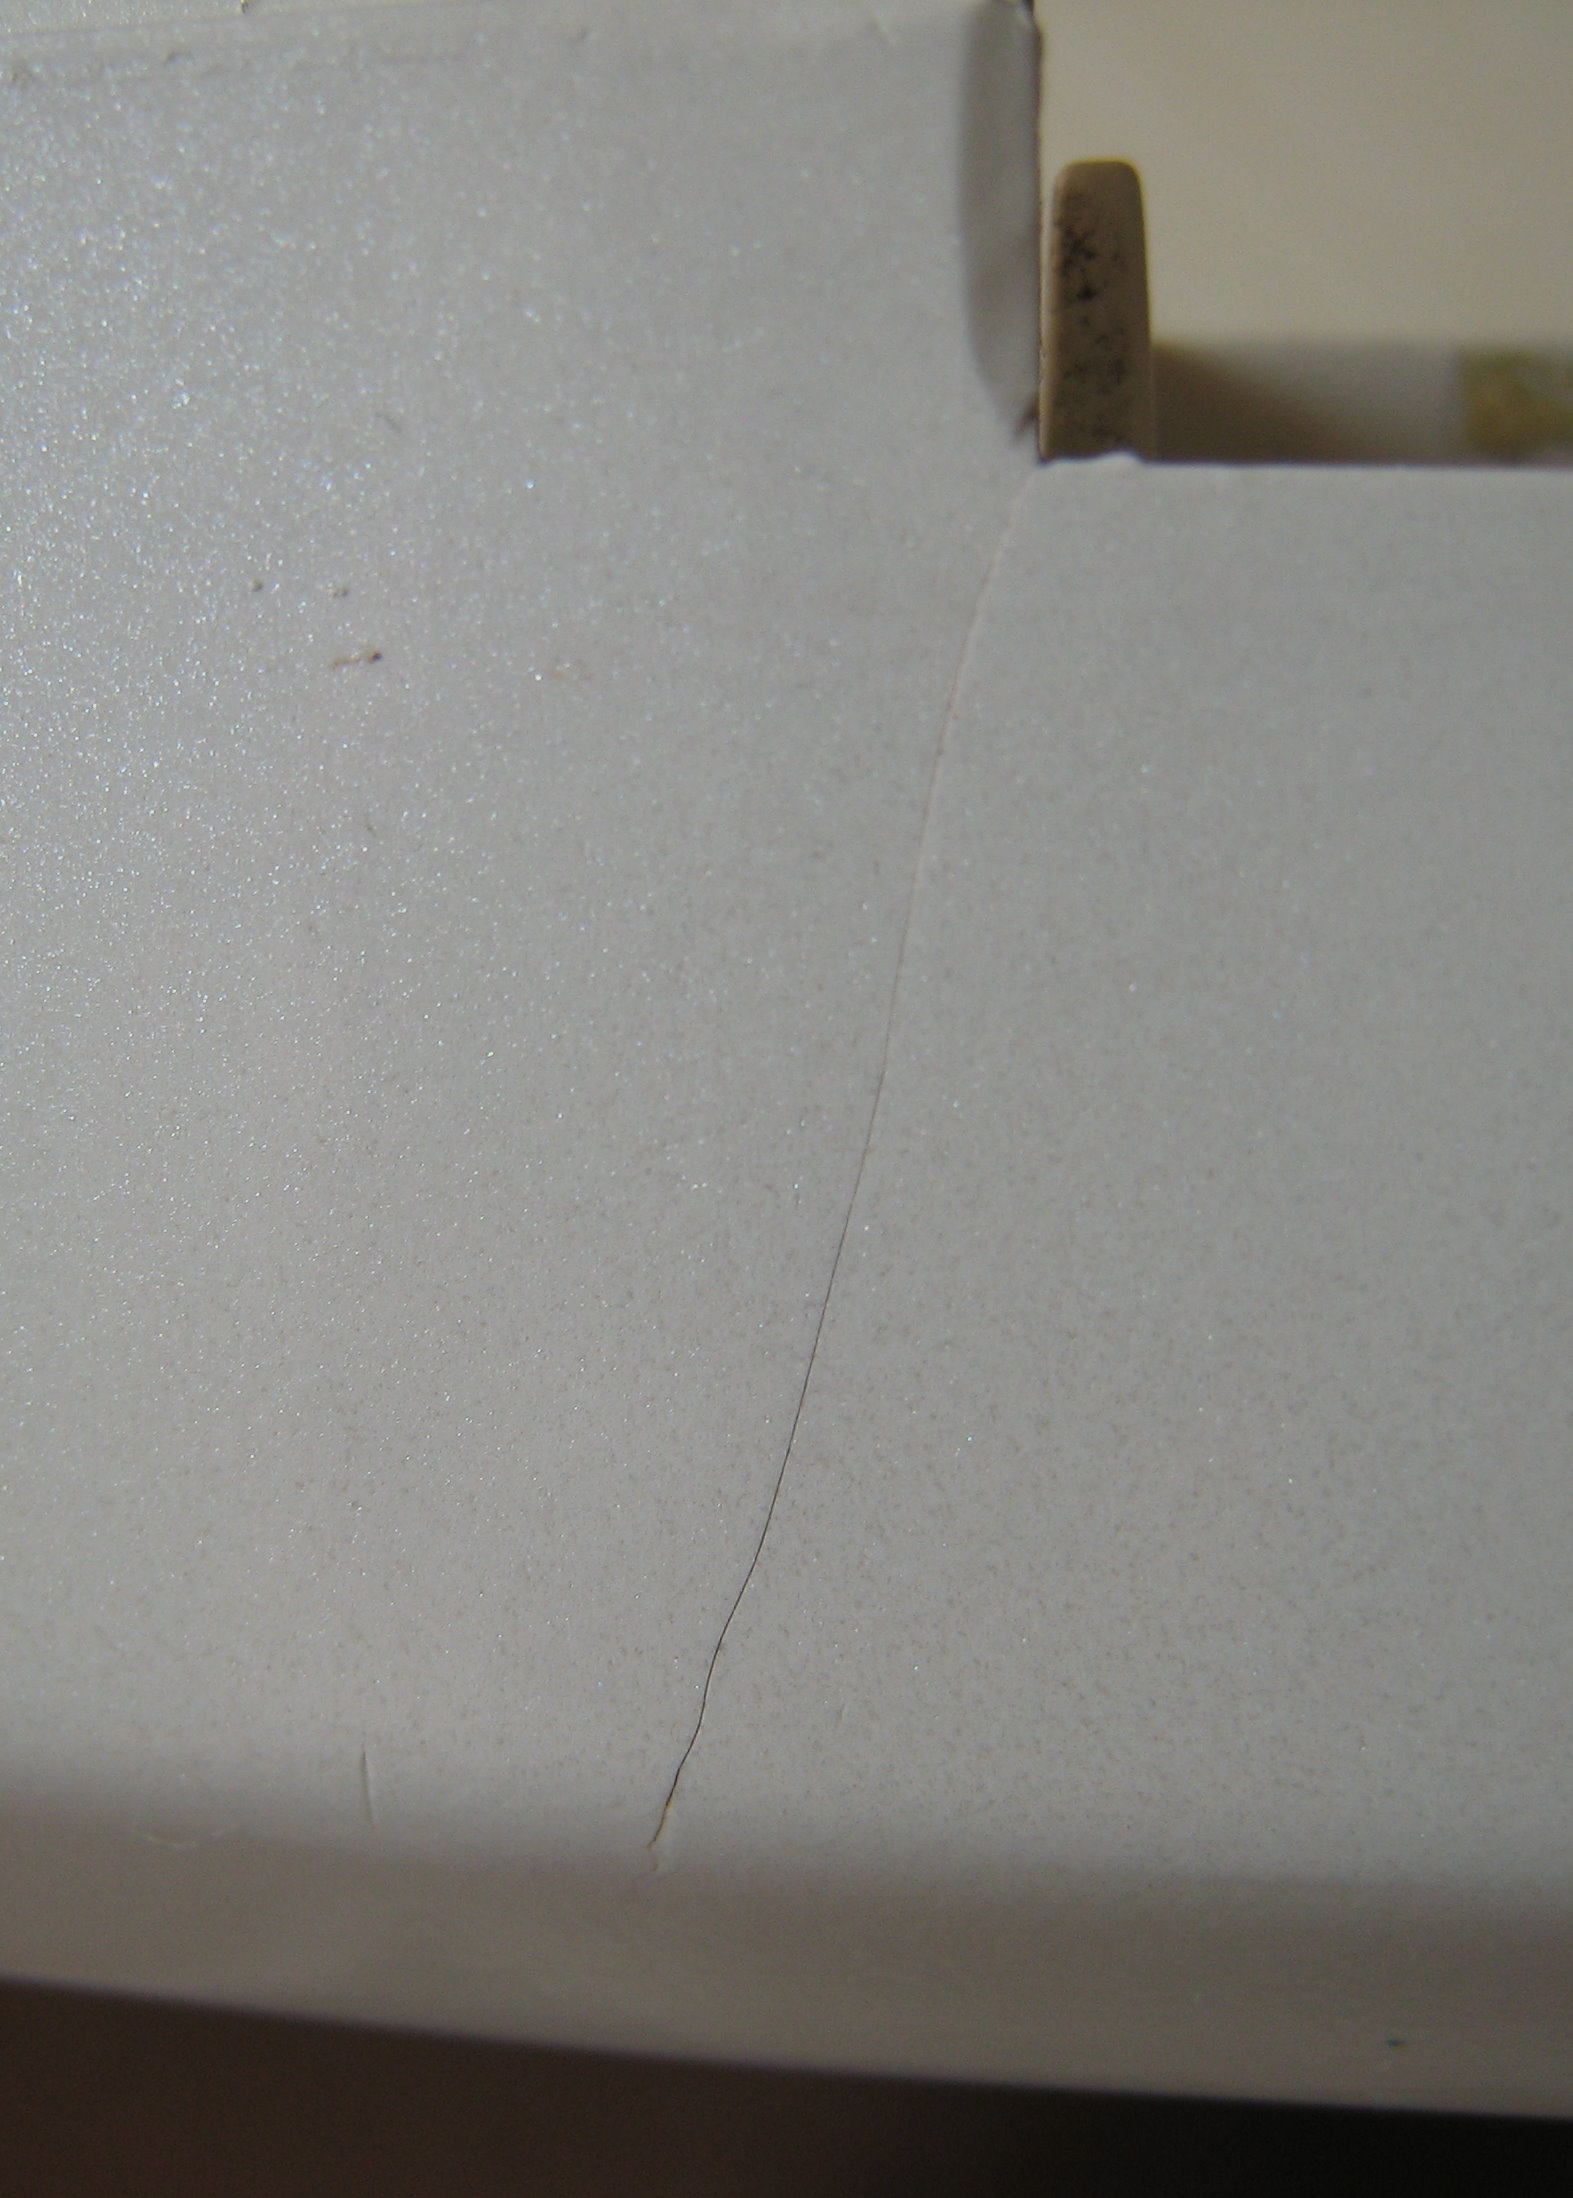
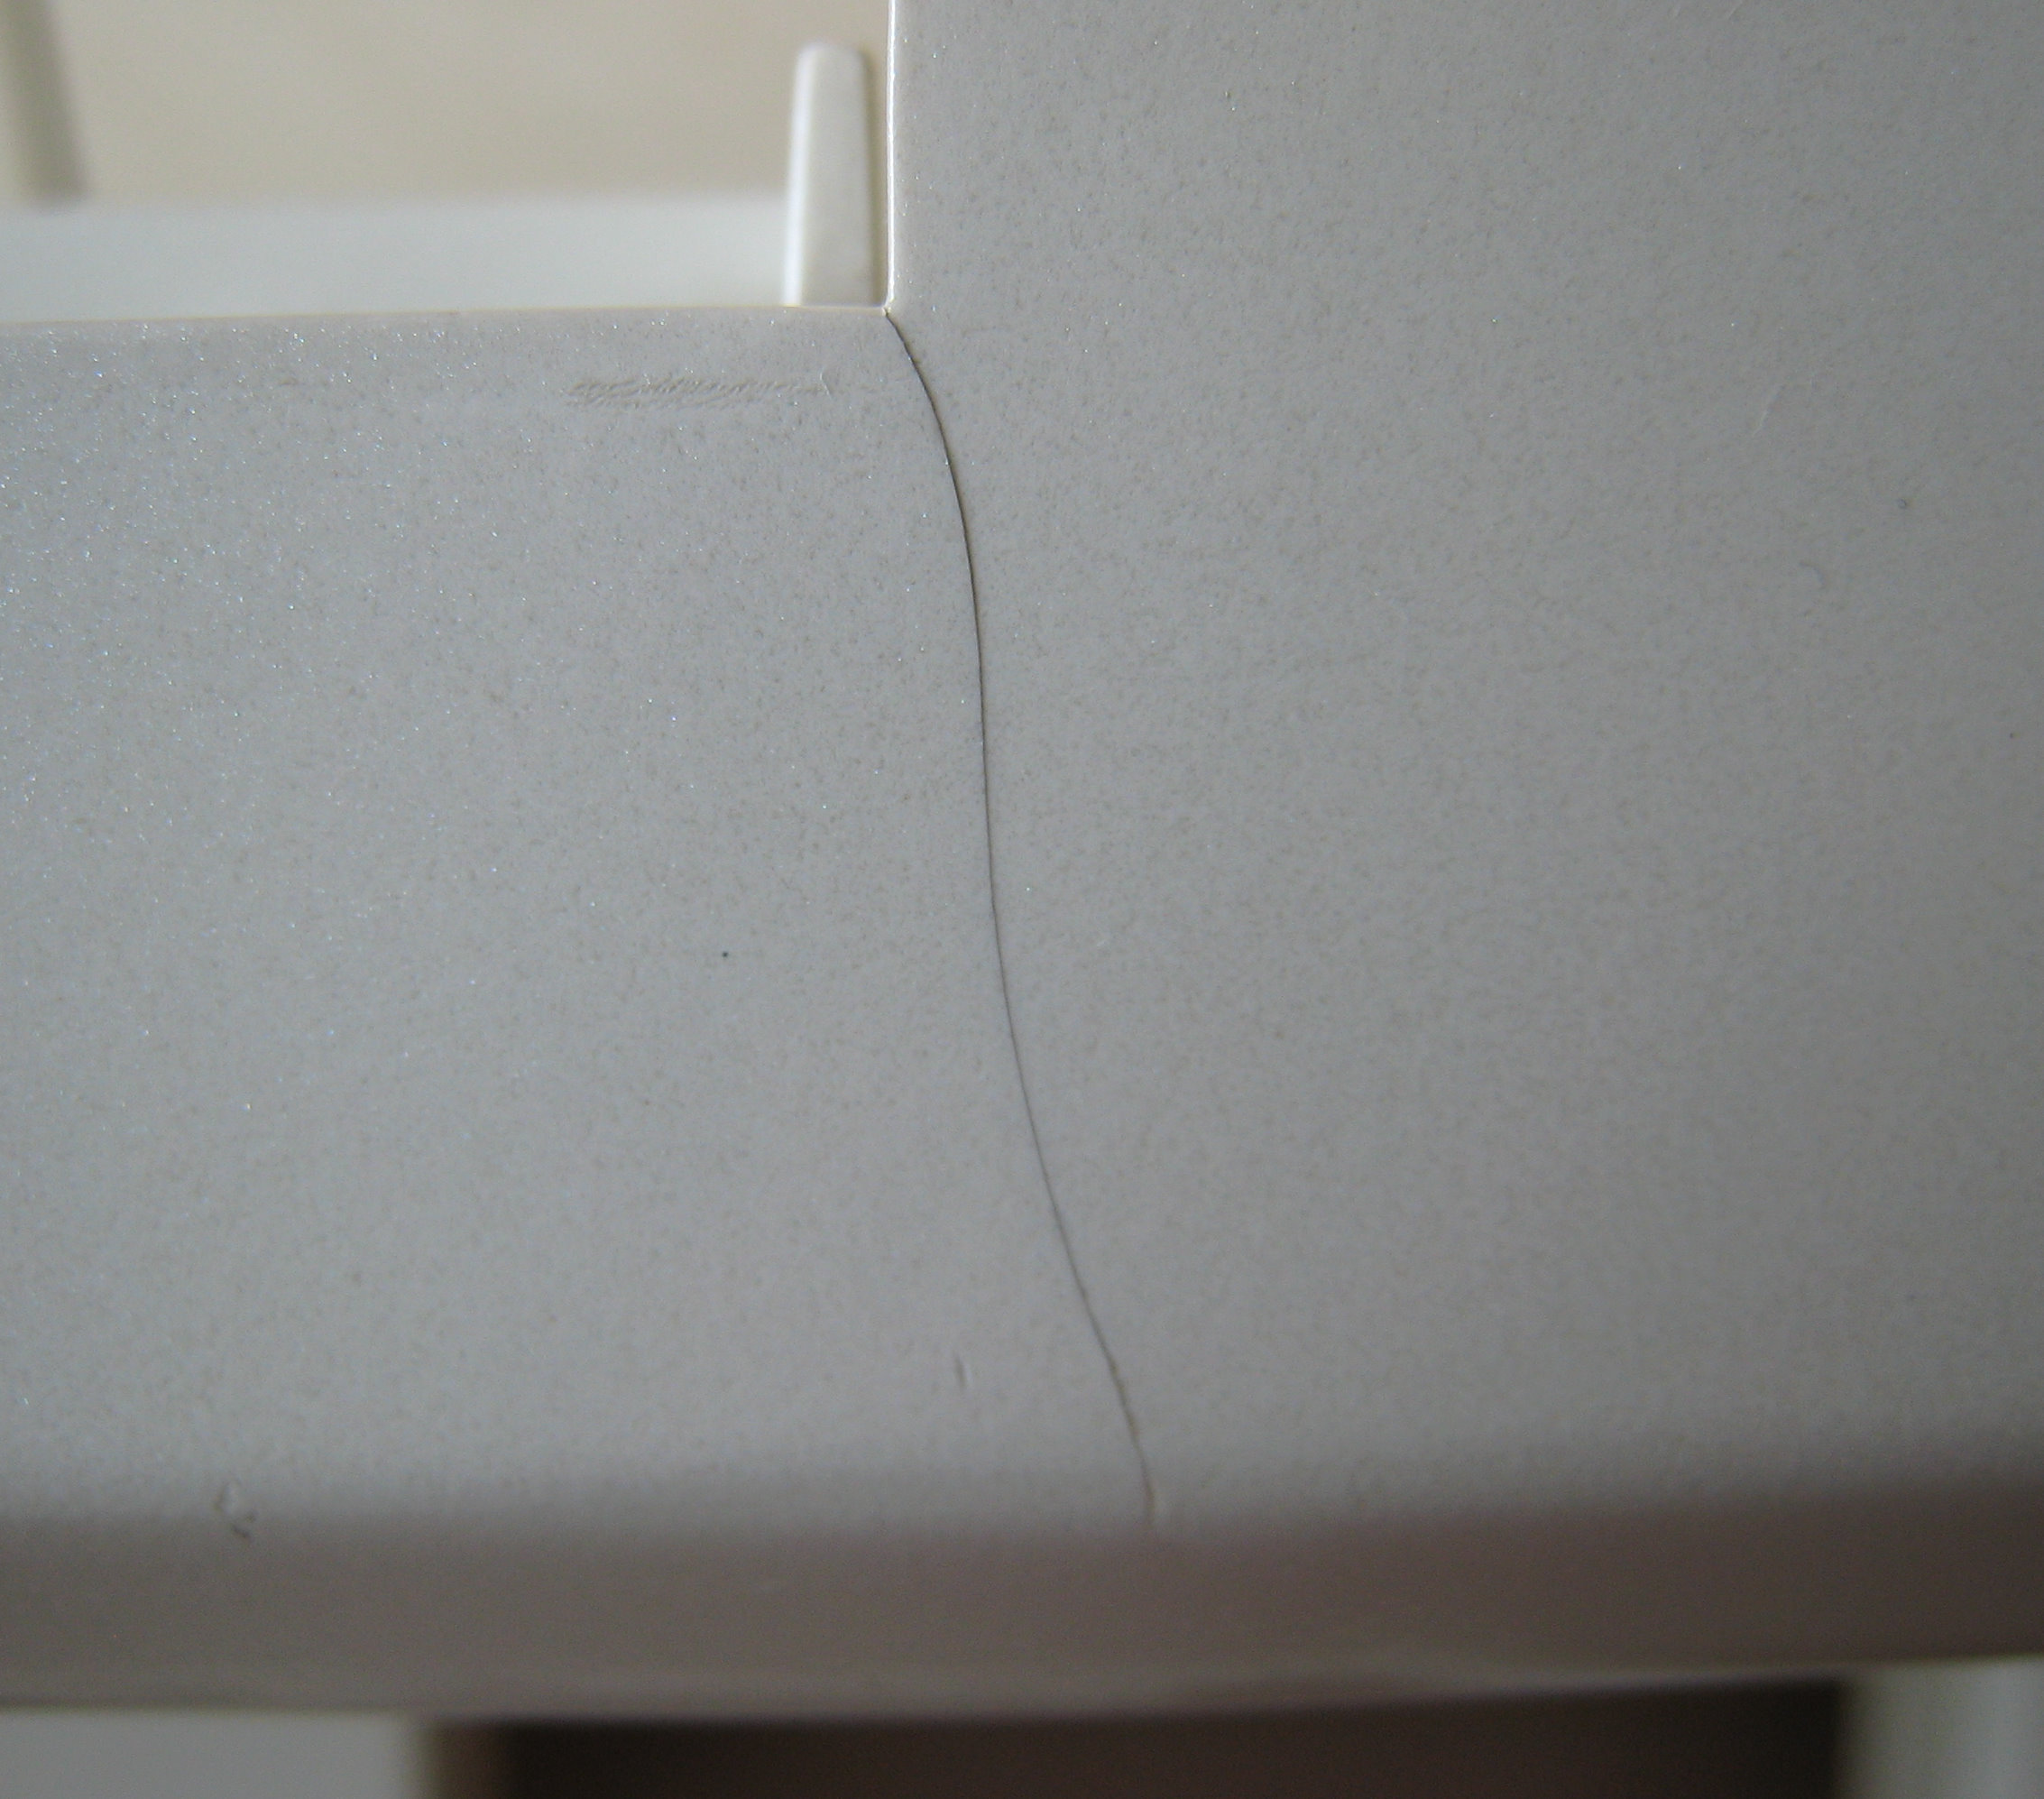
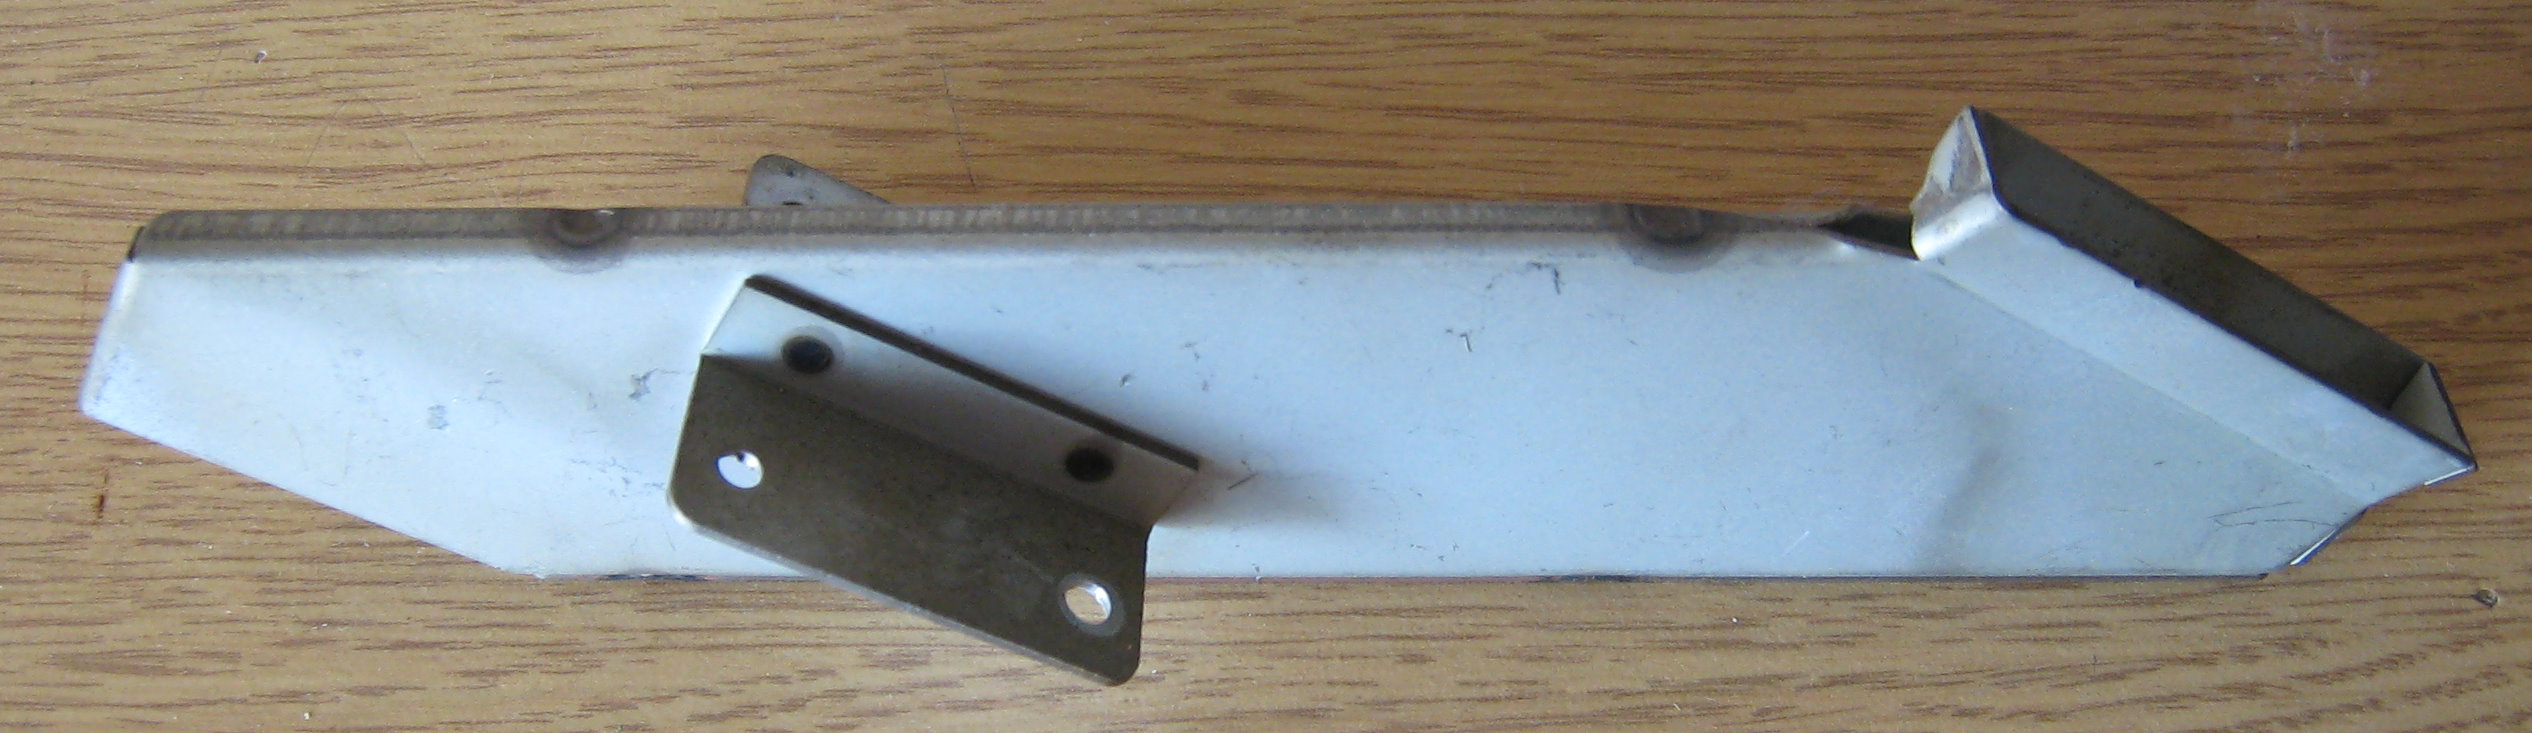
Damage
As the complete chassis is made from plastic there's a little damage on the hinge section of the Joystick Pod.
What I'm going to do is glue a corner bridging piece on the inside to make that corner stronger, it looks worse in the pictures because of the macro shoot, it doesn't look too bad and you can barely see it.
I think this happed as the joystick pod hinge puts pressure on it when open or it could be the stress of the monitor lid when the control panel is closed but then it is an old machine.

Labels
Here's some images of the varius labels in the machine.
Serial No. F9851027
Checked on 24th September 1997 (97.9.24)
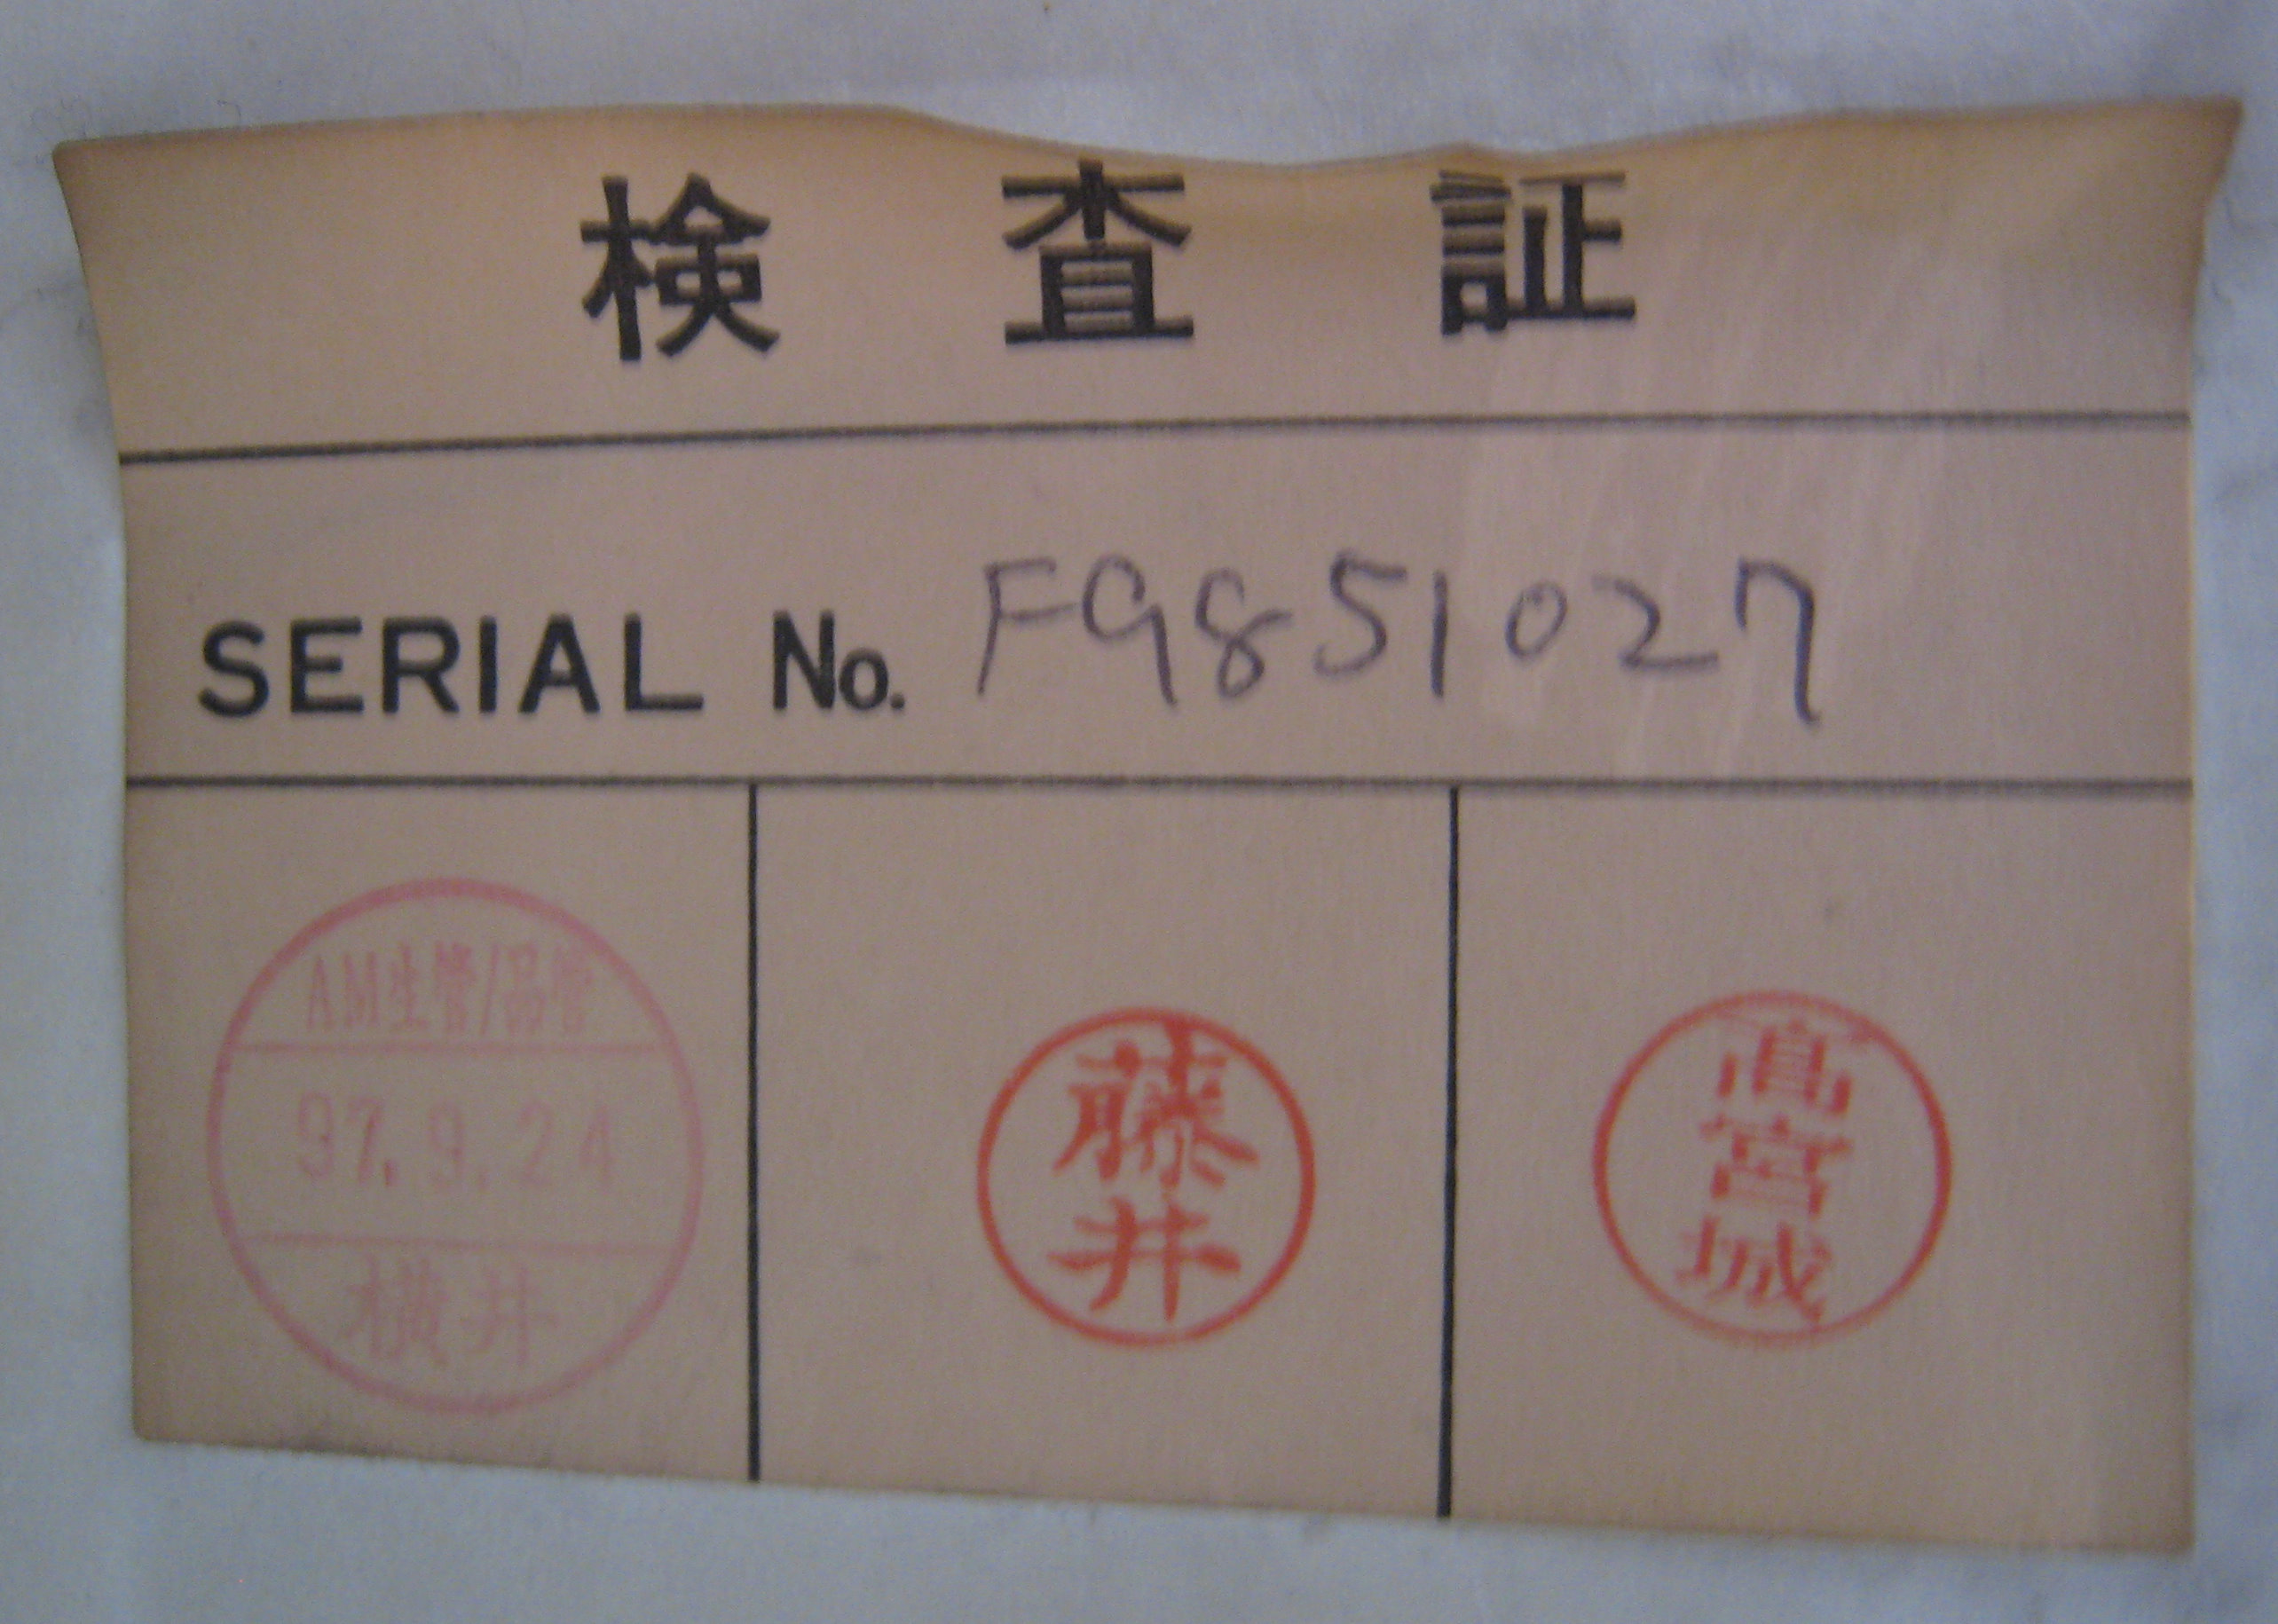
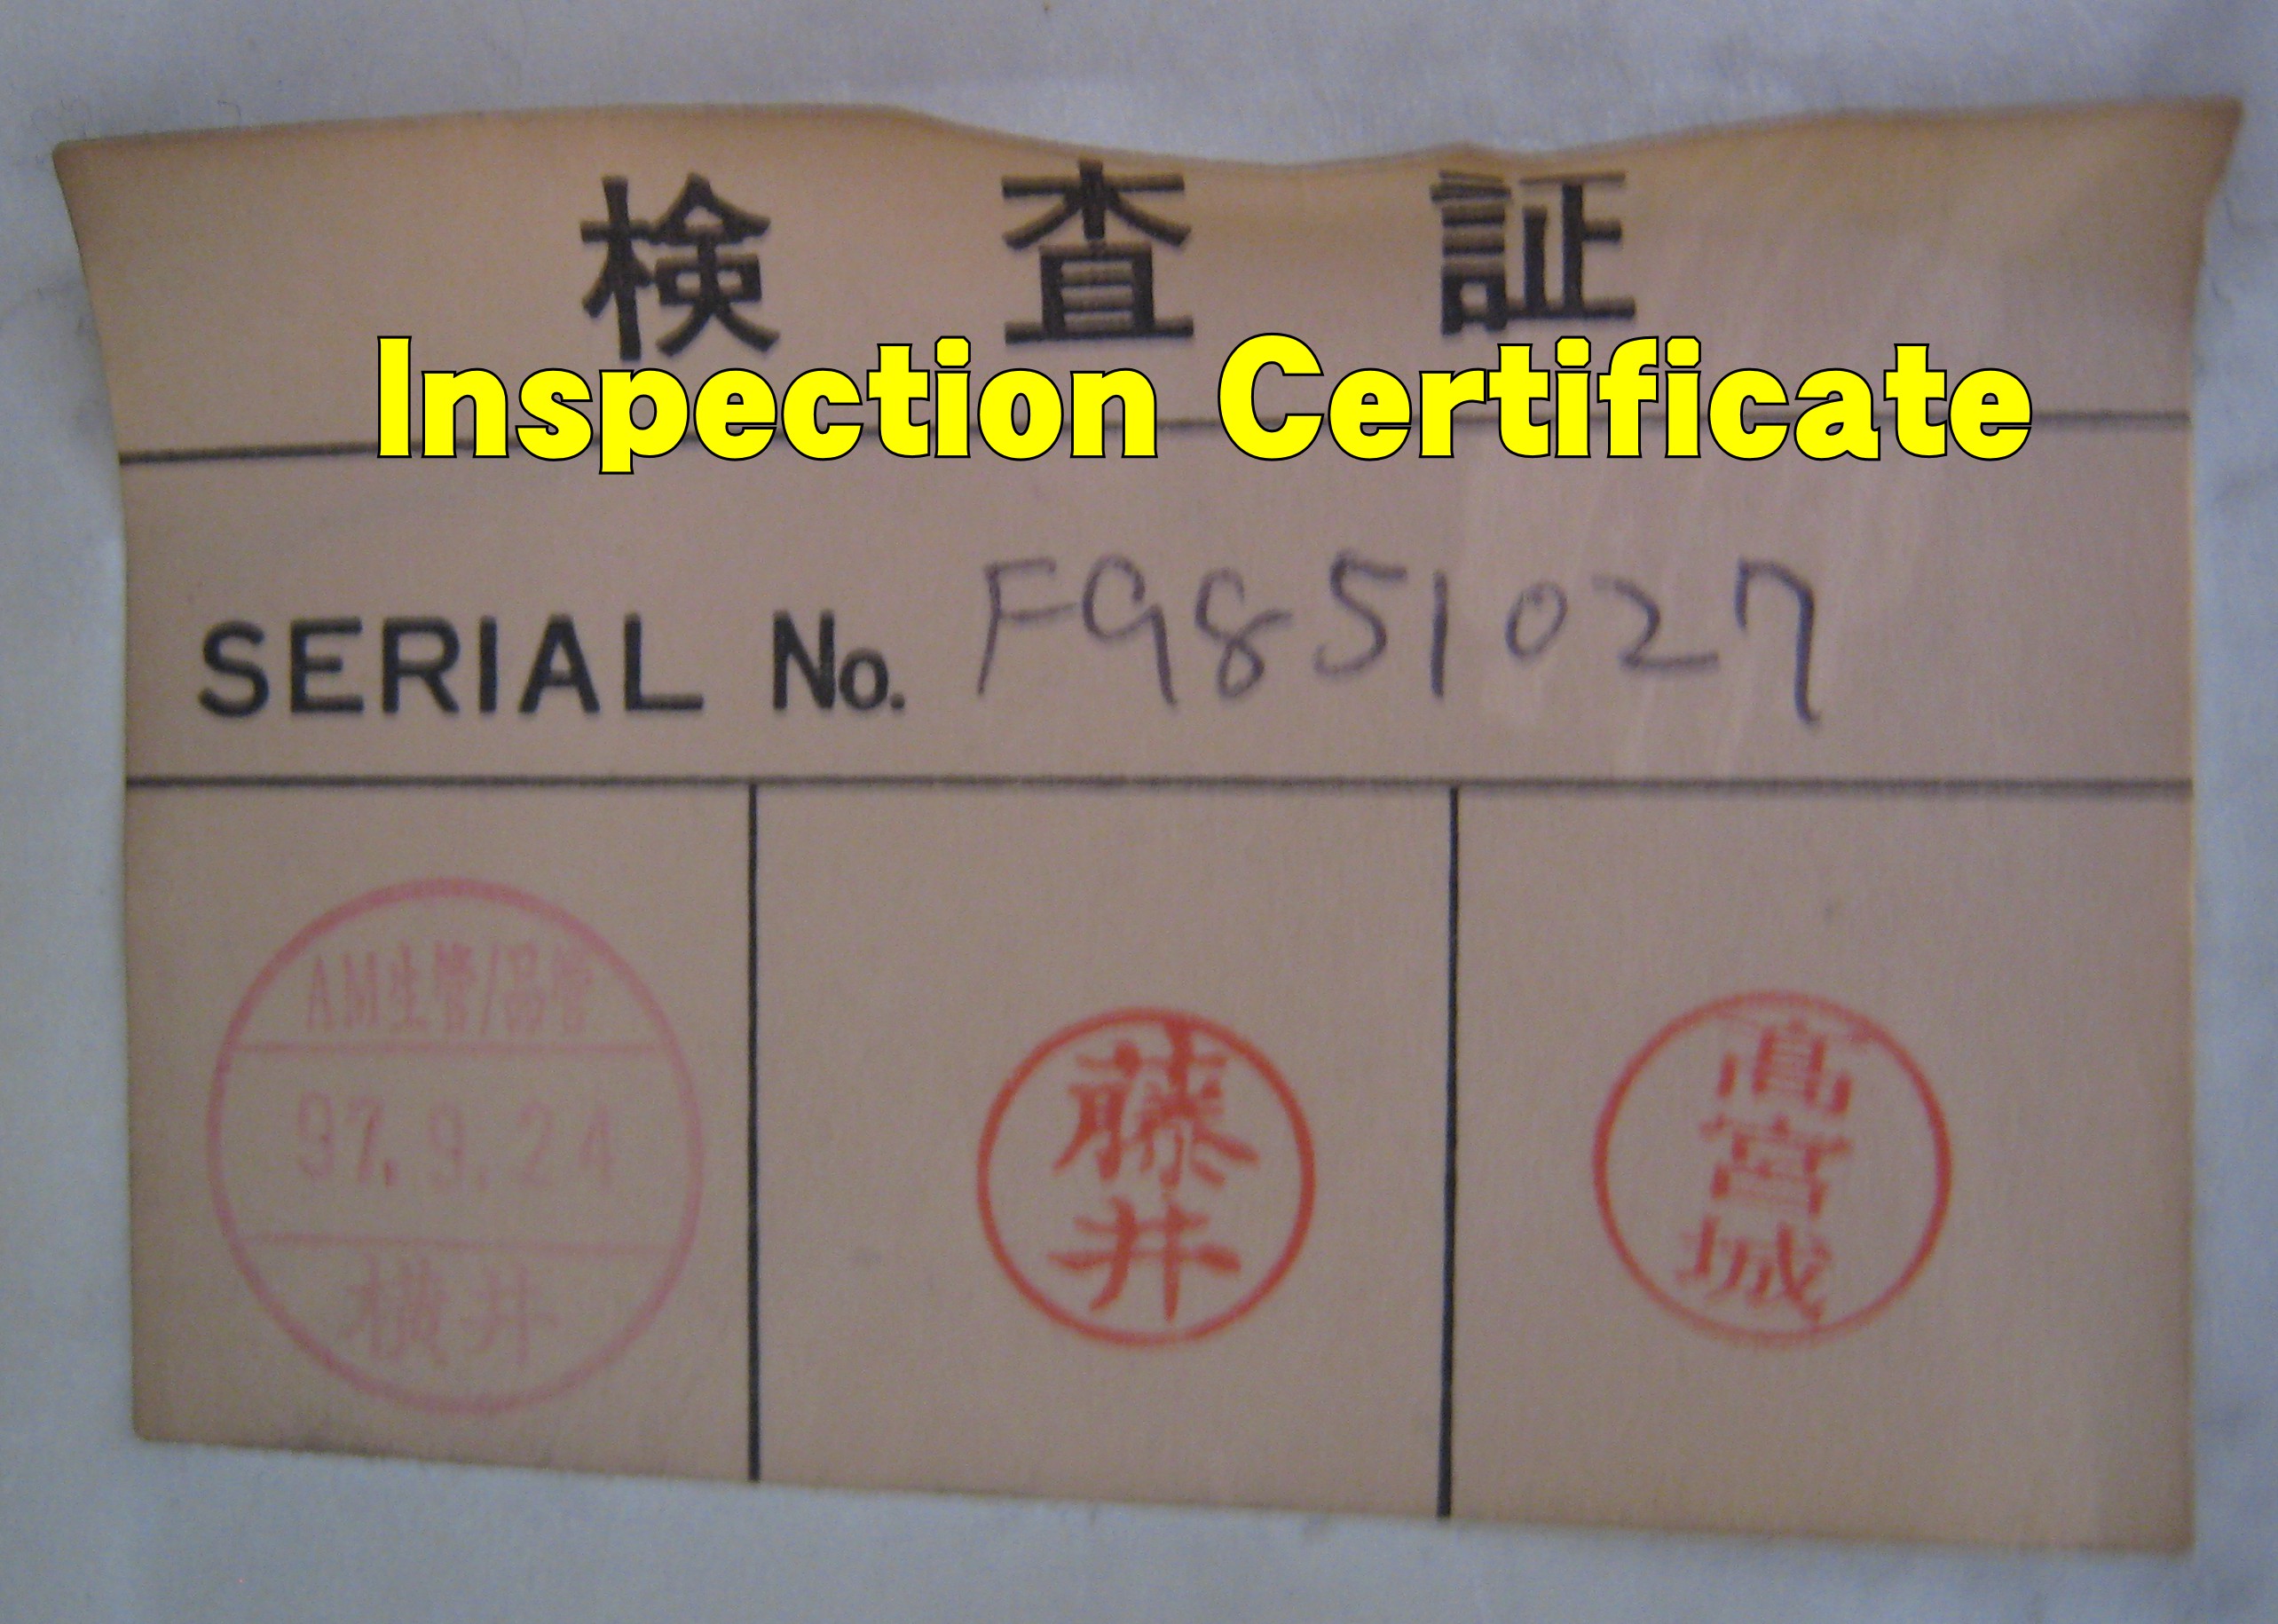
検査証
Inspection Certificate
This sticker is on the inside of the joystick pod, it can only be seen from the back of the machine when the monitor inspection hatch is removed.
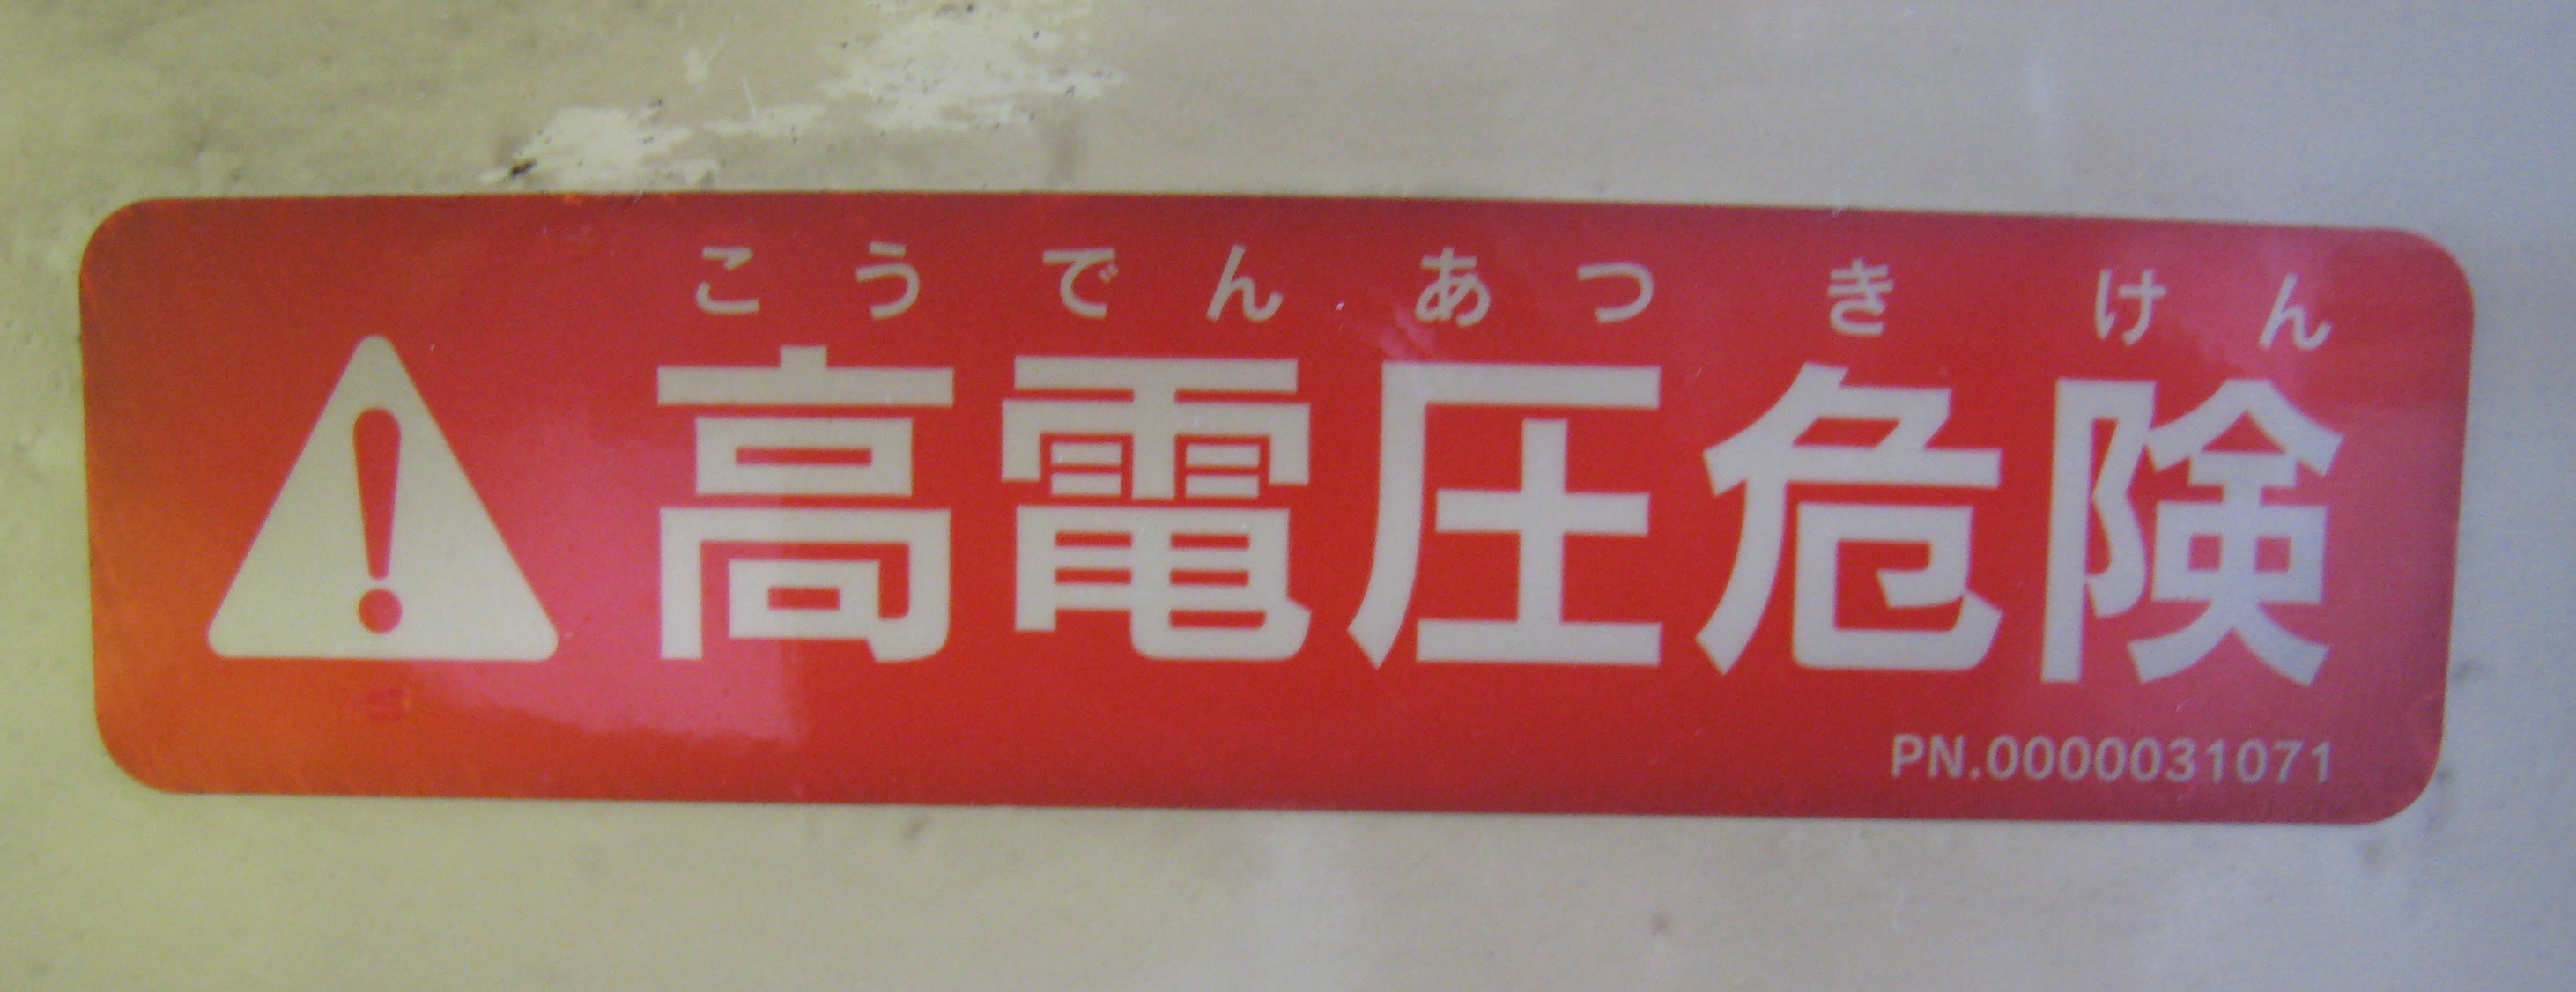
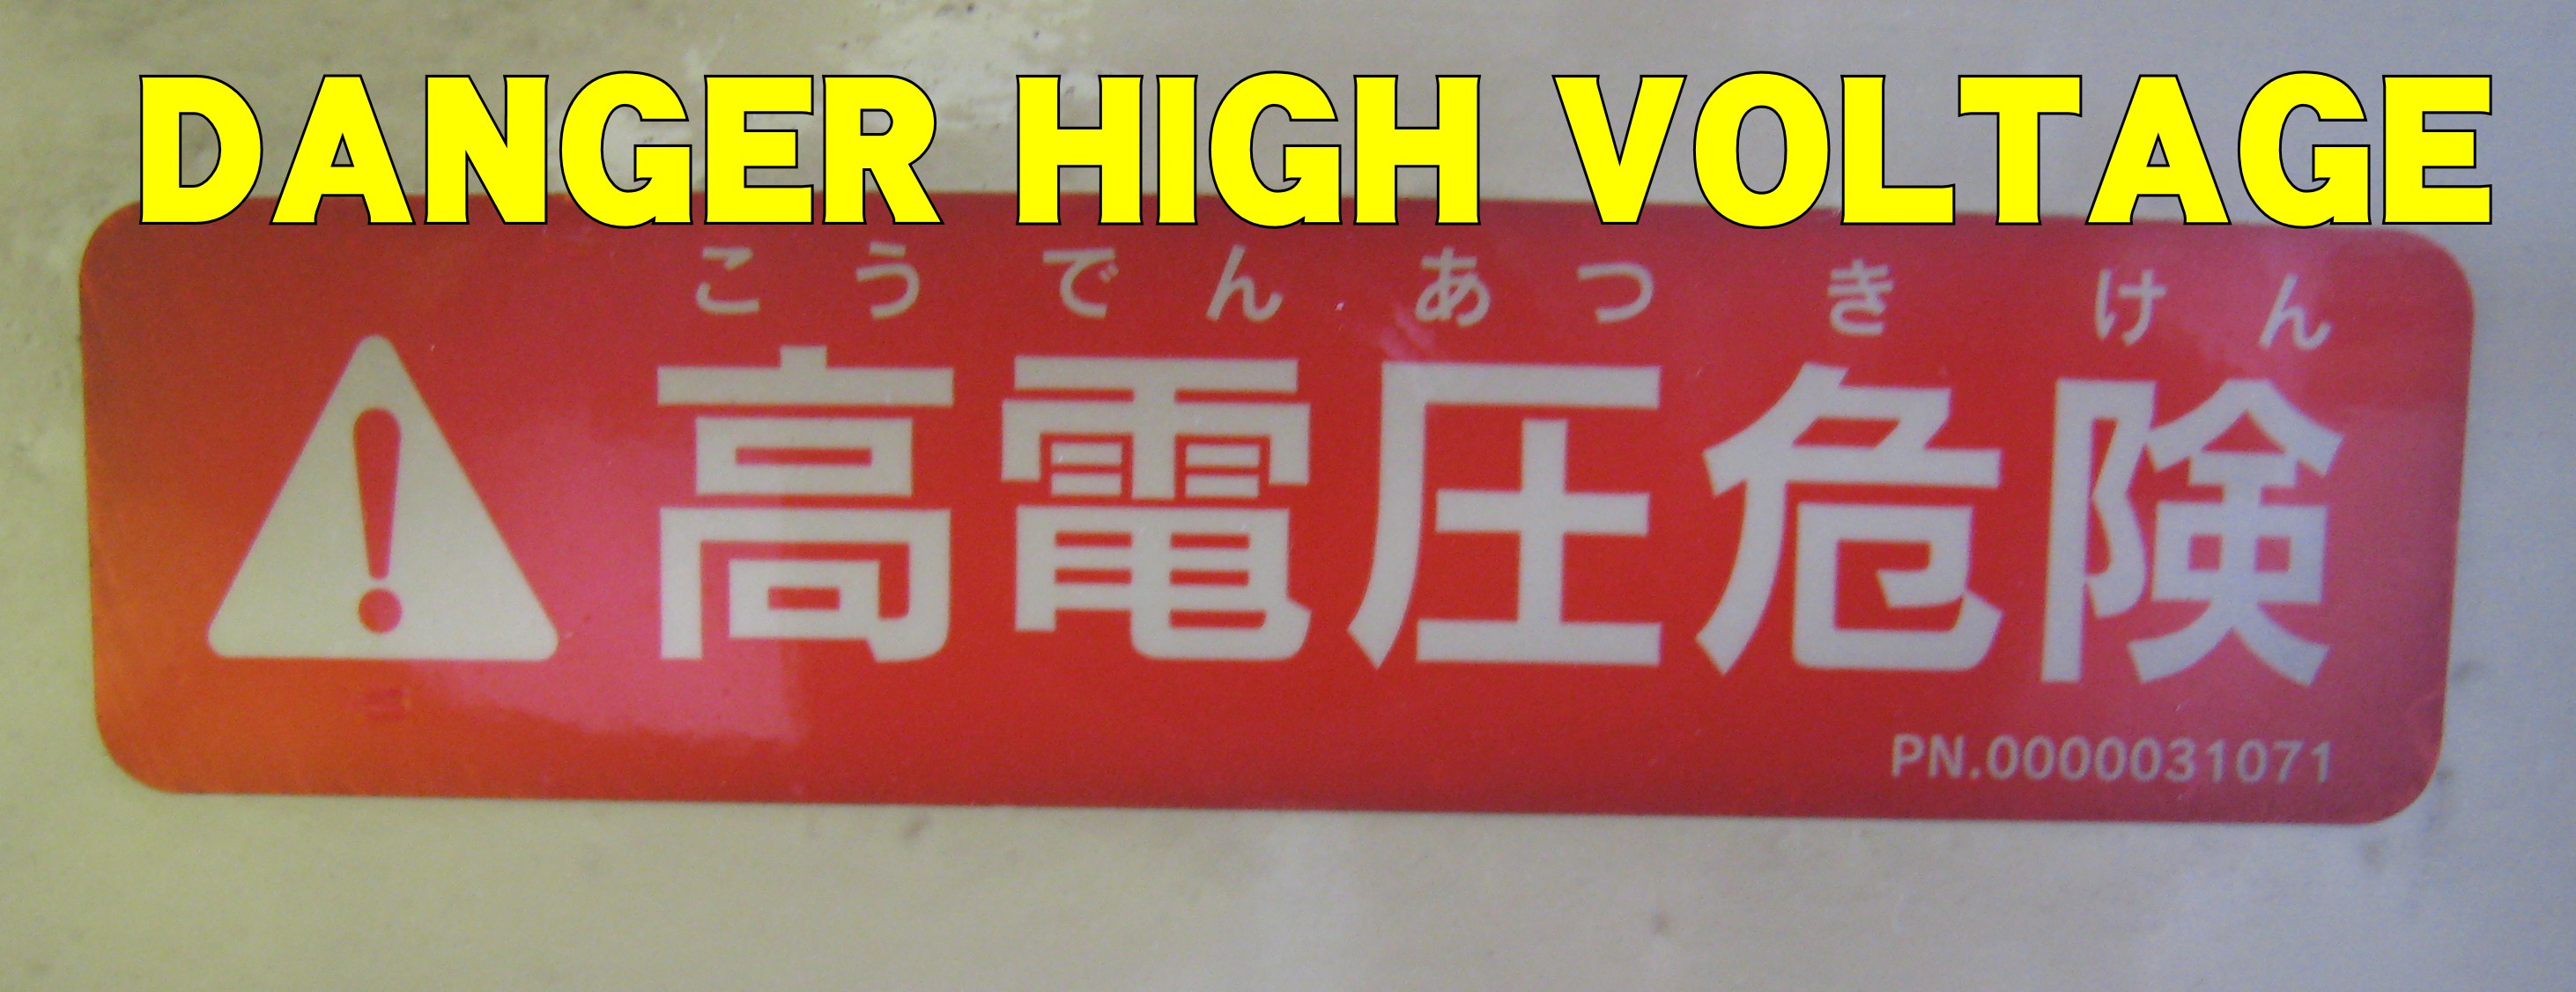
こうでんあつきけん
高電圧危険
DANGER HIGH VOLTAGE
PN.0000031071
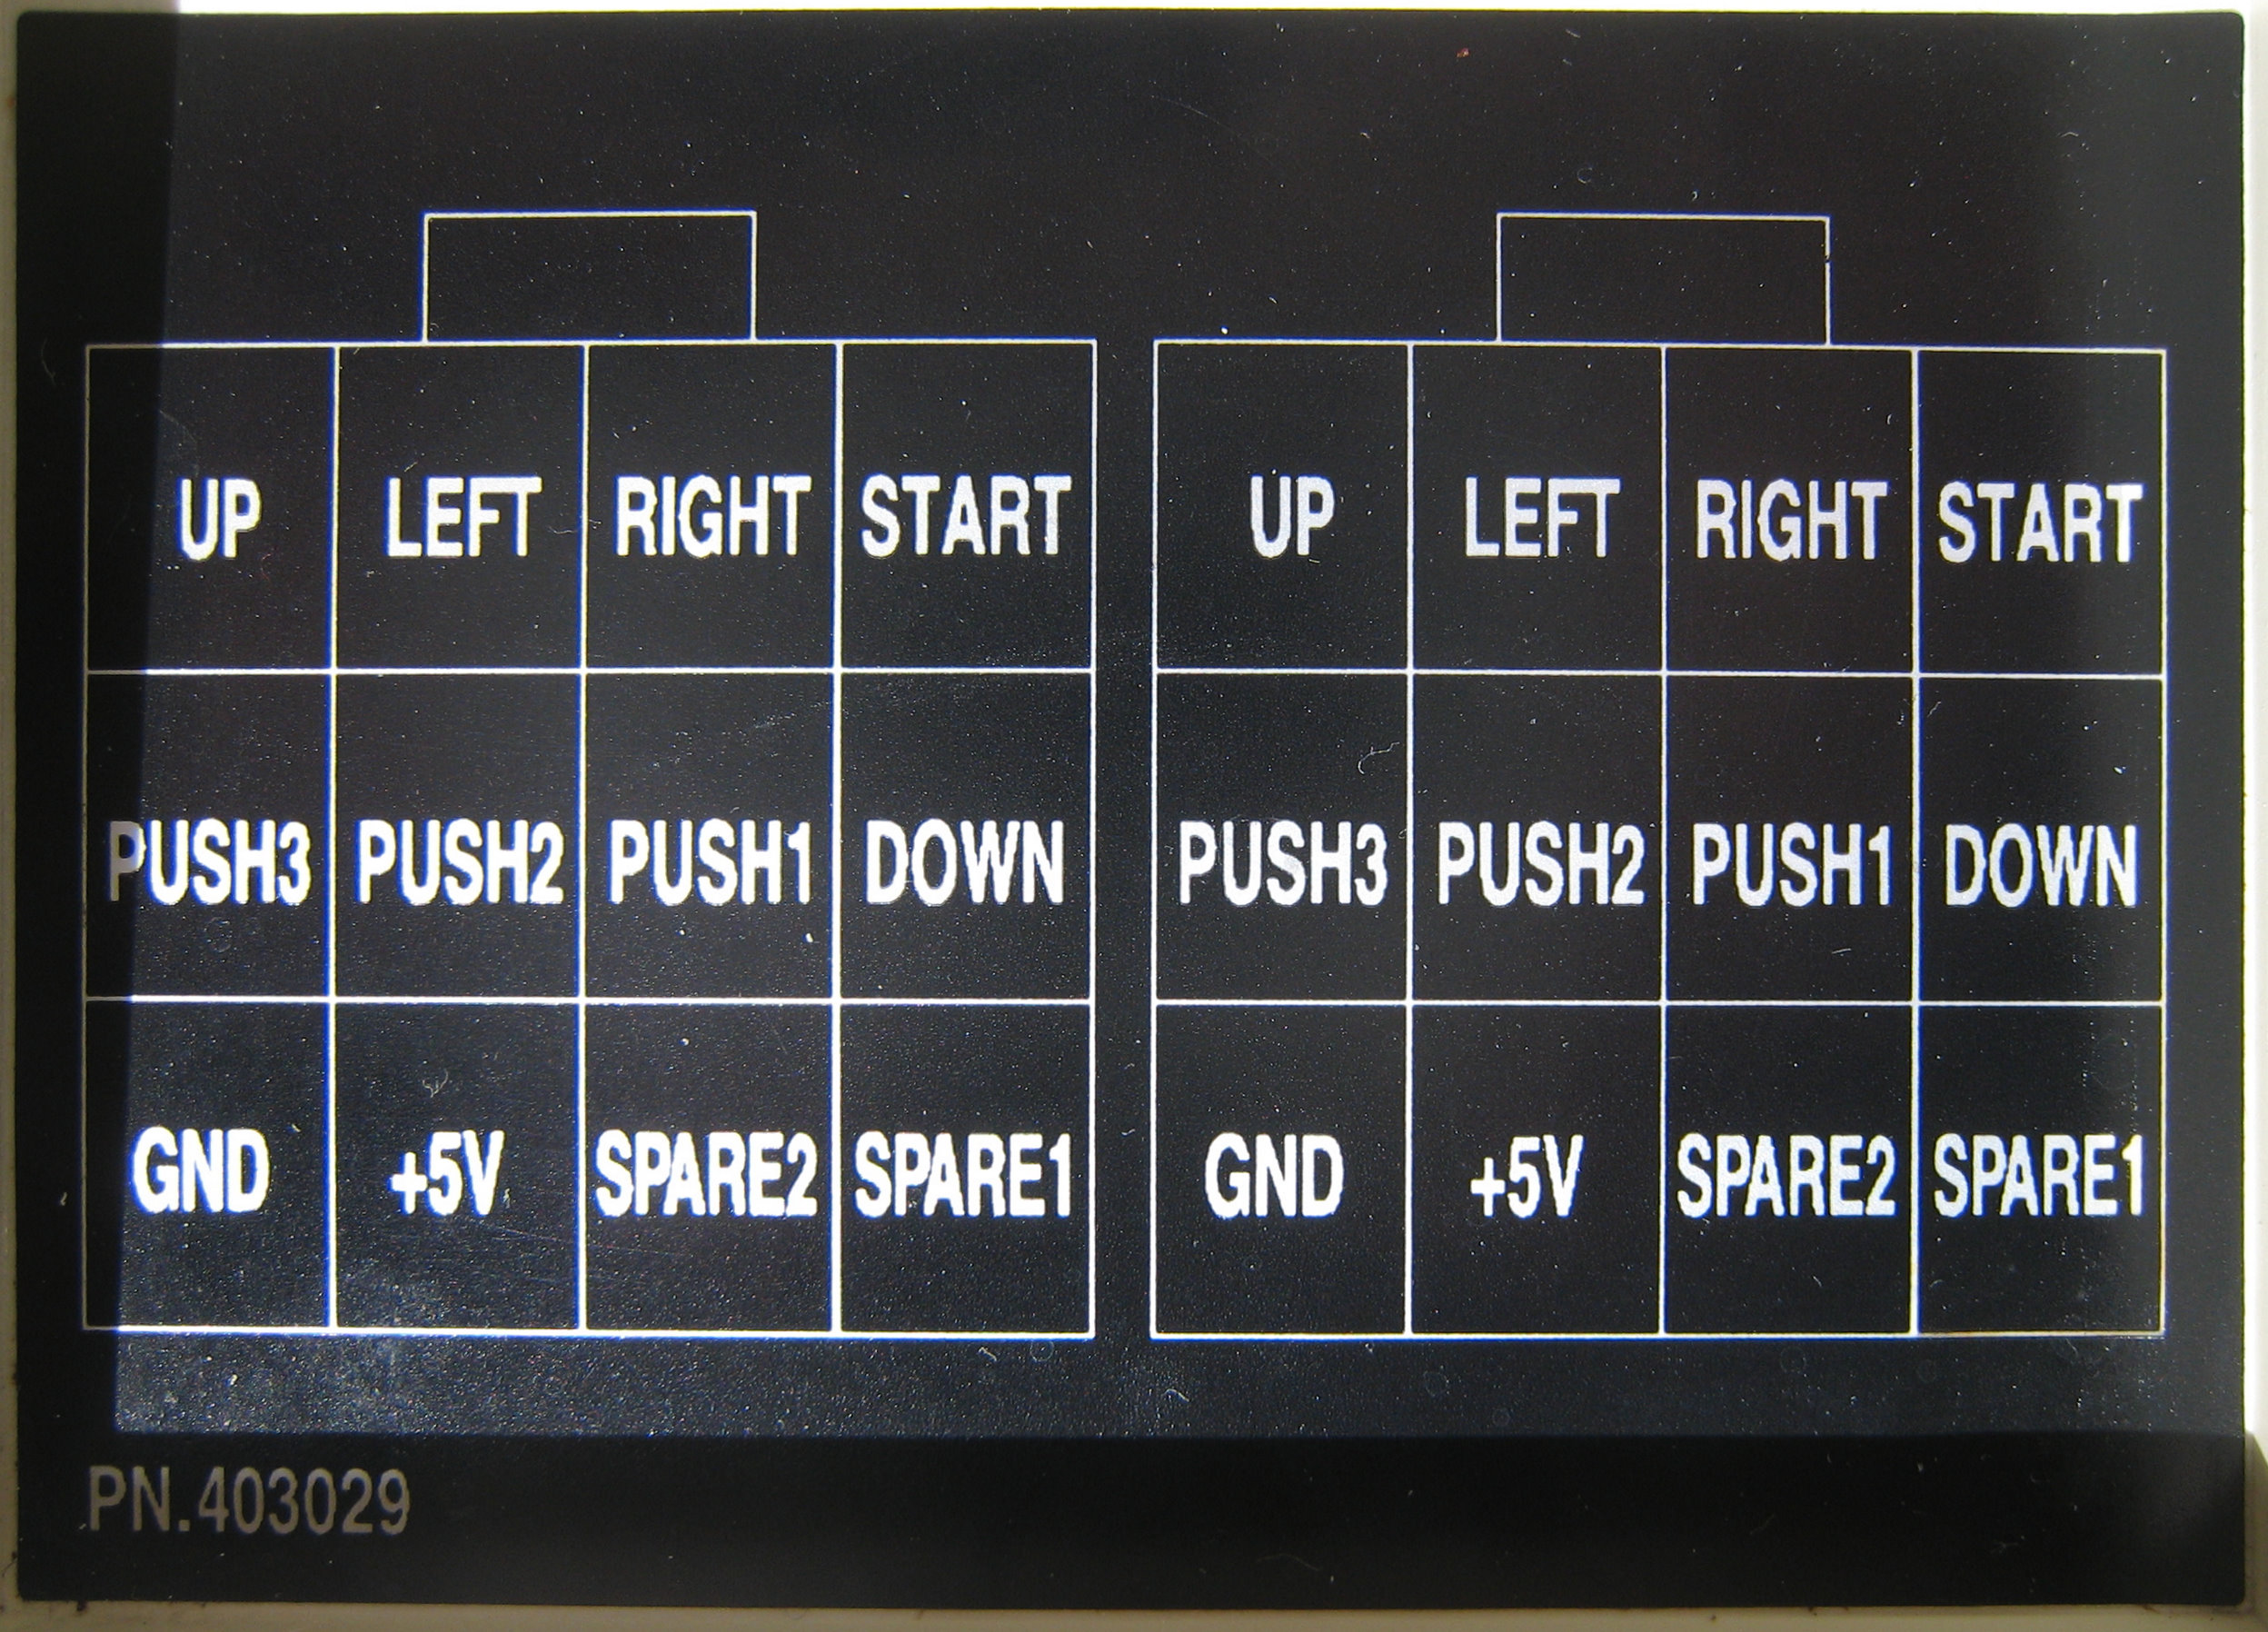
The joystick pod sticker shows you what pins are on the JVS joystick looms go to which buttons and joystick contacts, very handy.
Coin Chute
Where the coins go when inserted into the coin slot.
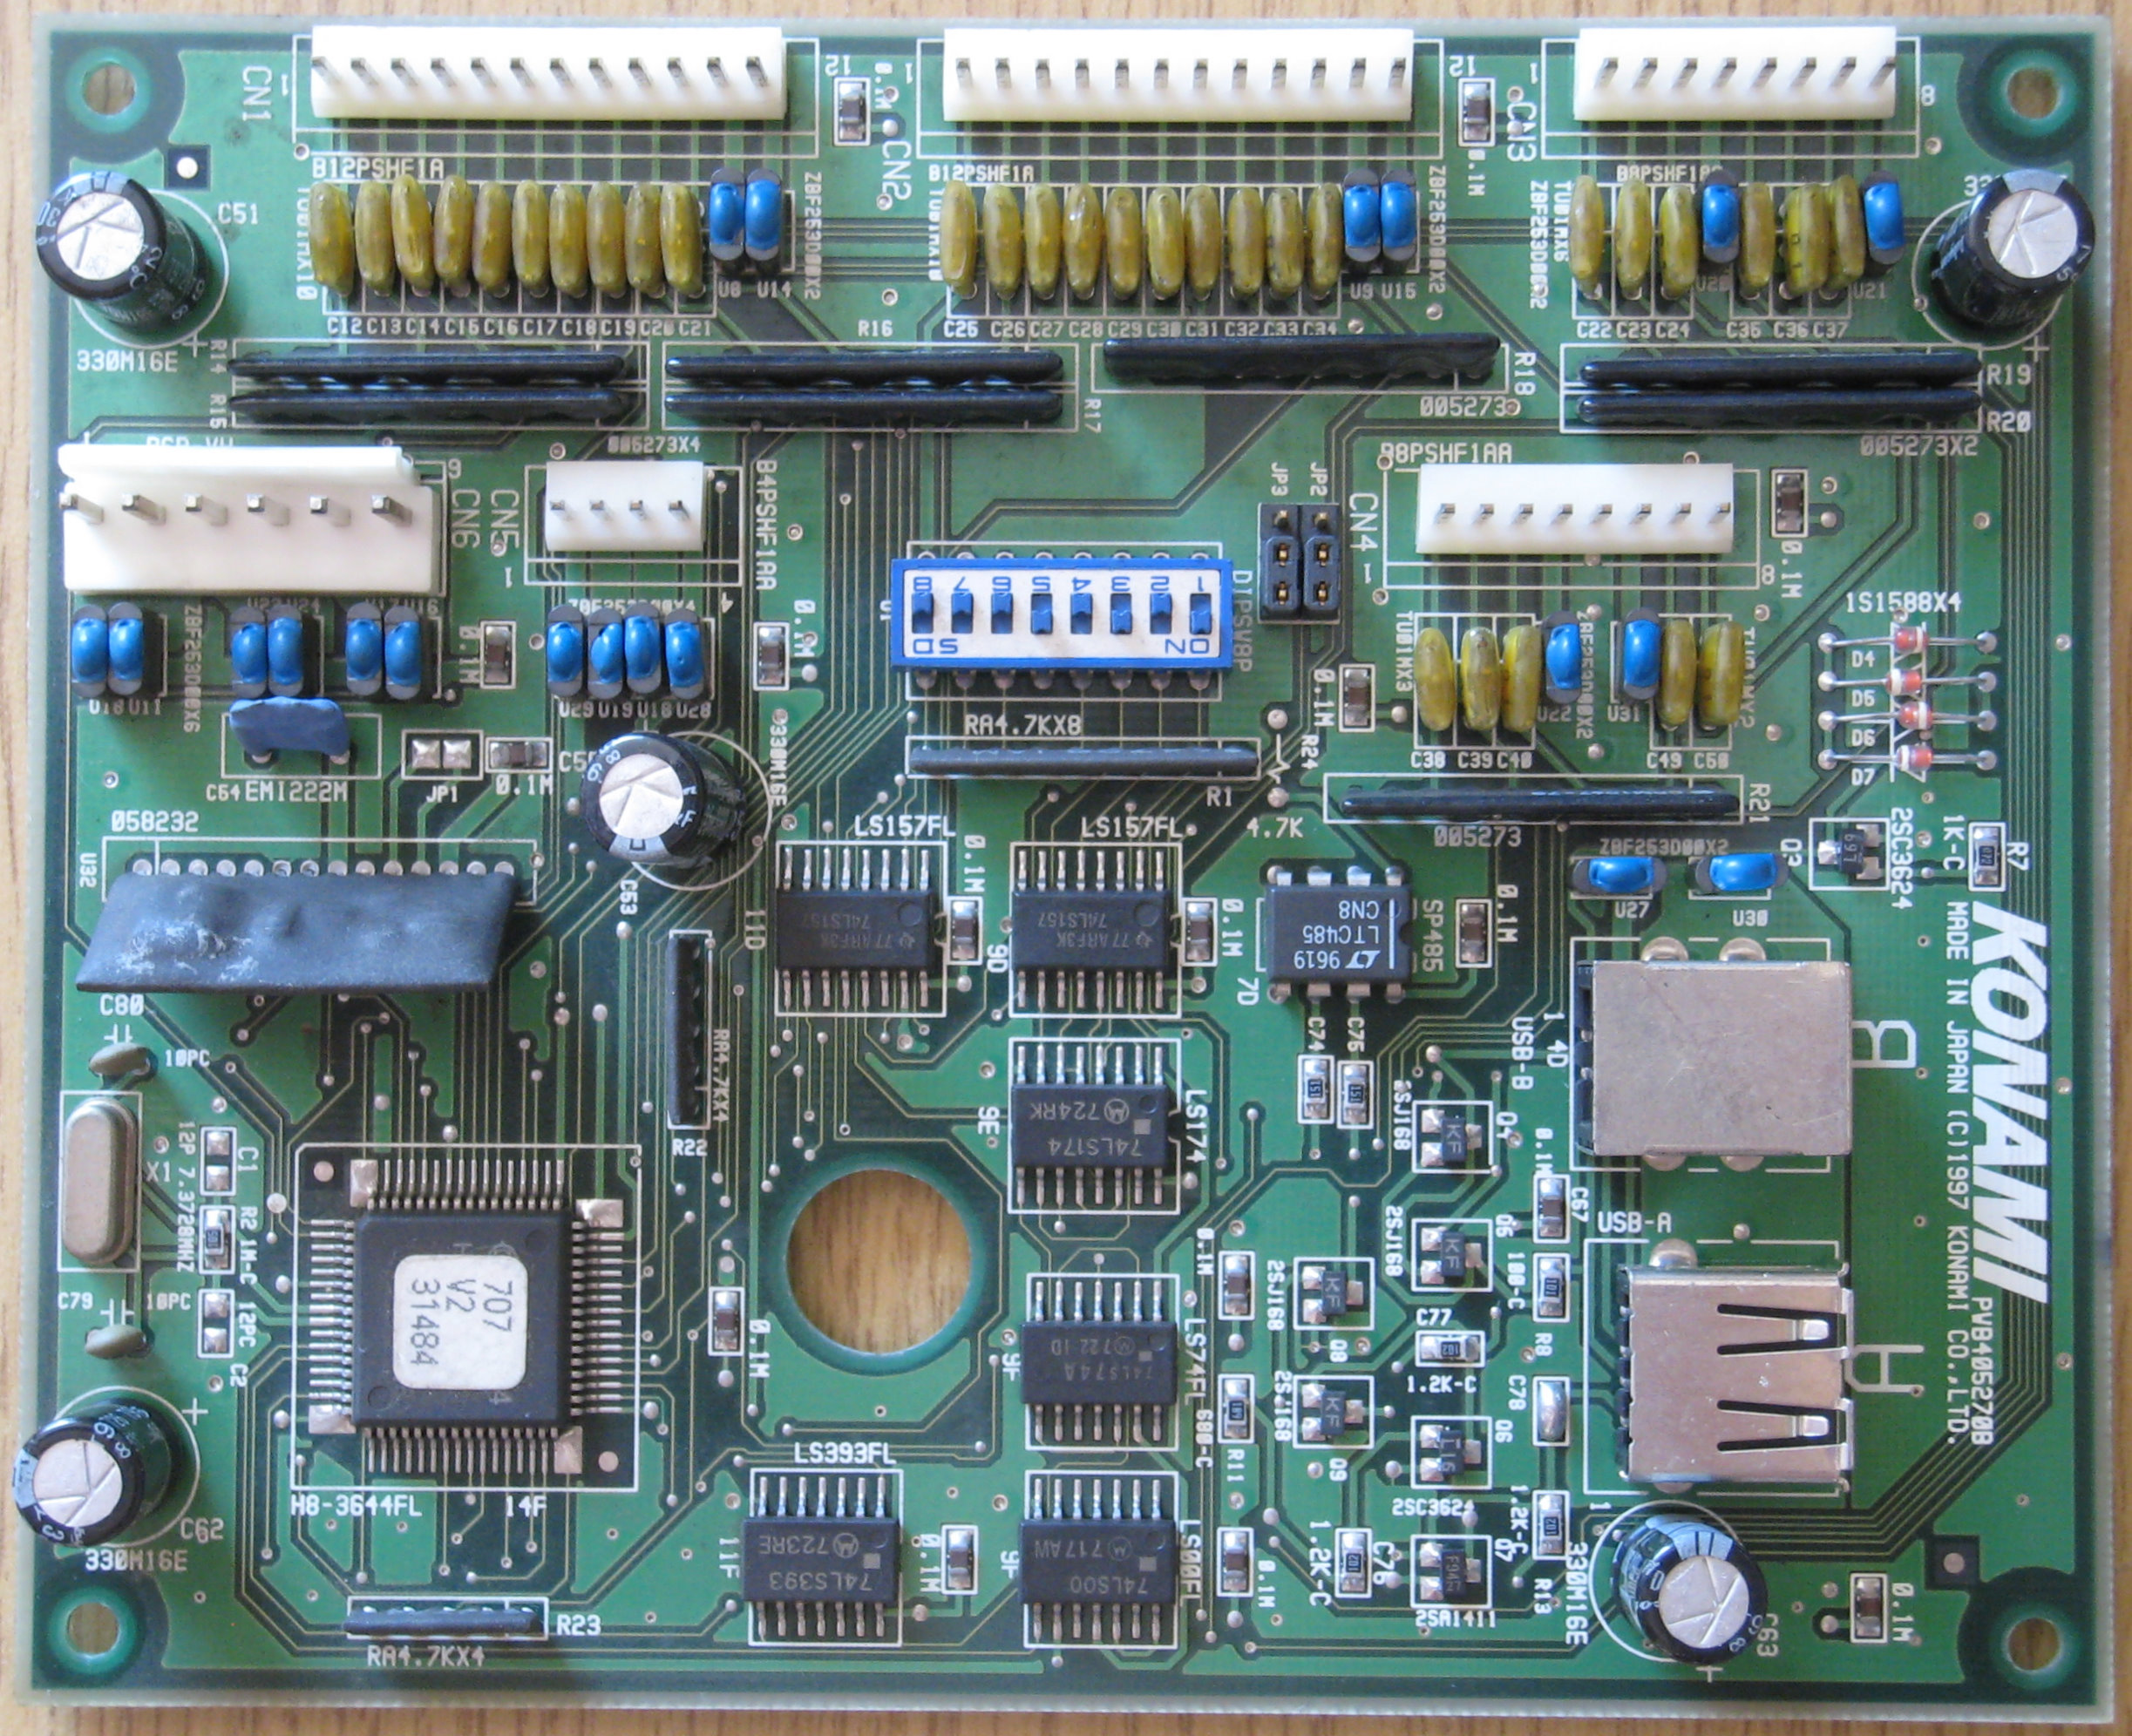
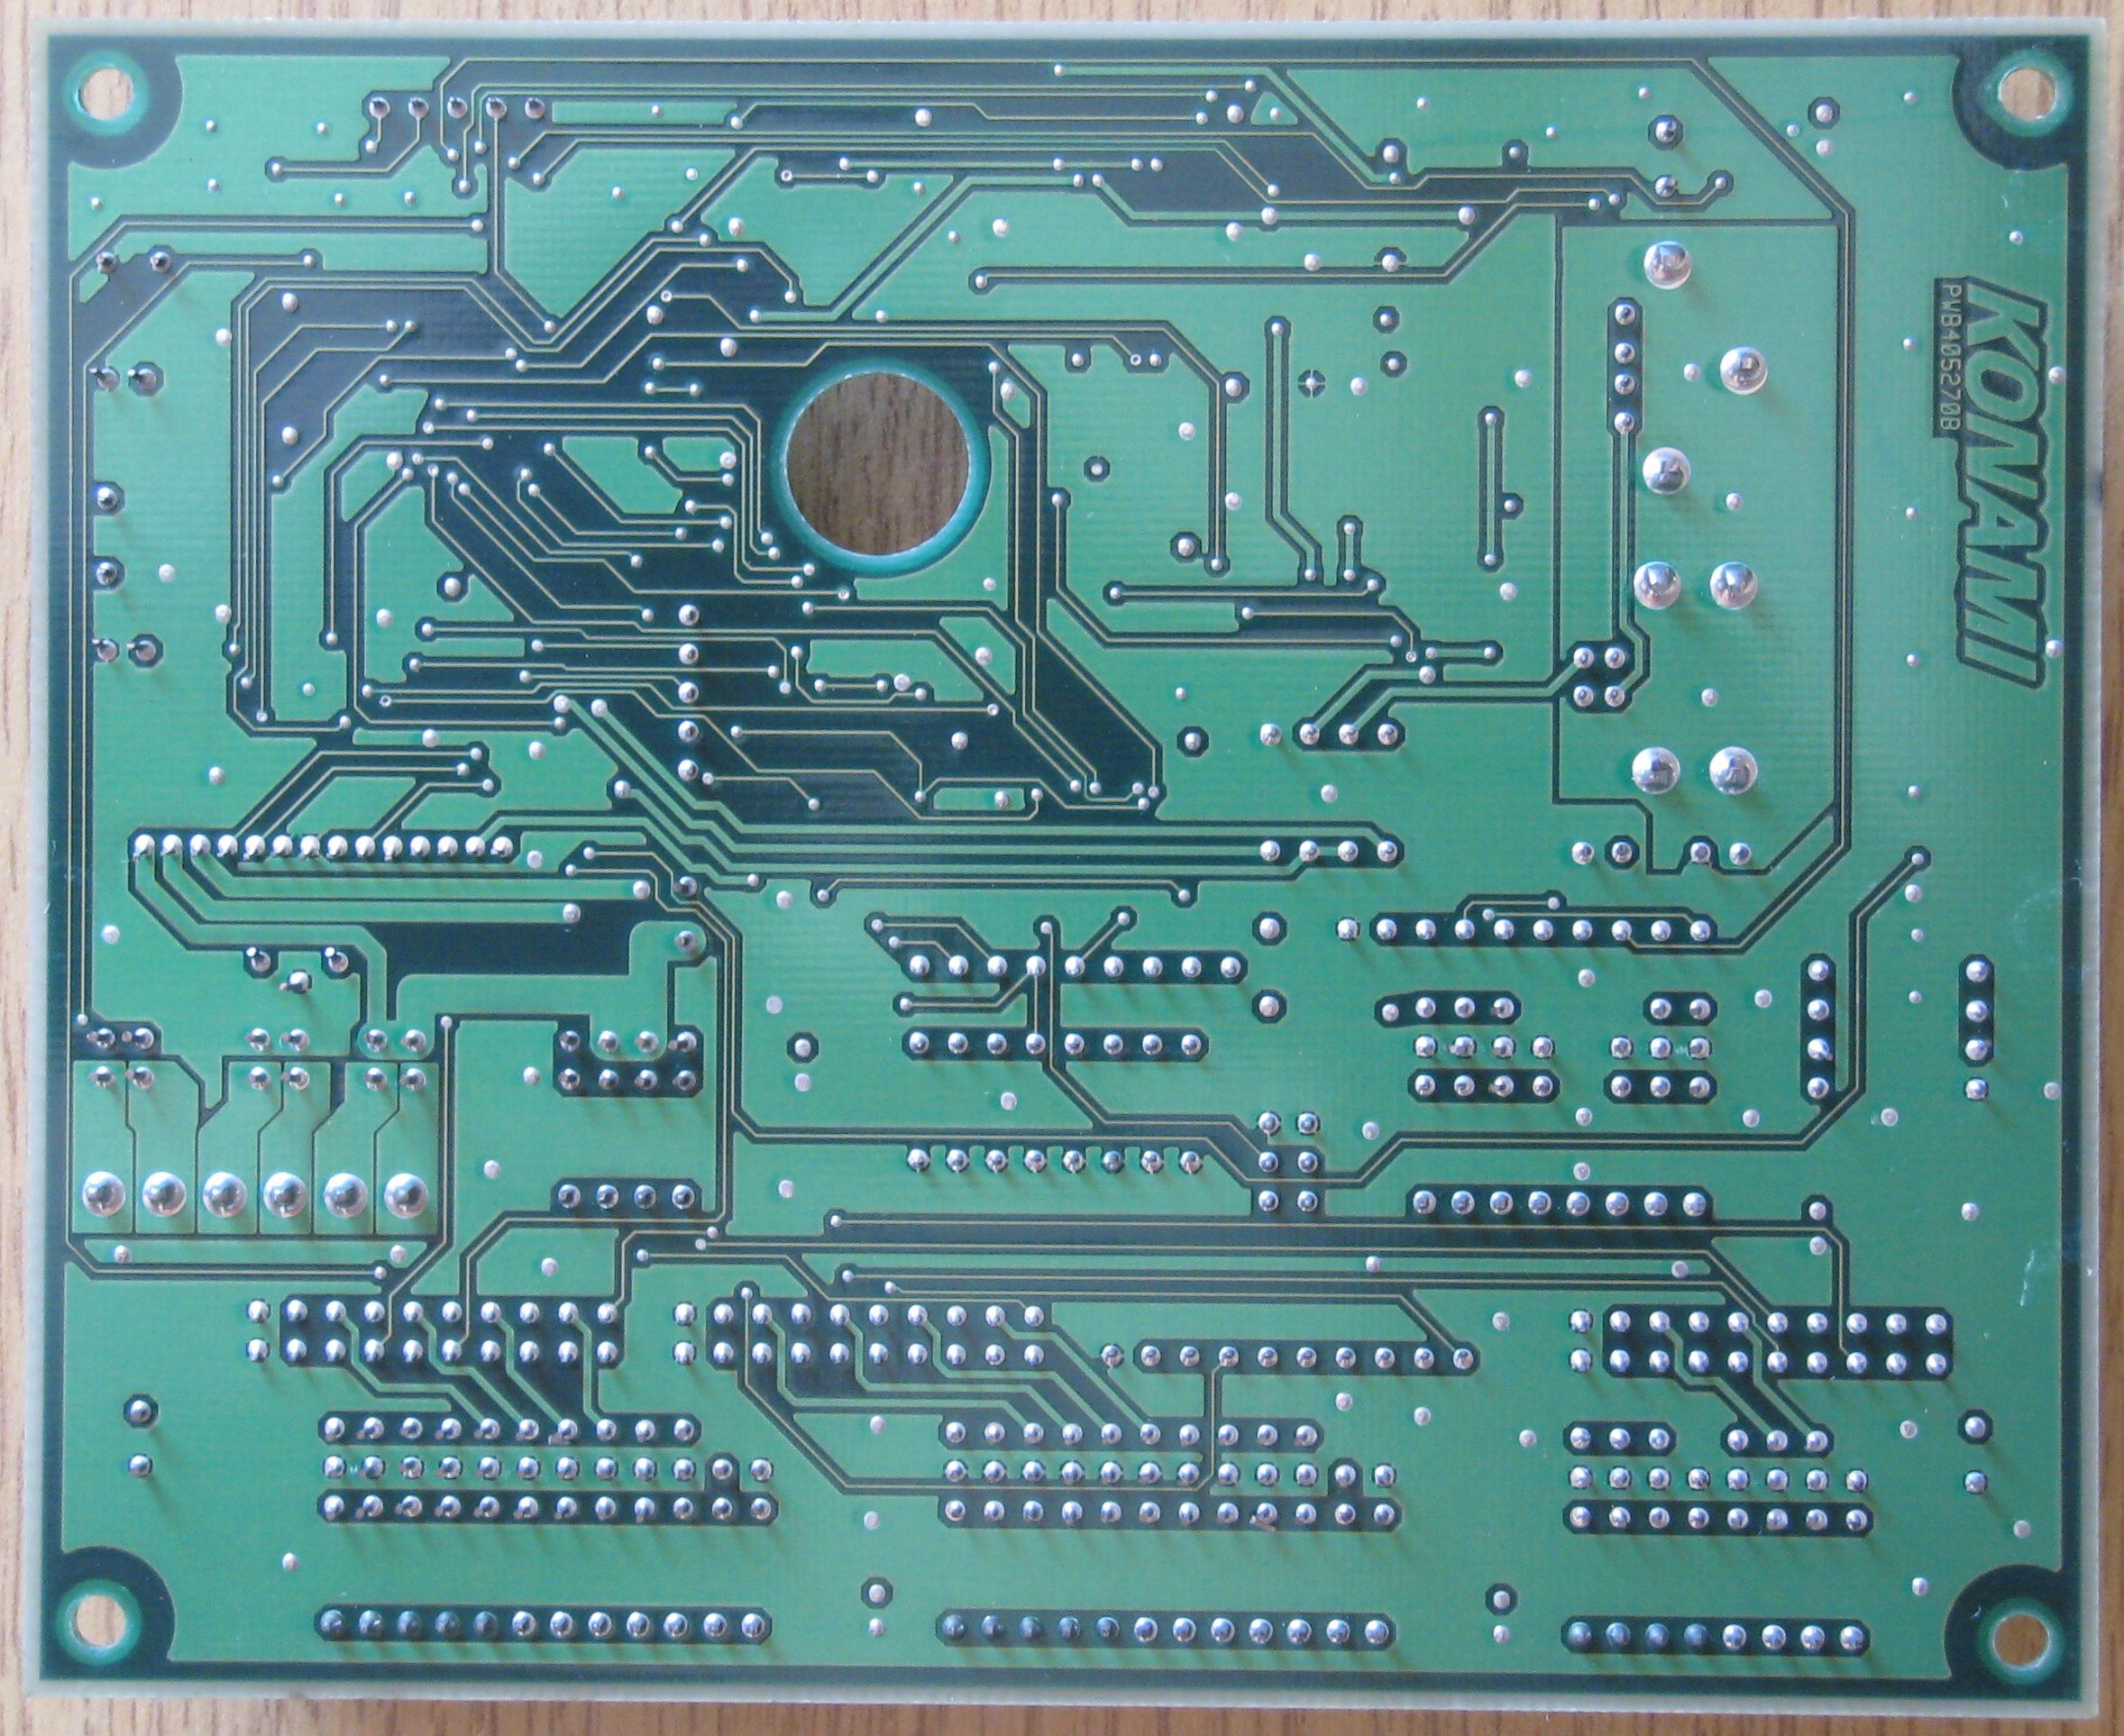
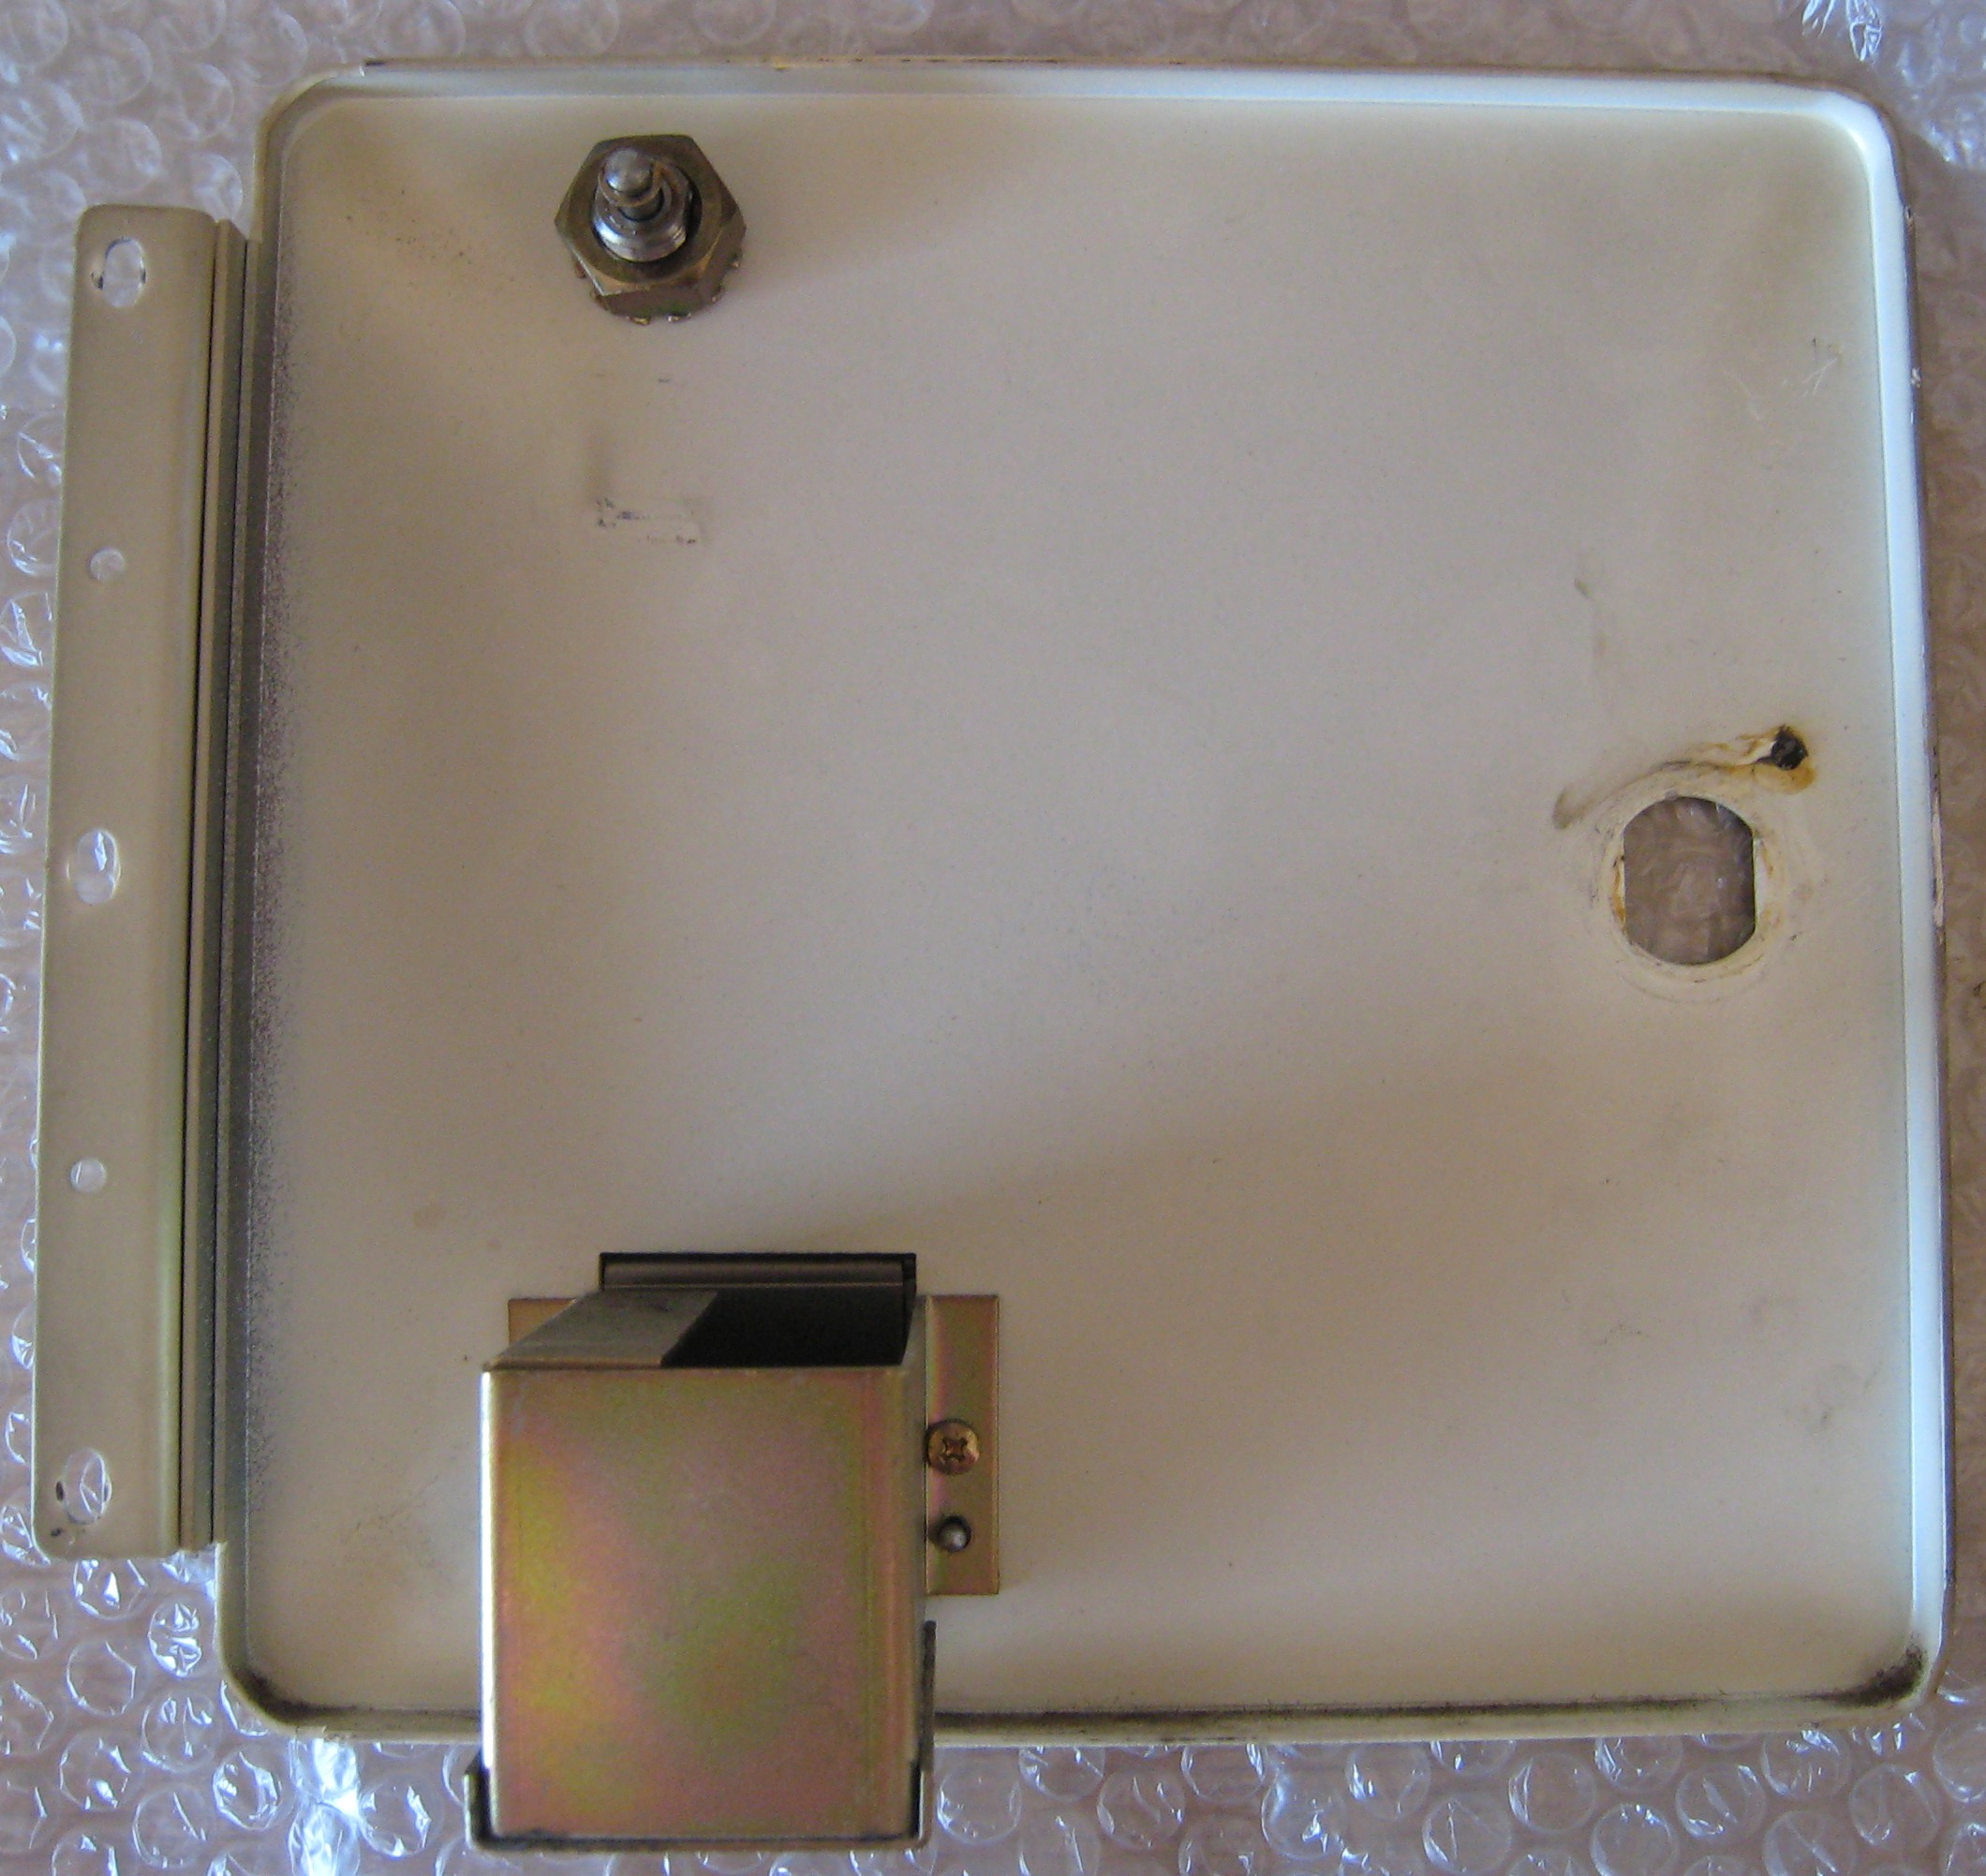
Konami JVS Joystick Pod Board - PWB405270B
This board is situated on the left when you open the joystick pod and controls all the joystick and button inputs.
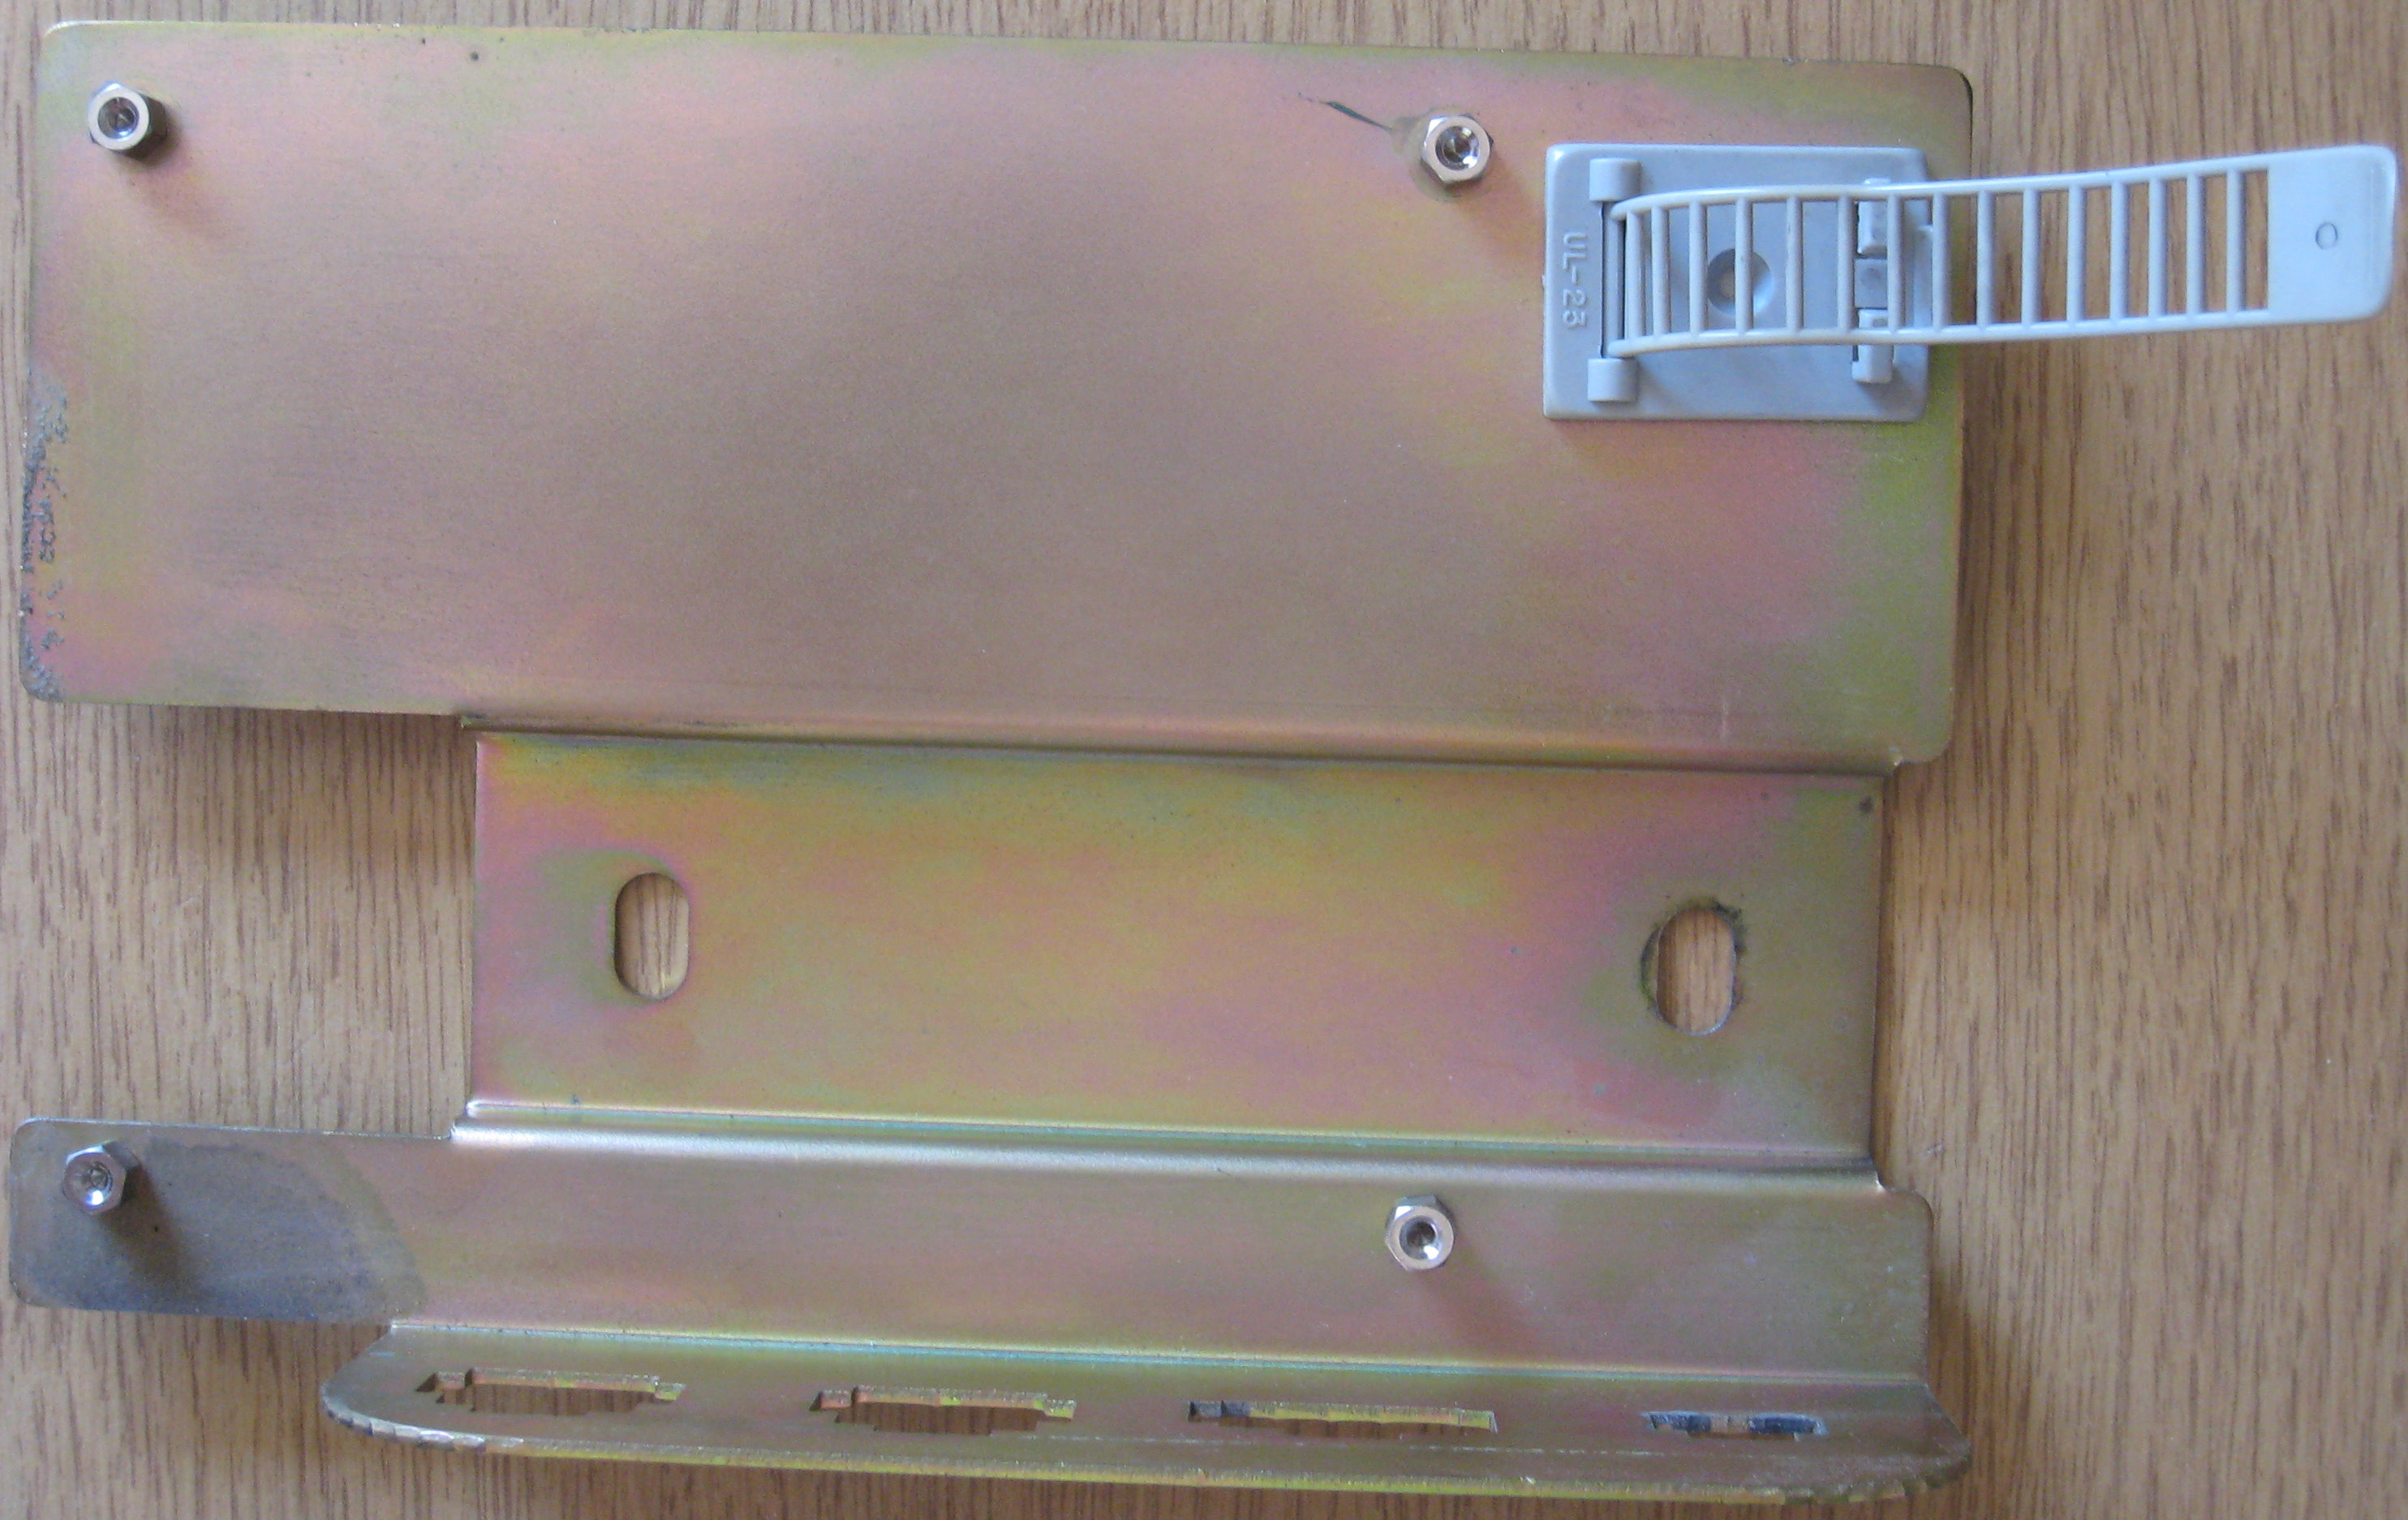
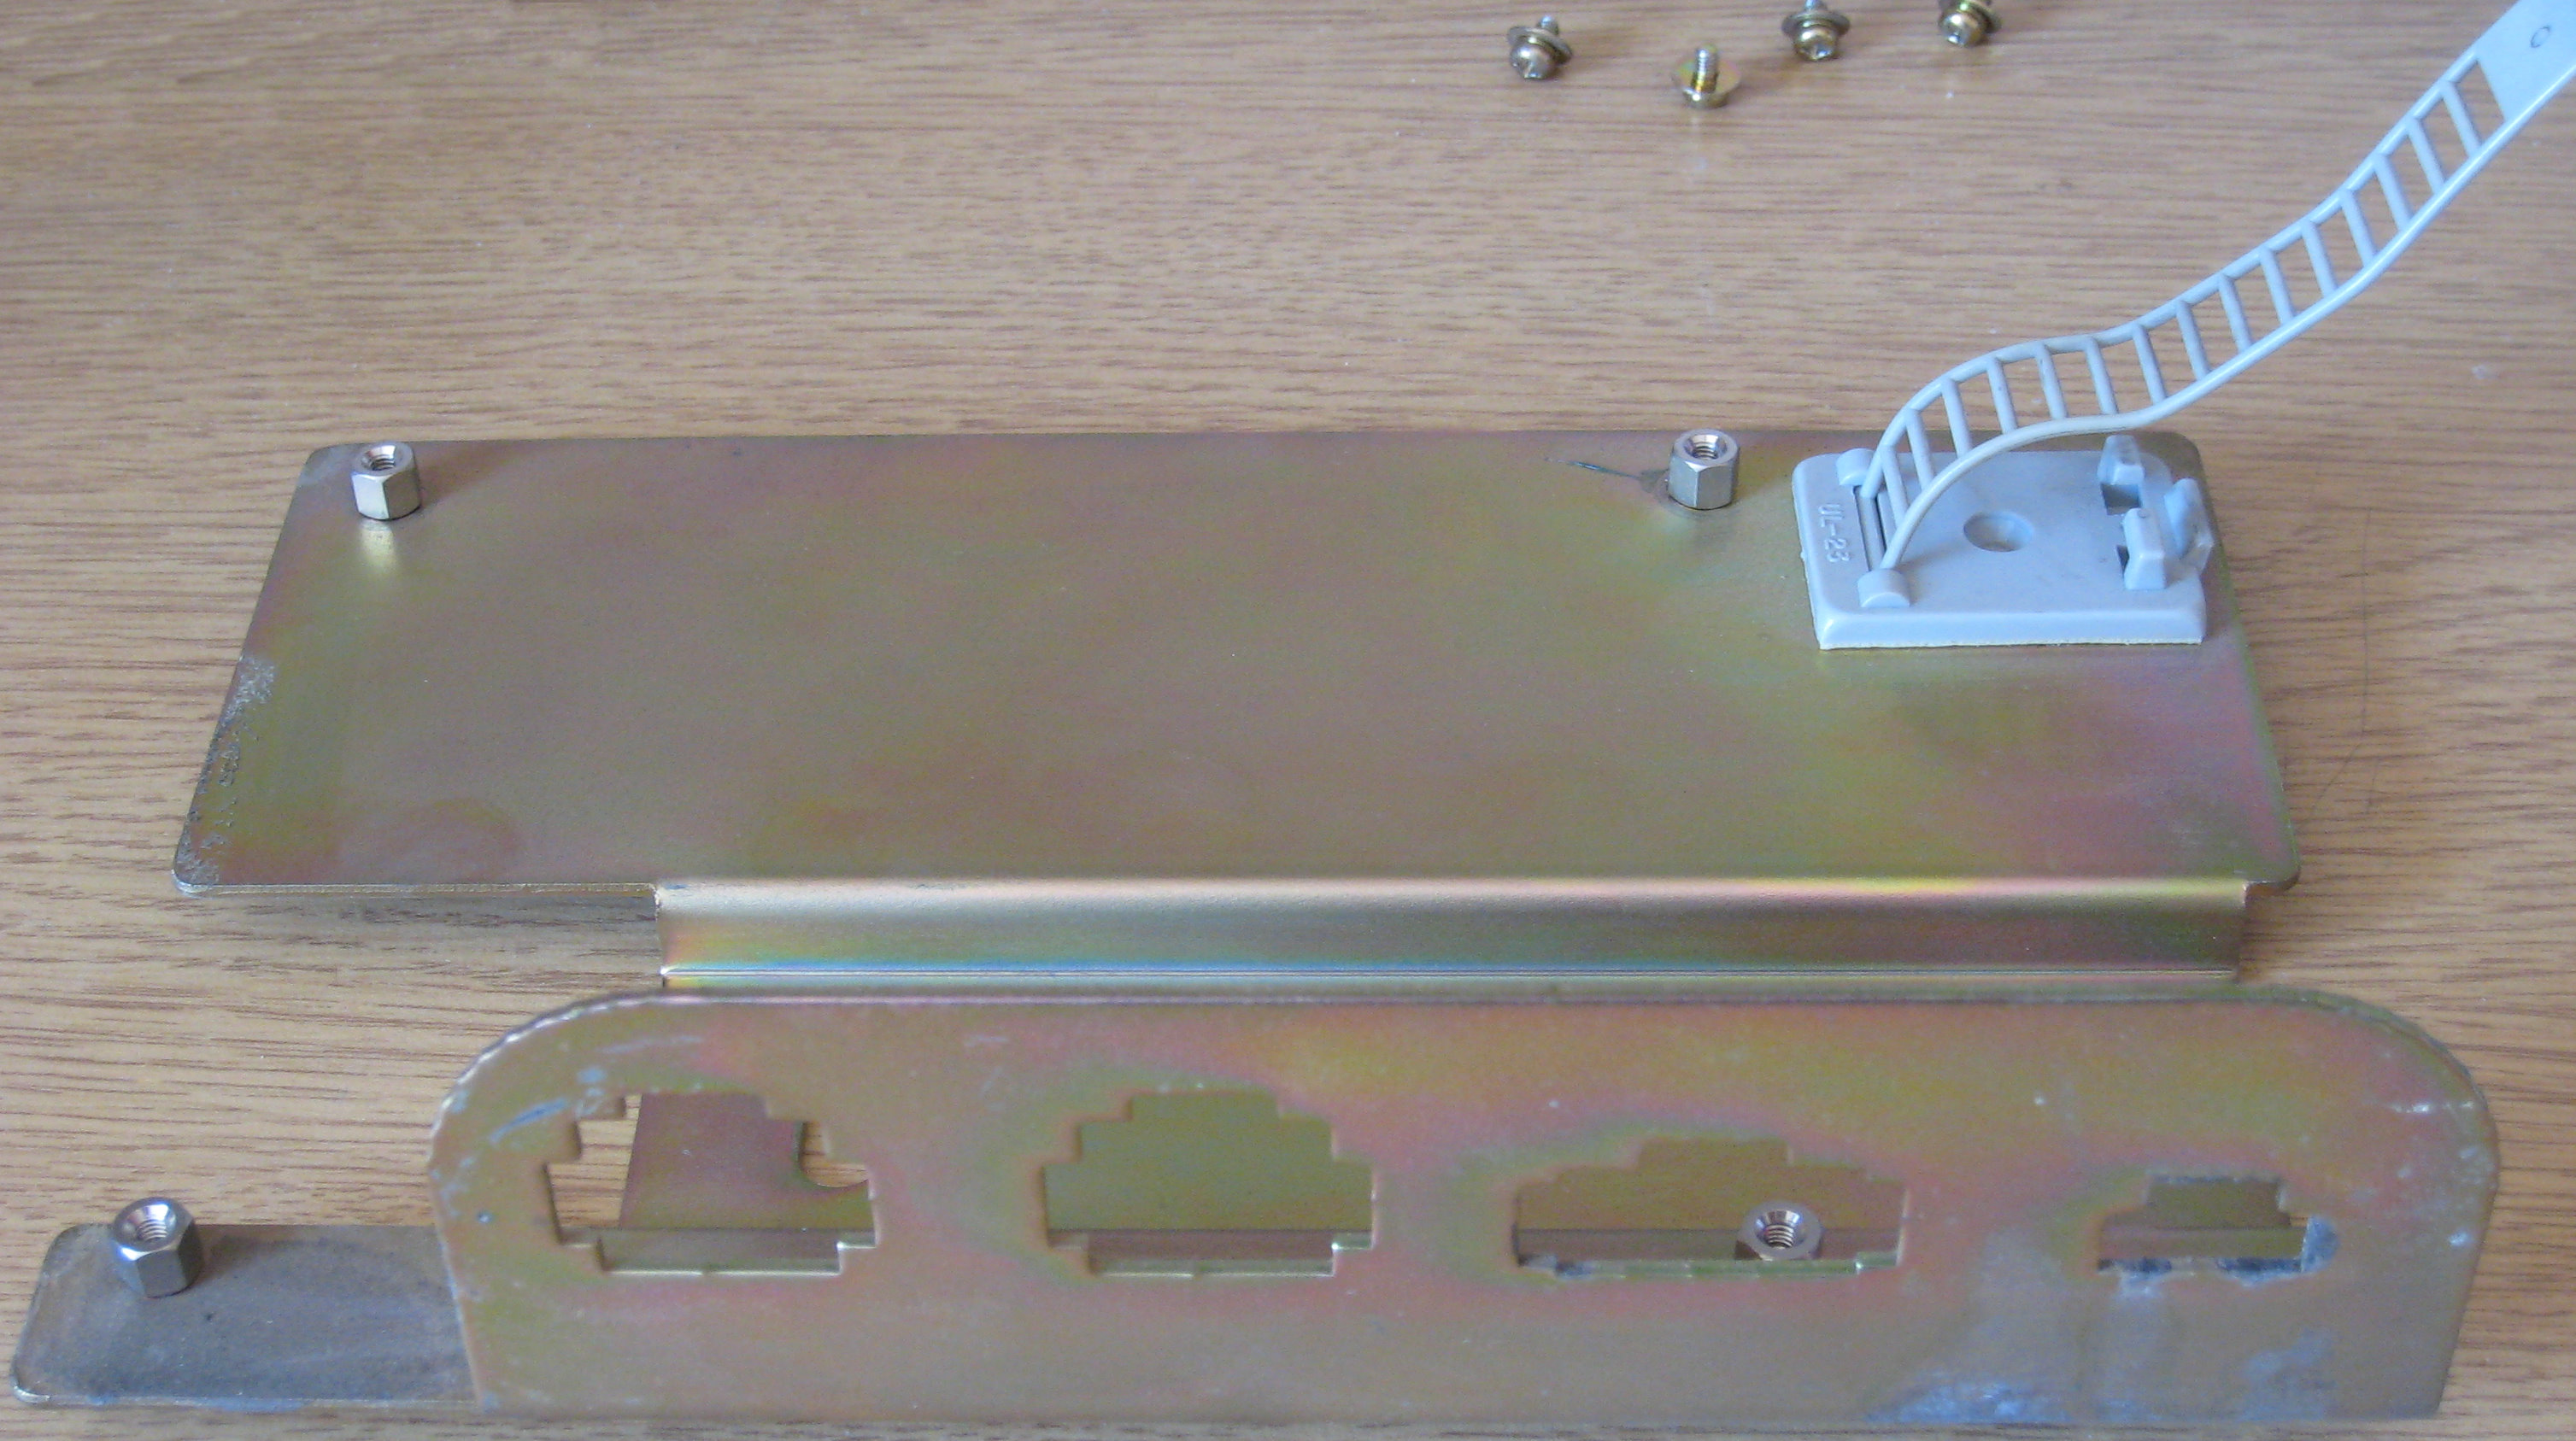
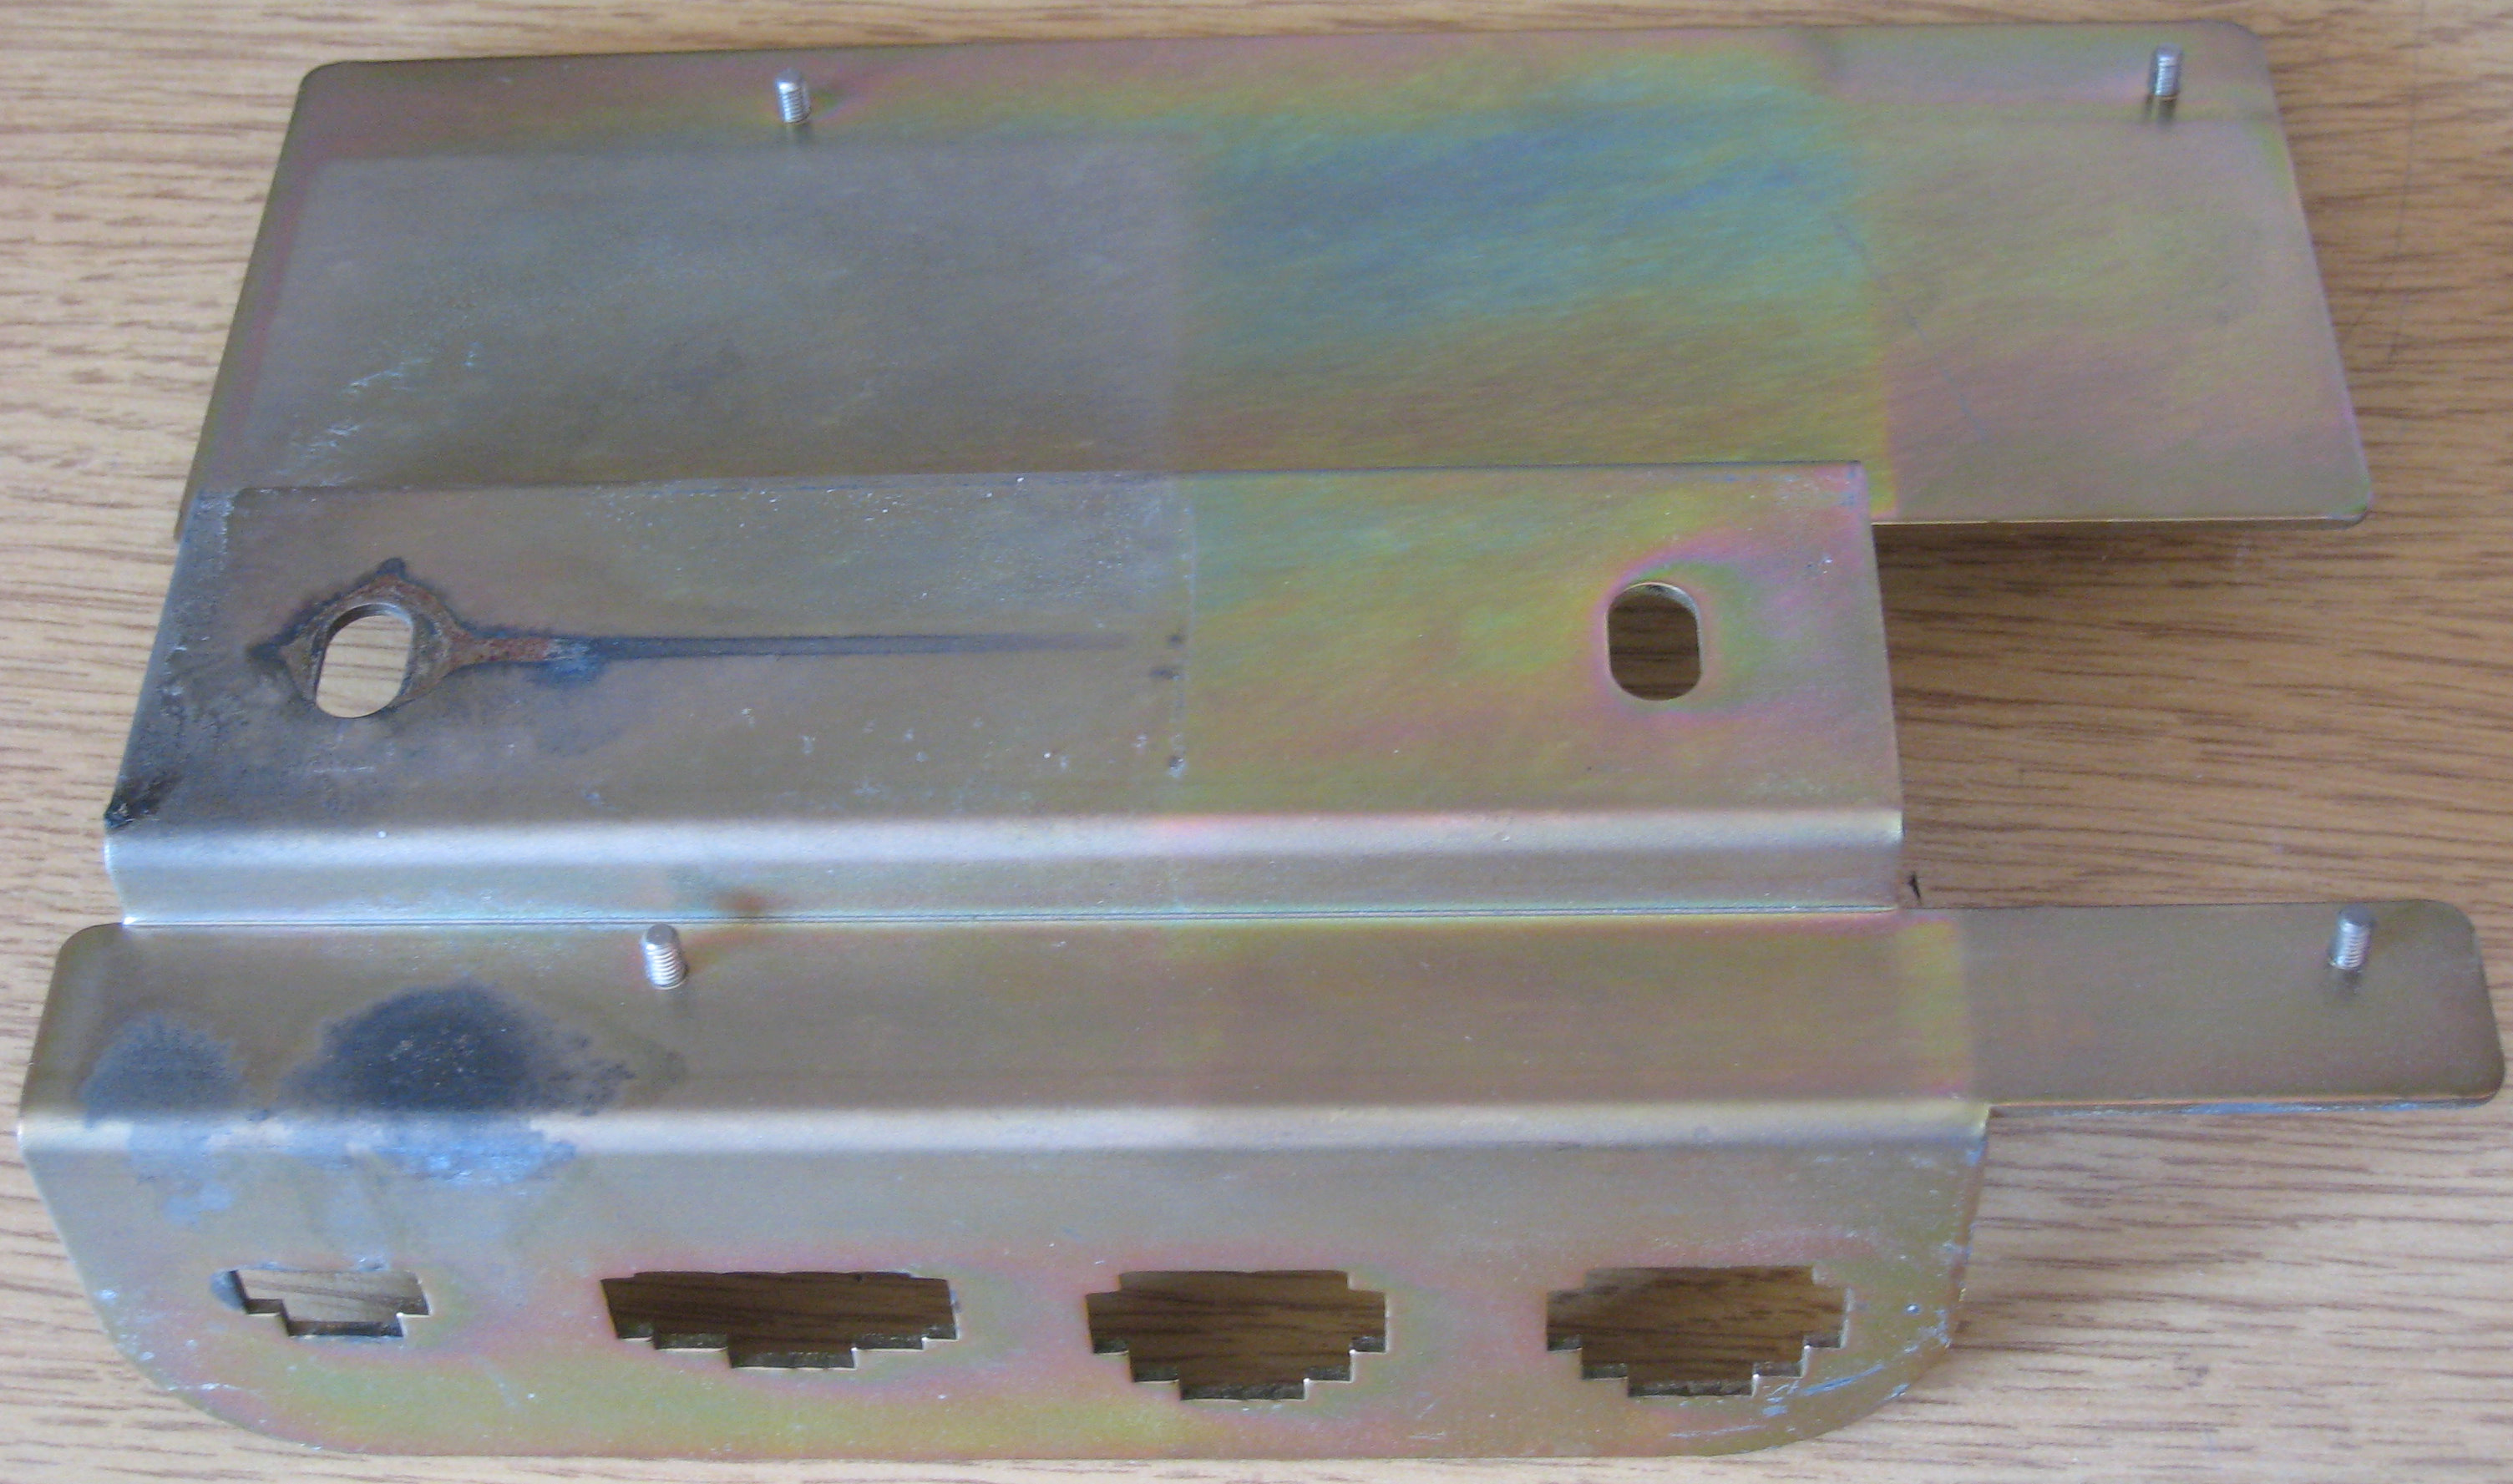
Metal plate that holds and JVS Joystick Pod Board and all the wiring connectors for the joystick pod.
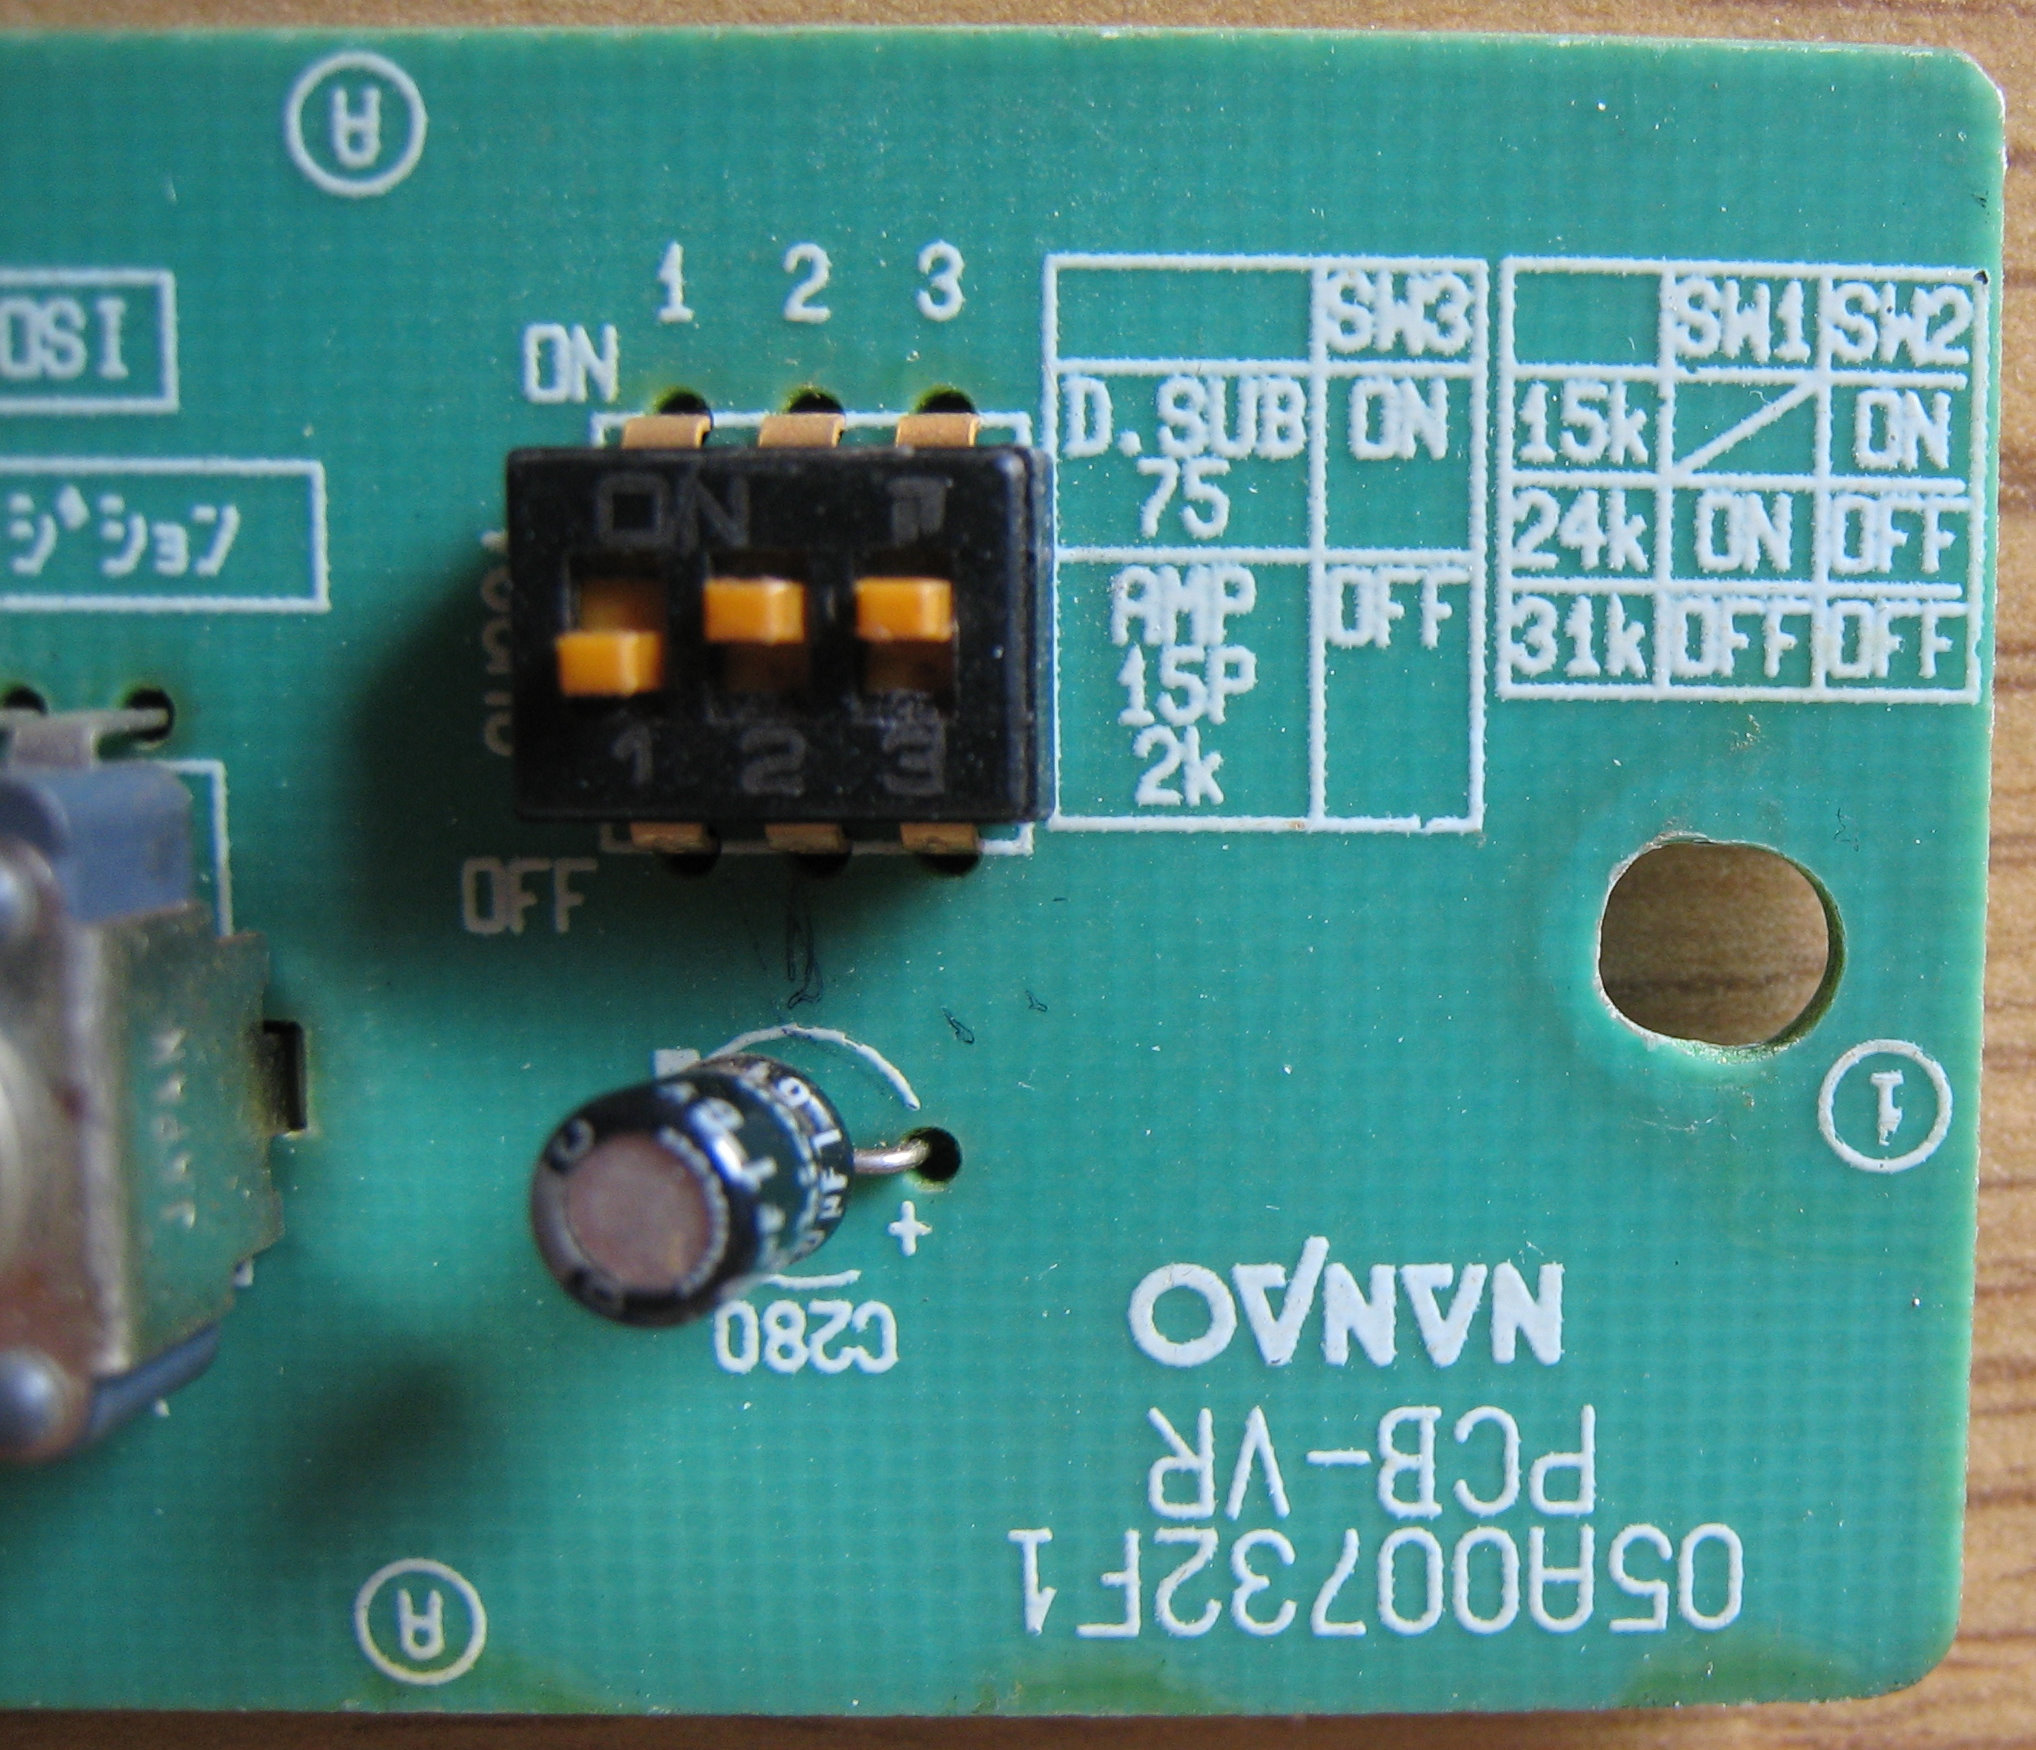
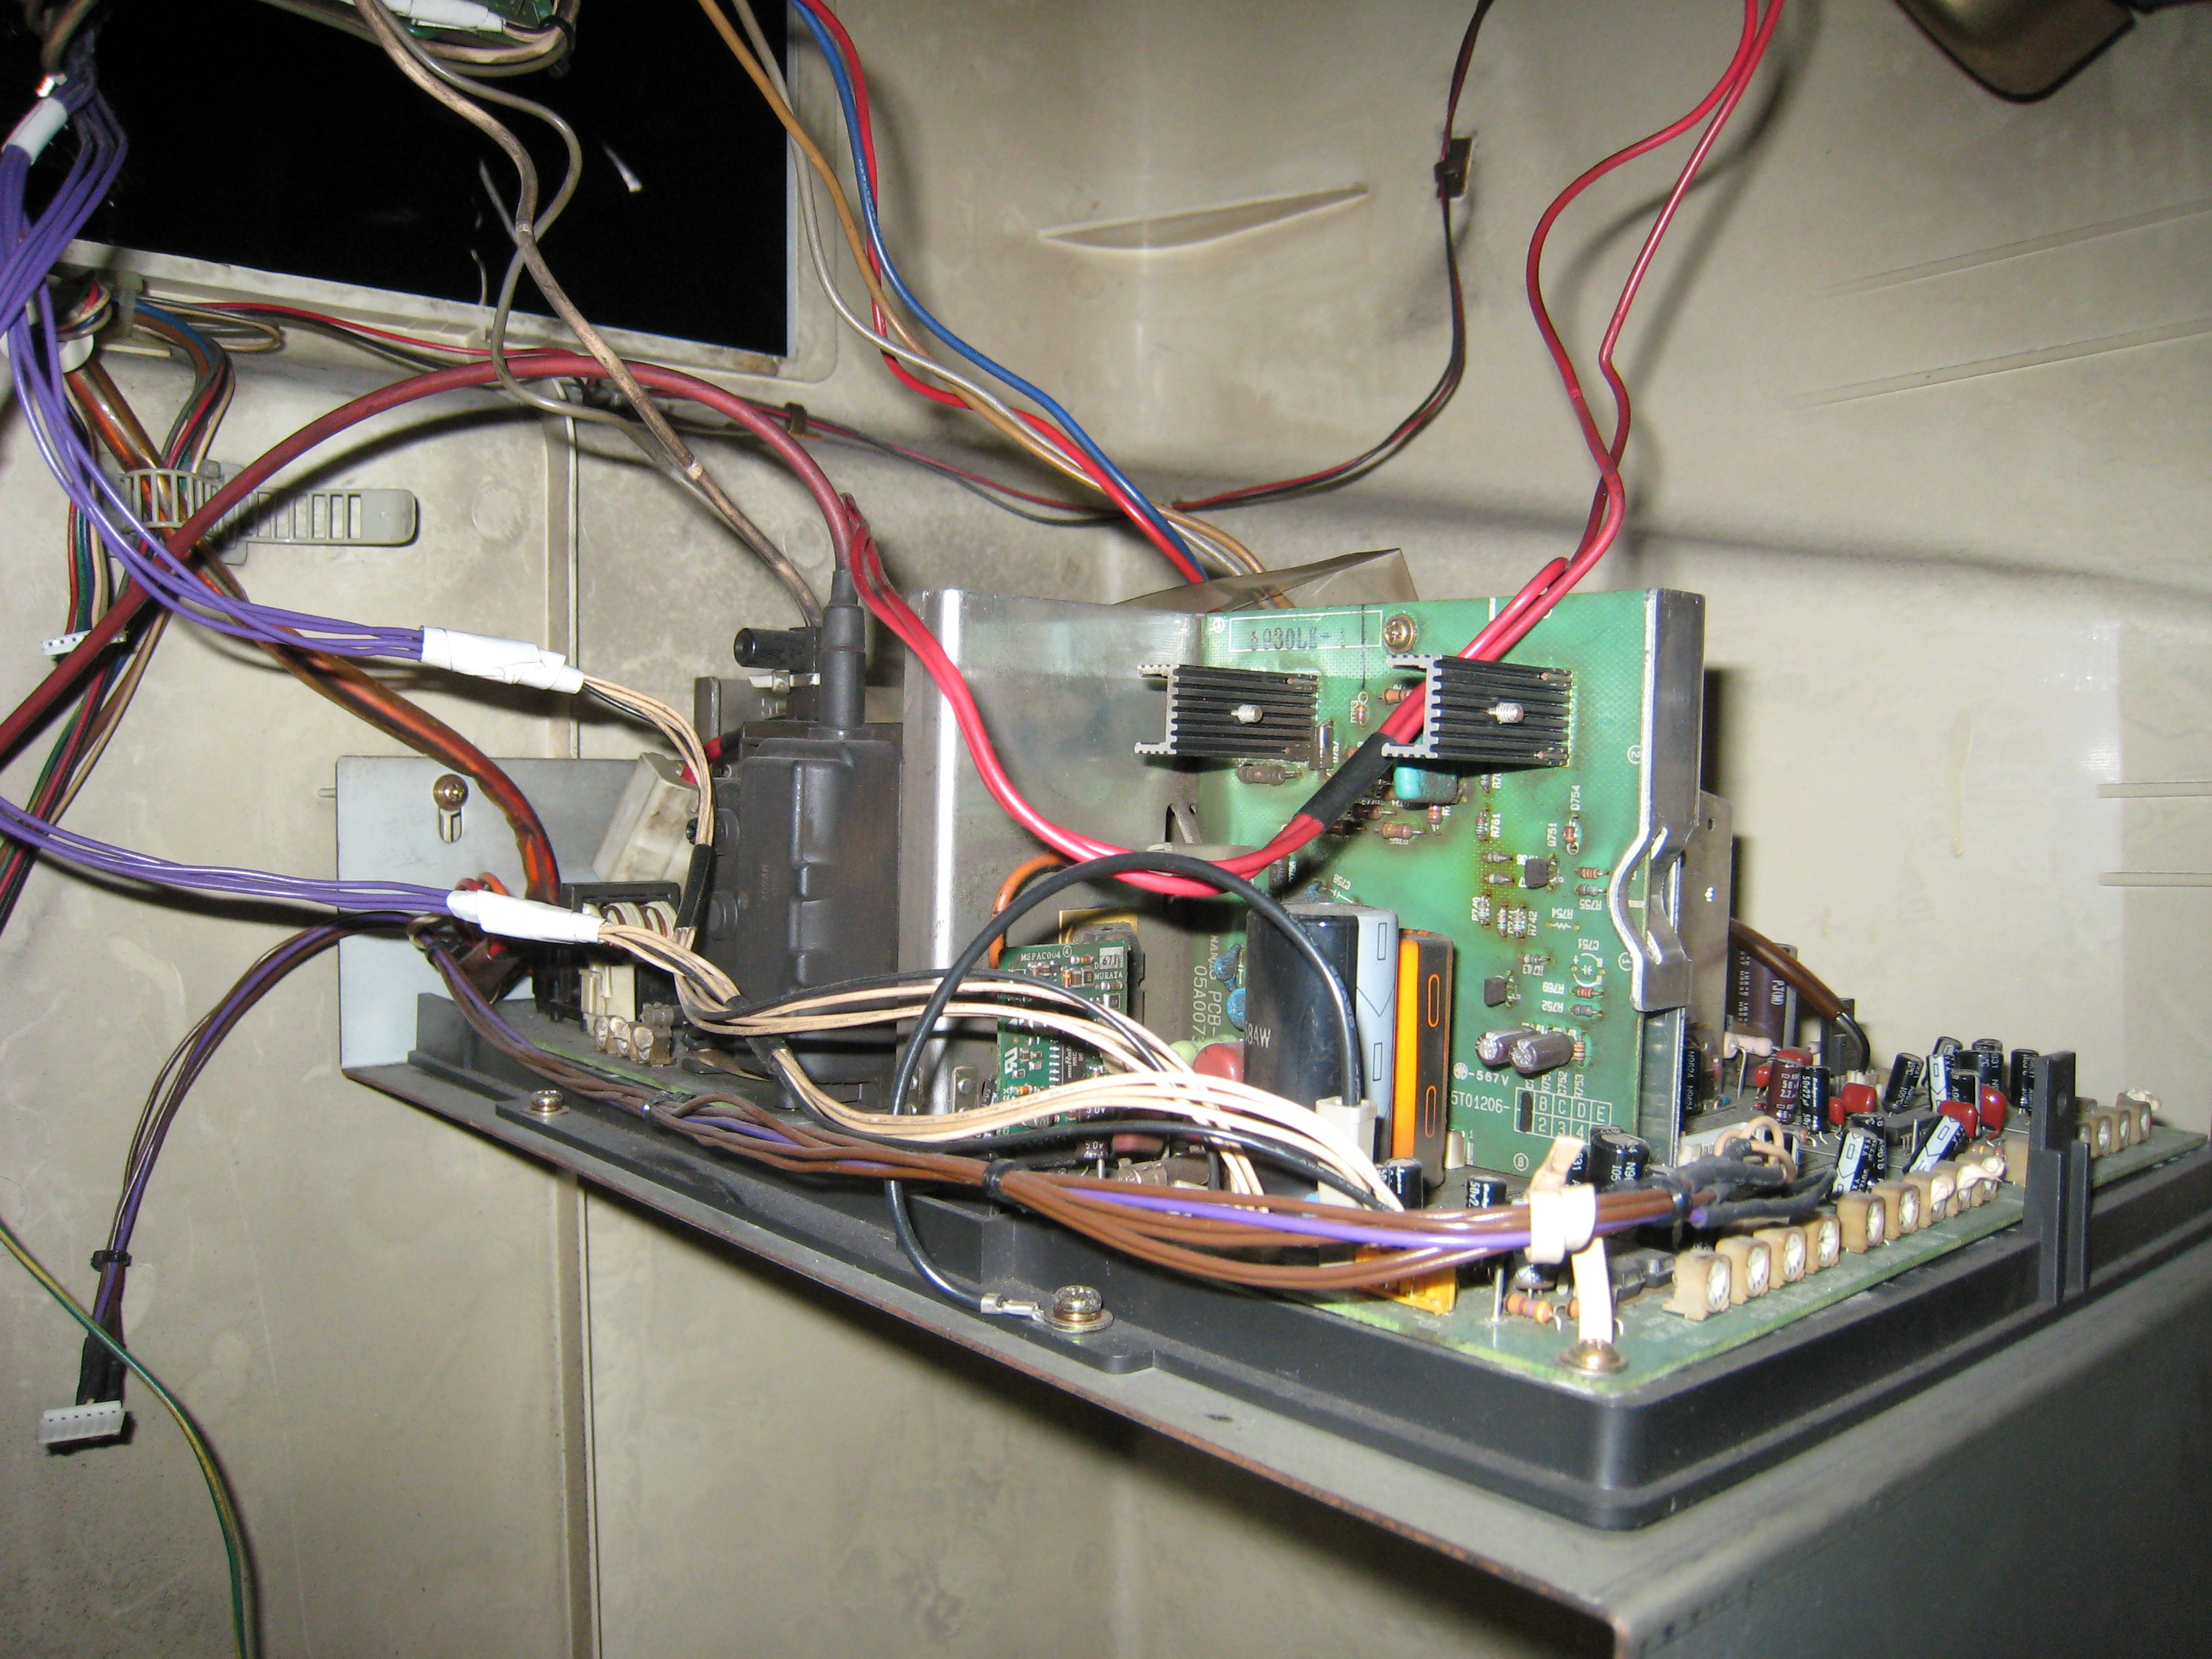
Monitor Remote Board - NANAO 05A00732F1 OCB-VR
This board is situated on the right when you open the joystick pod and has most of the geometry controls for the 29inch Toshiba Monitor.


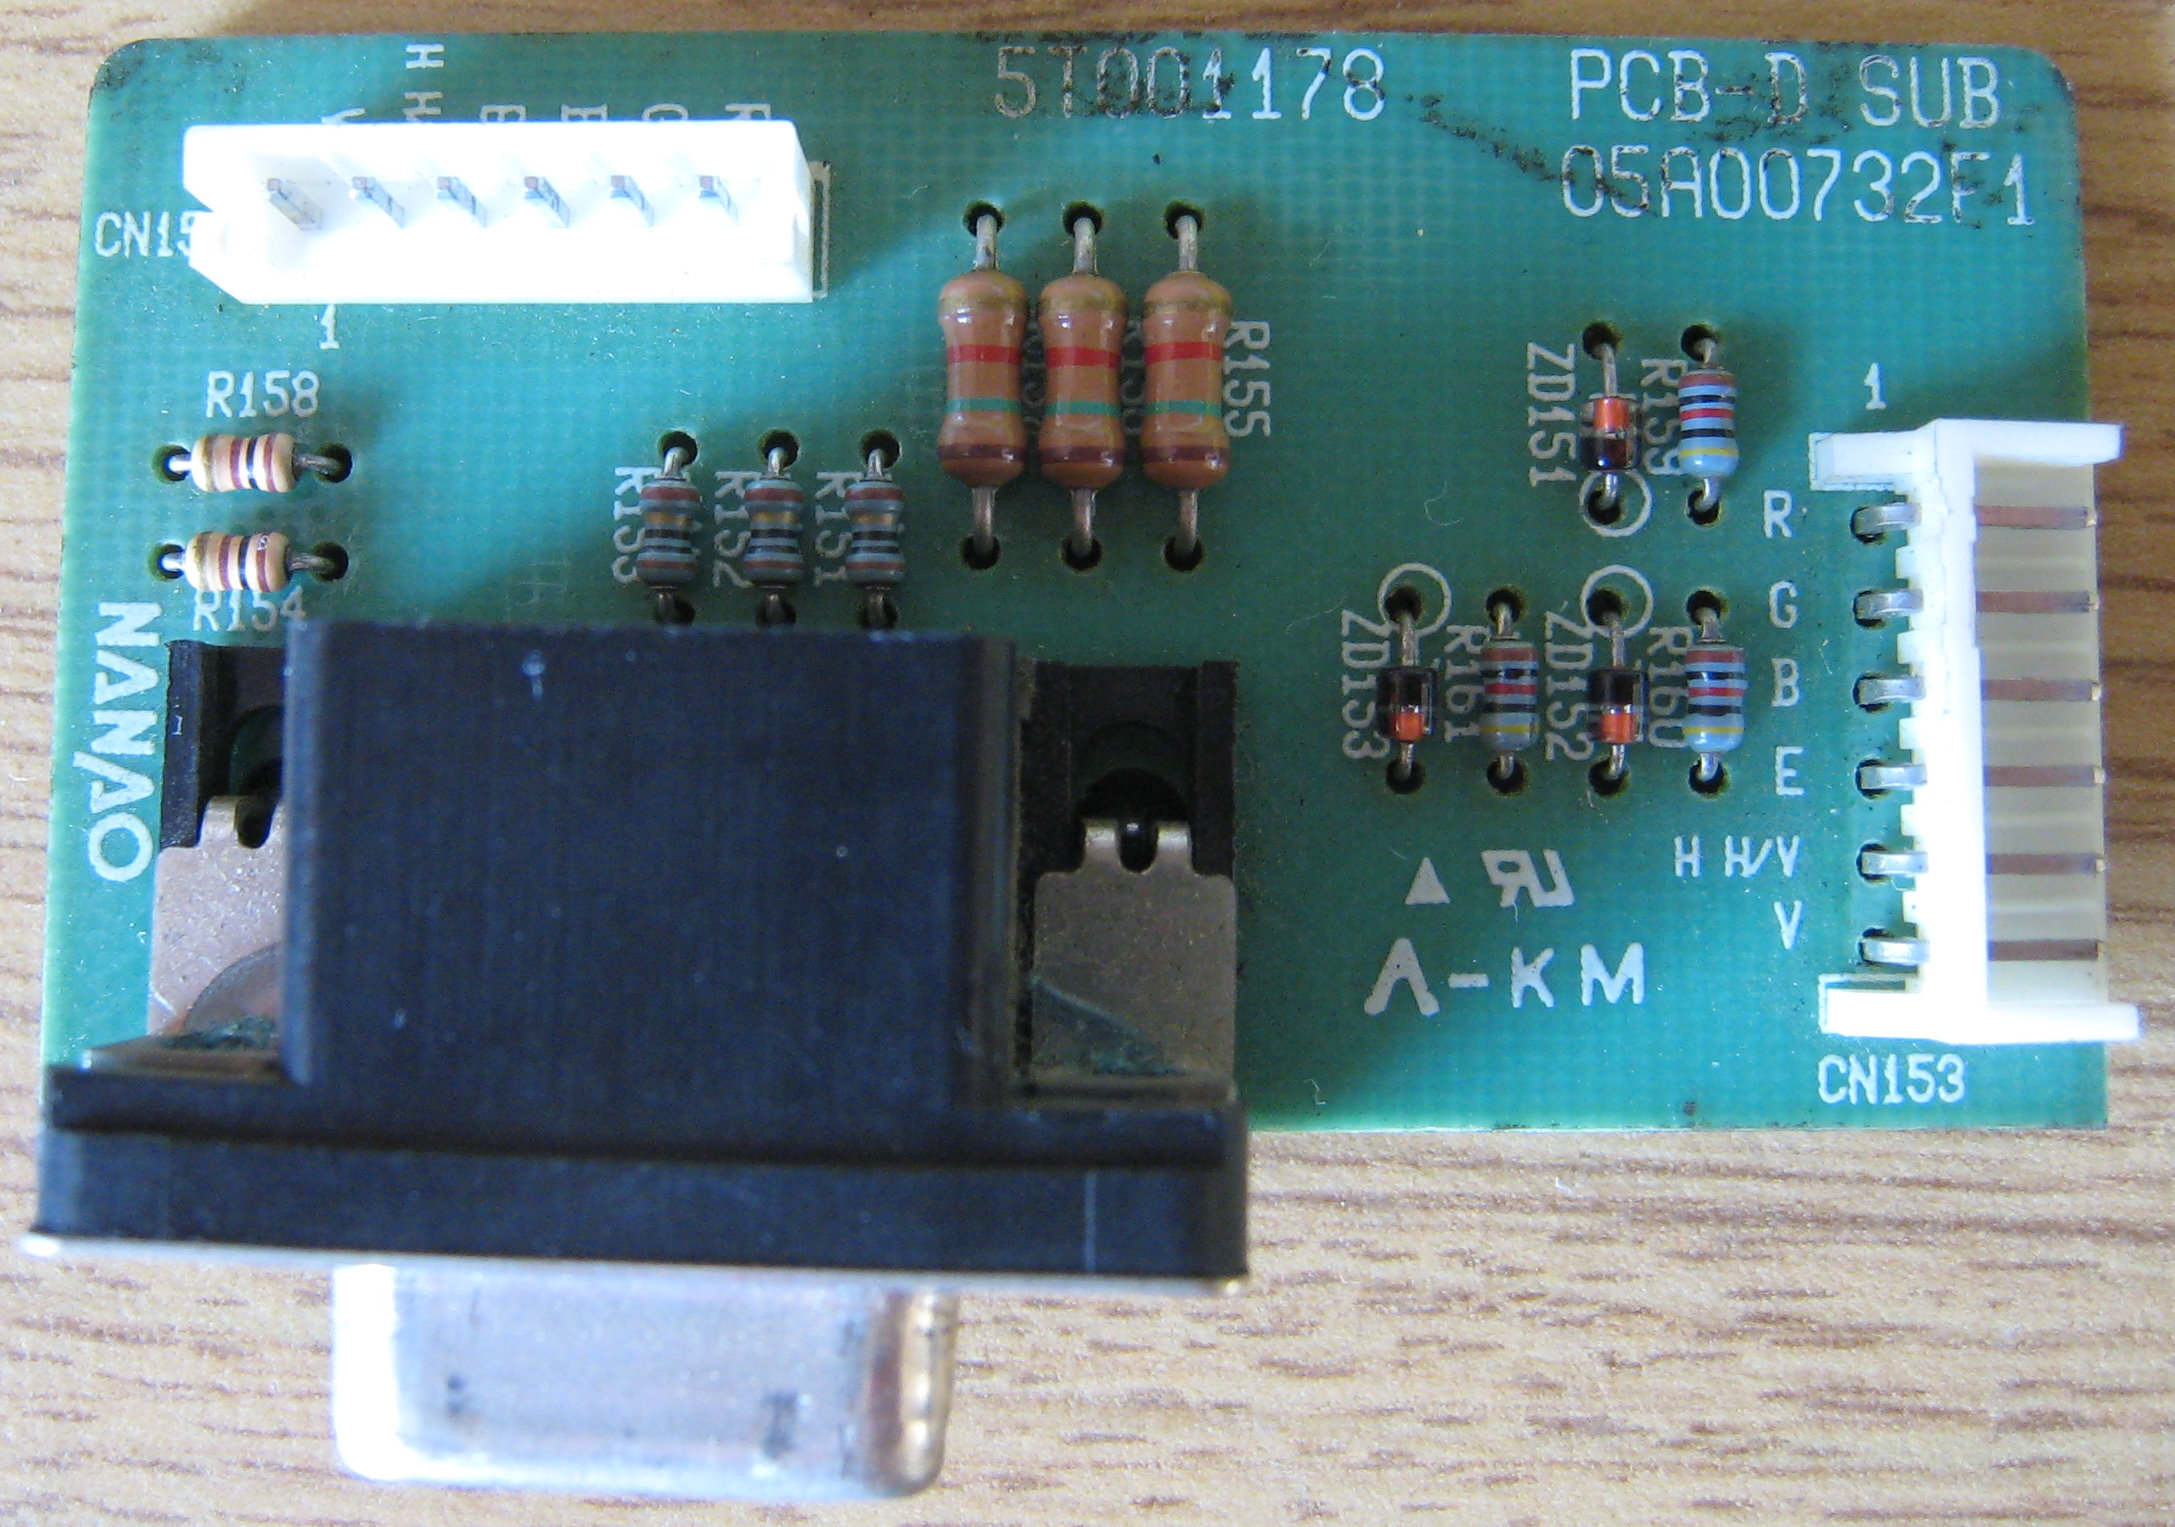
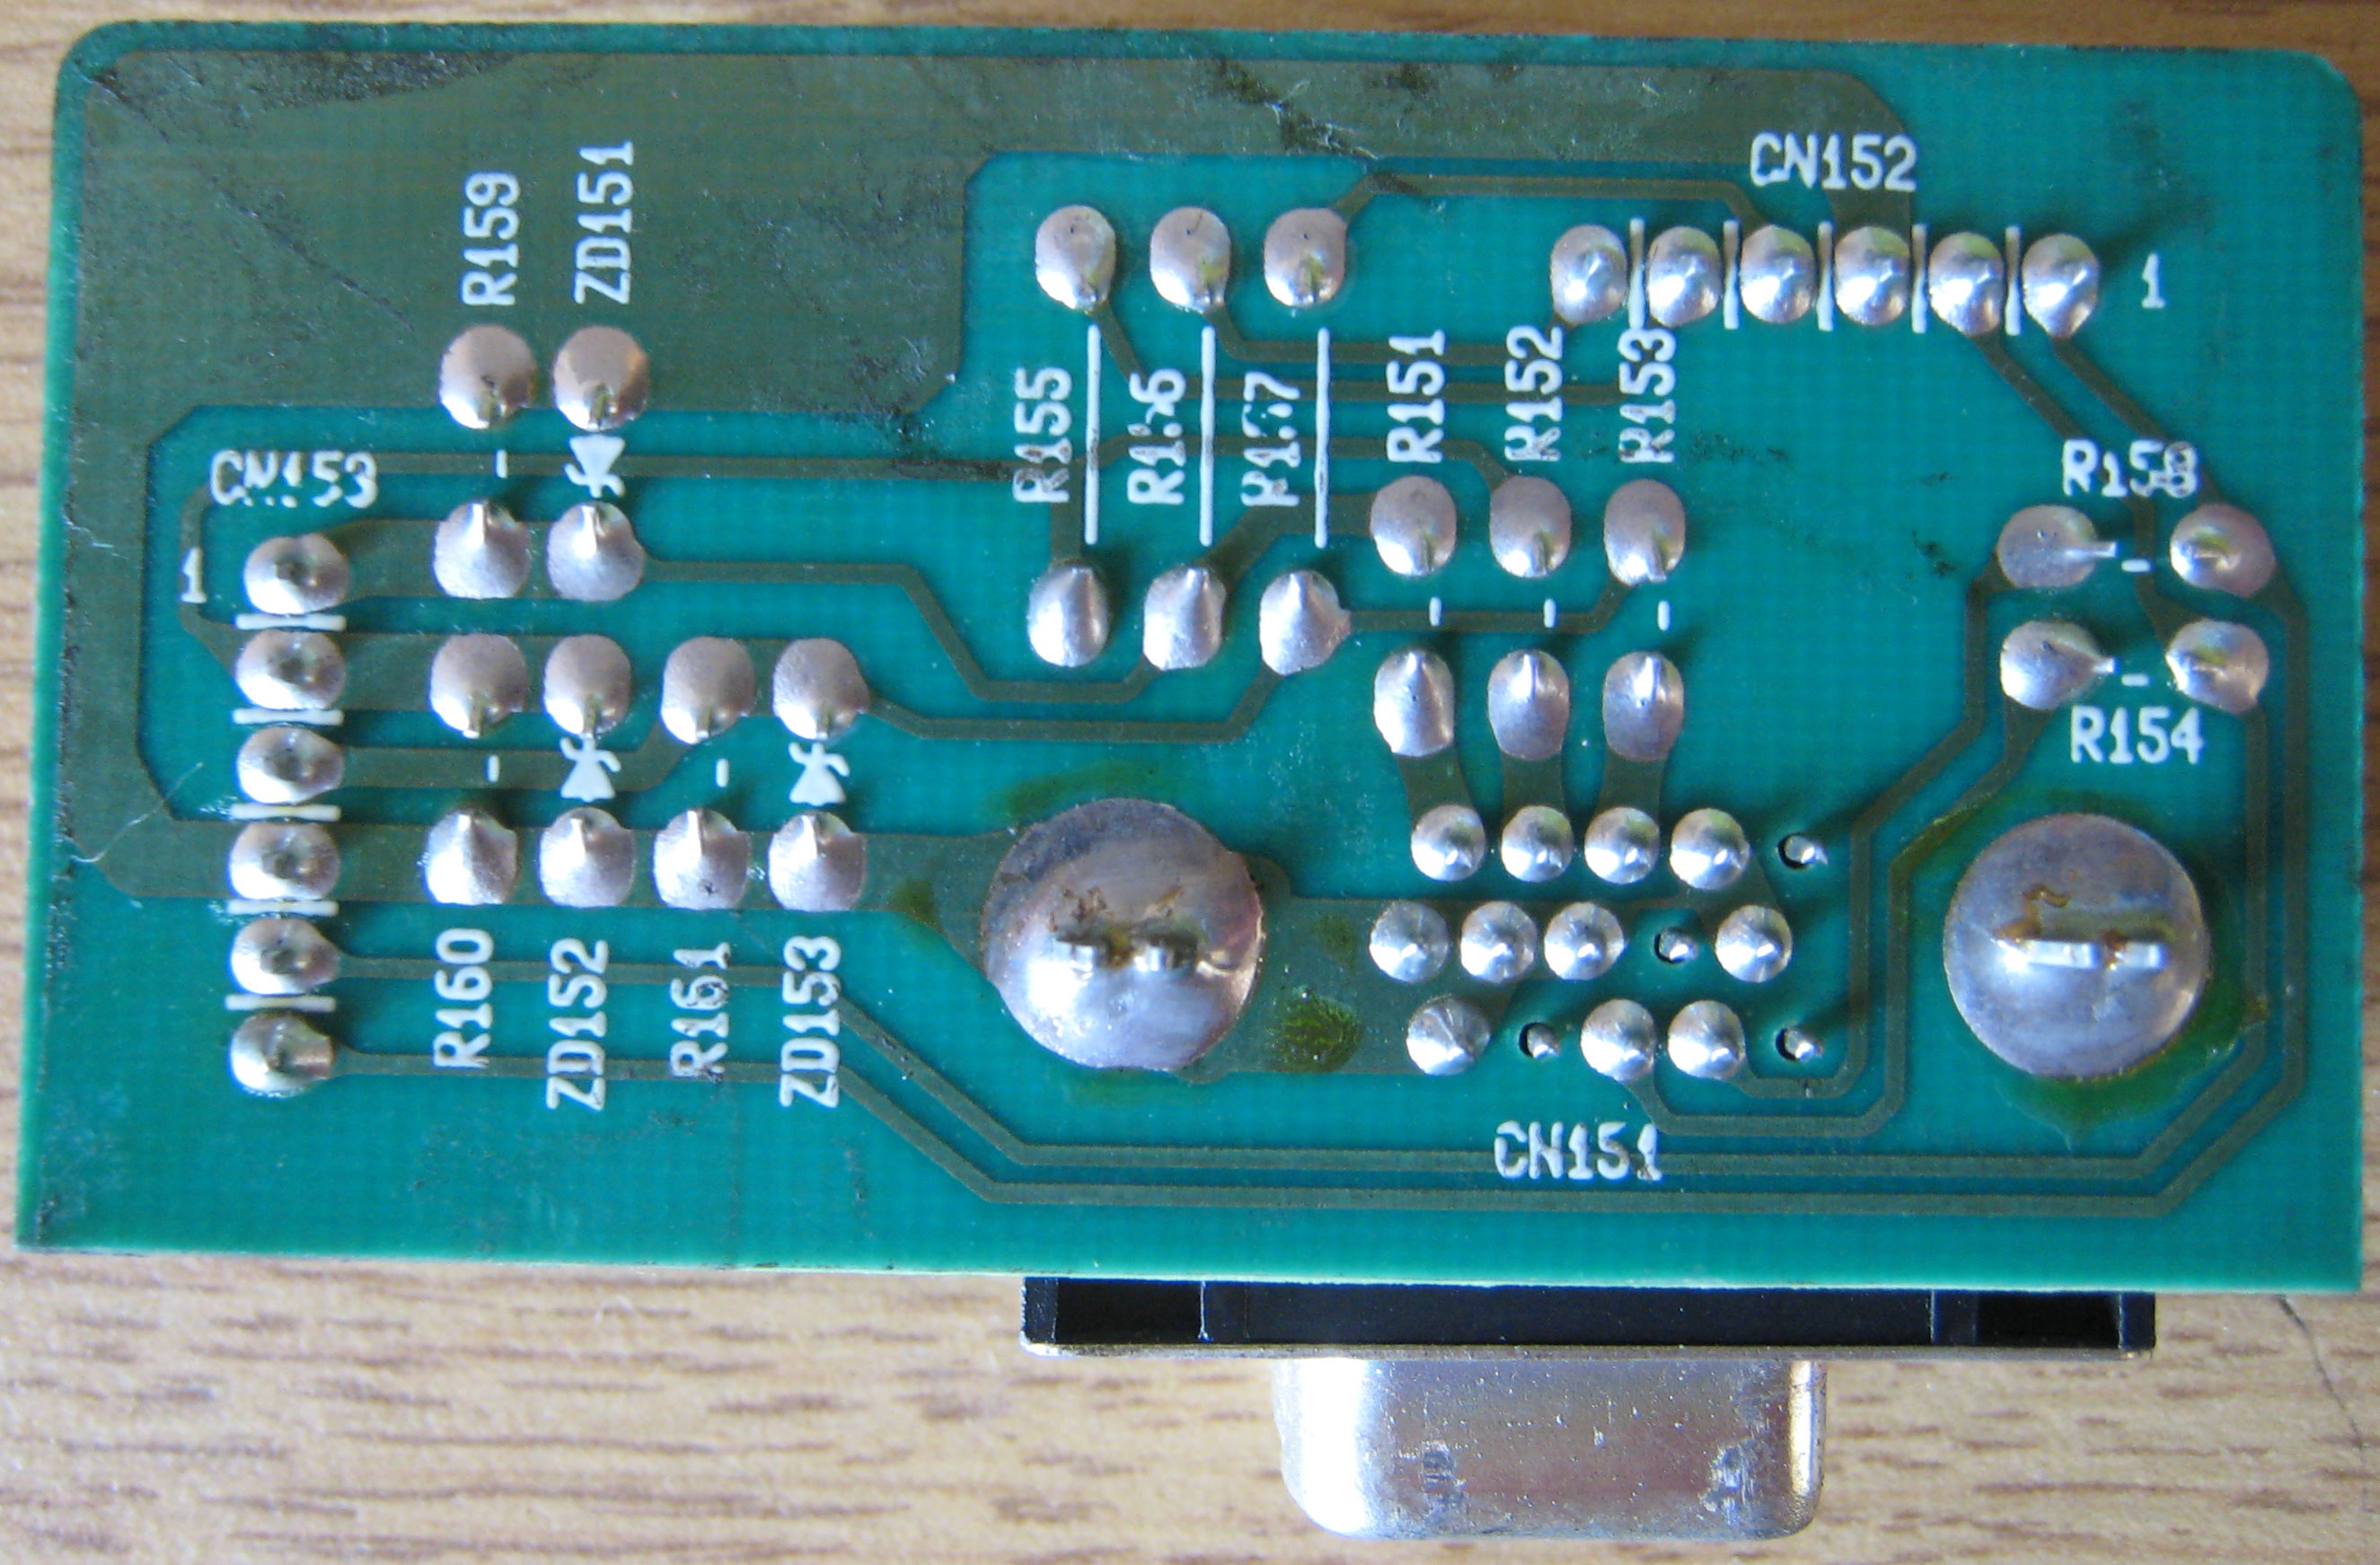
PCB-D SUB Connector Board - PCB-D SUB 05A00732F1
This smaller board is for converting the video to a VGA connector, note that this is not VGA, it's just using that connector.
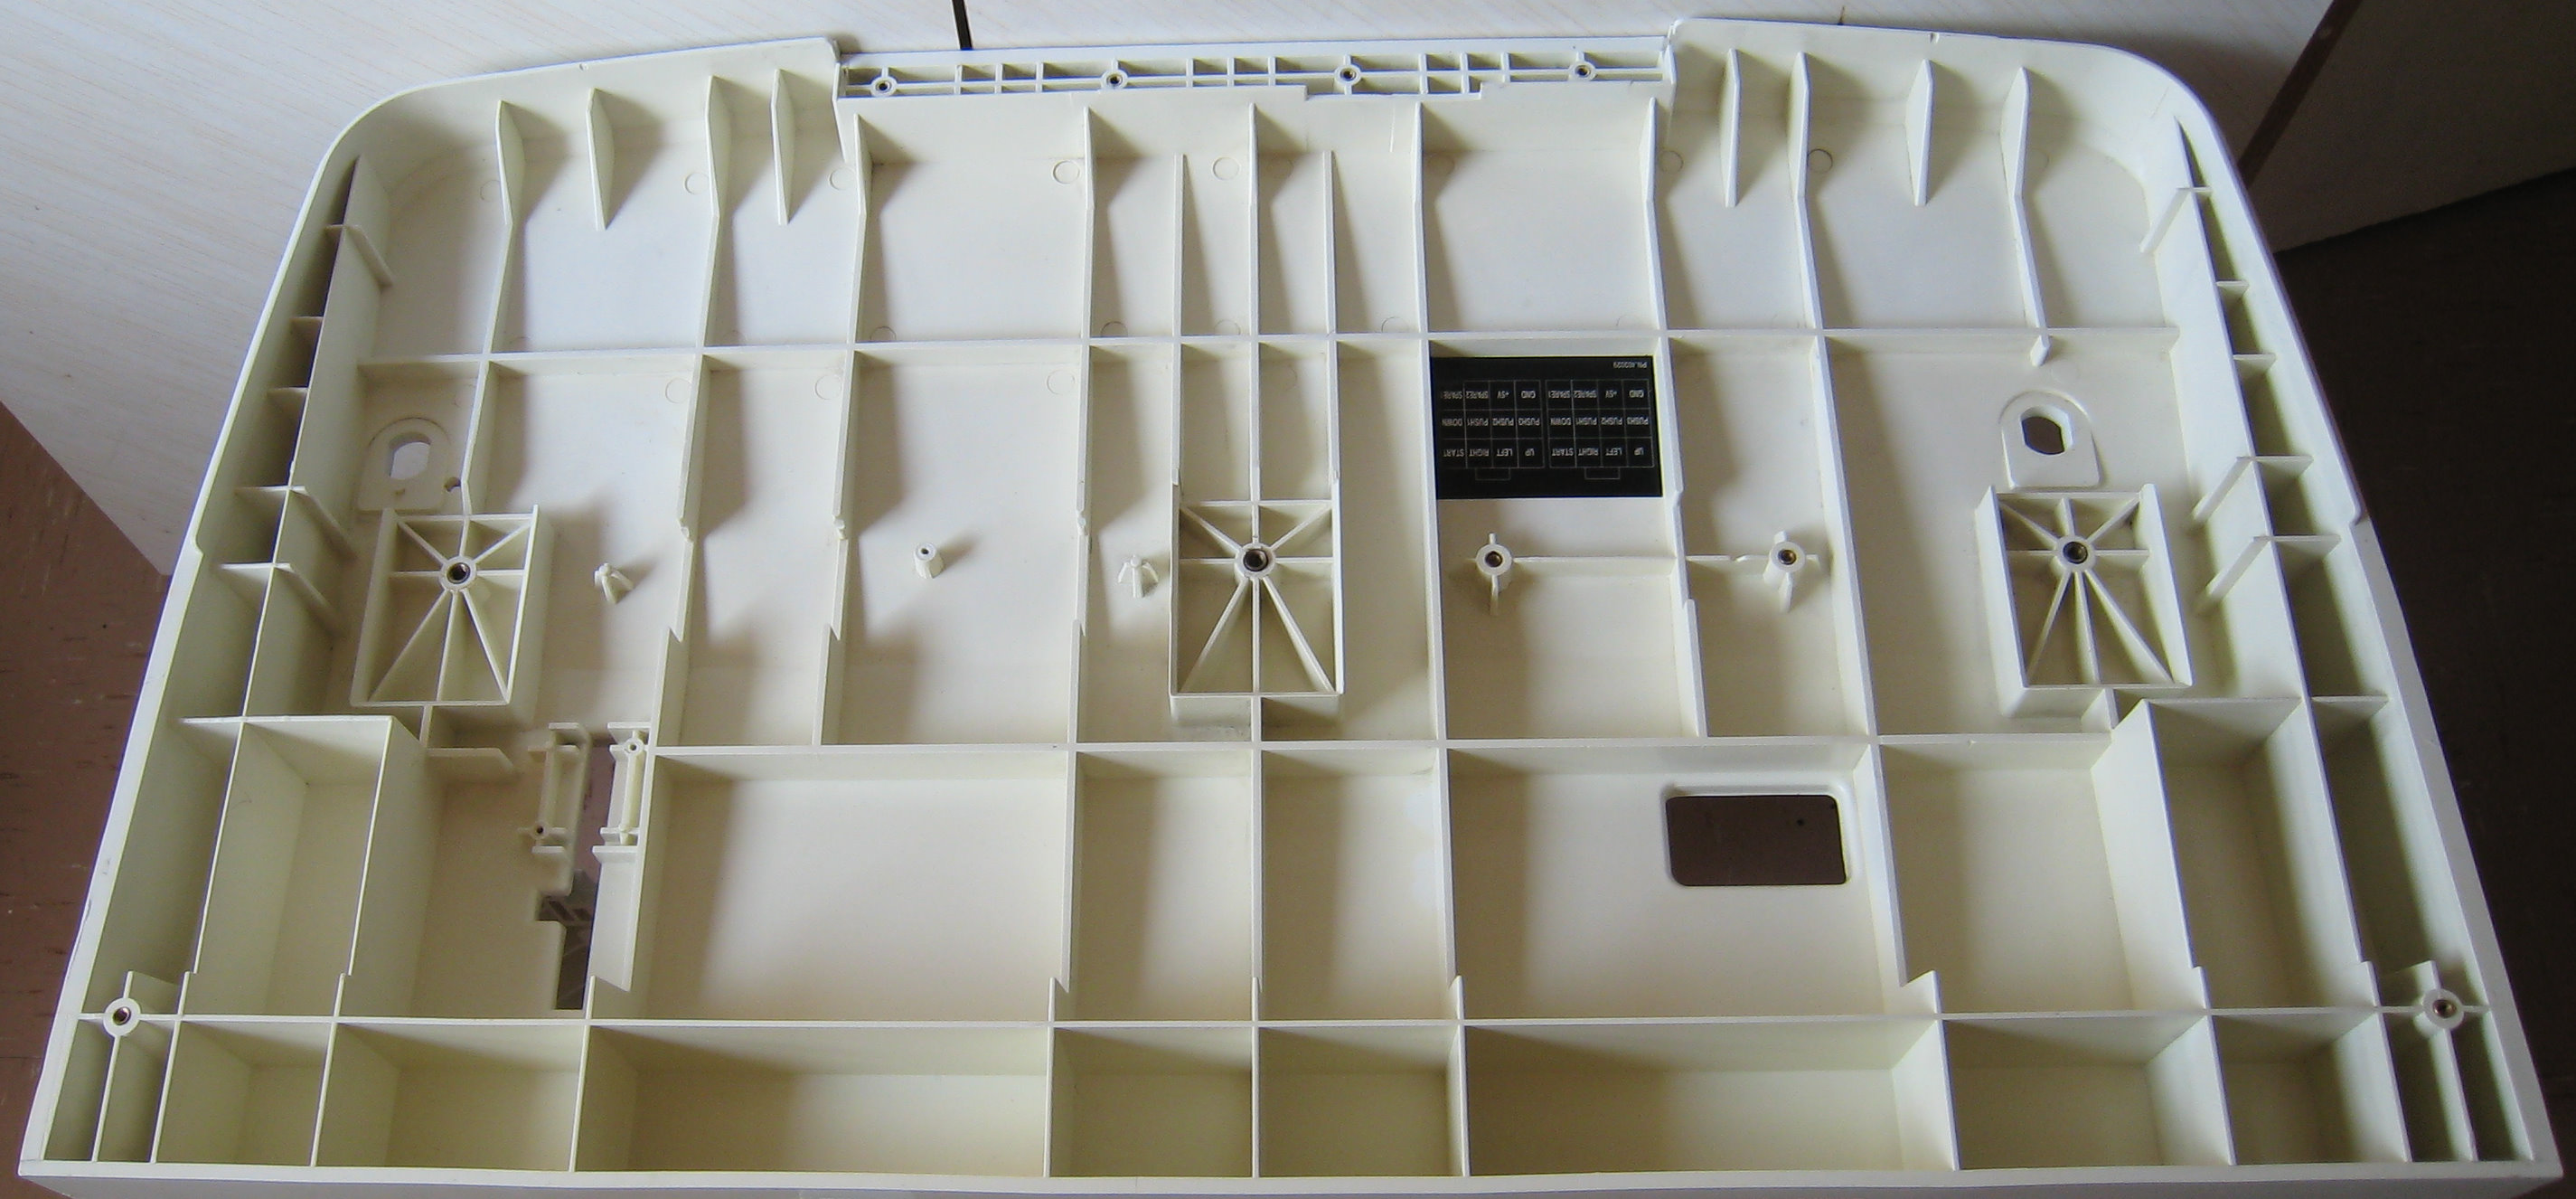
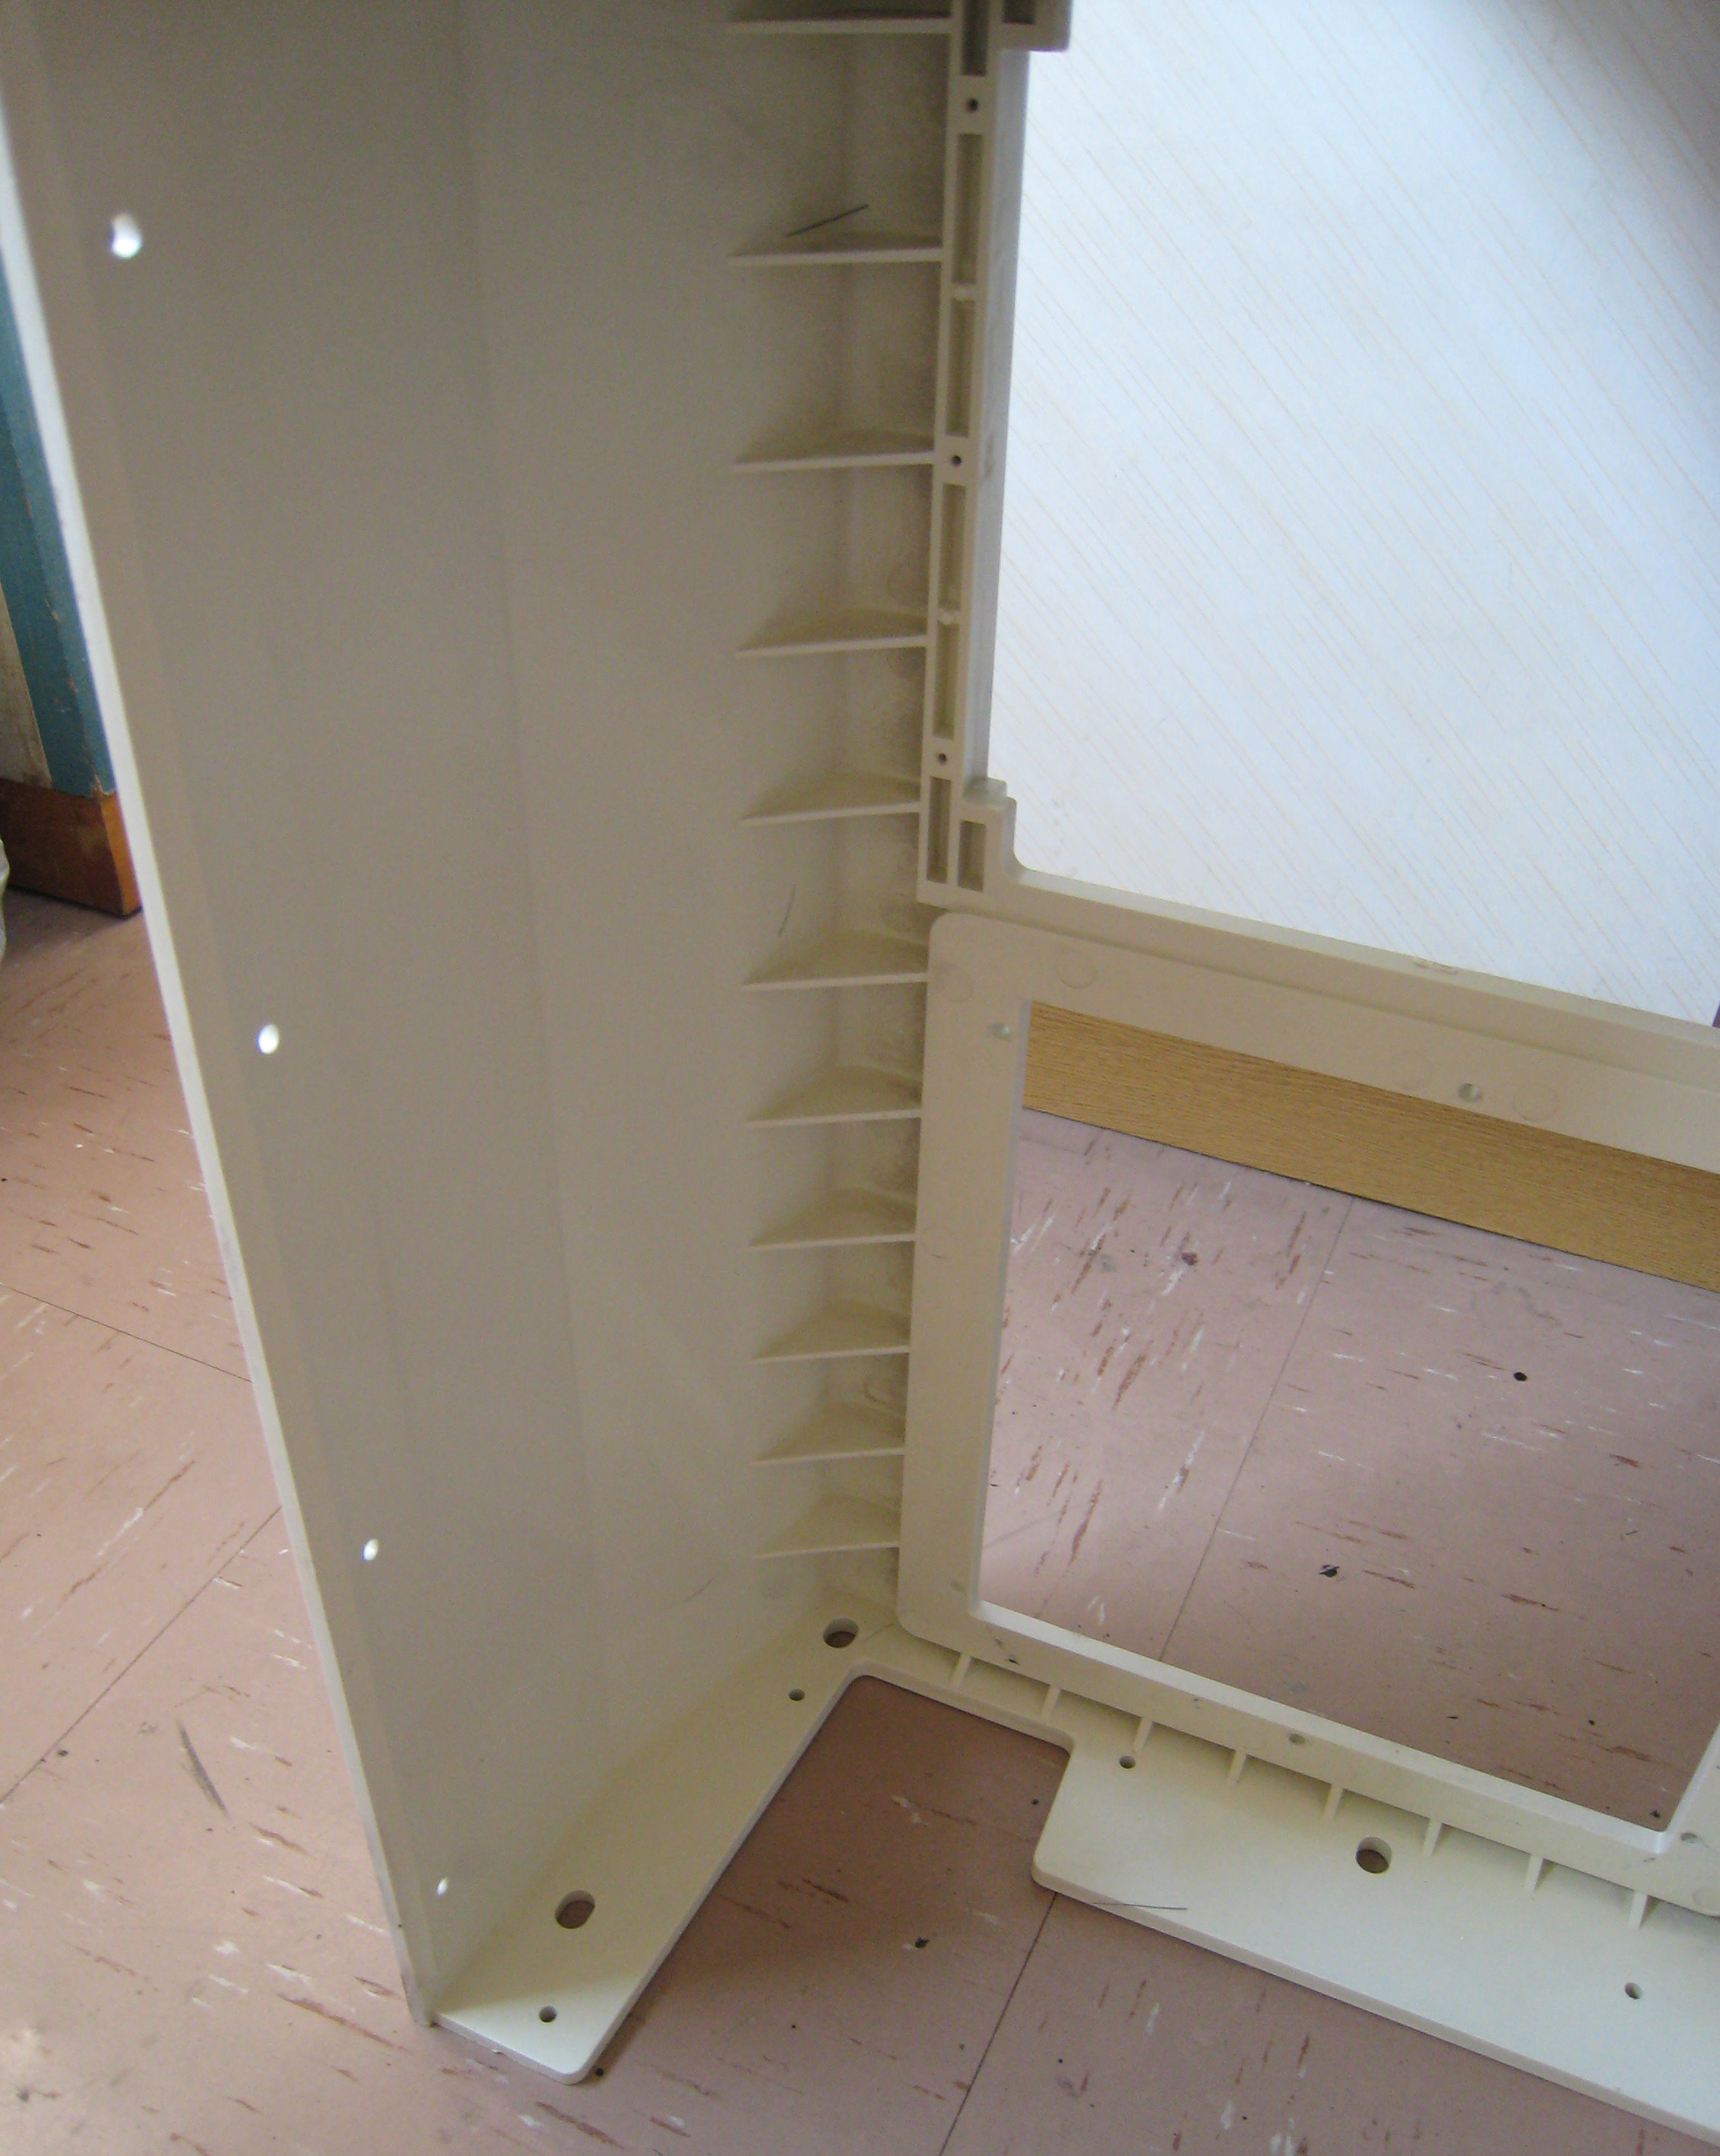
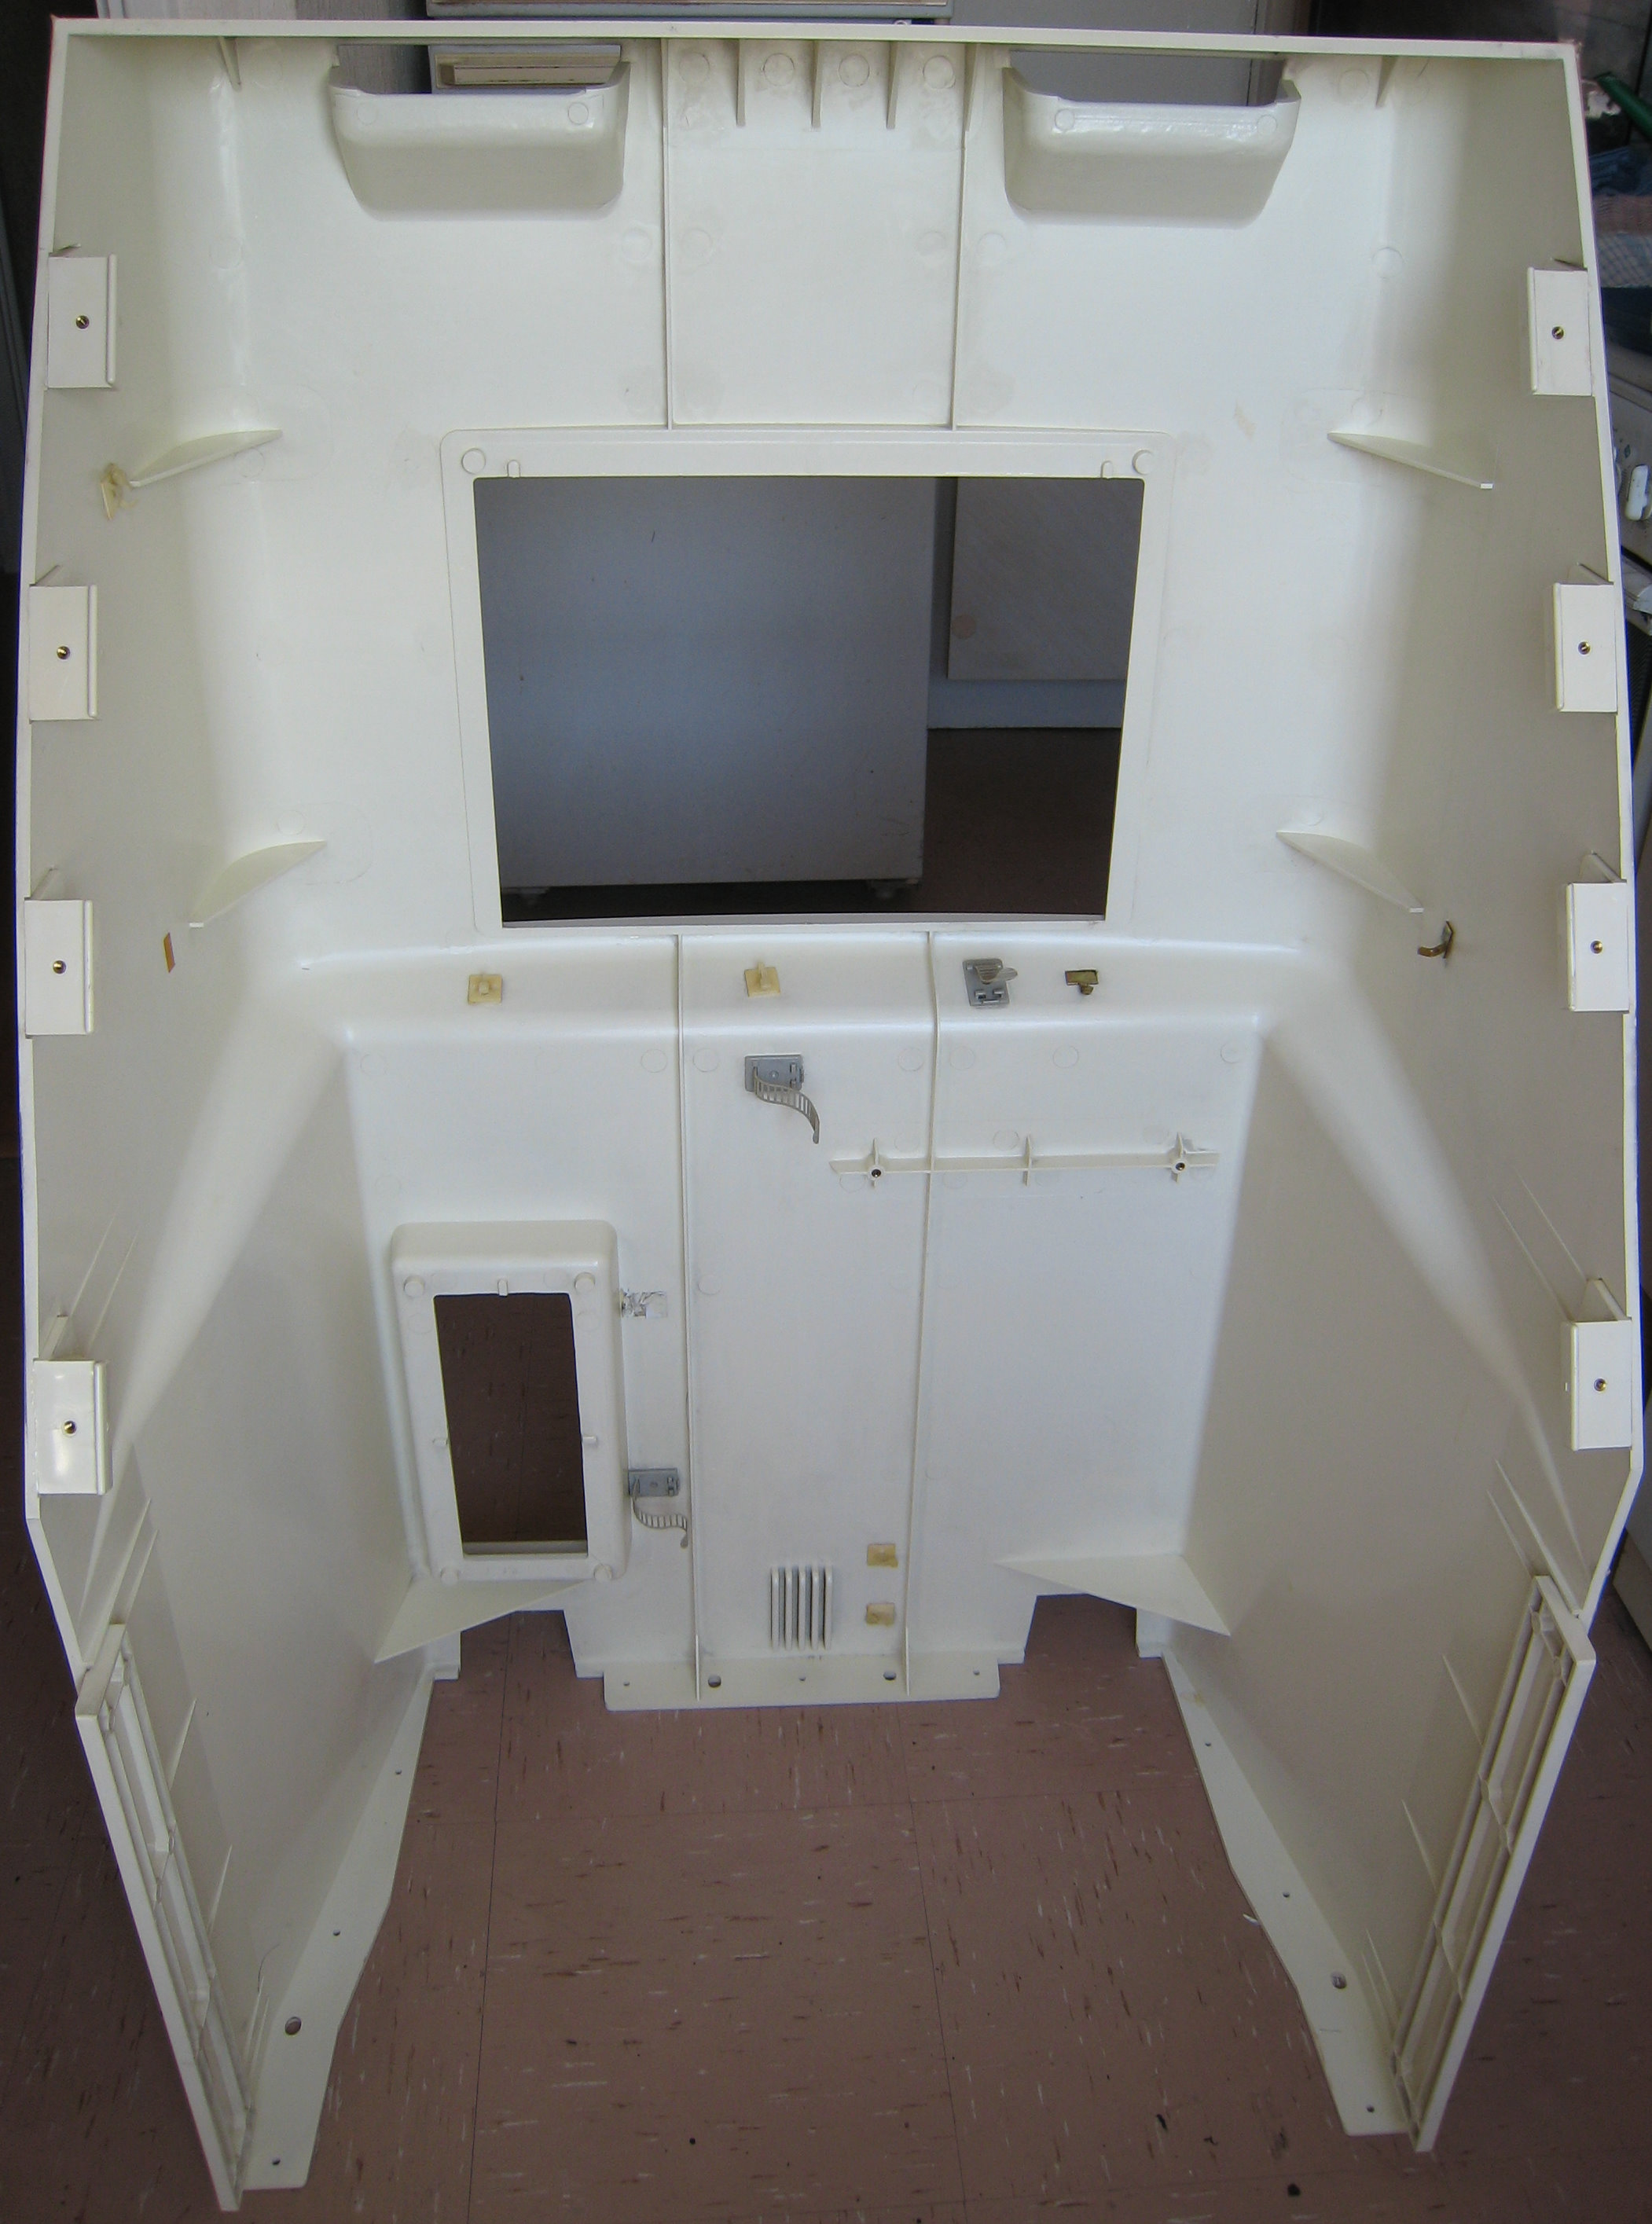
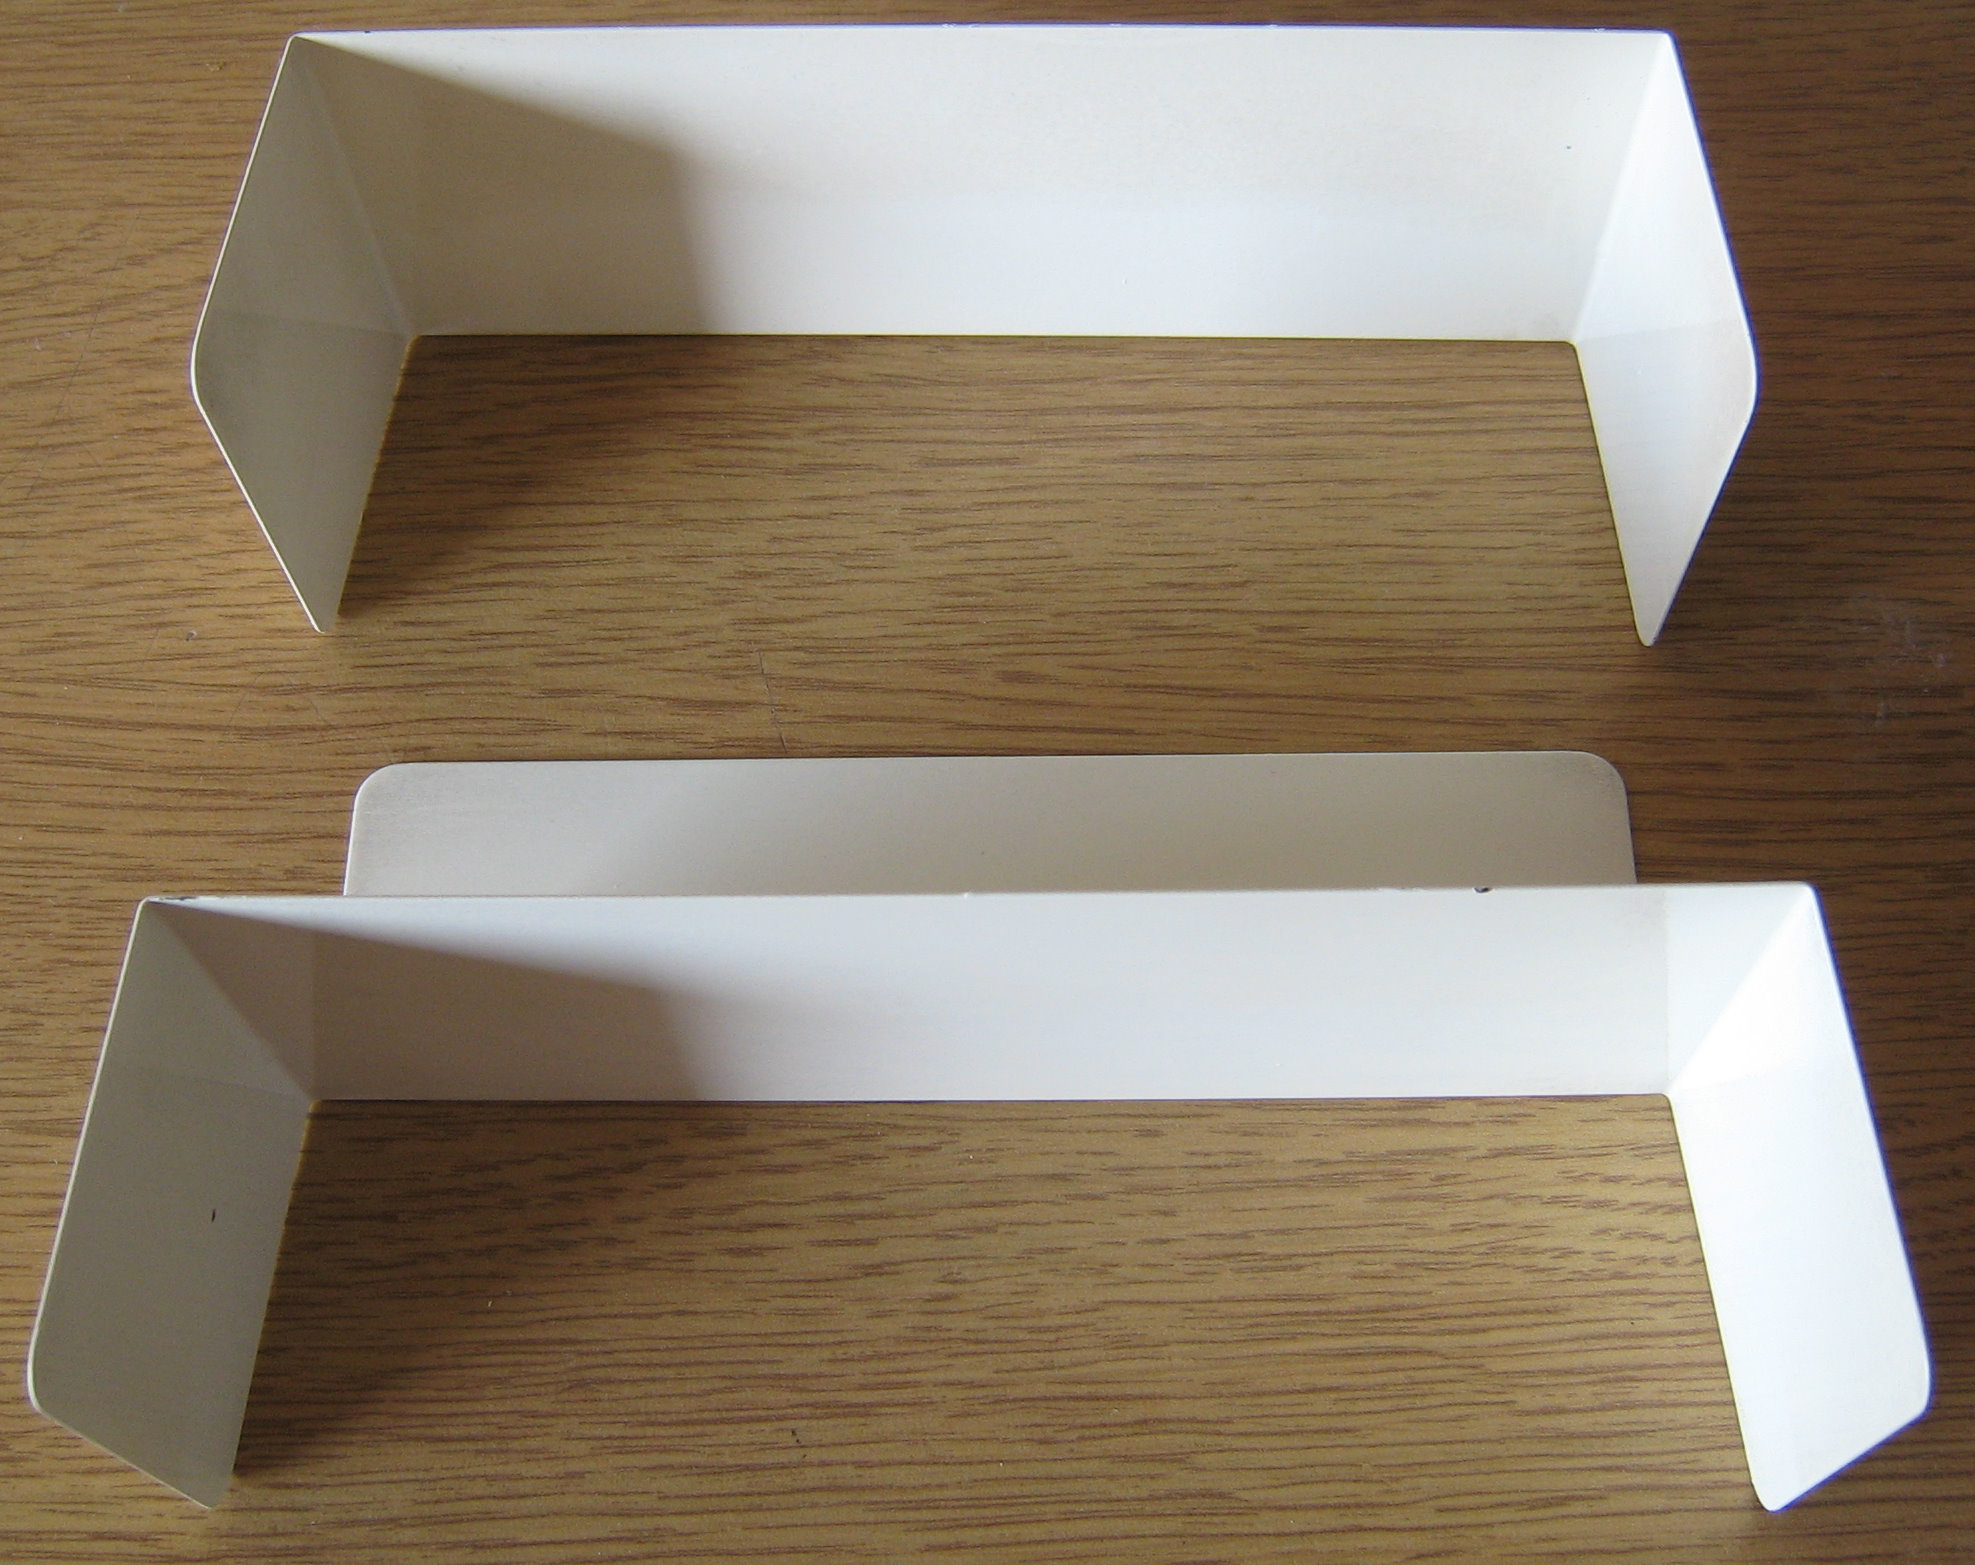
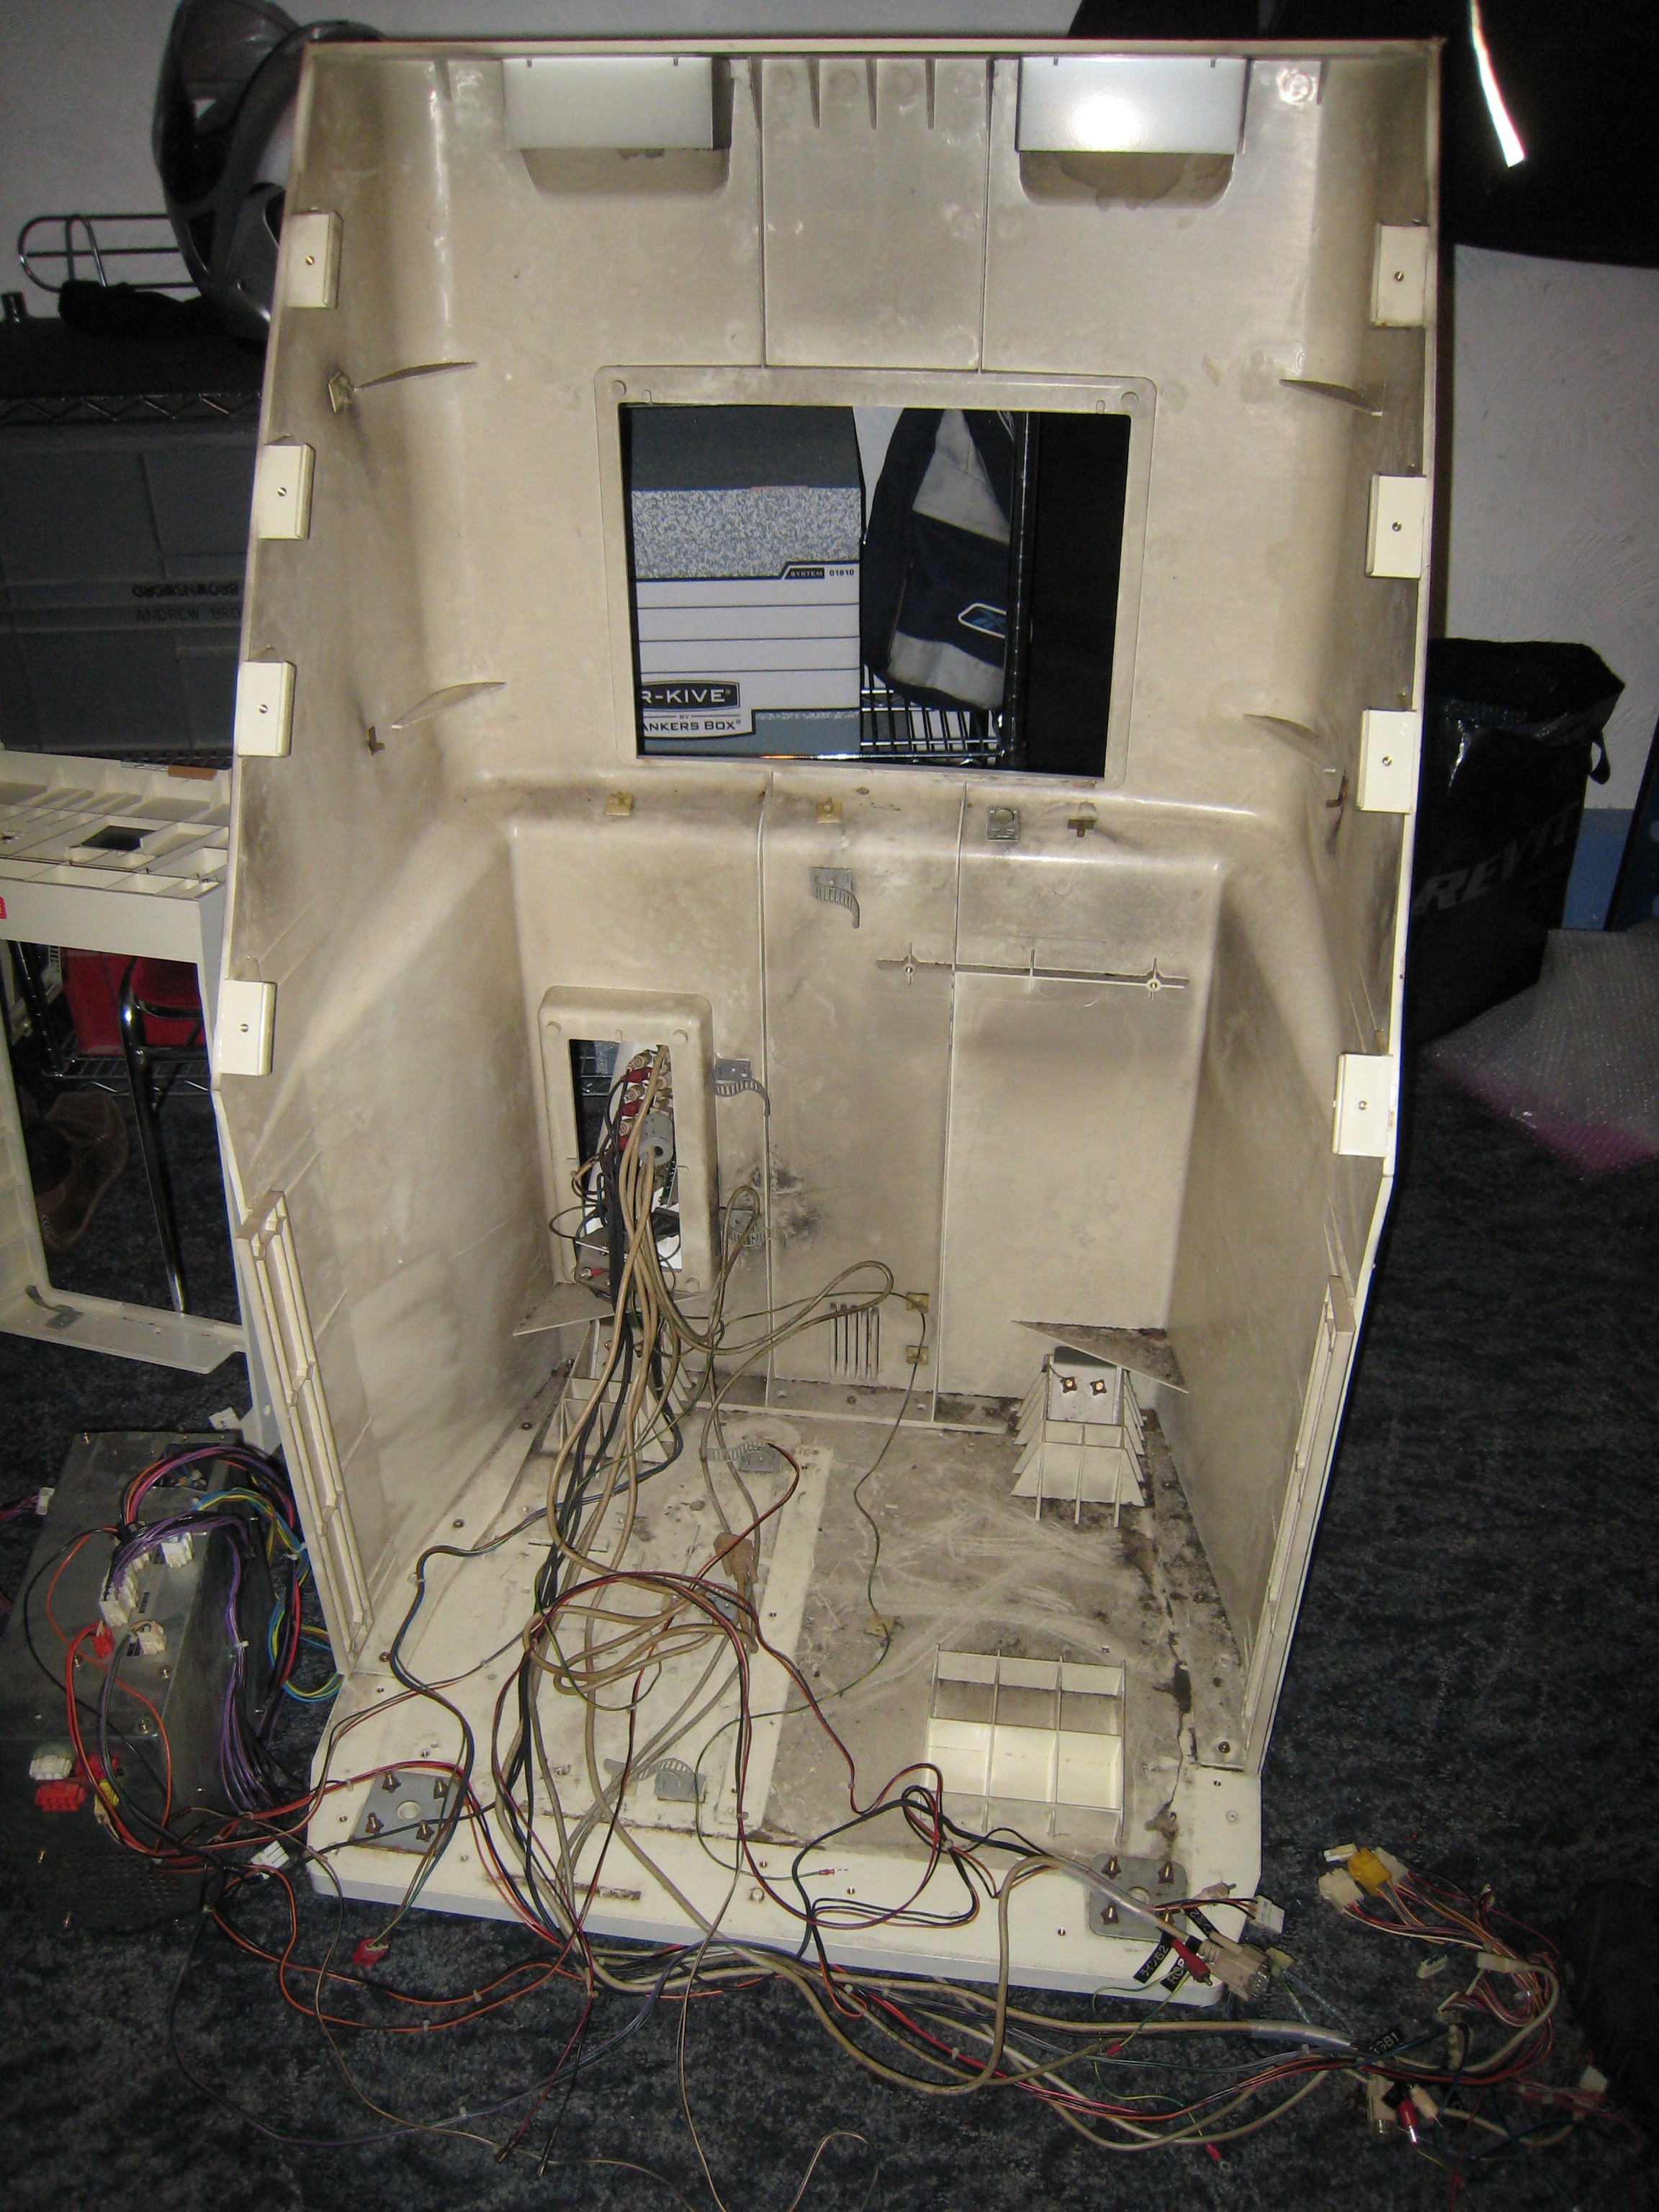
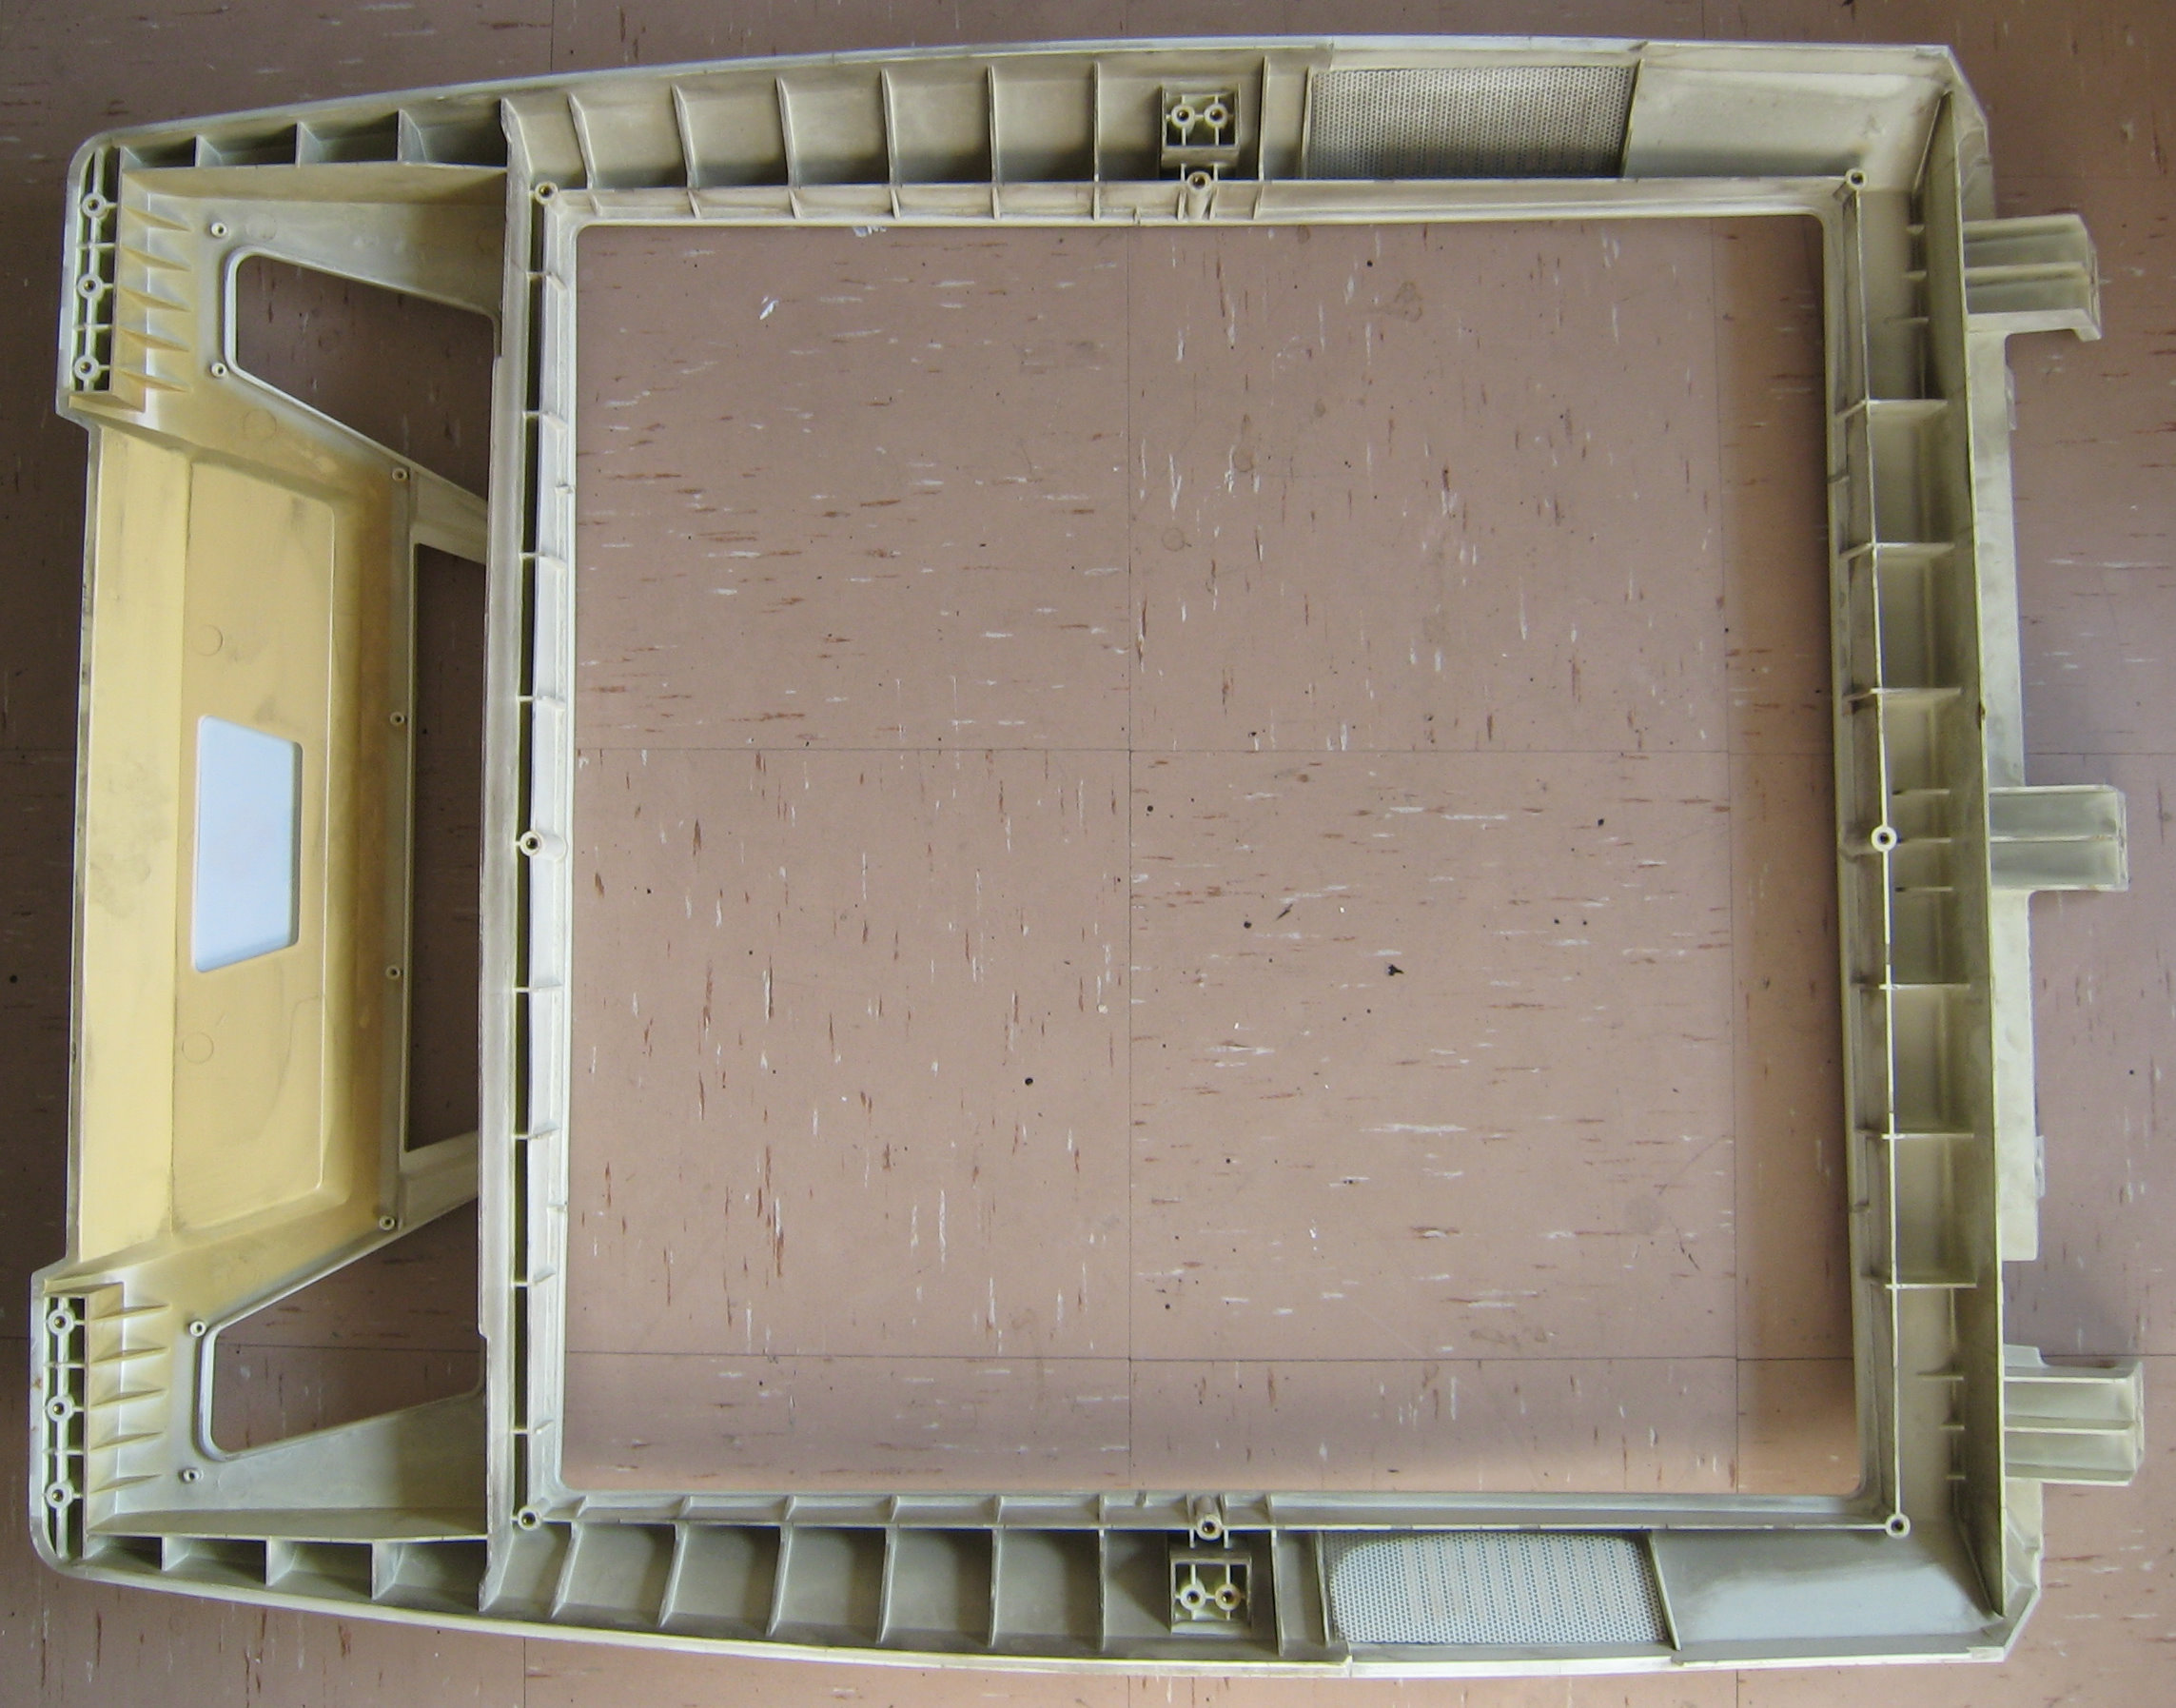
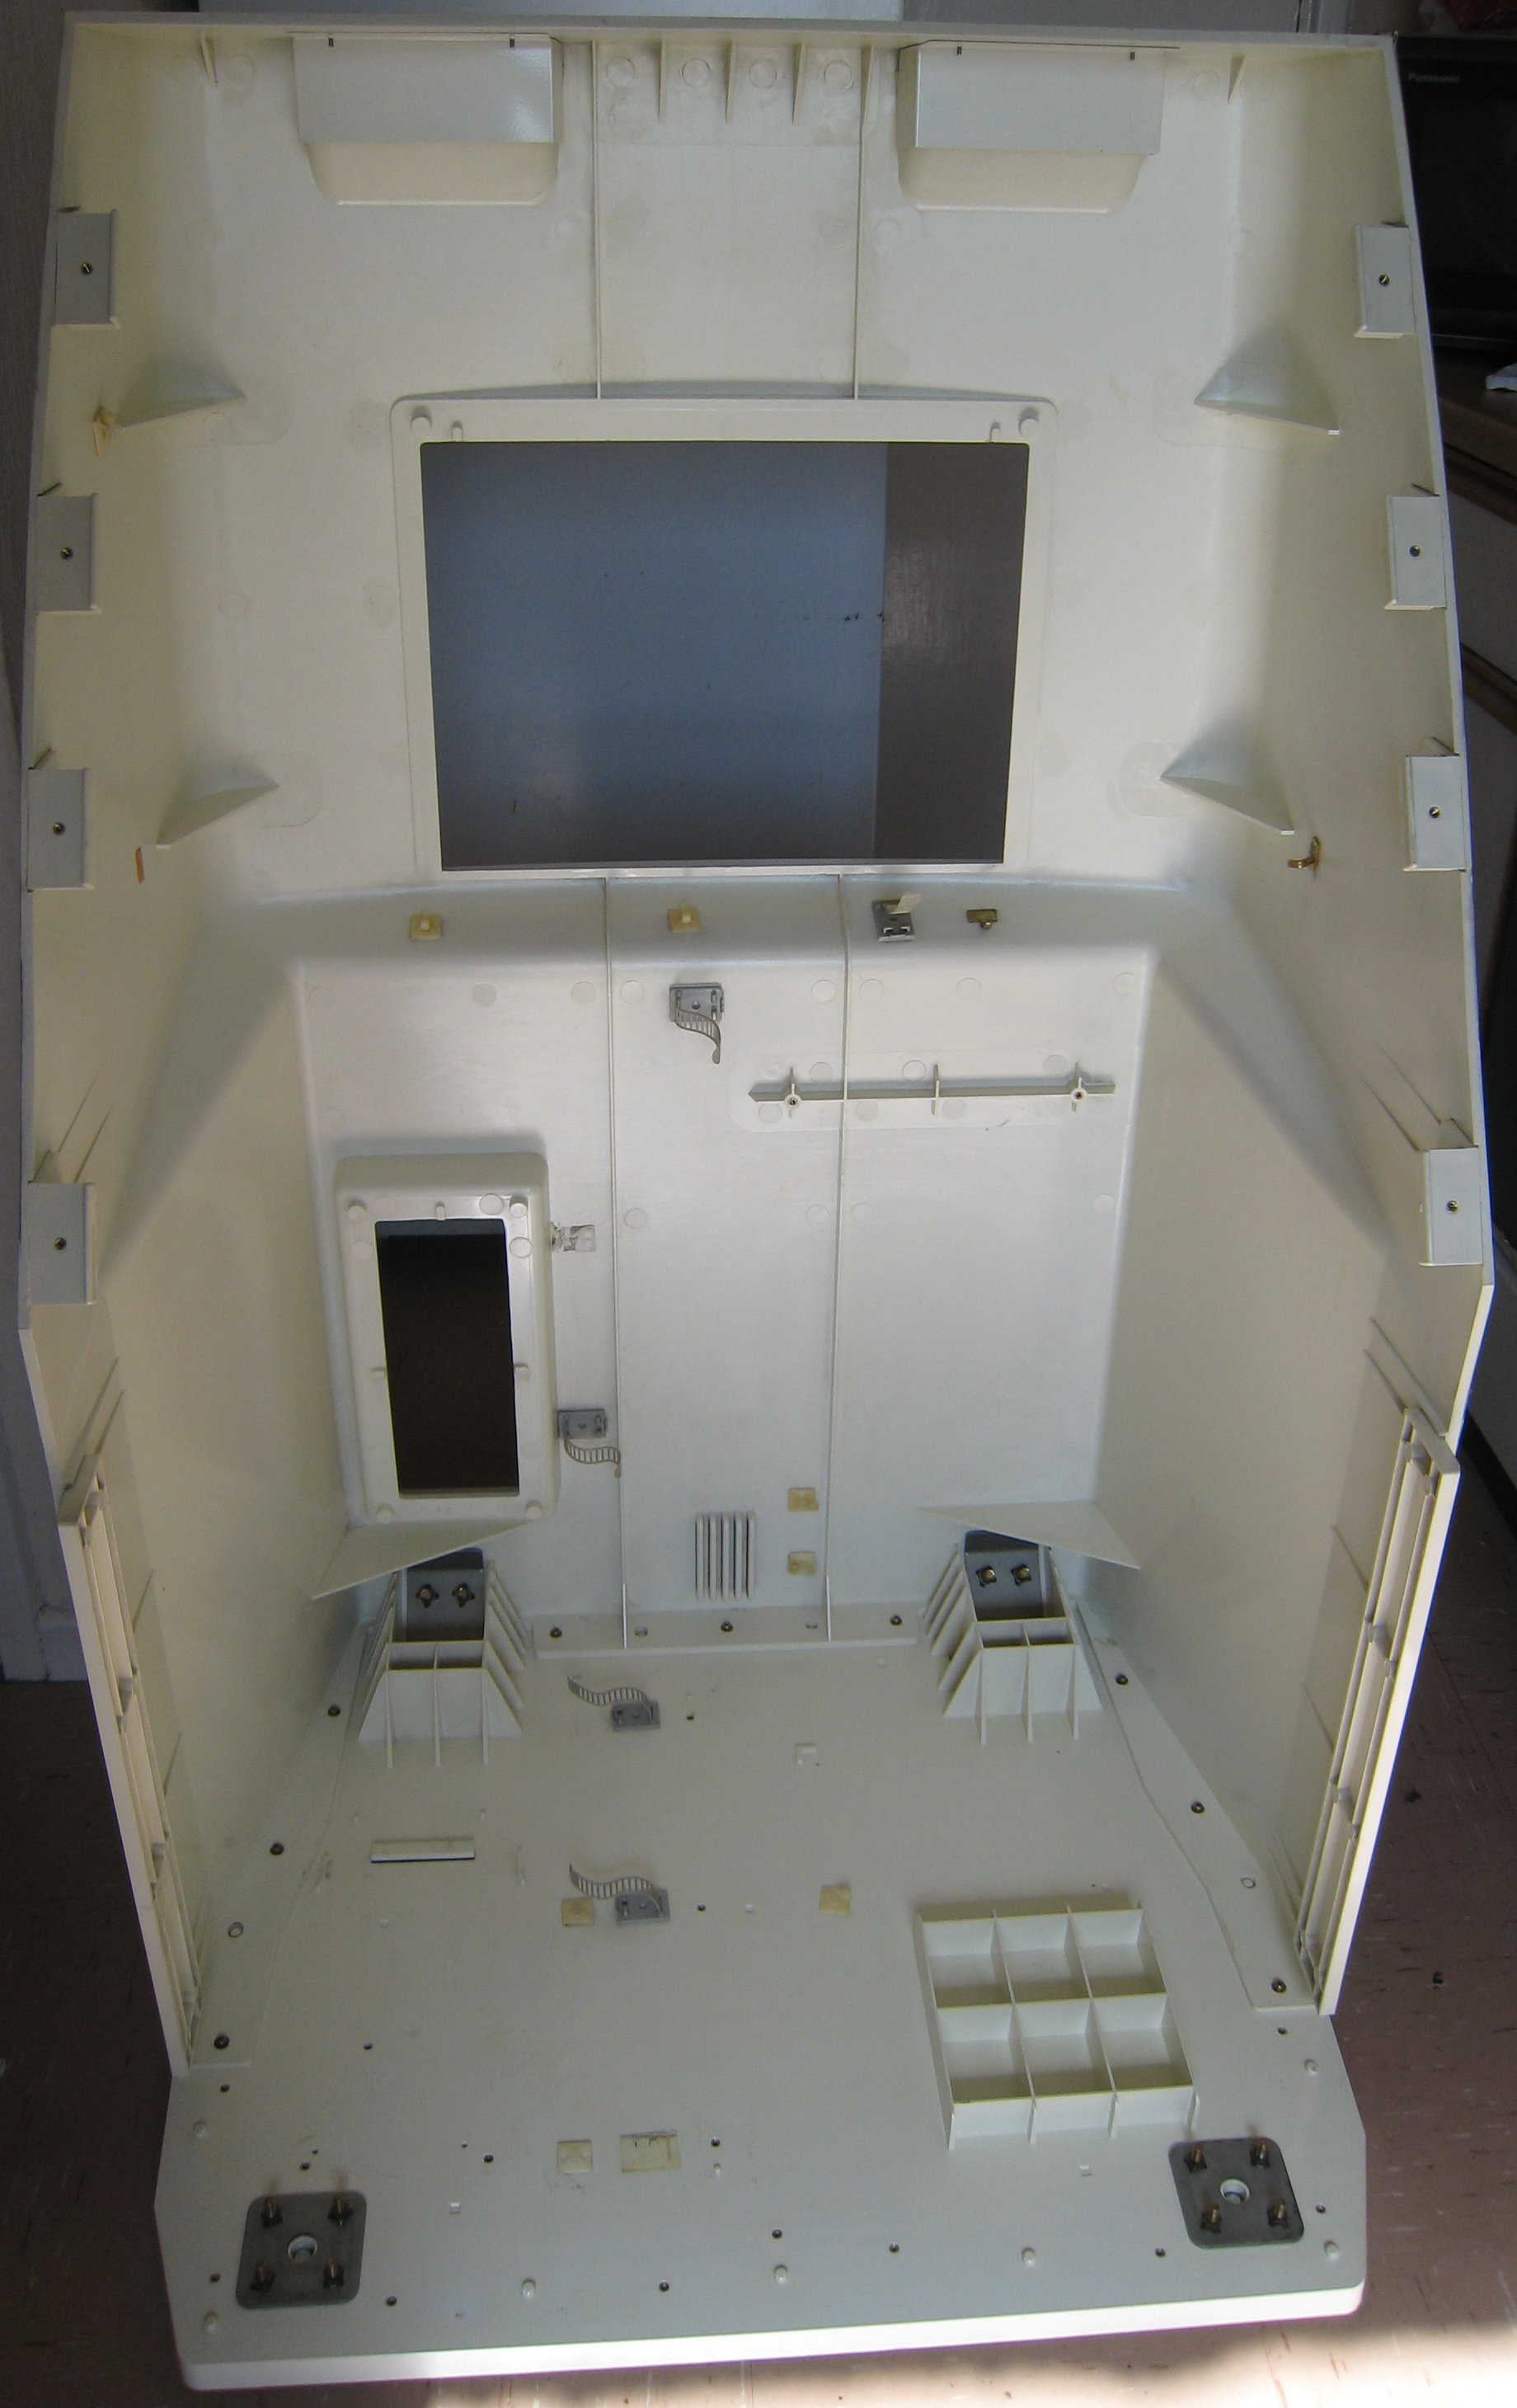
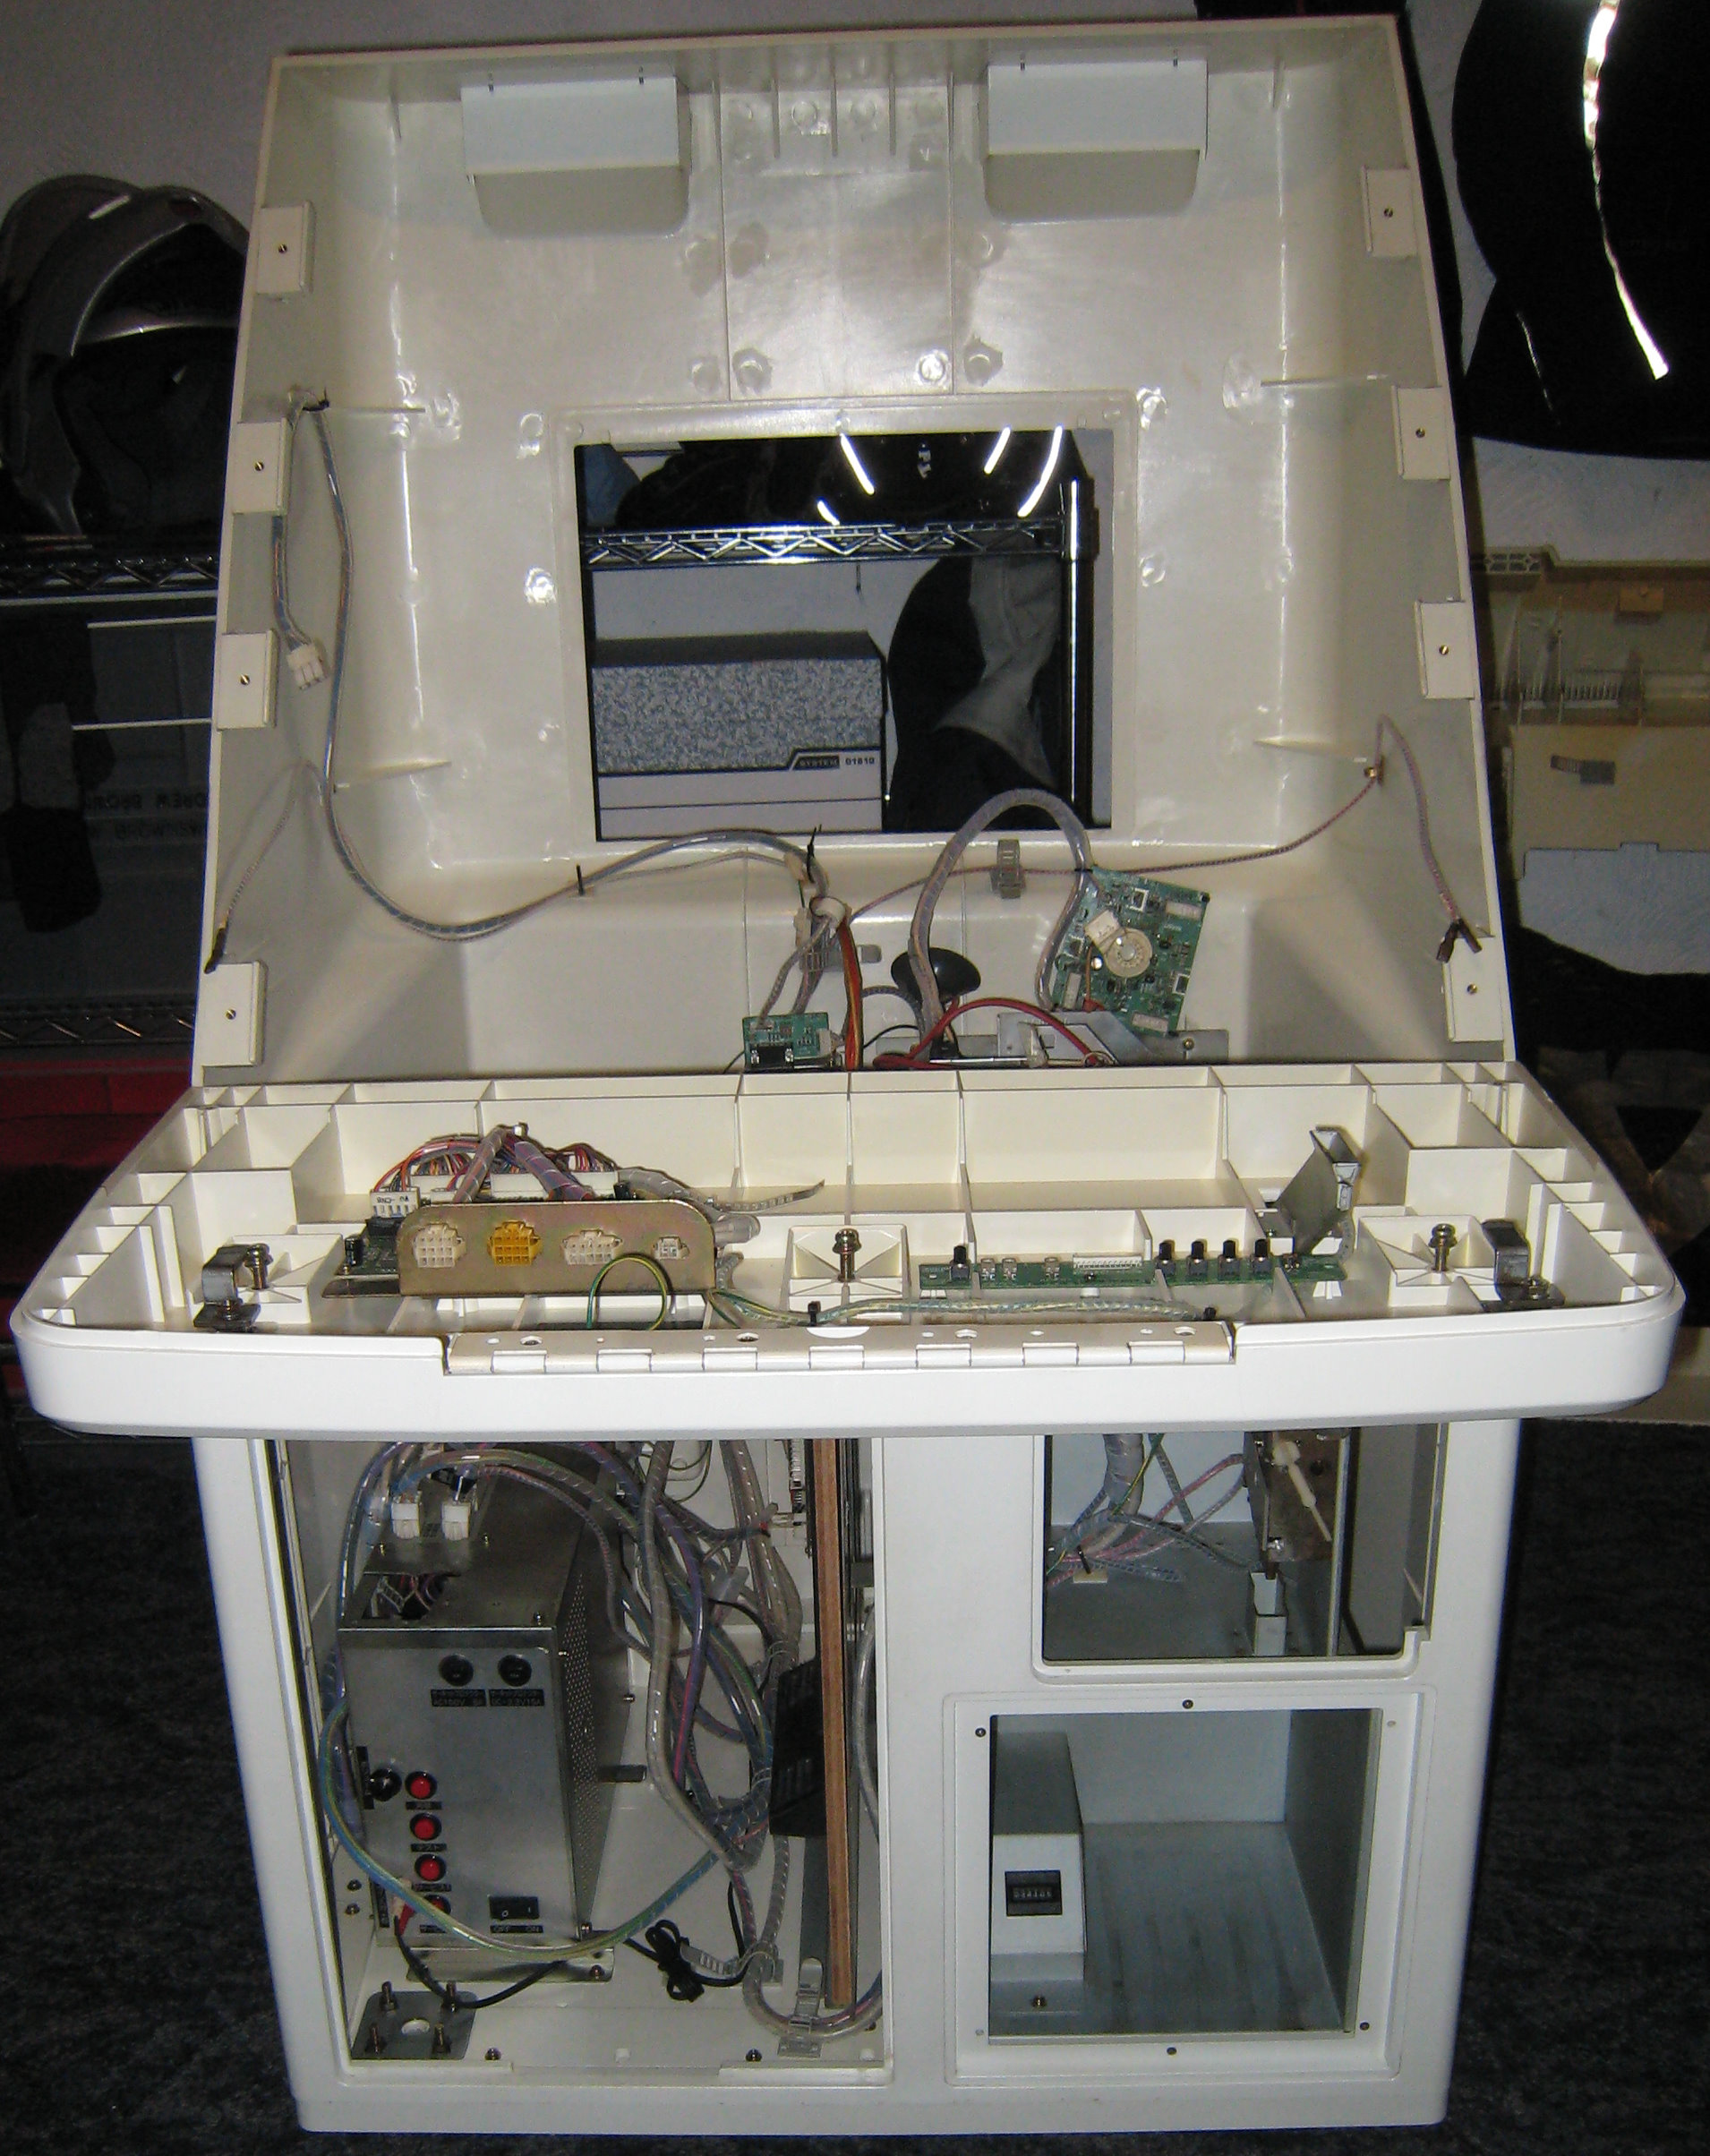
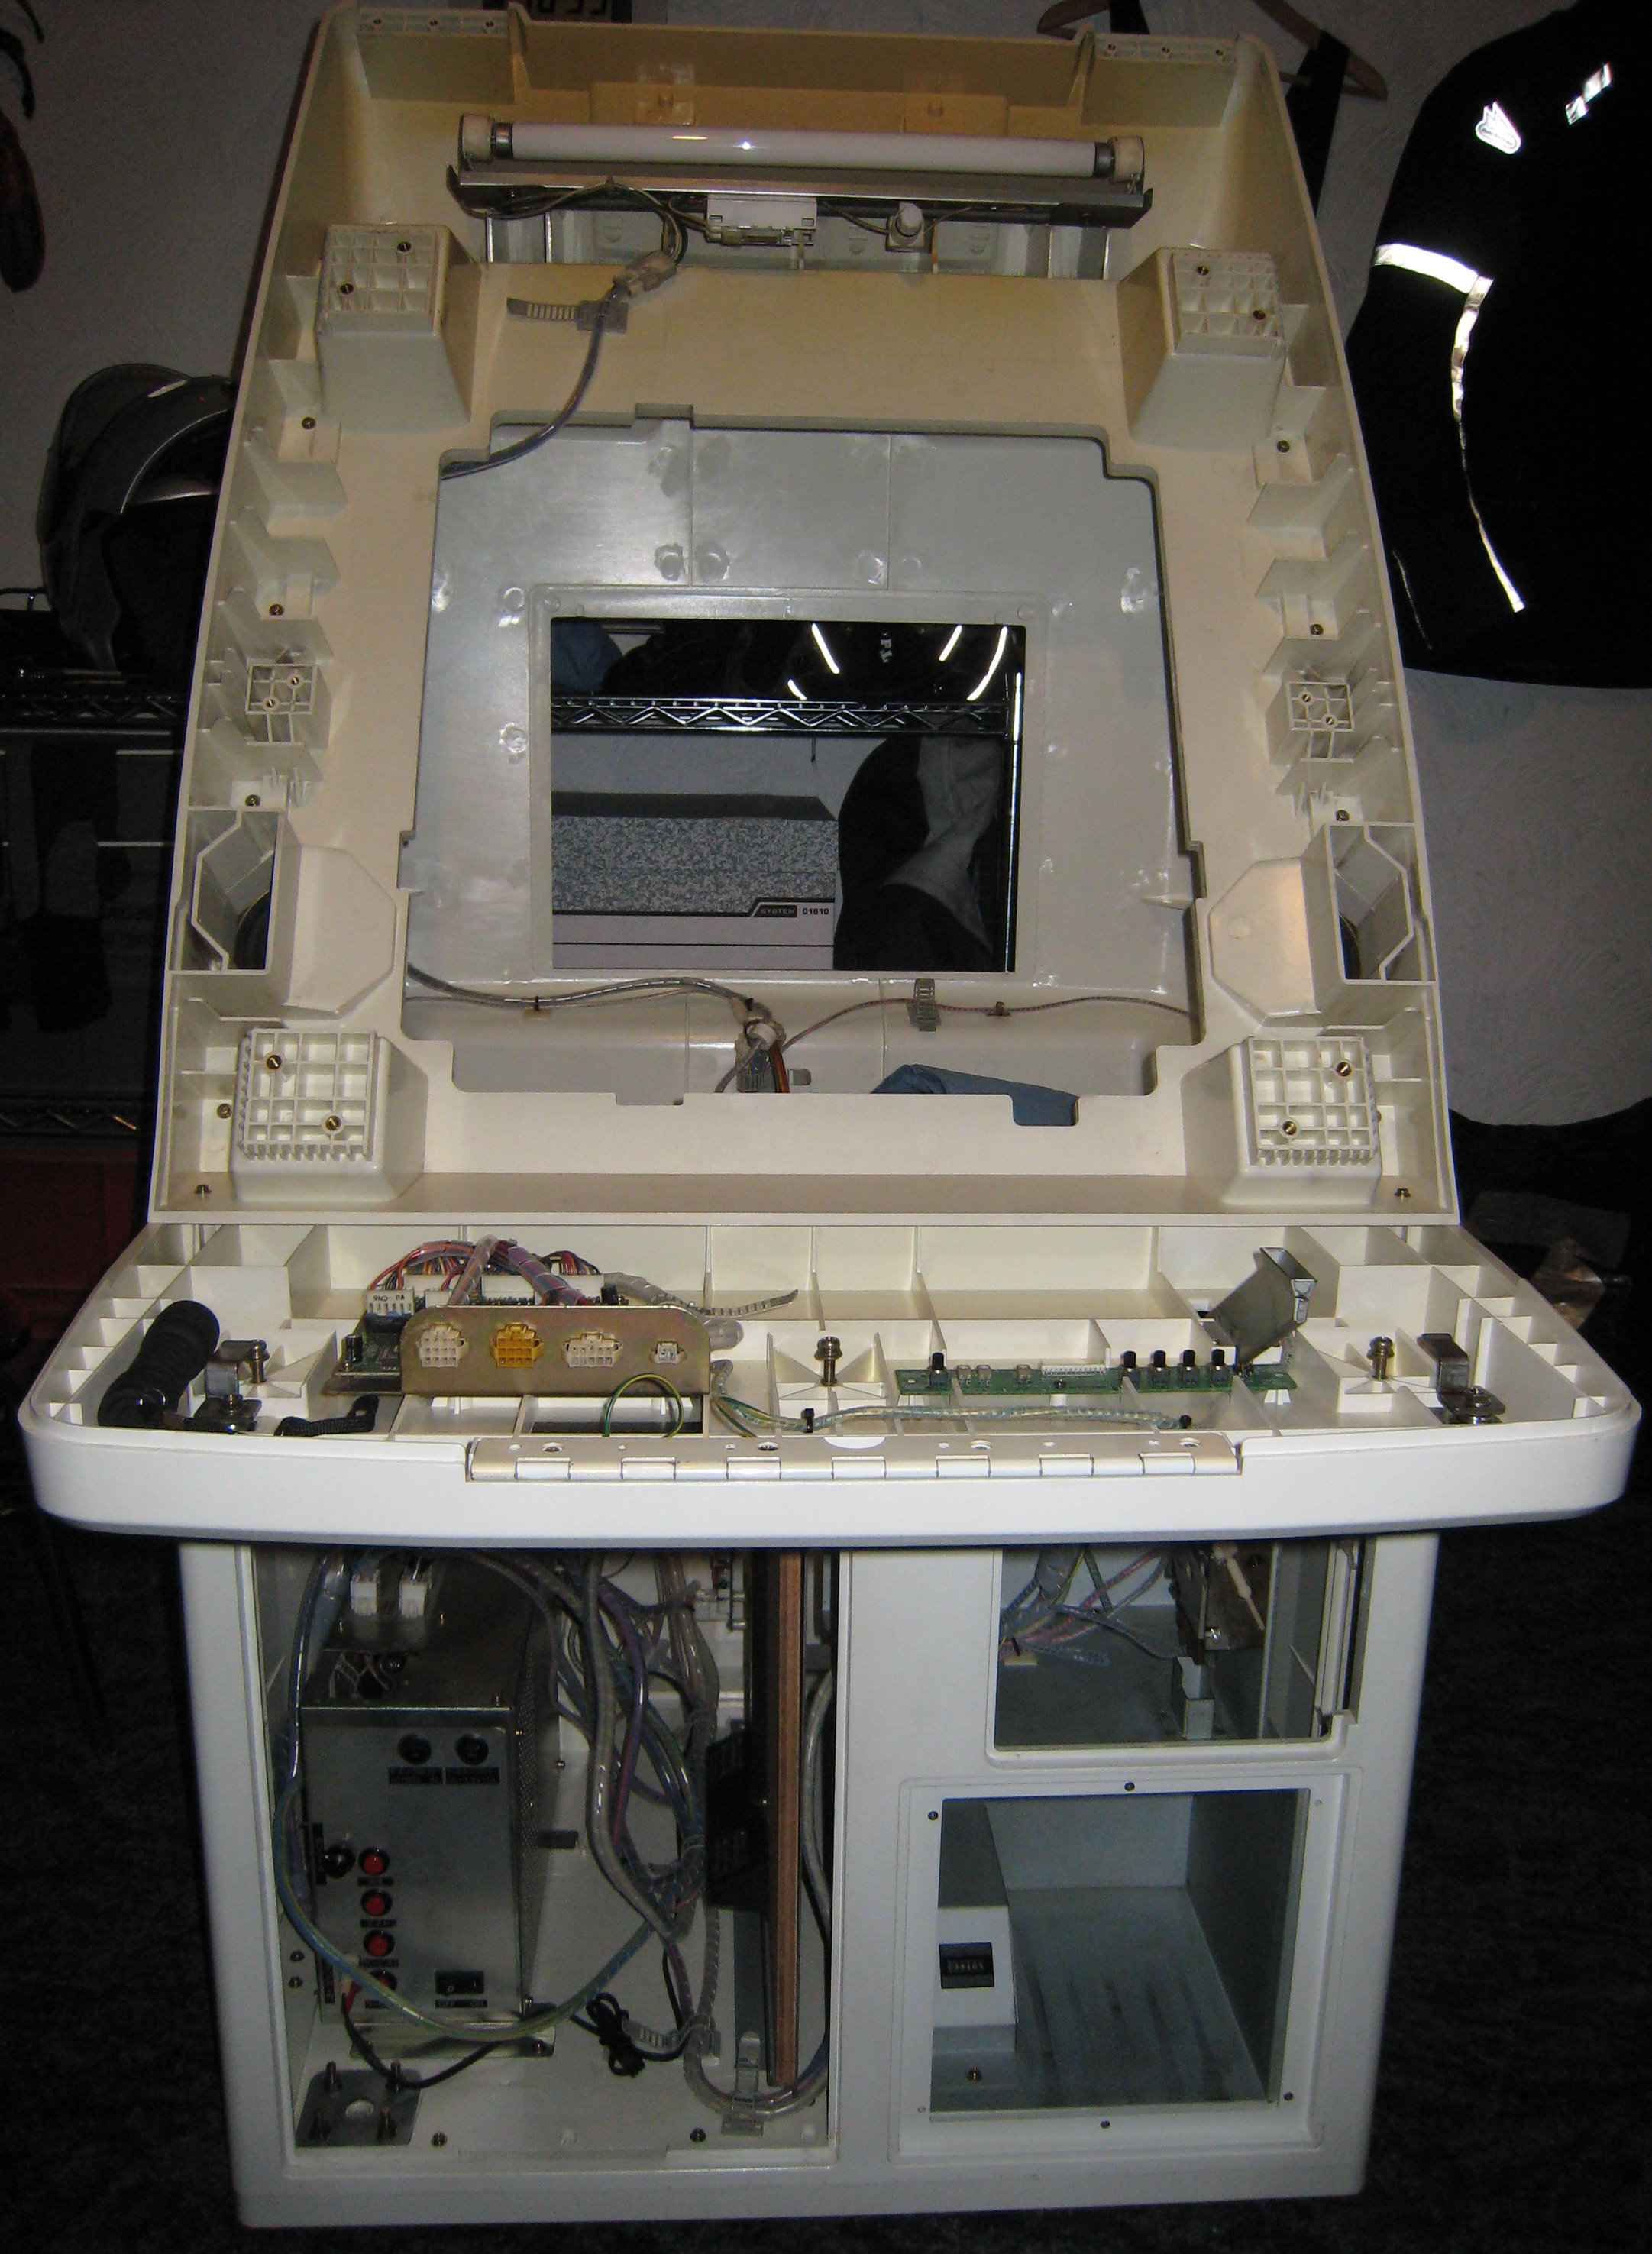
Main Body
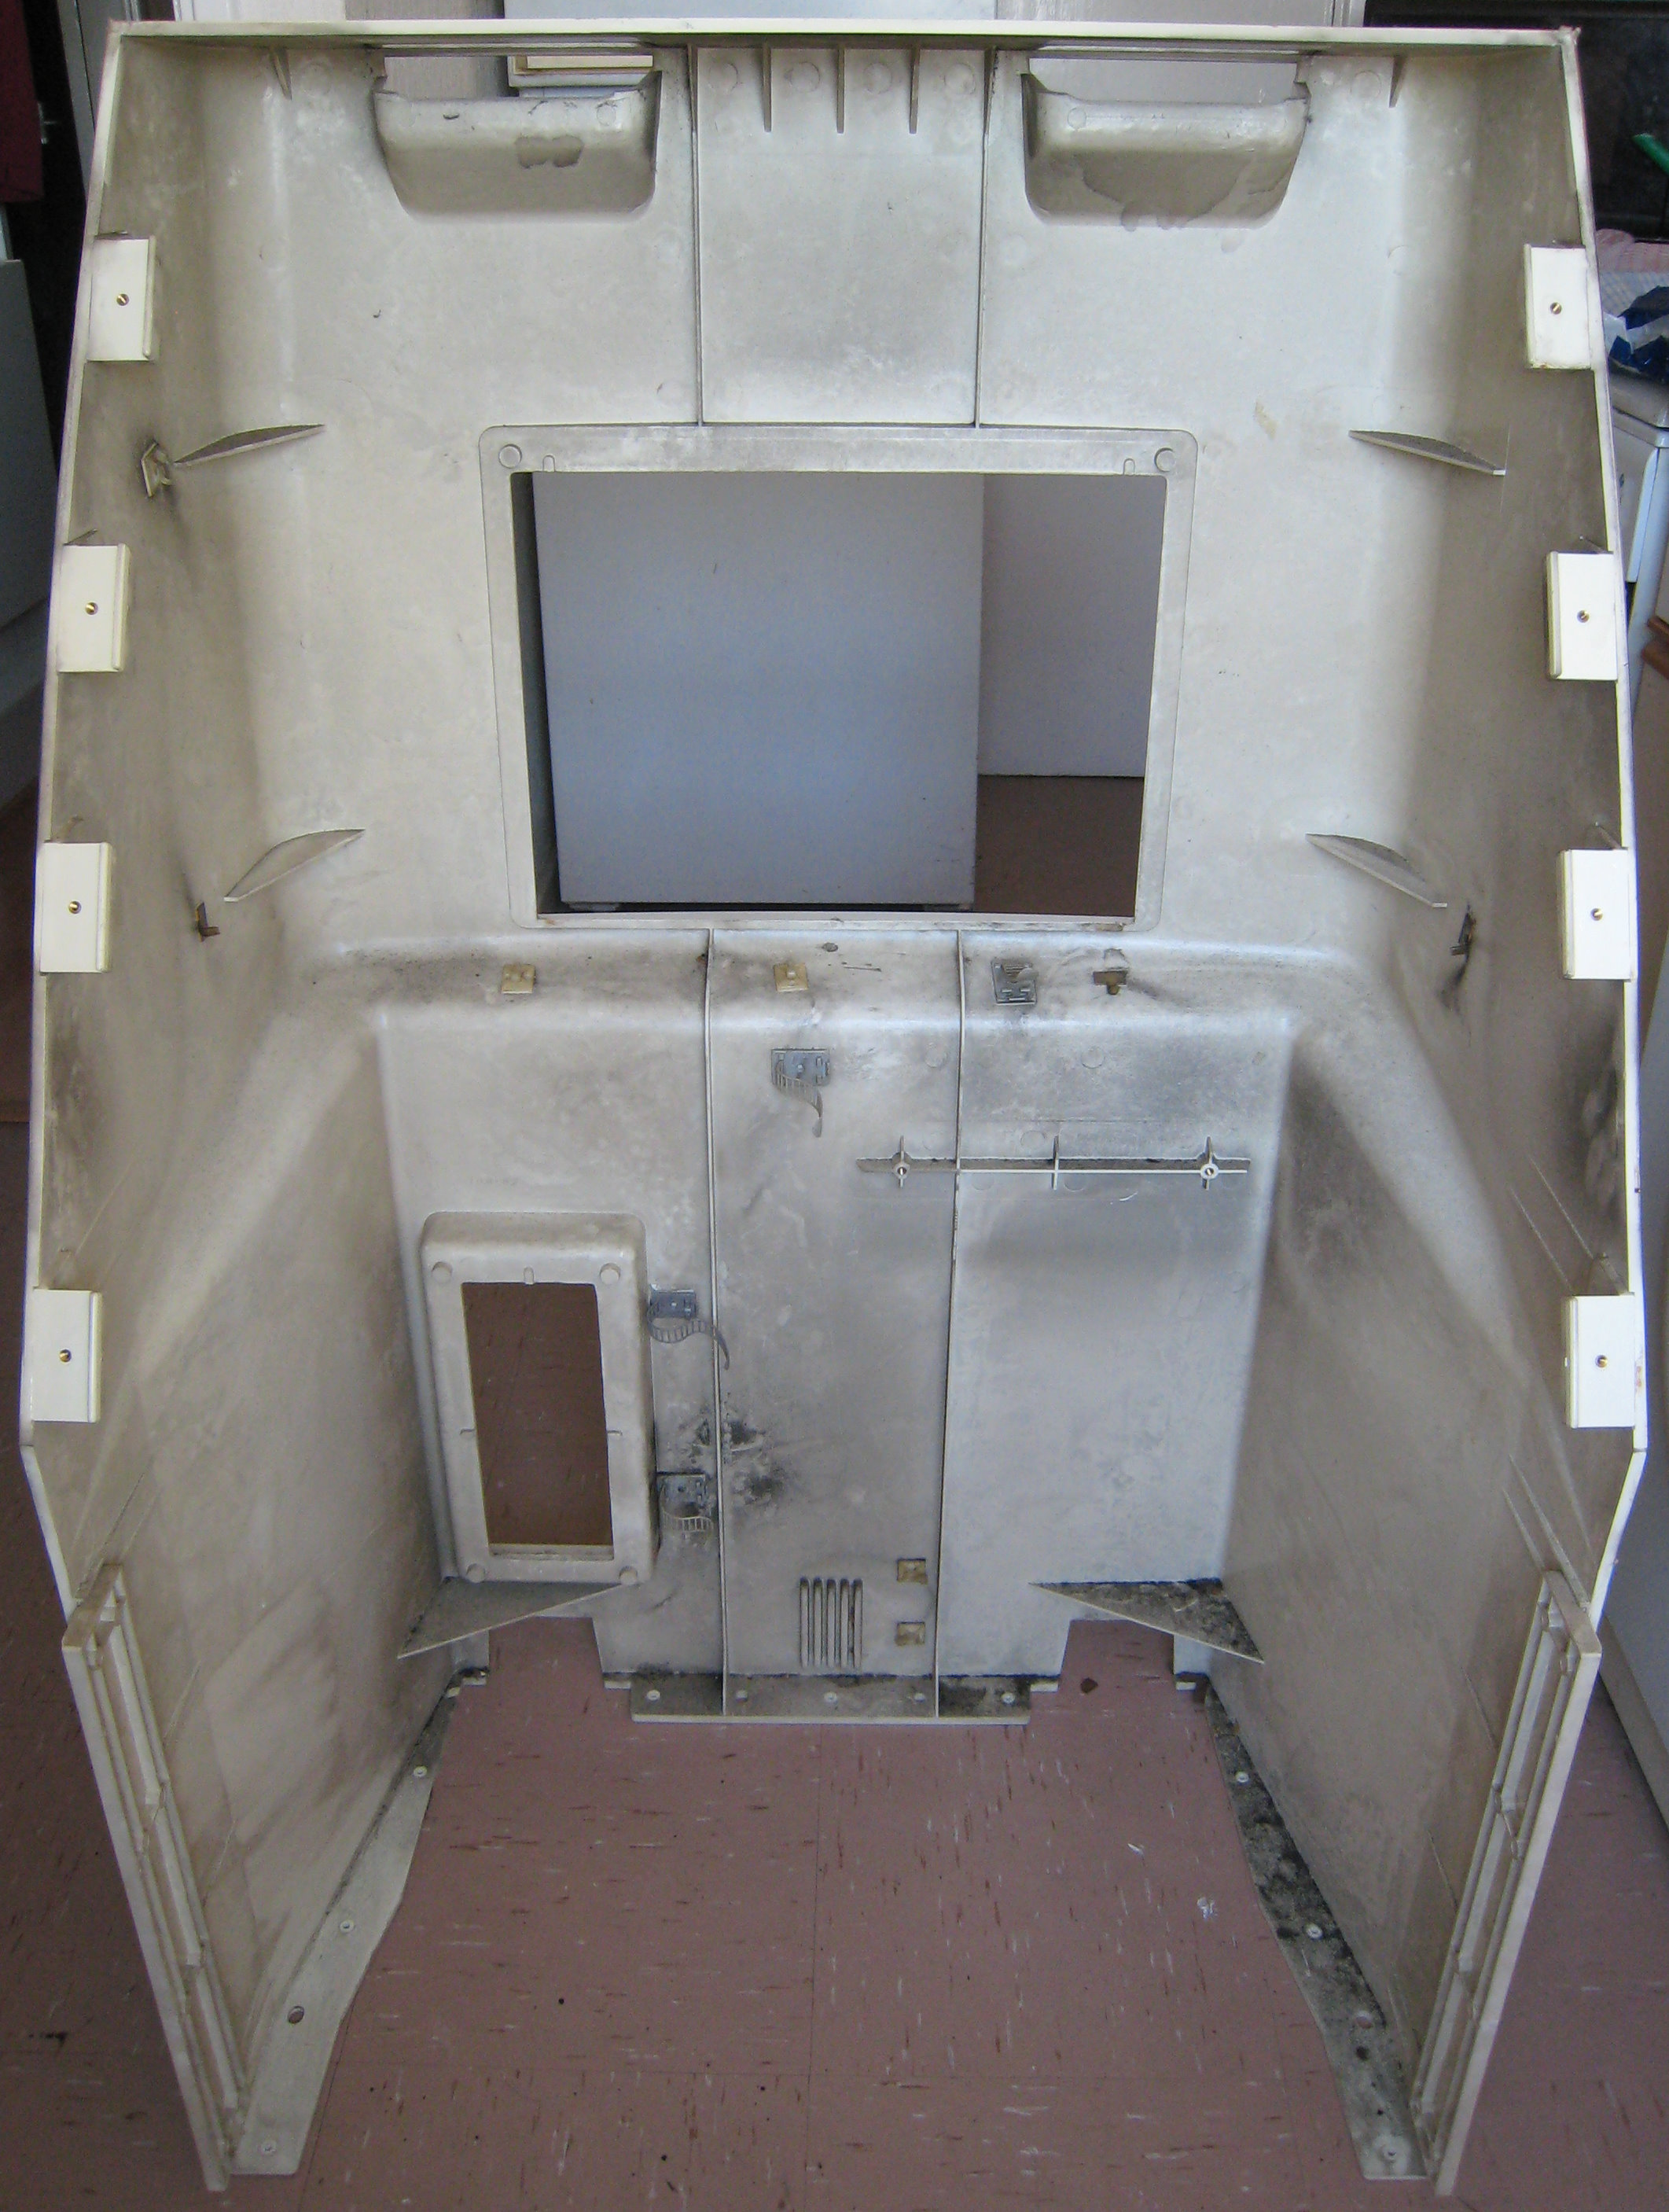
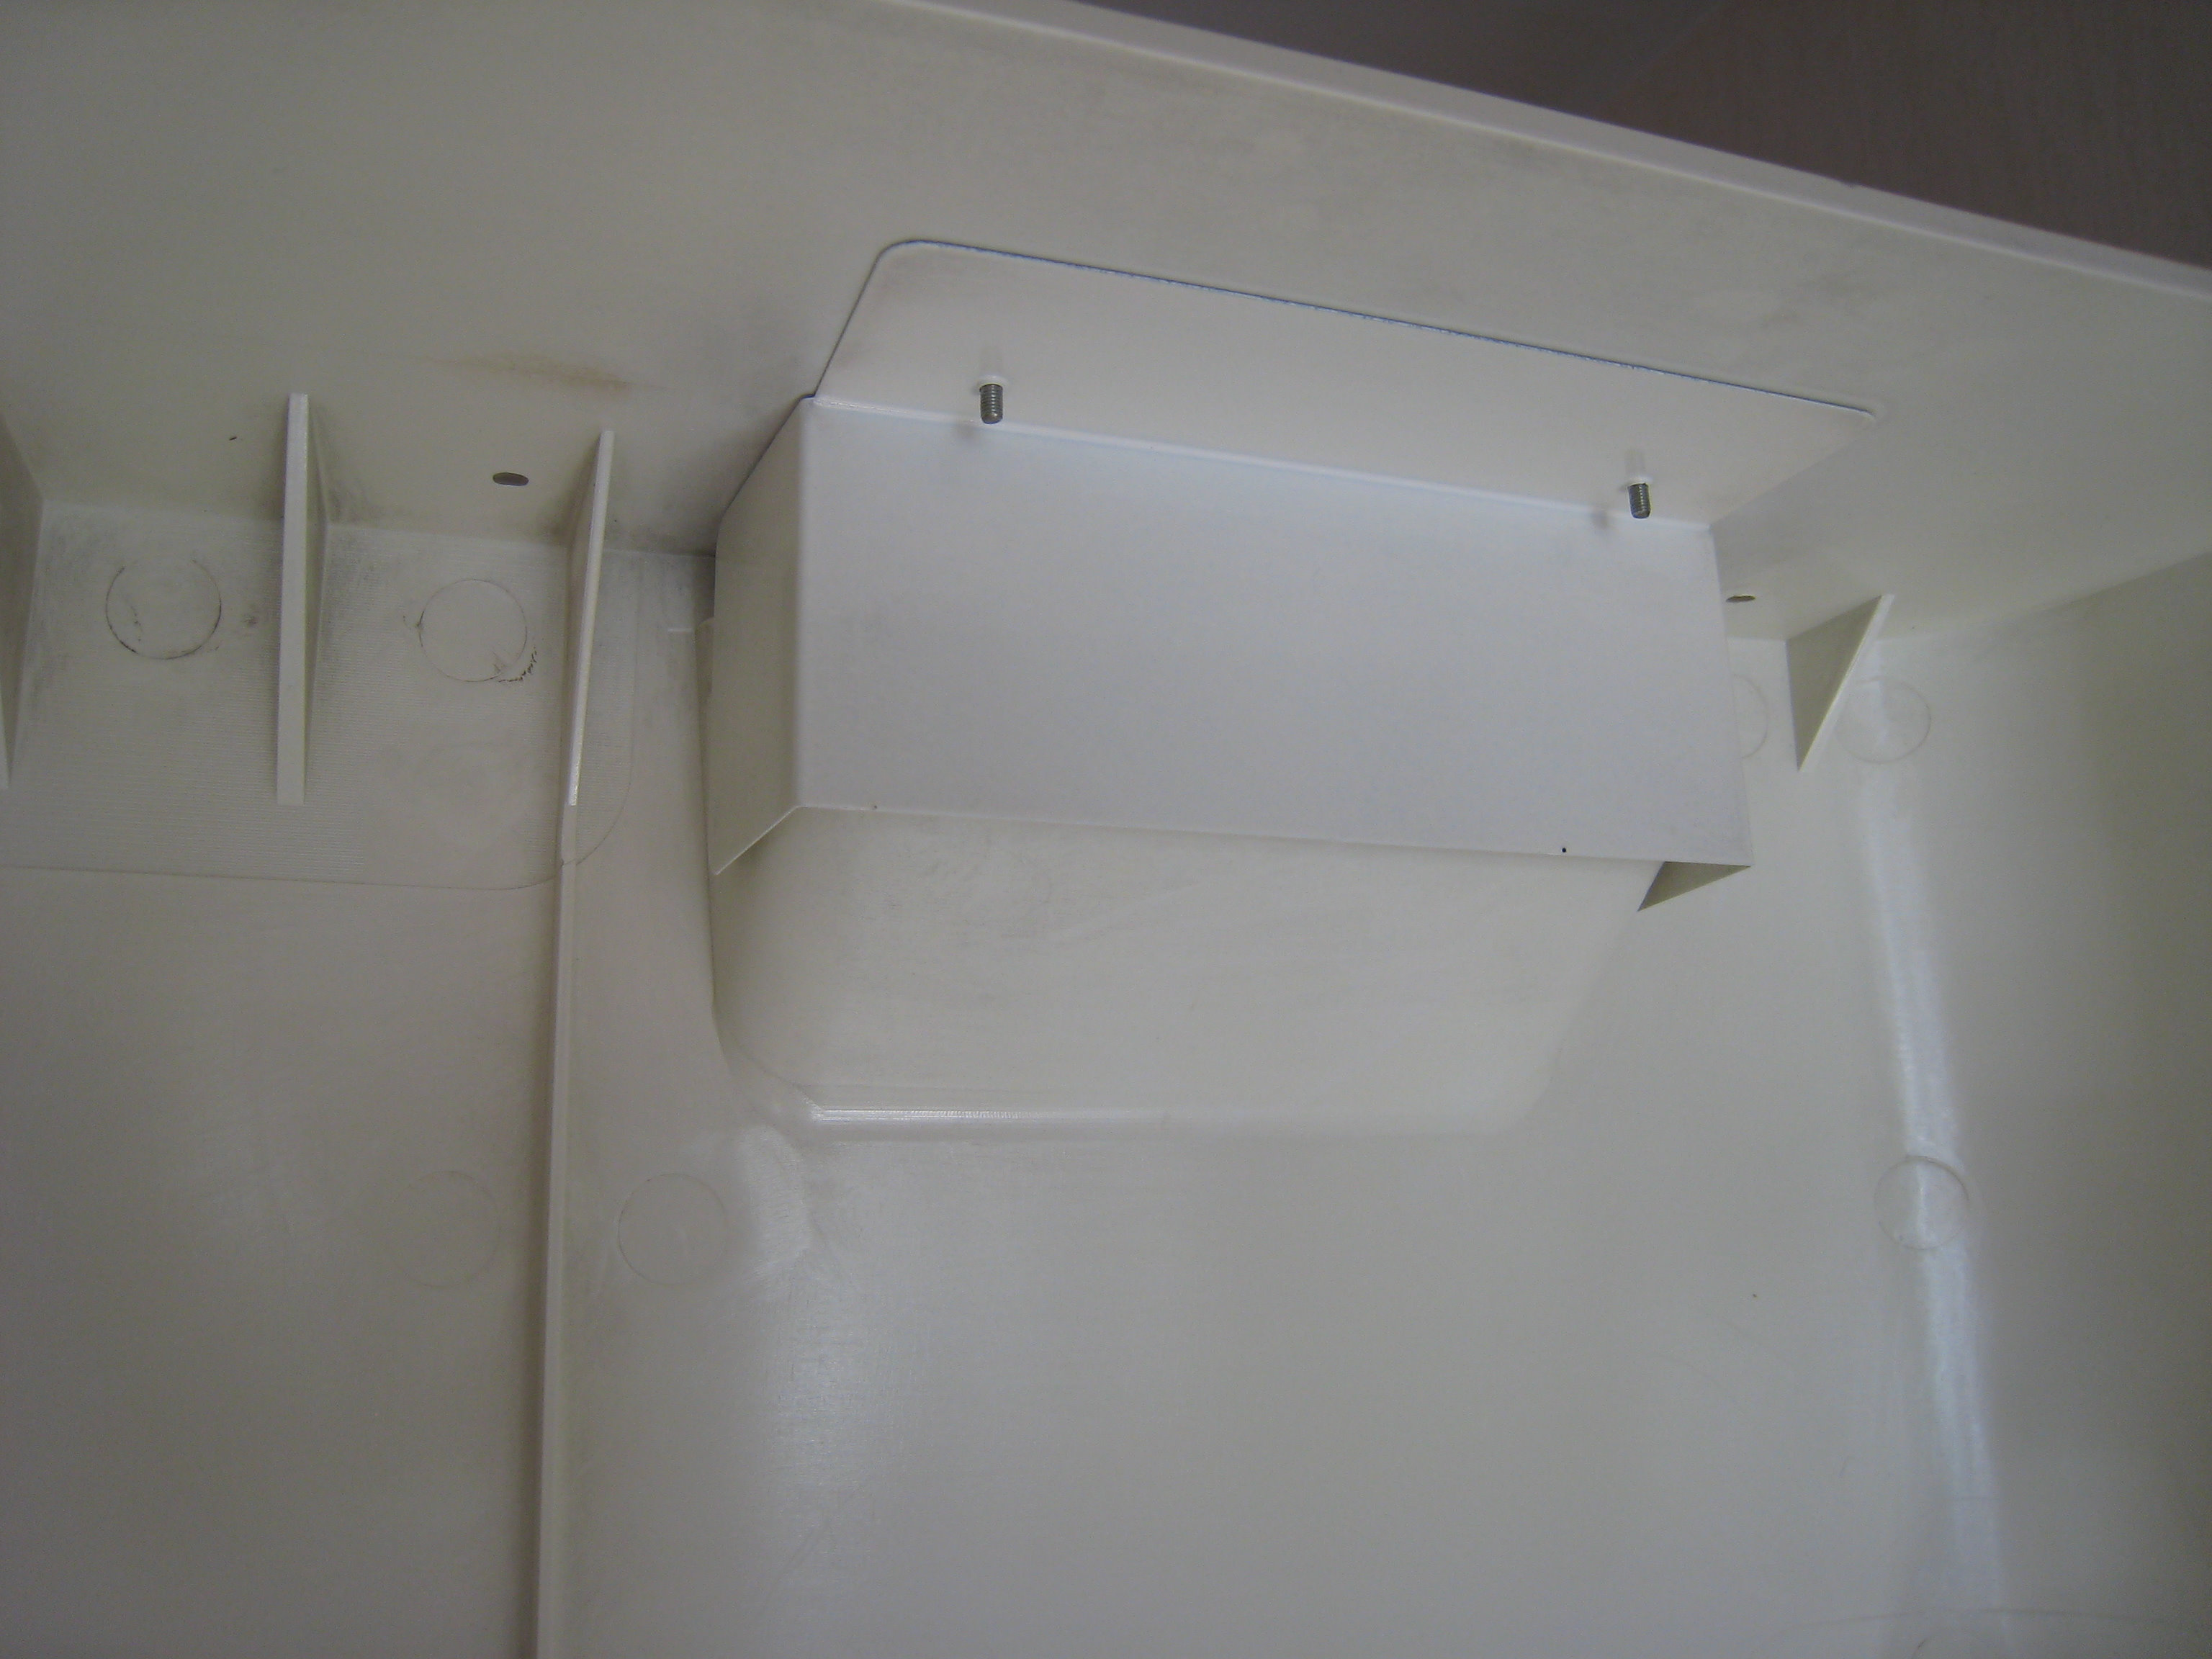
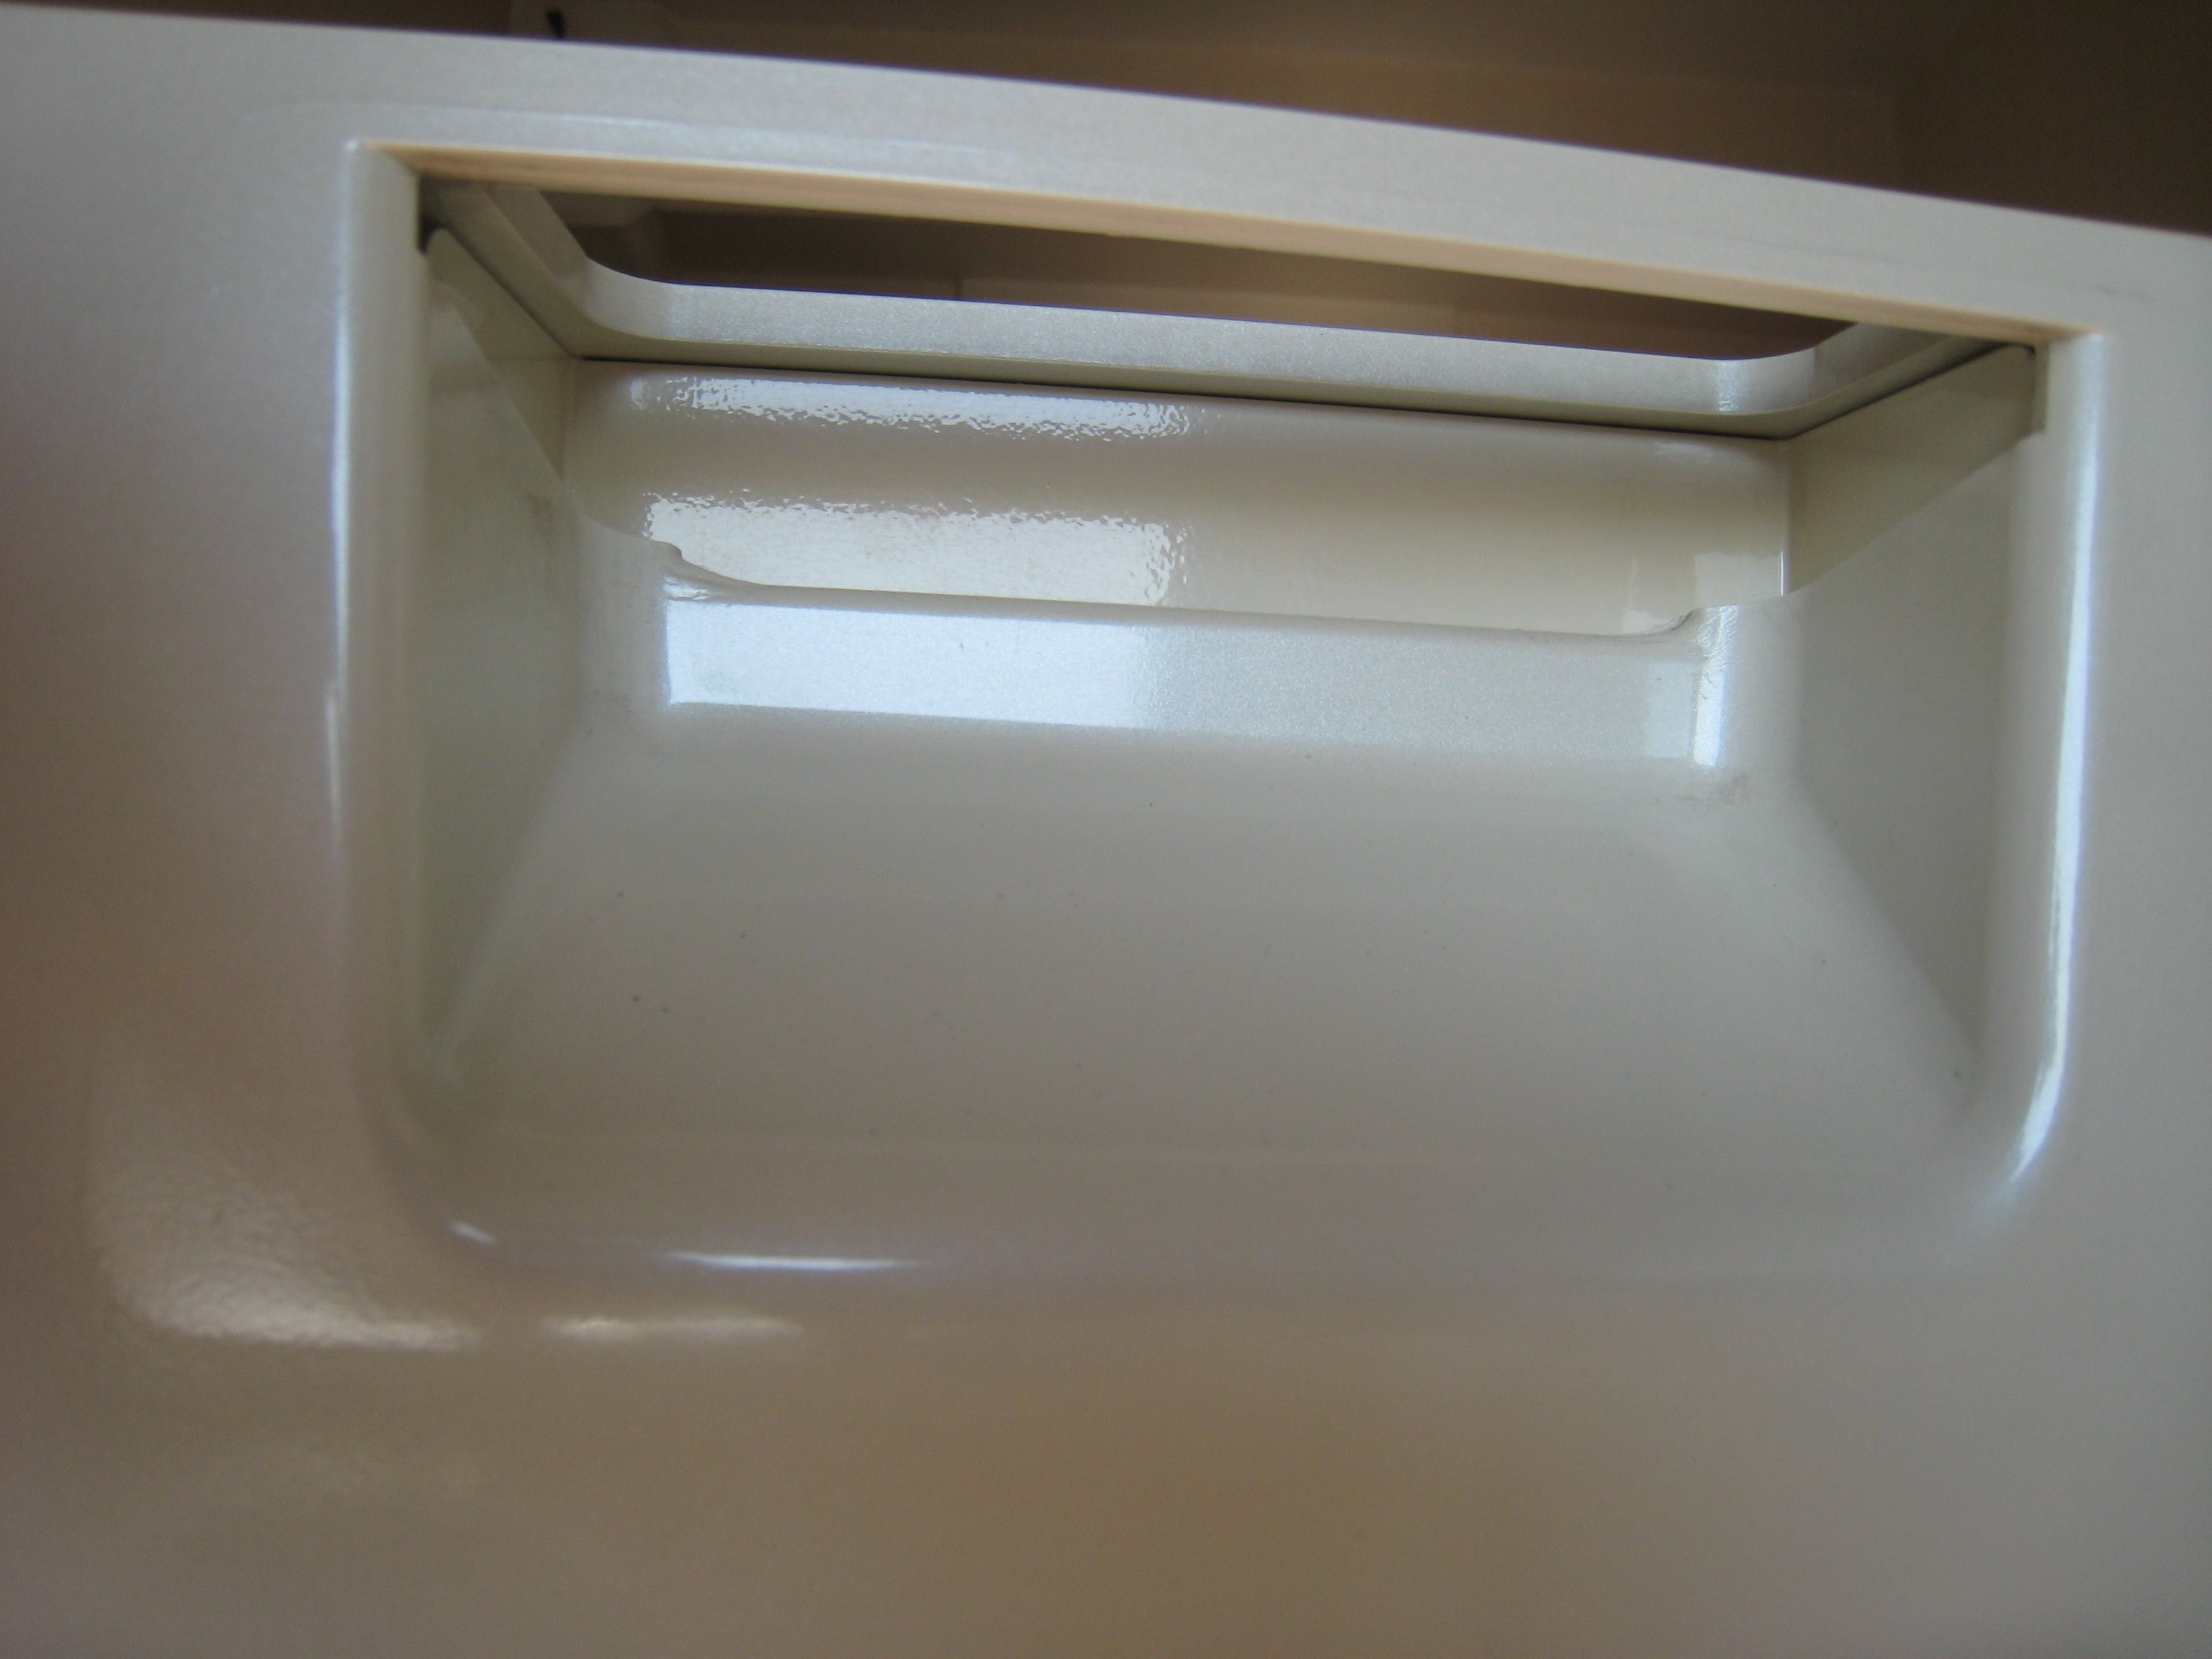
The main body has two hand holes on the back to help when moving the machine around, inside the machine at the back of the hand holes are two white painted sheet metal covers to stop your hands entering the machine.
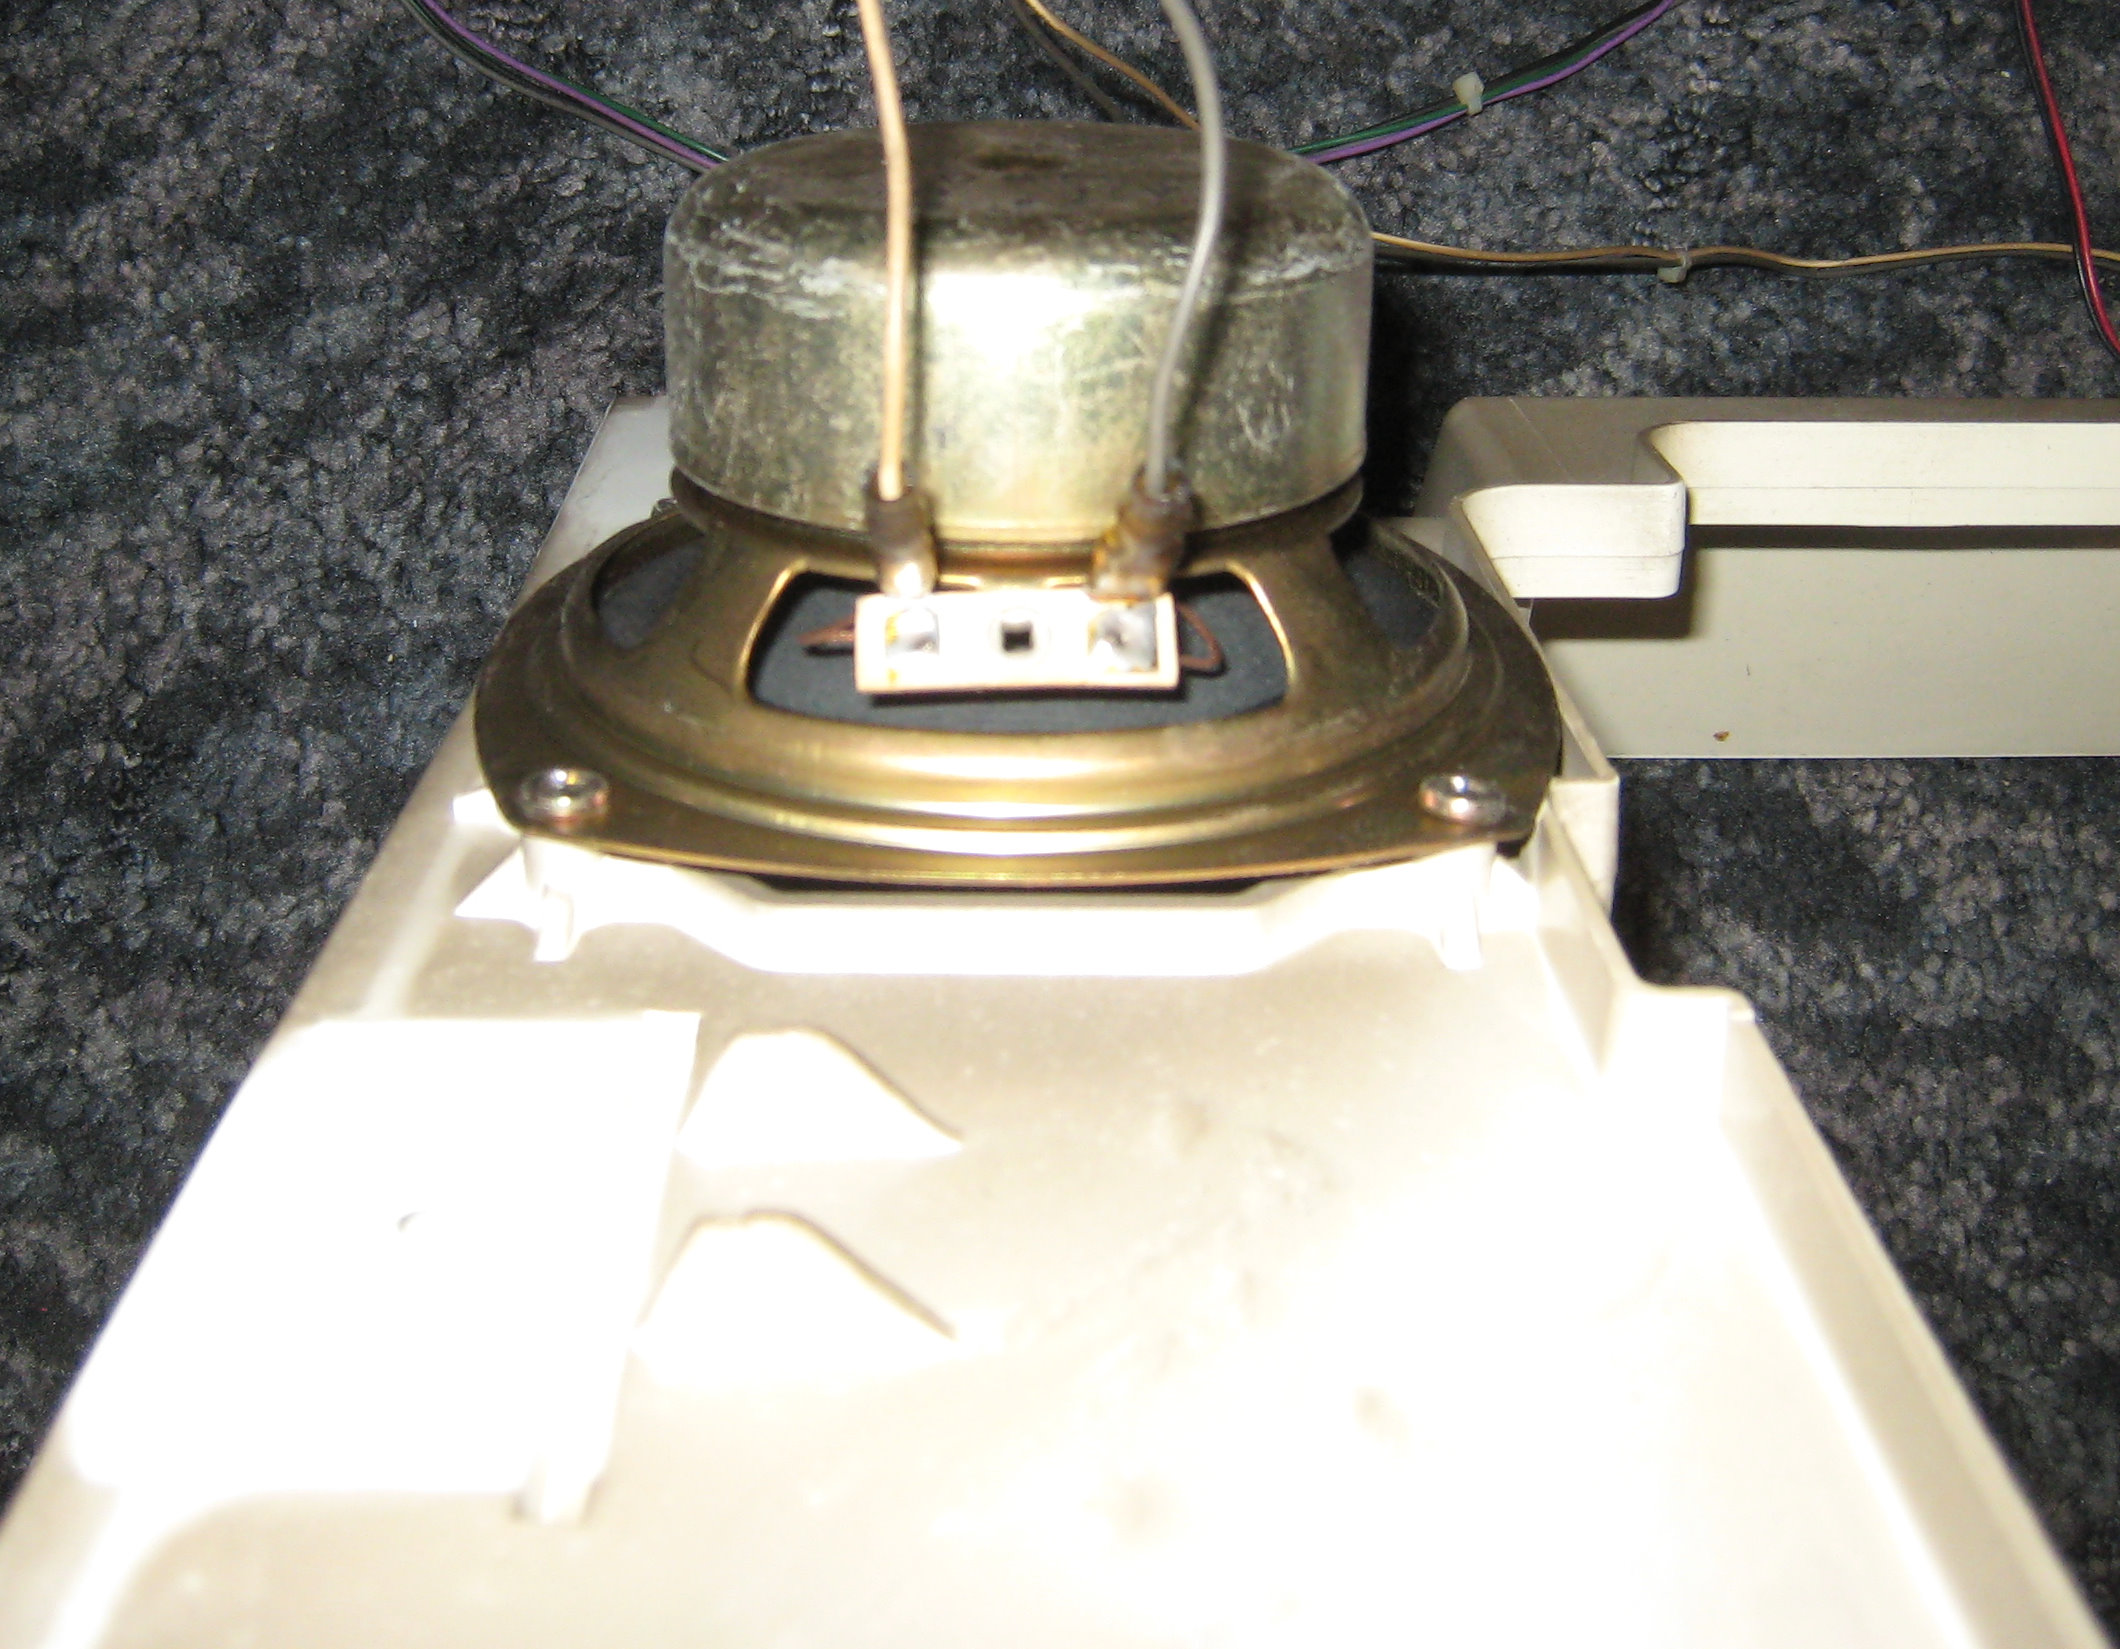
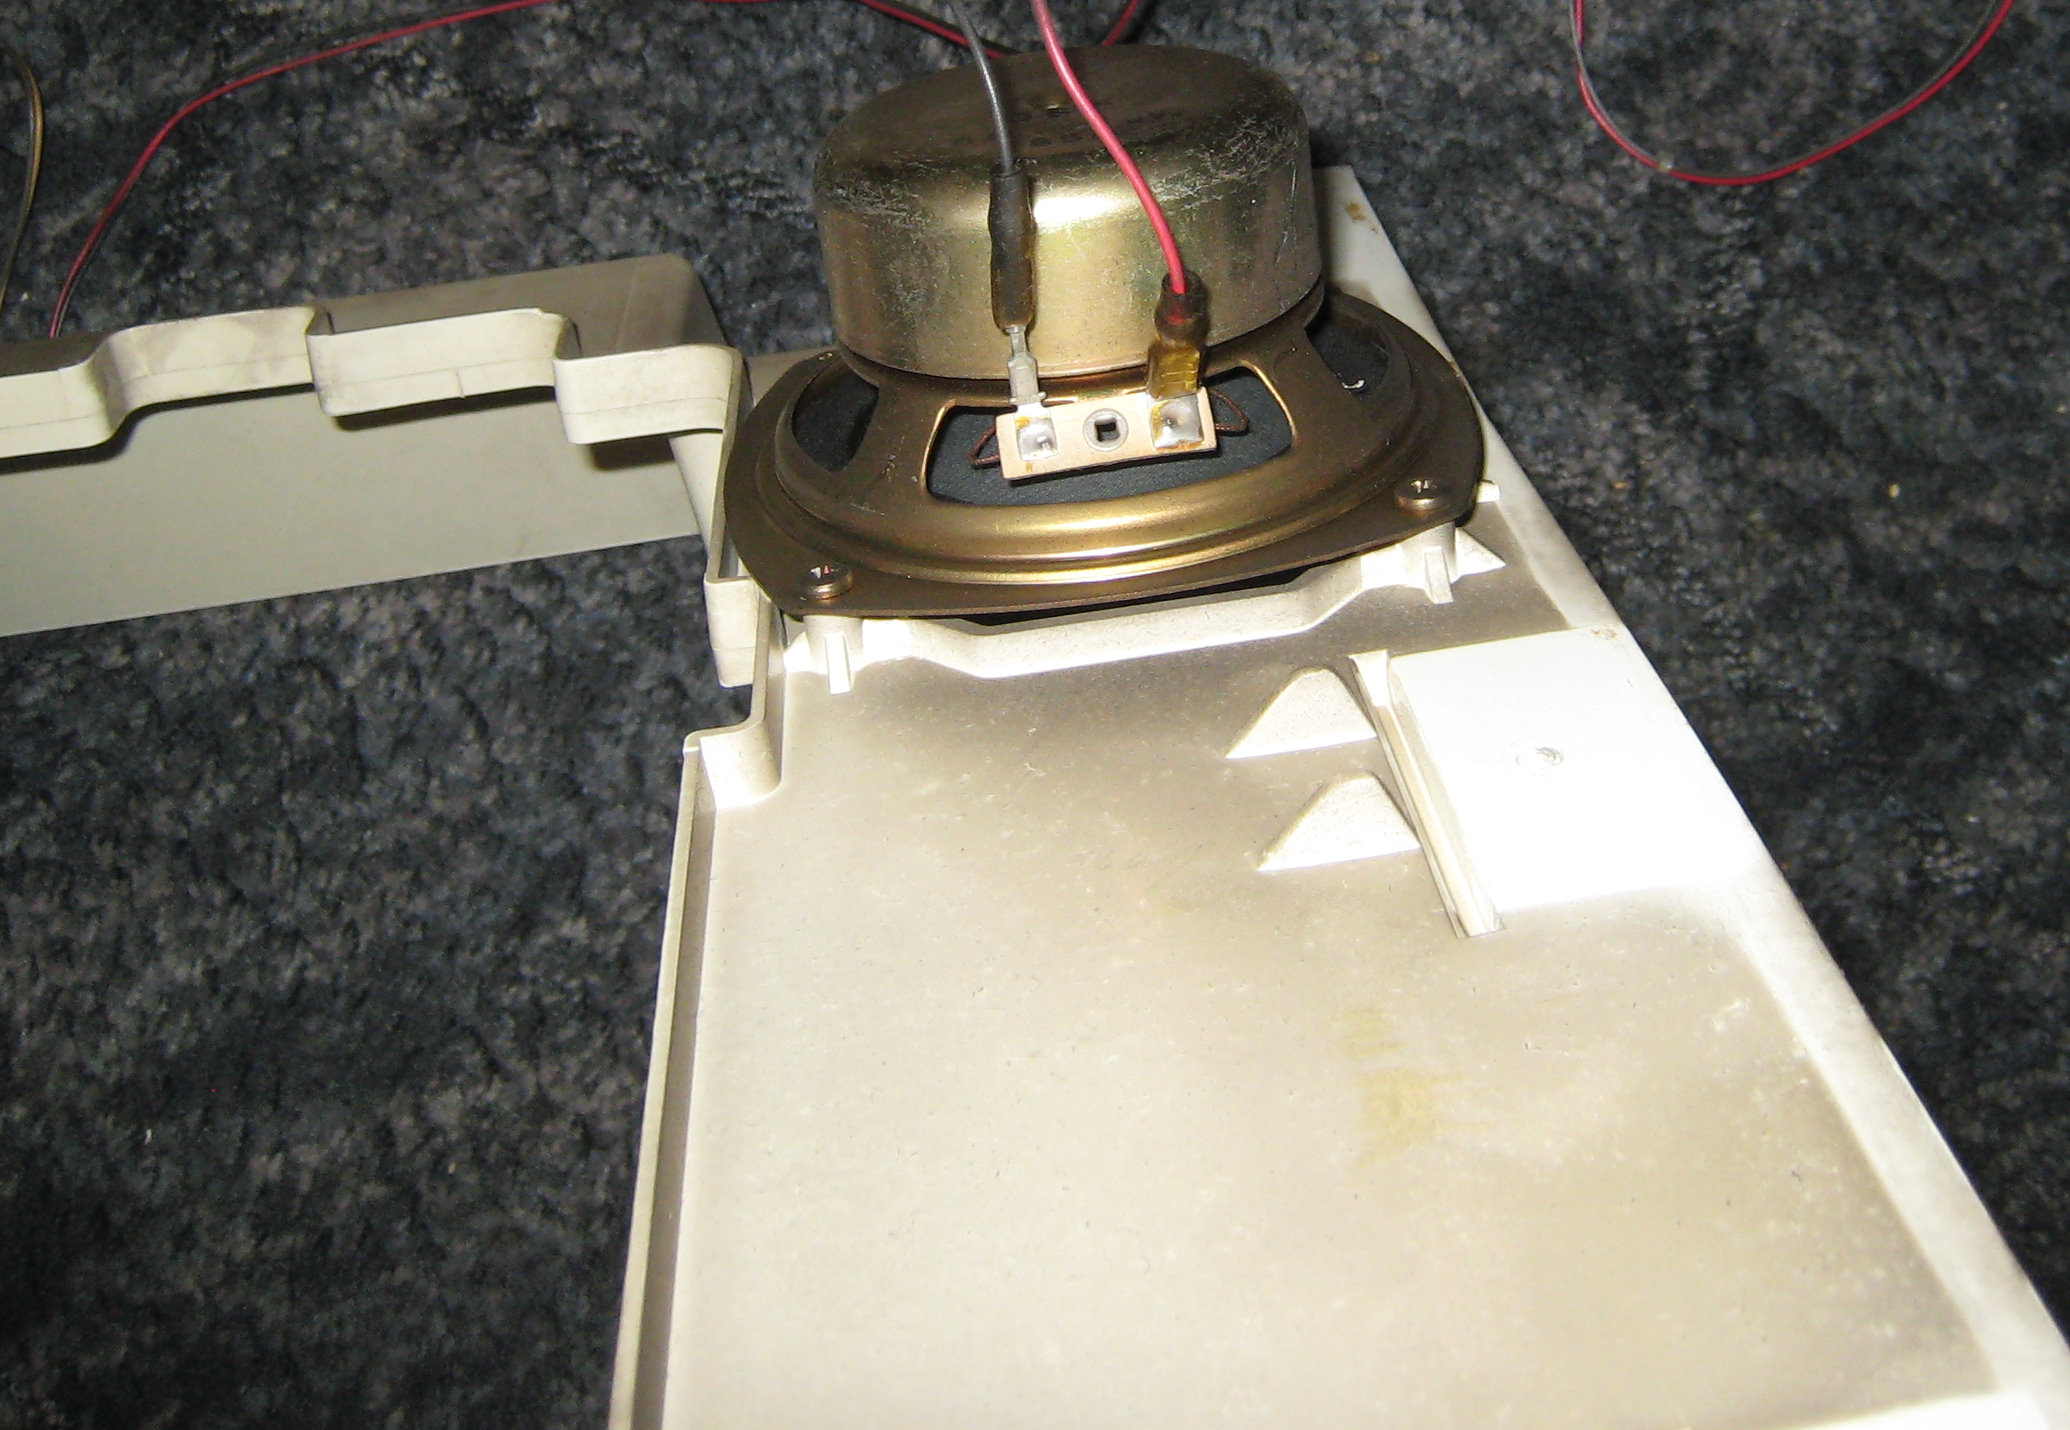
Top marquee light and speakers.
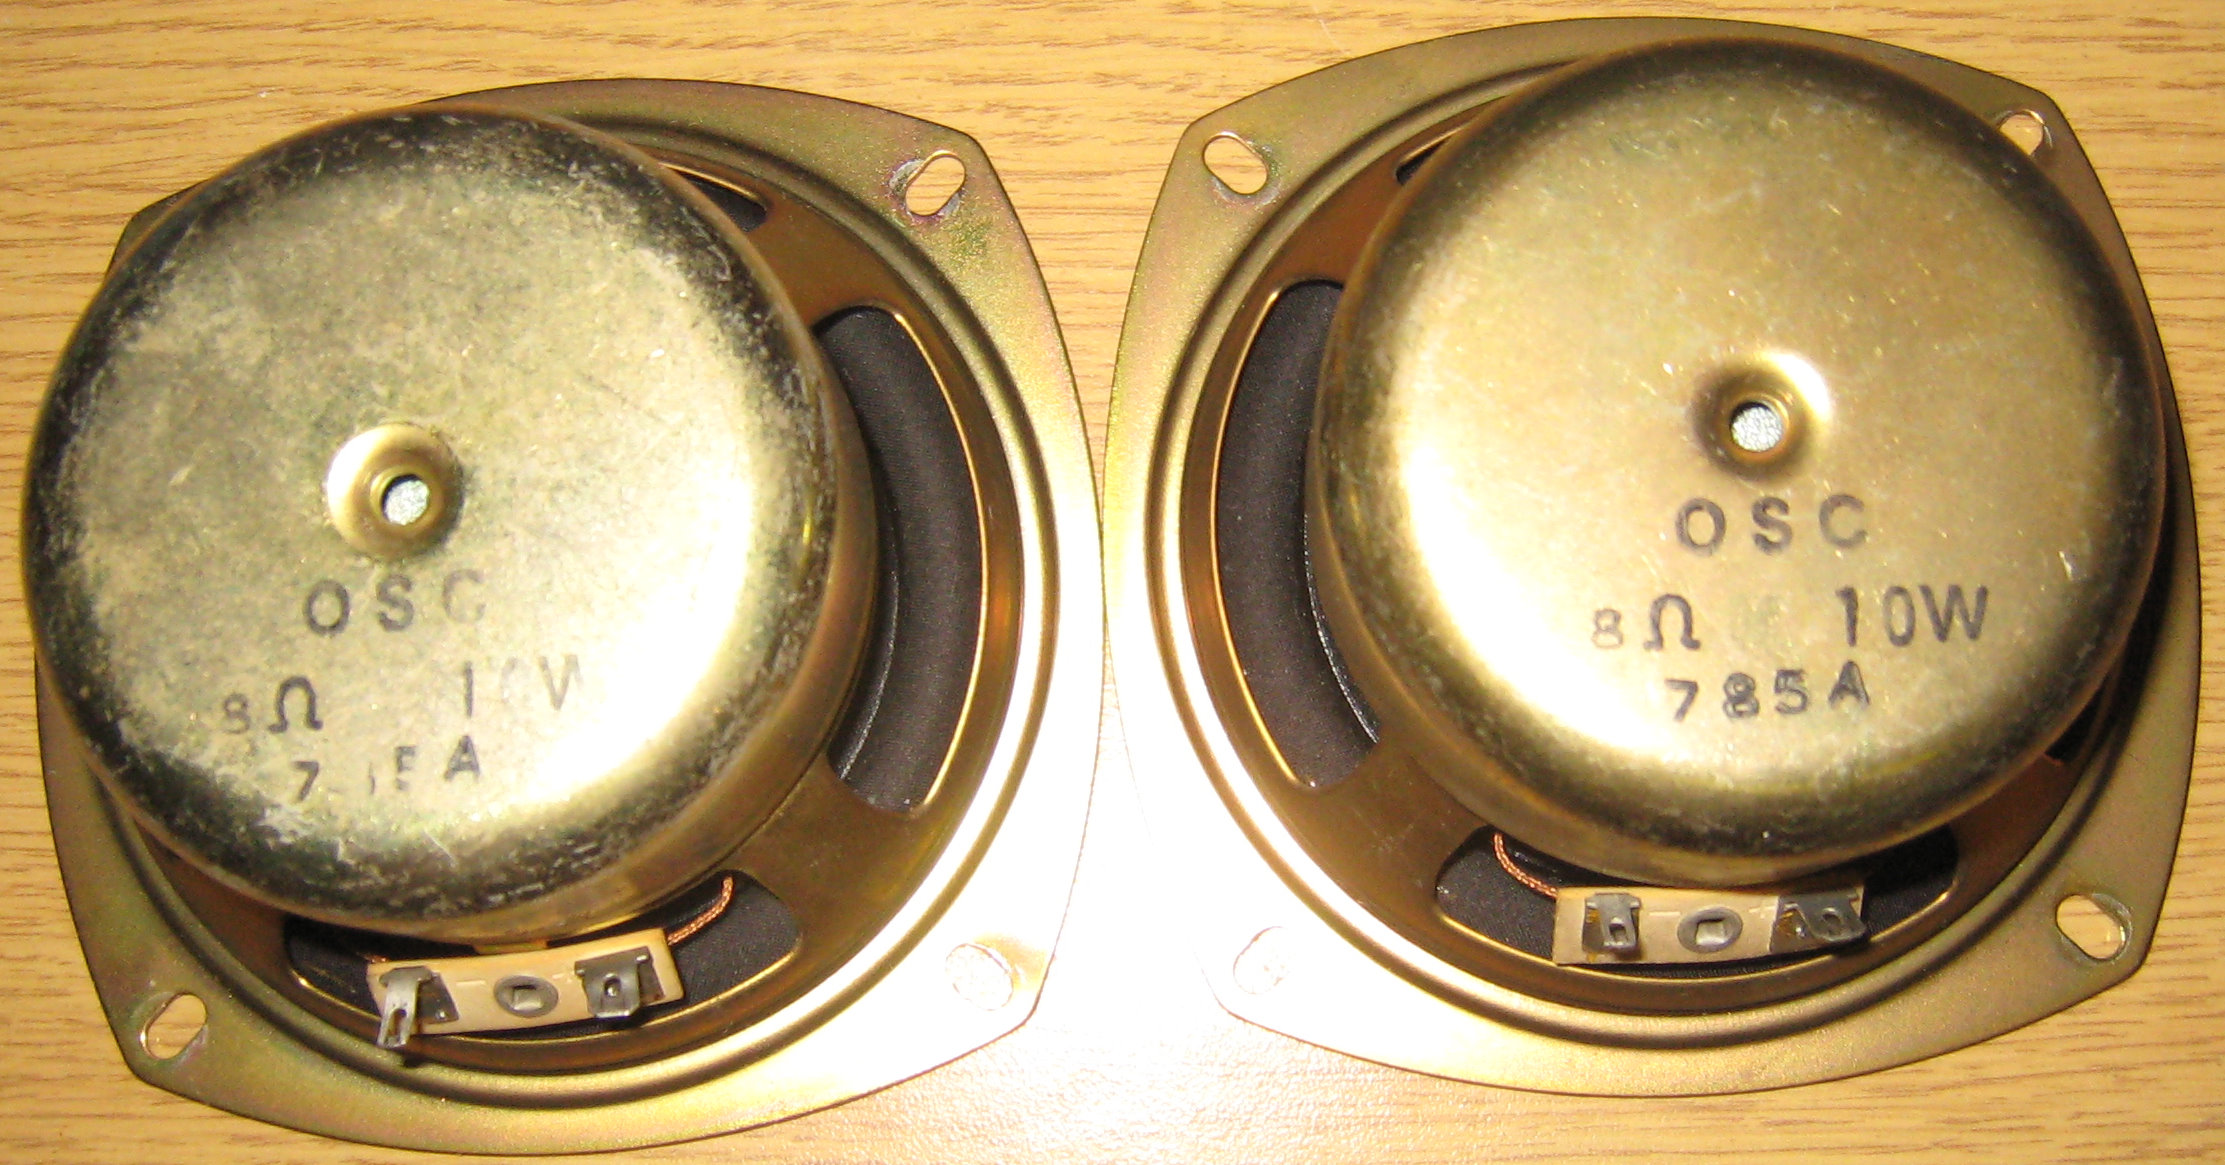
The speakers are made by OSC 8 Ohm - 10W - 785A, never heard of them but they look and sound pretty good.
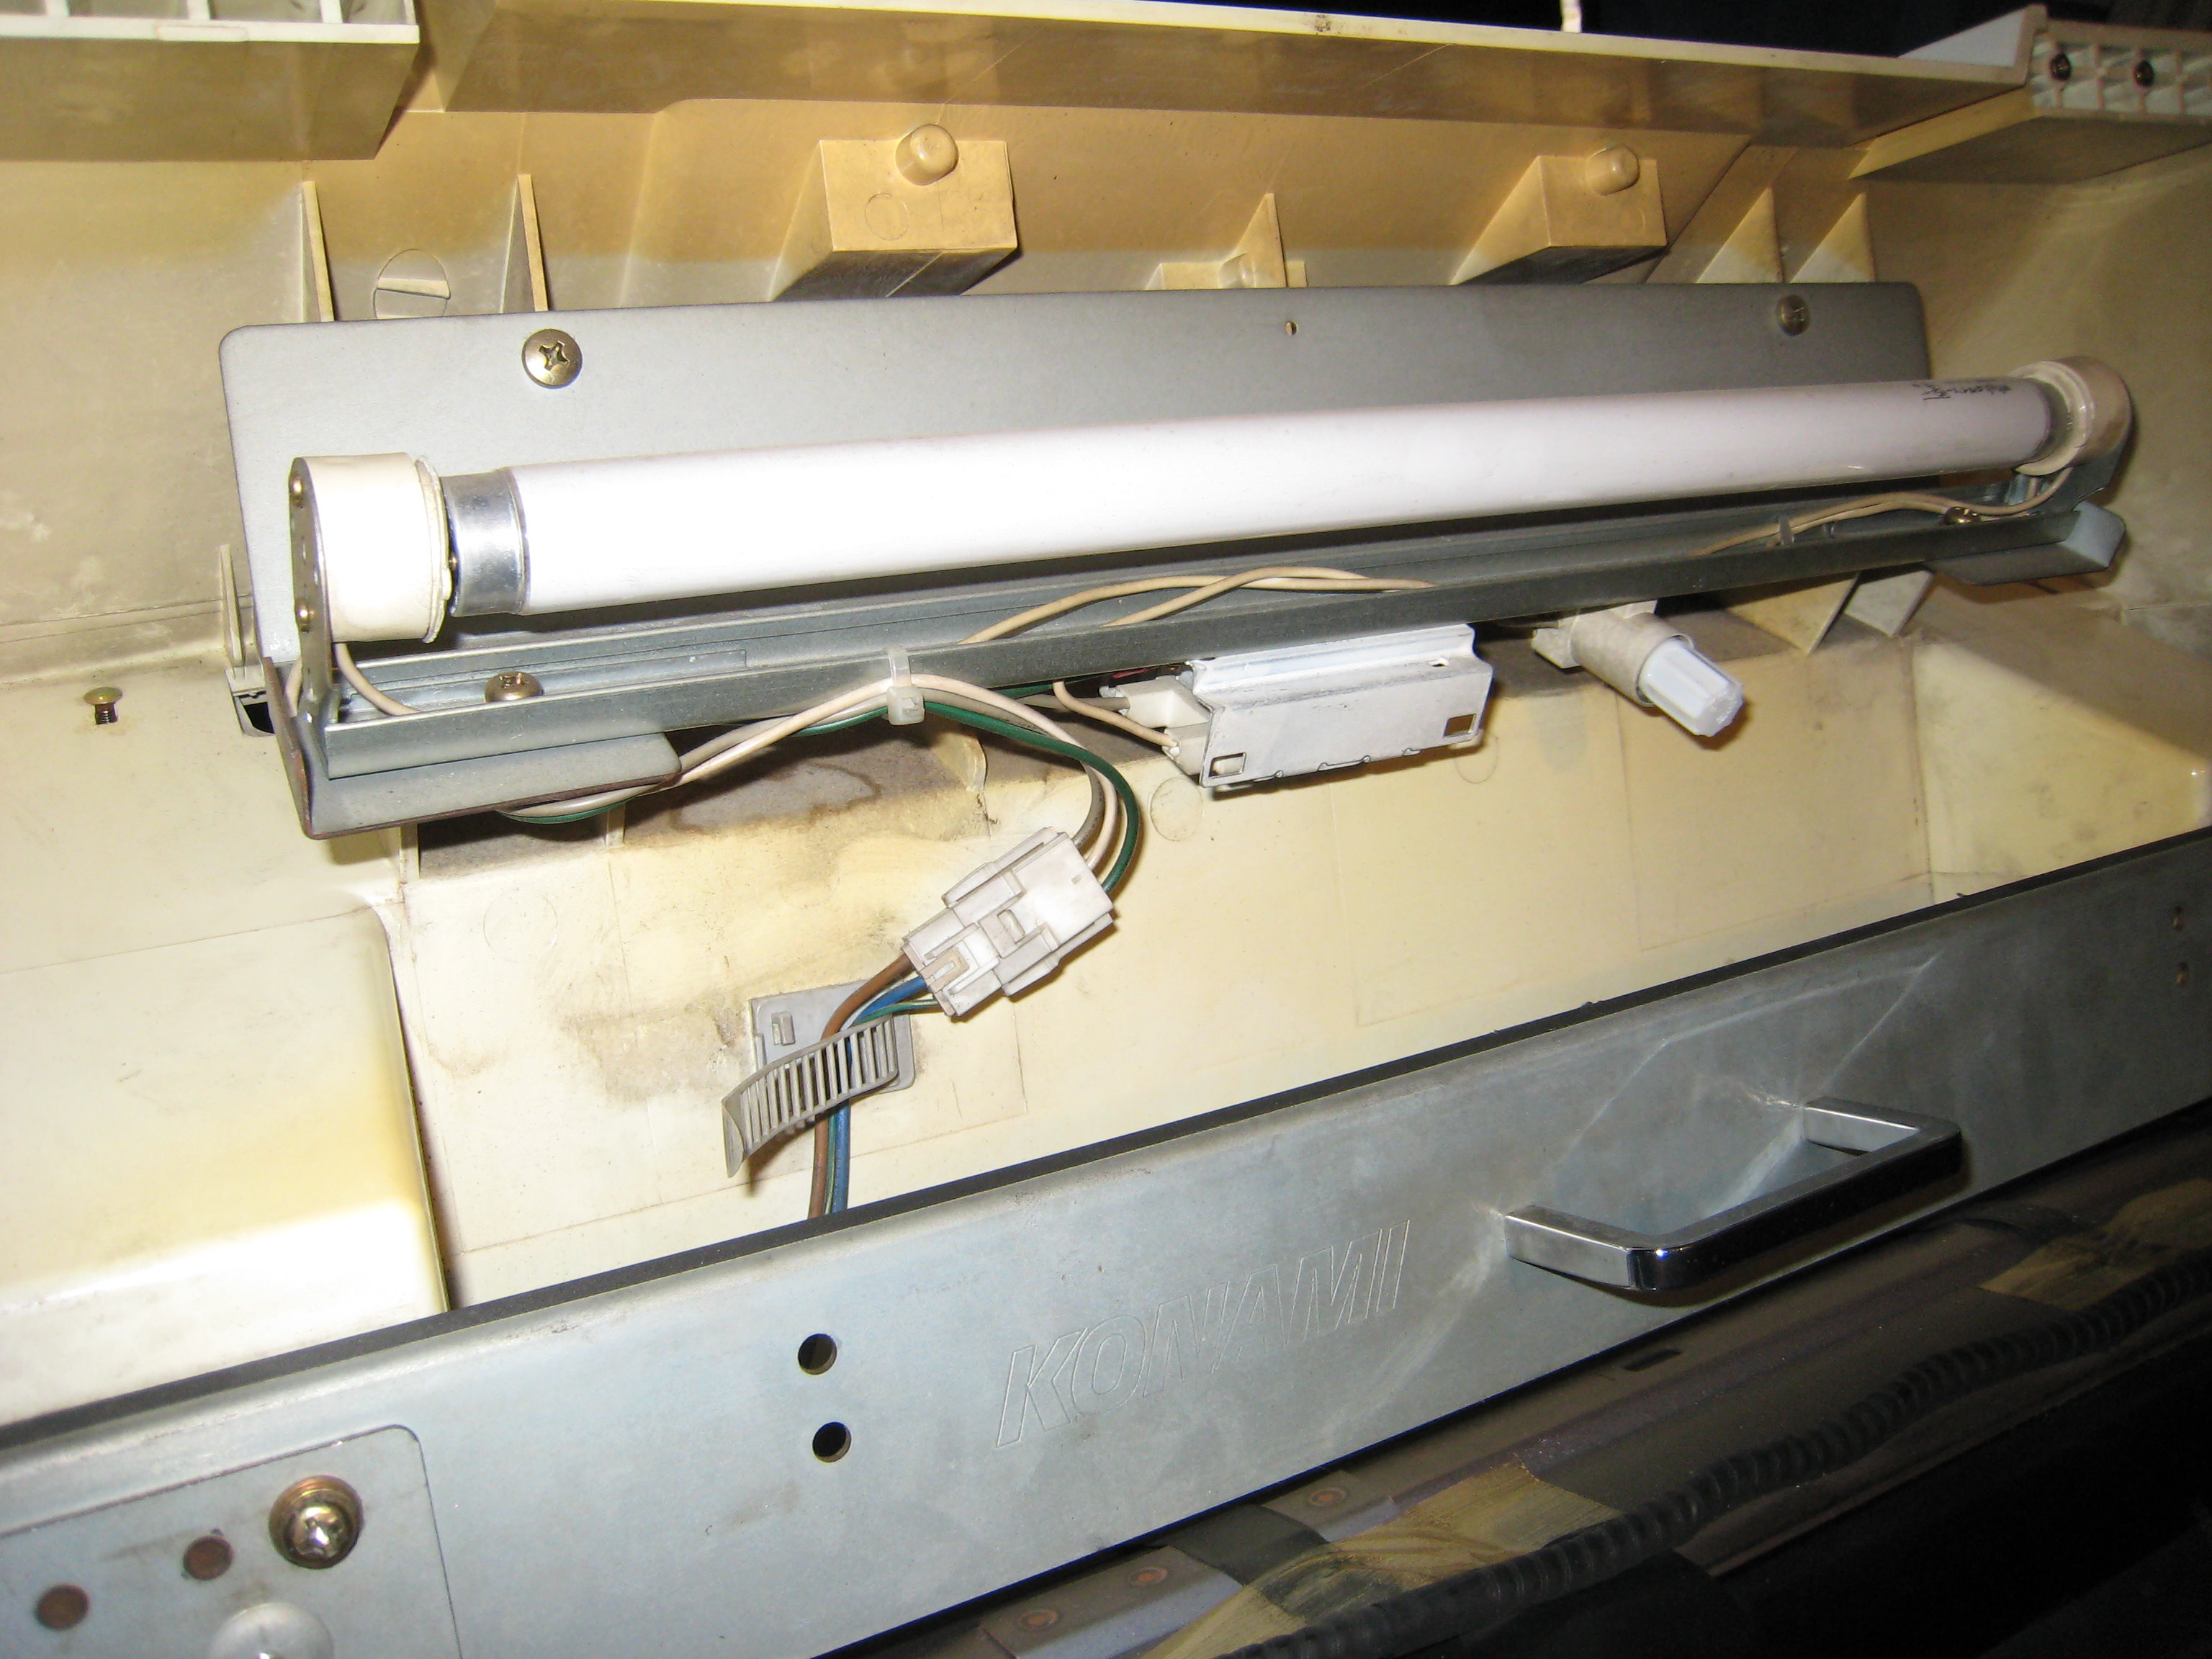
The dirt is more of a dirt film as smoking is allowed in Japanese arcades, it takes quite a bit of scrubbing to remove, unlike the outside that's silky smooth, the inside is pretty rough so it taking a long time to get it clean, even then some is so ingrained it's there for good.
After Cleaning
Labels

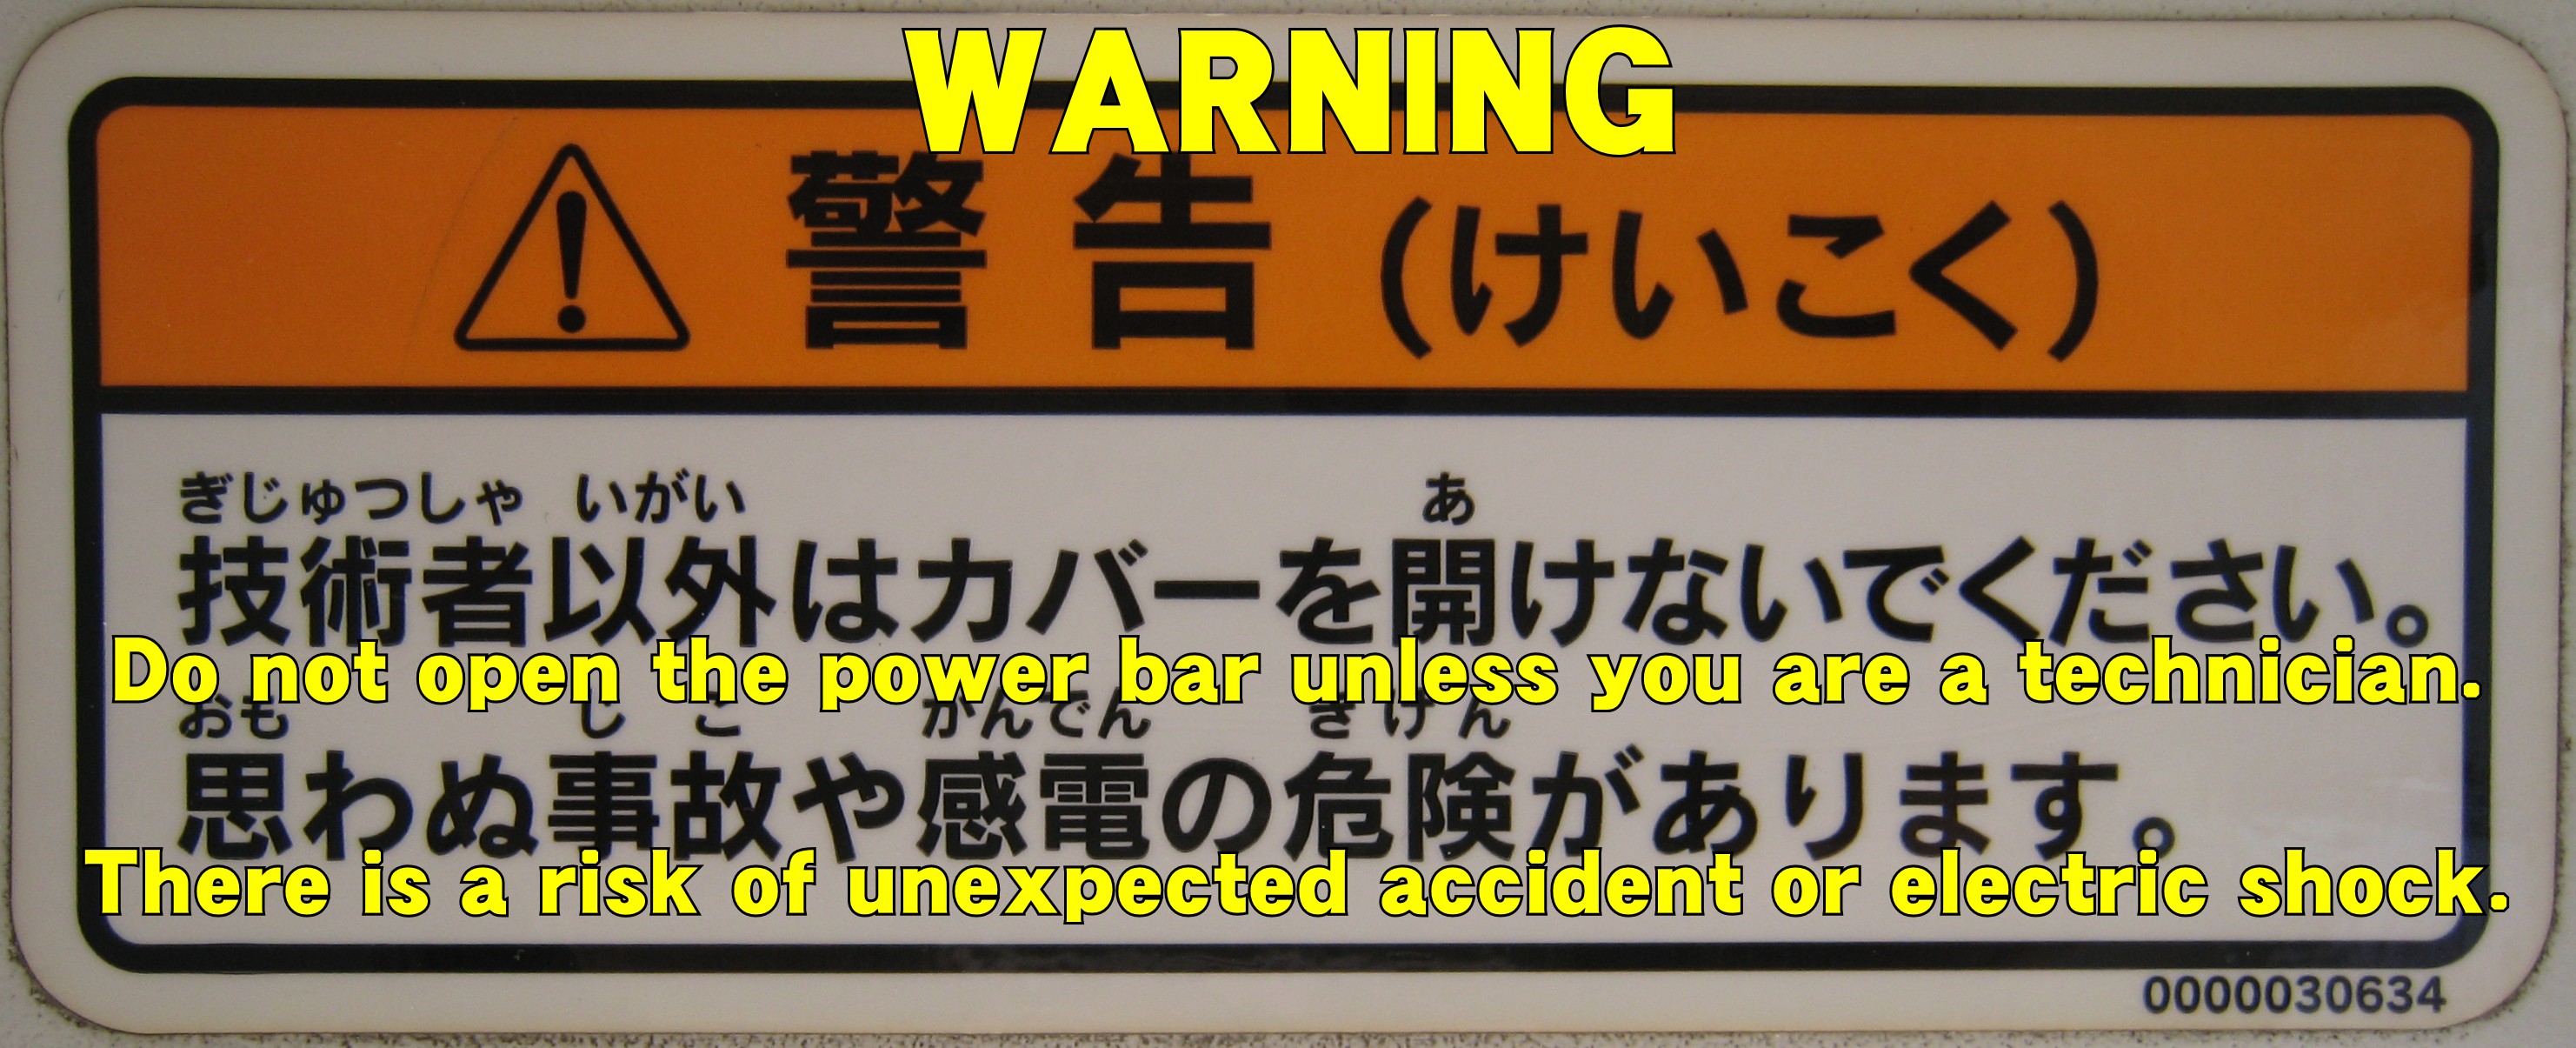
警告(けい こく)
WARNING
ぎじゆつしゃ いがい あ
技術者以外は力バーを開けないでください。
Do not open the power bar unless you are a technician.
おも じこ かんでん きけん
思わぬ事故や感電の危険があります。
There is a risk of unexpected accident or electric shock.
0000030634
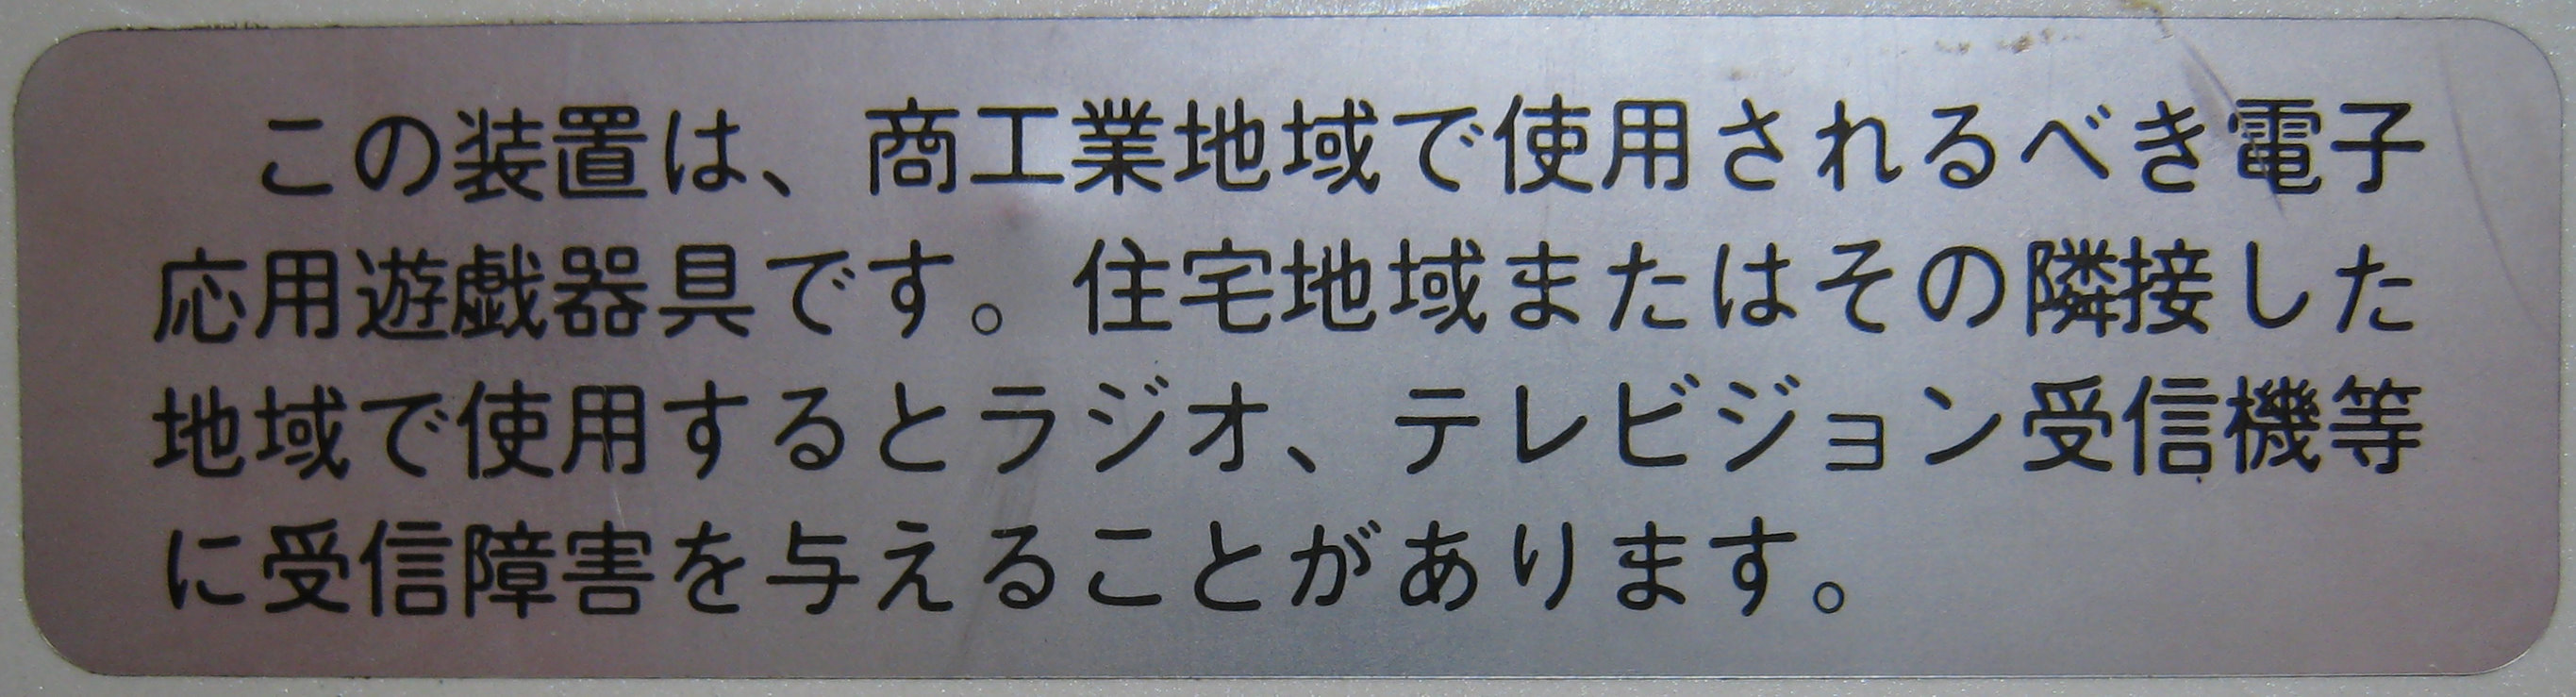

この装置は、商工業地域で使用されるべき電子
応用遊戯器具です。住宅地域またはその隣接した
地域で使用するとラジオ、テレビジョン受信機等
に受信障害を与えることがあります。
This device is an electronic application play equipment that should be used in commercial and industrial areas.
If used in residential areas or adjacent areas, it may cause reception interference with radio and television receivers, etc.
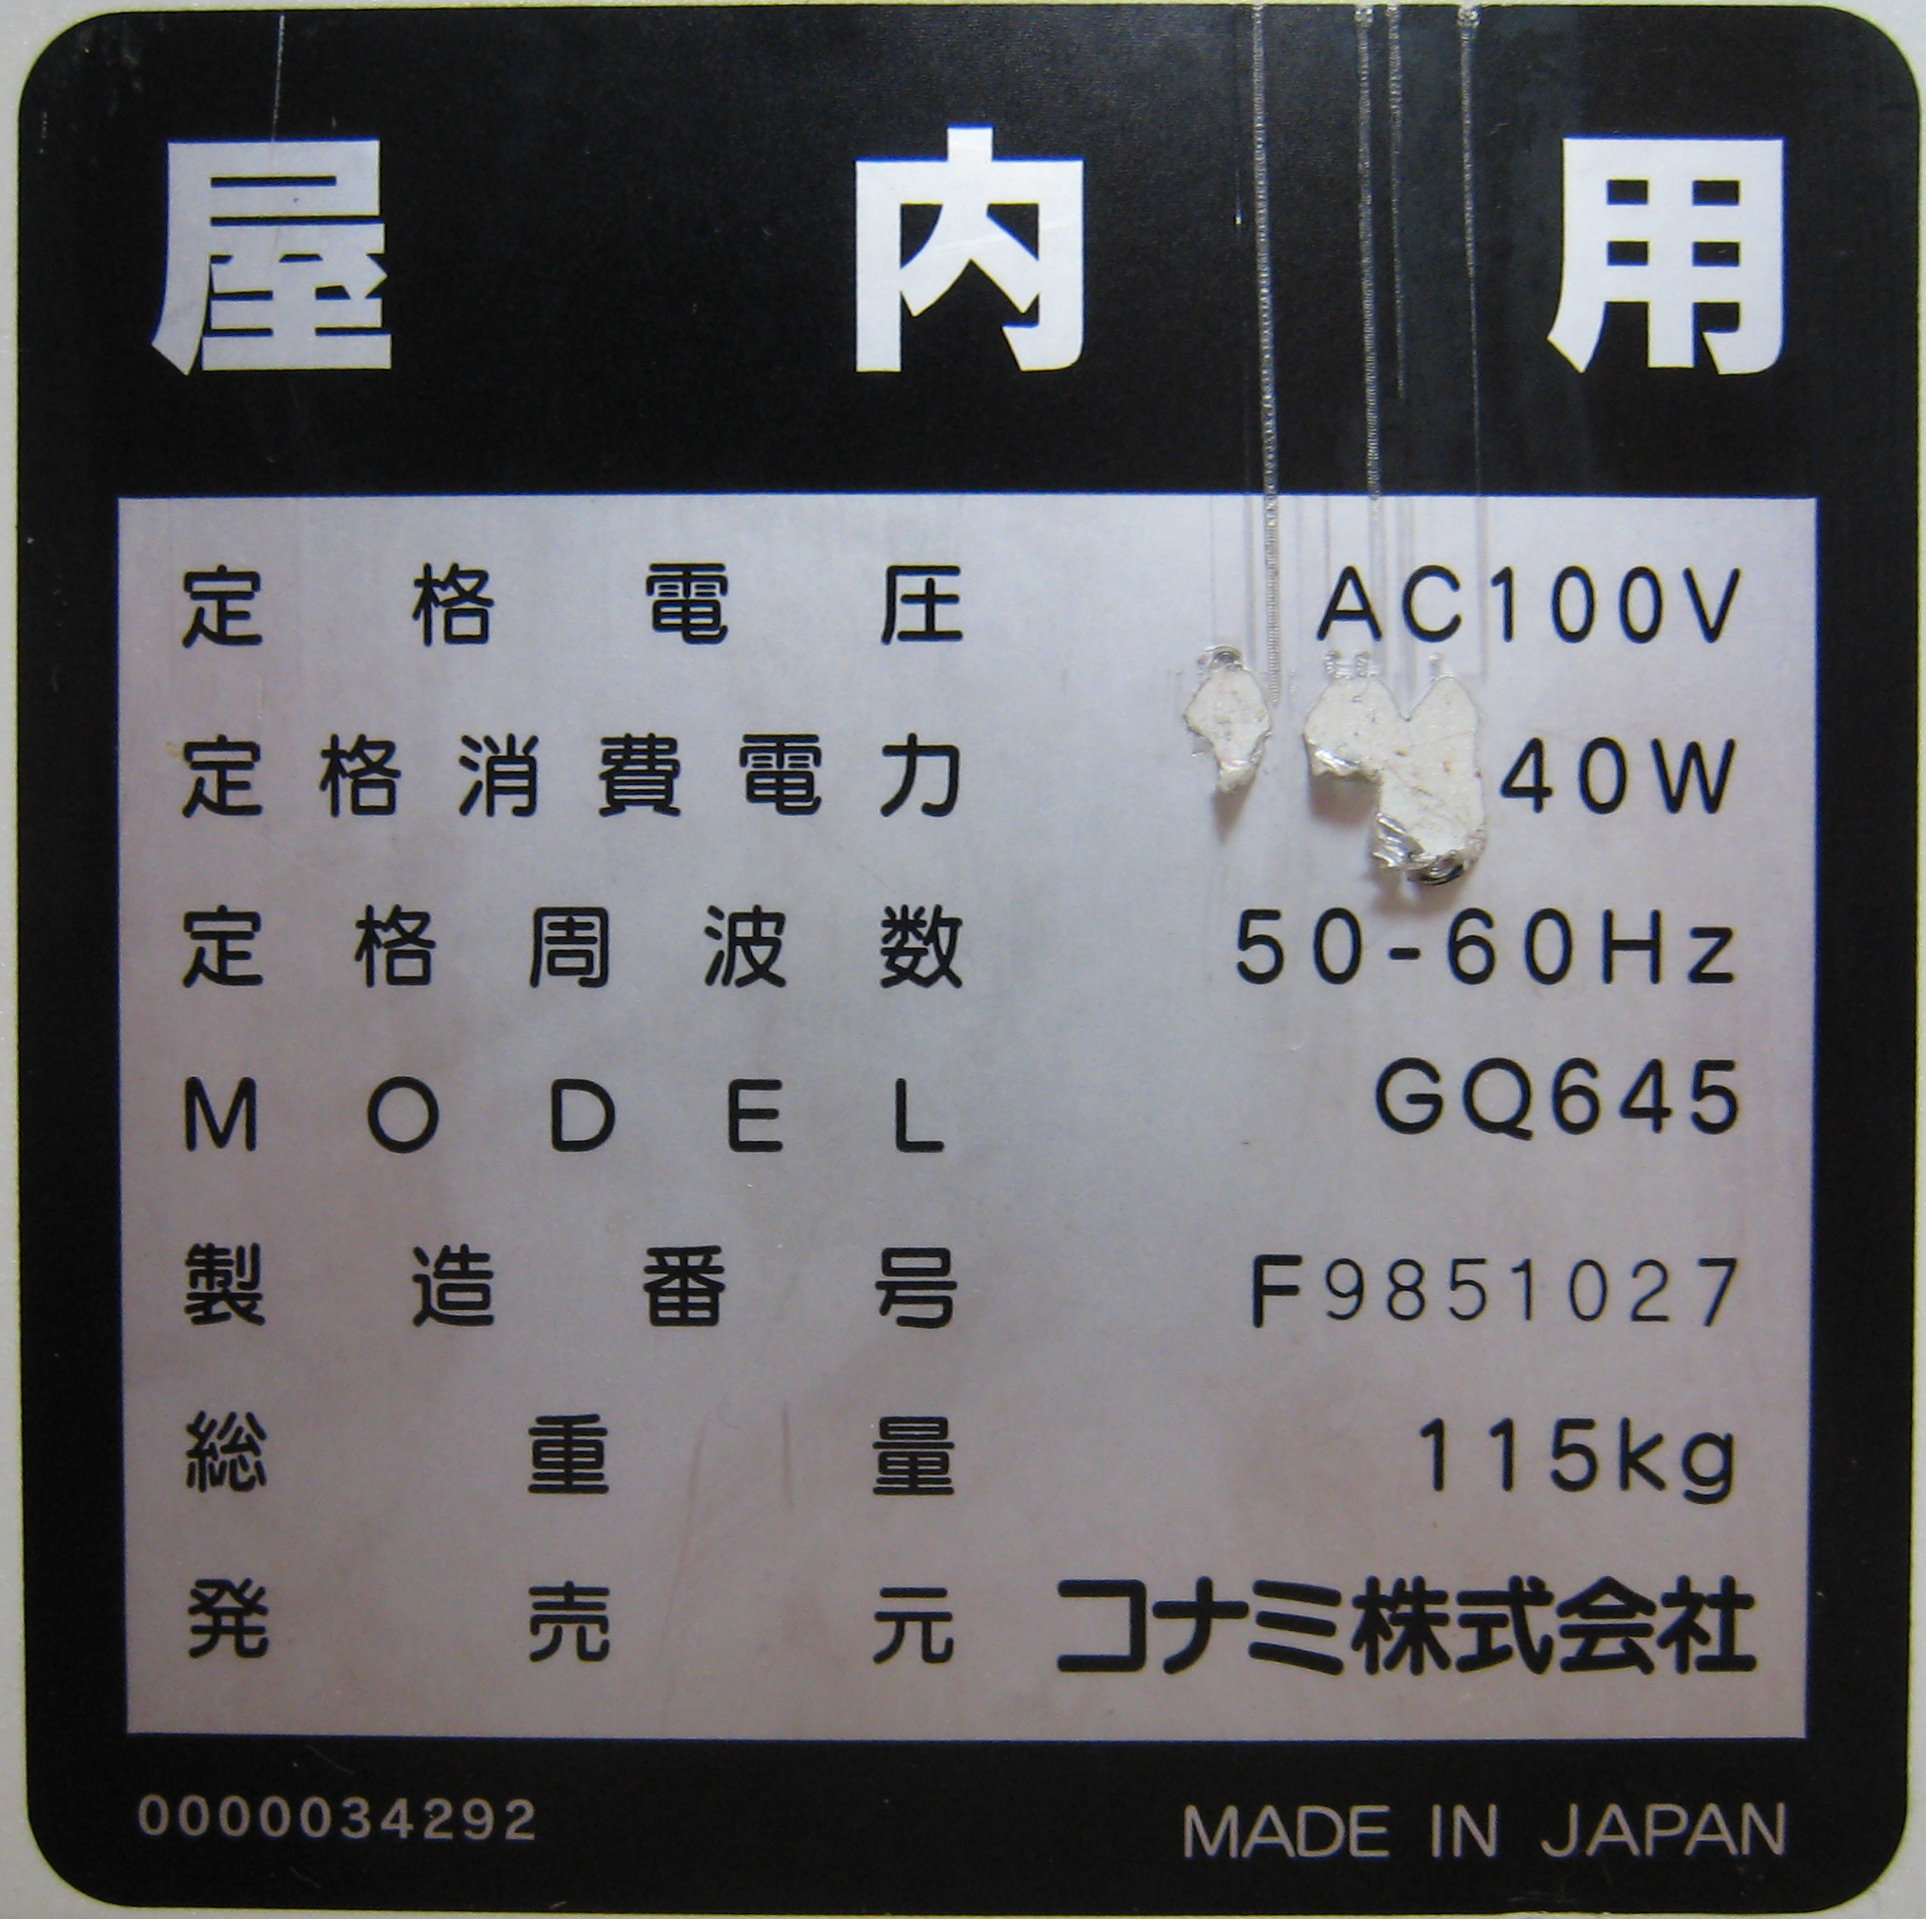
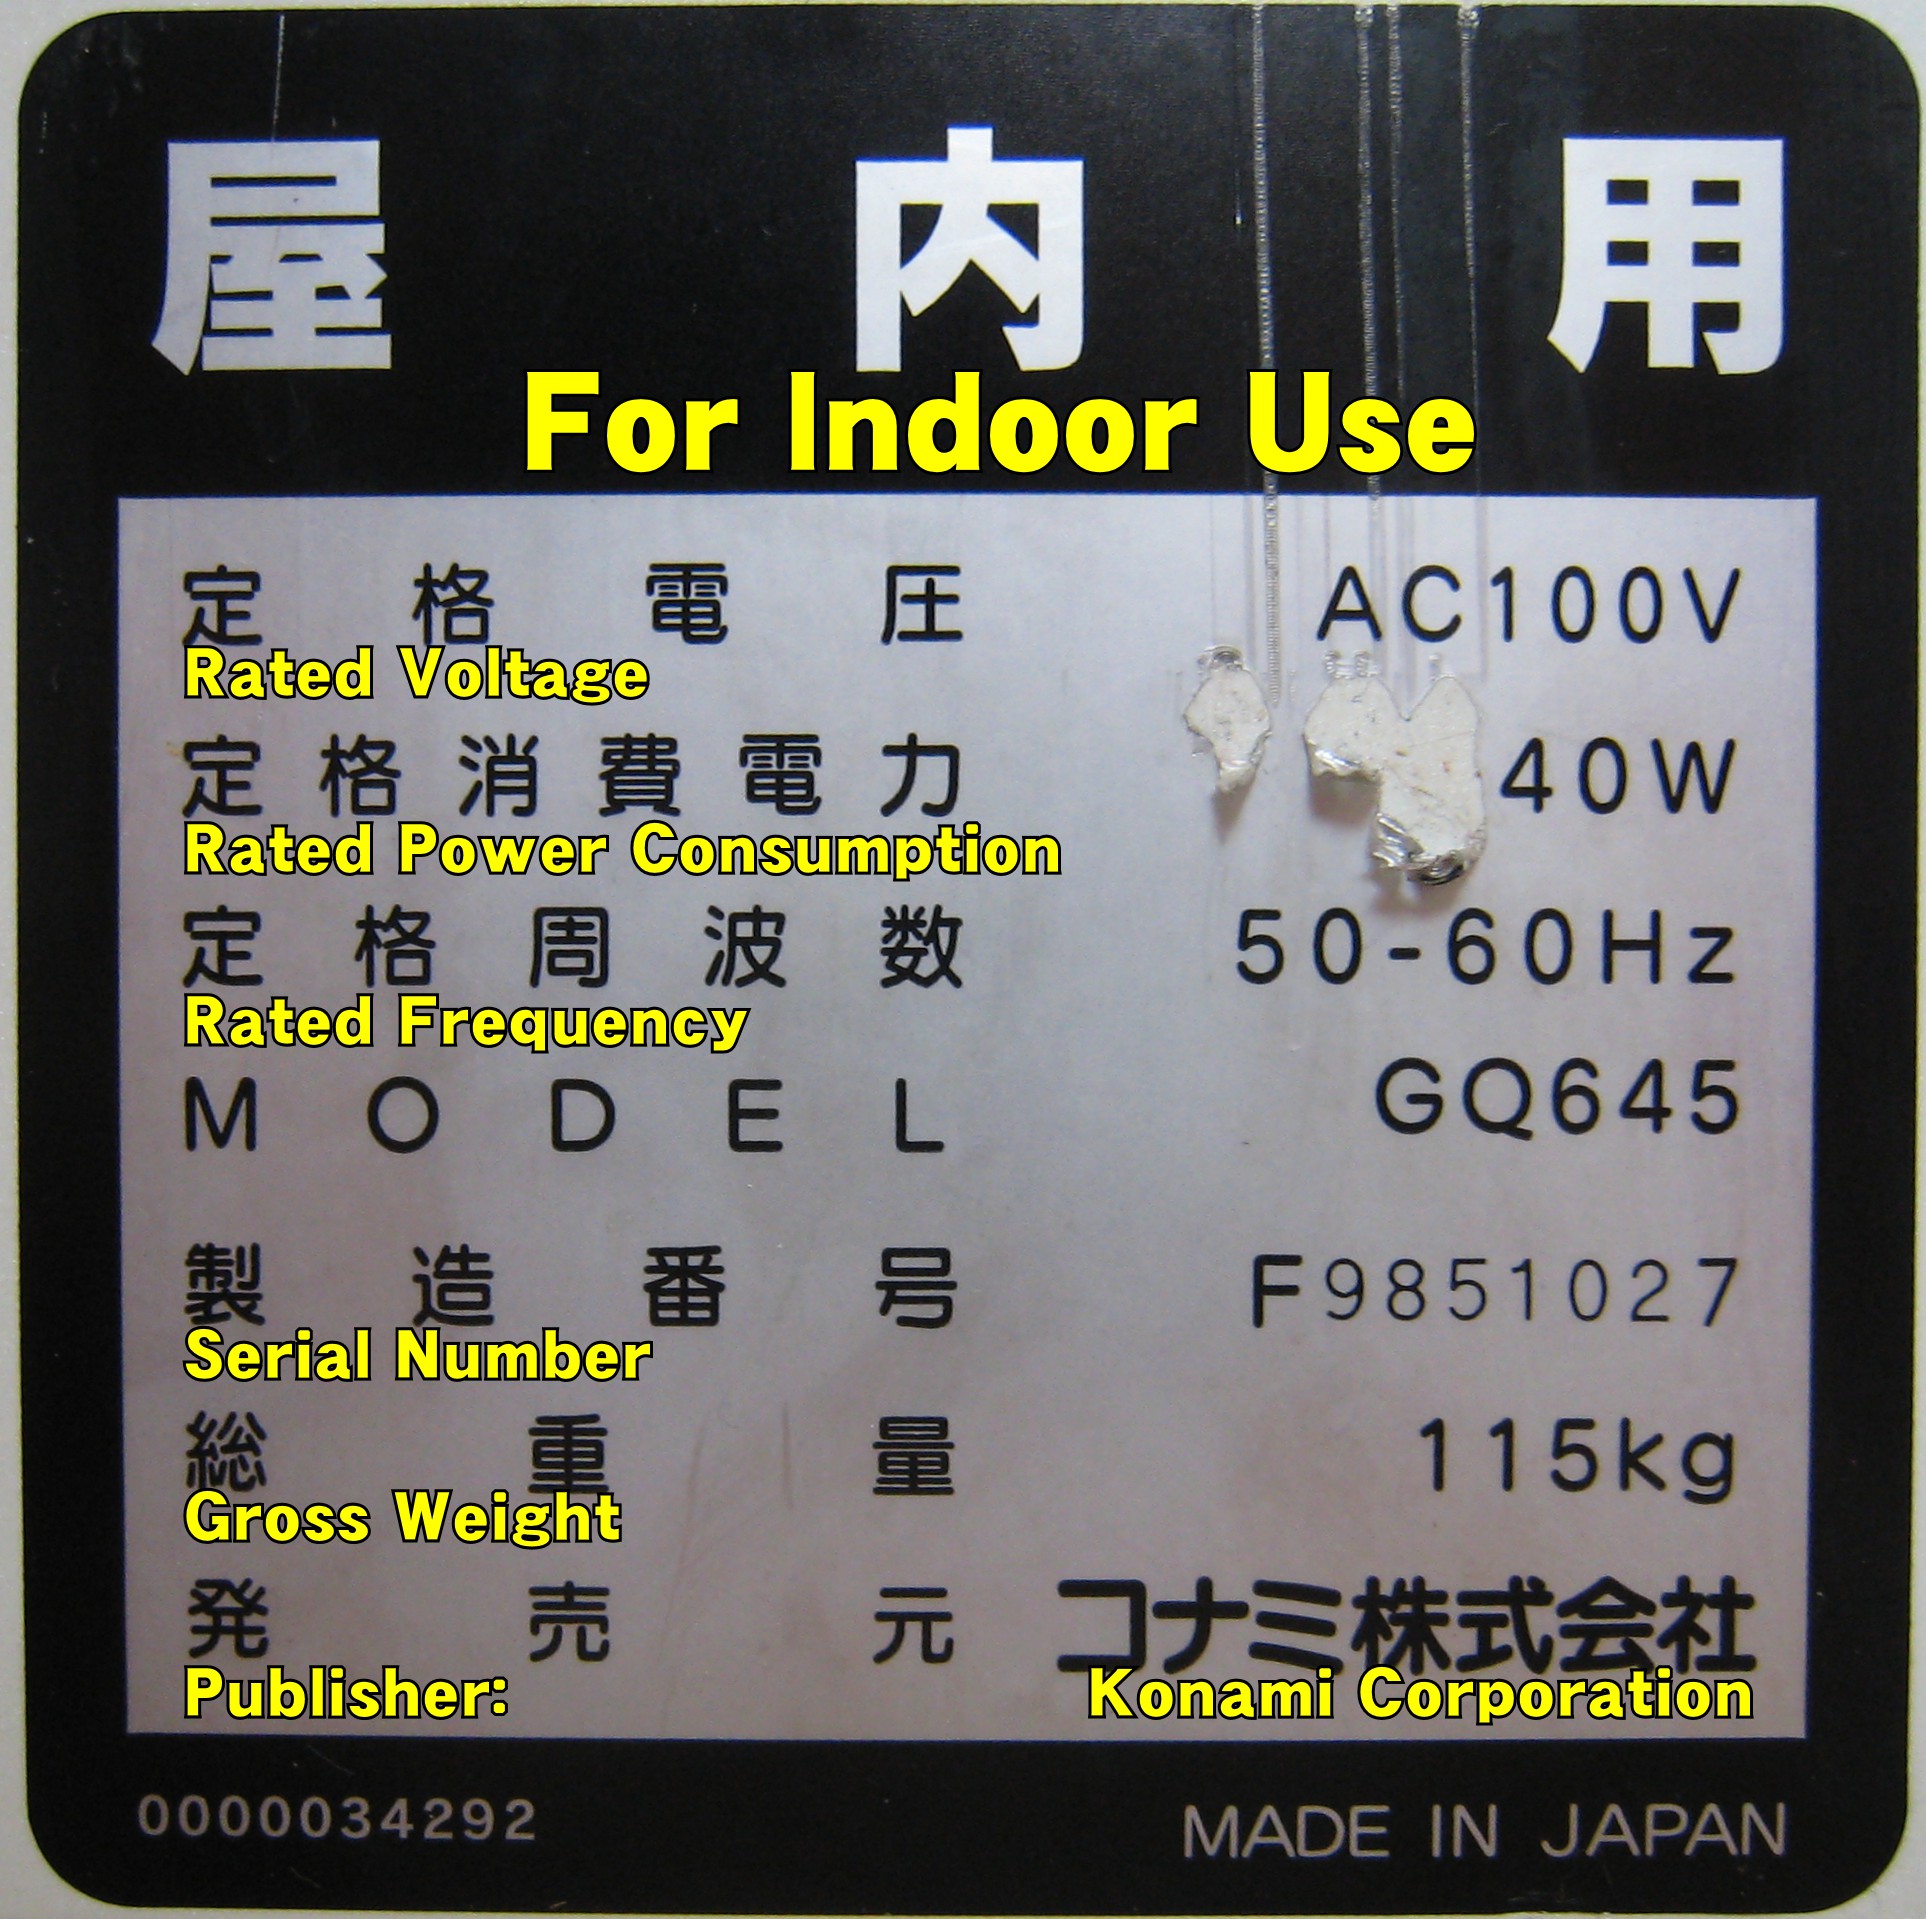
屋内用
For Indoor Use
定格電圧 AC100V
Rated Voltage AC100V
定格消費電力 240W
Rated Power Consumption 240W
定格周波数 50ー60Hz
Rated Frequency 50-60Hz
MODEL GQ645
MODEL GQ645
製造番号 F9851027
Serial Number F9851027
総重量 115kg
Gross Weight 115kg
発売元 コナミ株式会社
Publisher: Konami Corporation
0000034292 MADE IN JAPAN
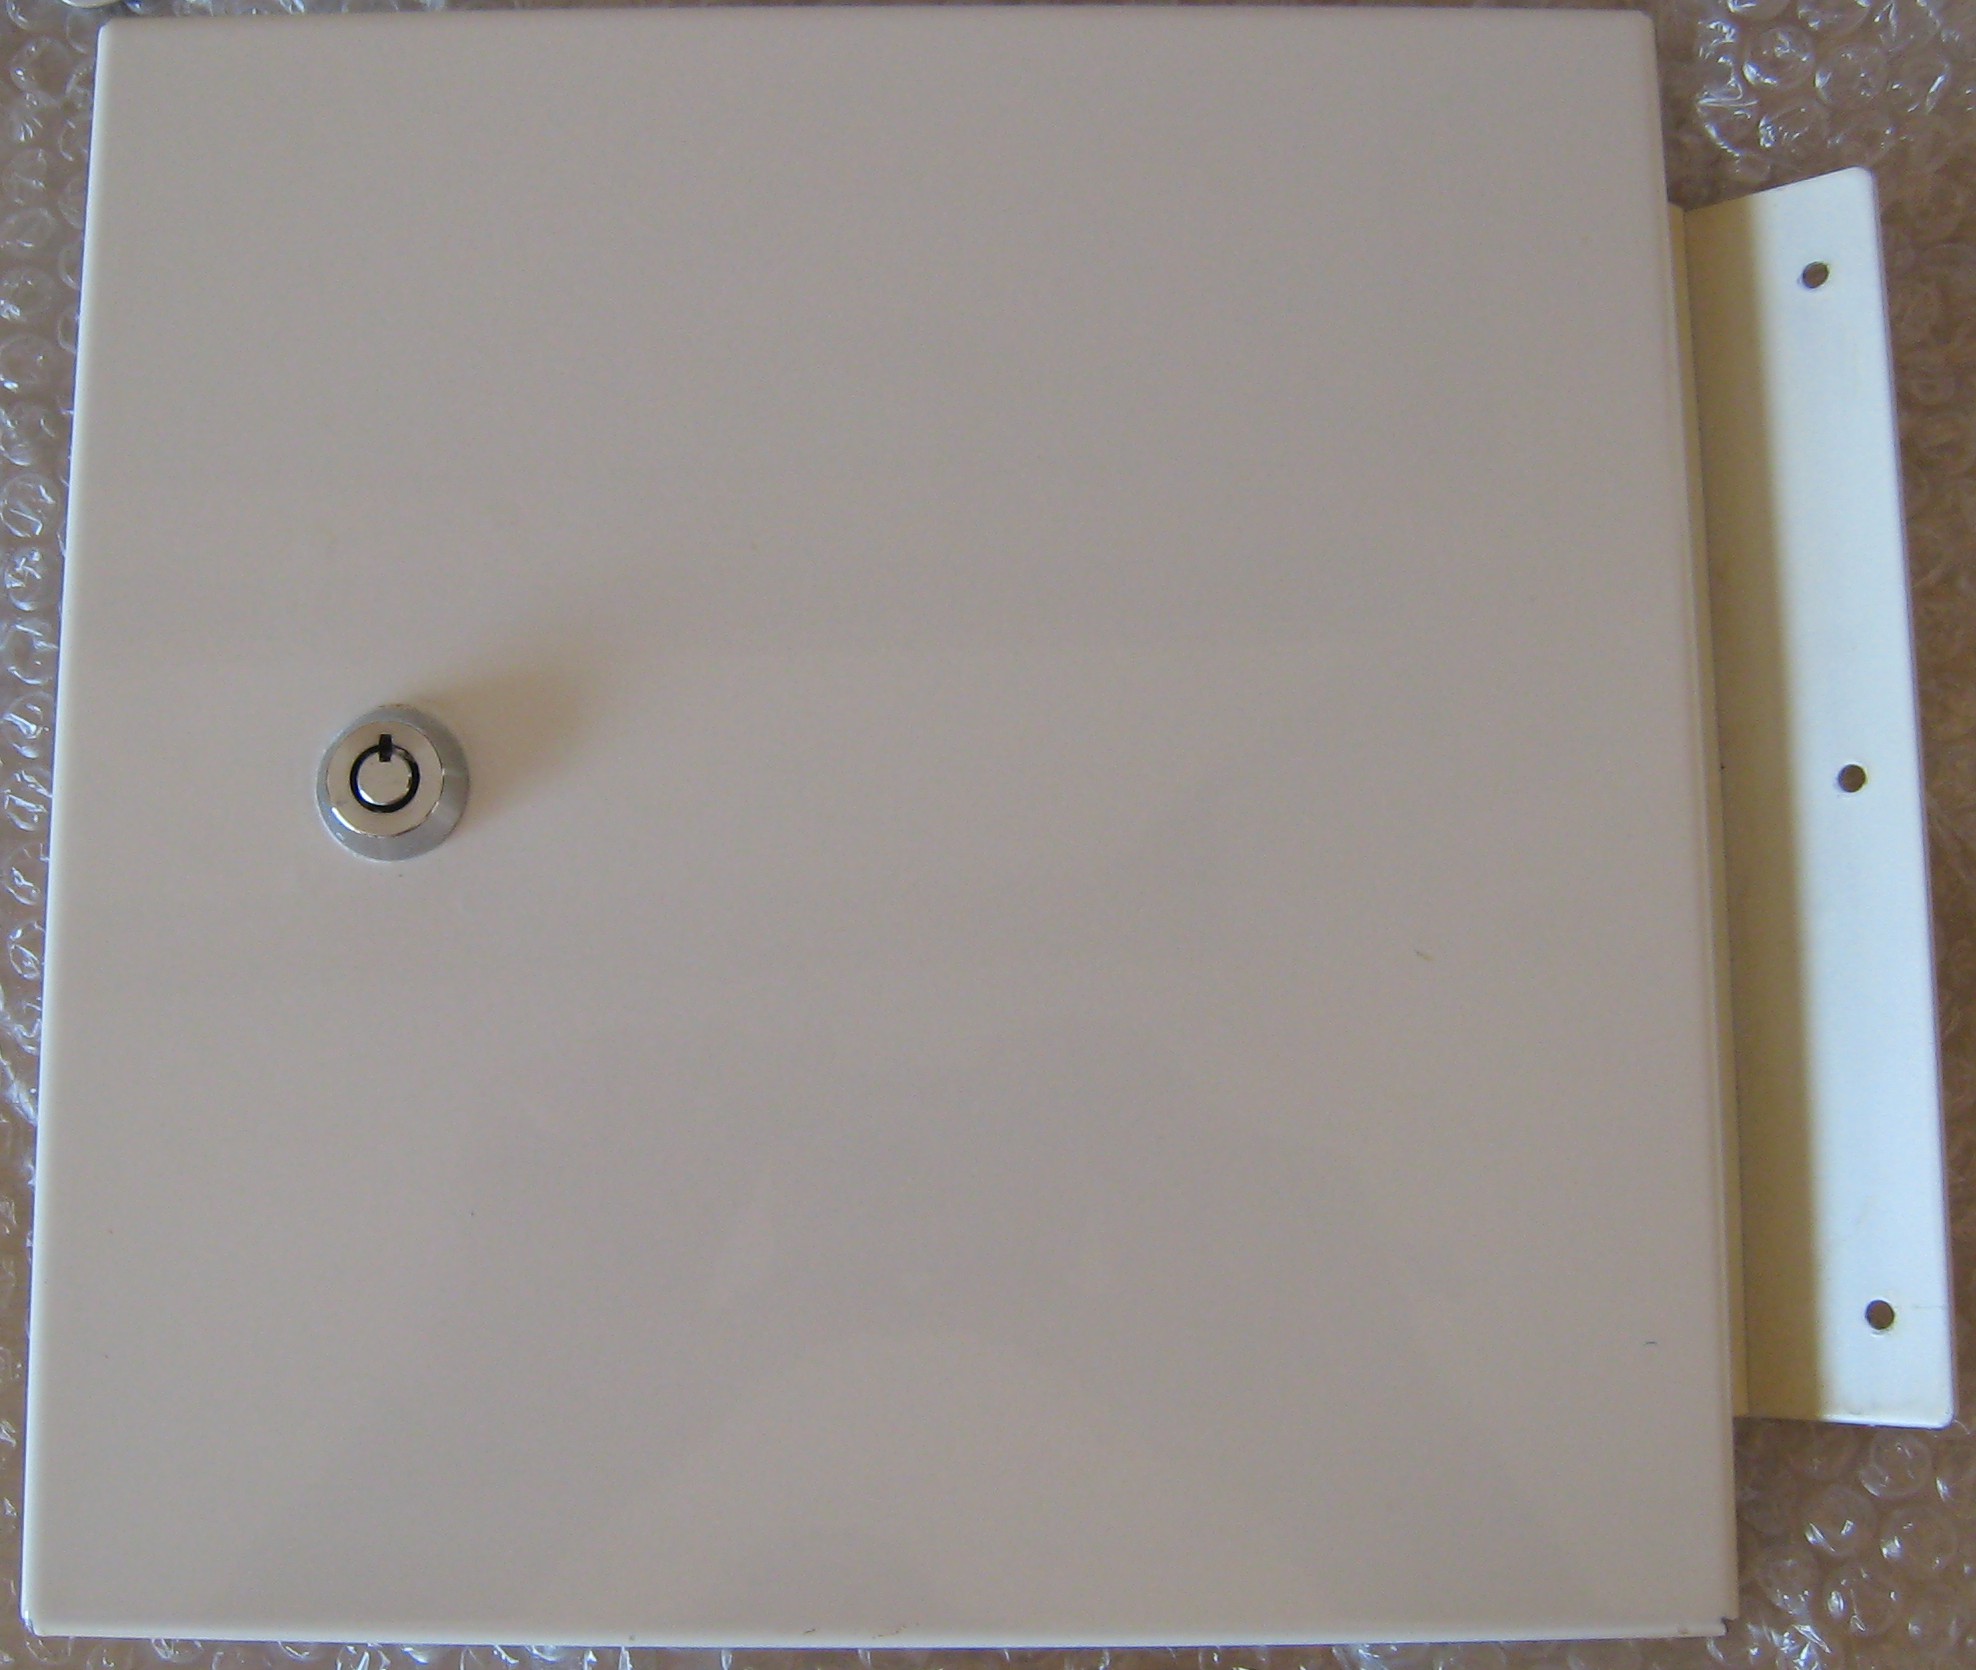
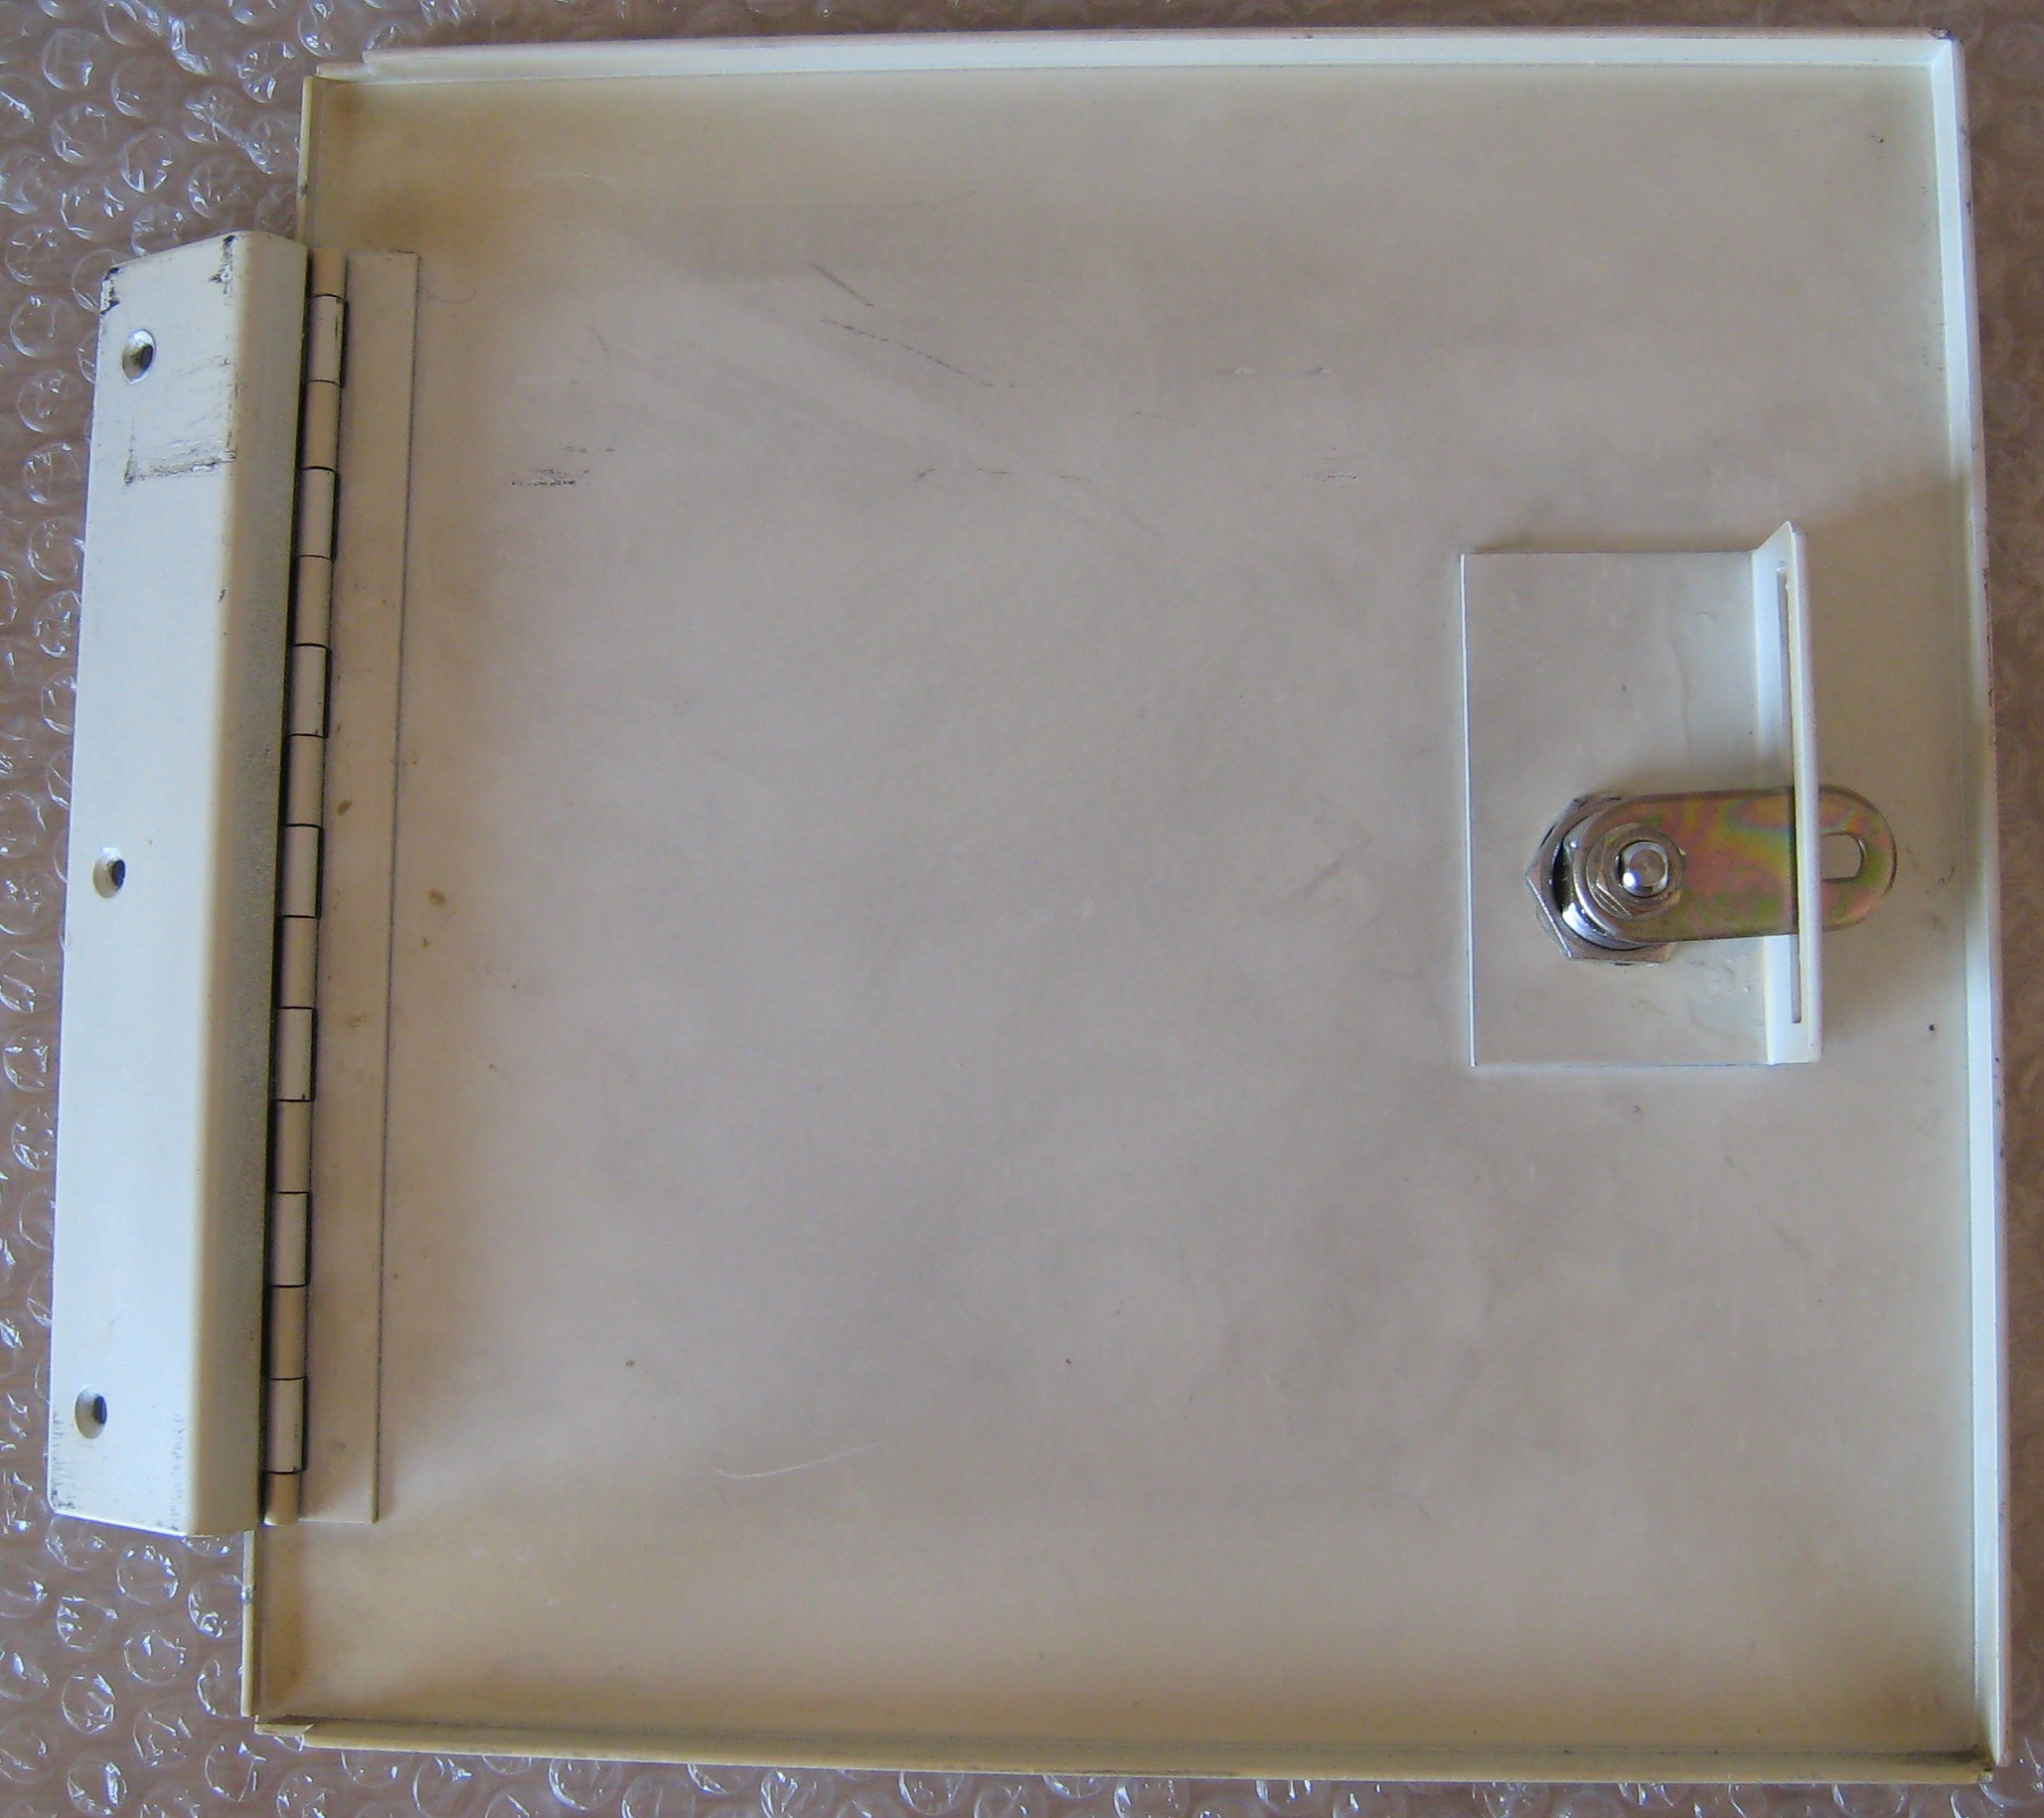
Front Doors
Coin Cash Box and Coin Return doors.


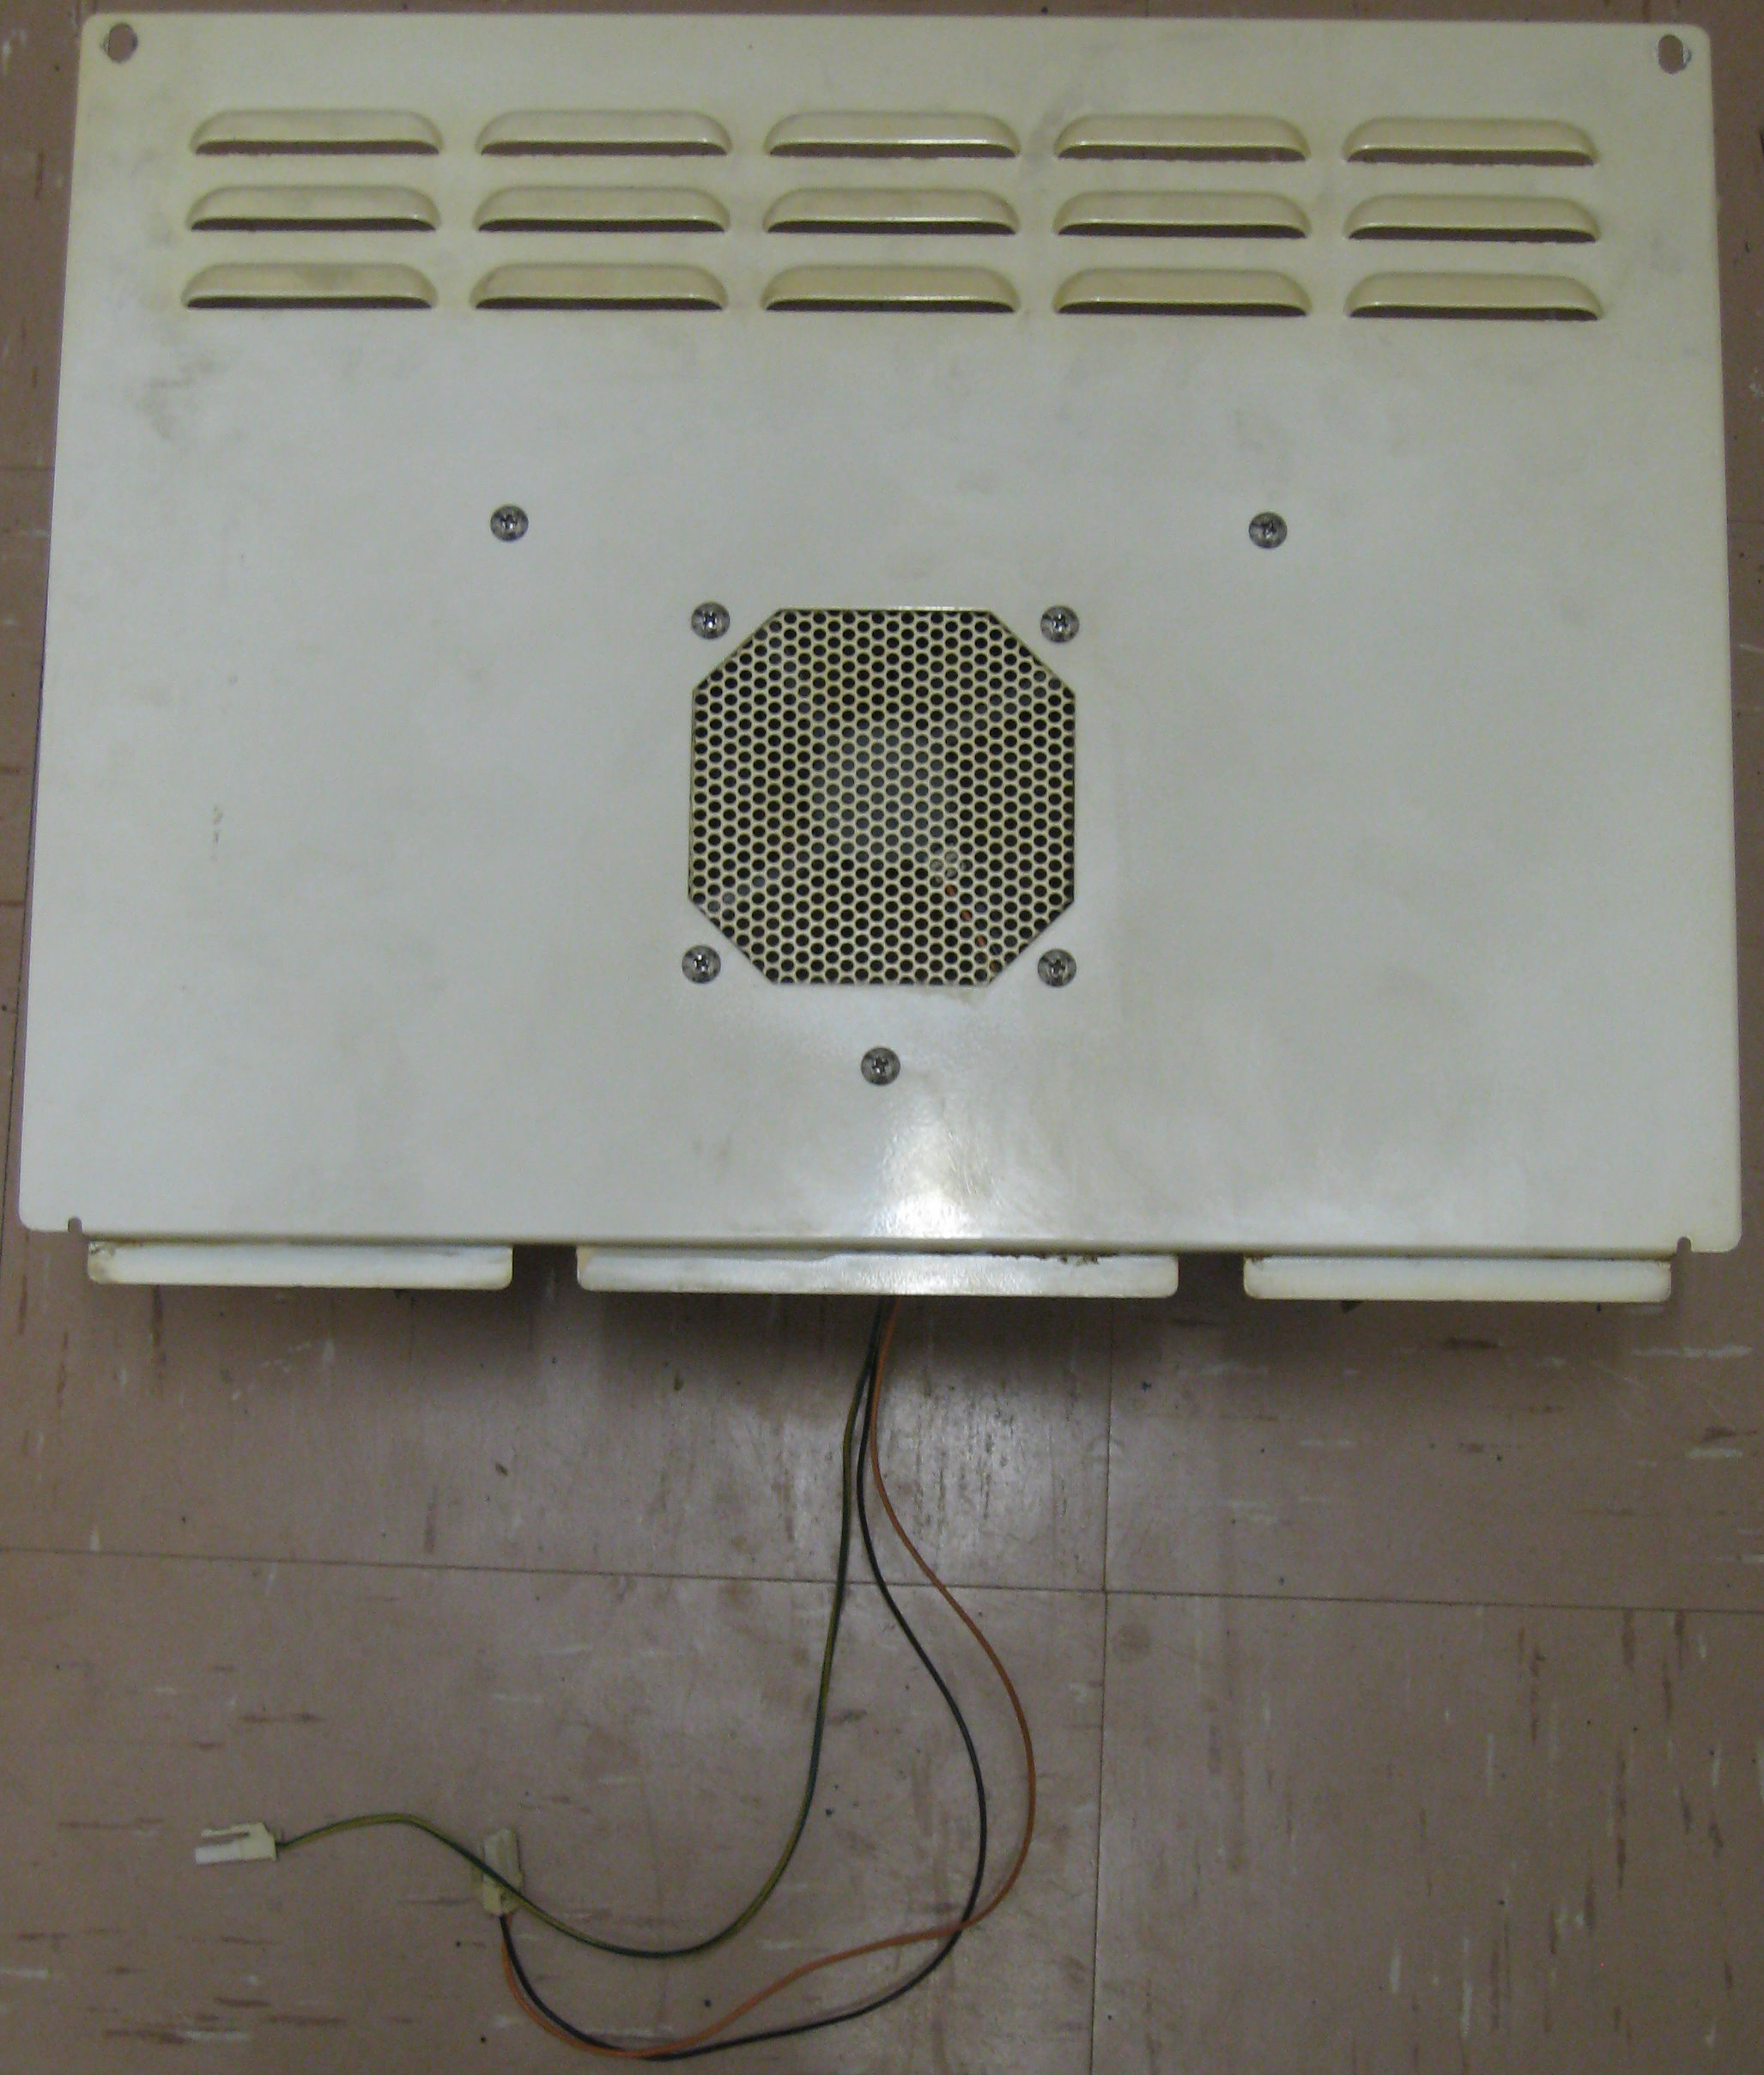
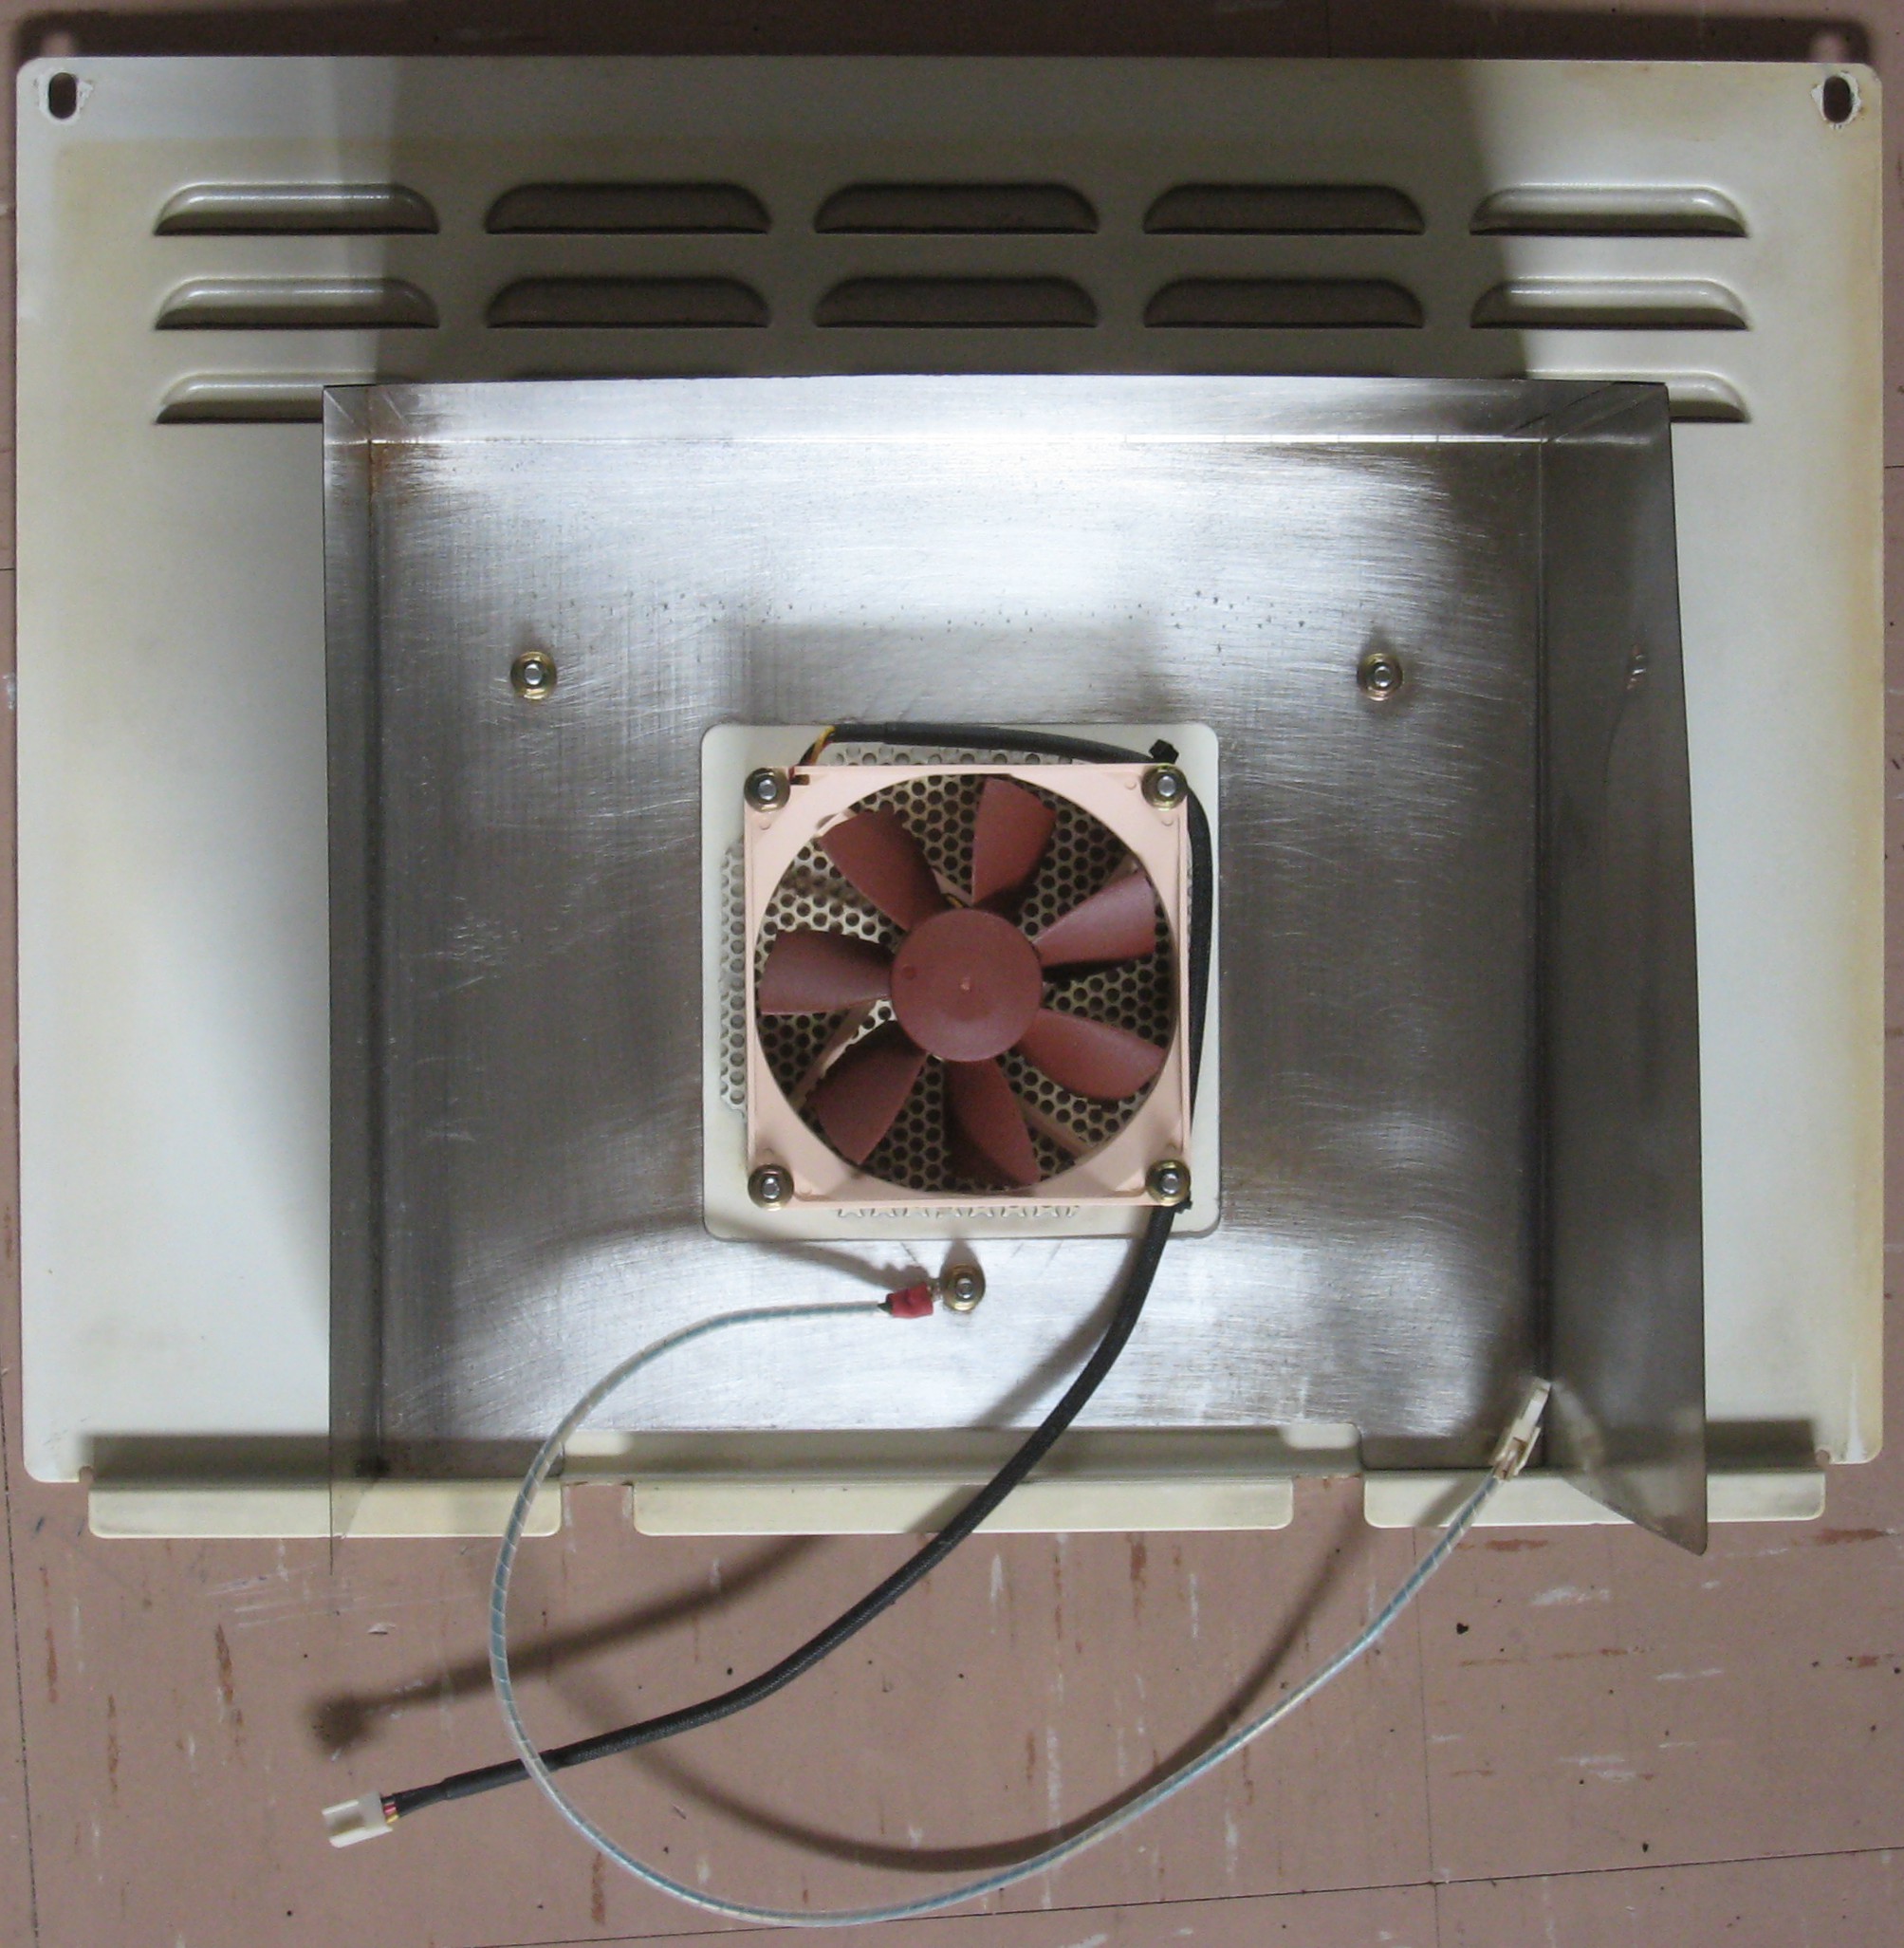
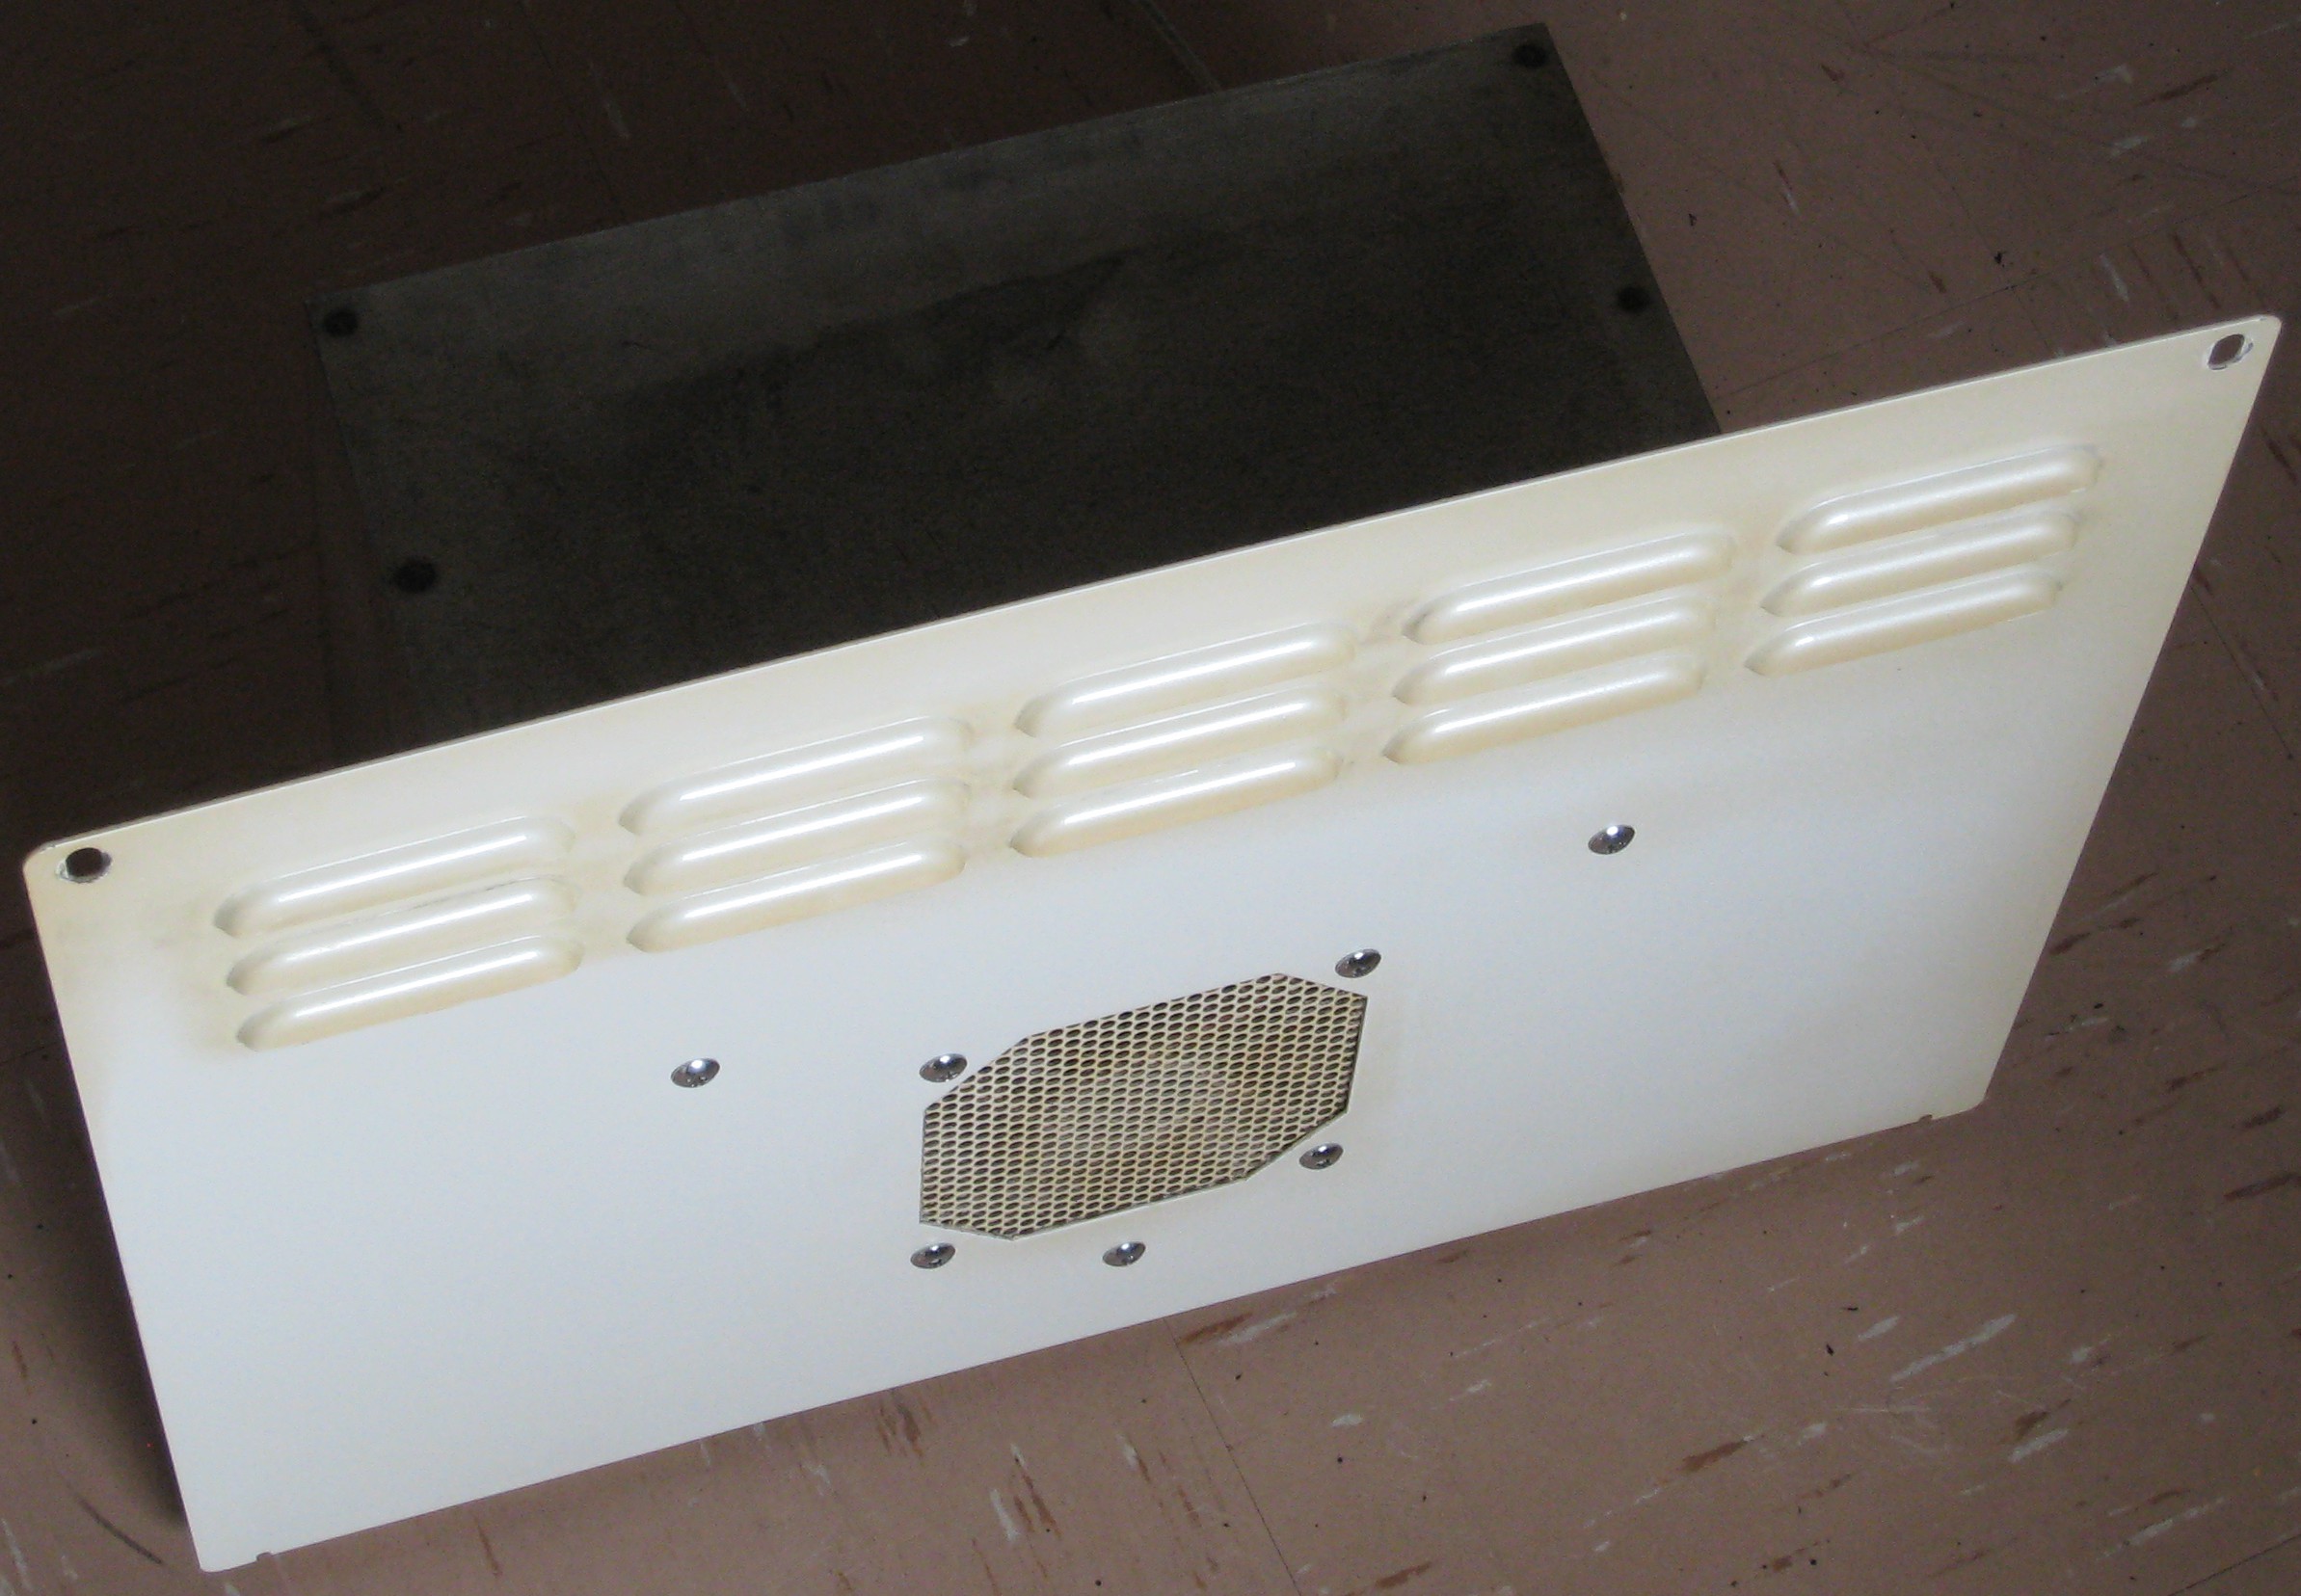
Rear Cover
This includes the cooling fan for the monitor
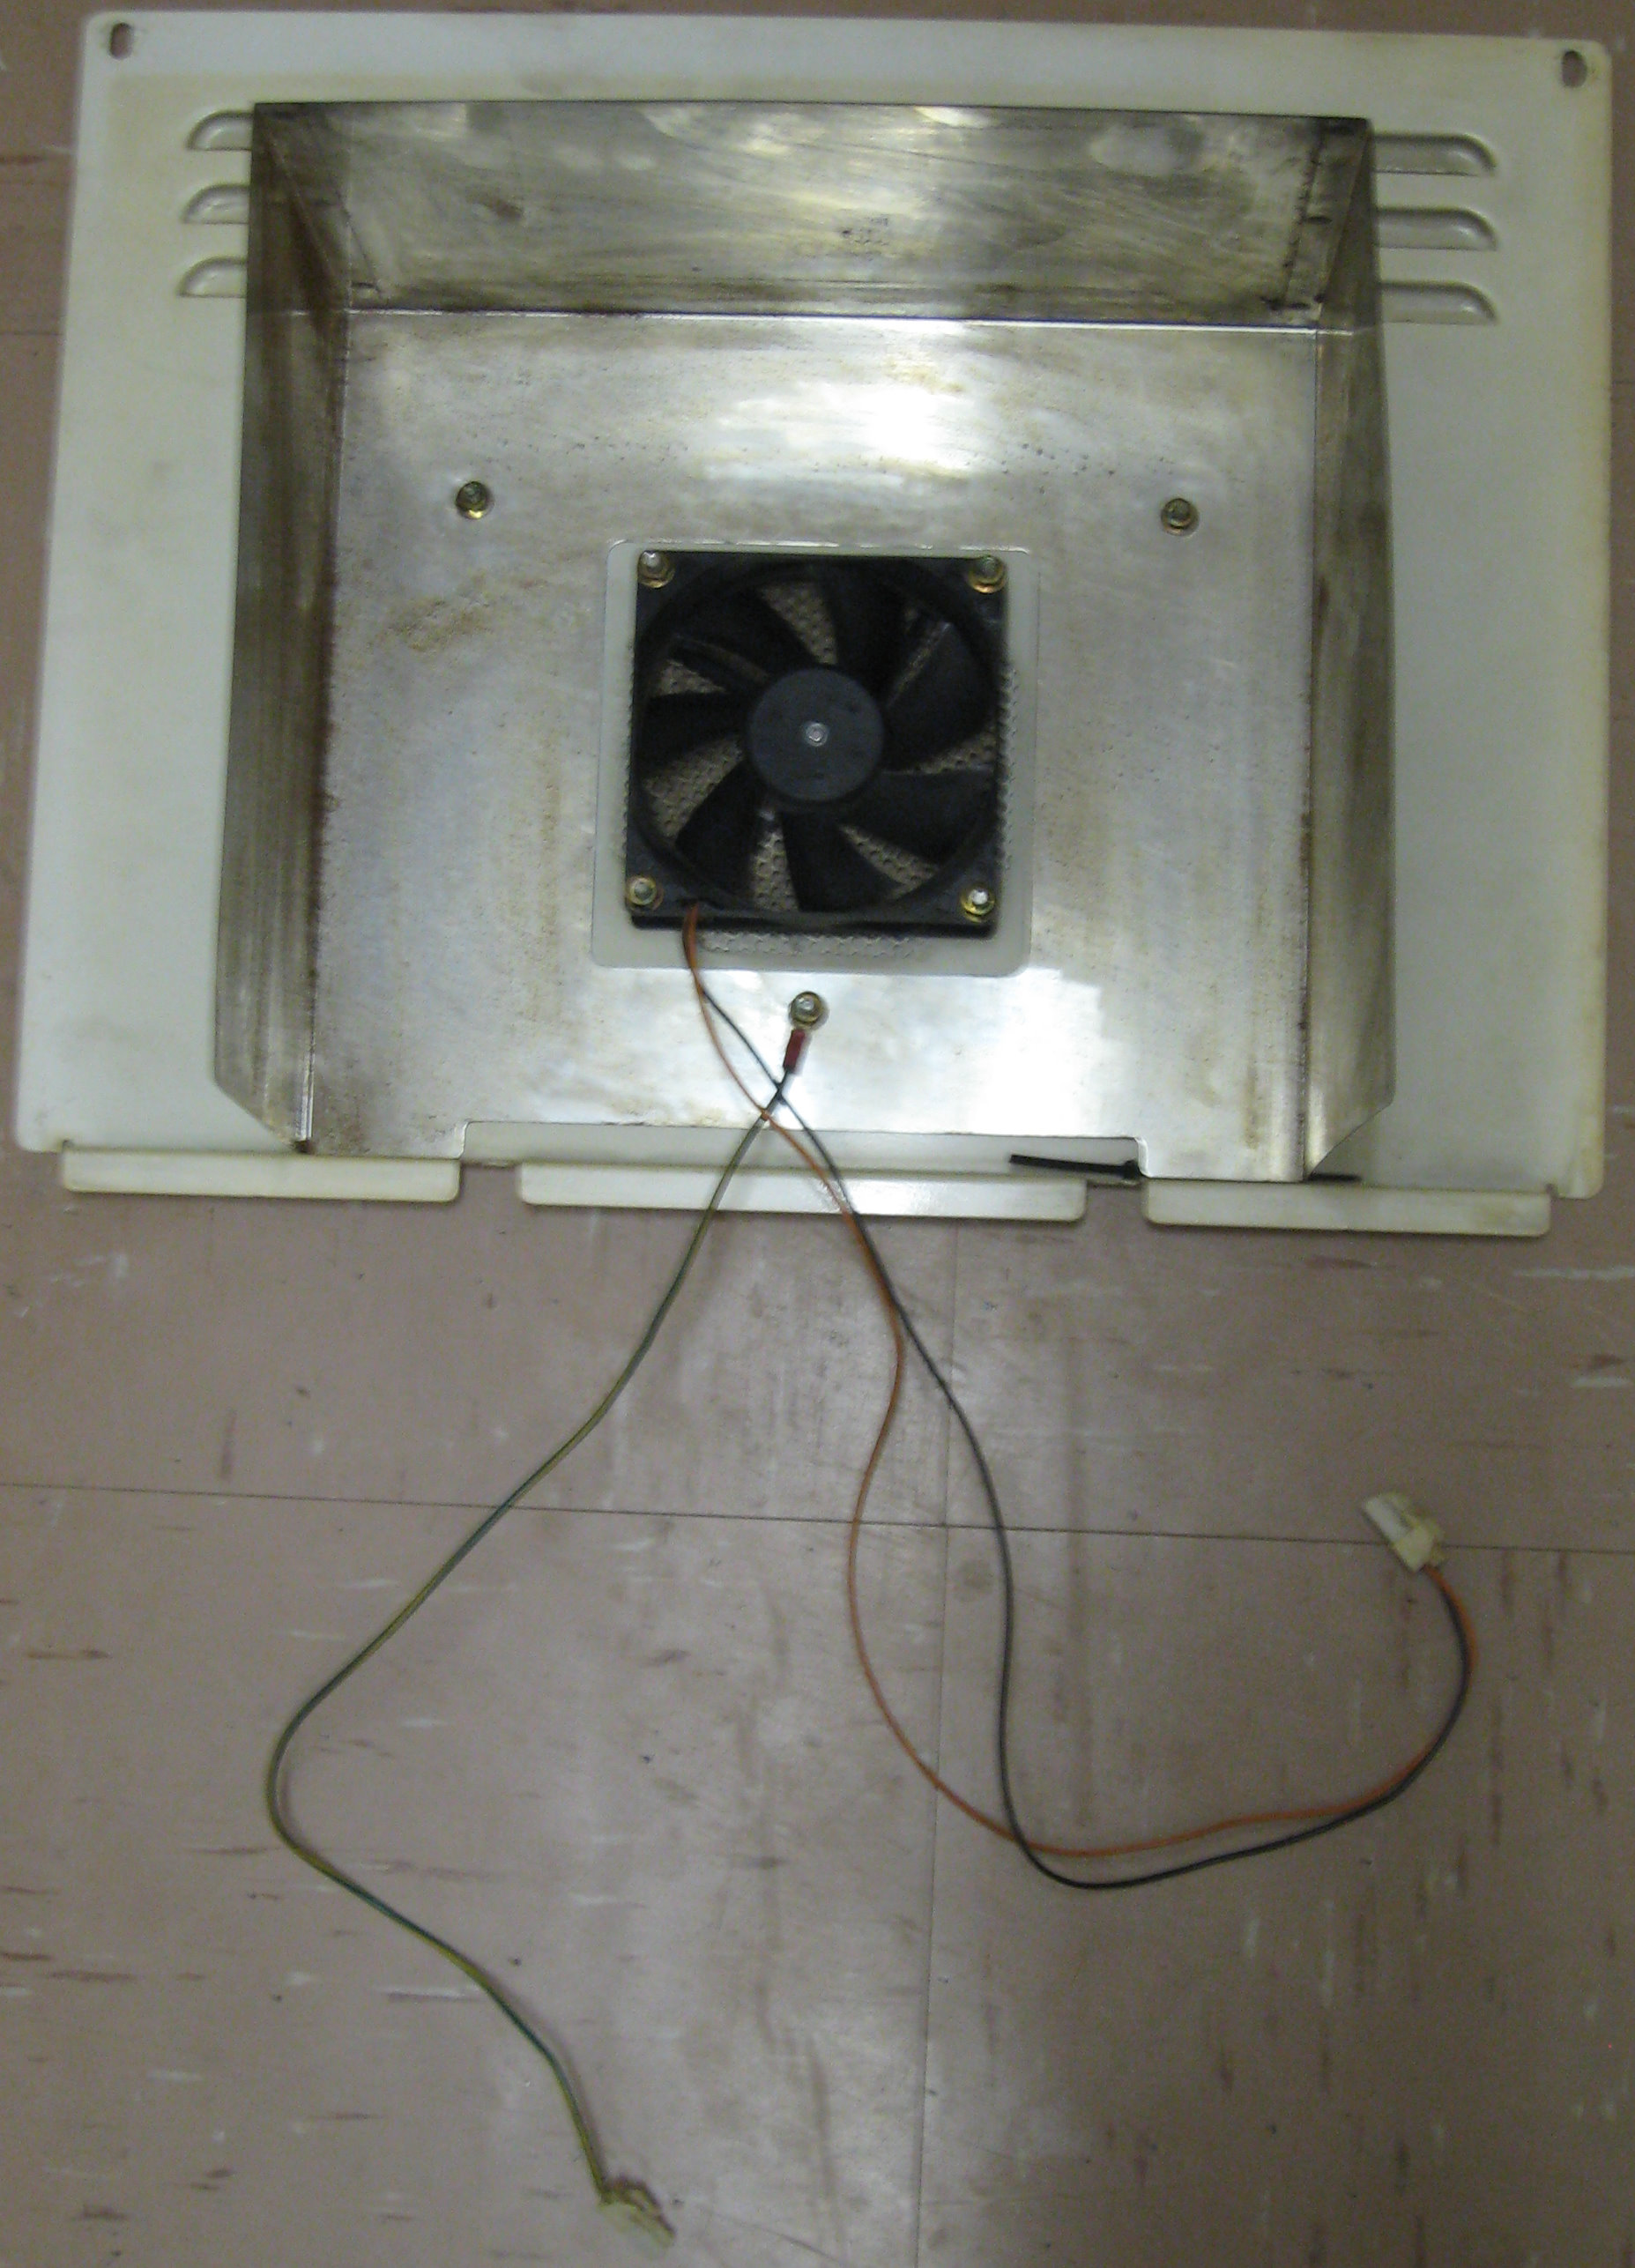

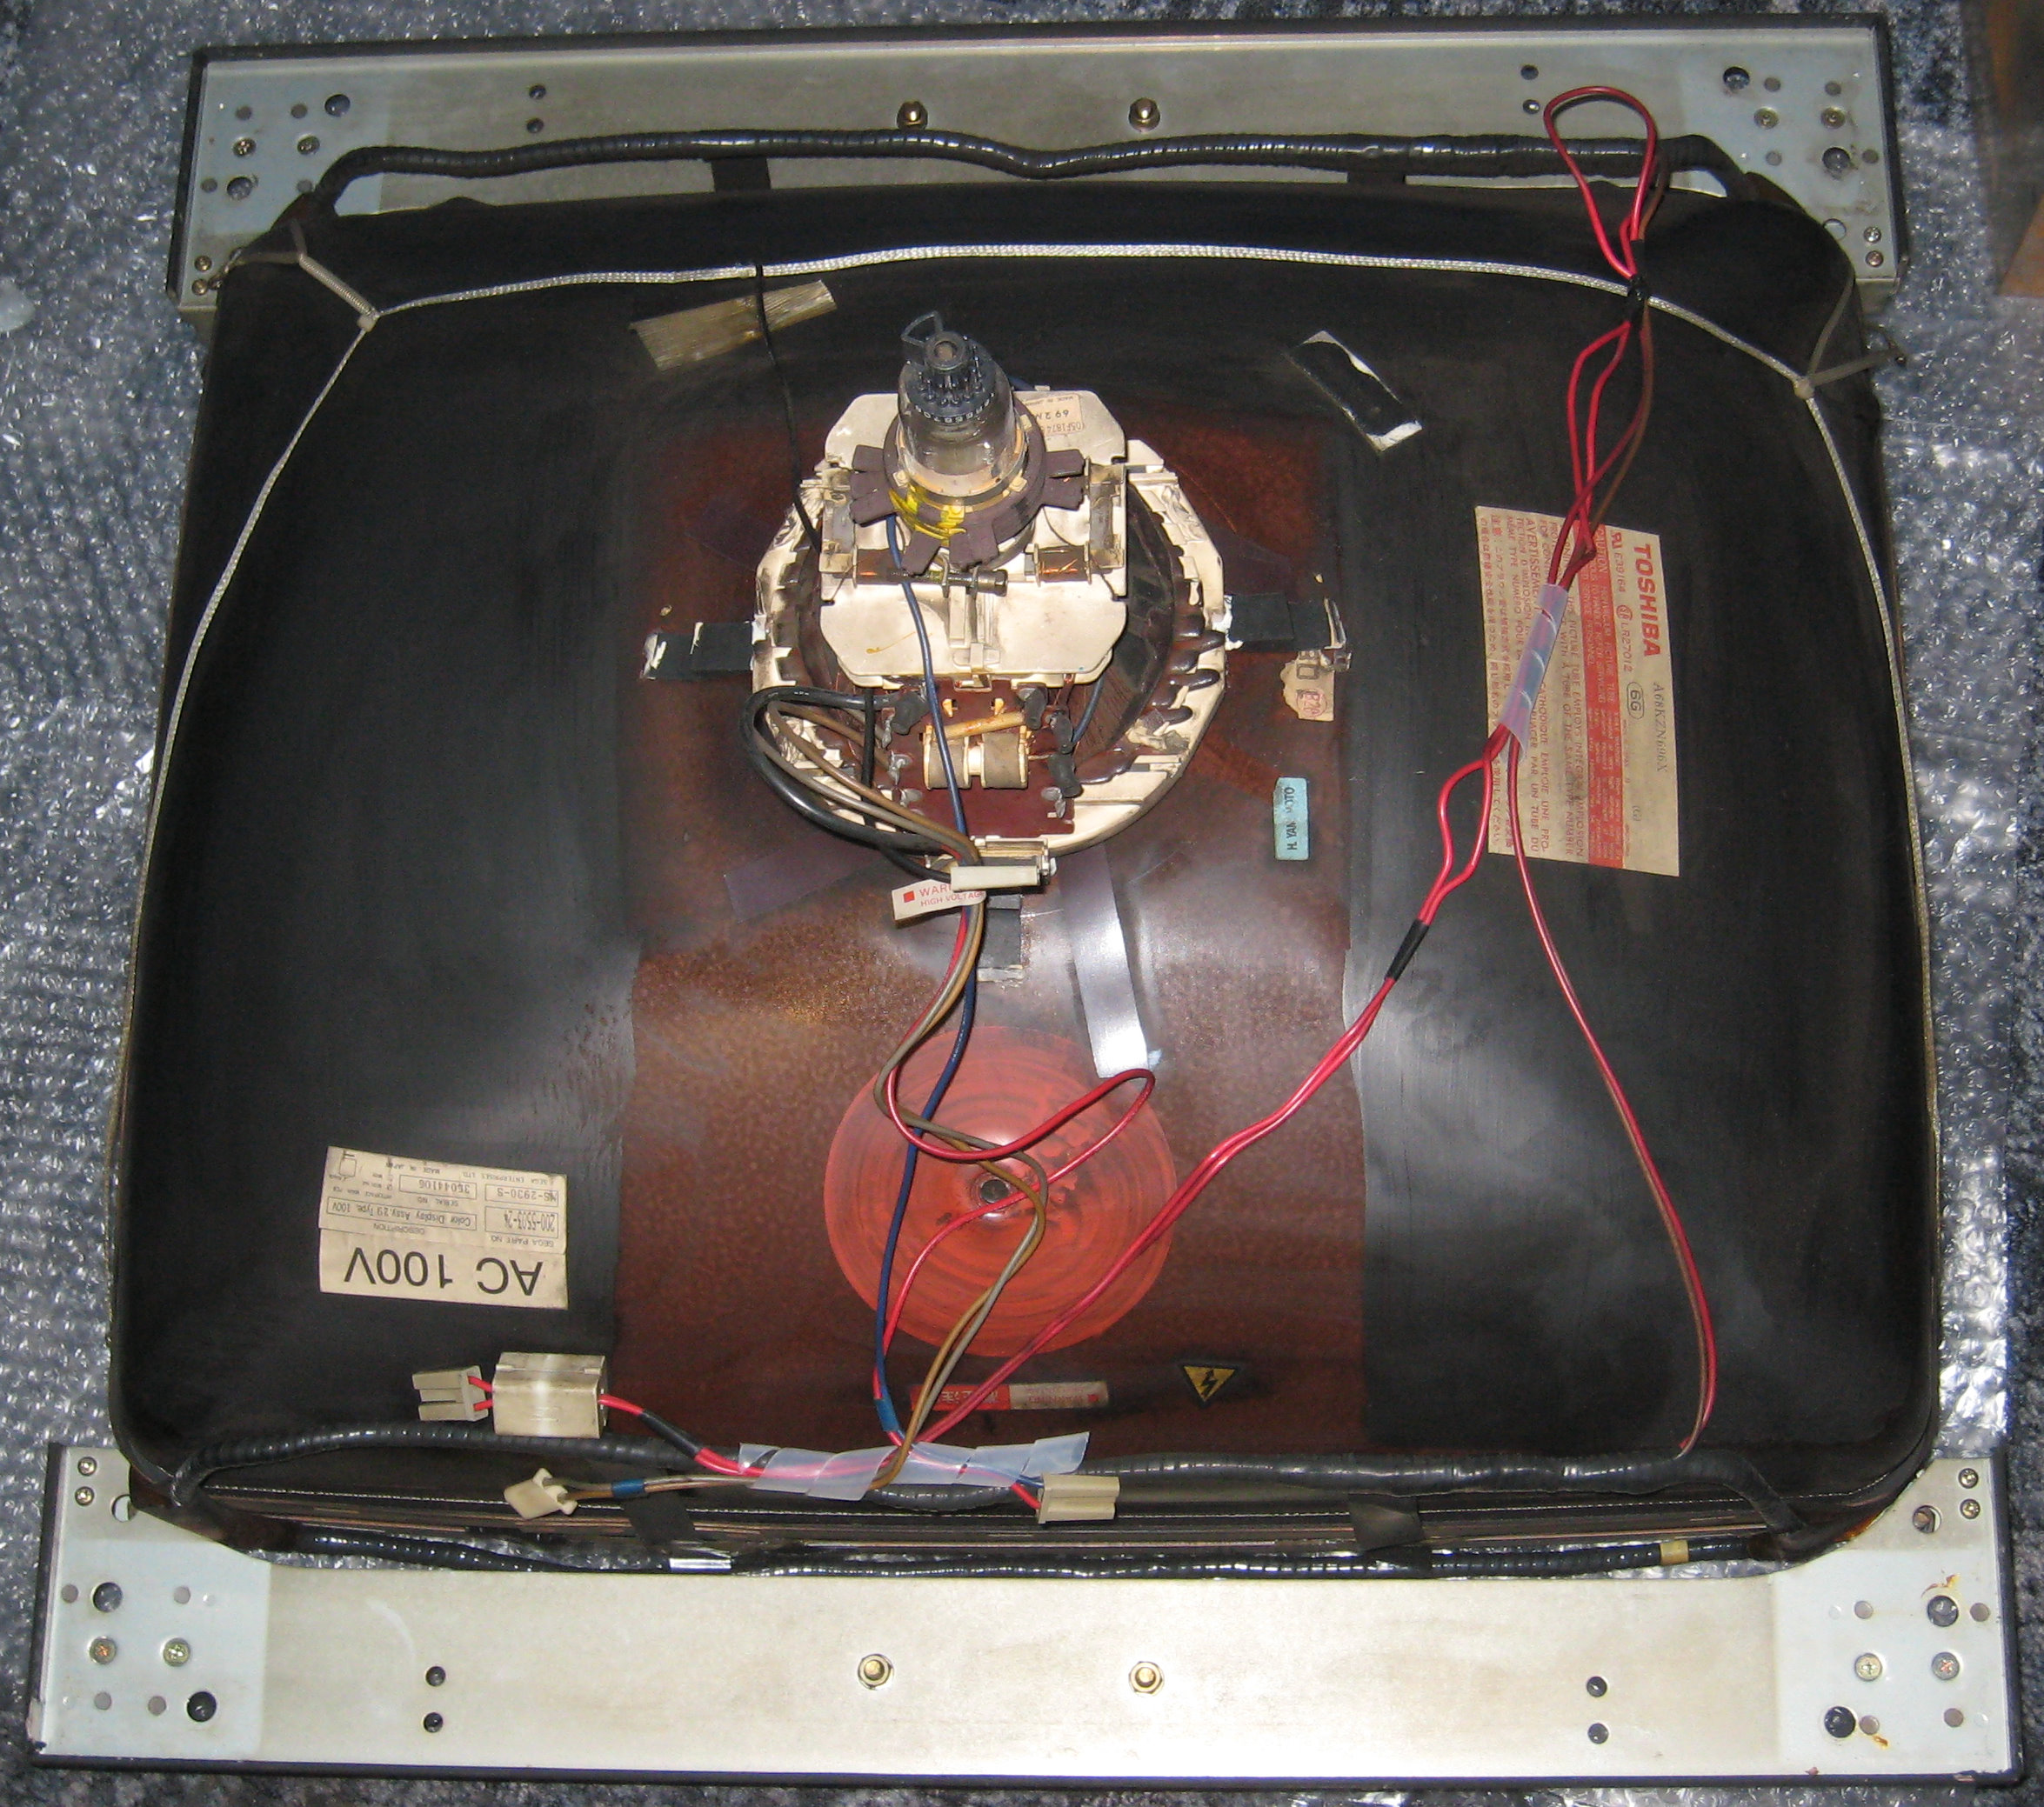
Nanao MS-2930-S (Toshiba) Monitor
Labels
SERIAL NO. A68KZN696X

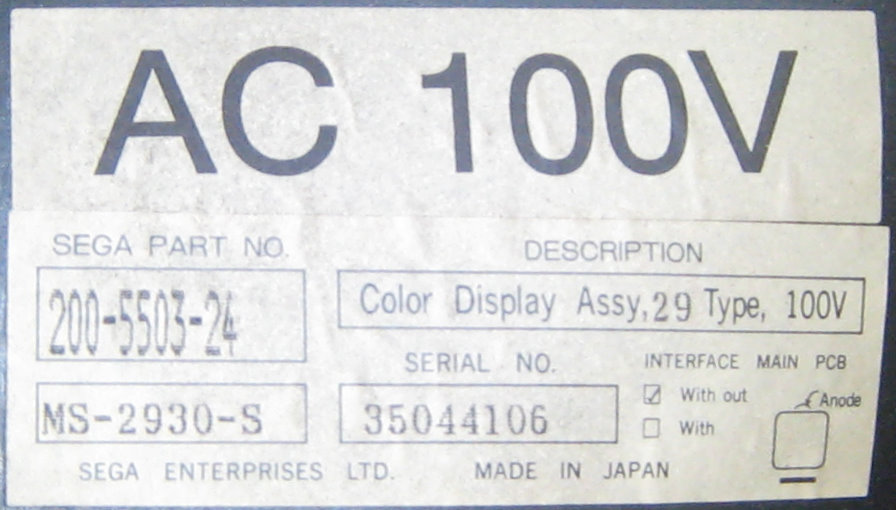
SERIAL NO. 35044106
SEGA PART NO 200-5503-24
MS-2930-S
Color Display Assy, 29 Type, 100V
SEGA ENTERPRISES LTD.
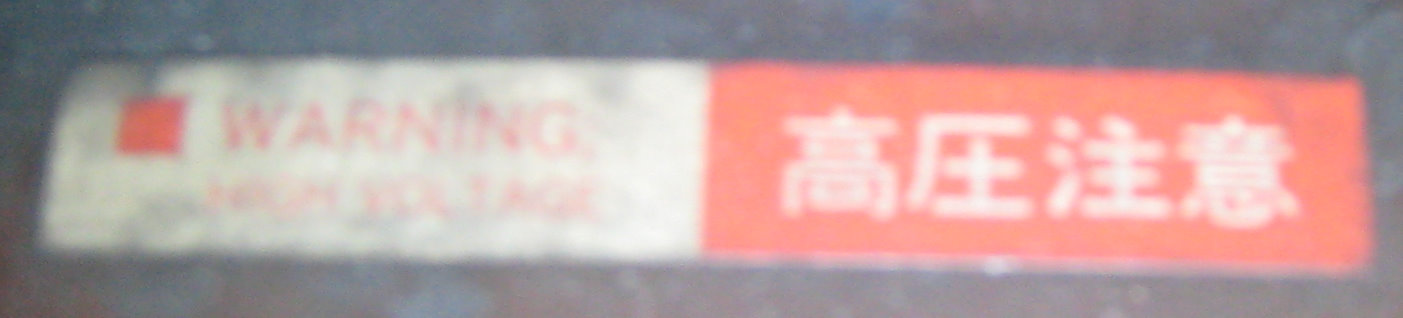
WARNING HIGH VOLTAGE
Searching the for the part number shows that this is the same monitor as a Sega BLASTCITY.
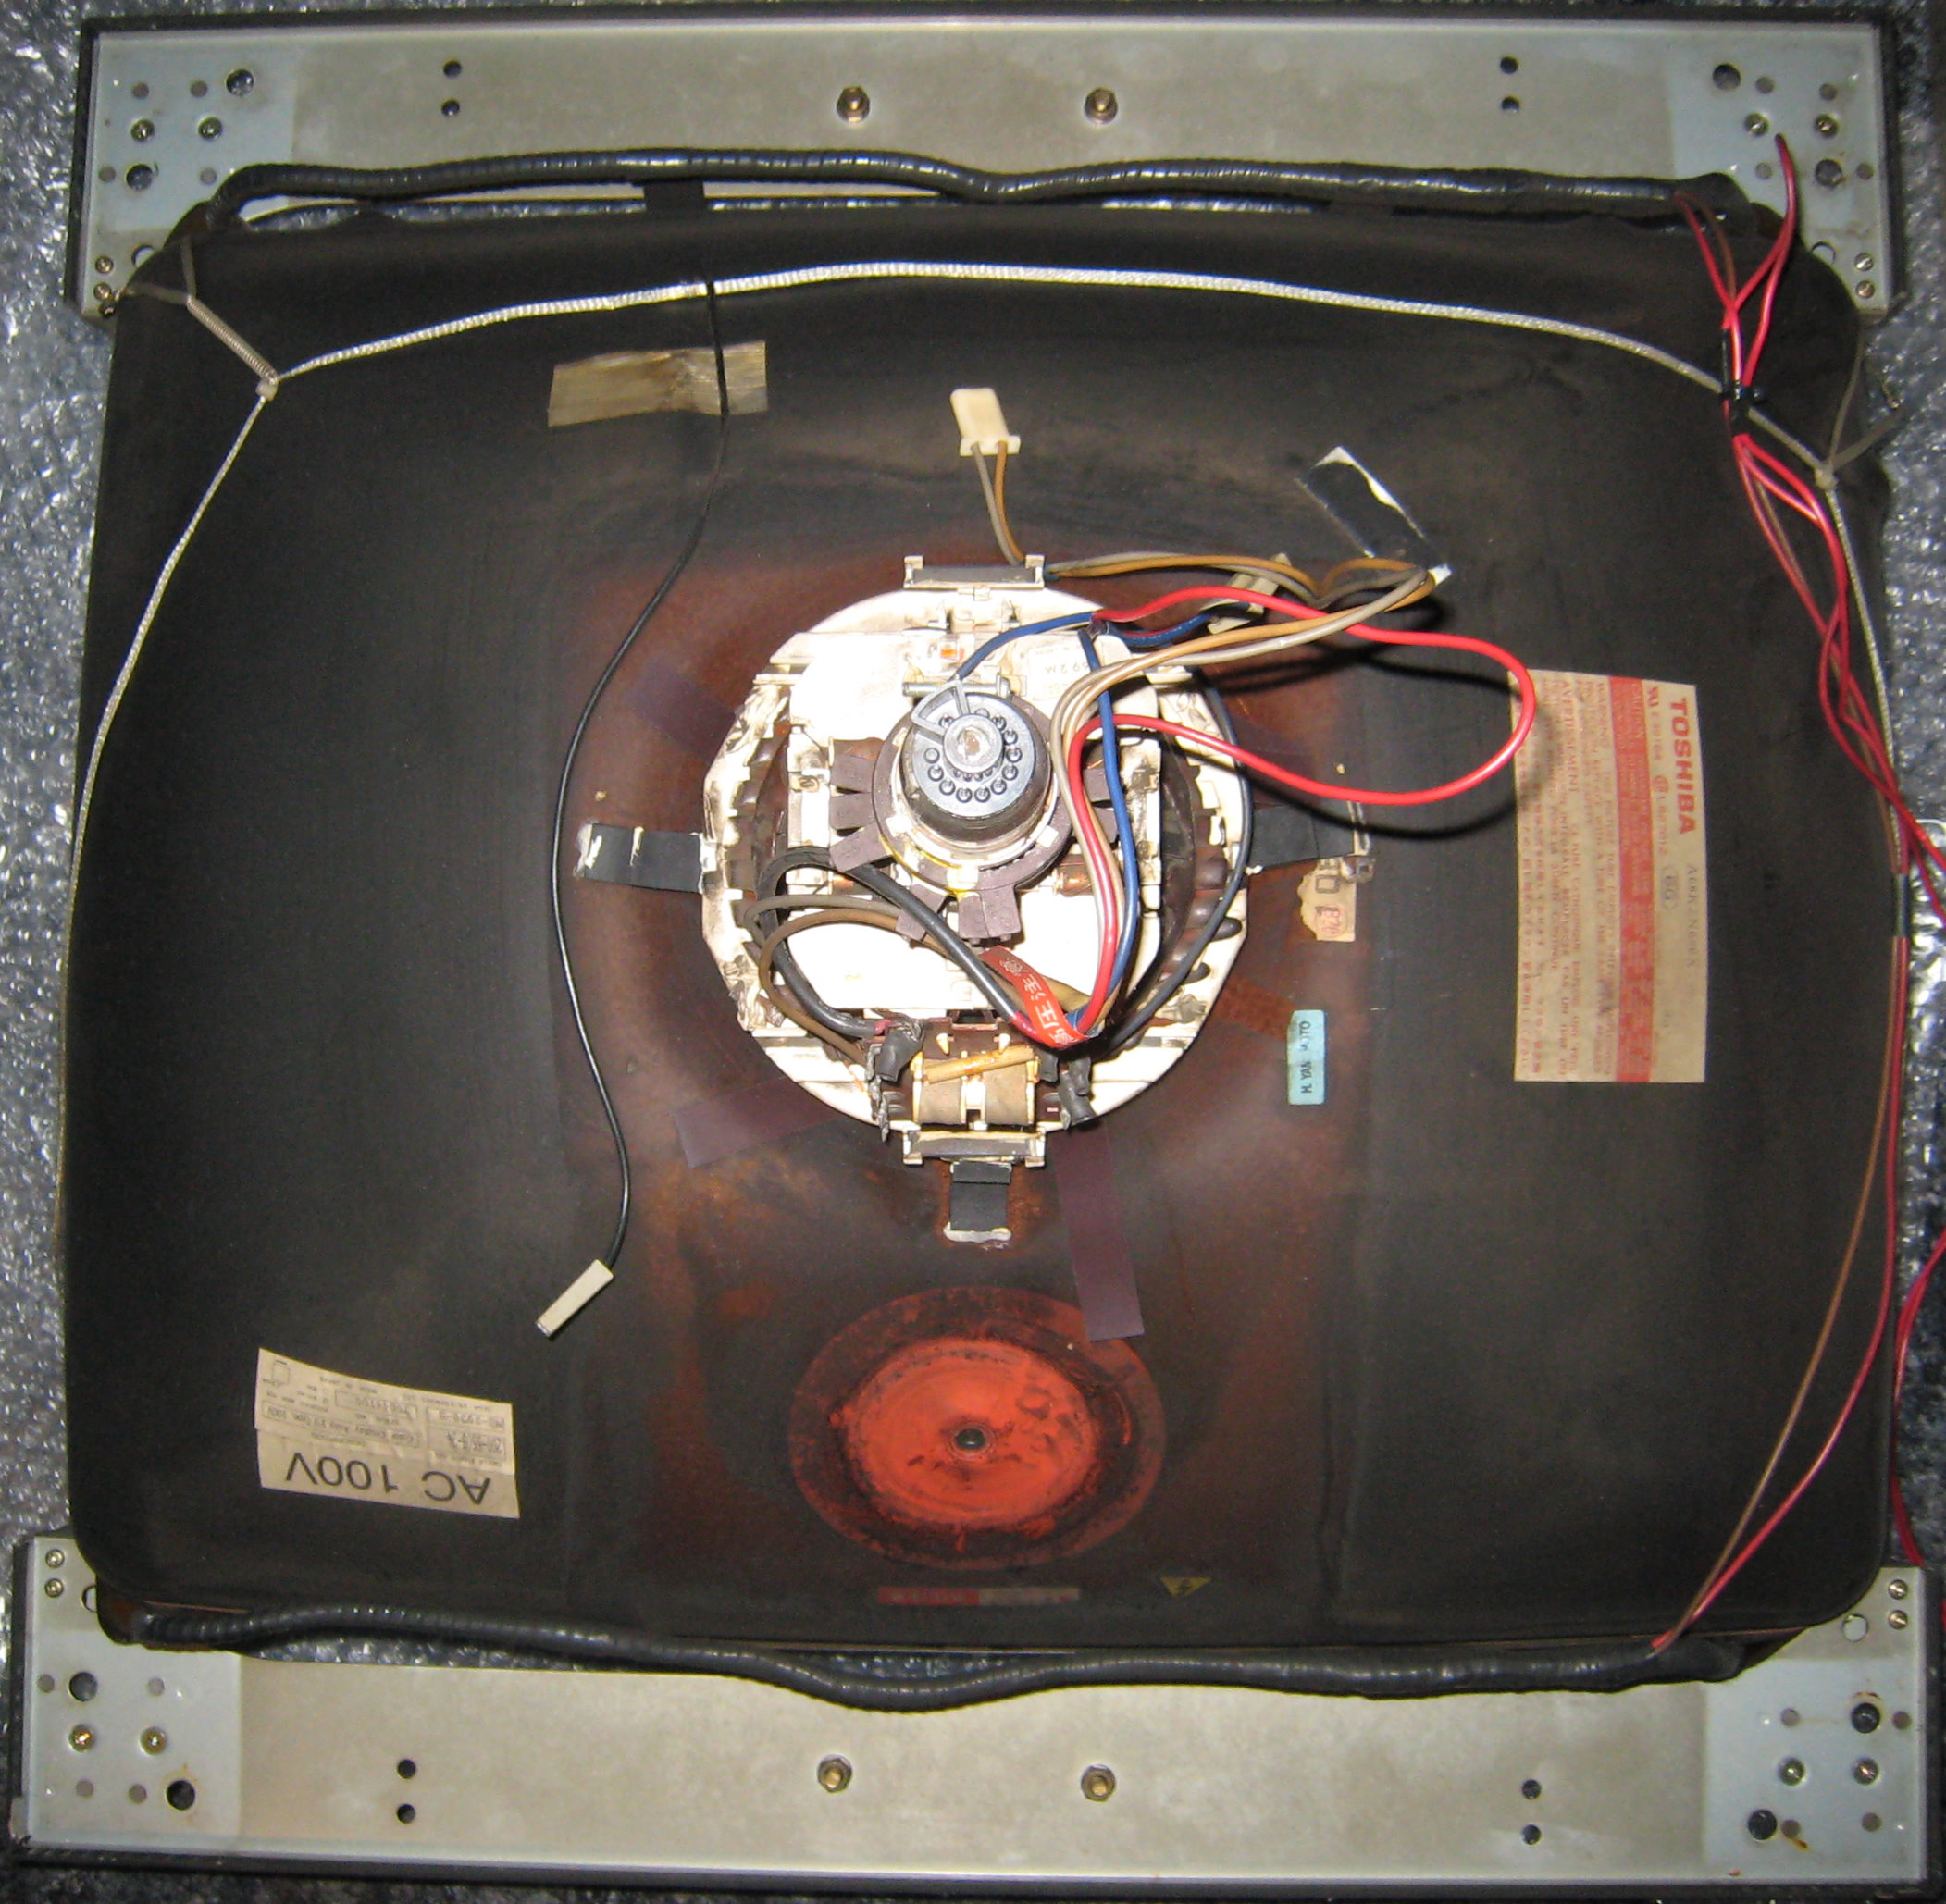
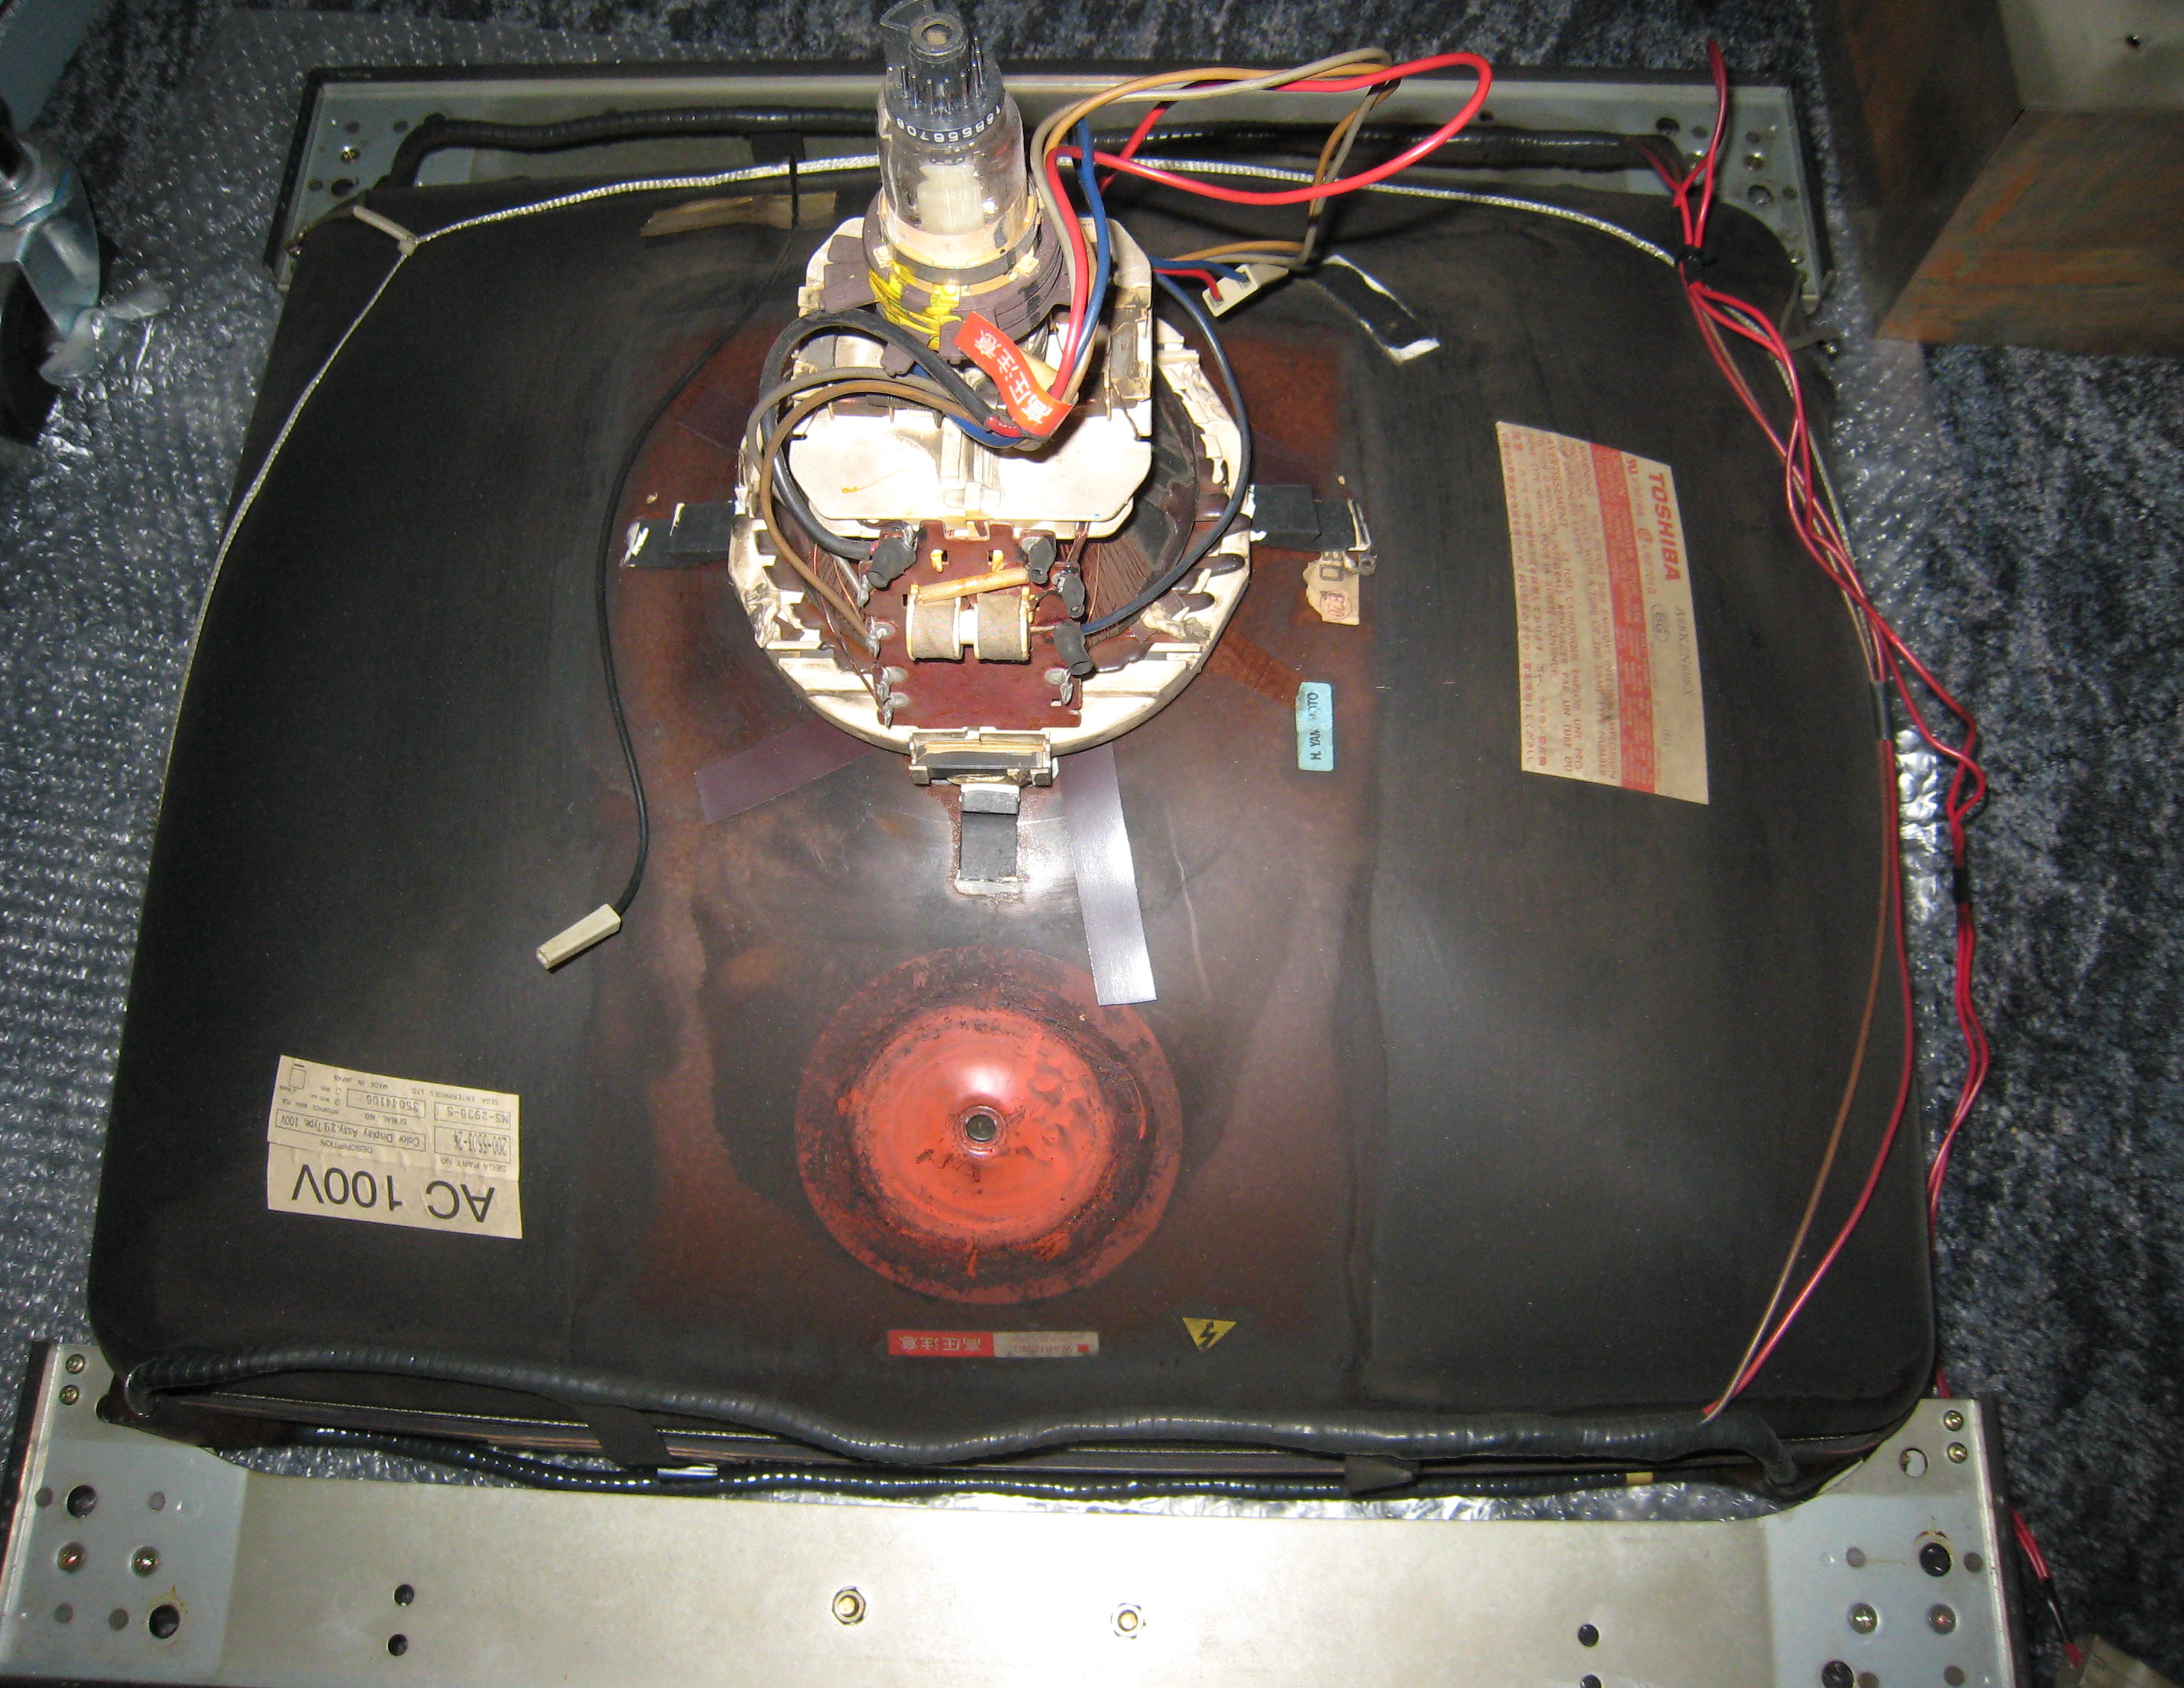
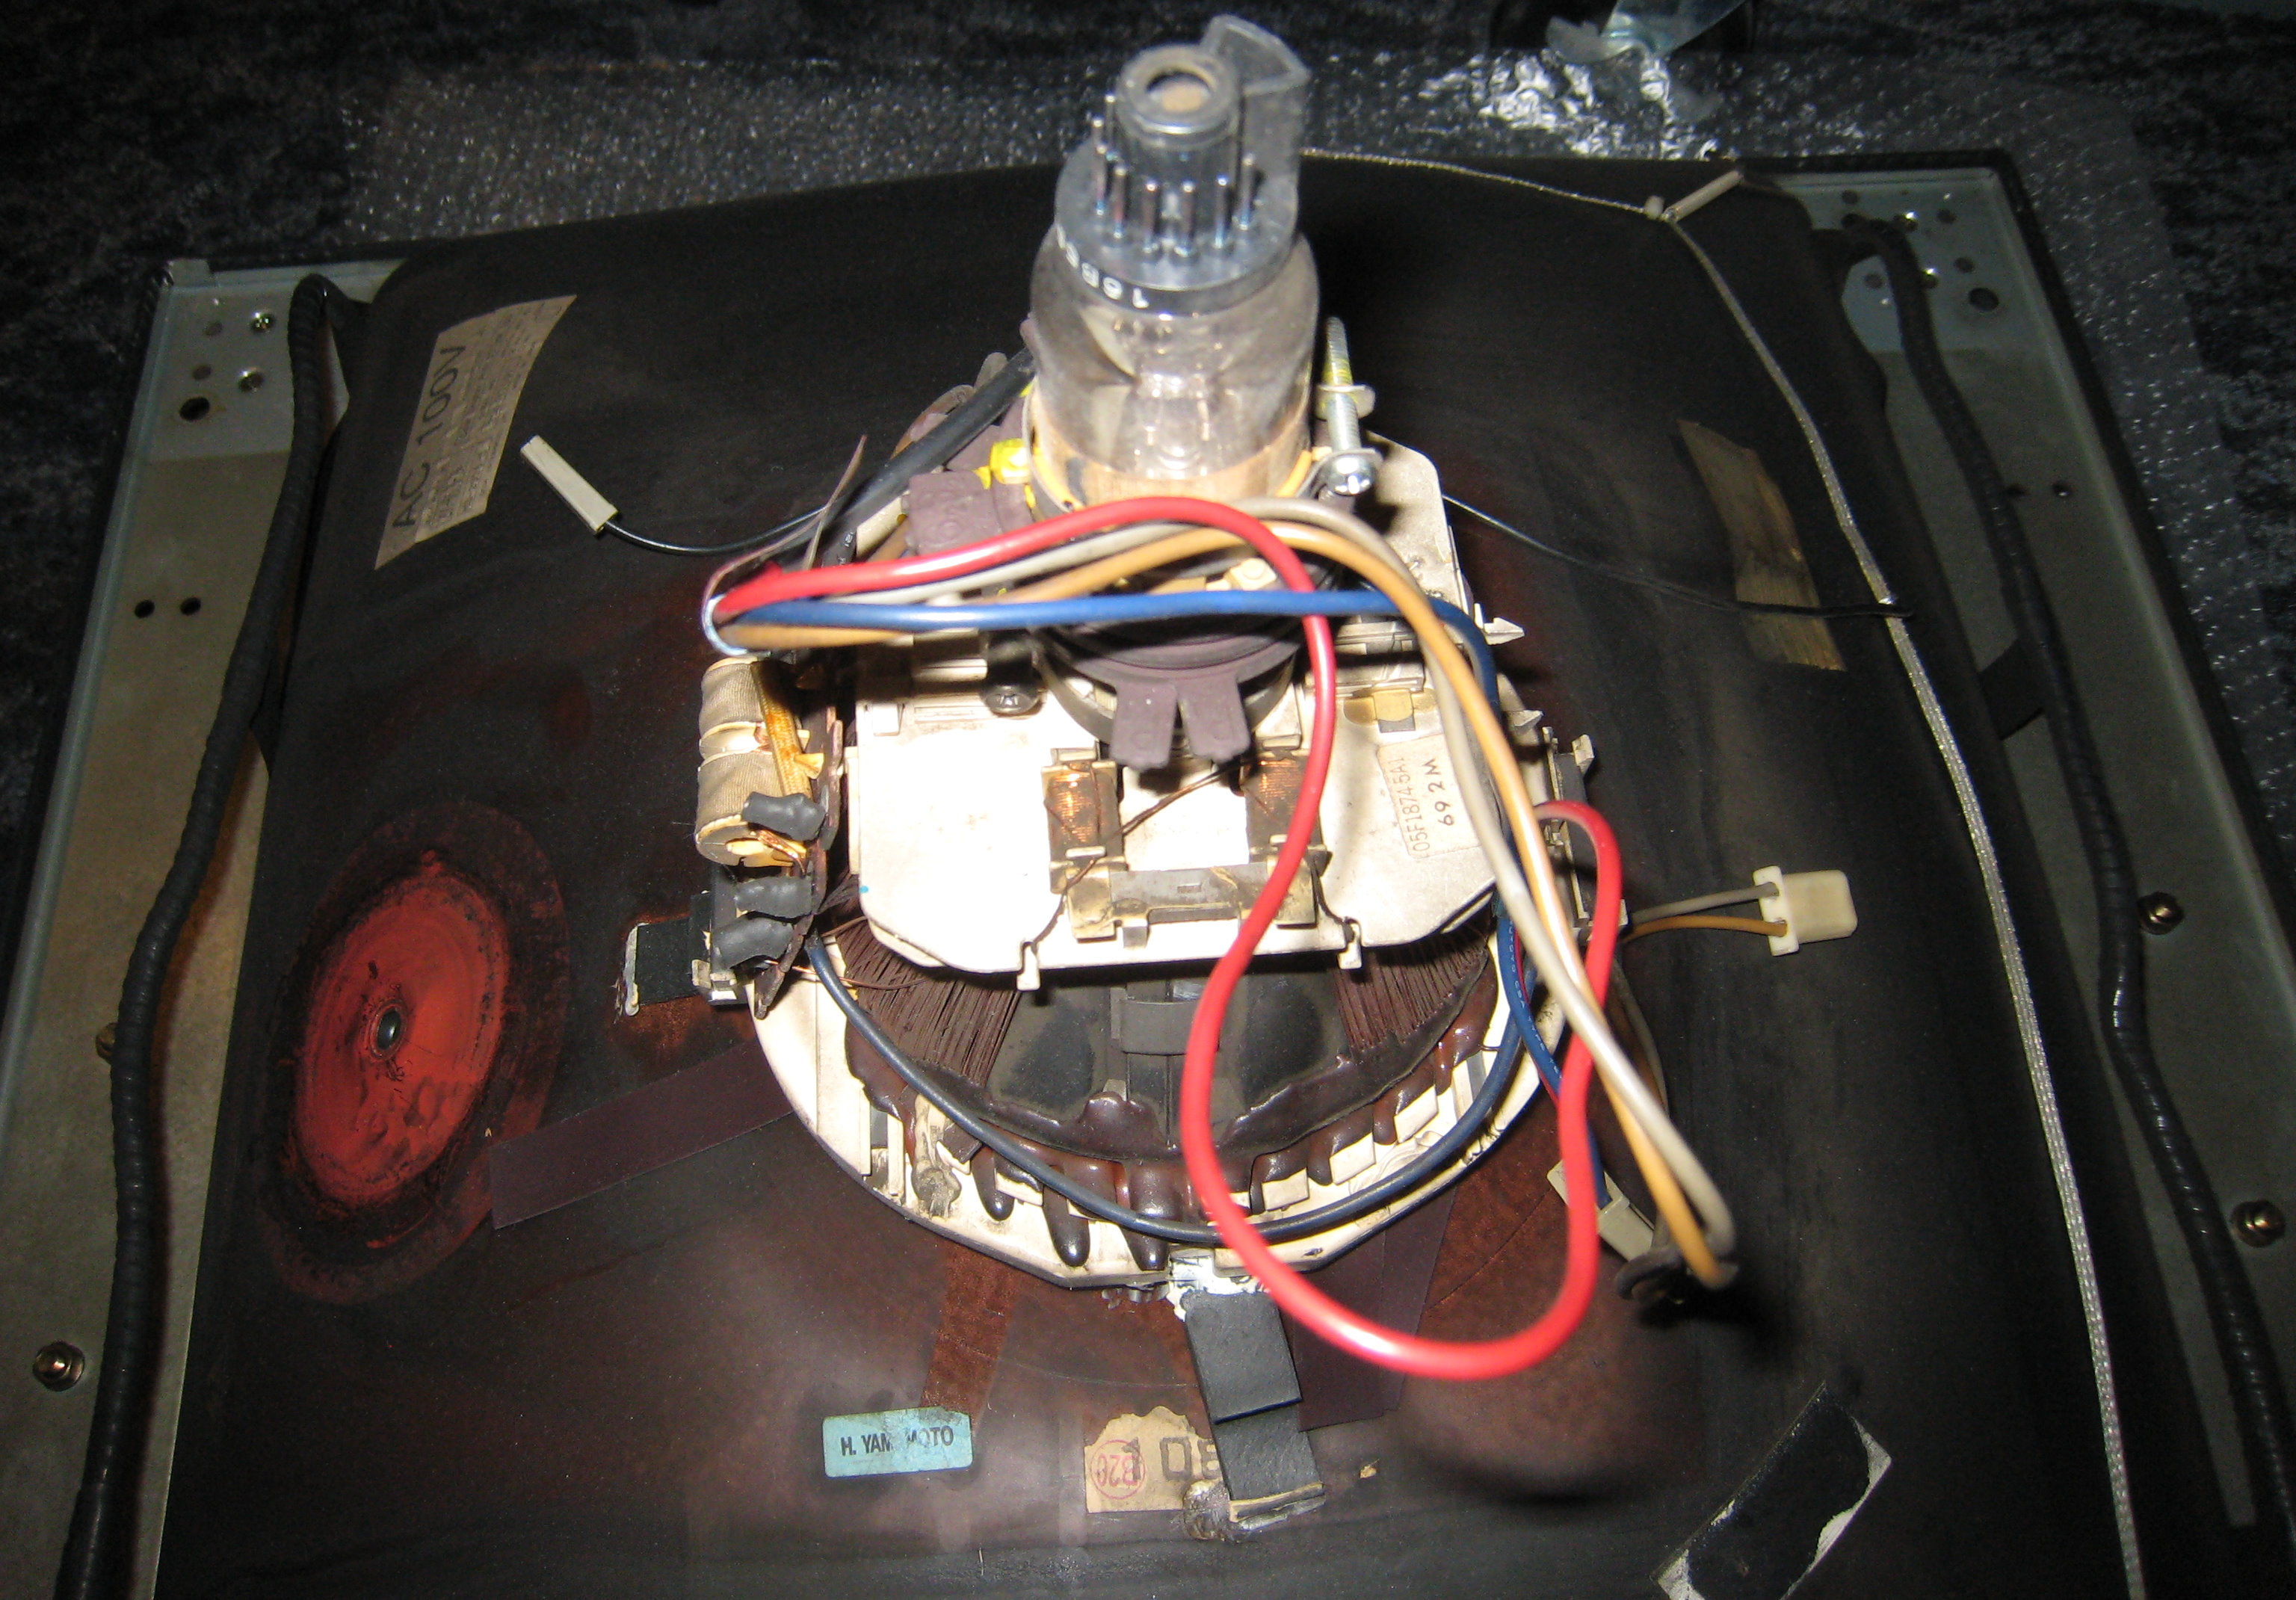
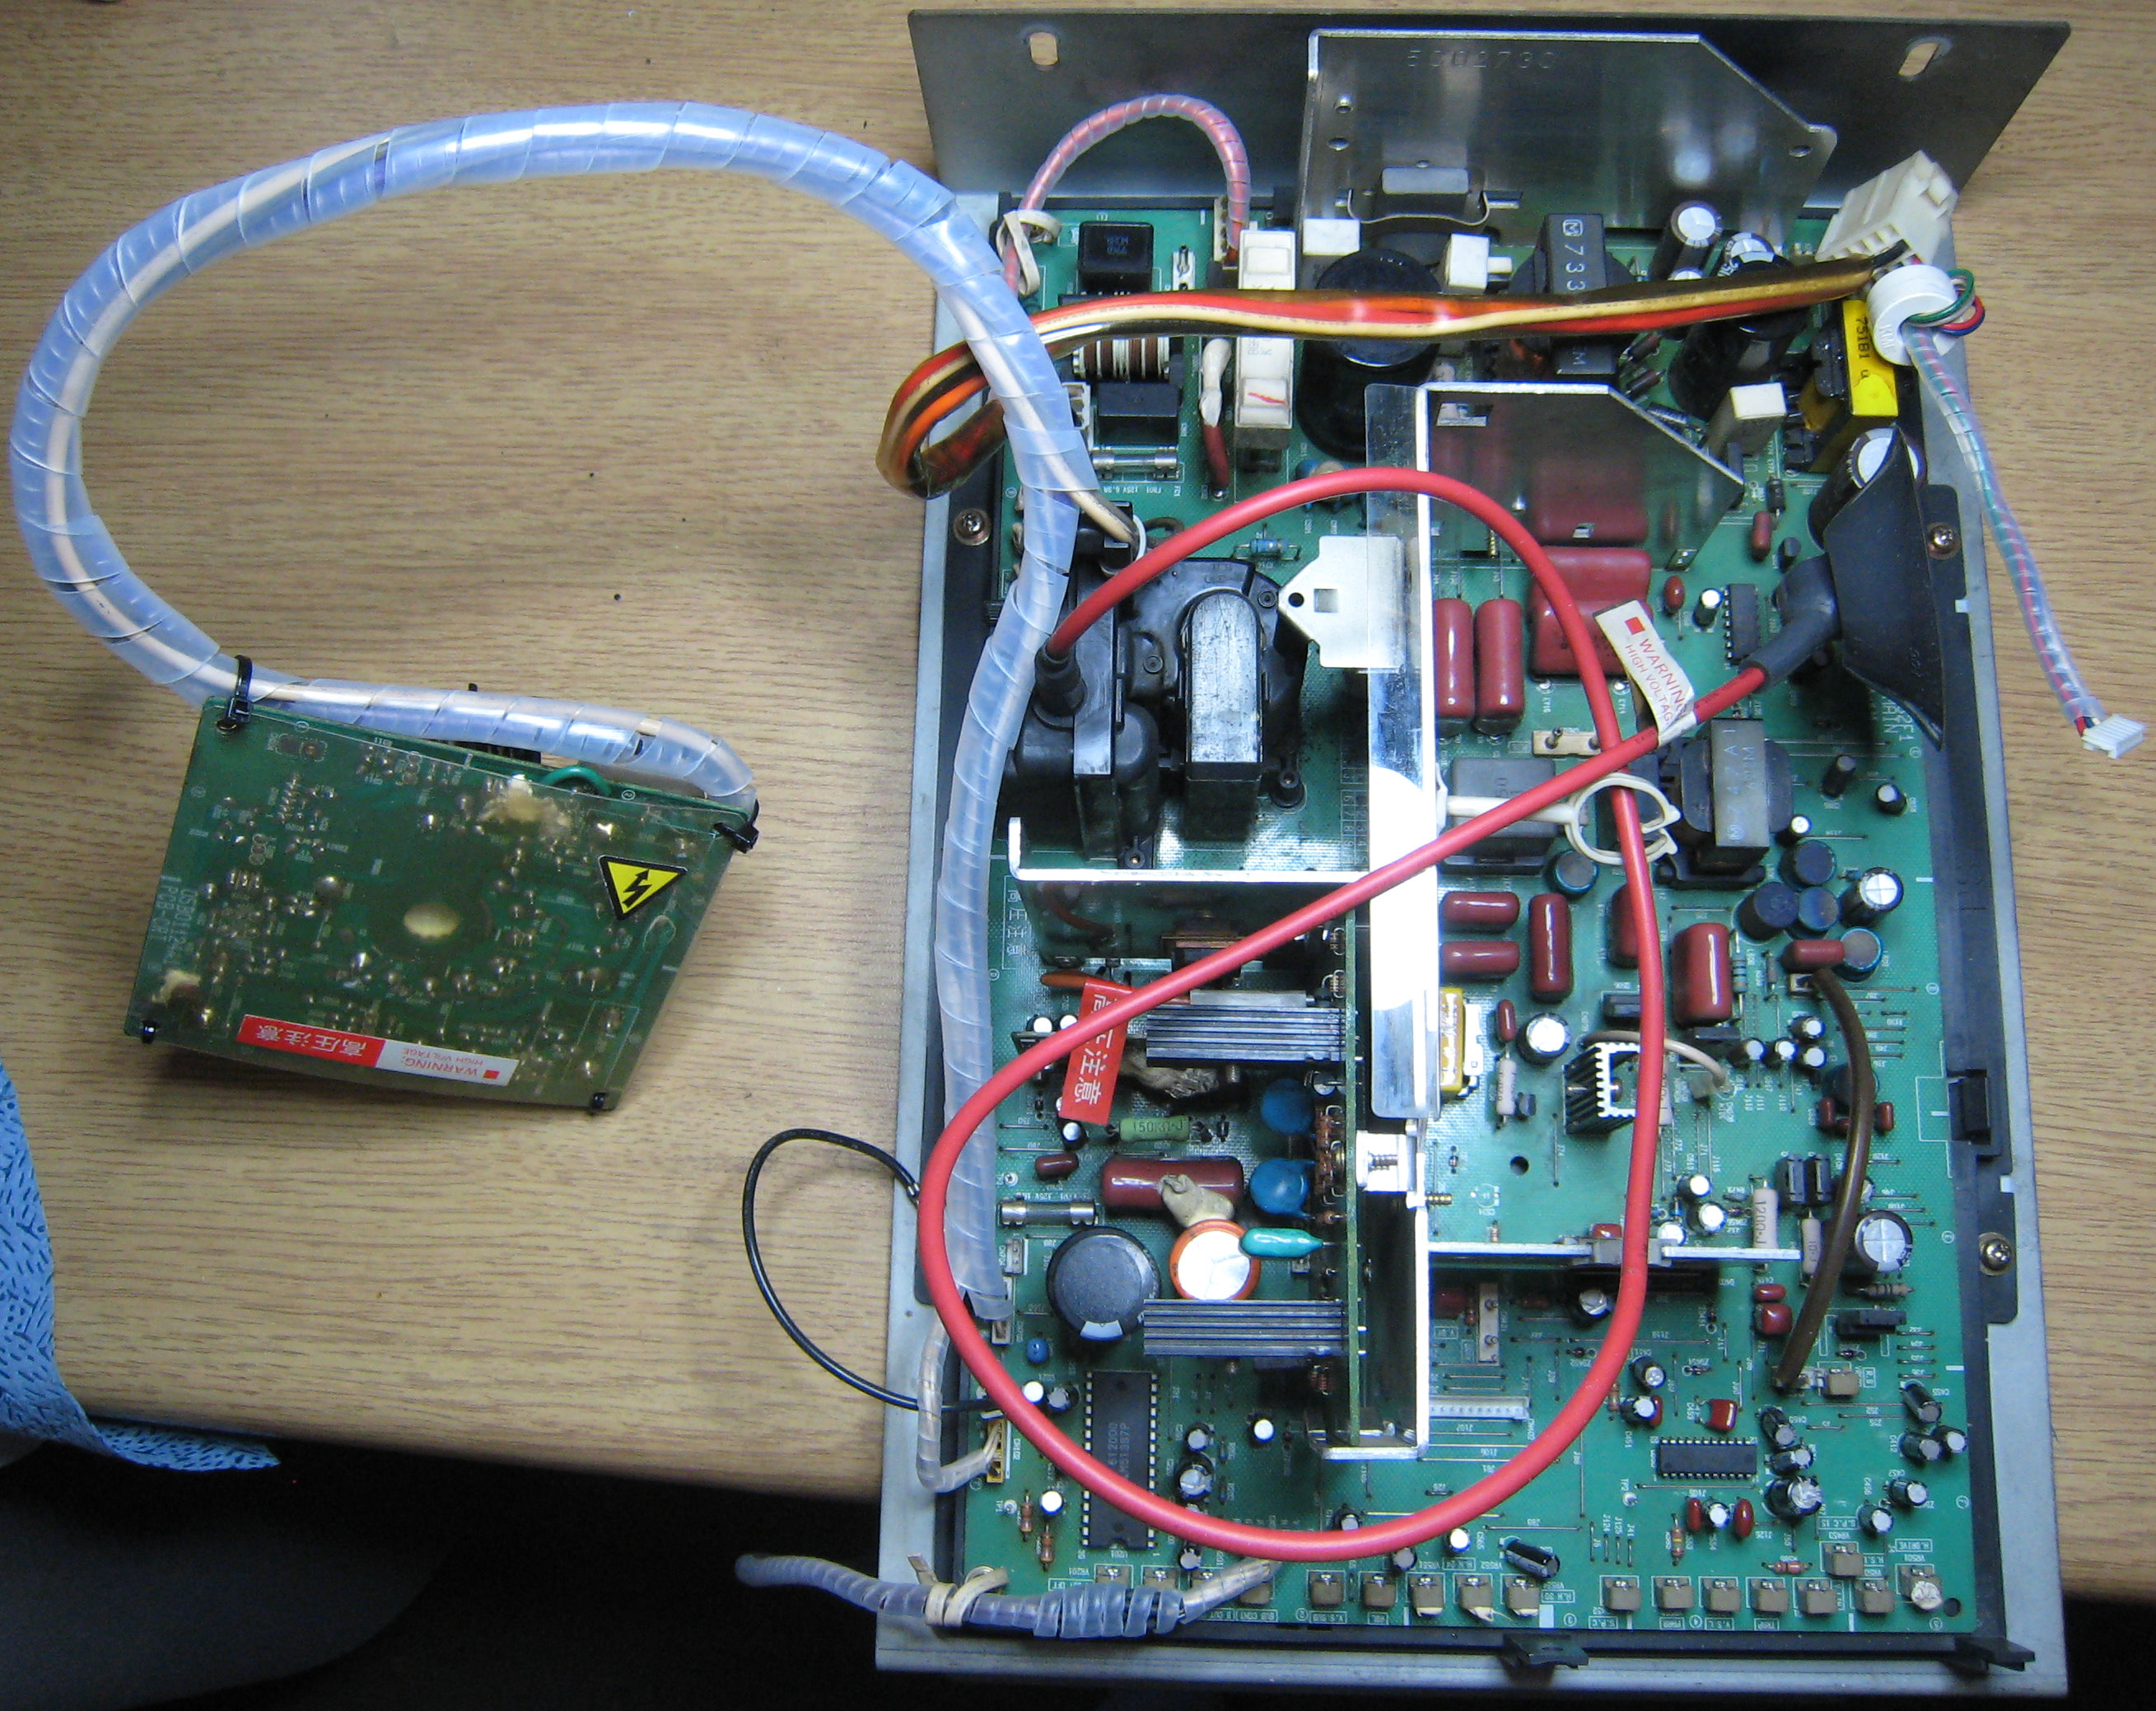
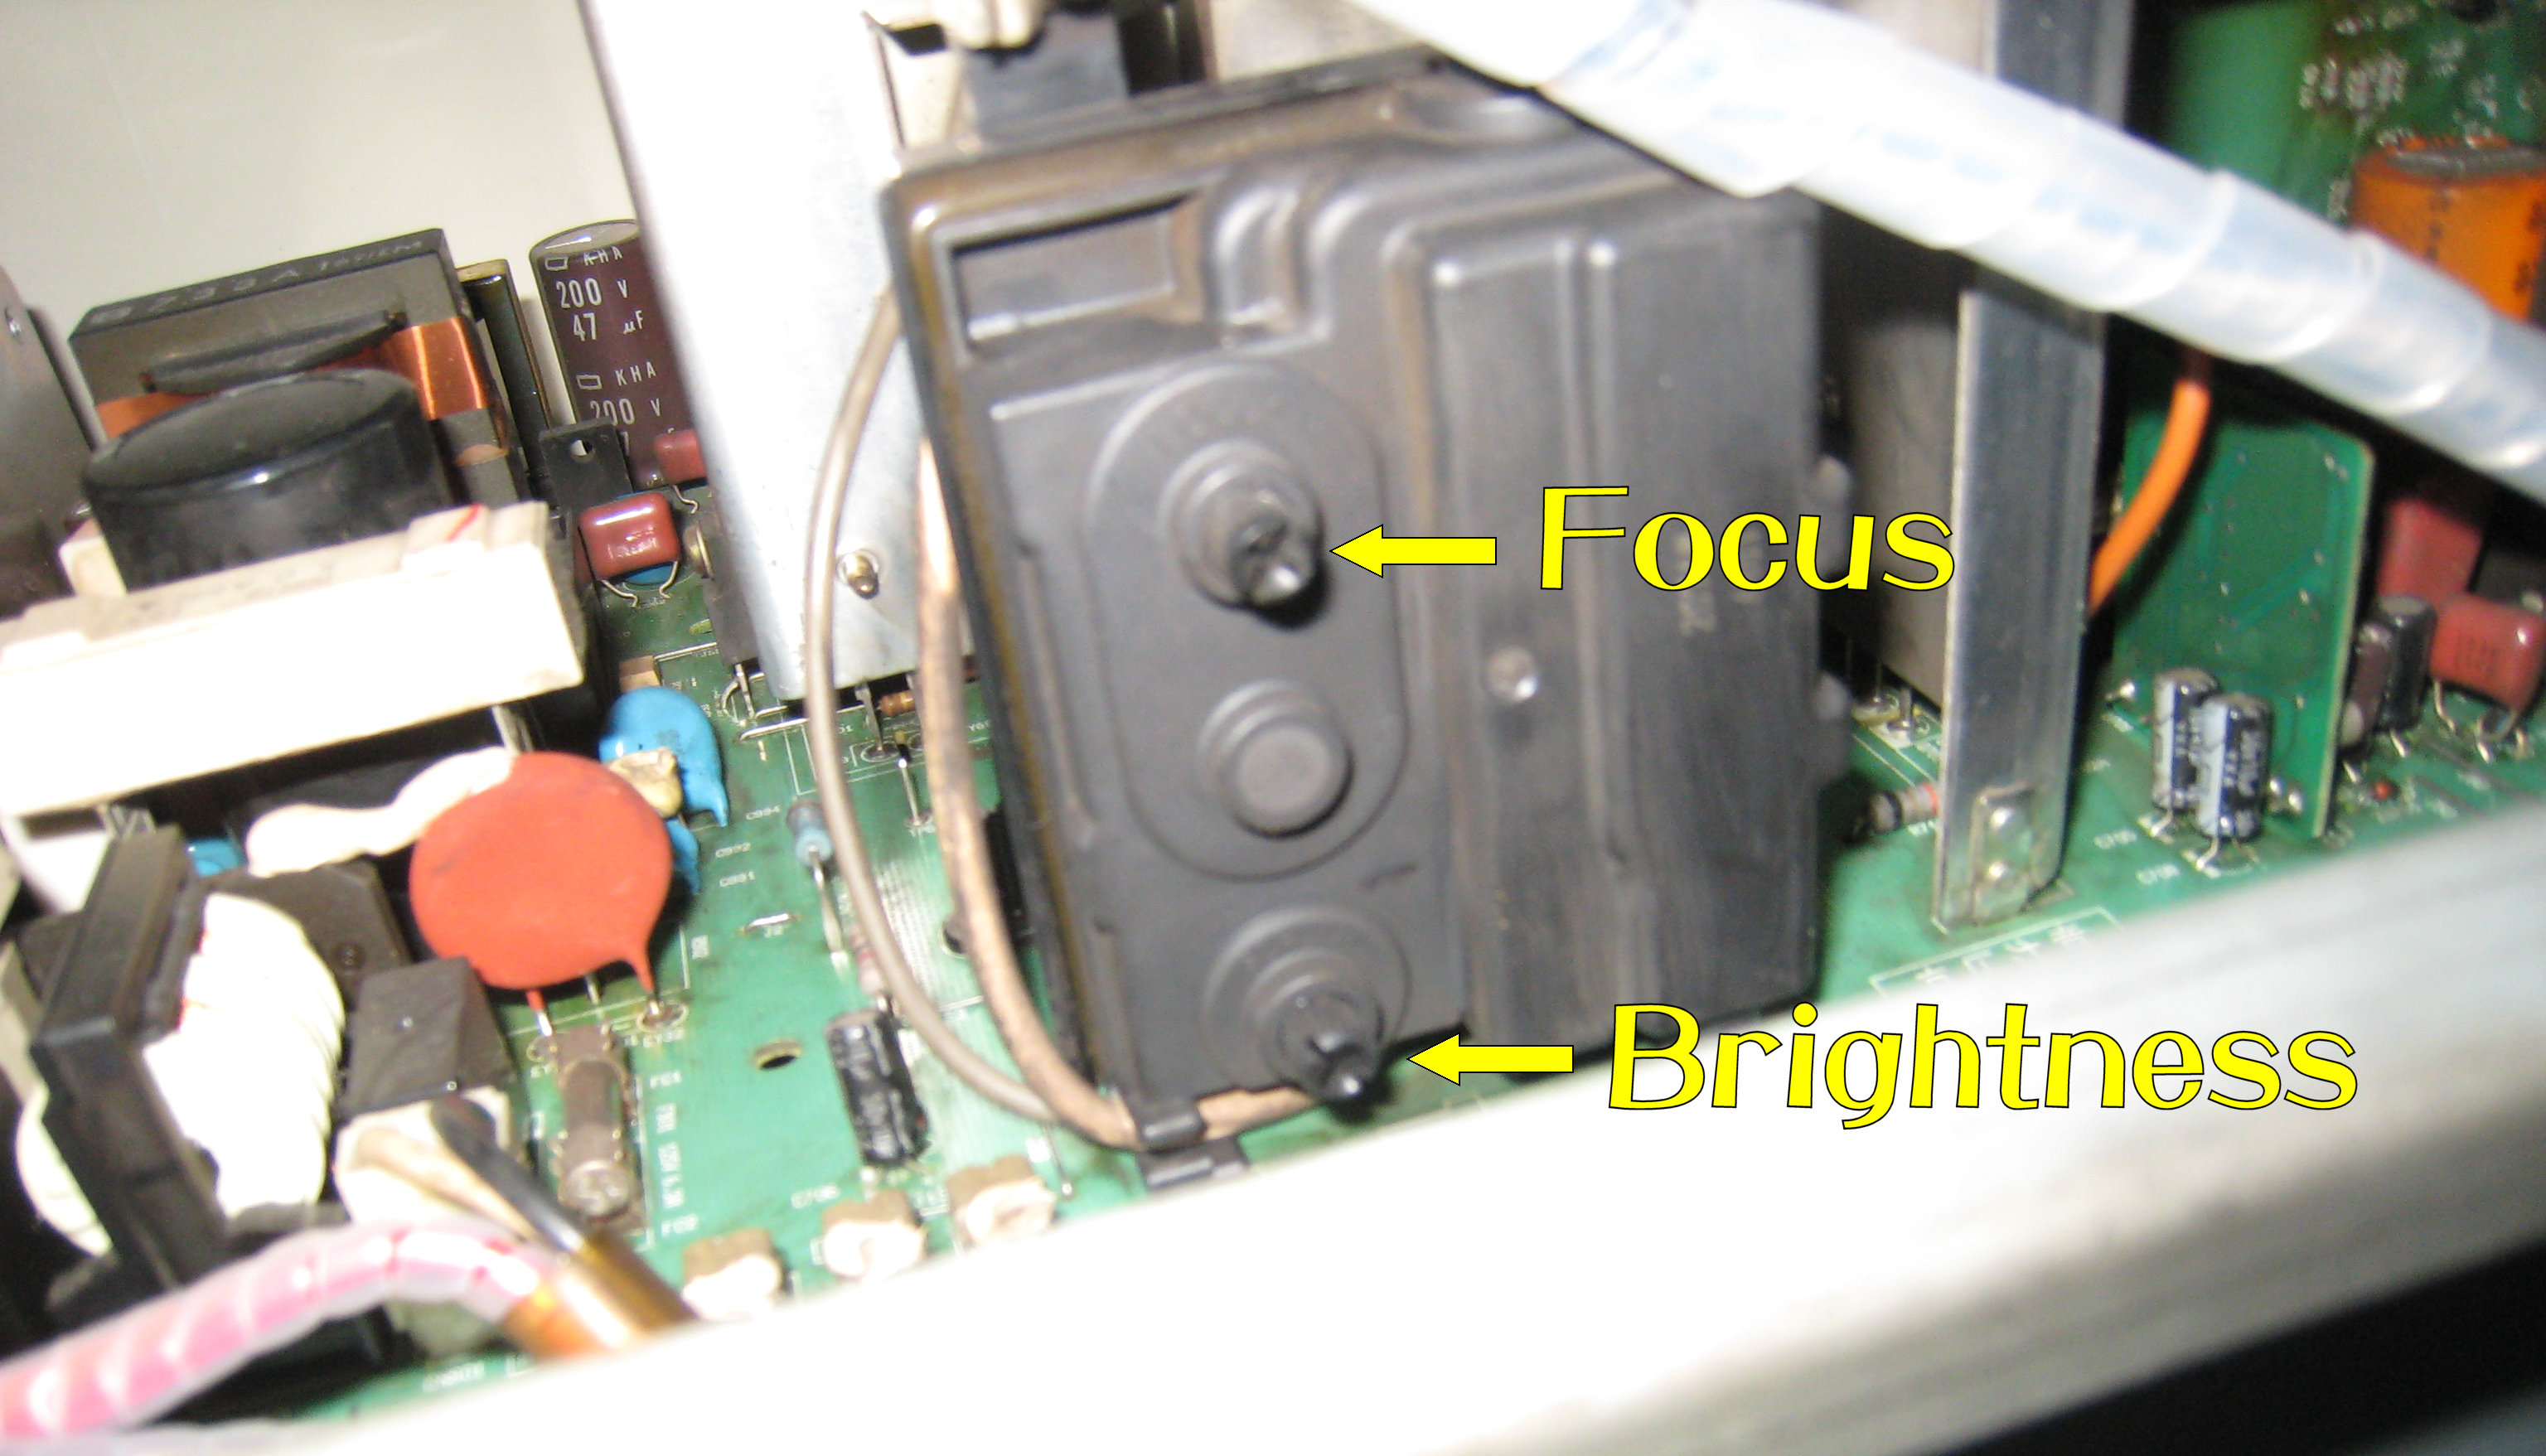
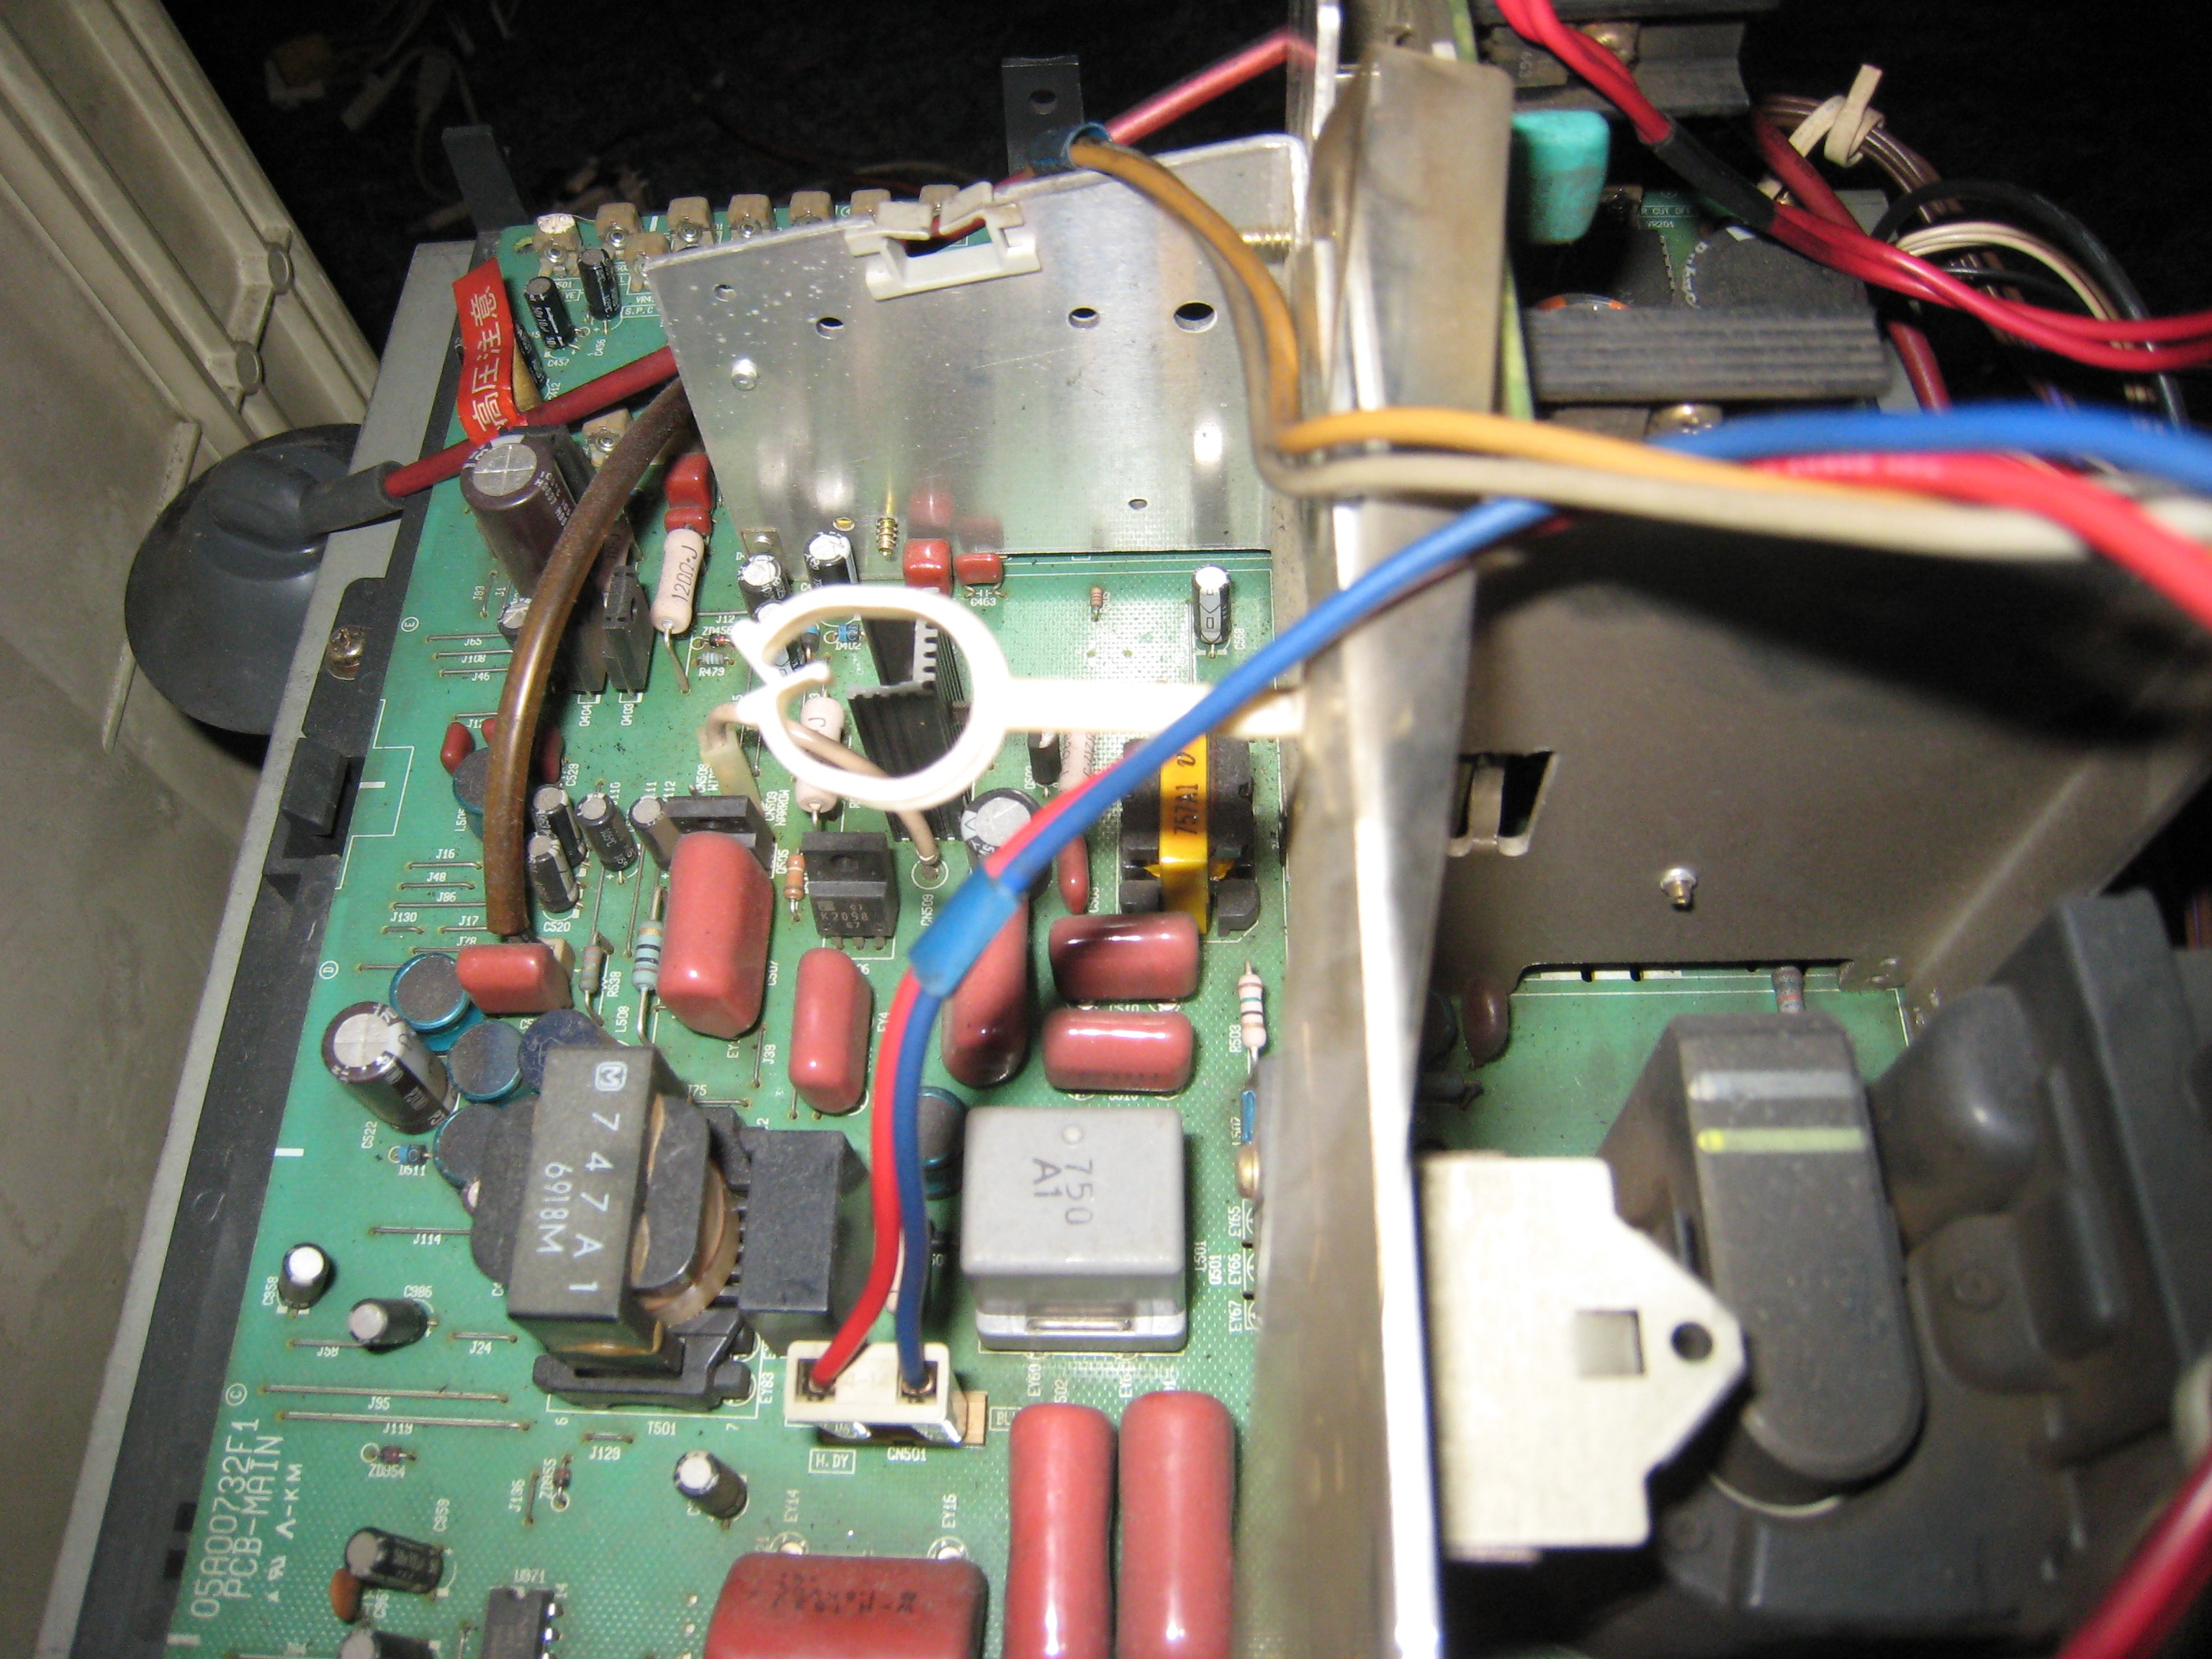
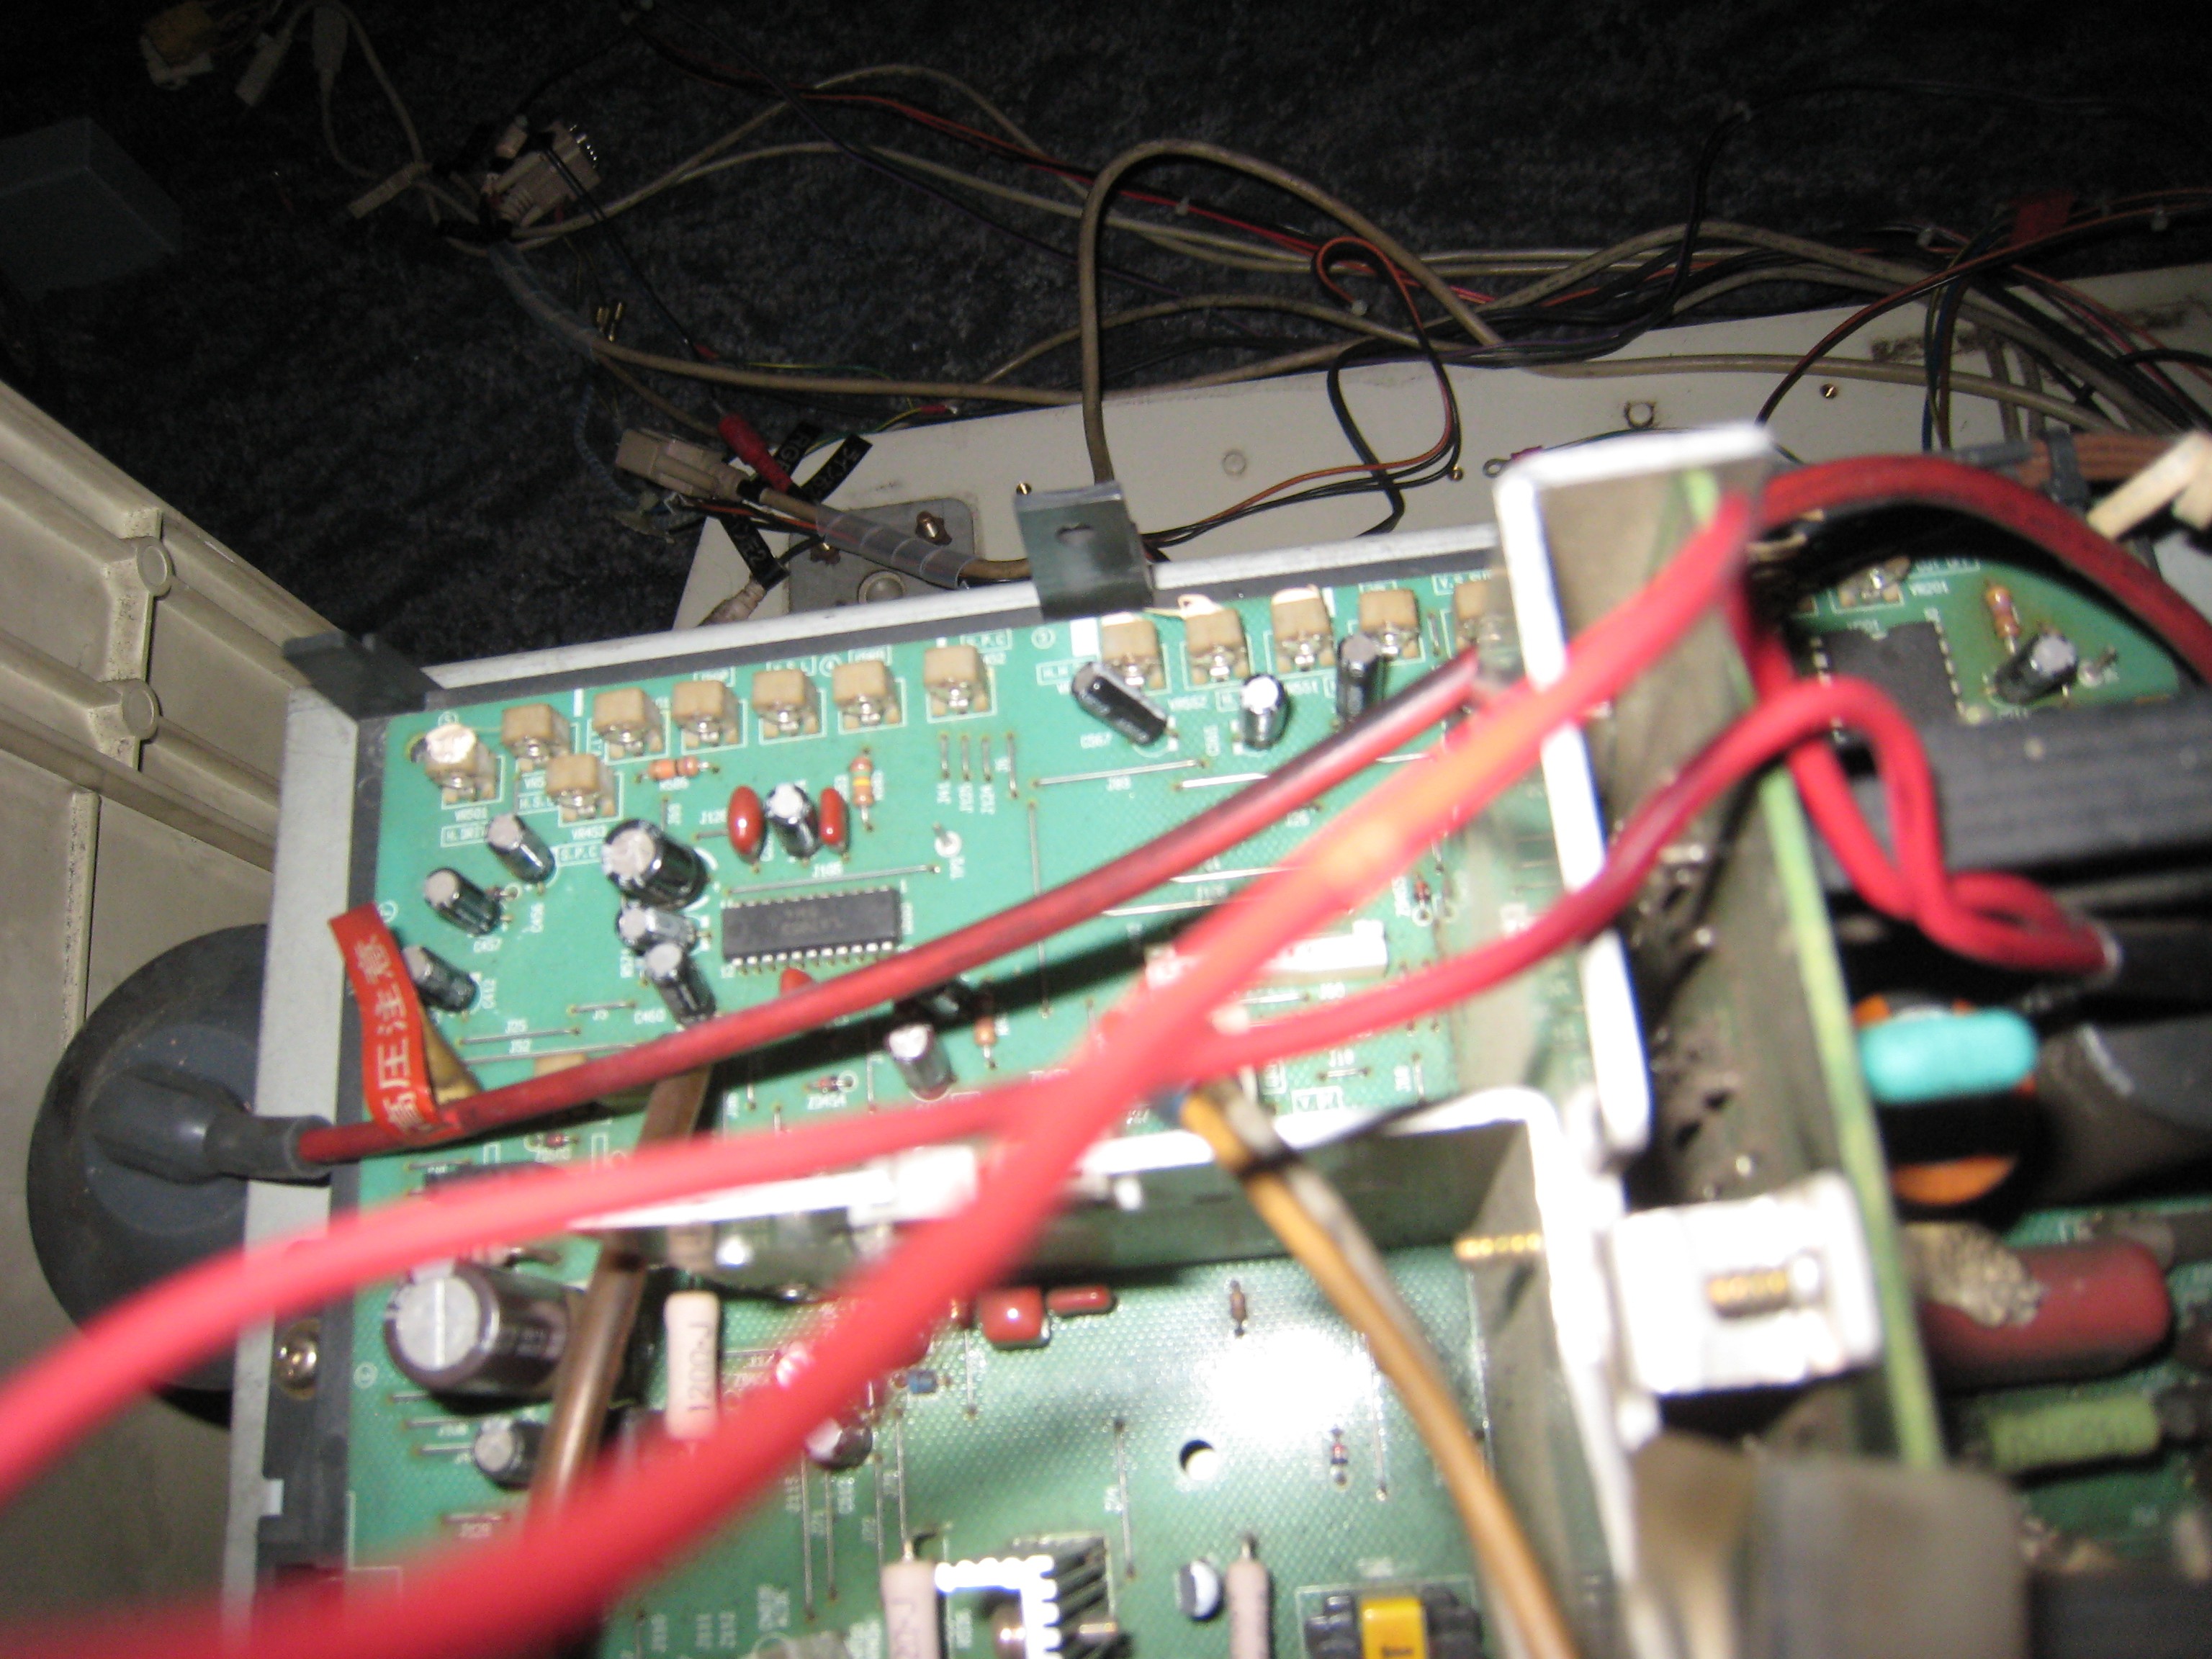
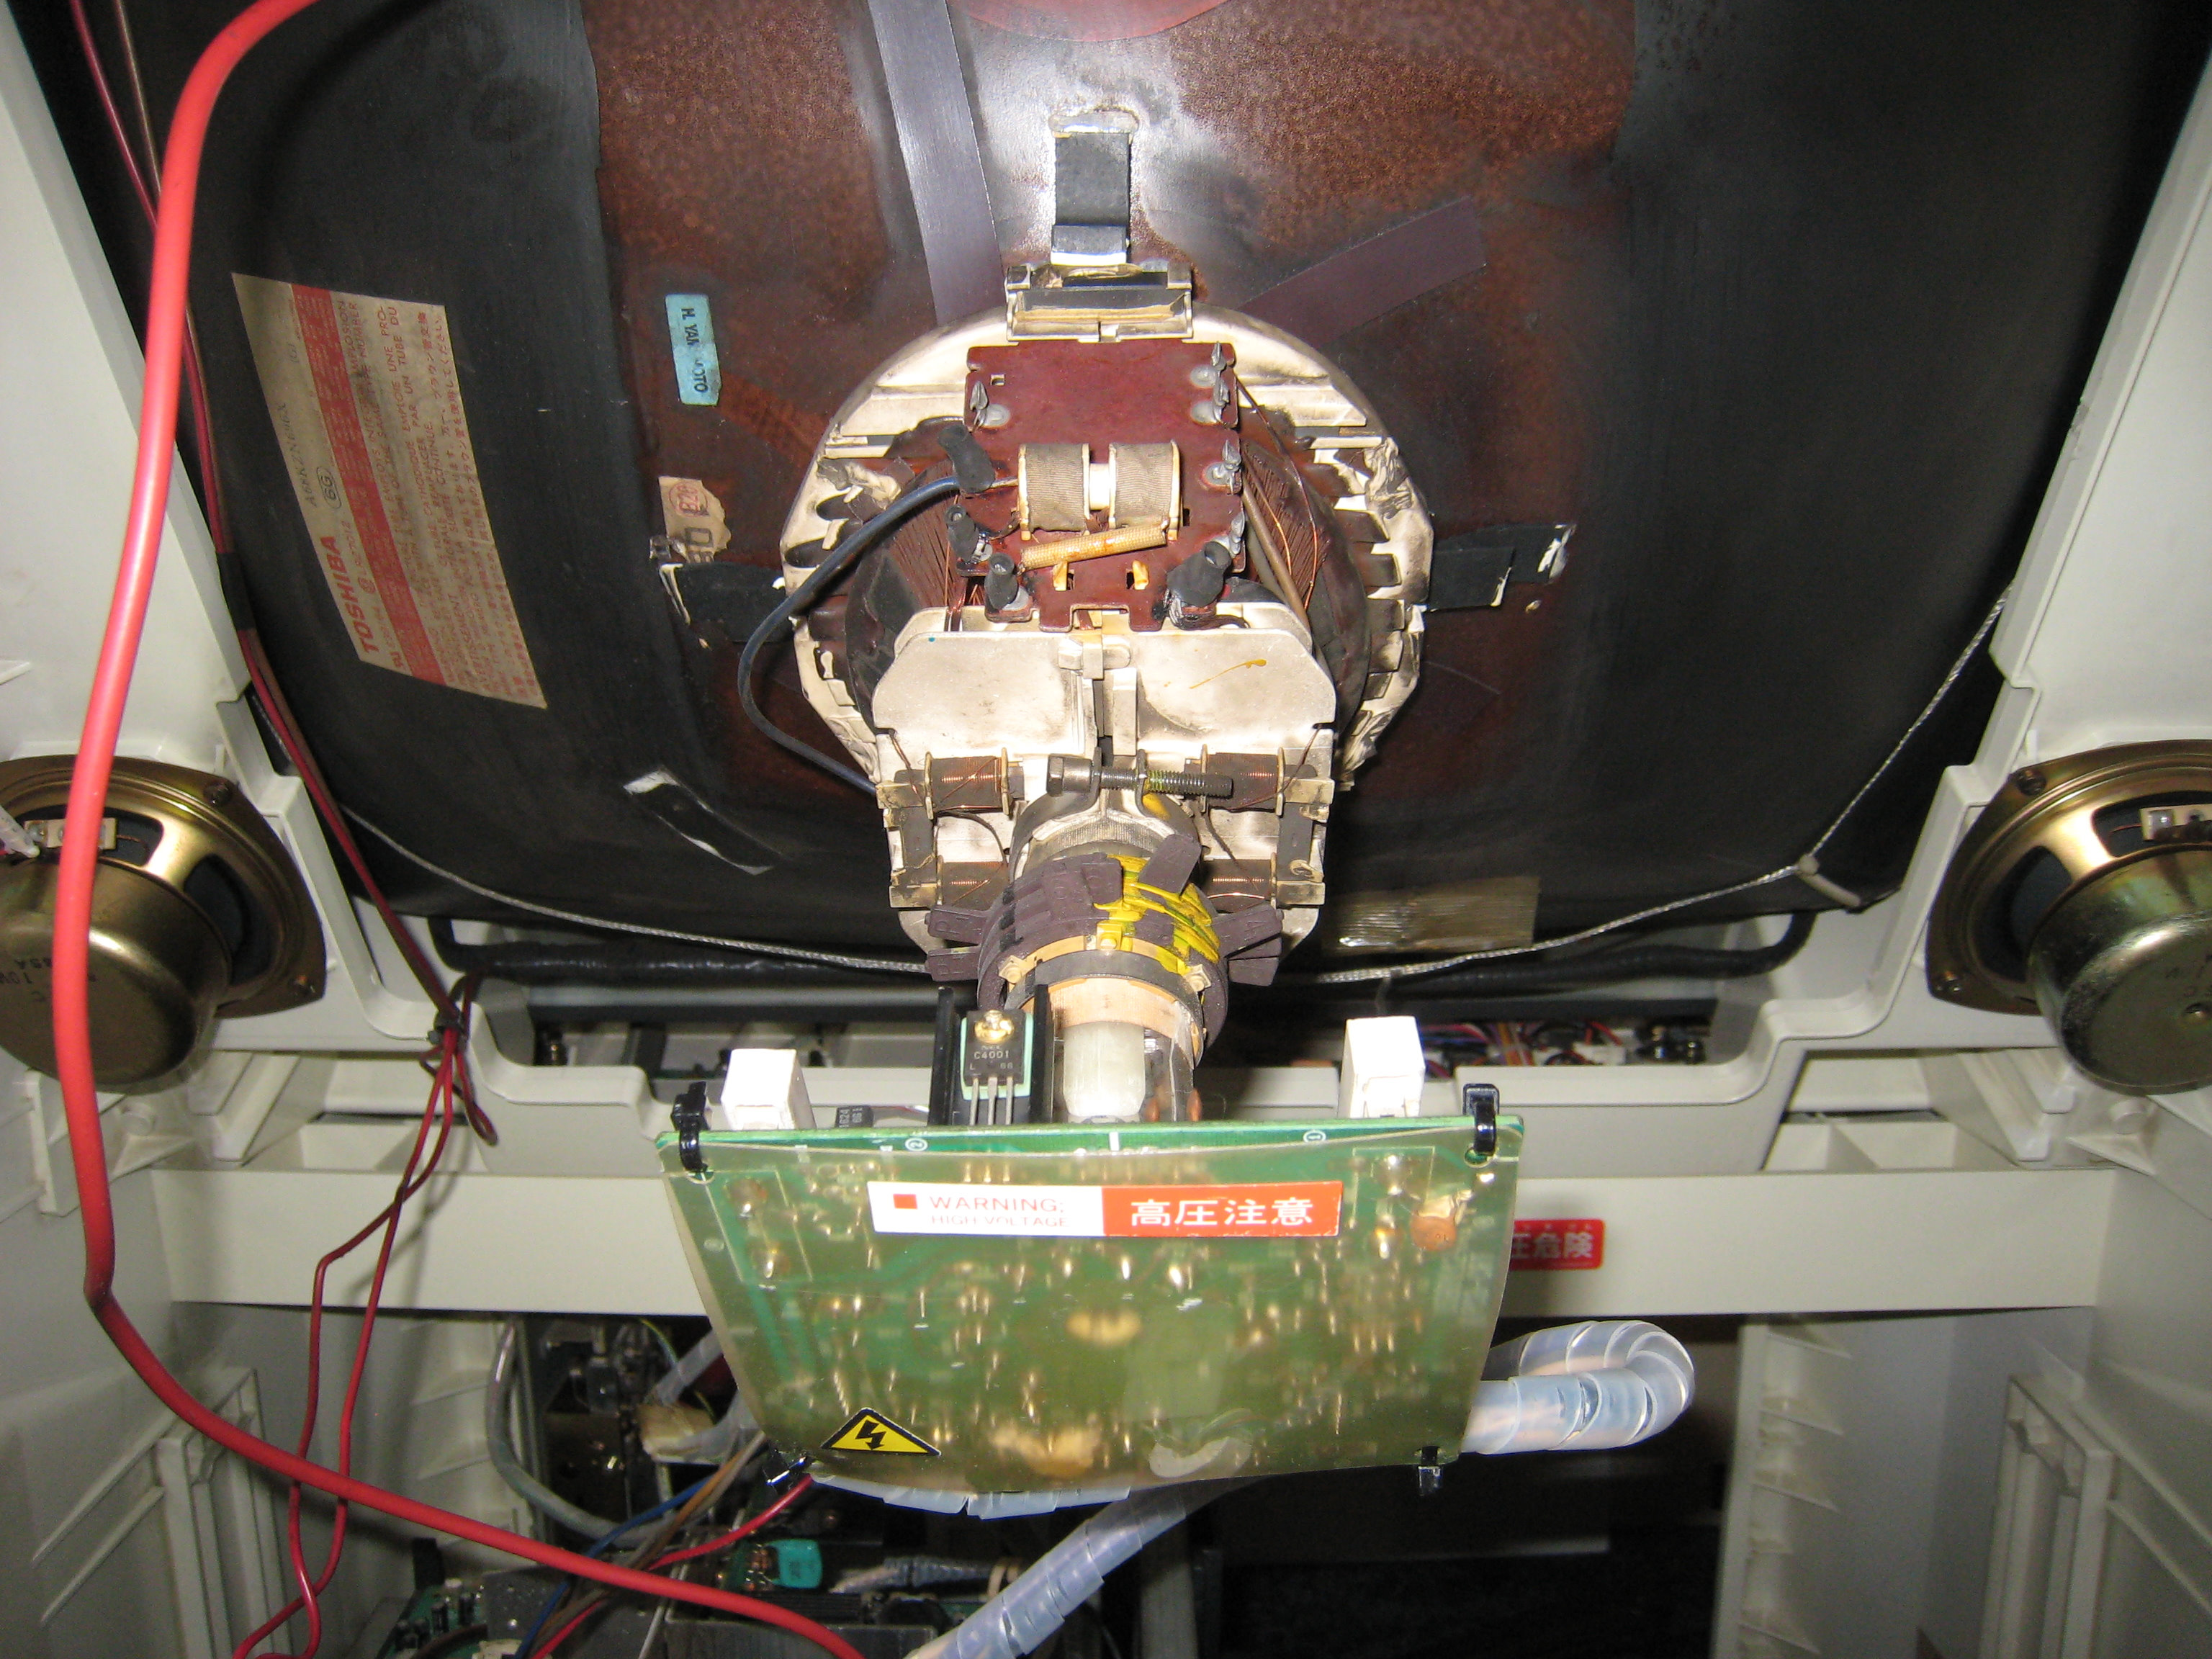
Main Chassis
Here's the main Monitor Chassis with the Focus and Brightness controls on the Flyback transformer.
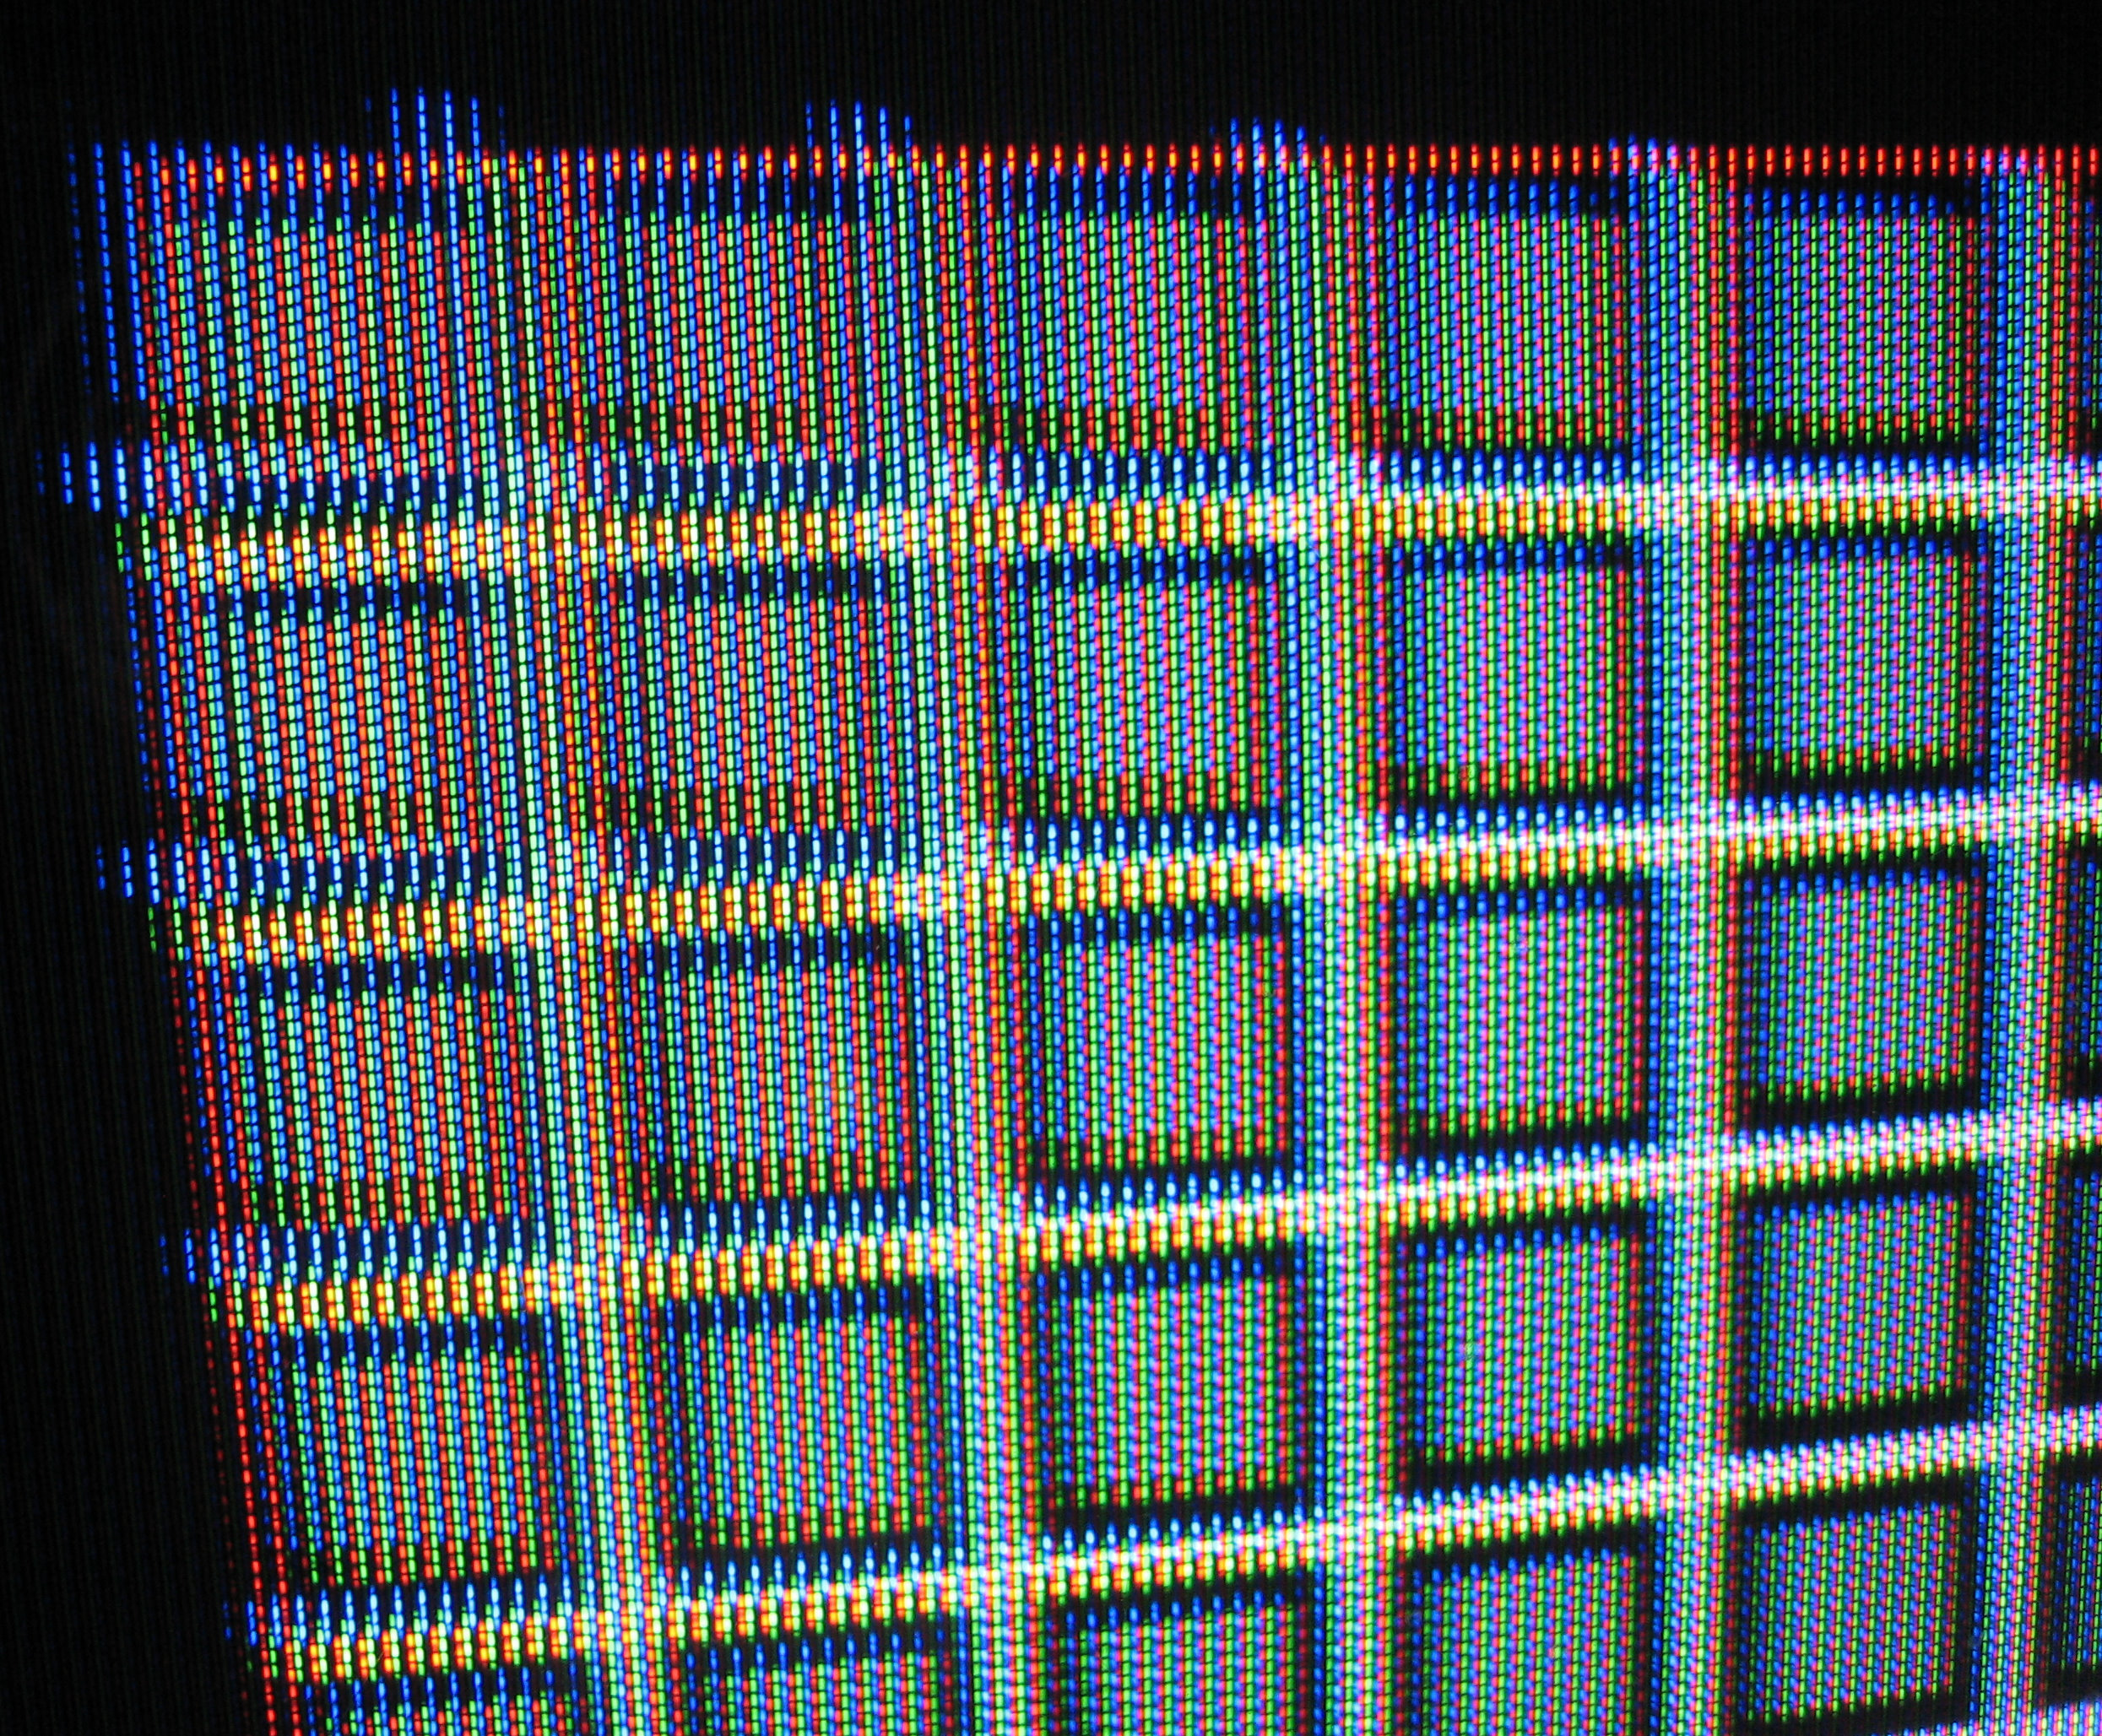
Monitor Convergence
This monitor does suffer from convergence in all four corners as you can see by the image of the top right corner below.
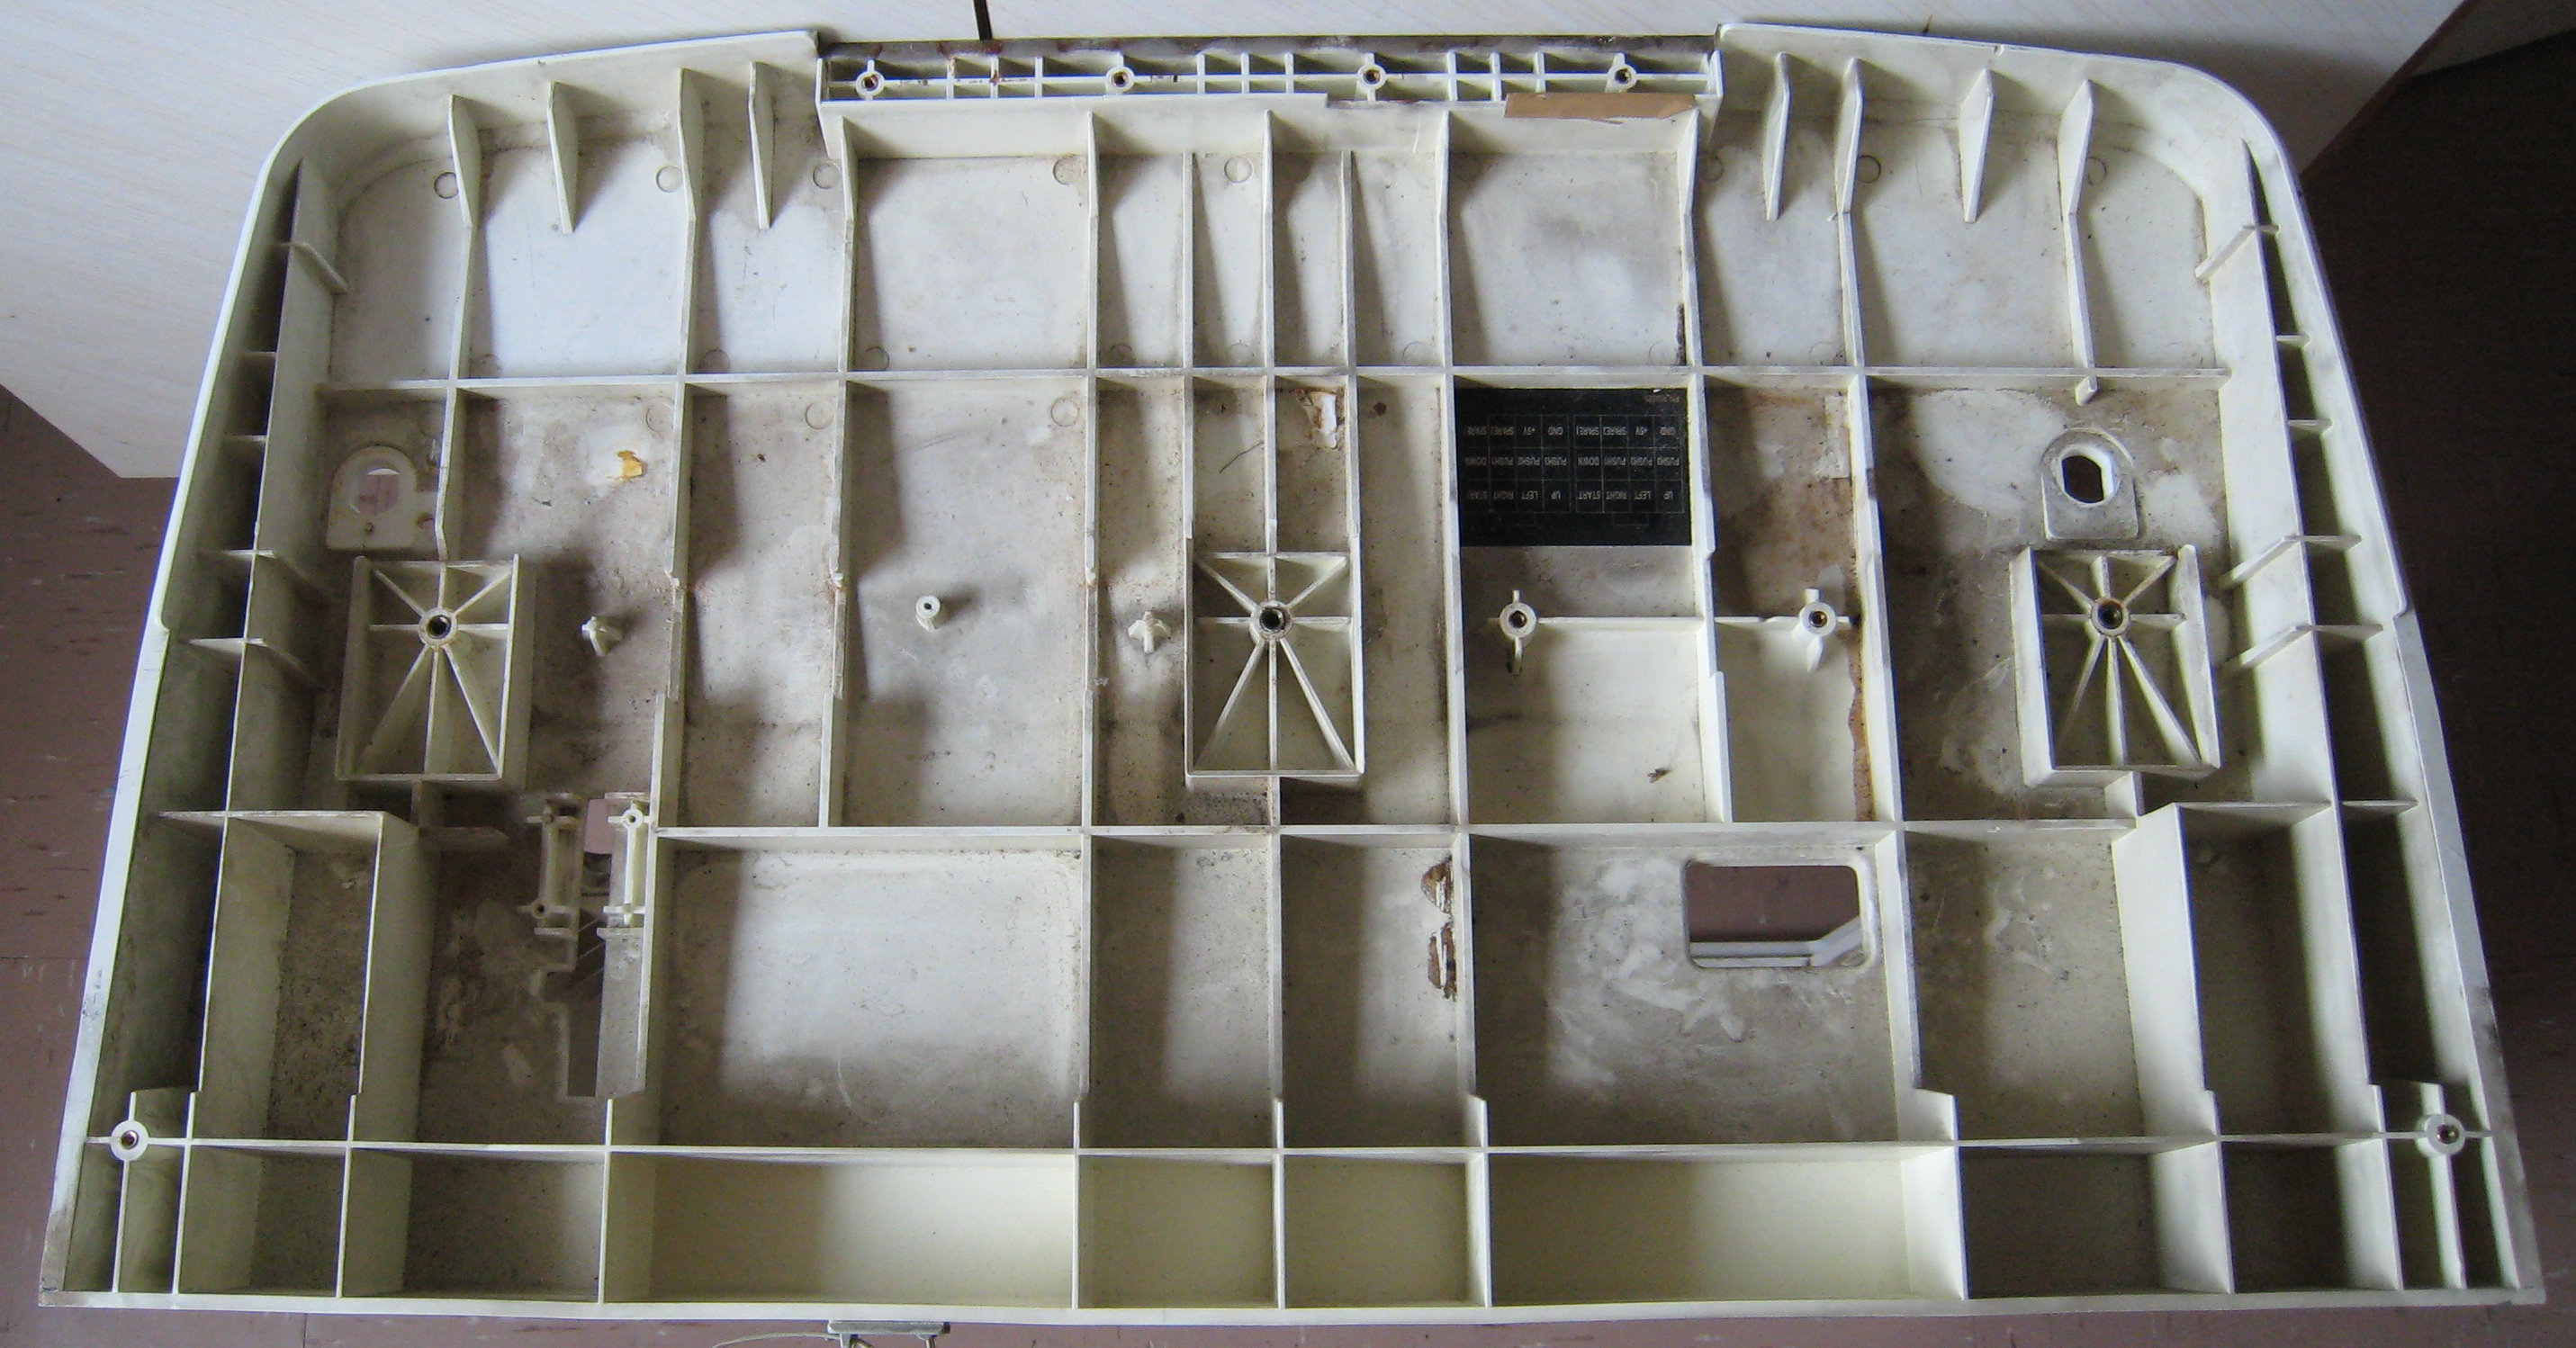
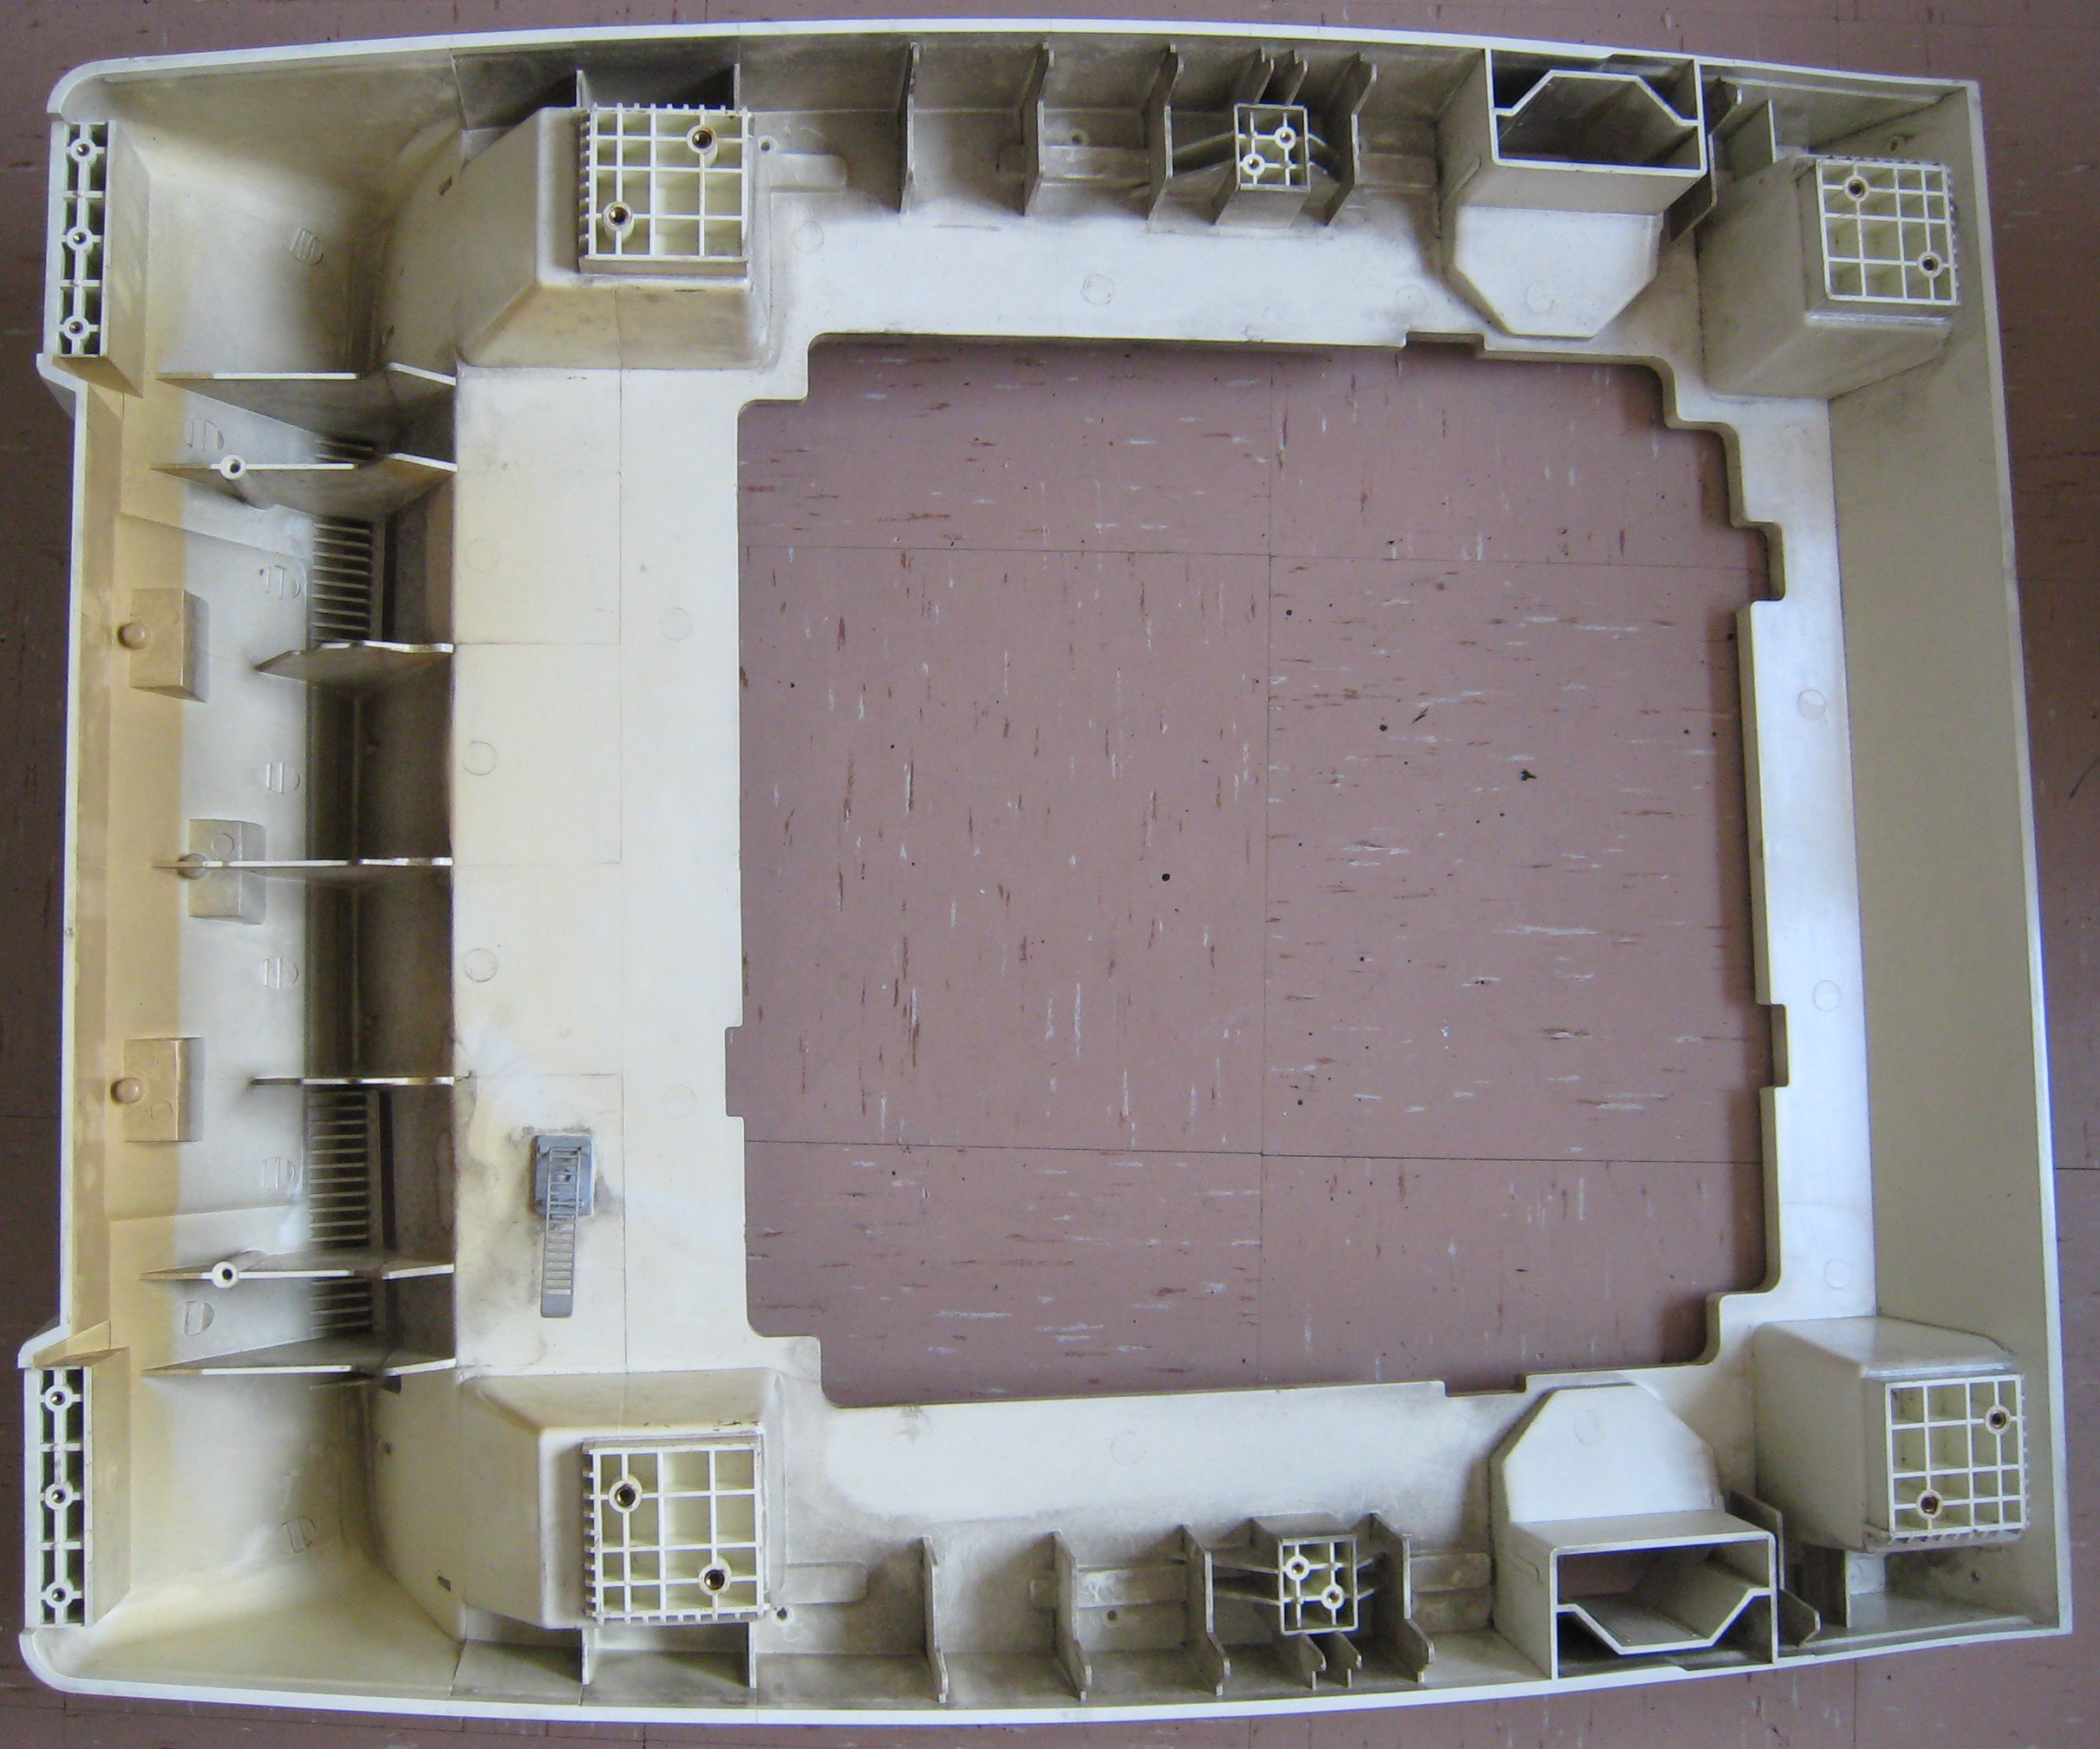
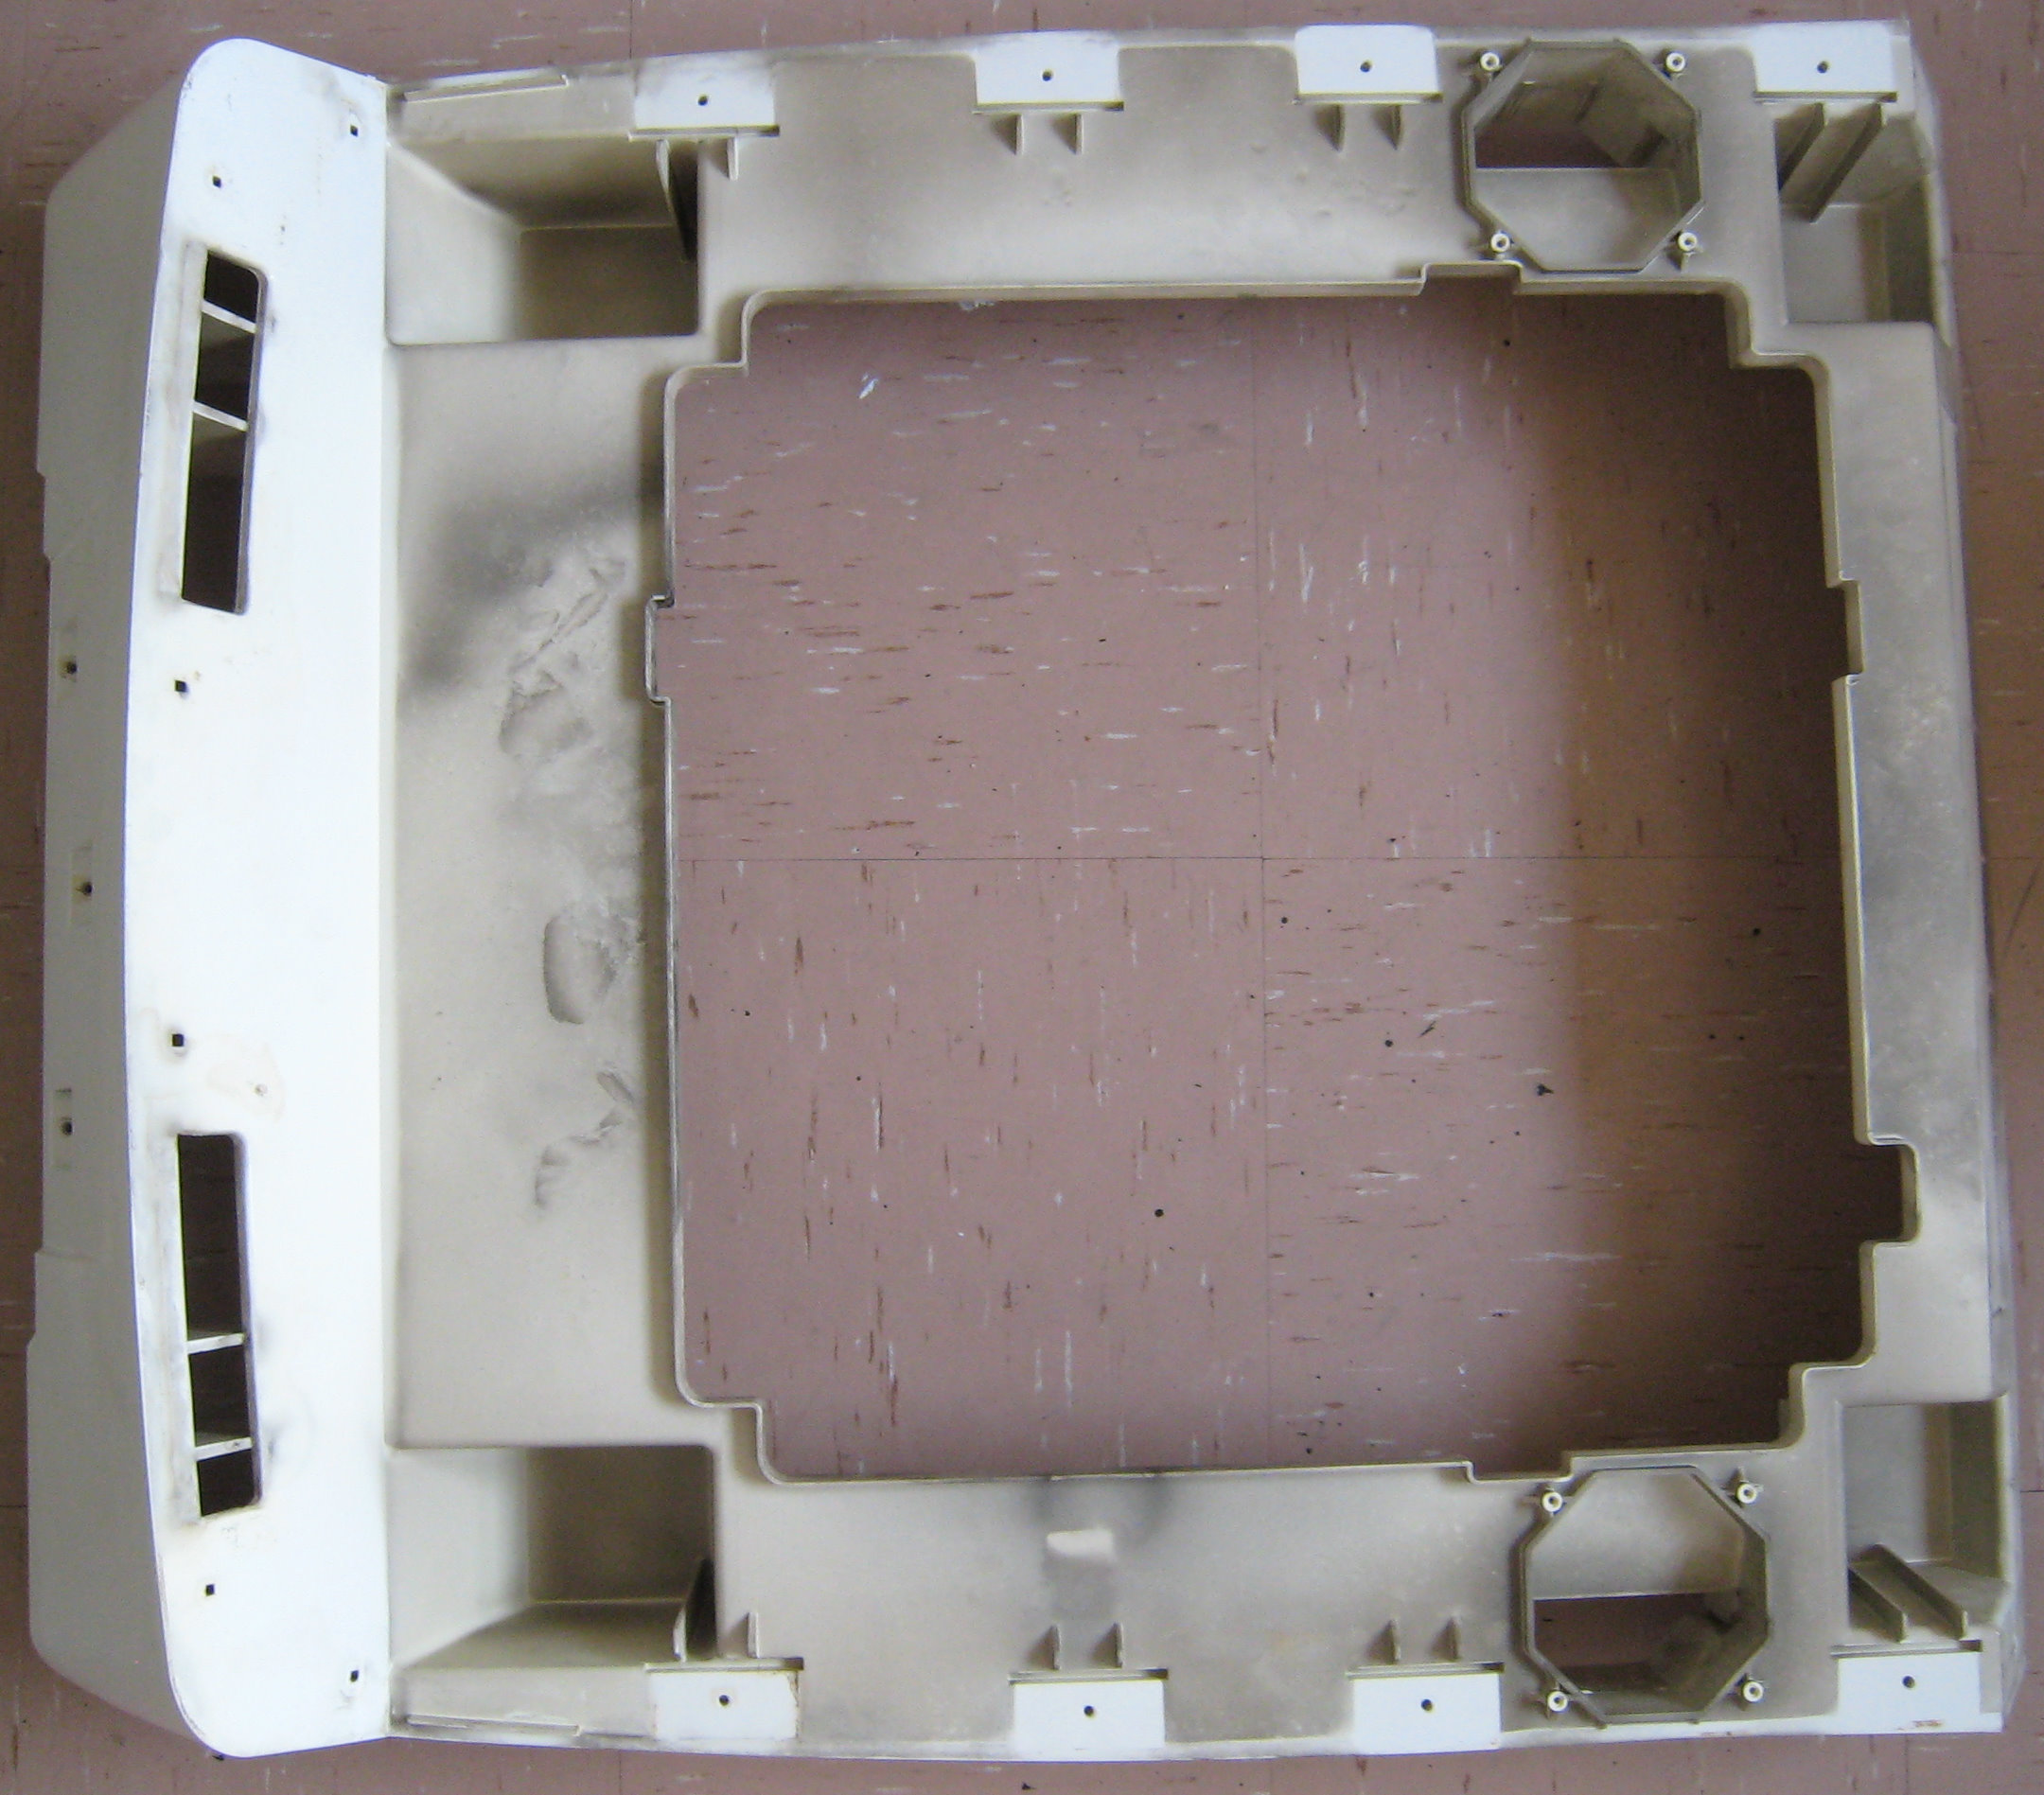
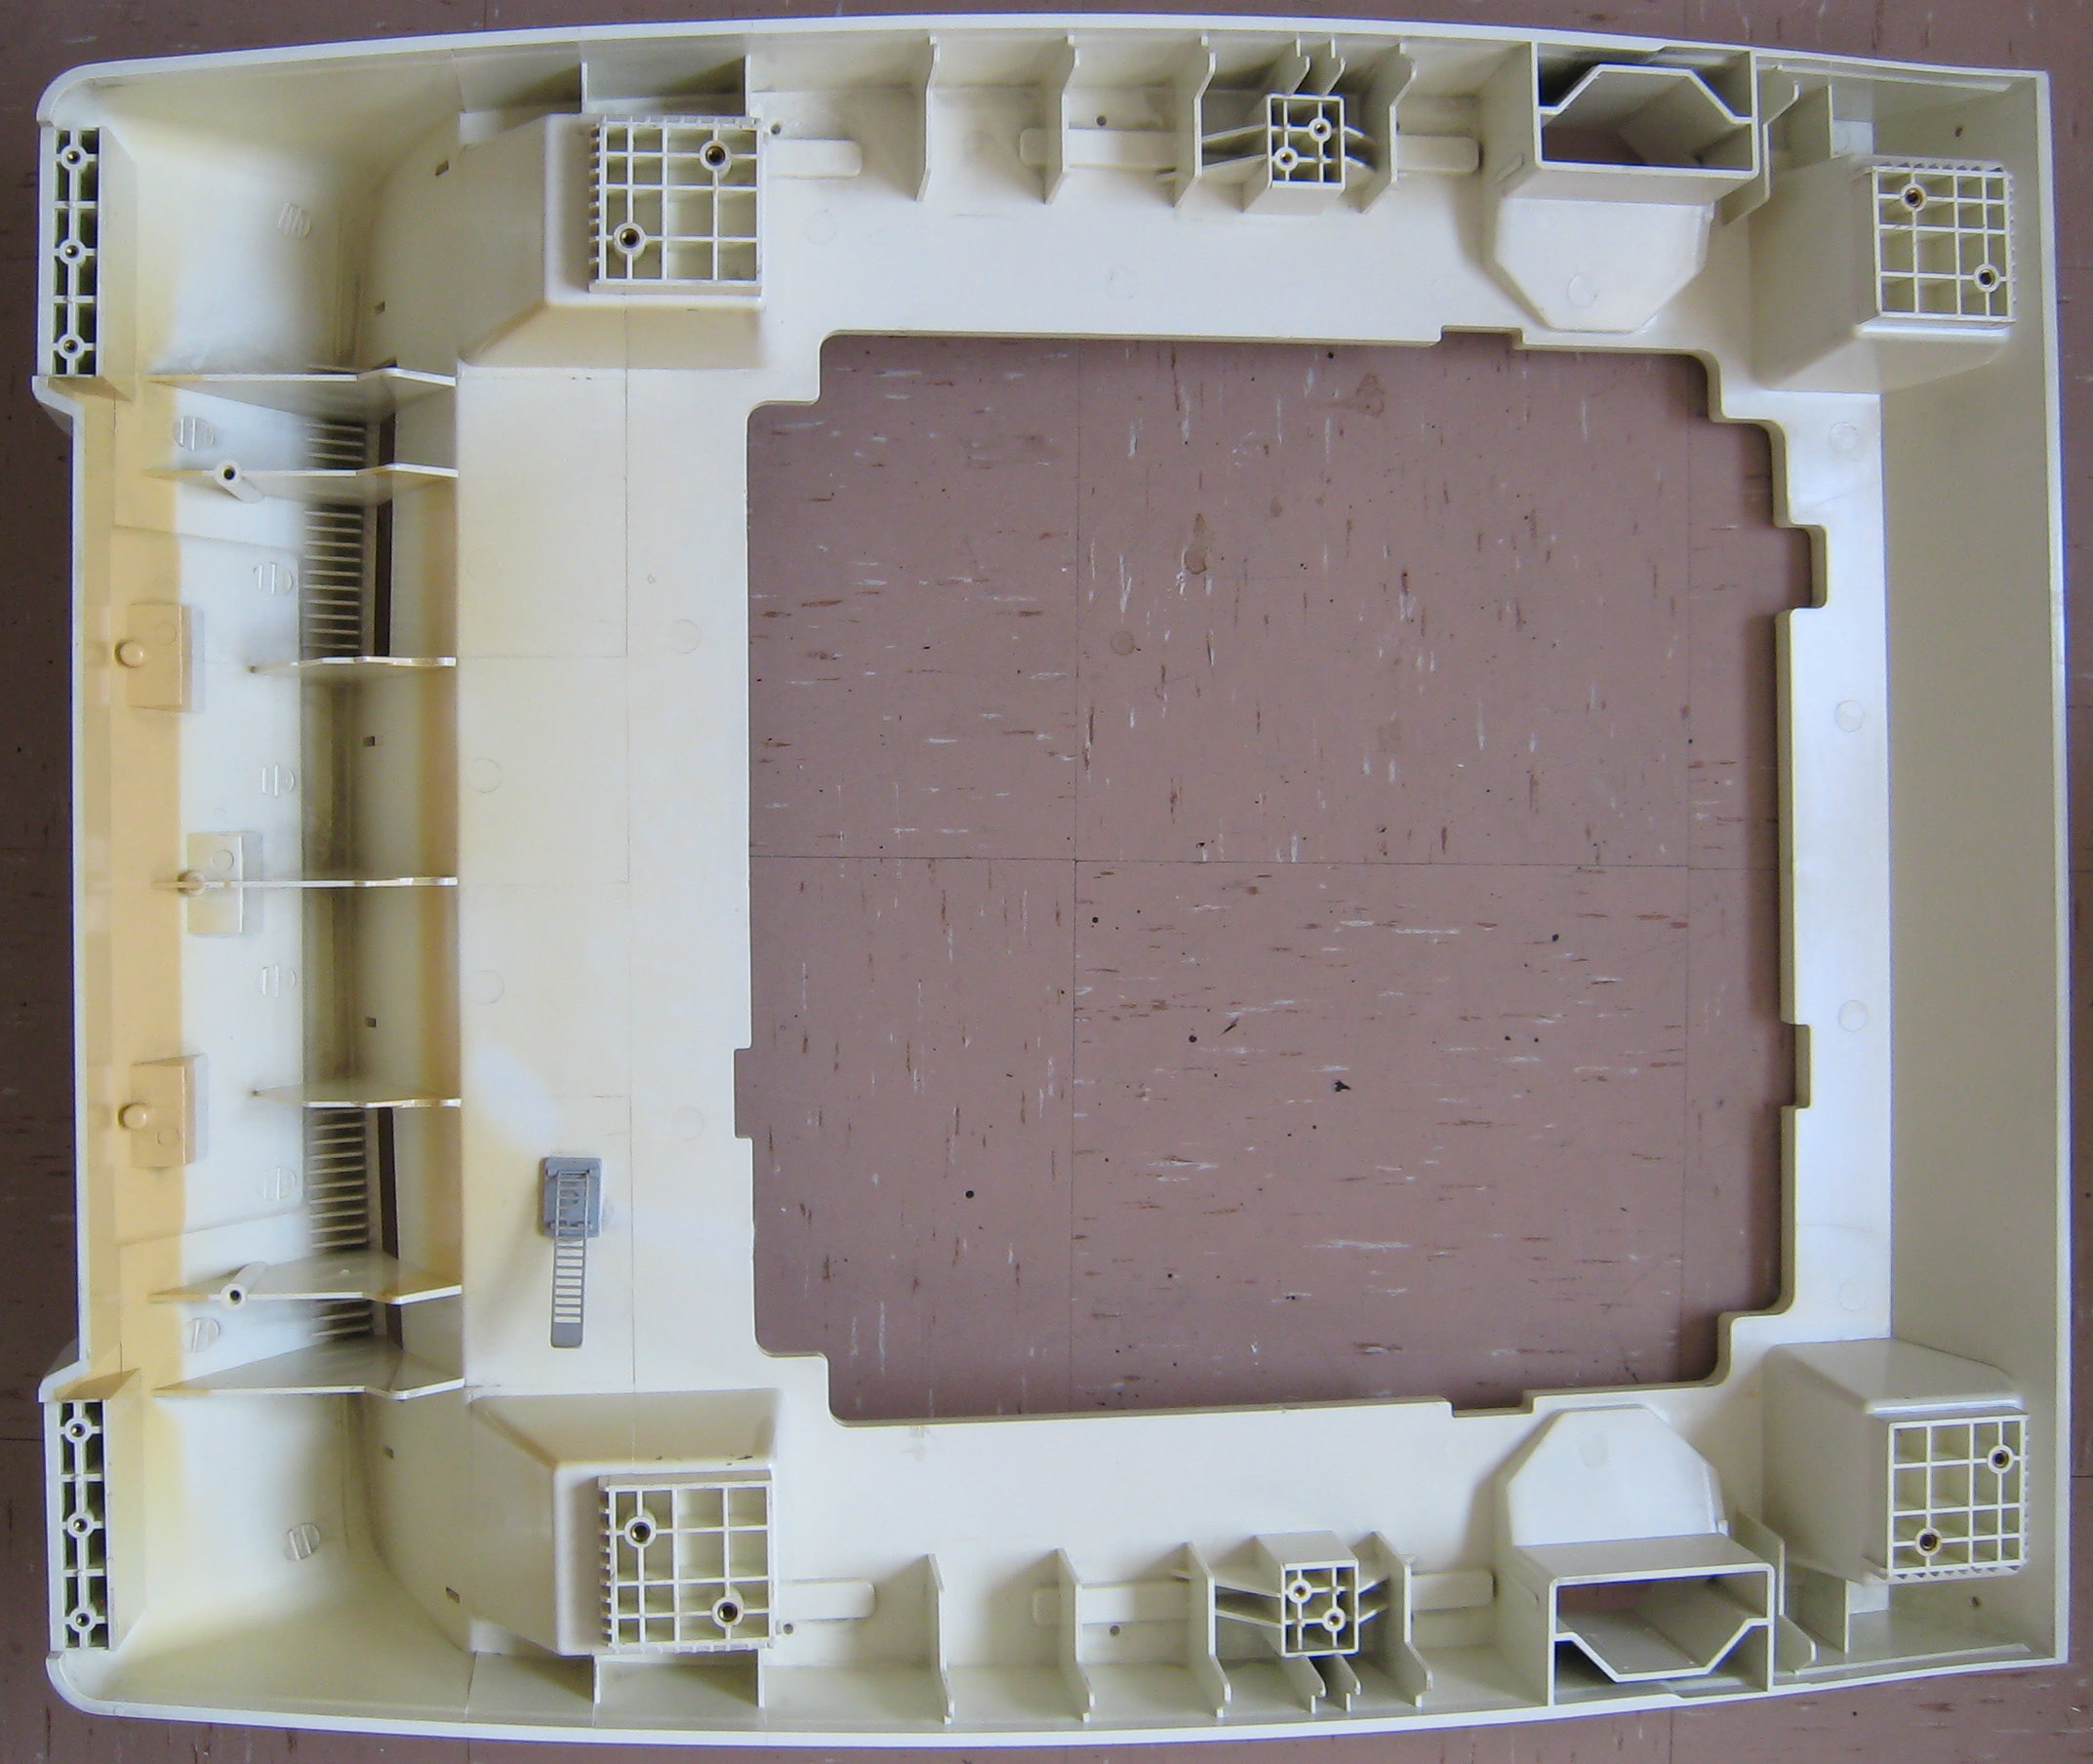
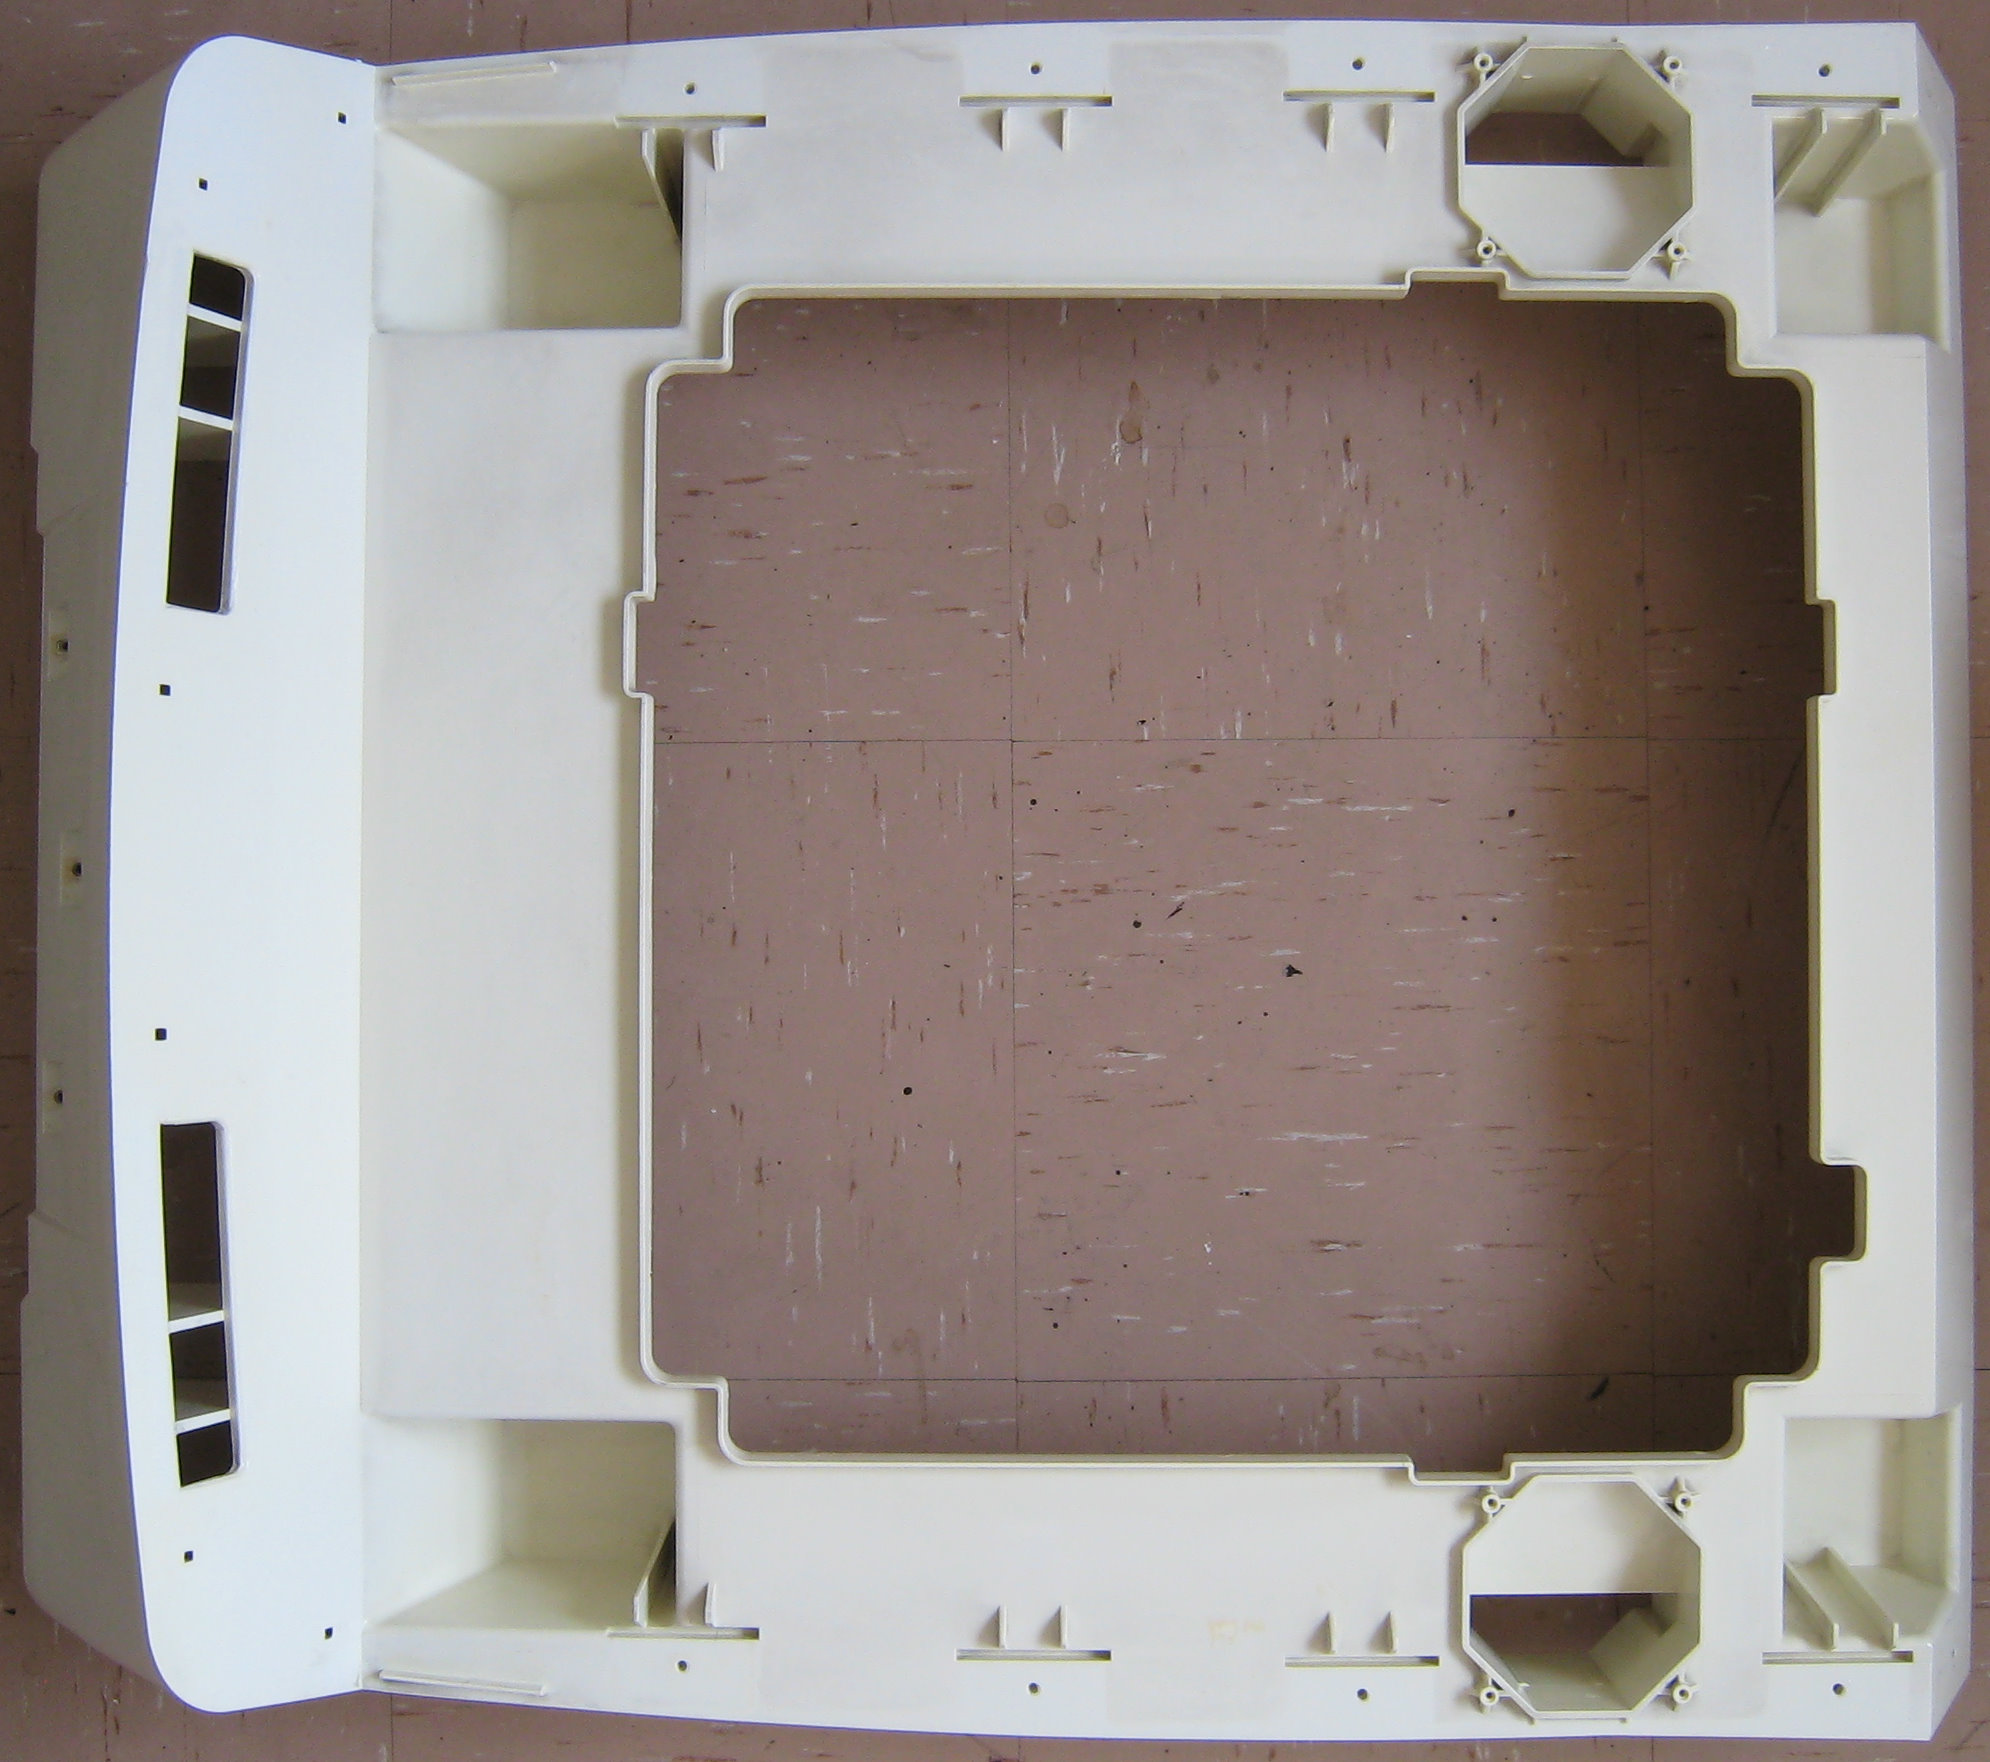
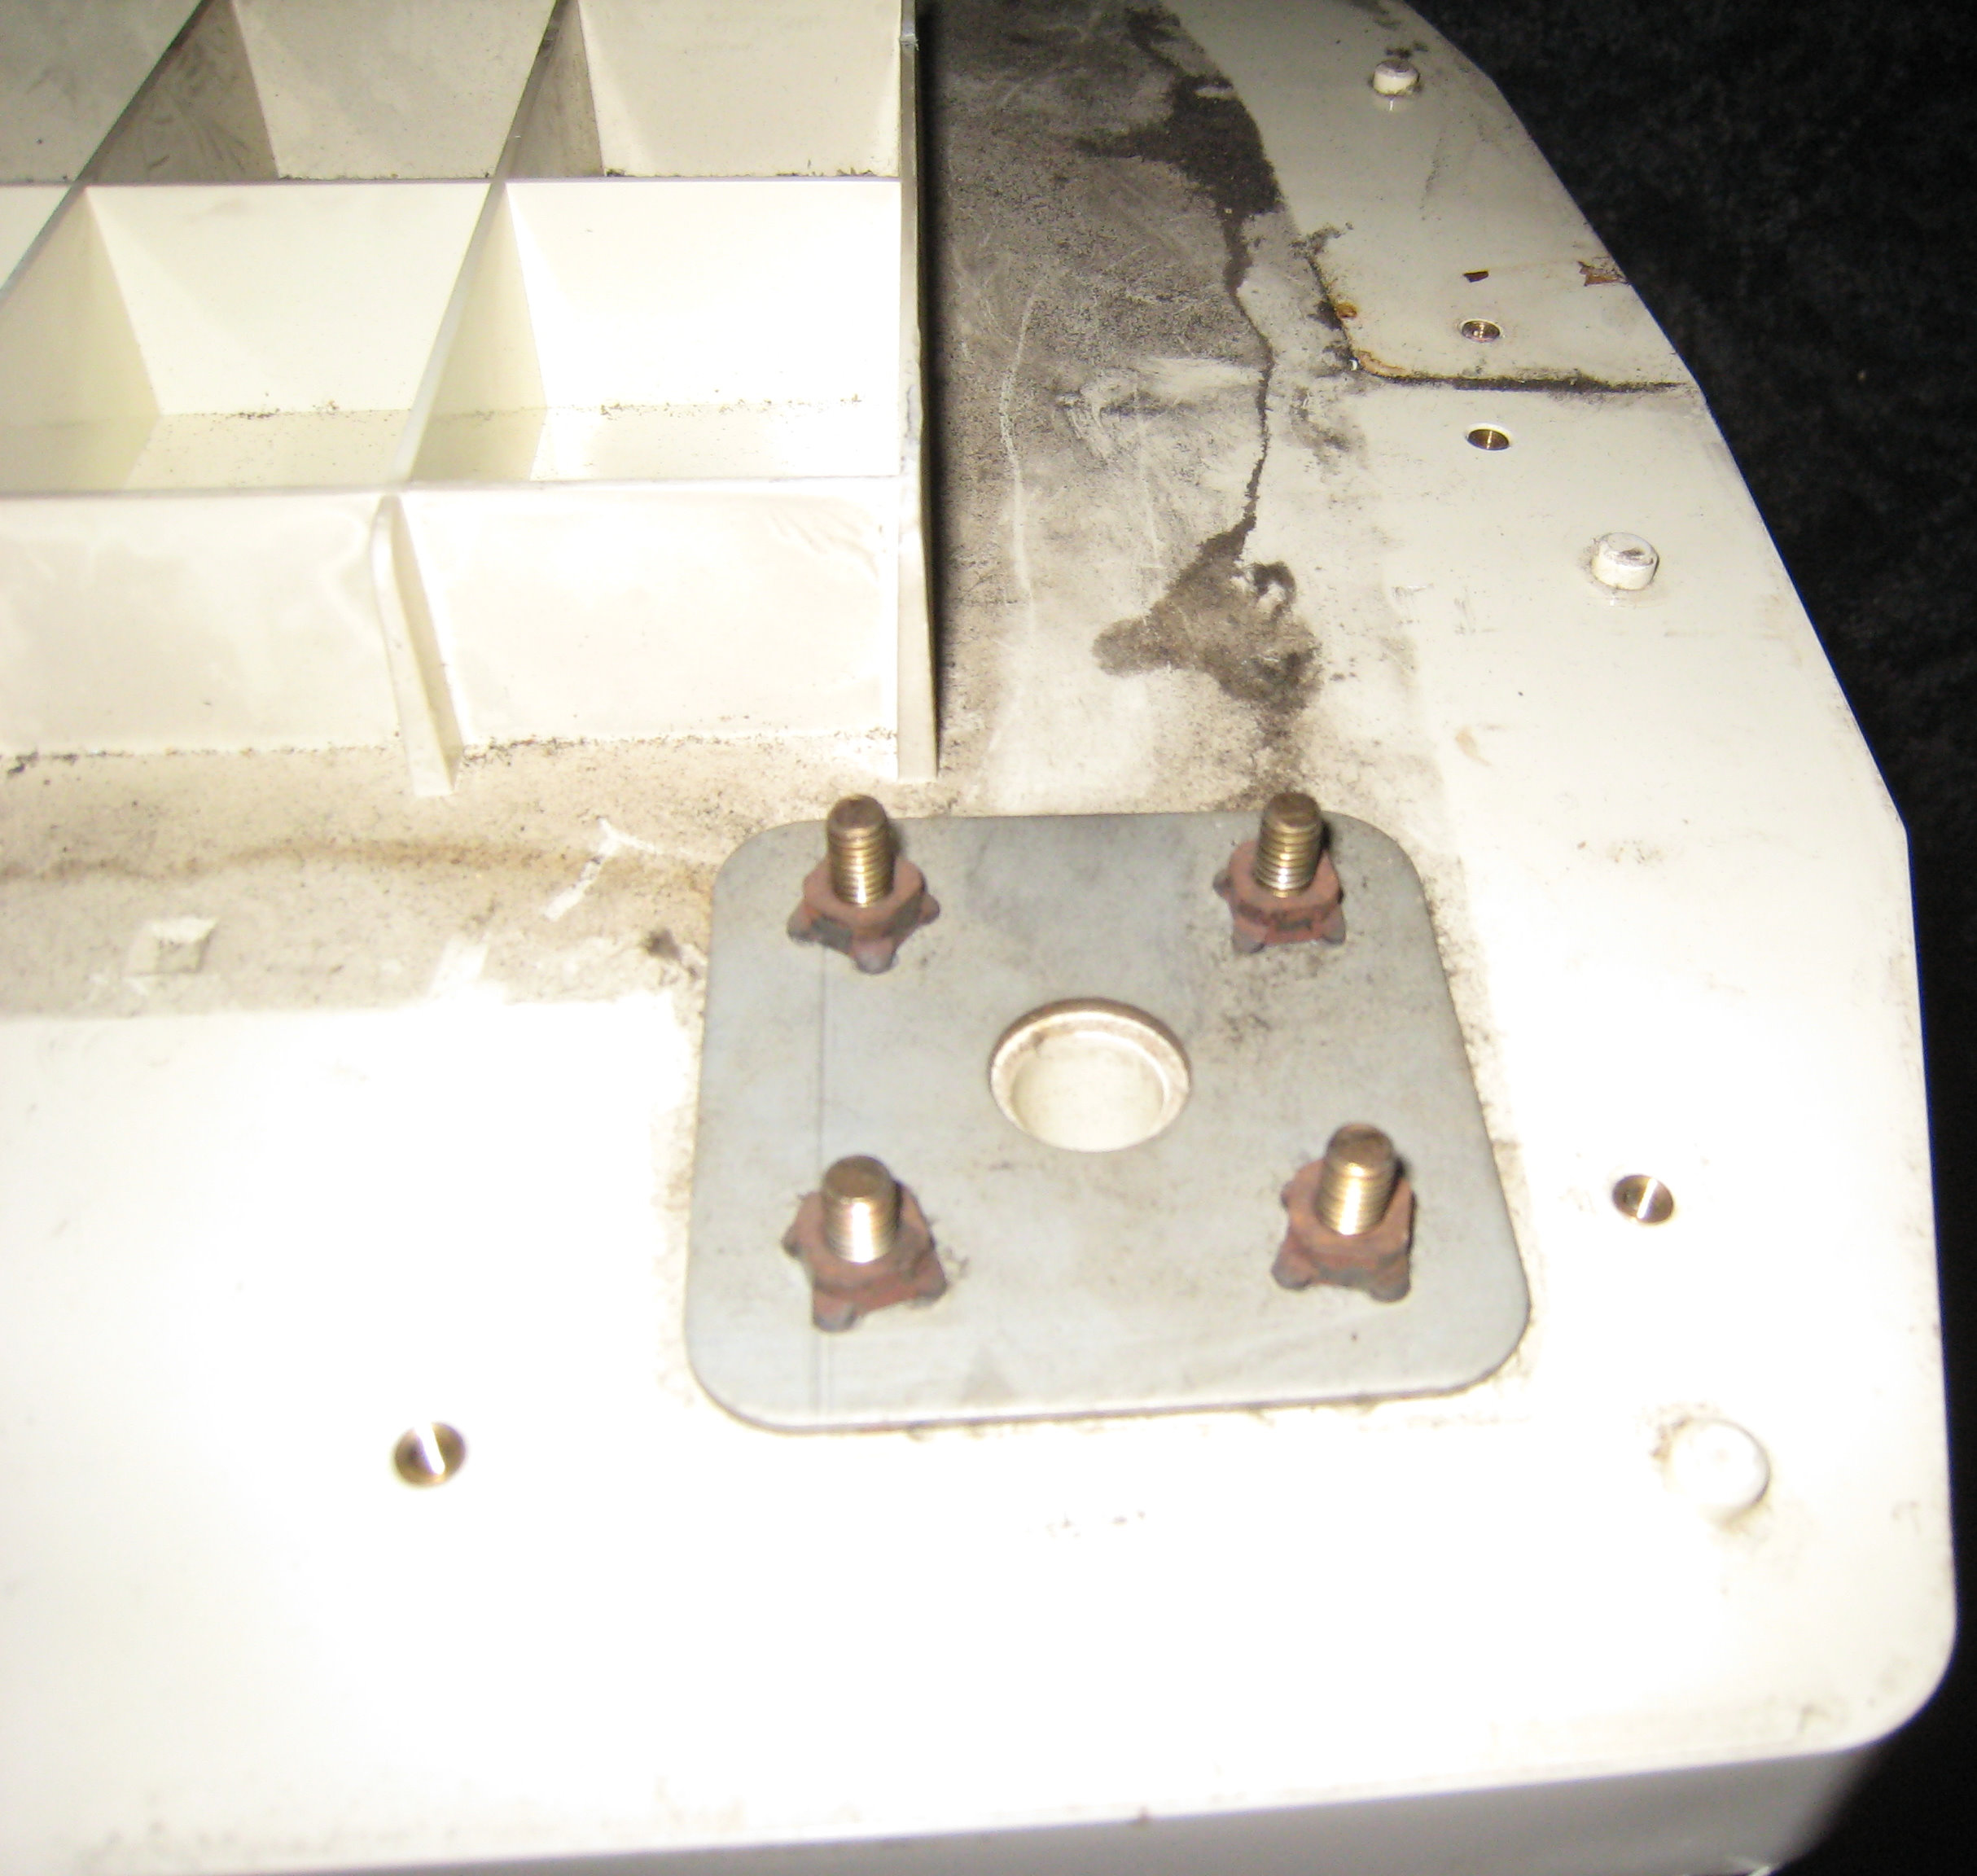
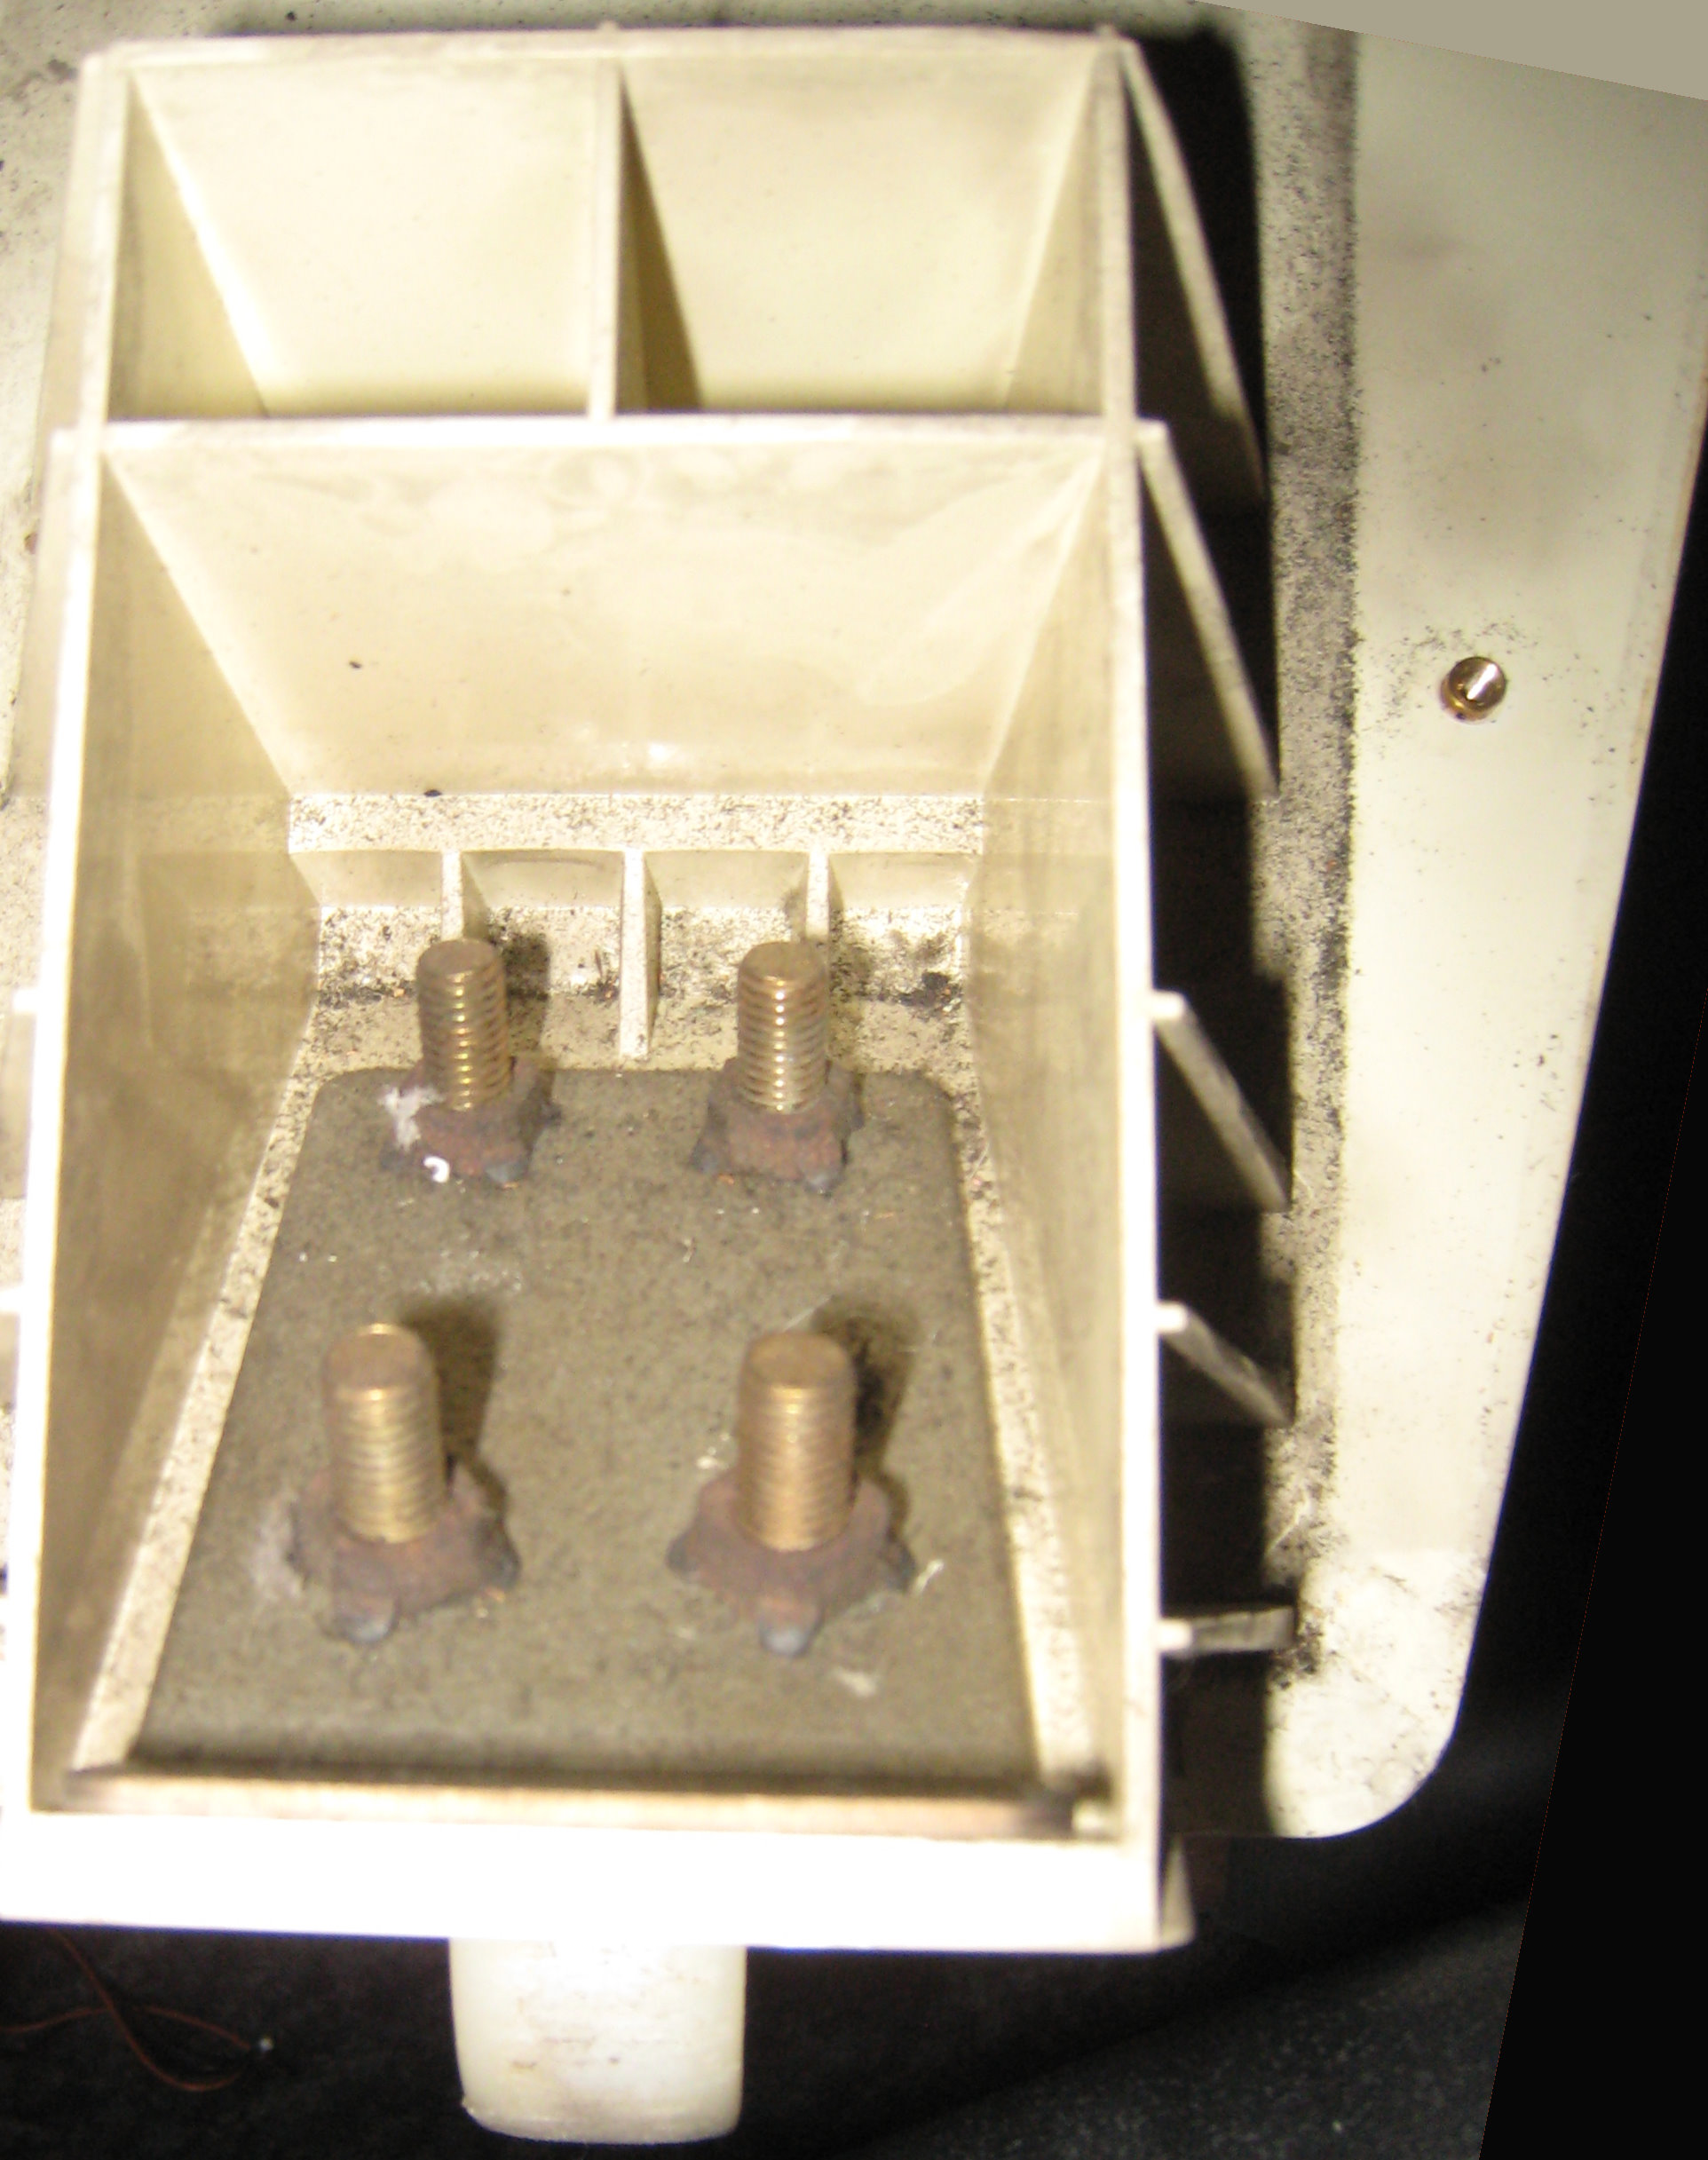
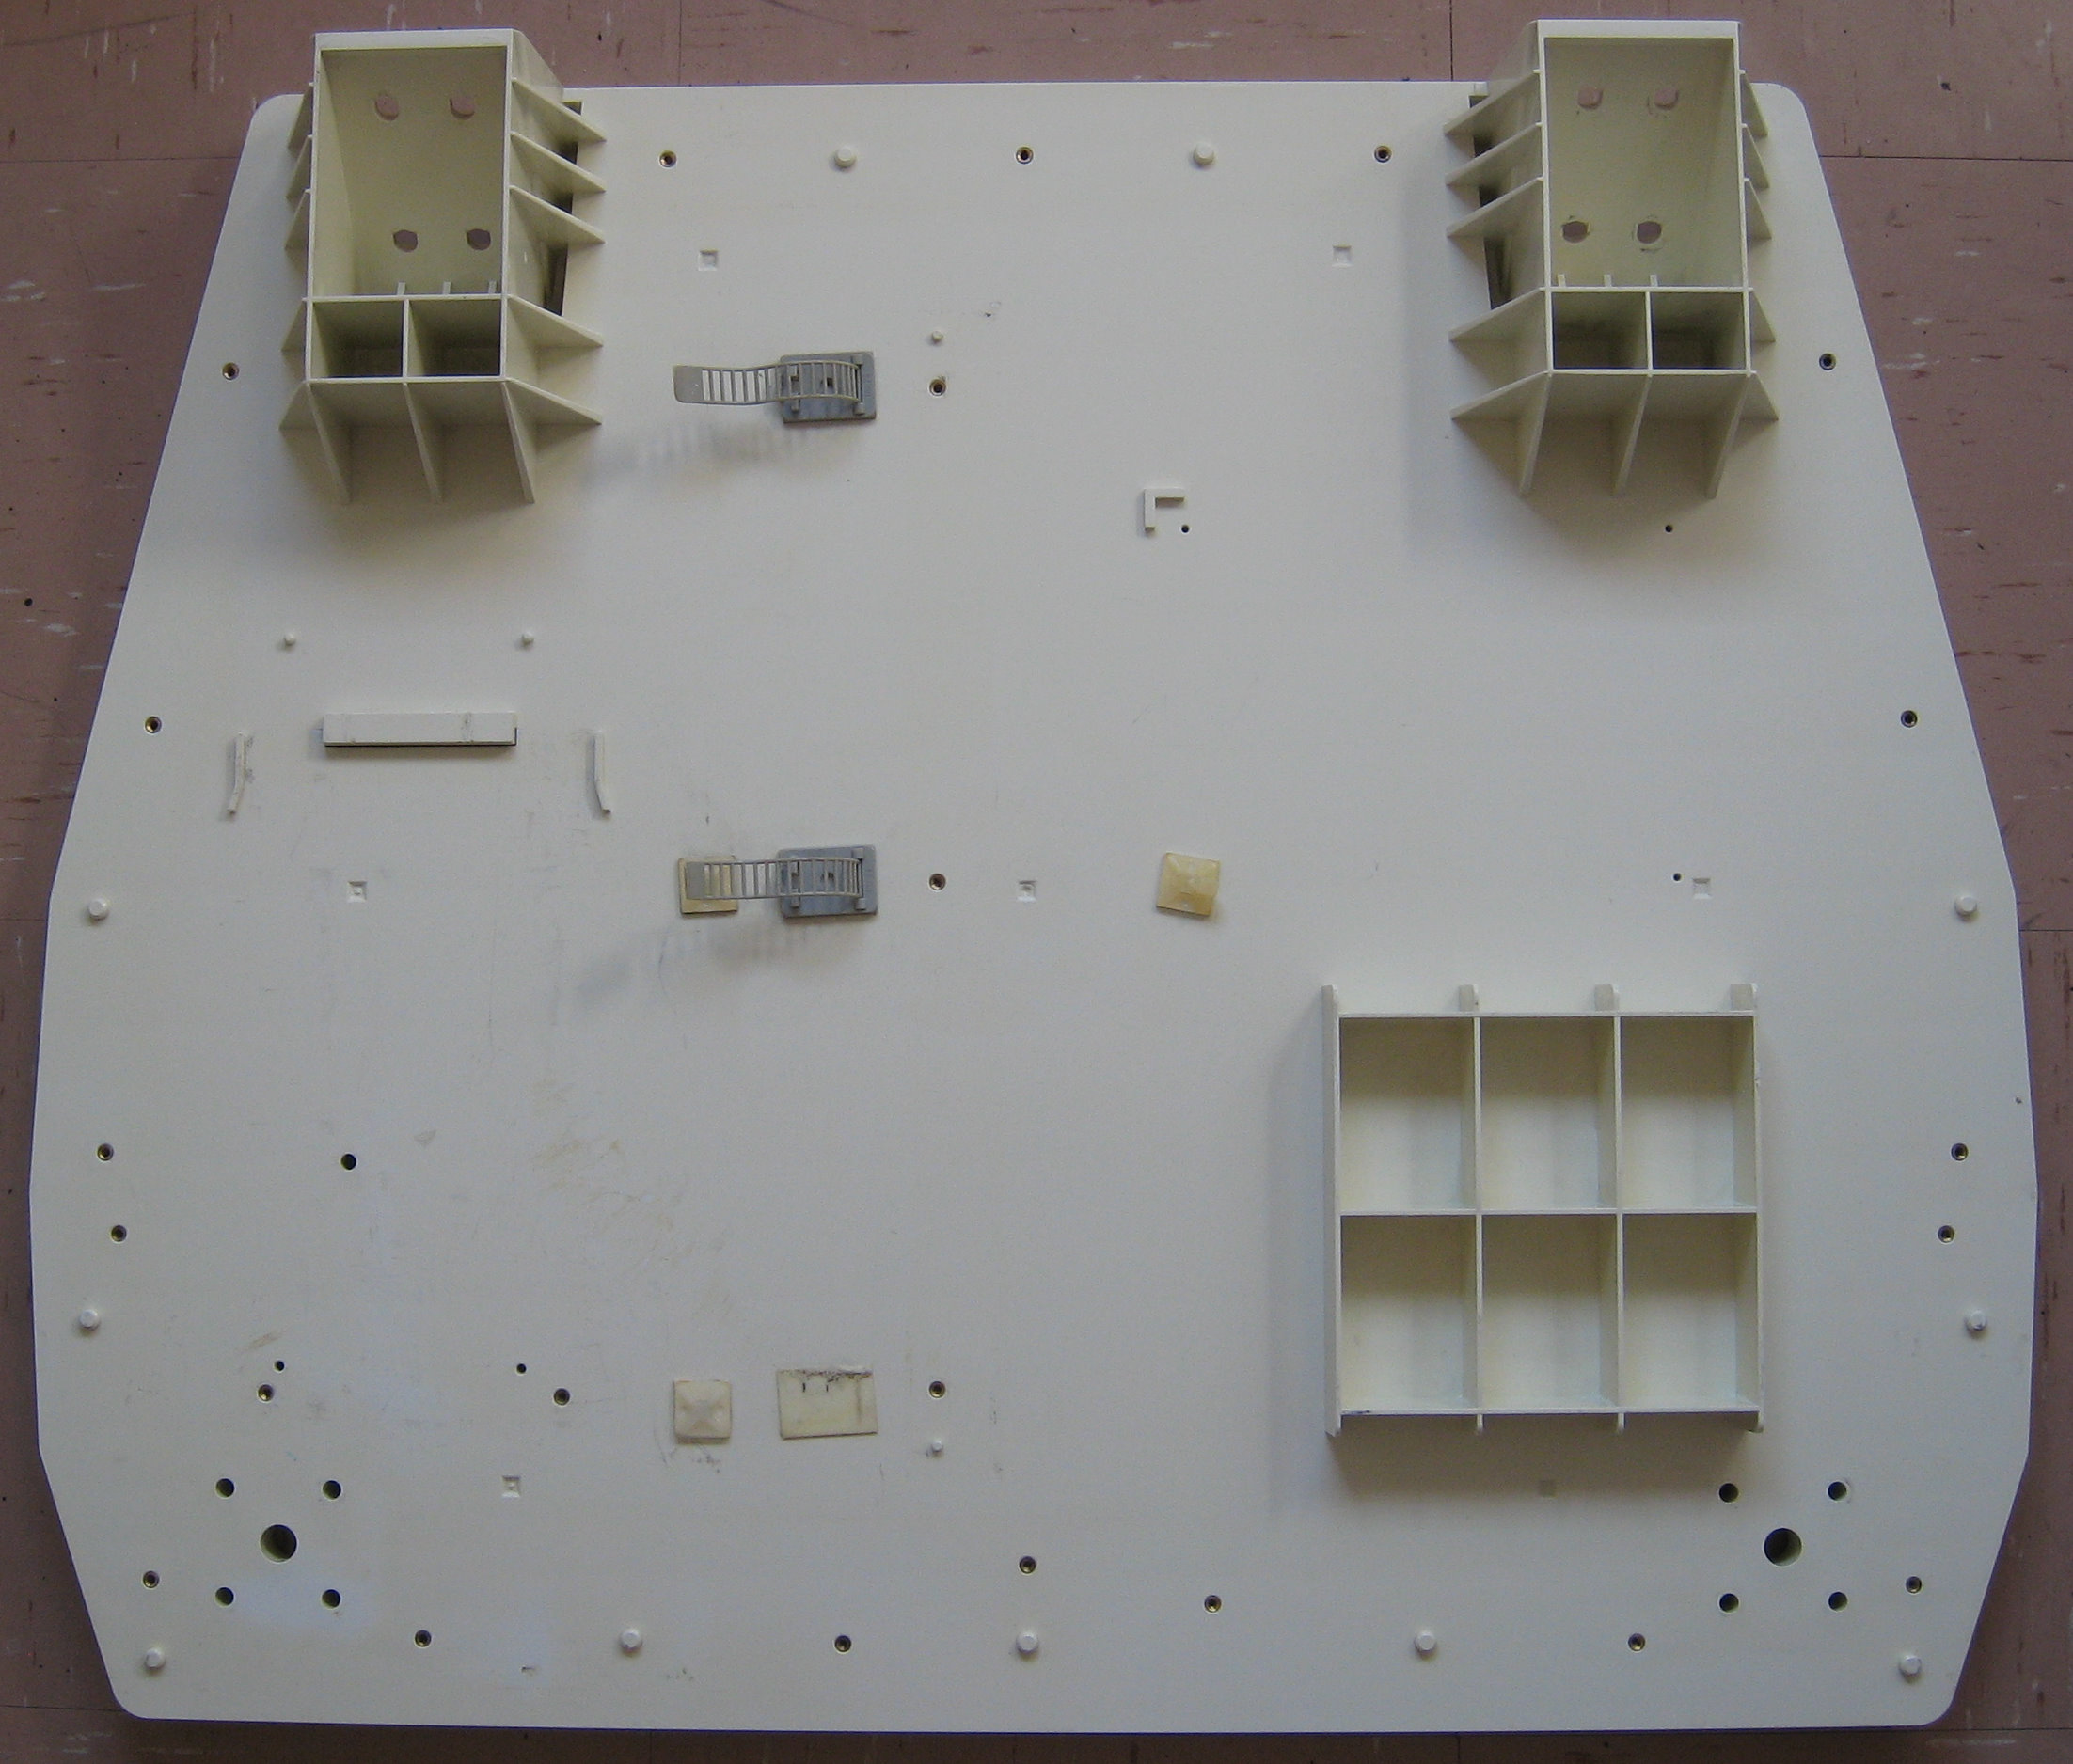
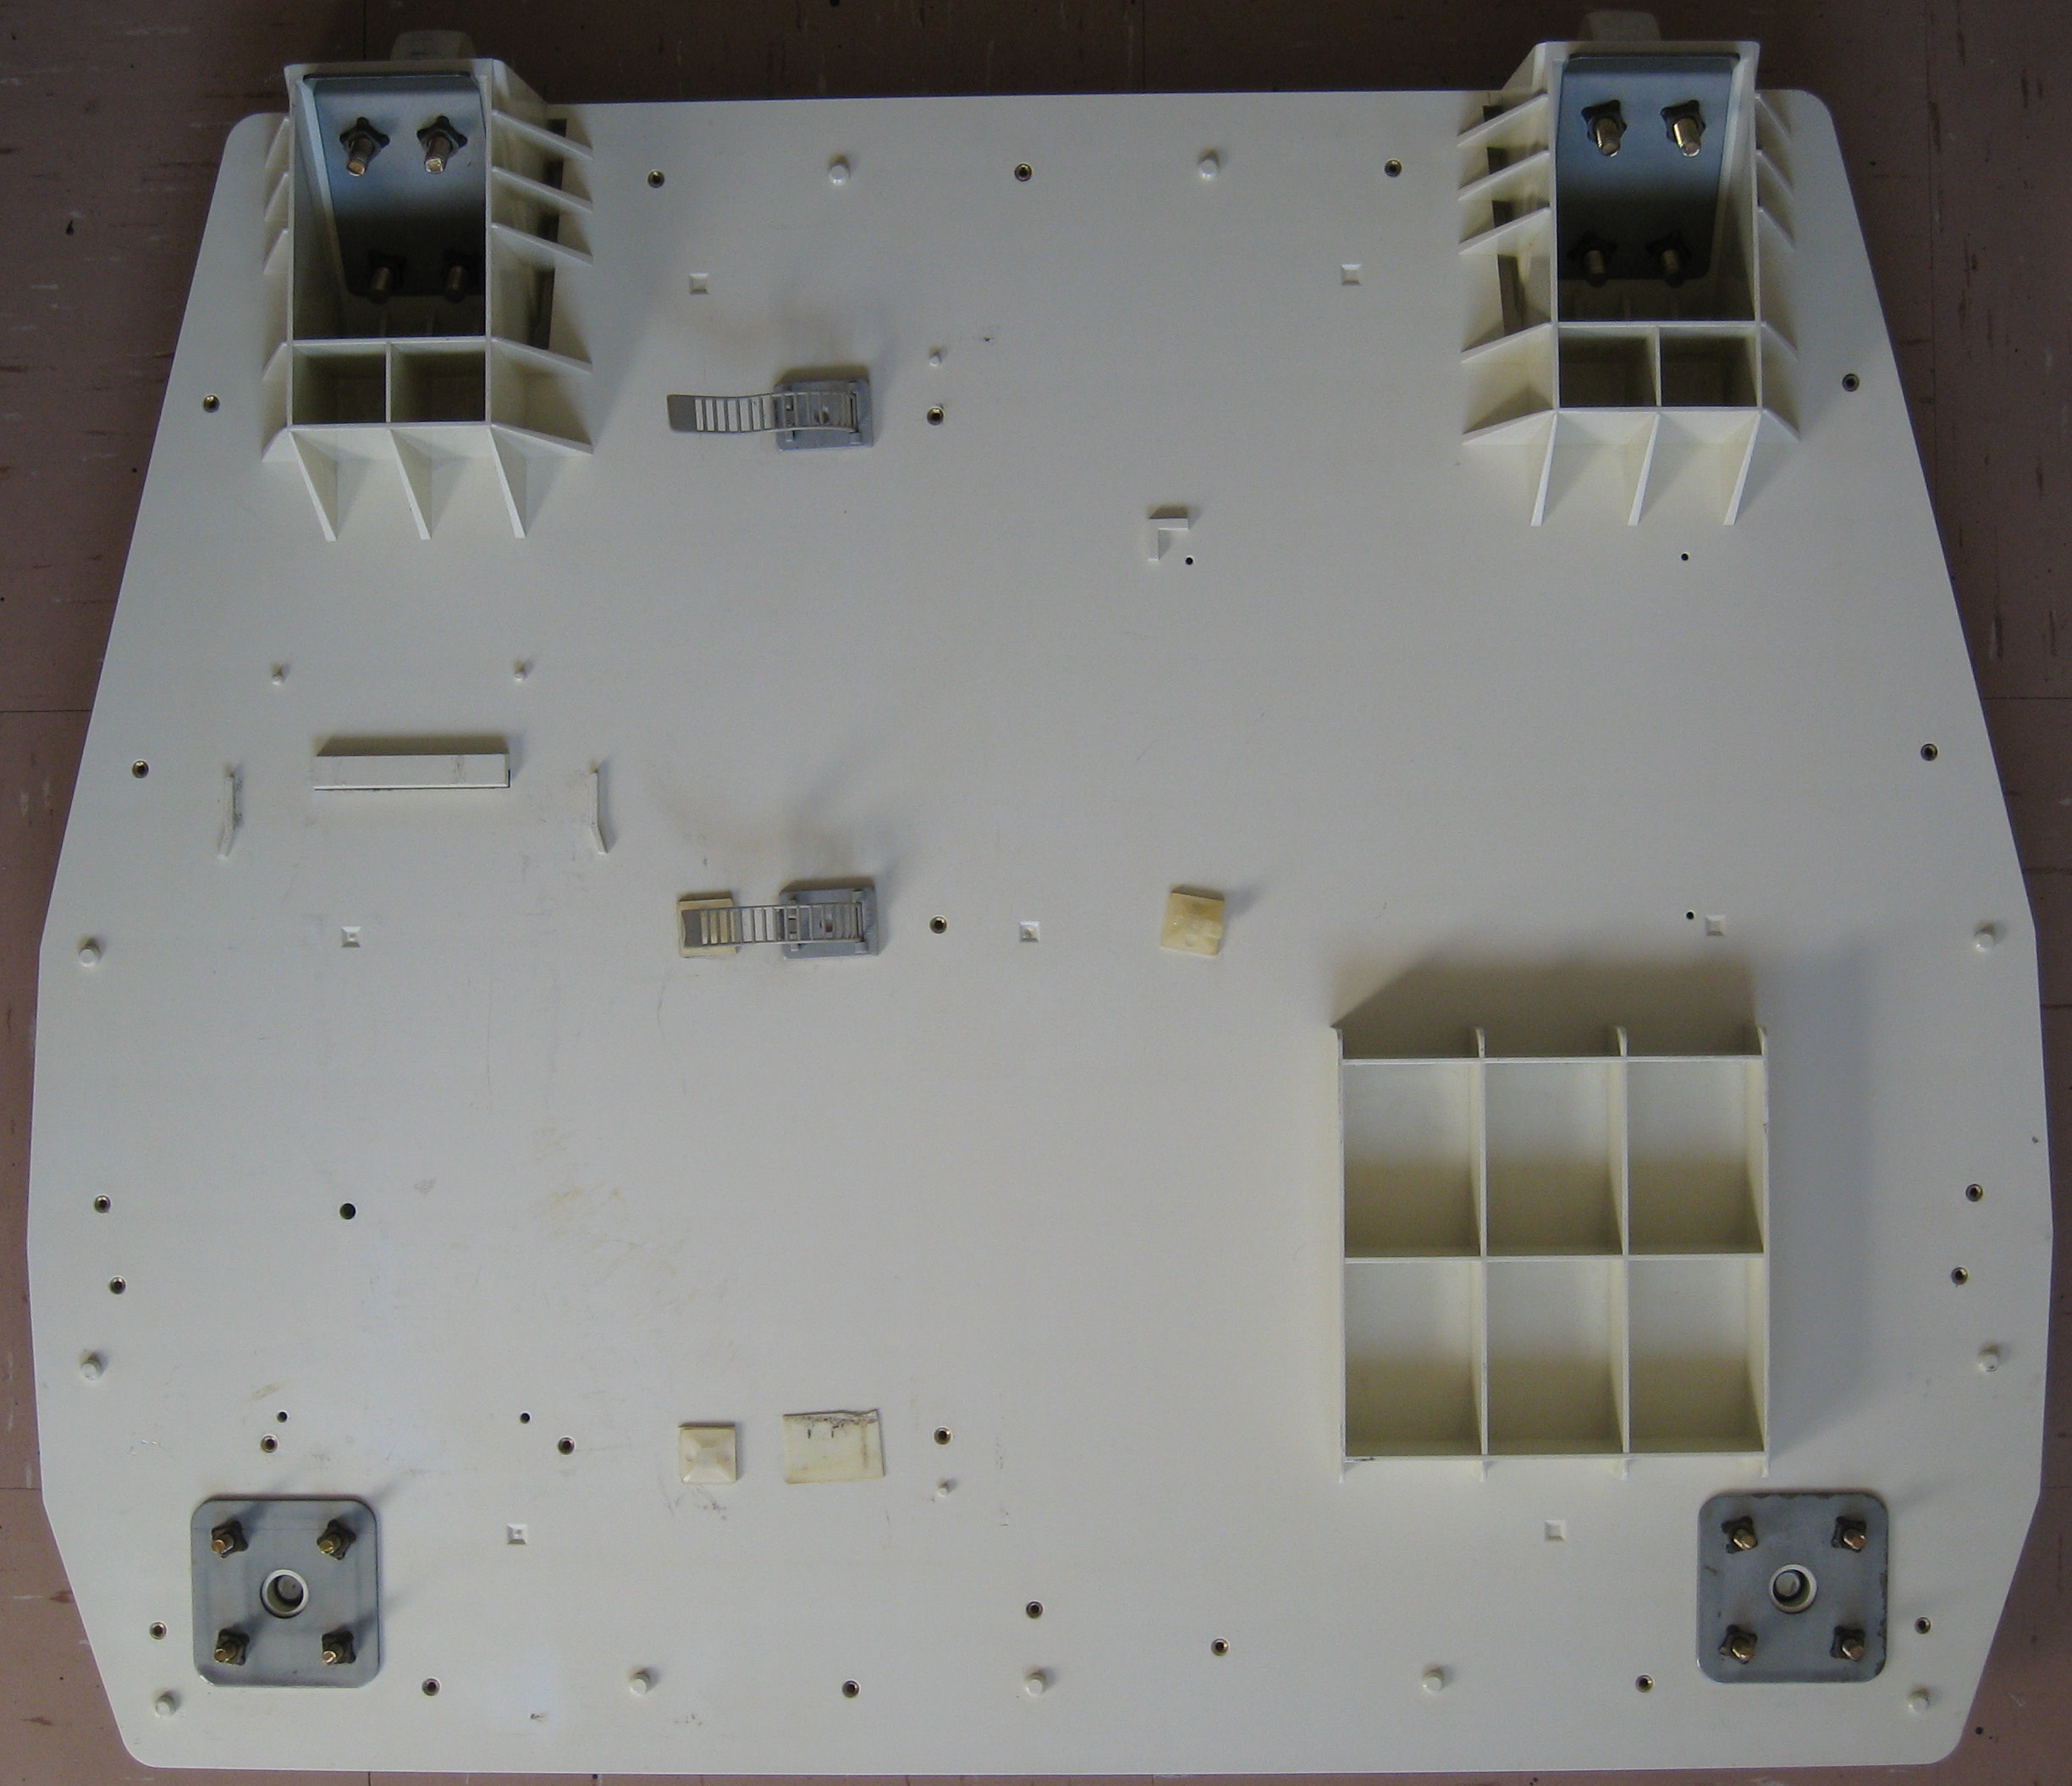
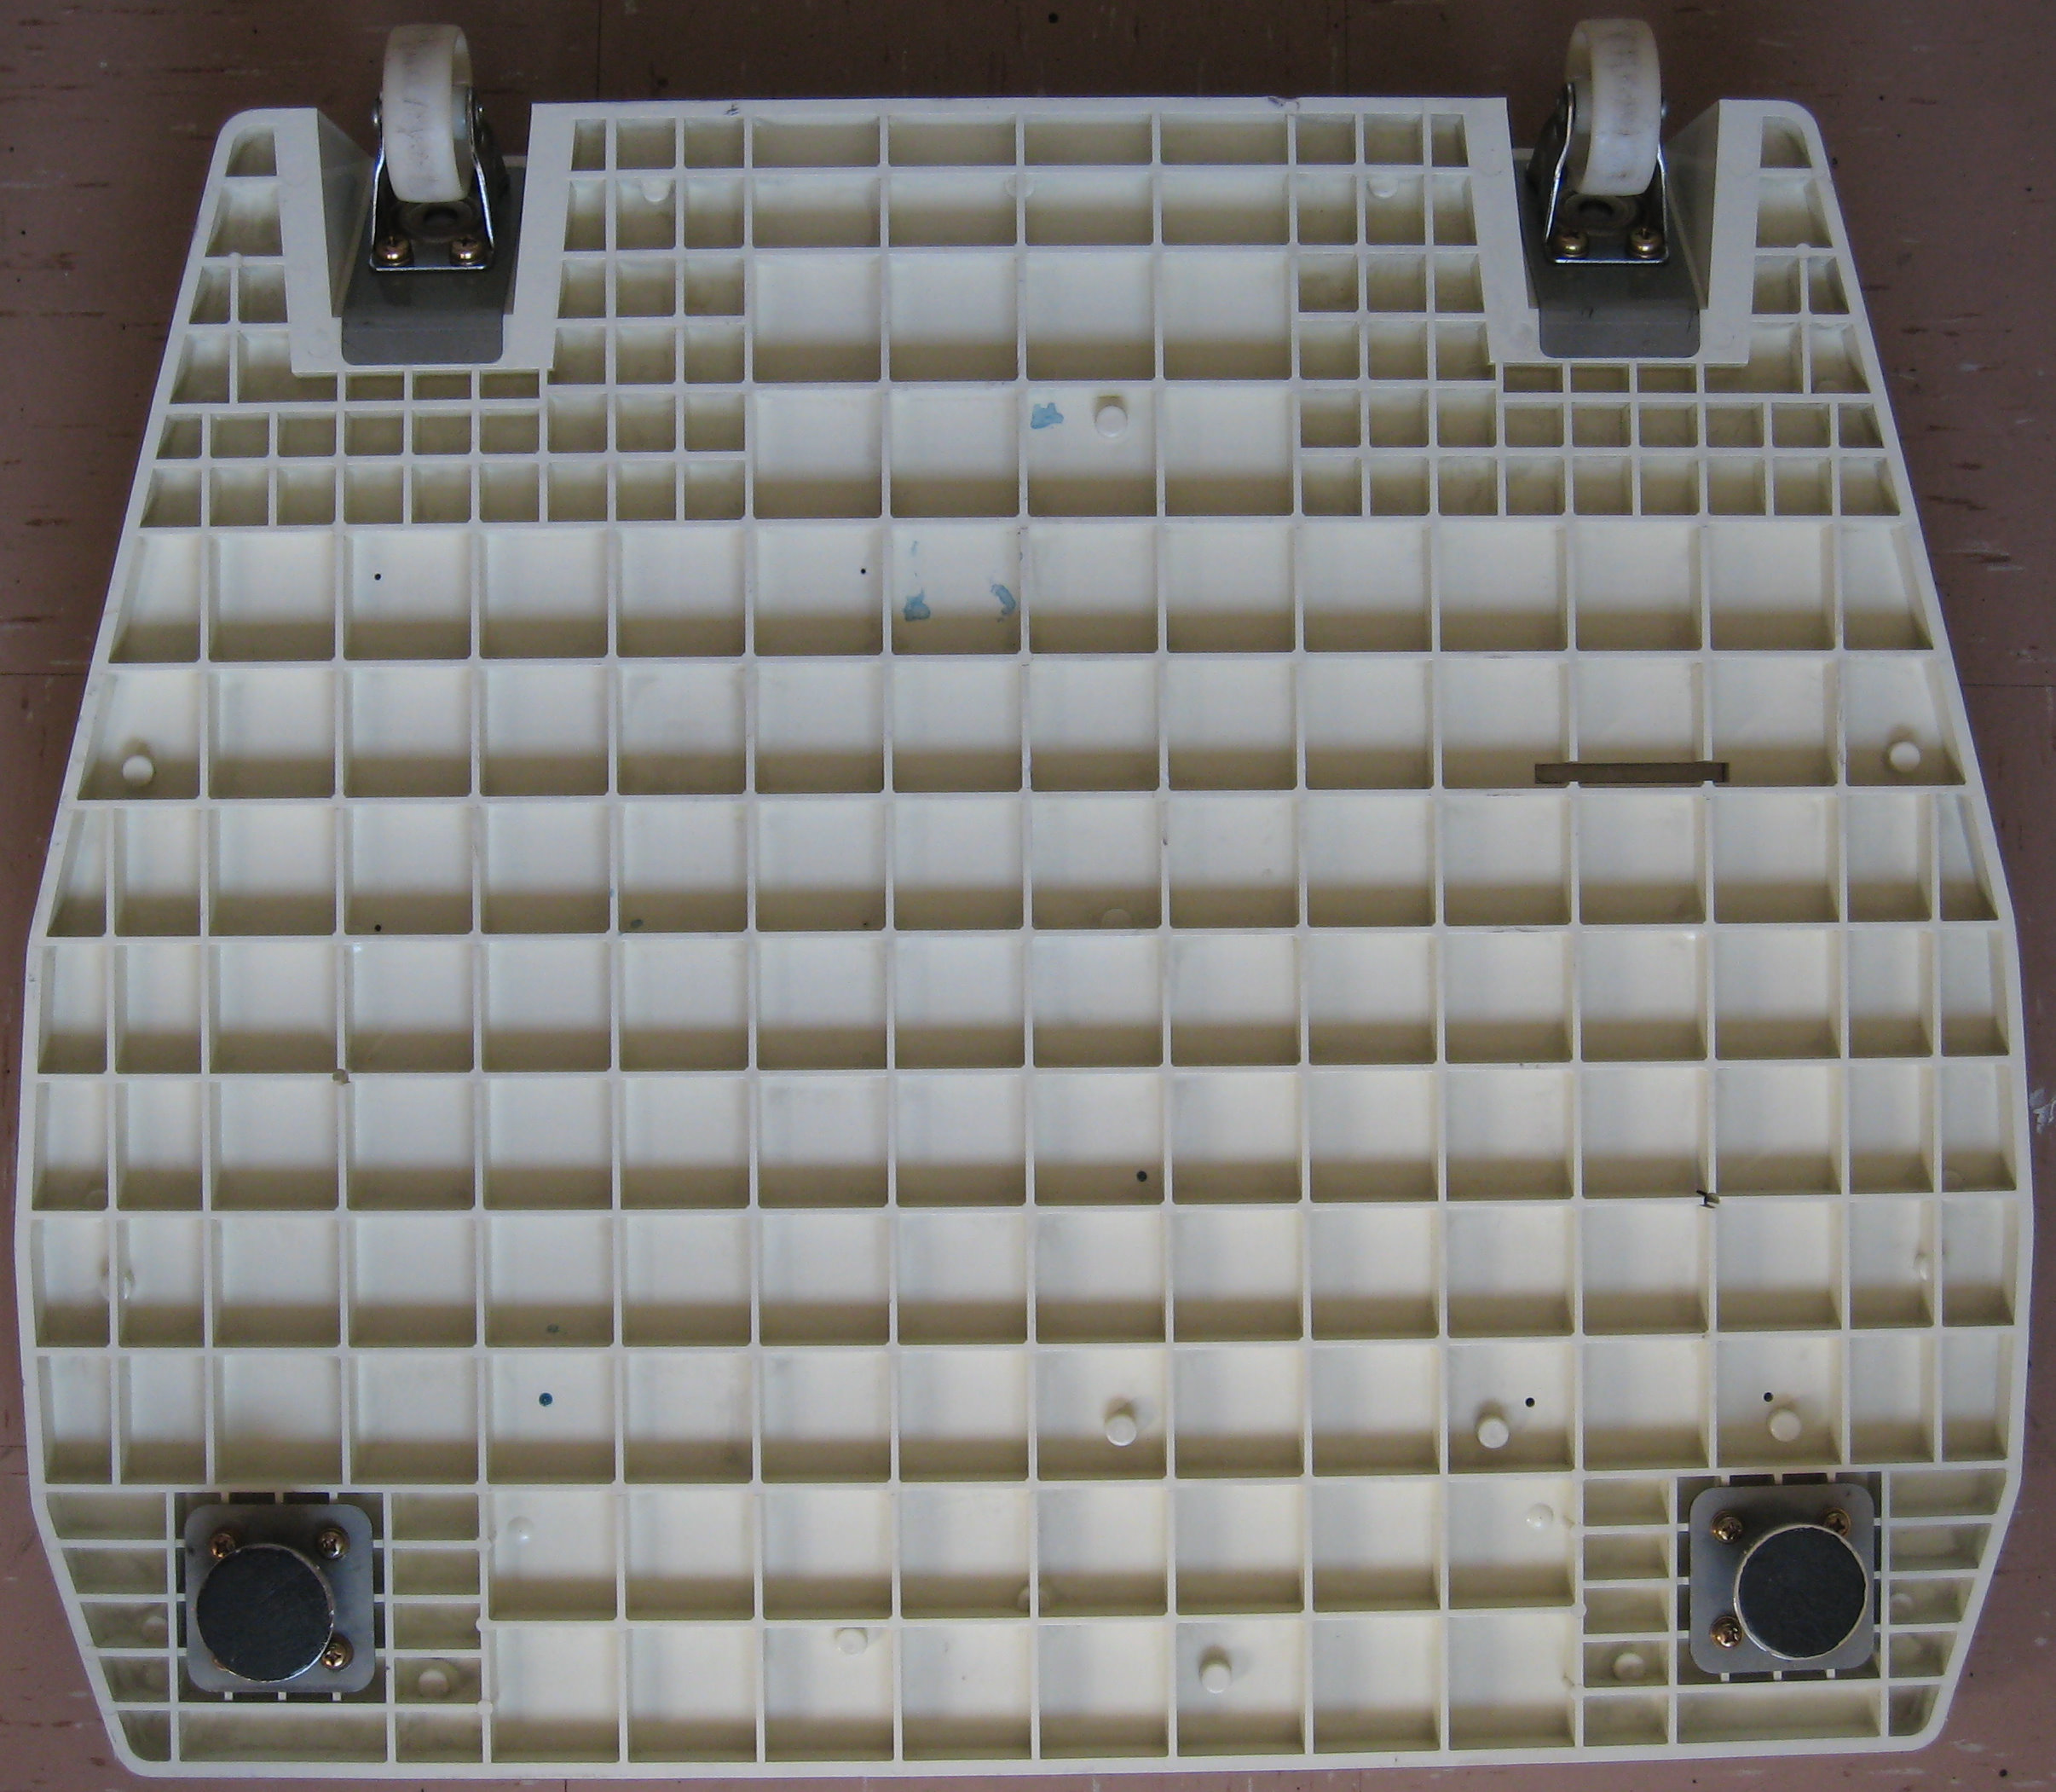
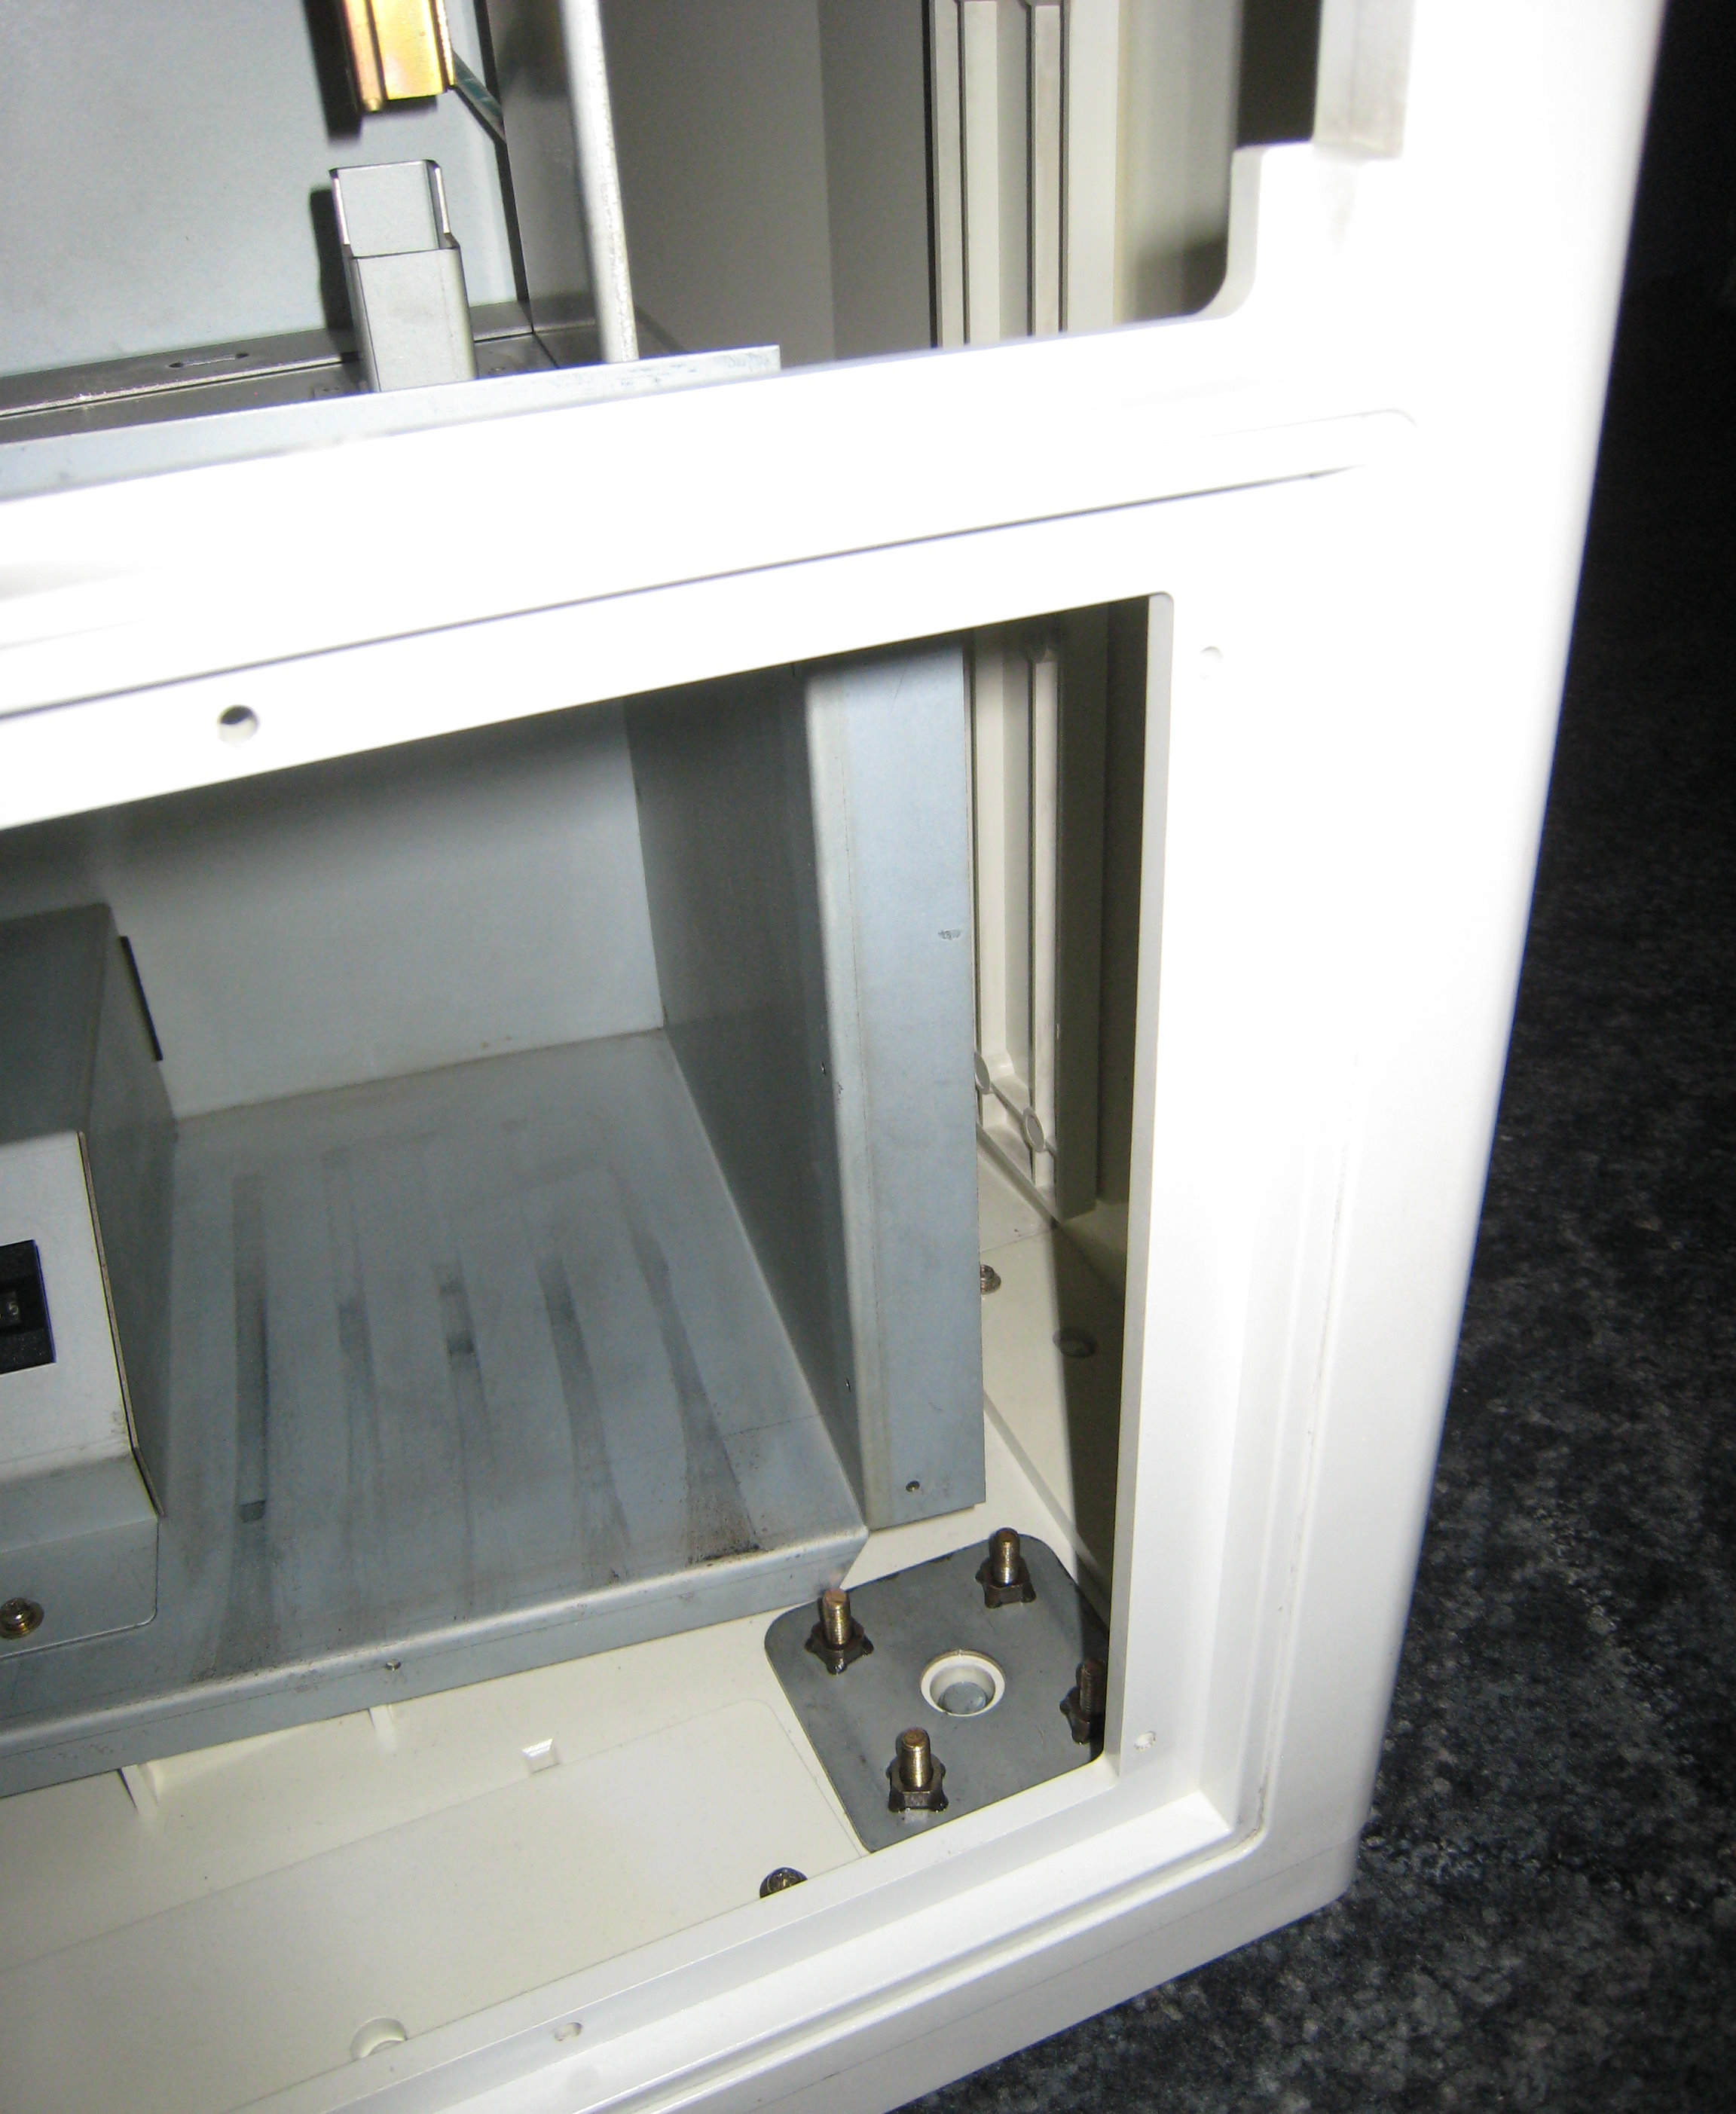
Base
Now this was the main reason for the tear down, it's very very dirty, I've run out of cleaning solution at the moment, so this will have to wait till tomorrow.

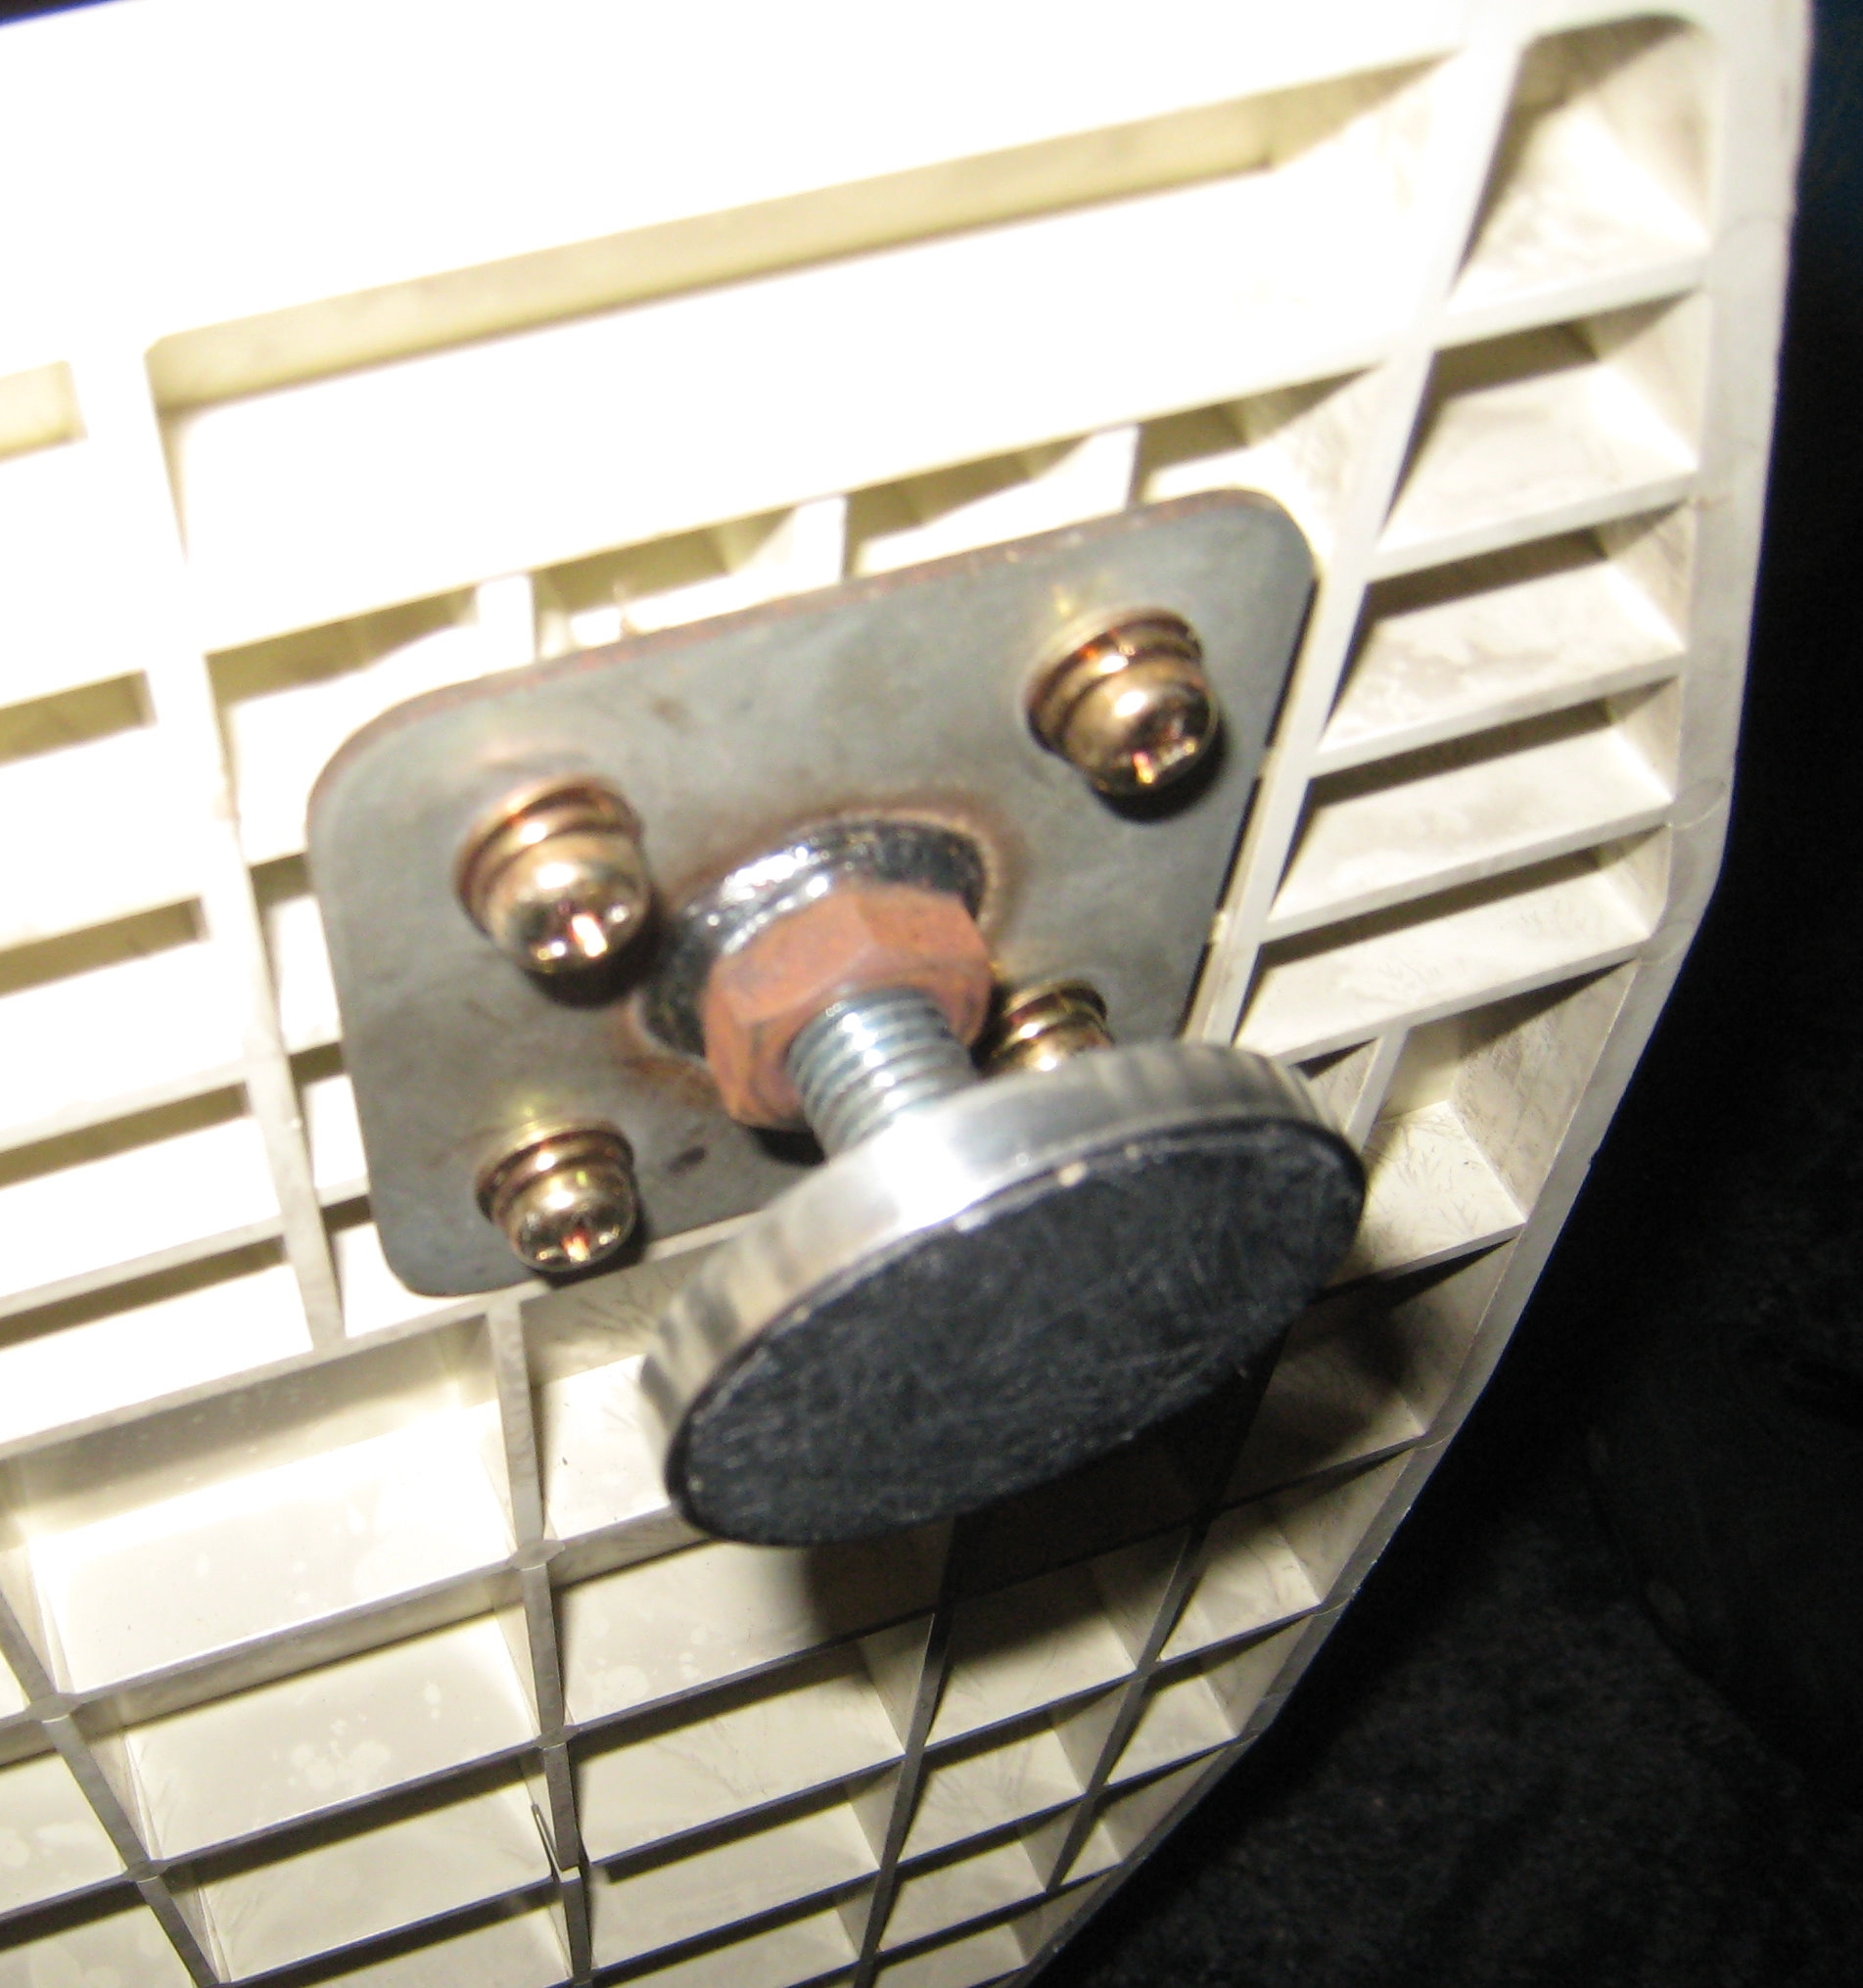

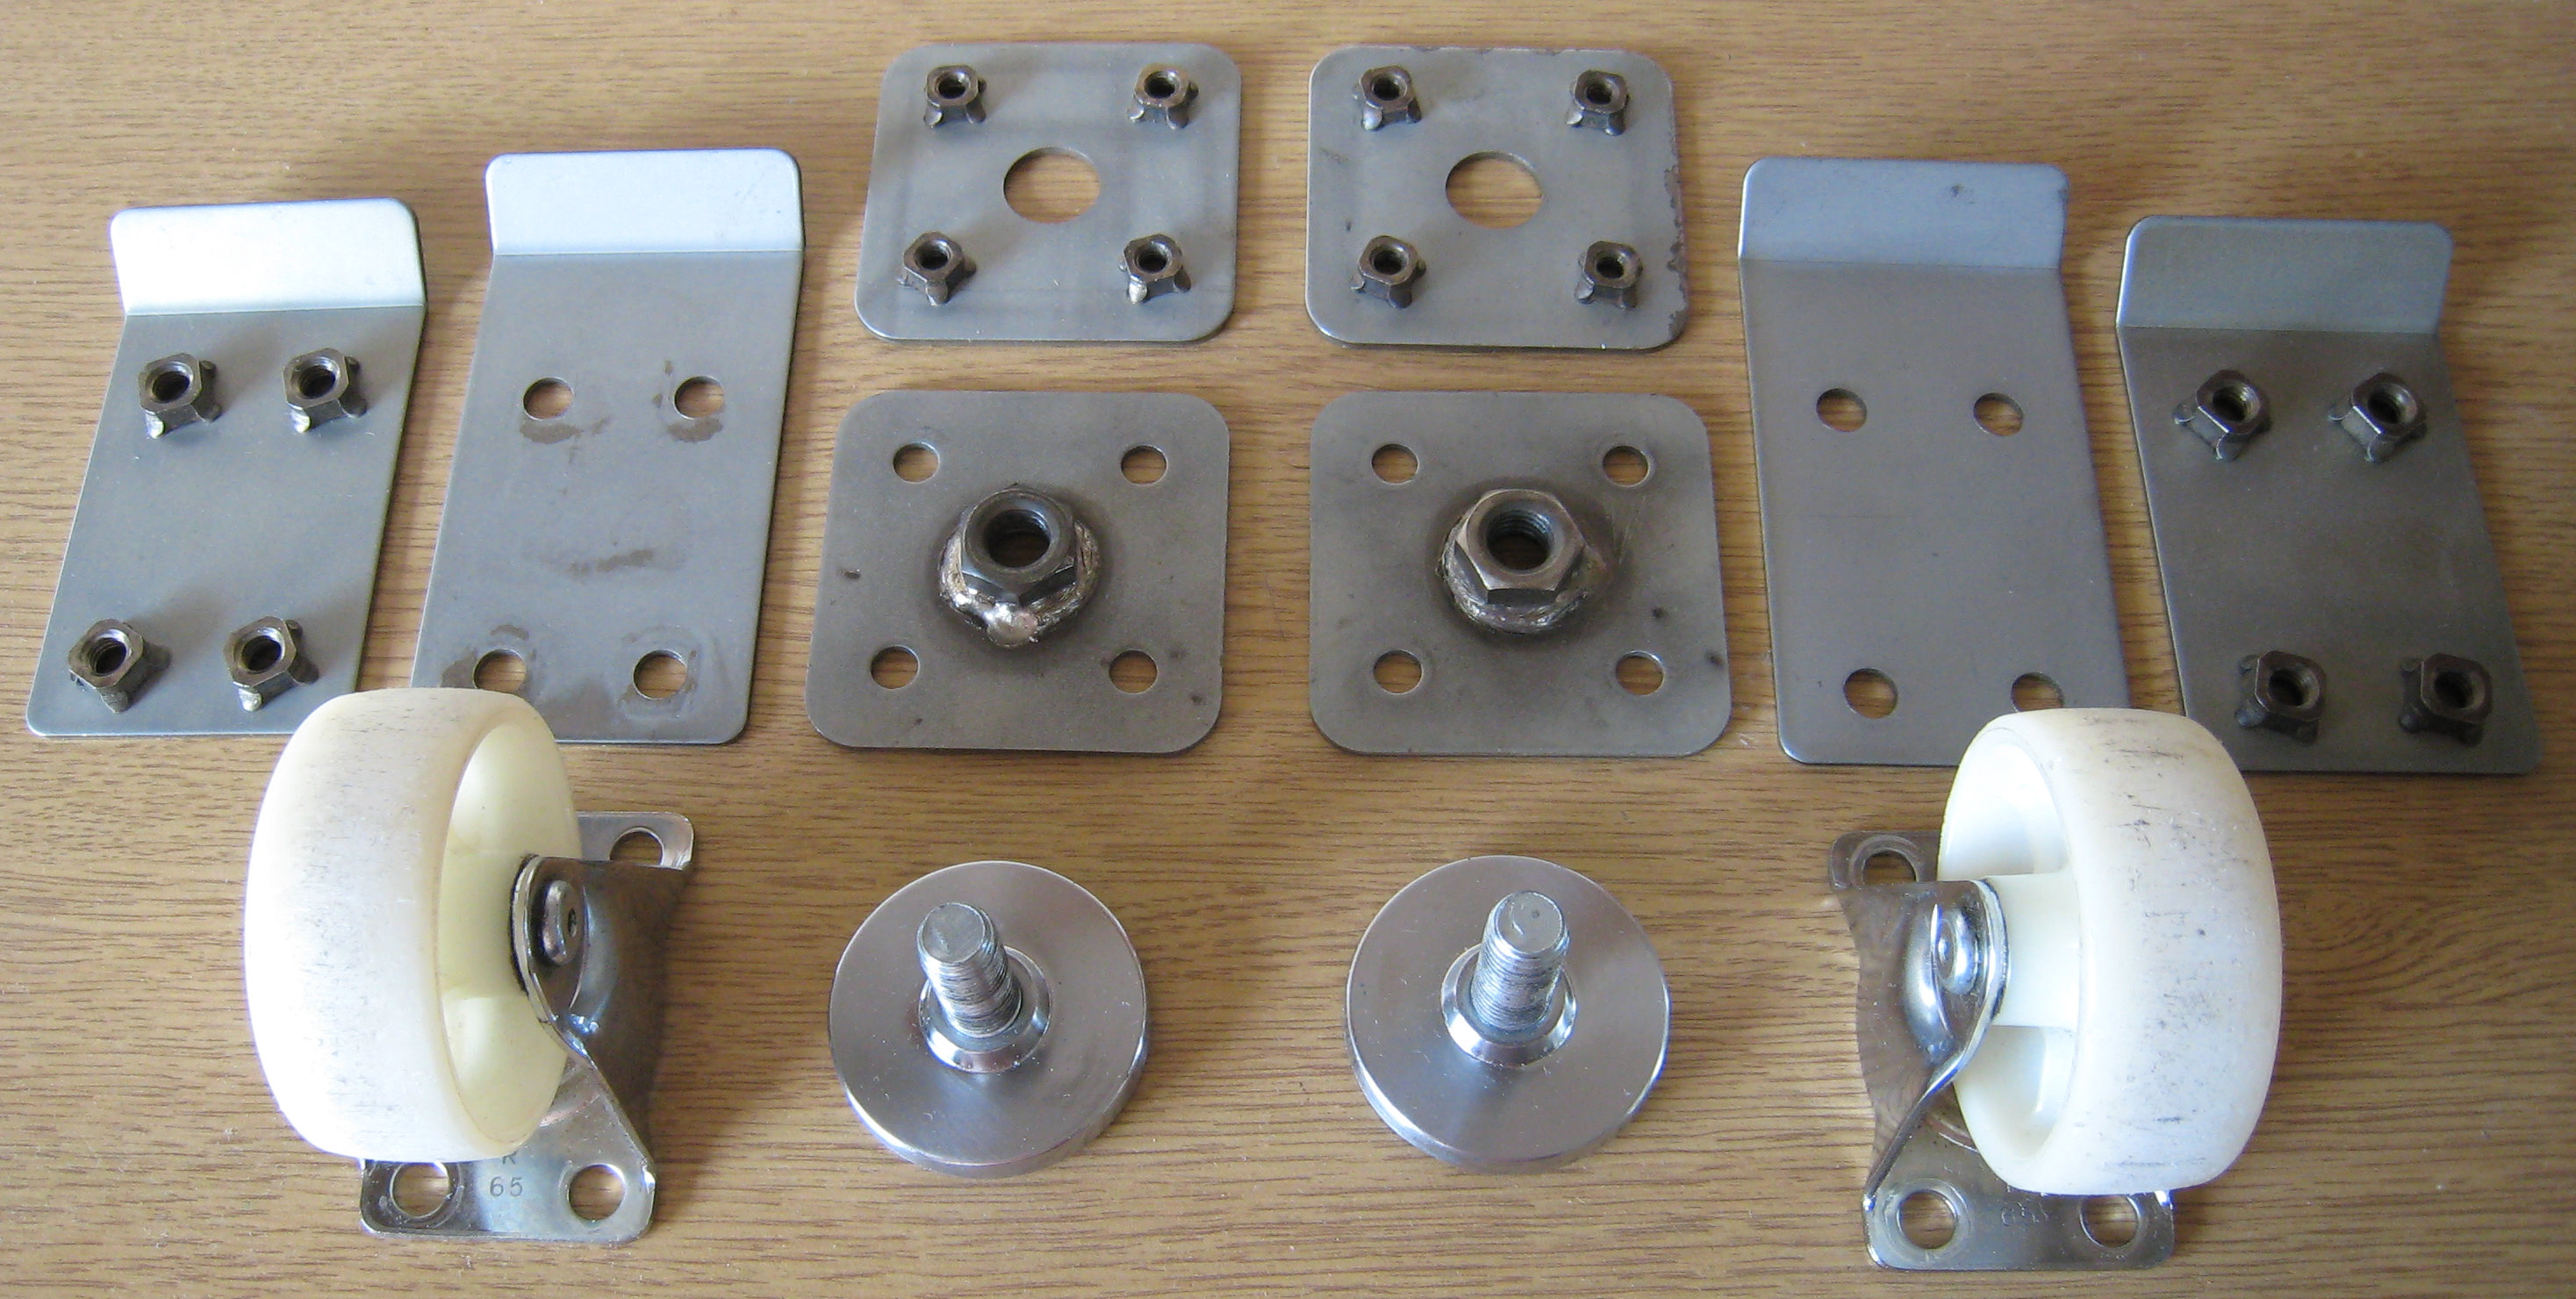
All rust and dirt has been cleaned from the feet plates and wheels, I was going to shot blast and paint them but after cleaning them with a soft Copper wire brush, they have come out really good, some of the galvanising plate has come off around the edge of on of them but I can put that one under the coin box so you wont see it anyway.
After Cleaning
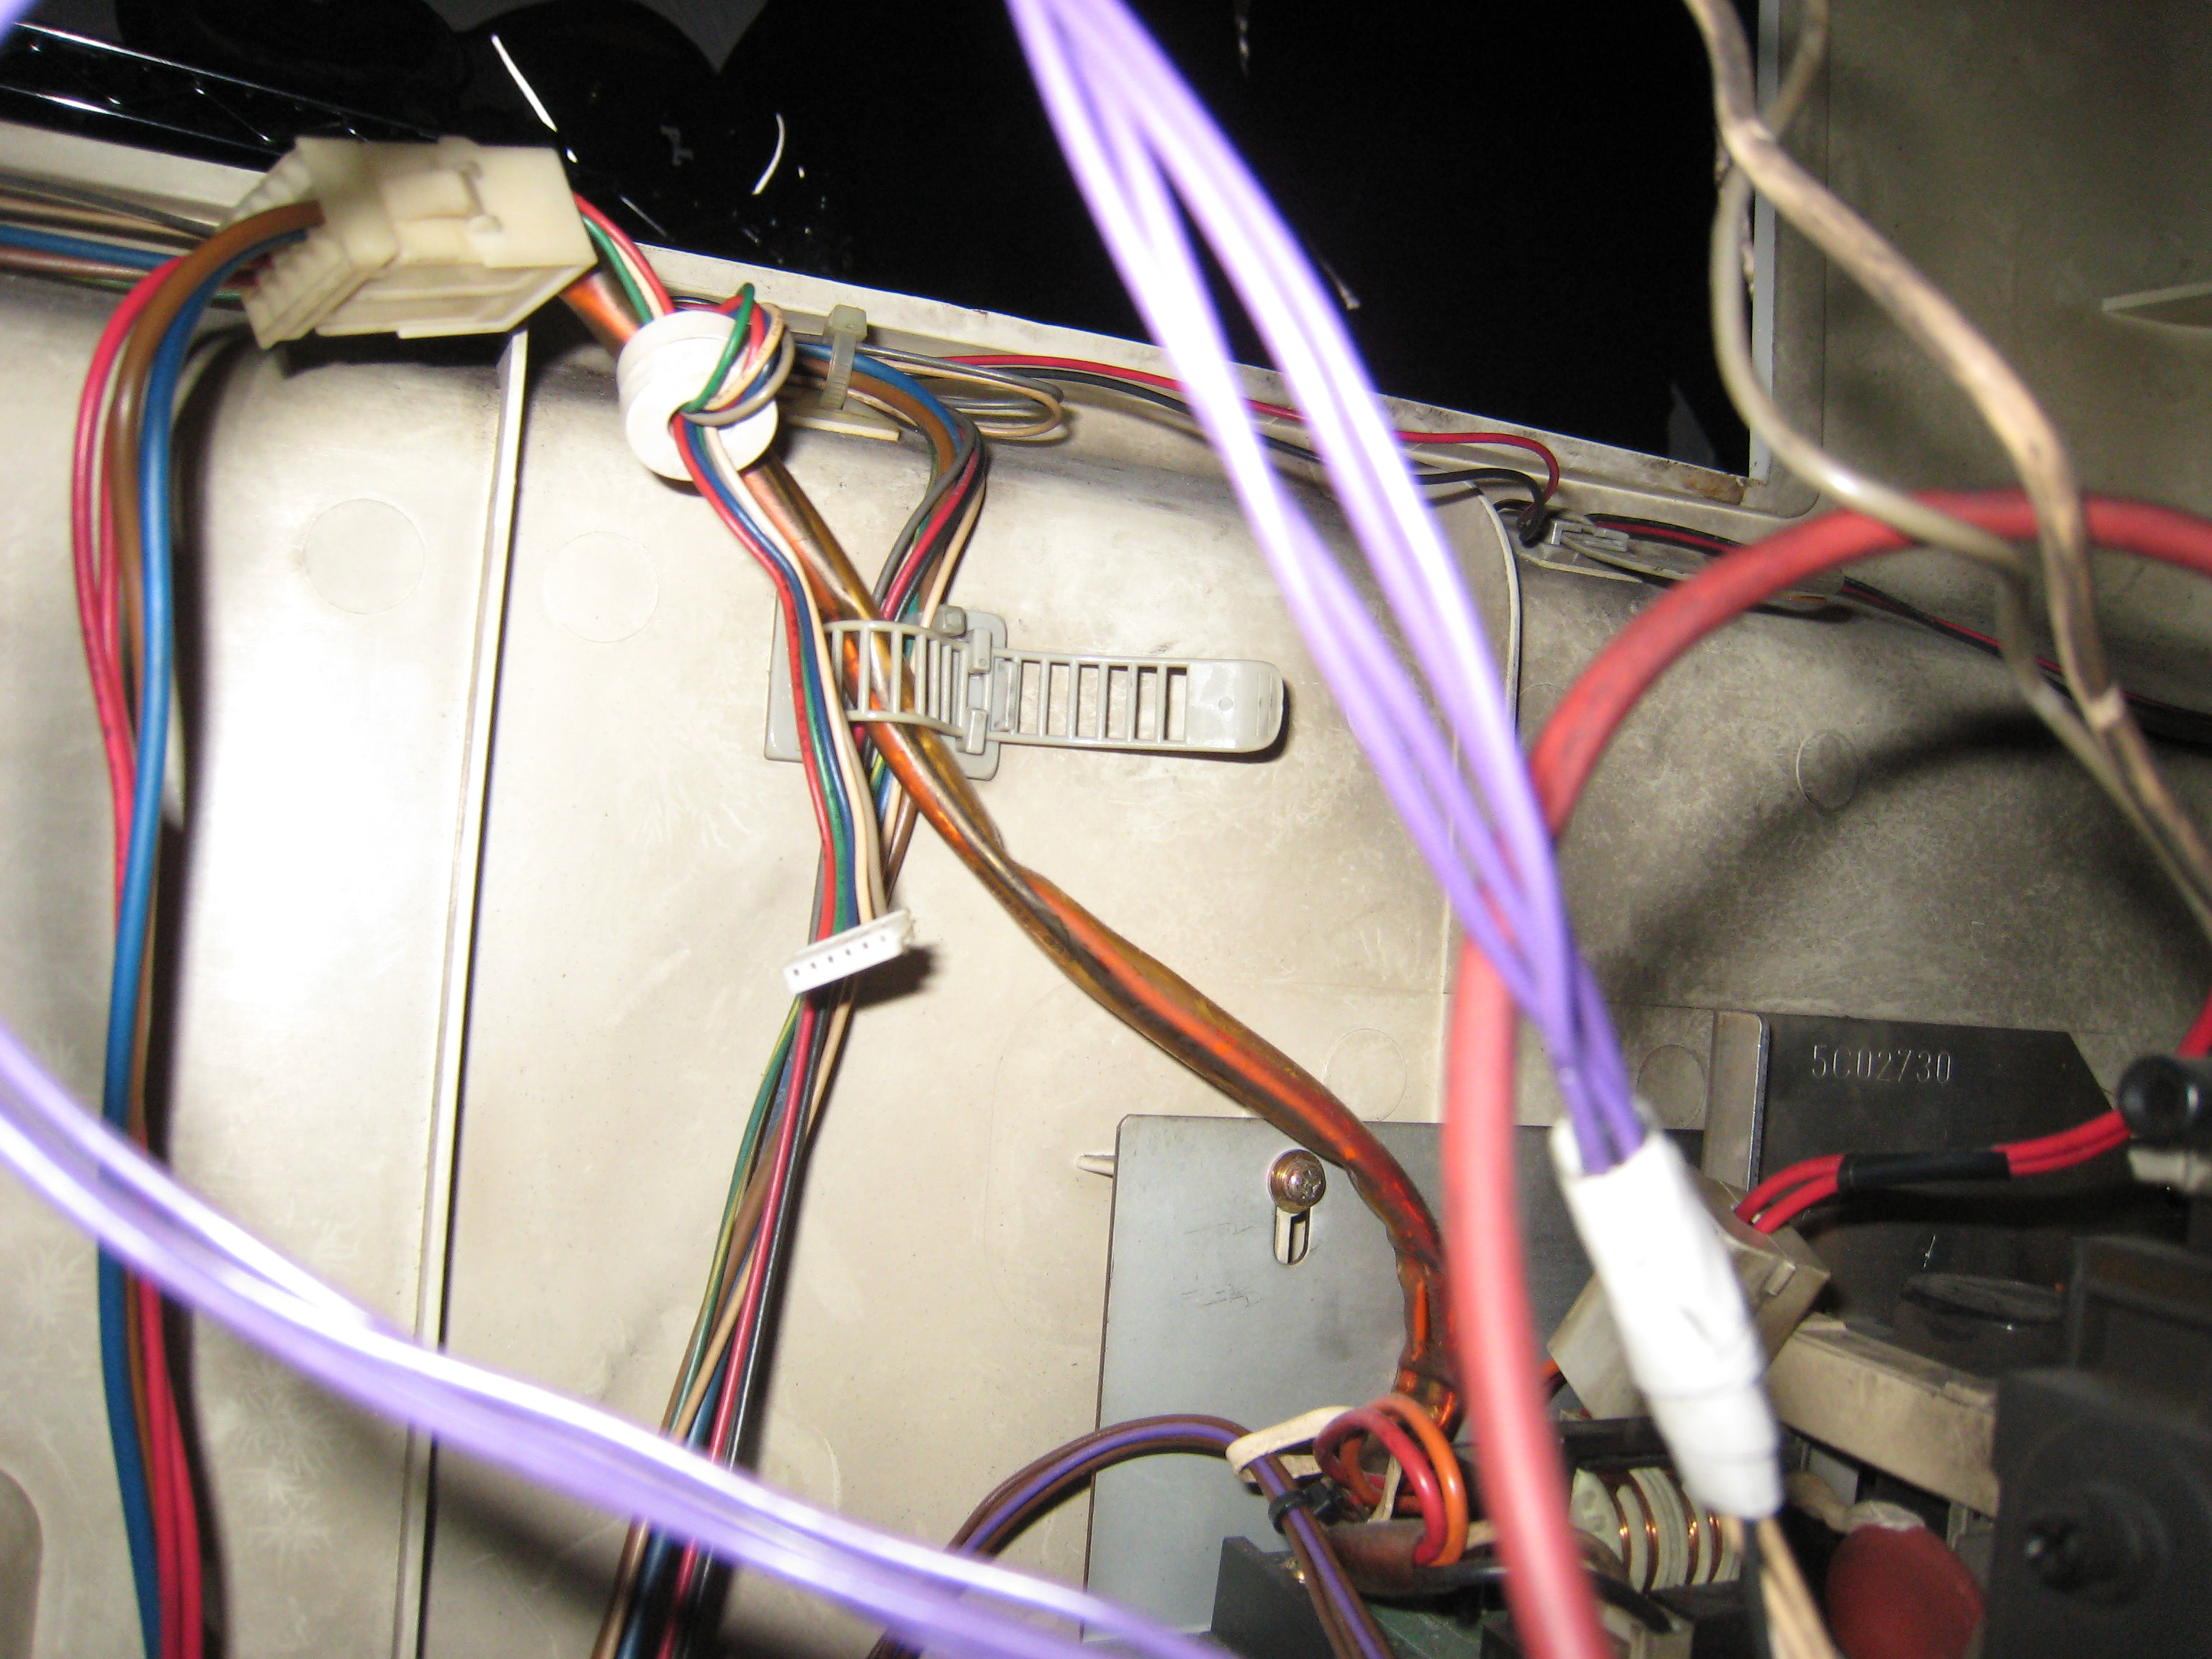
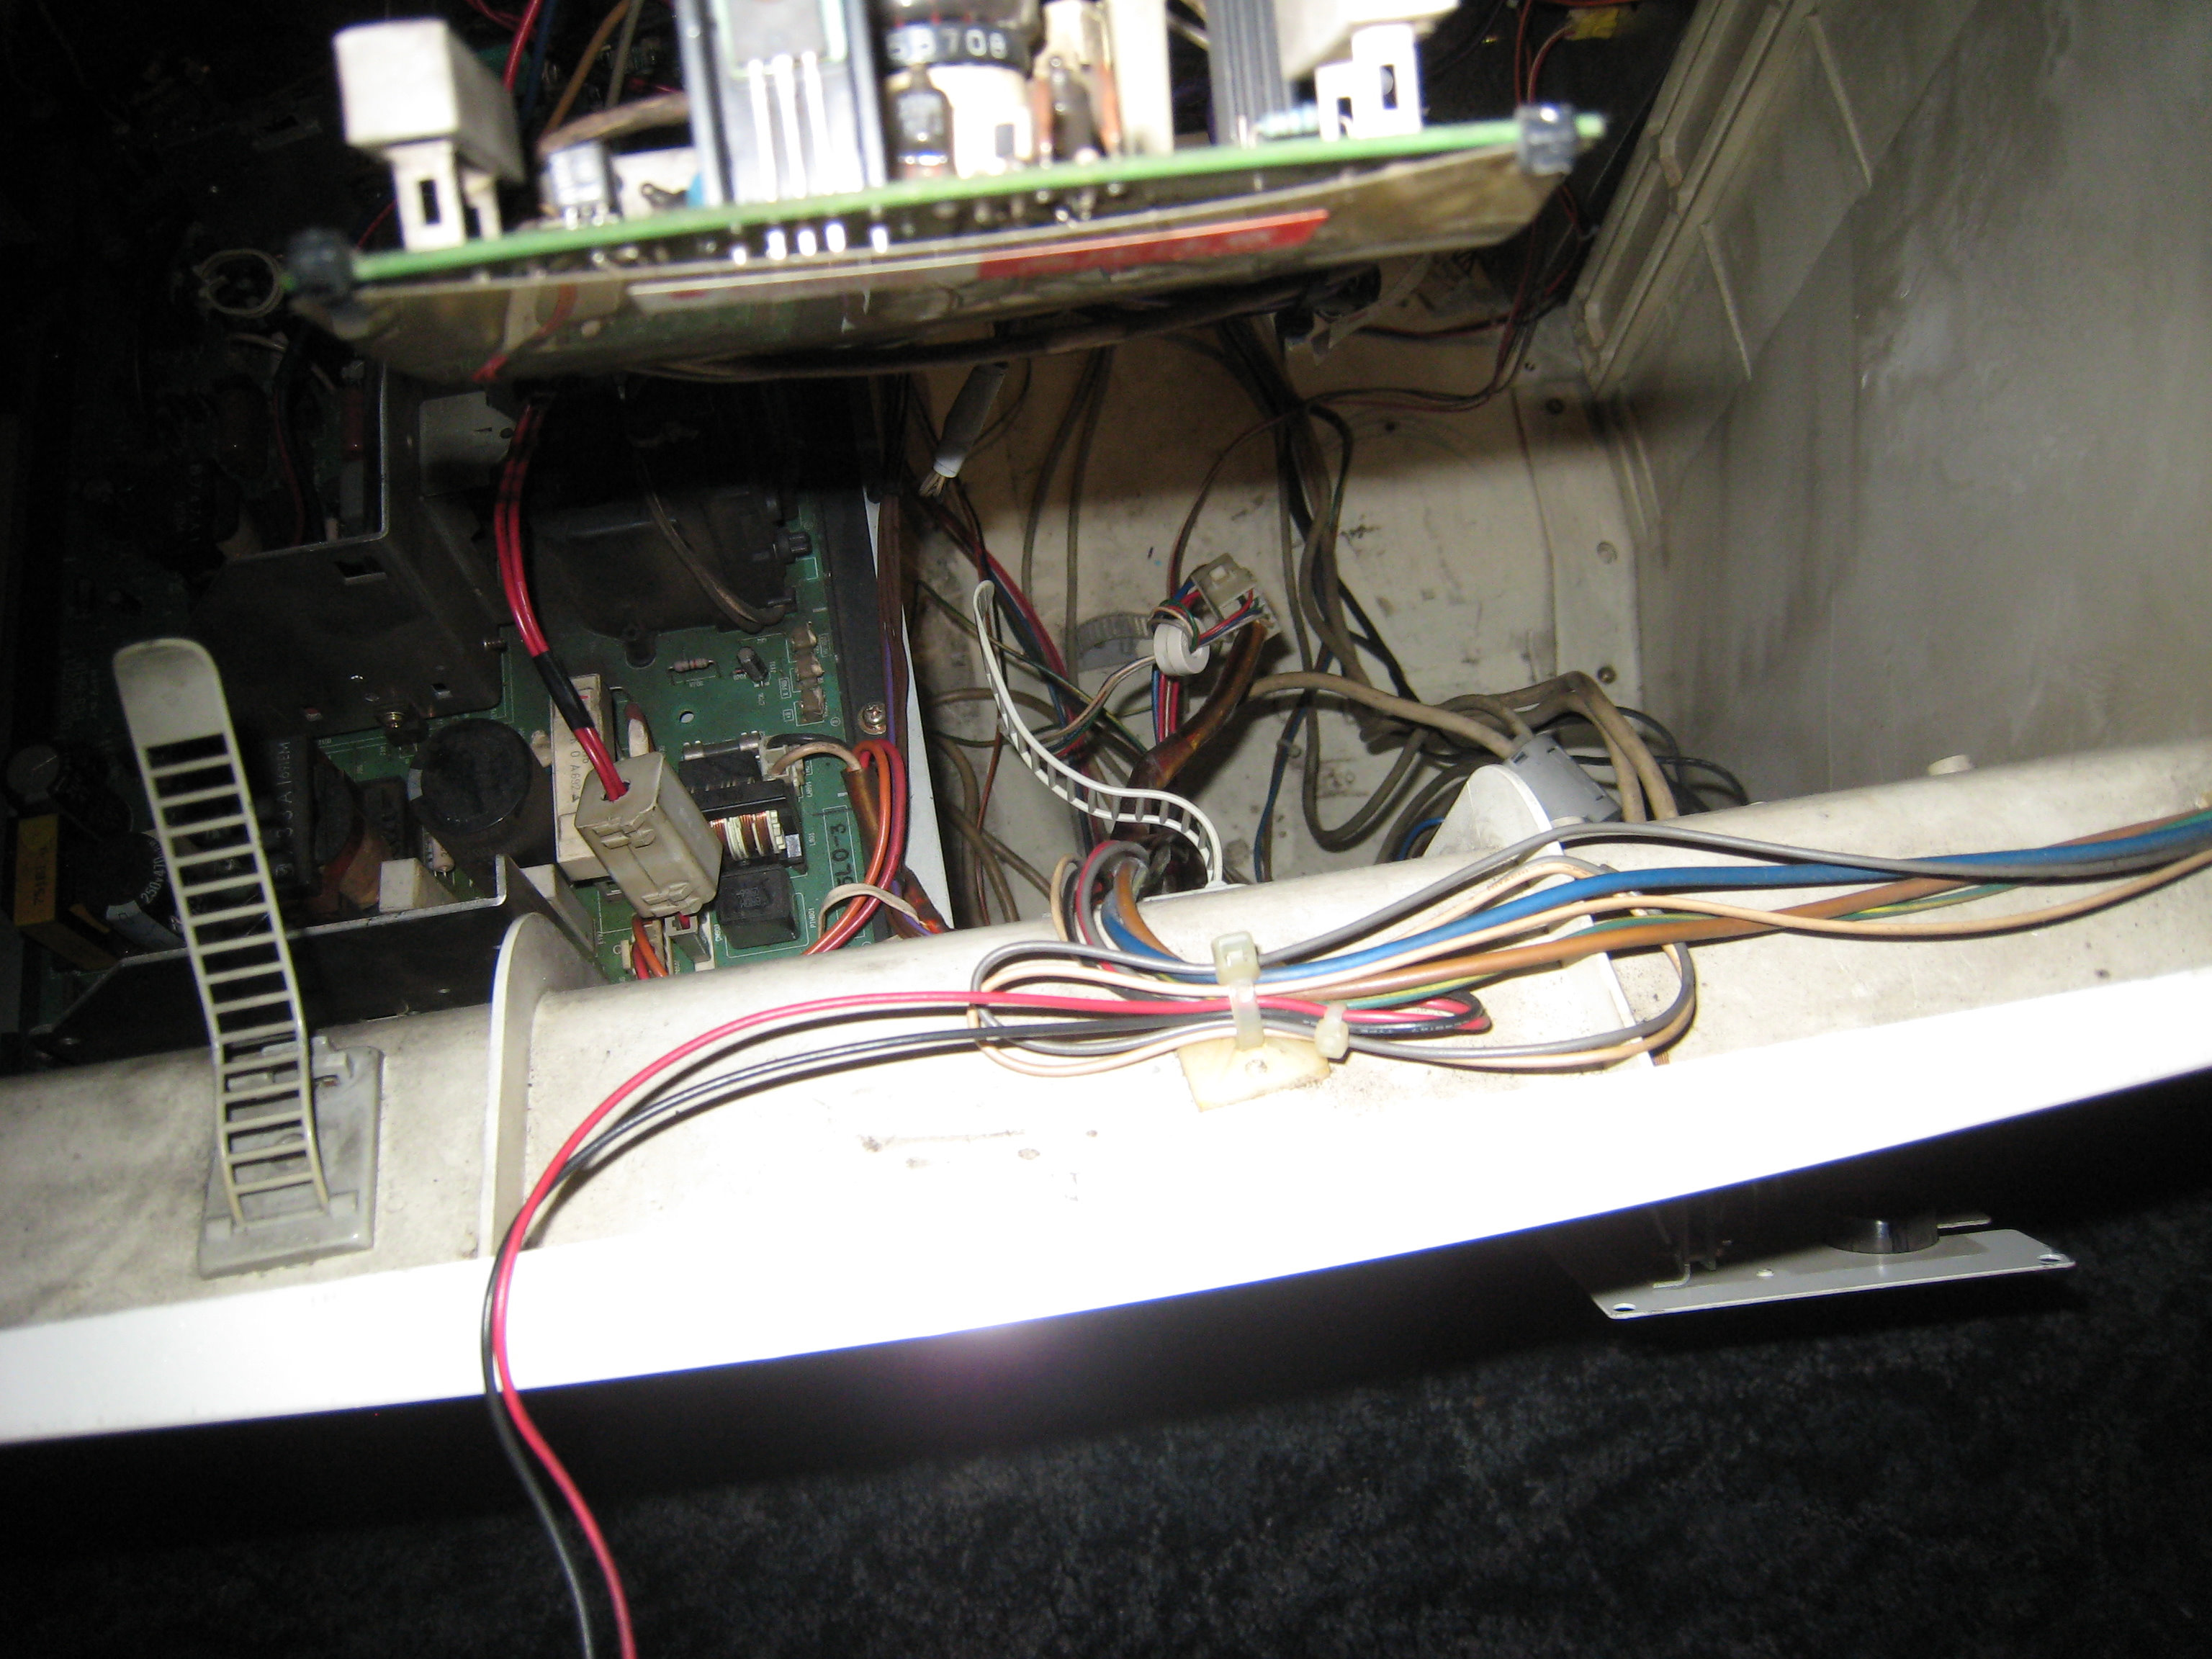
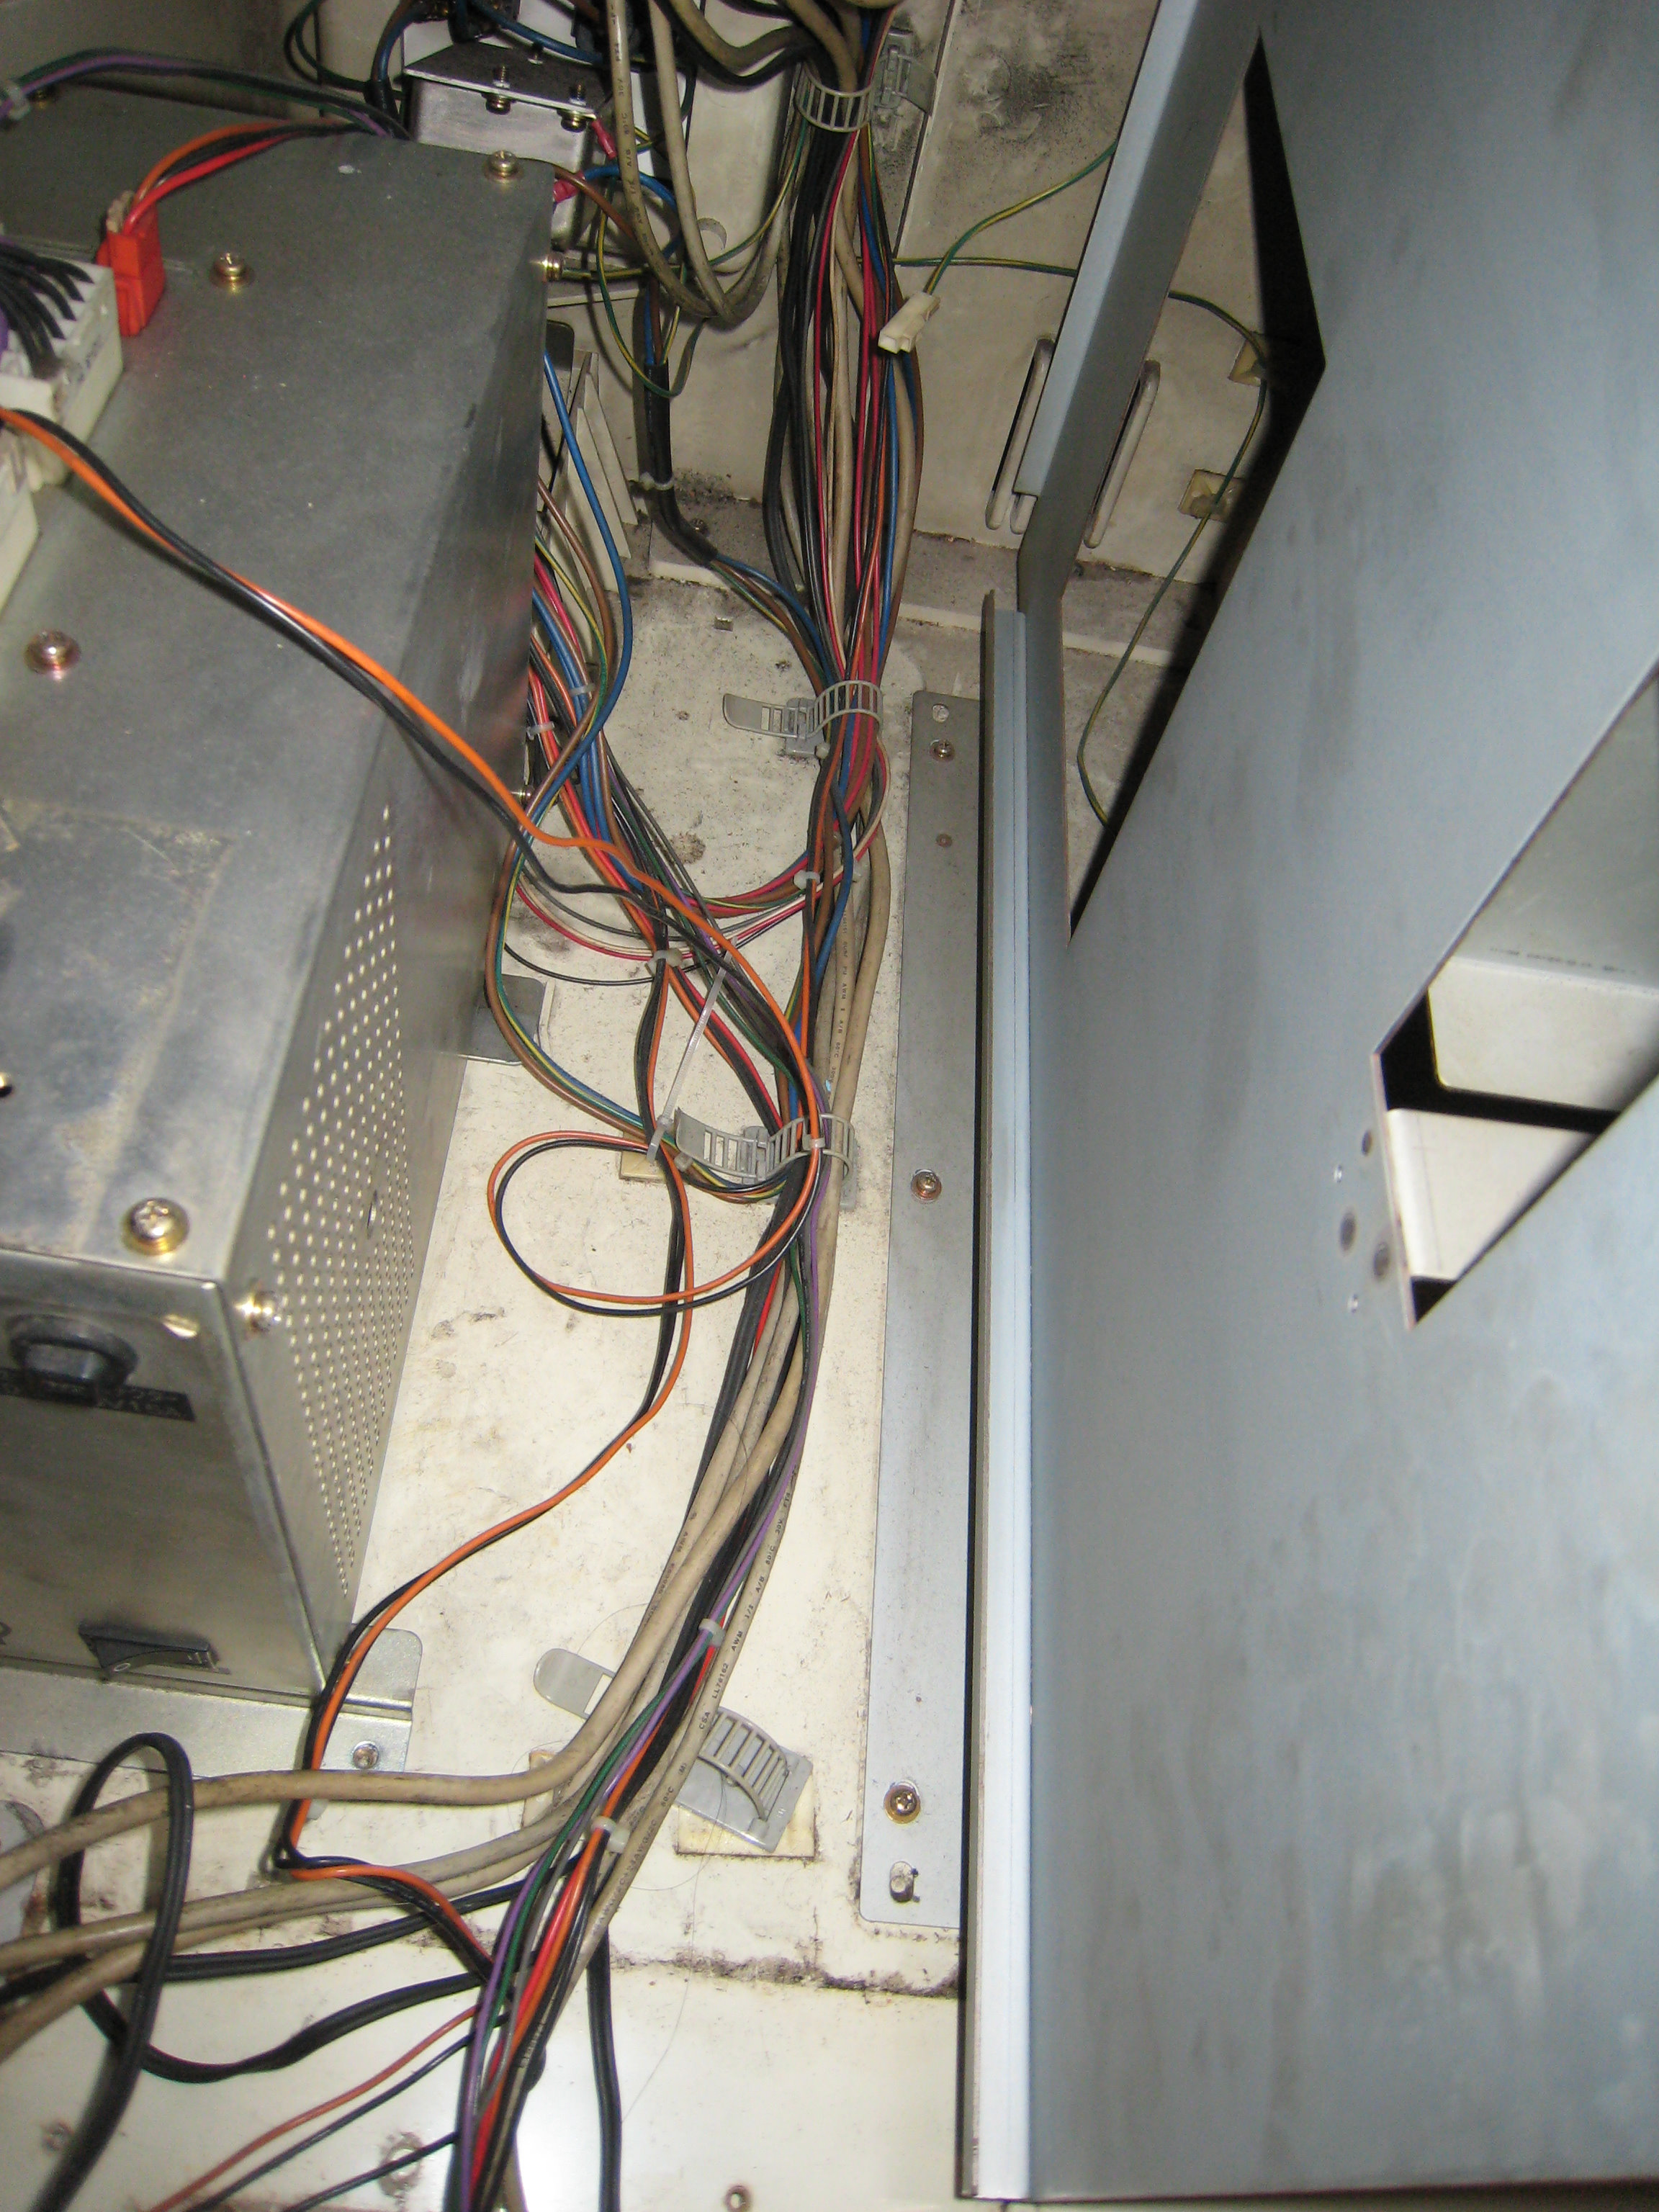
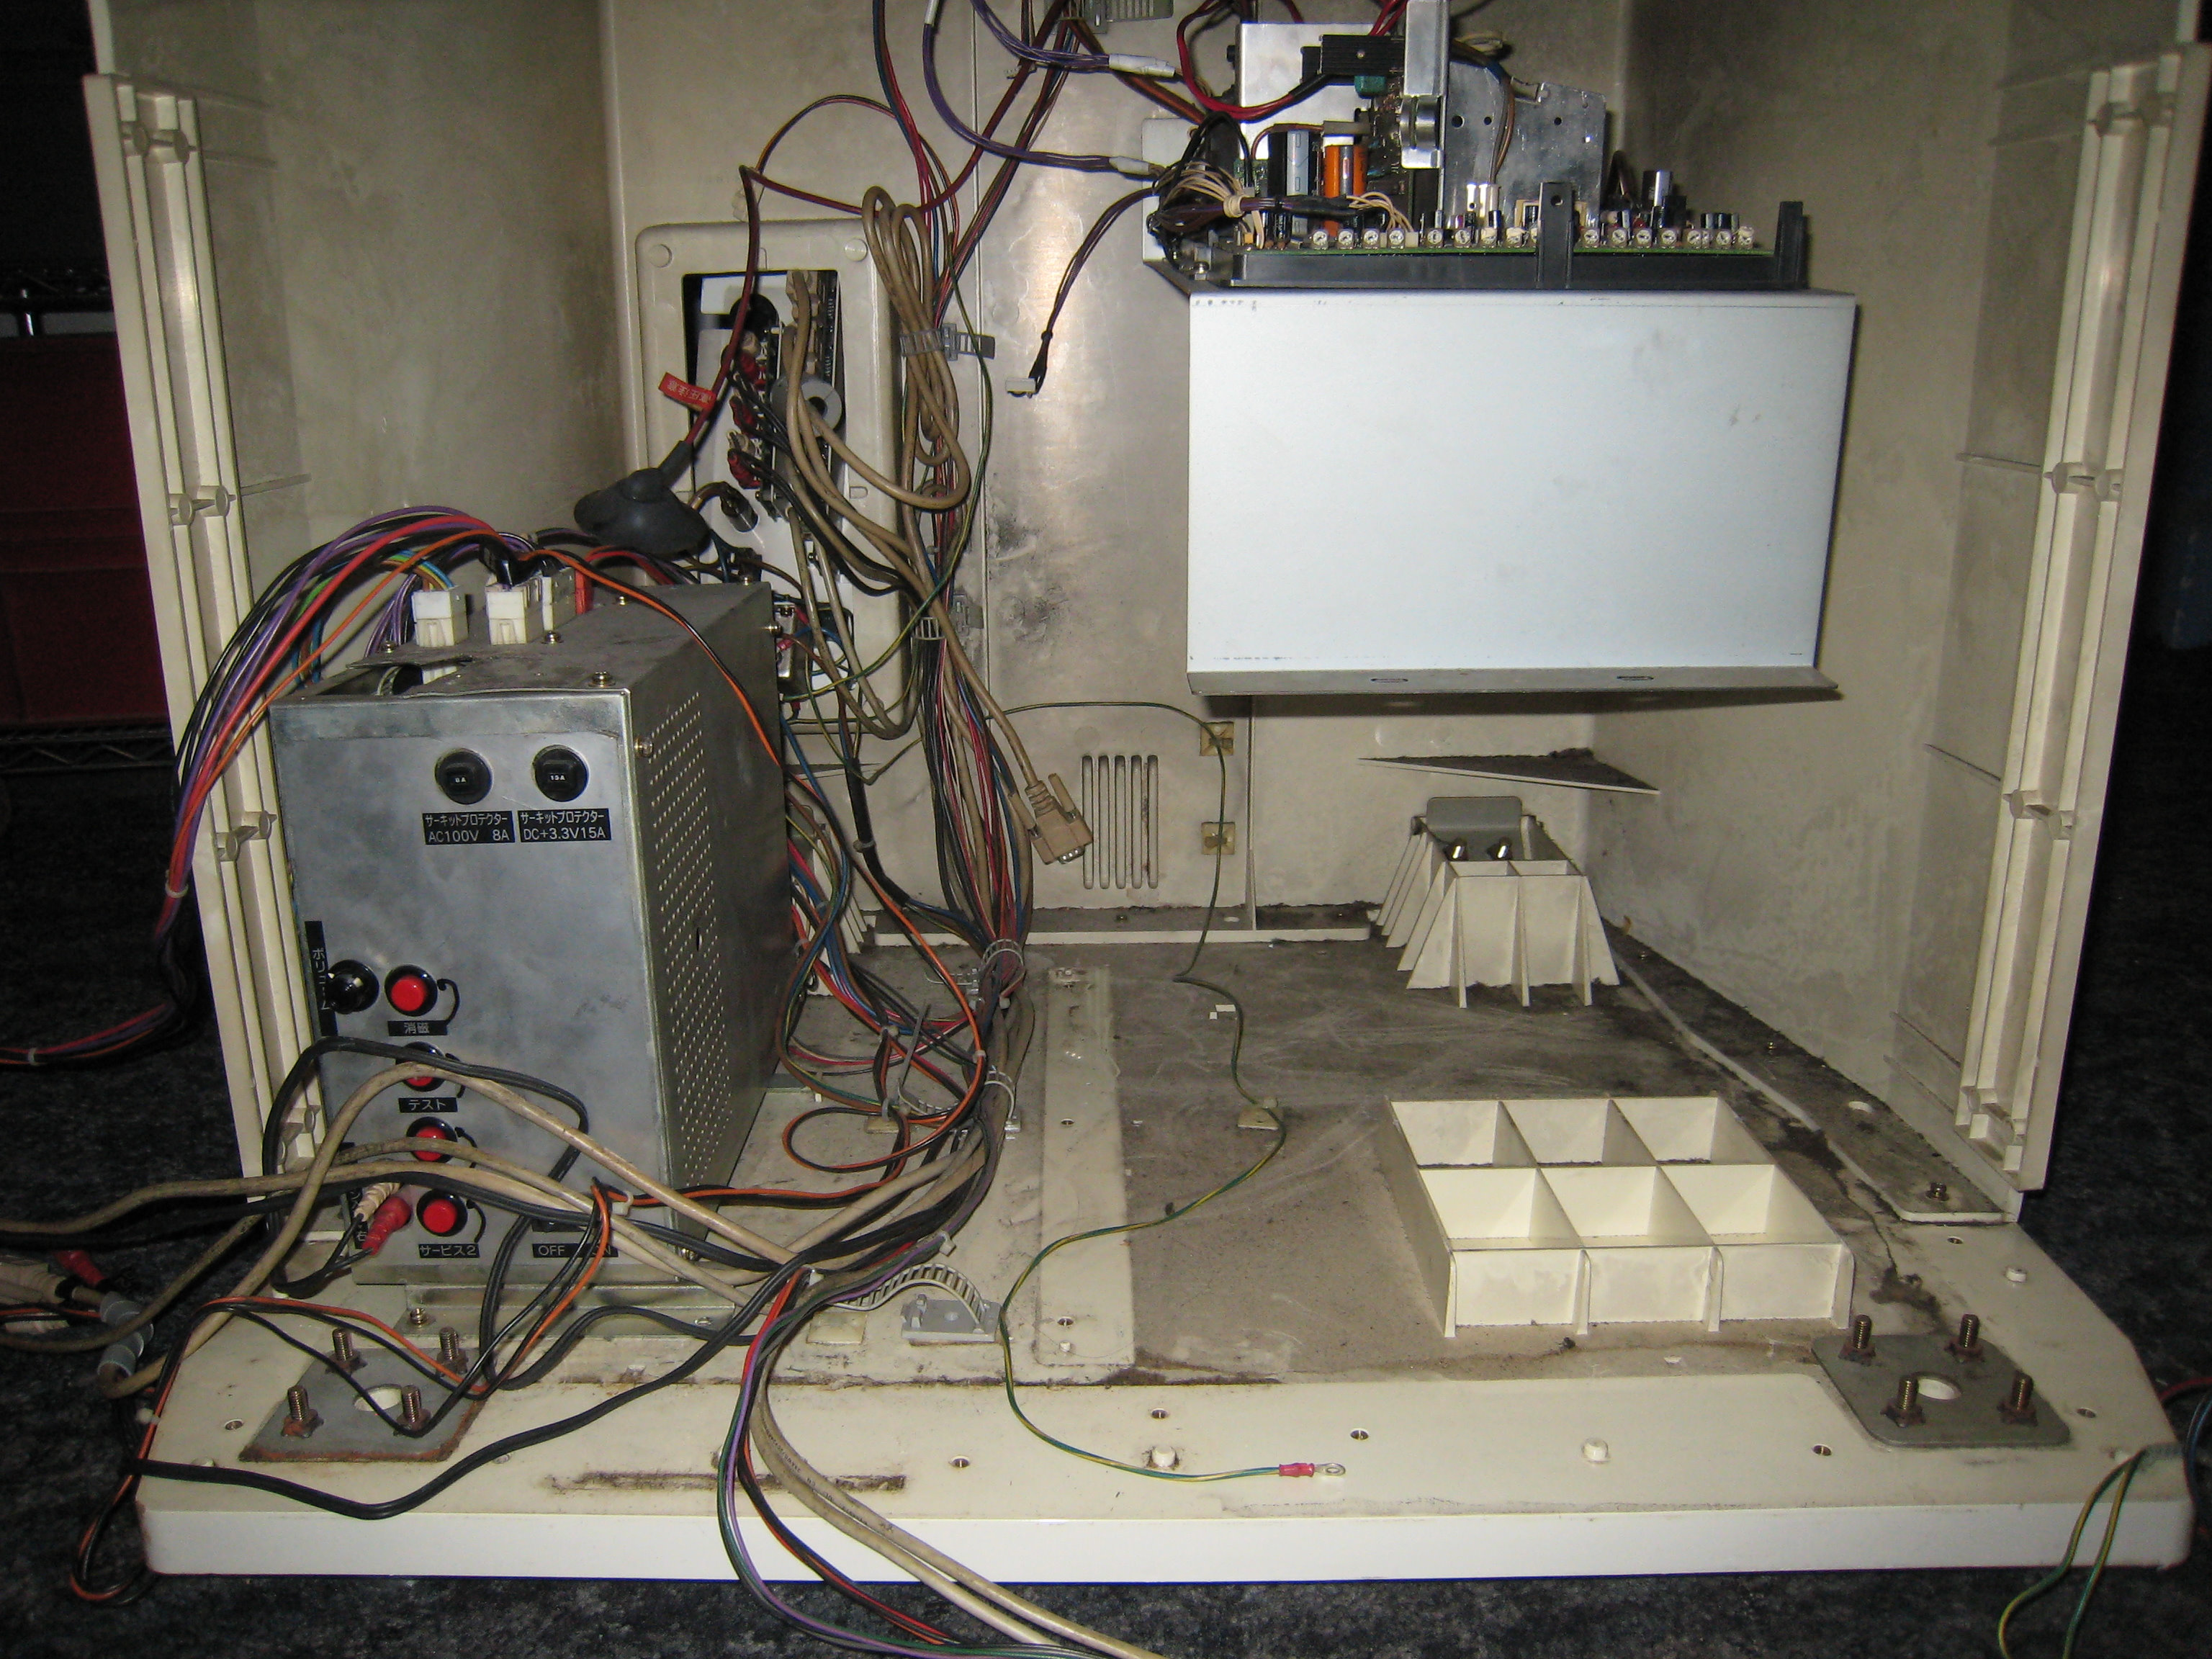
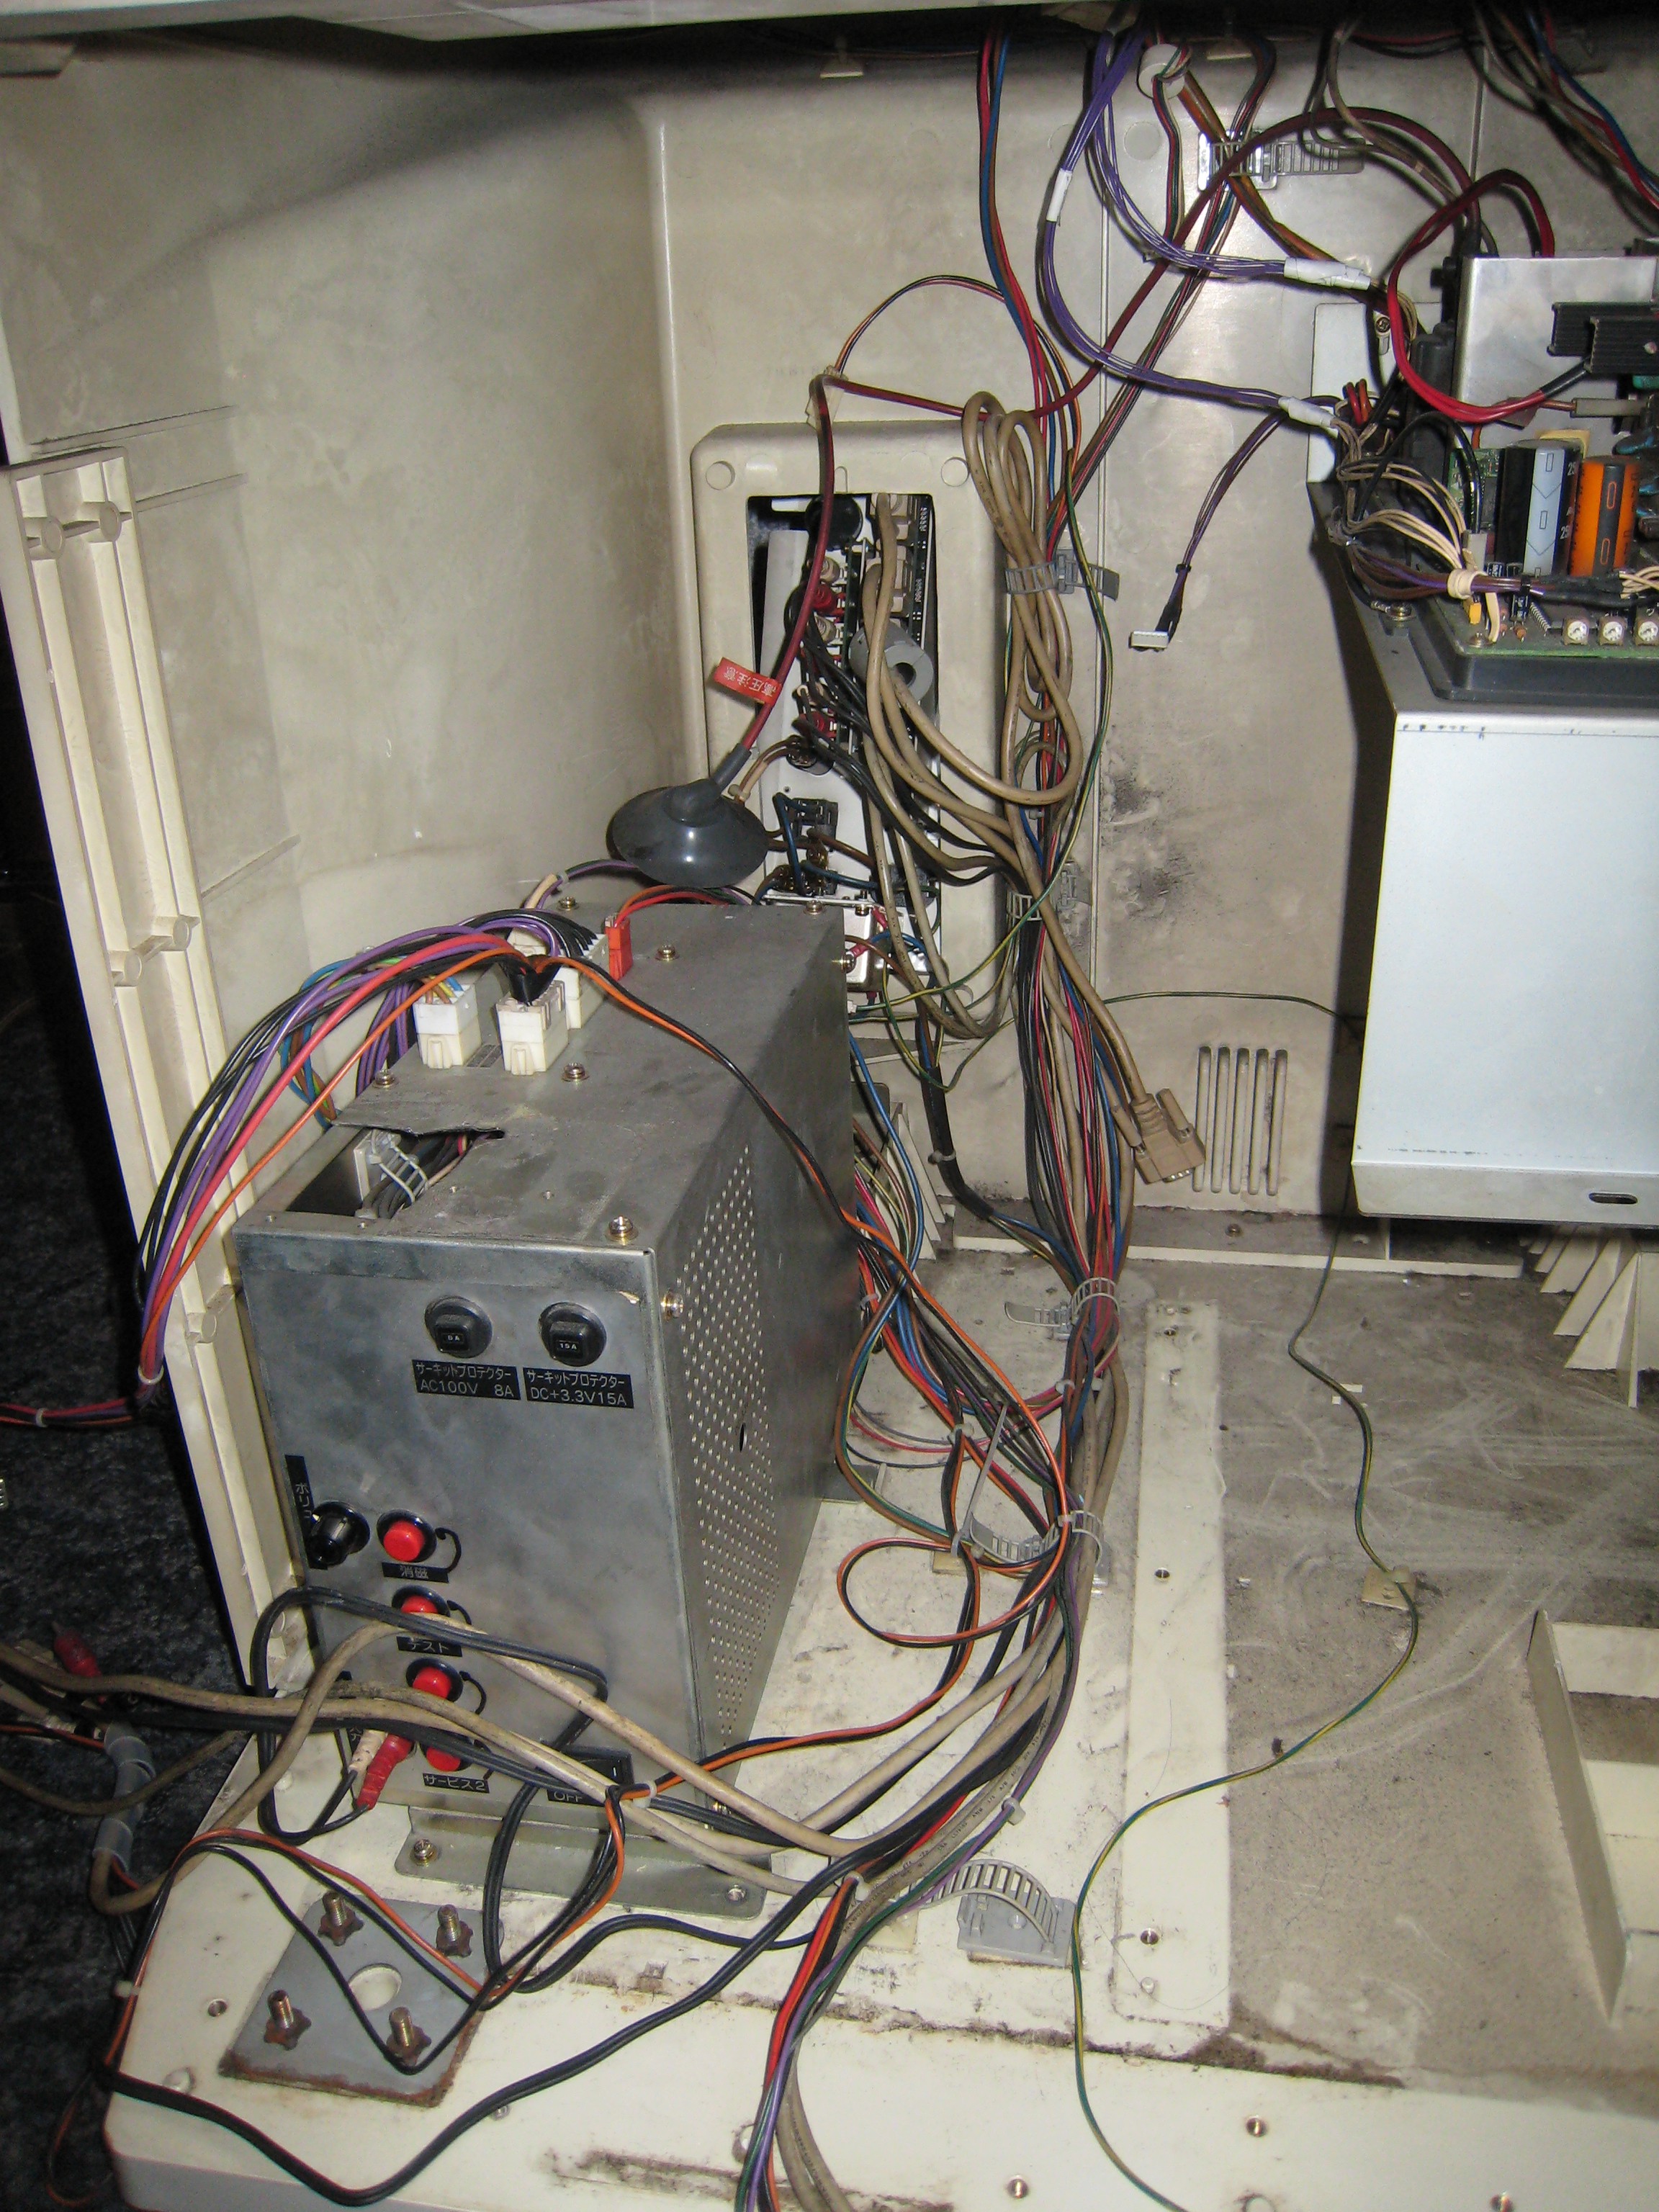
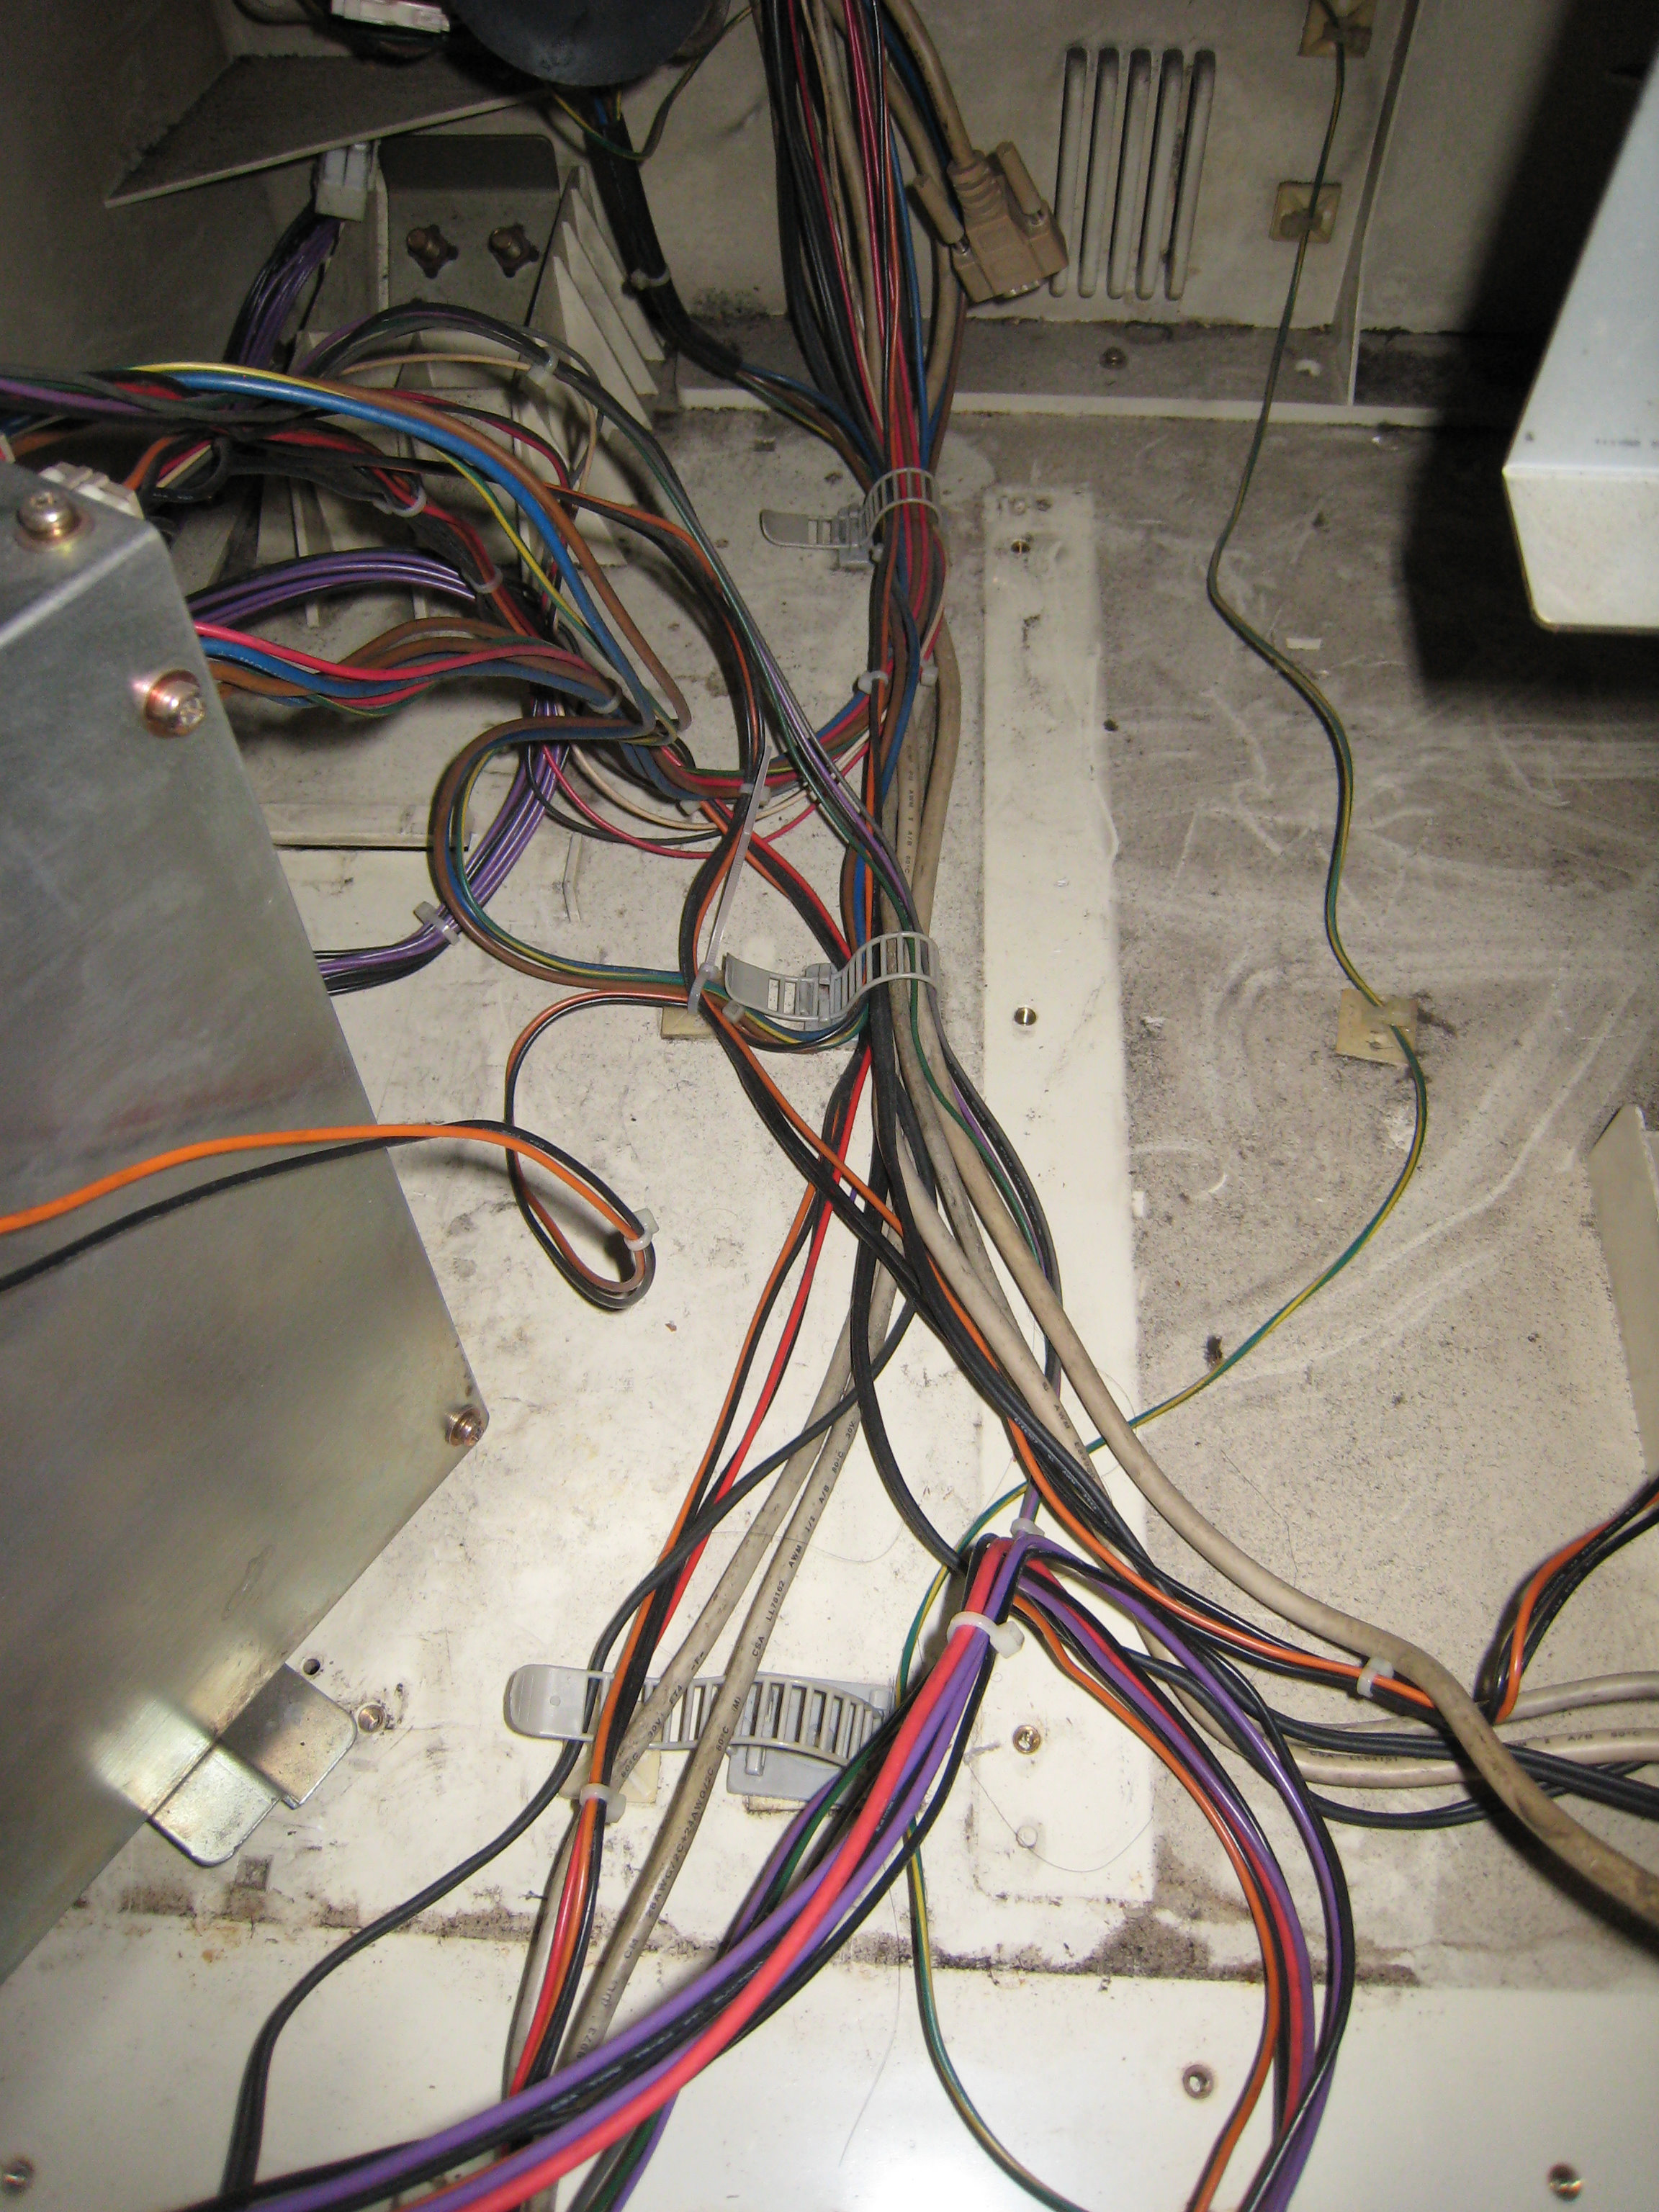
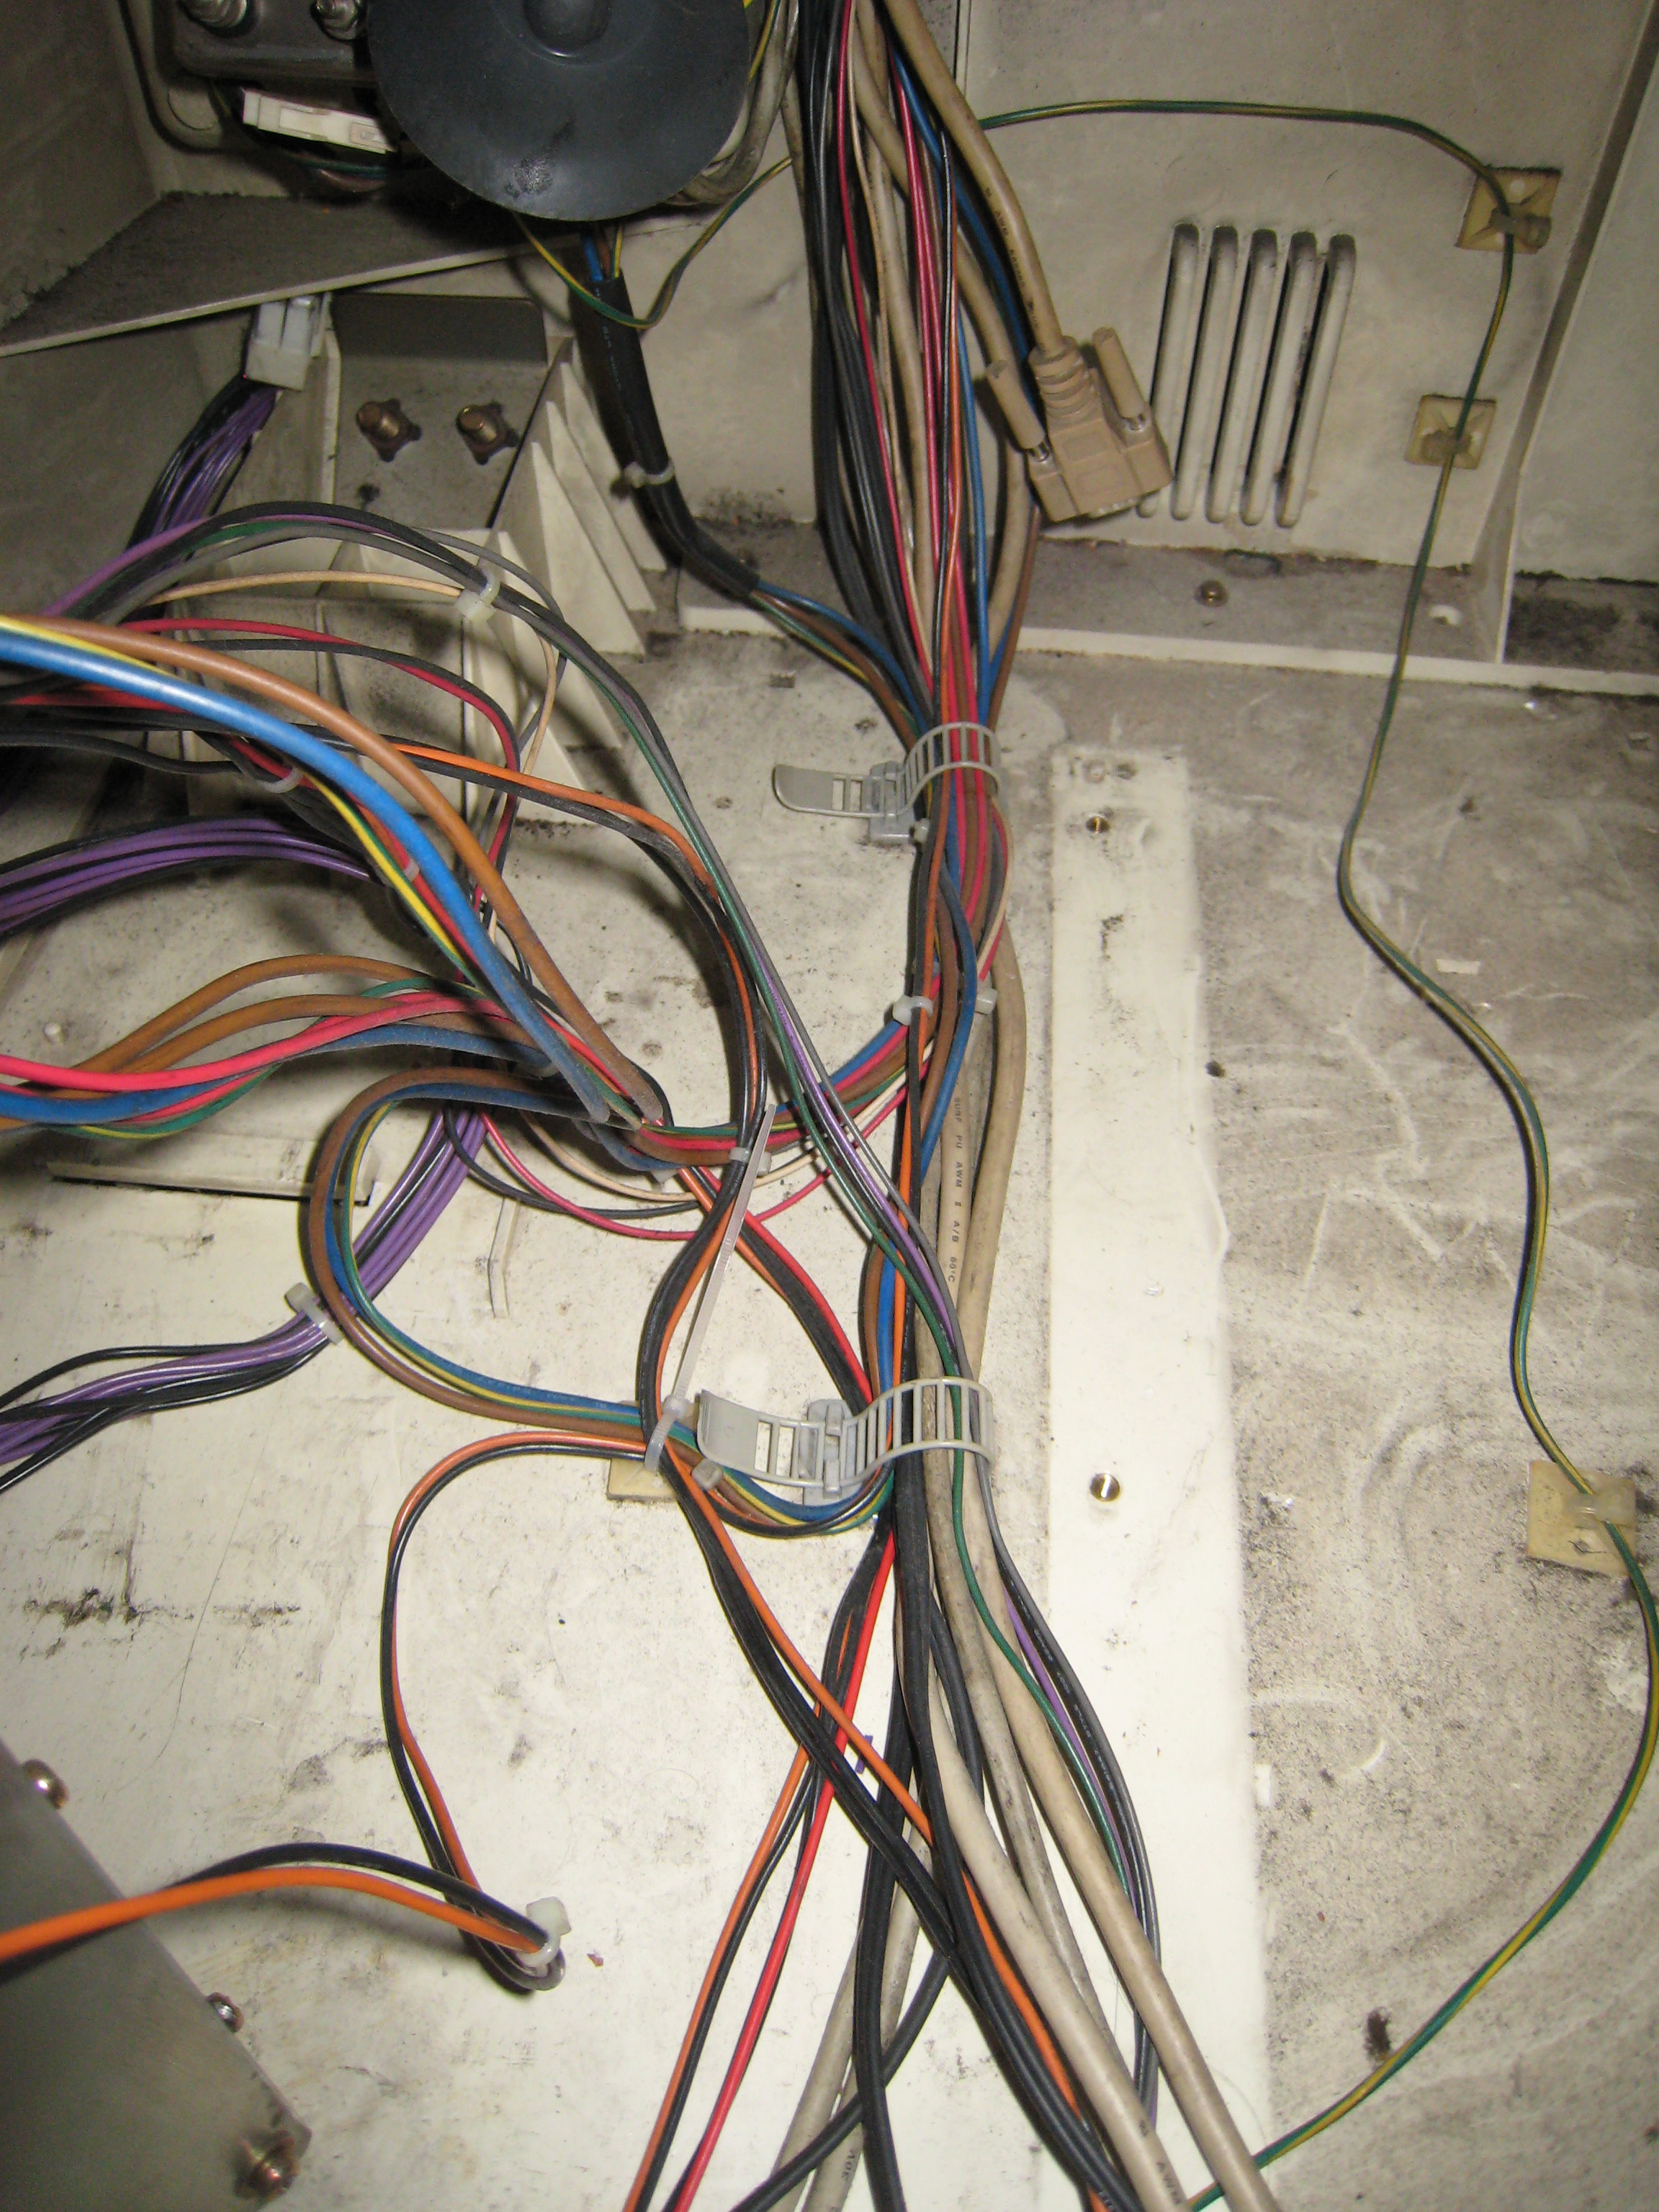
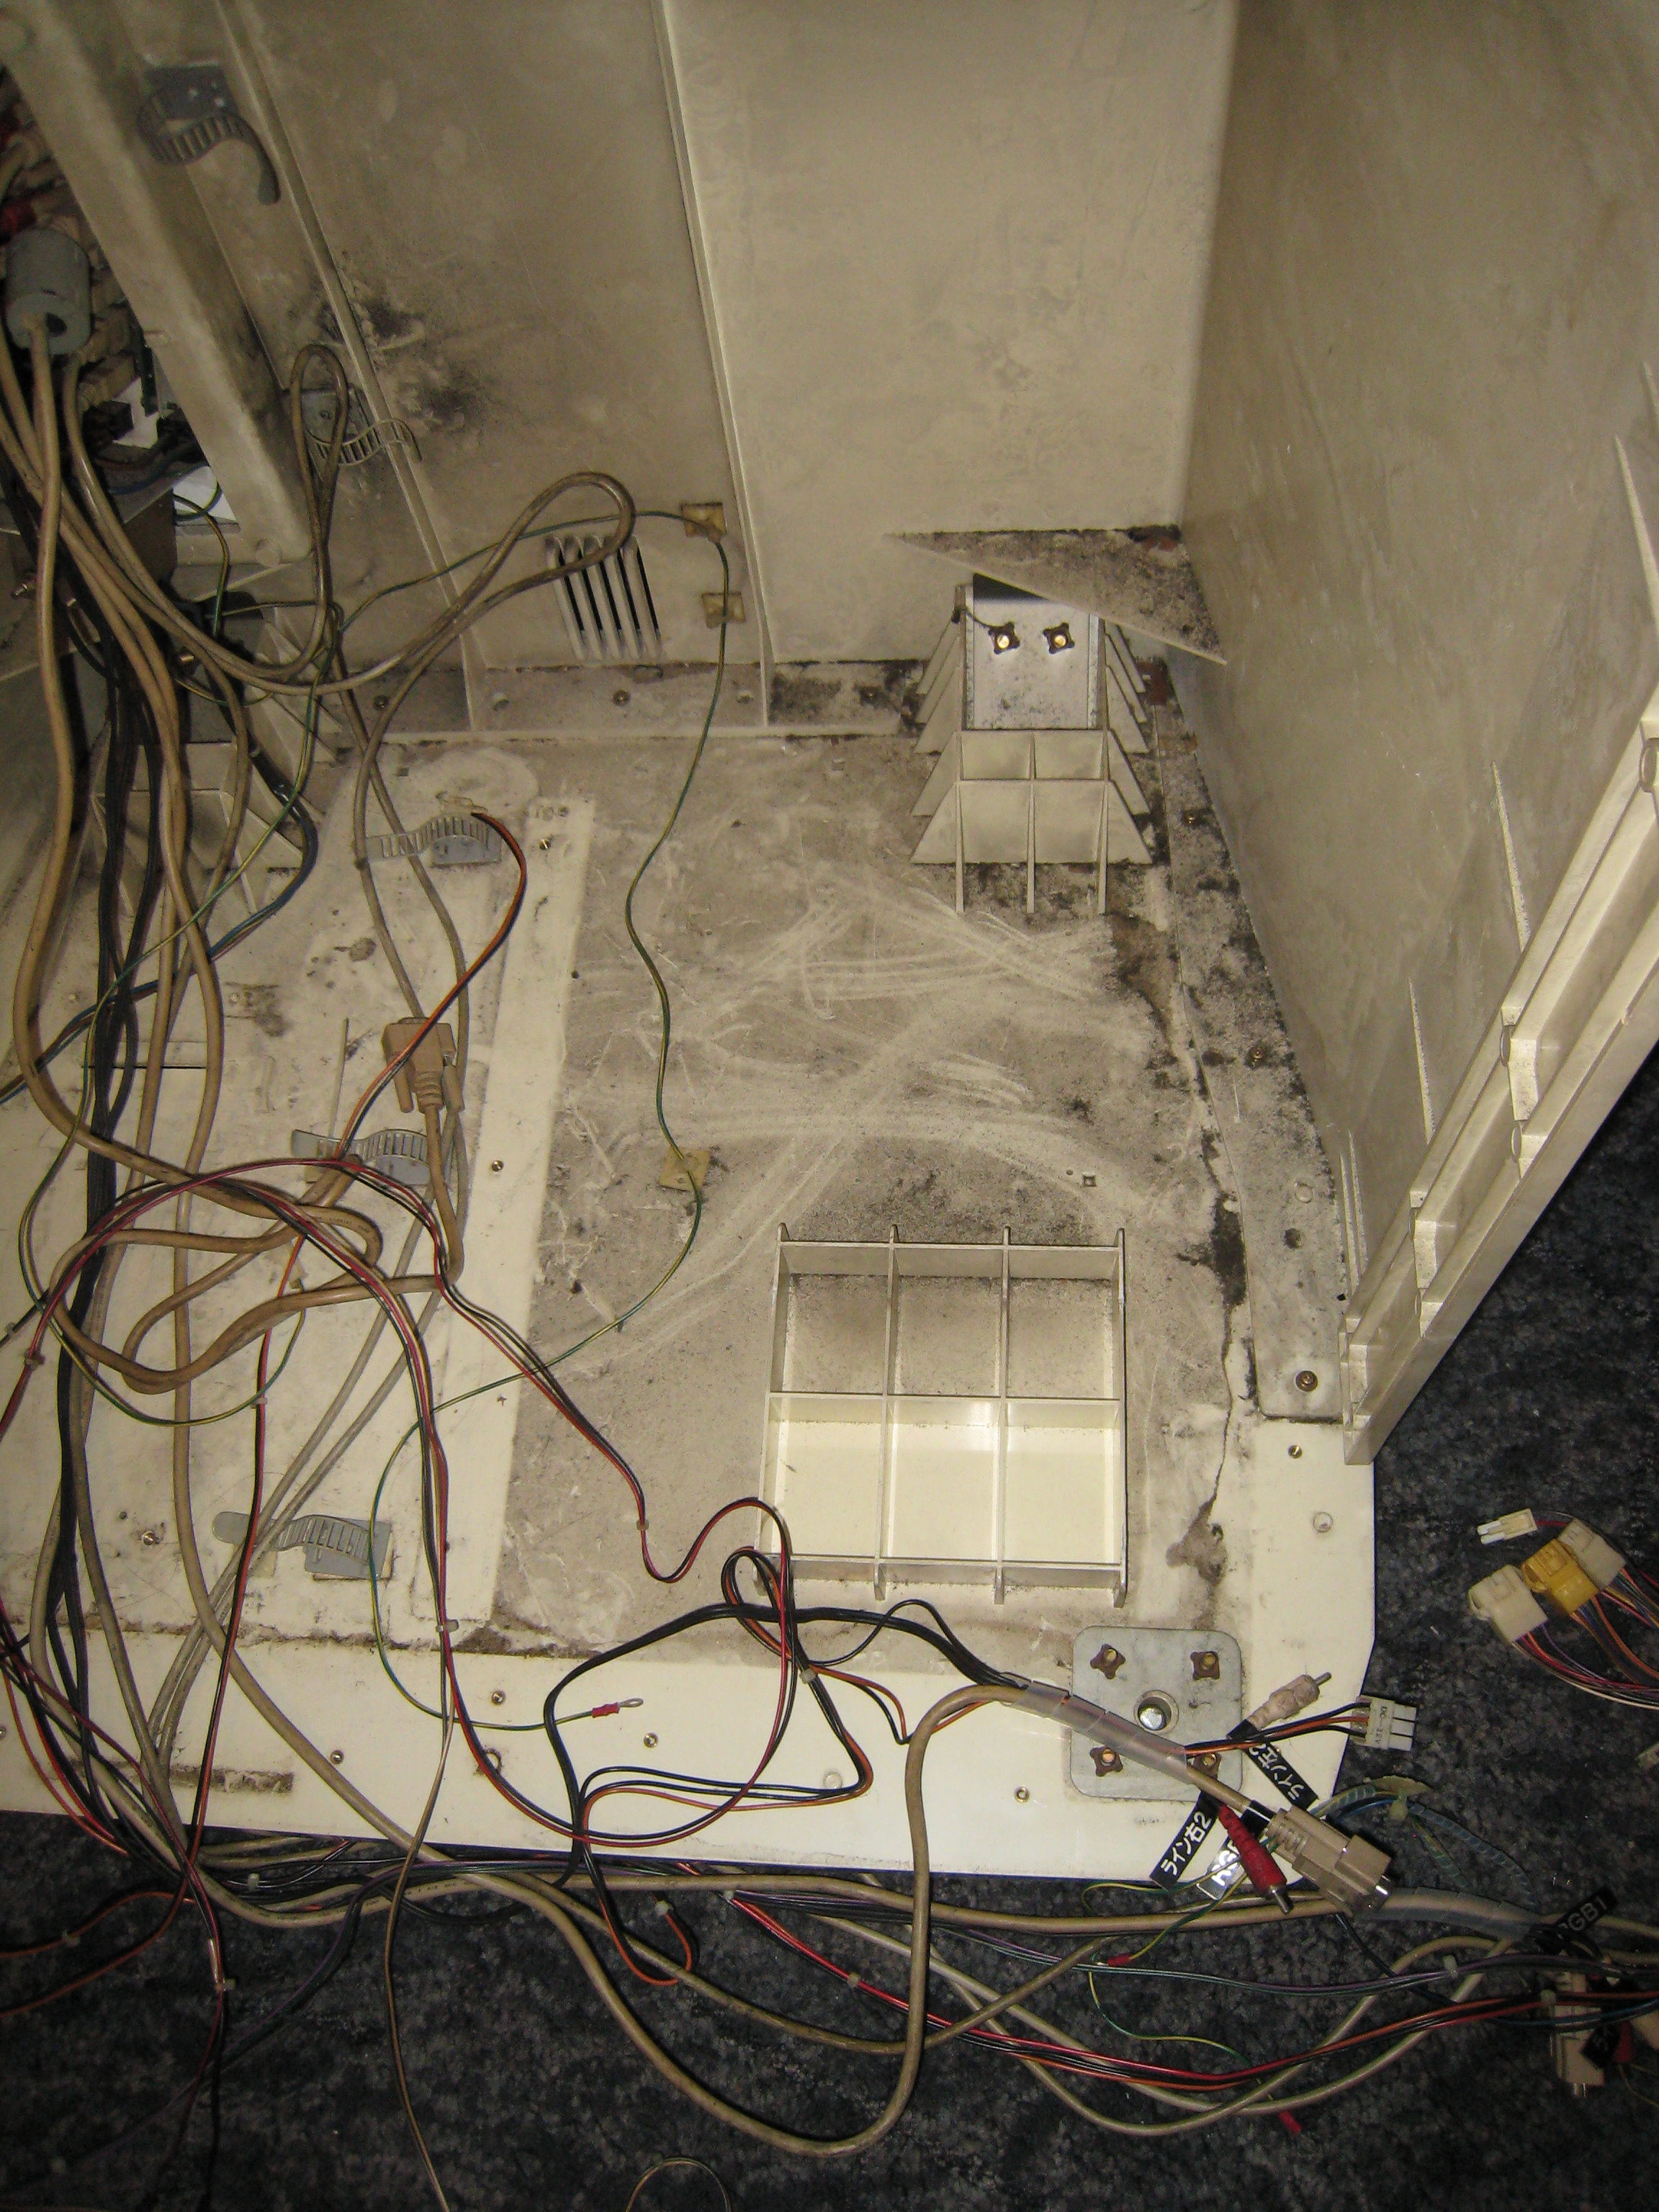
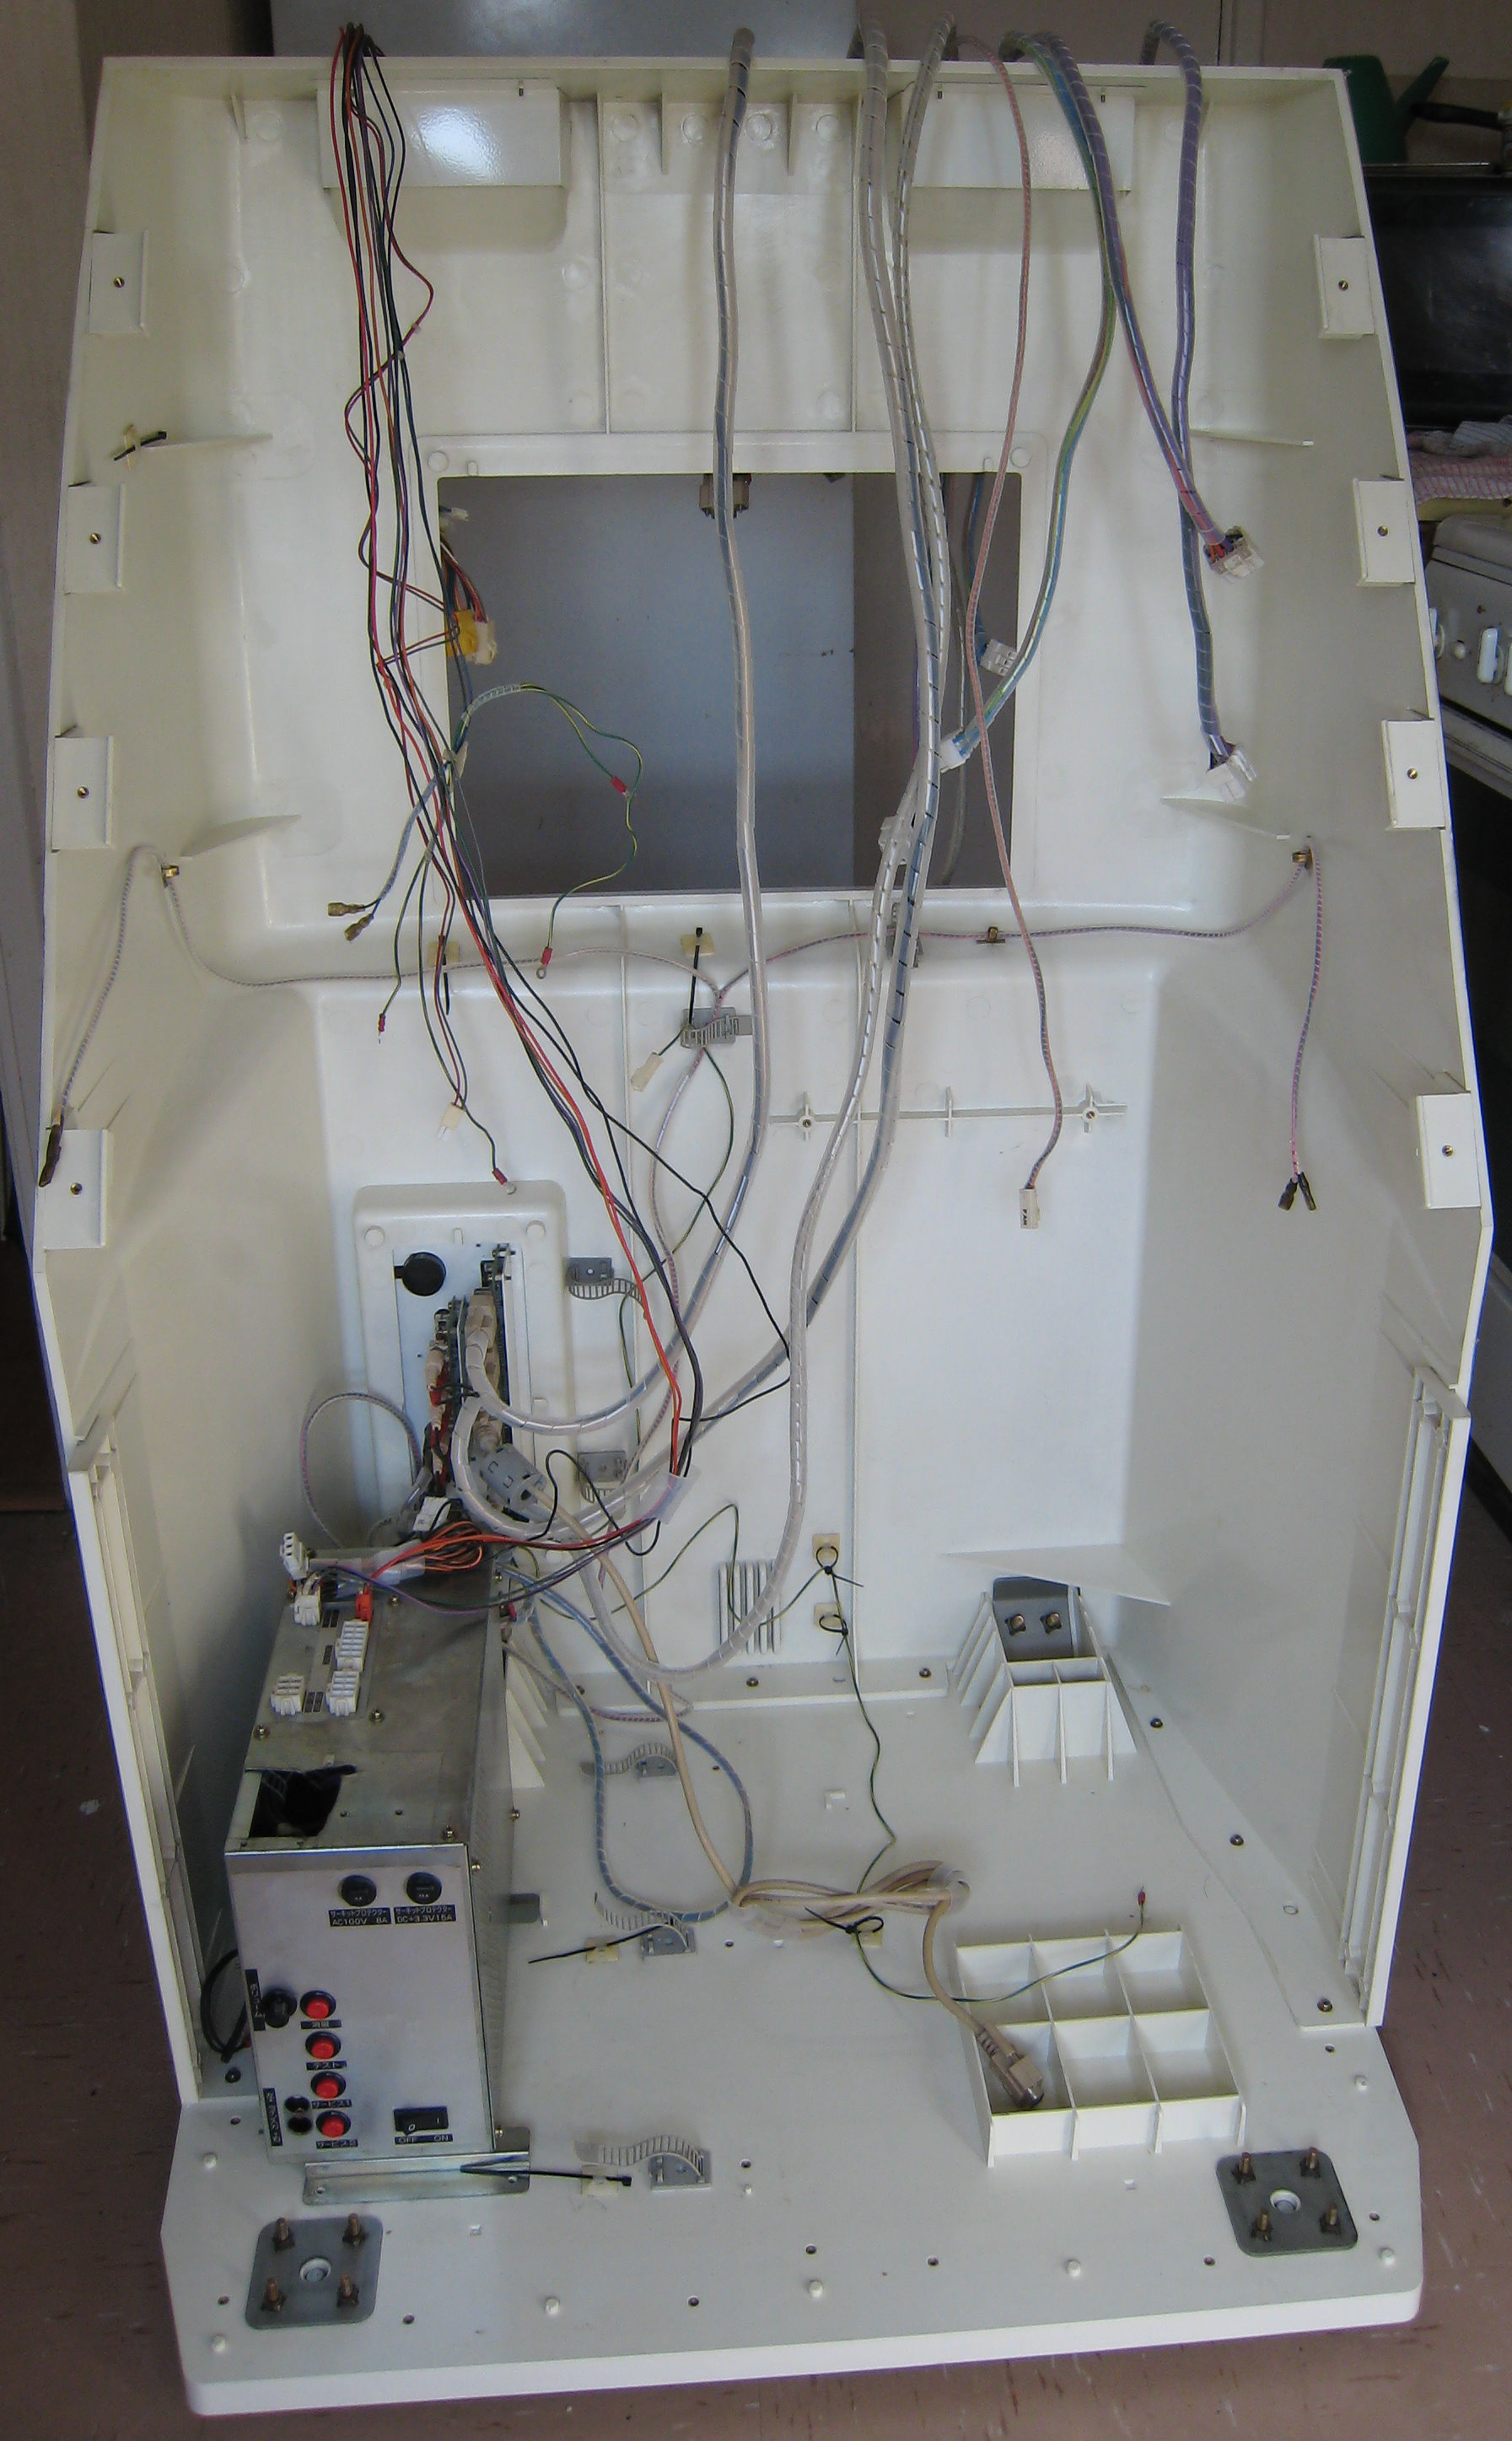
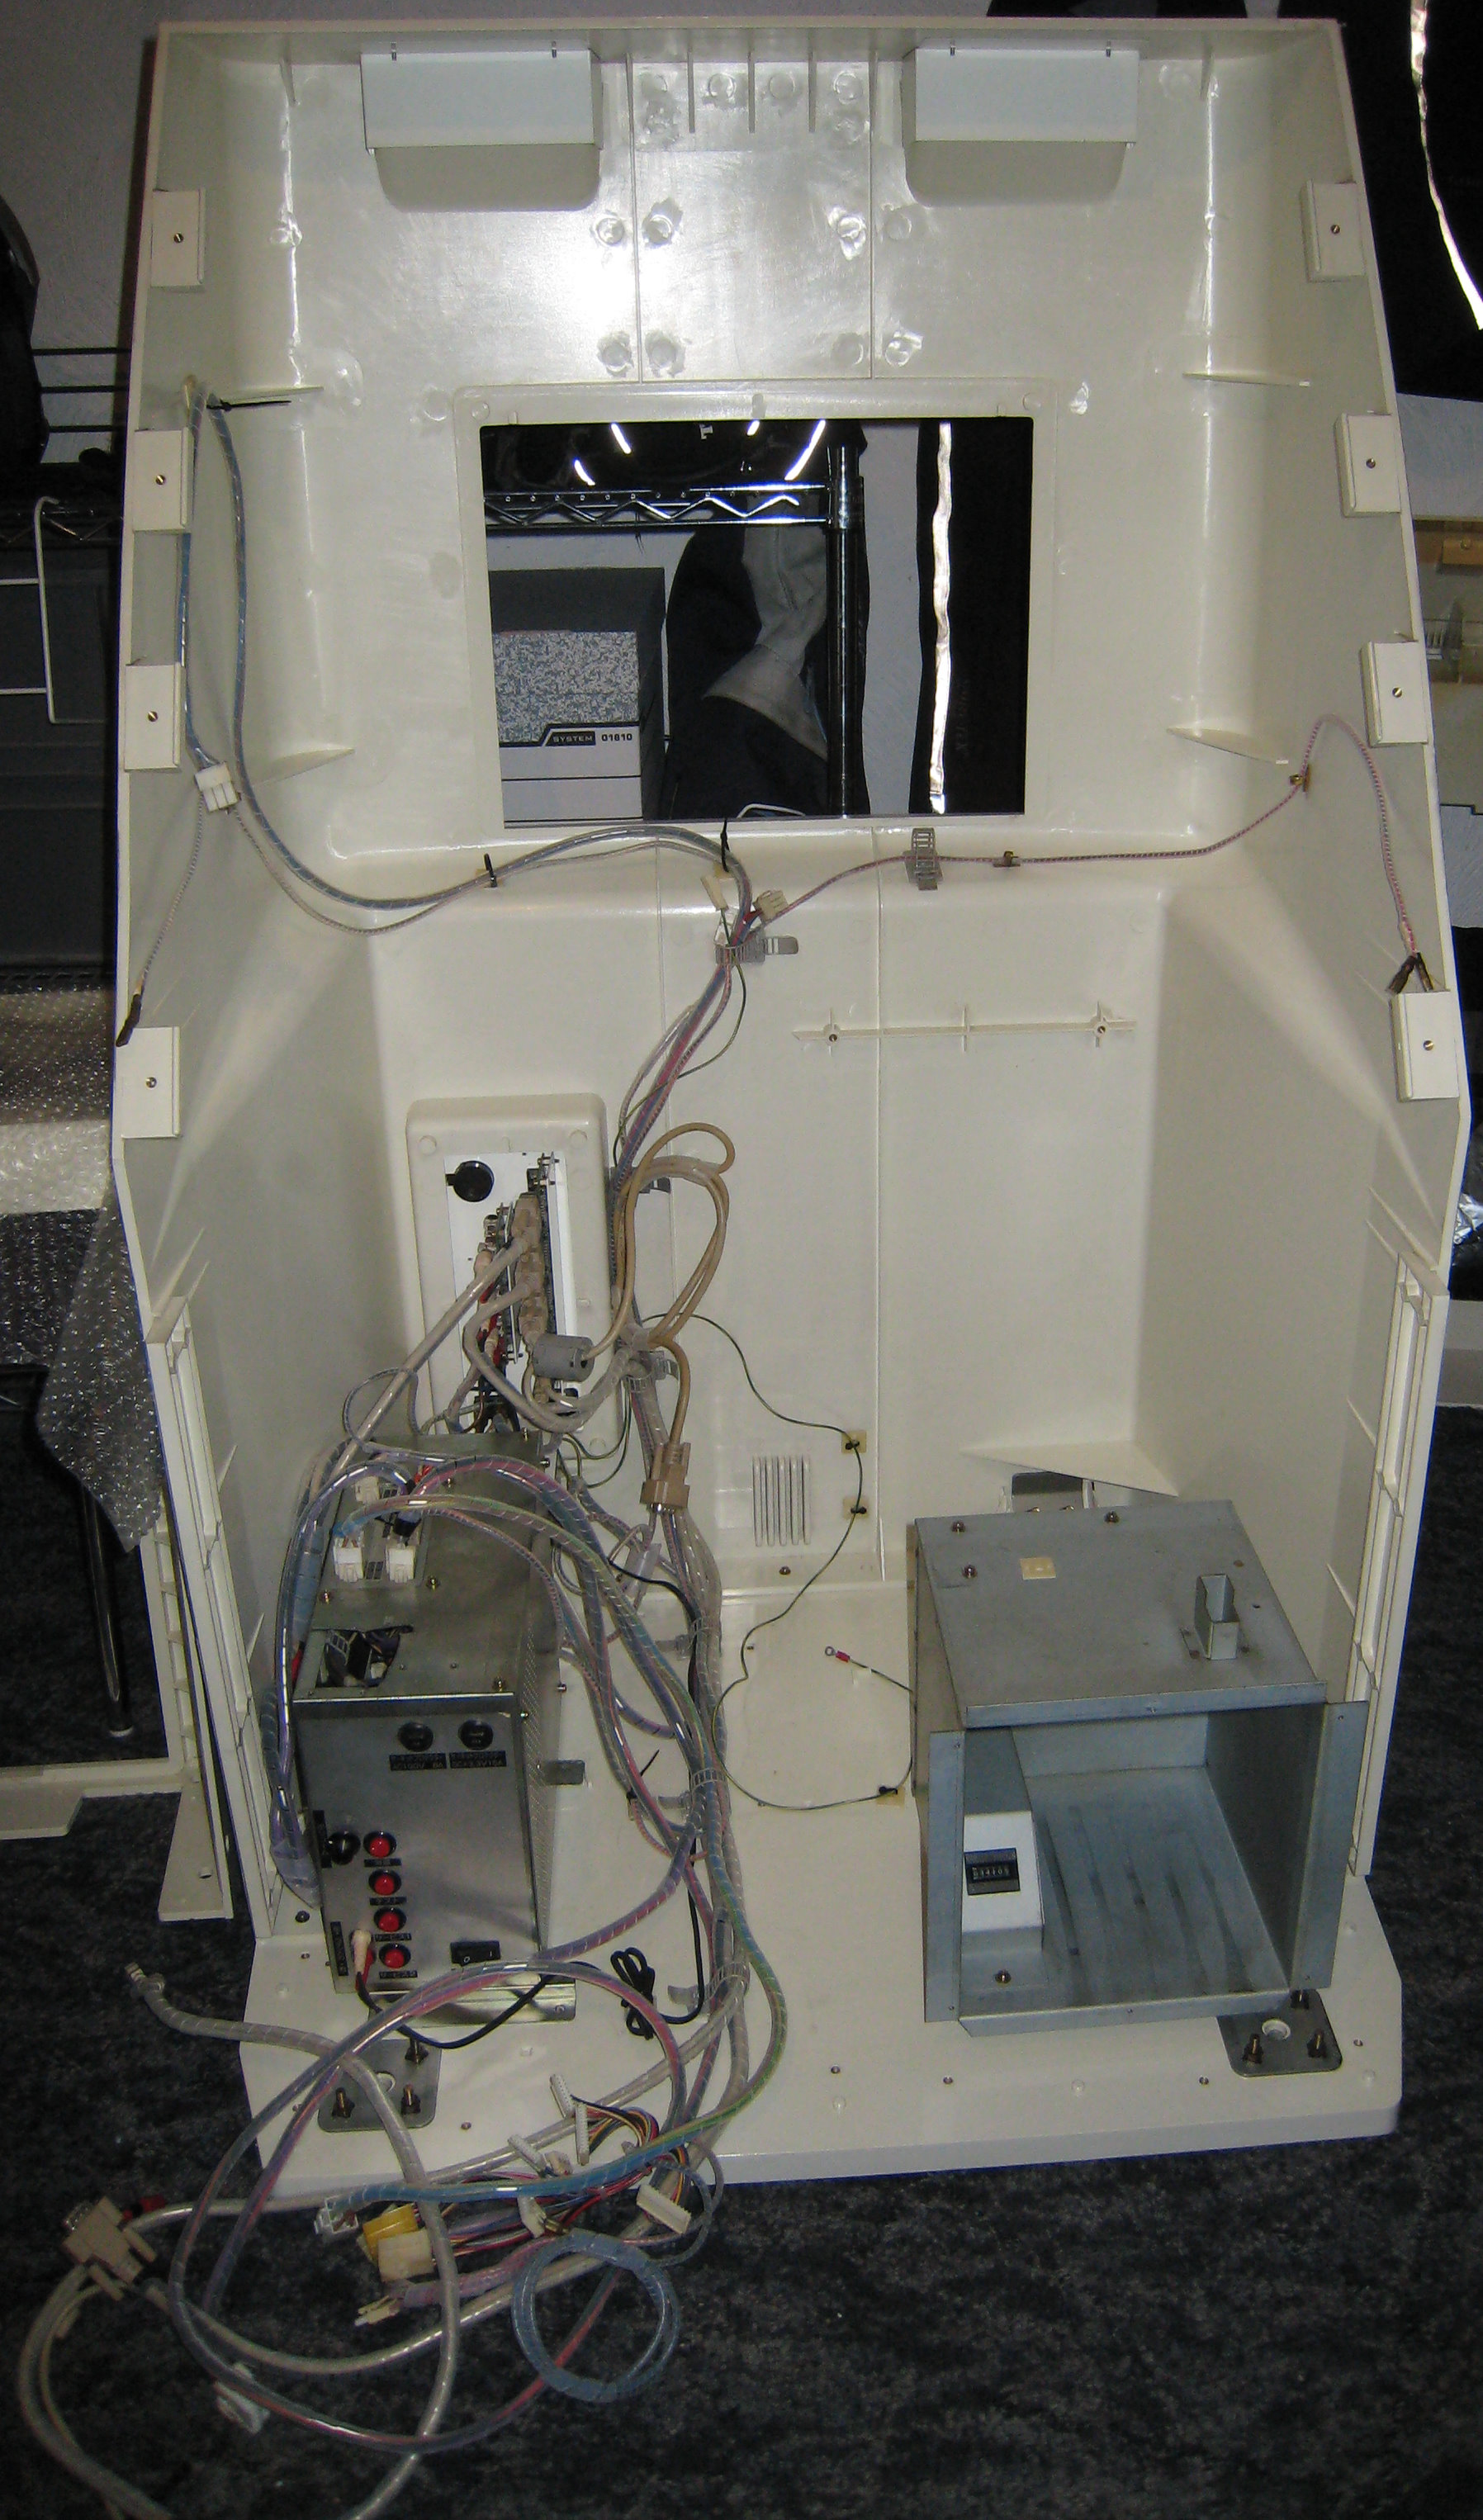
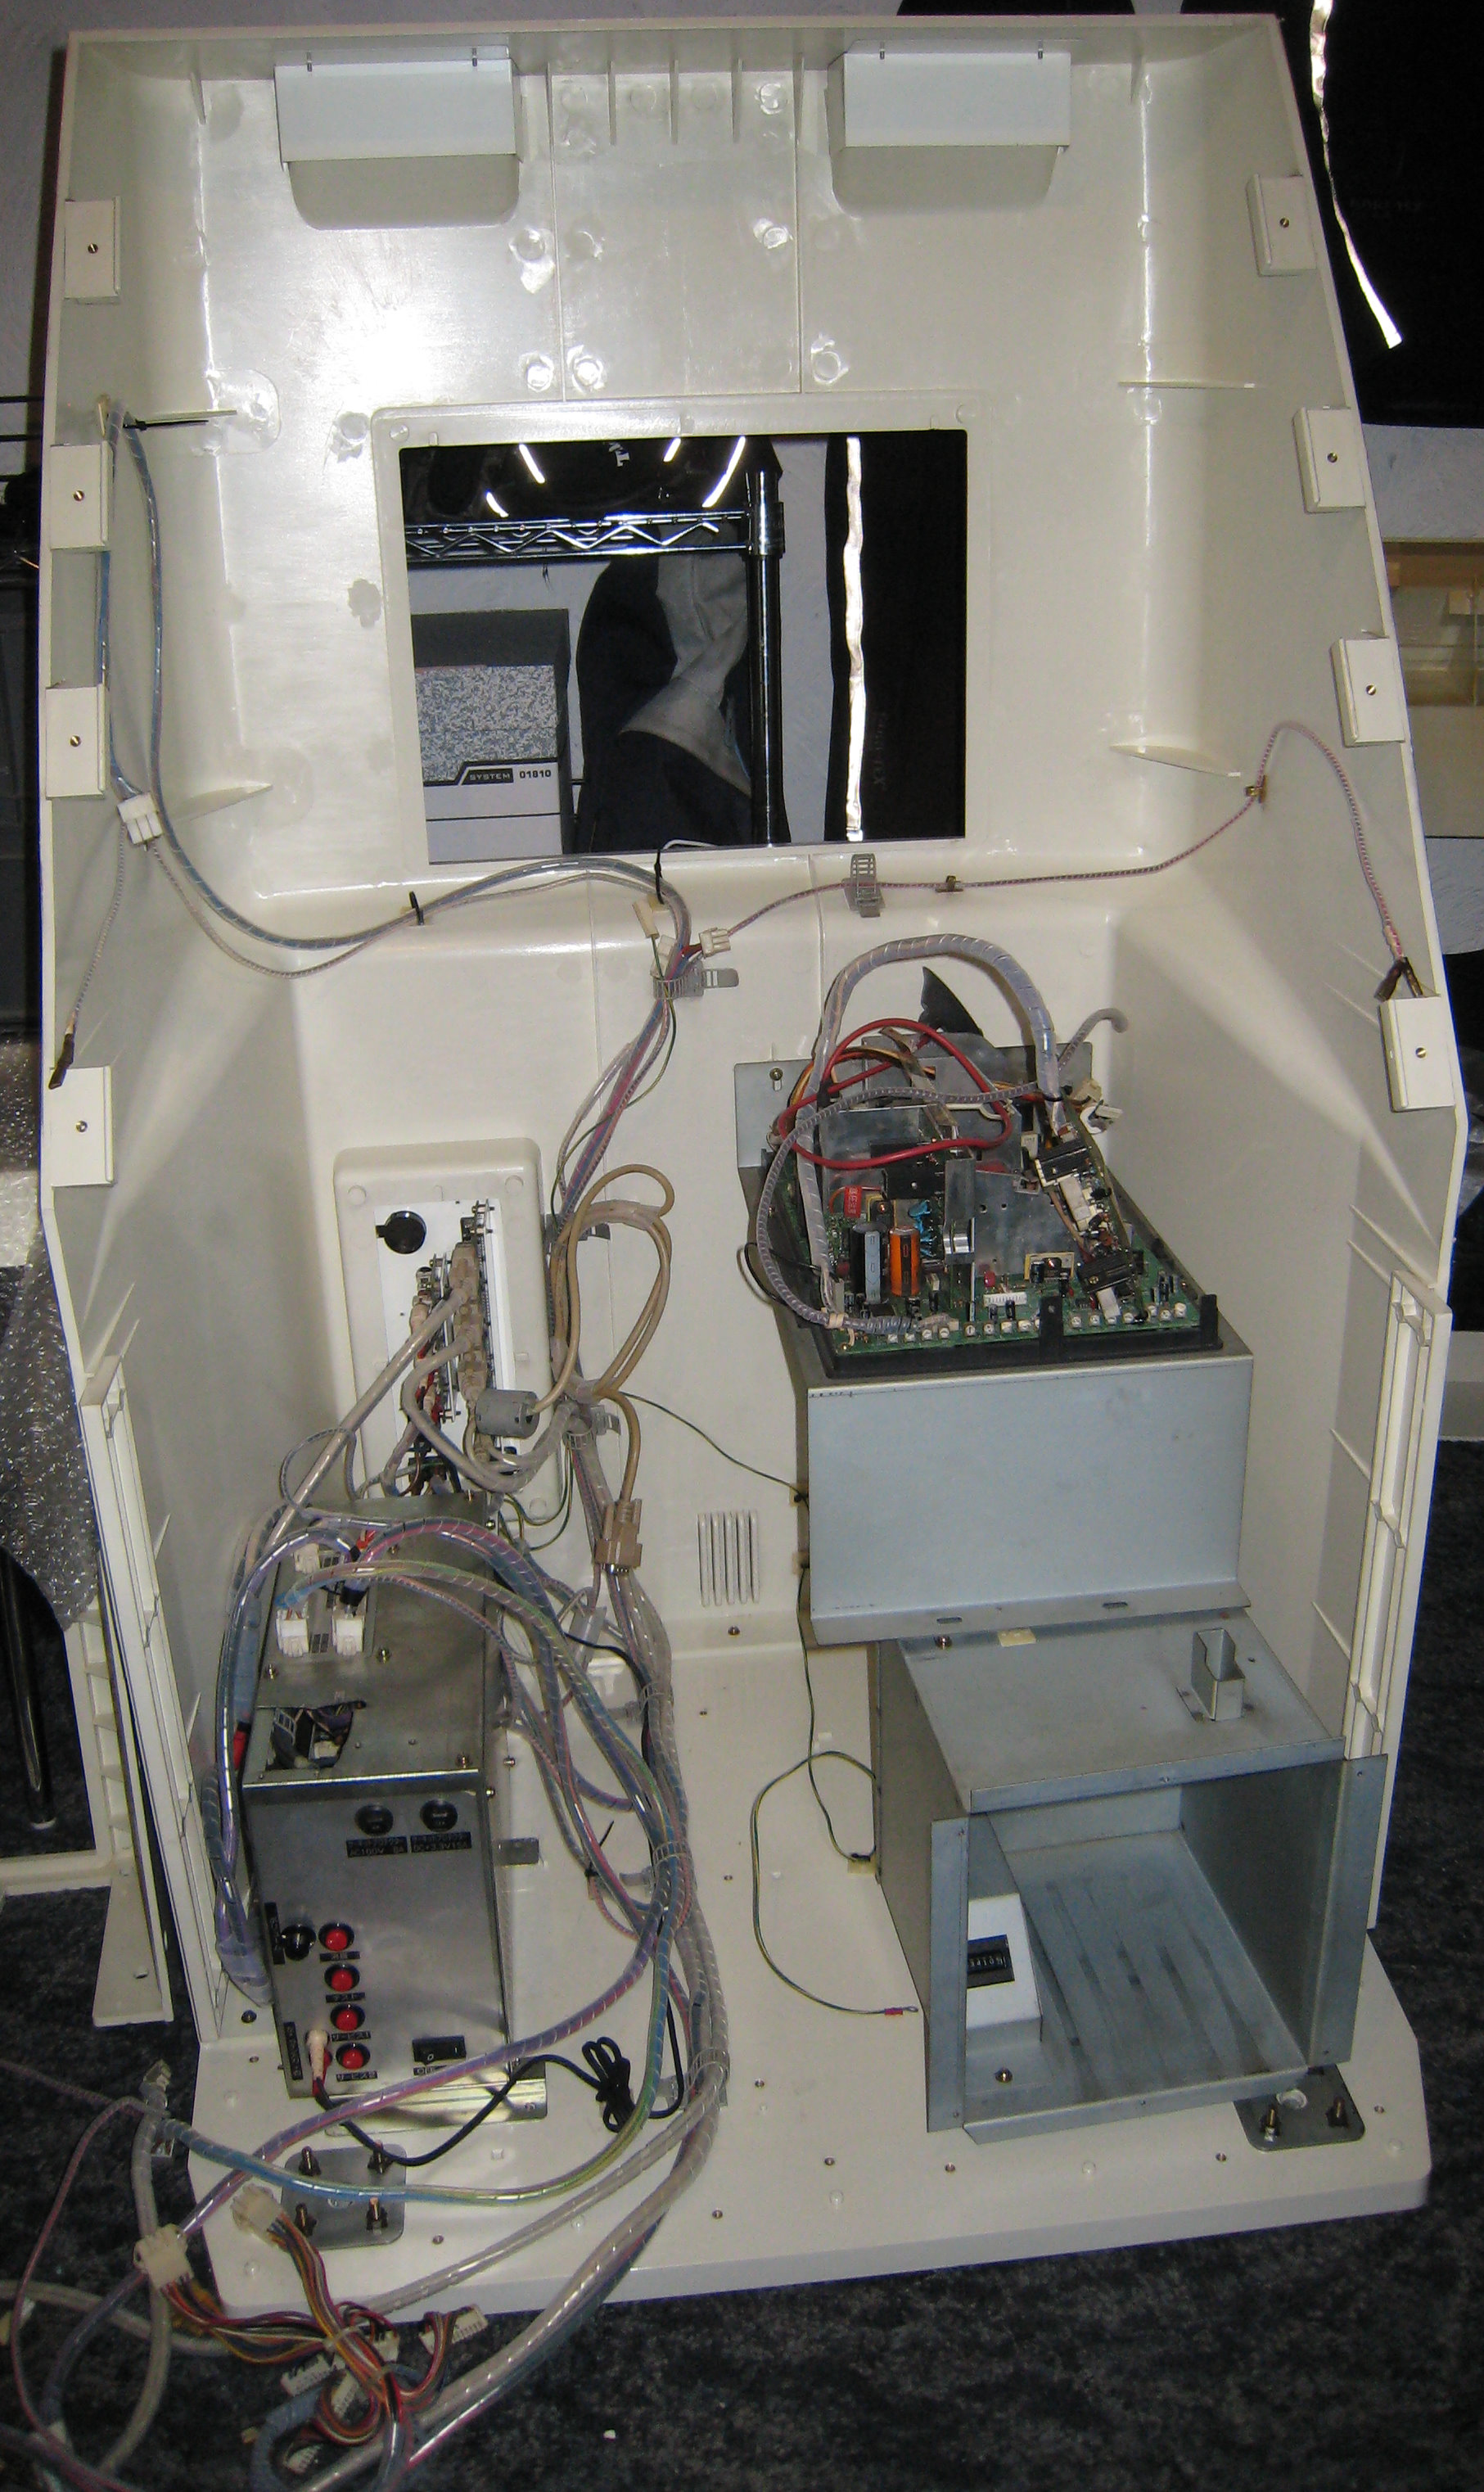
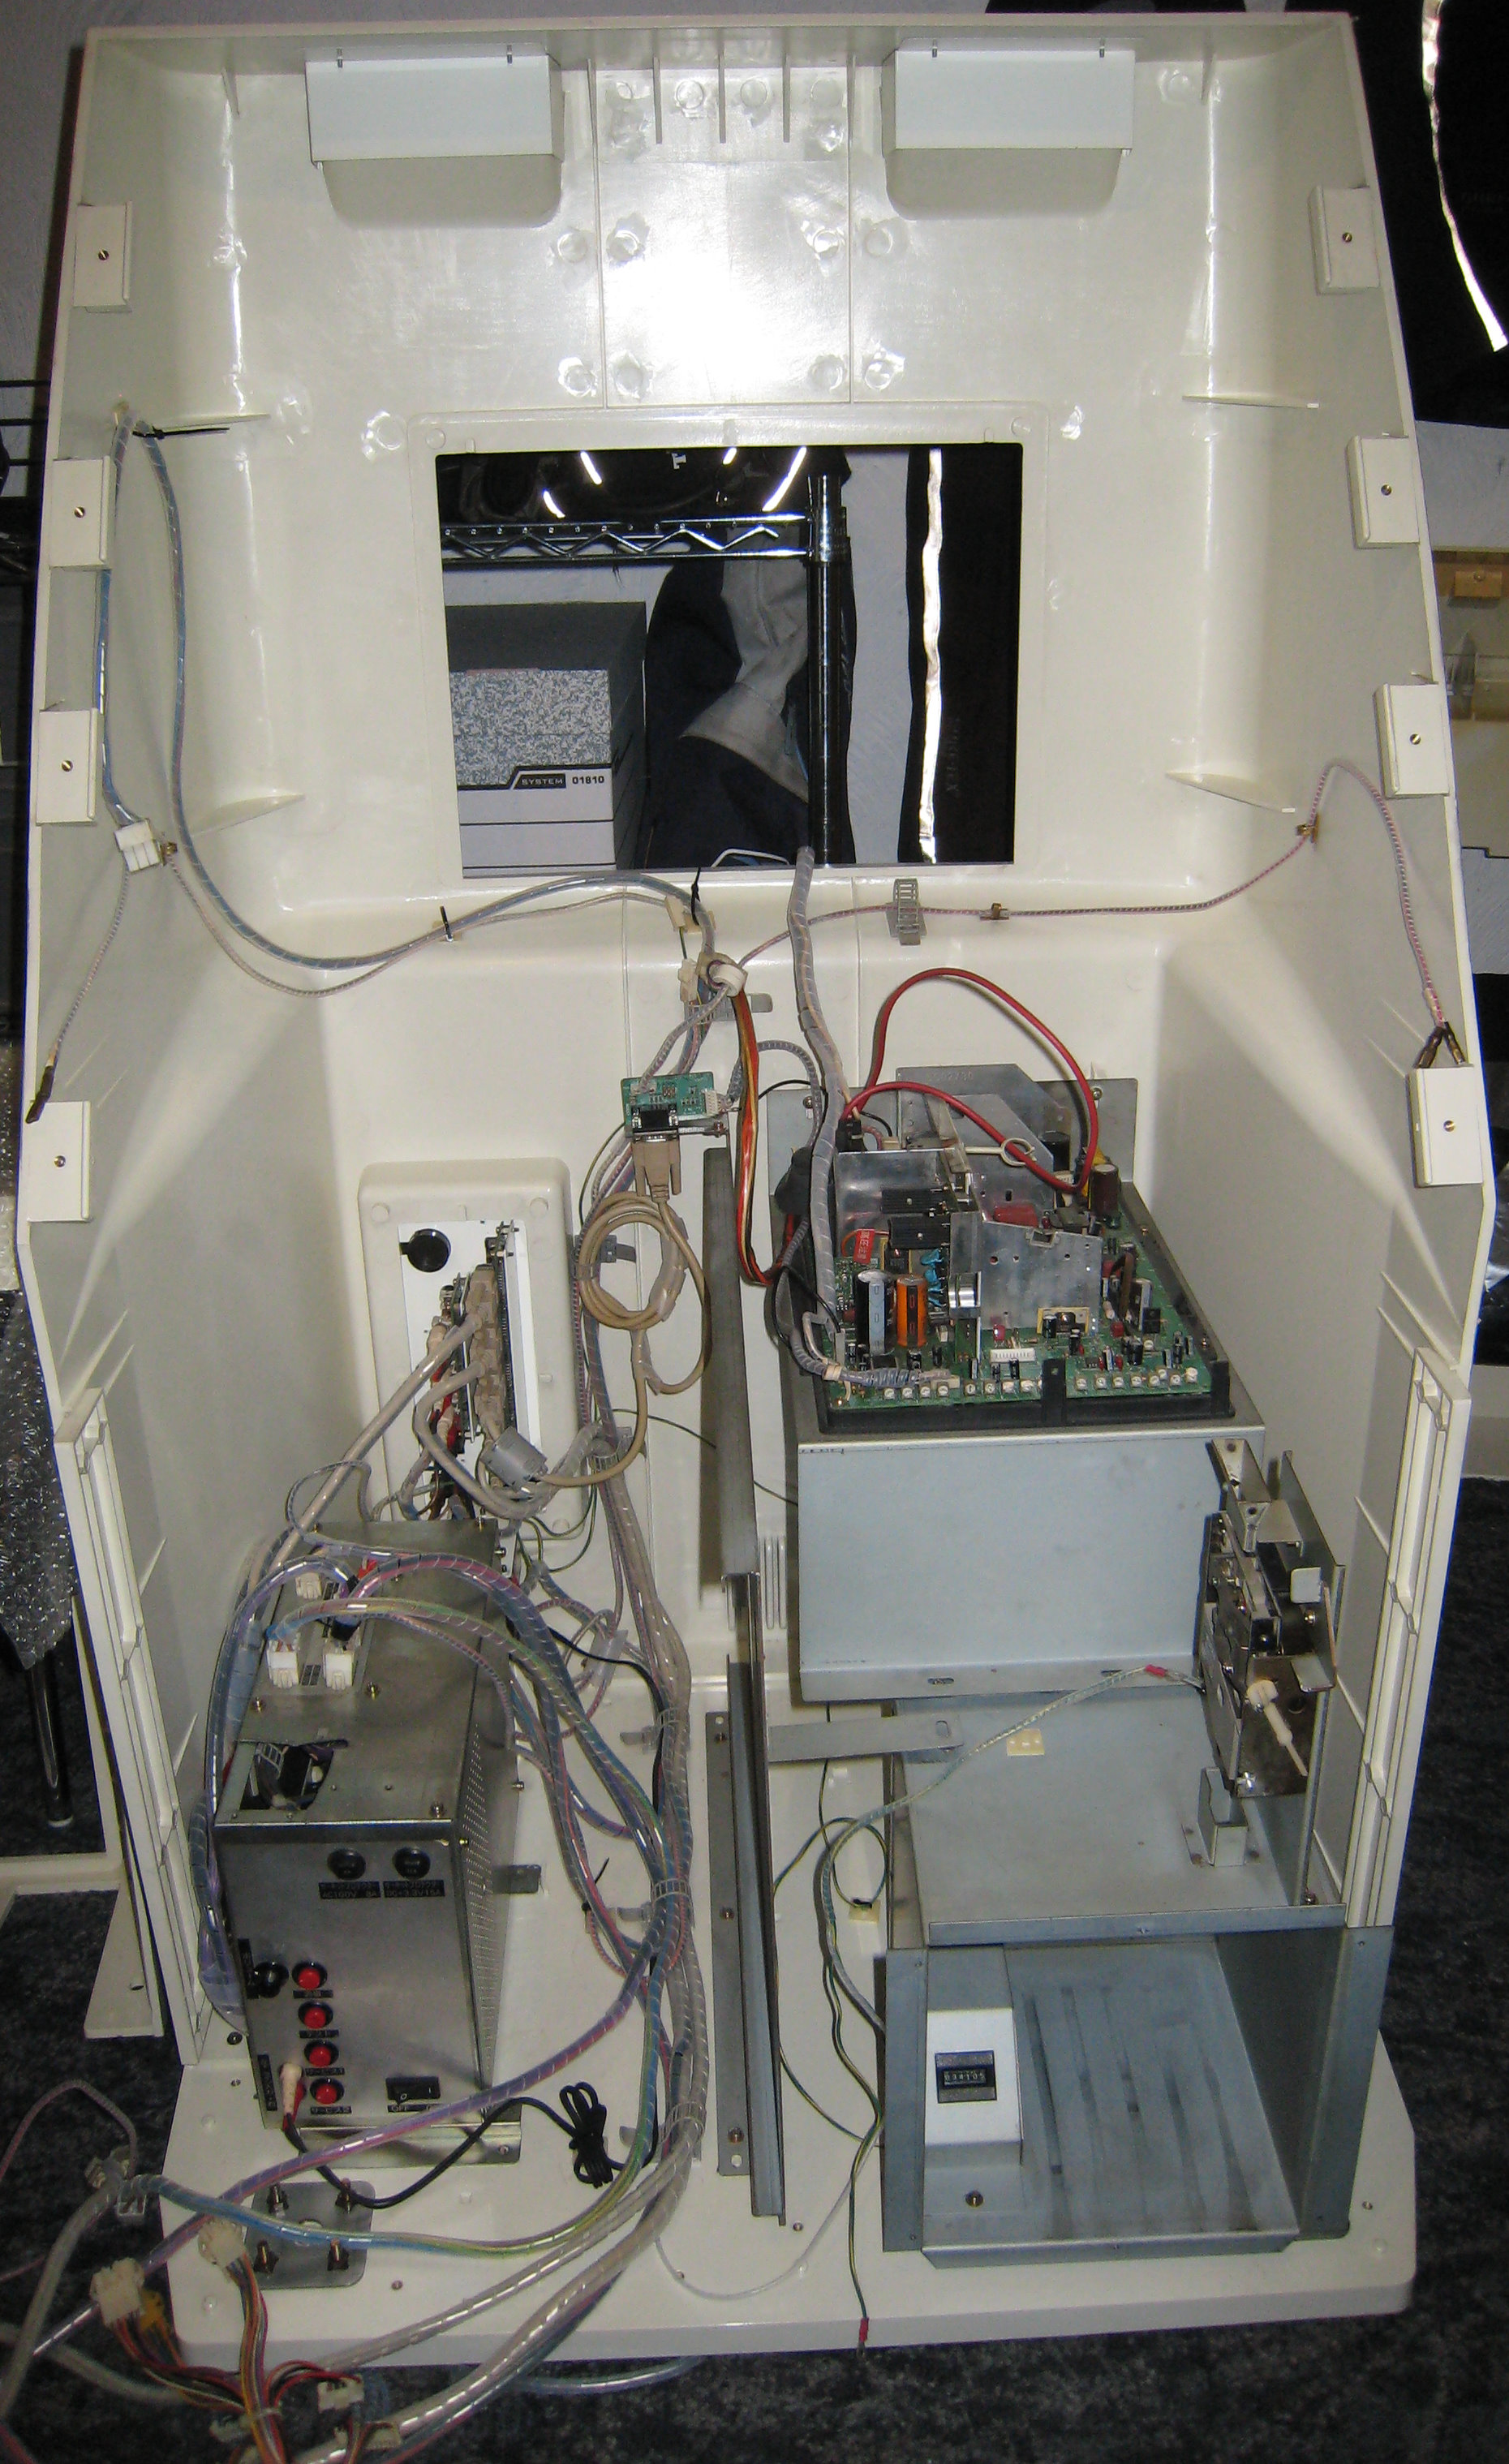
Wiring
Here's all the images I've taken of the wiring before I stripped the machine down, hopefully I can get it all back in when I rewire it.
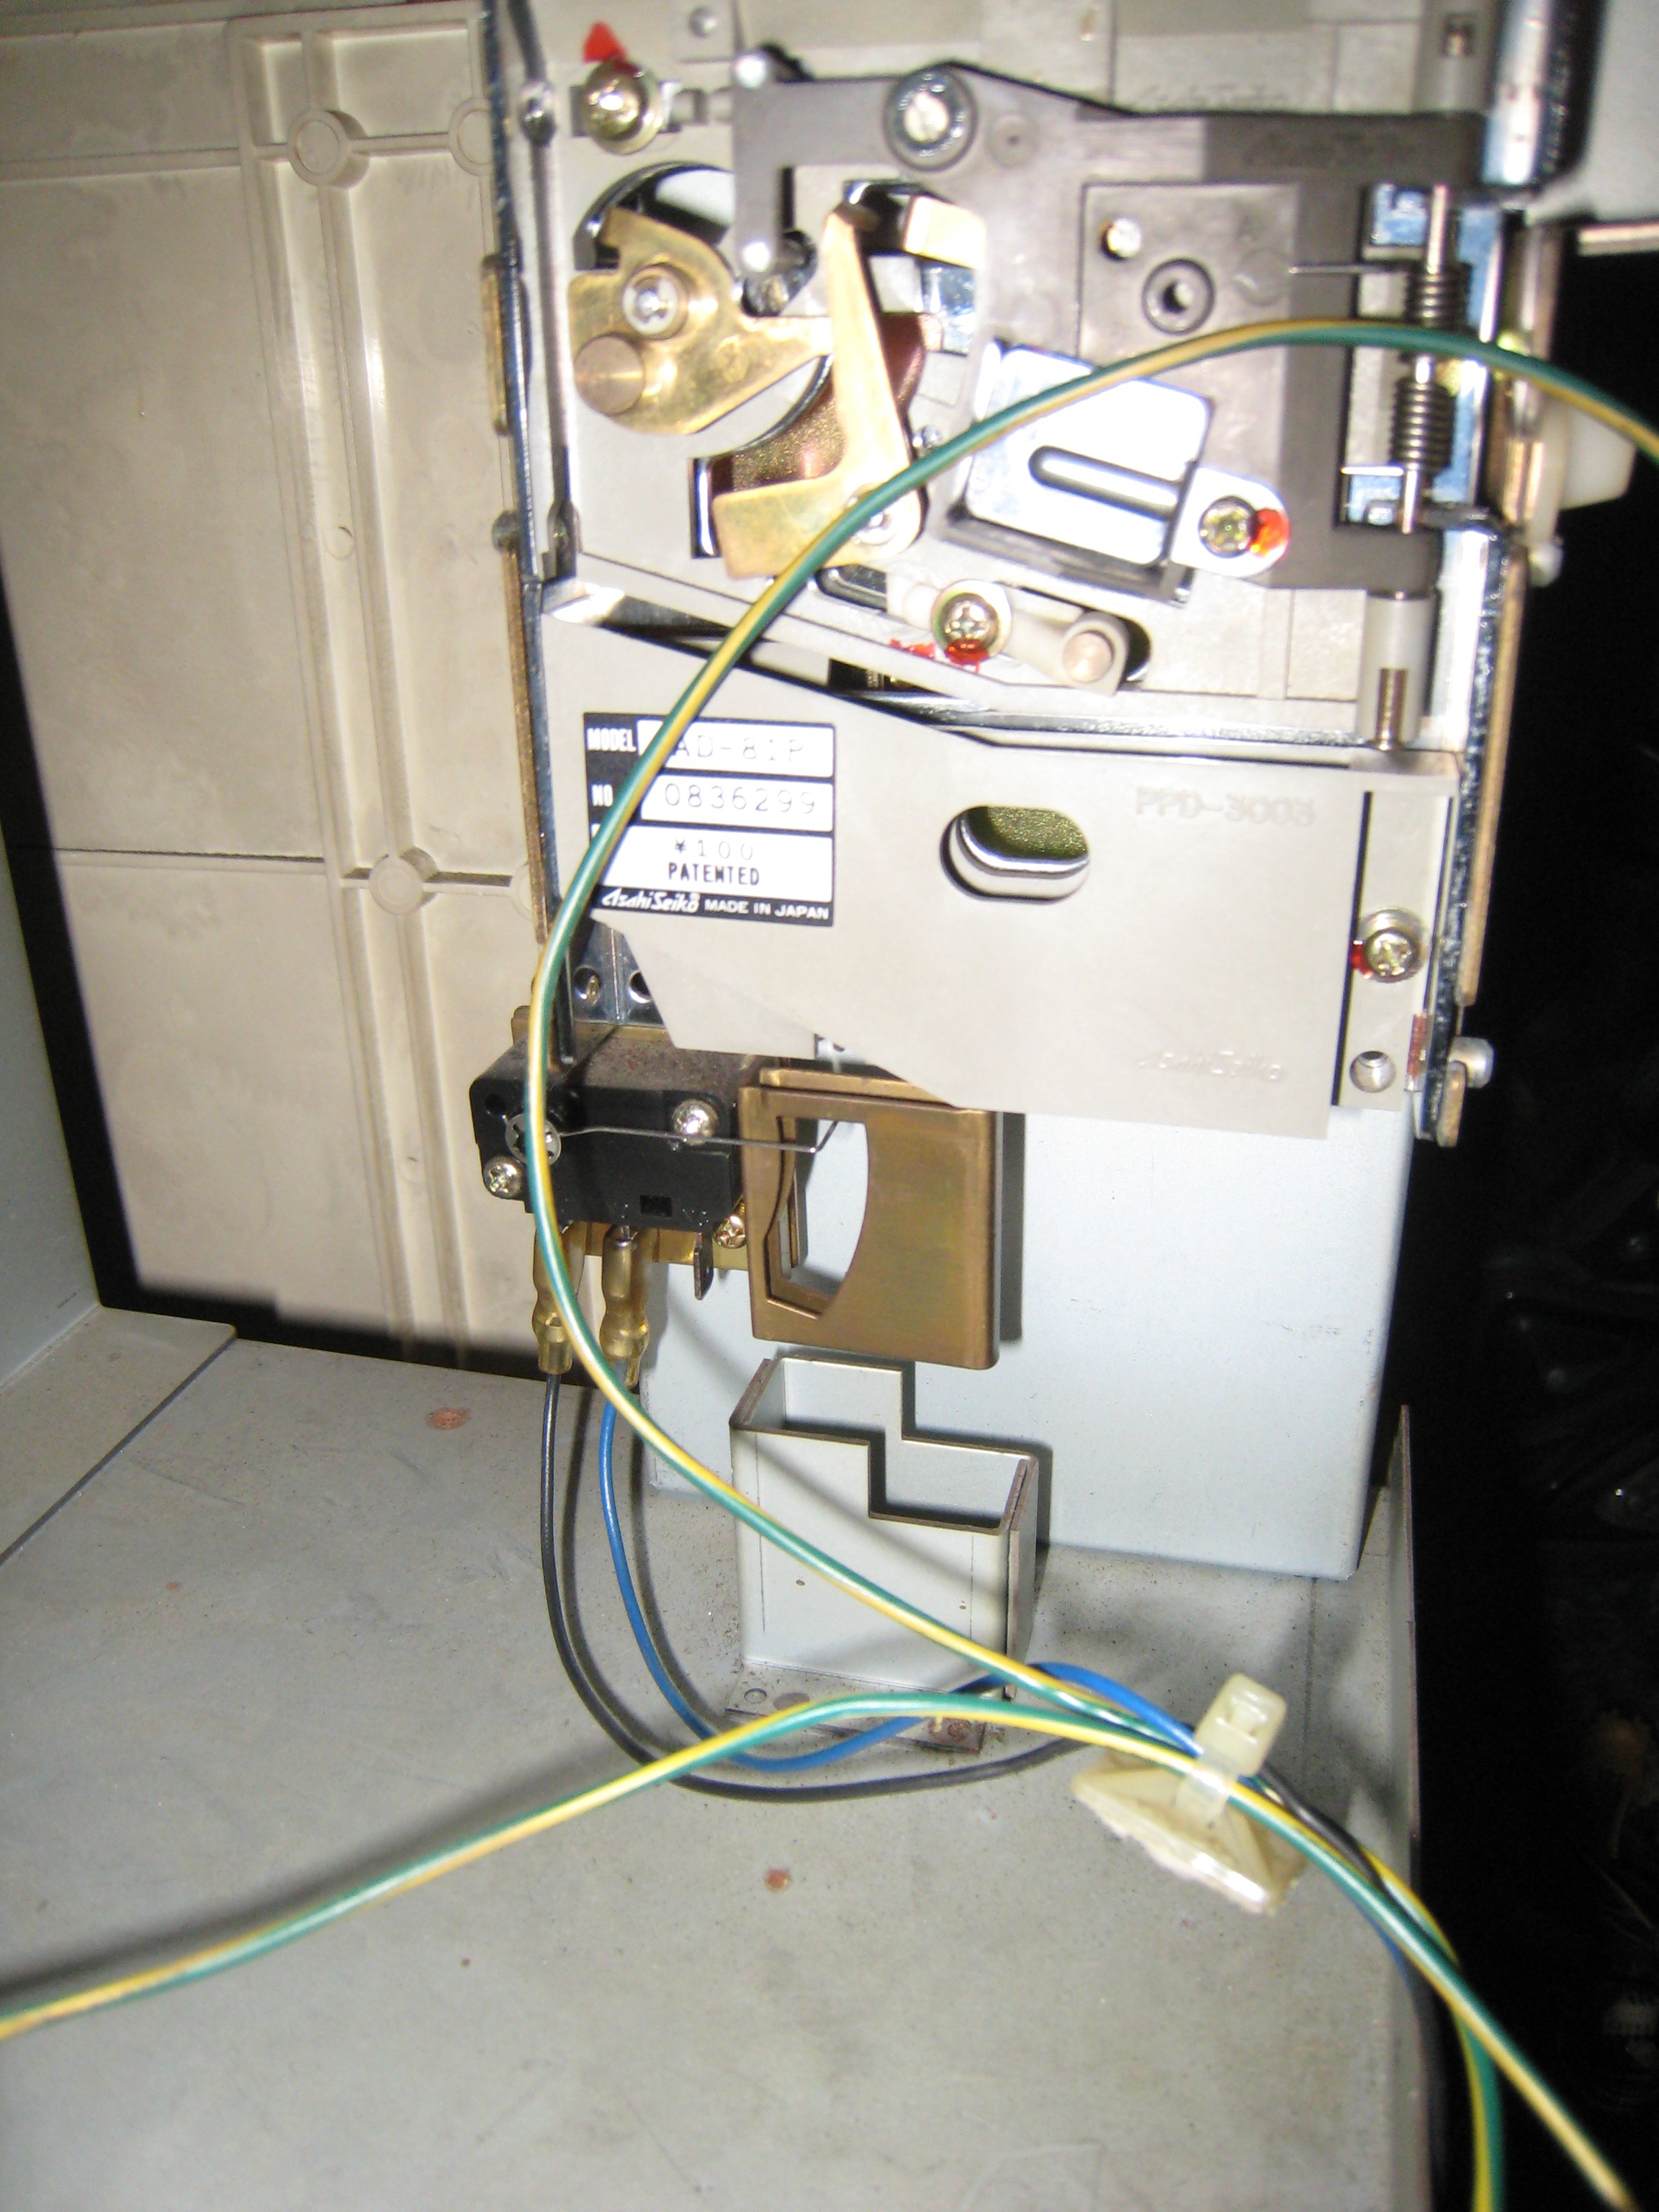
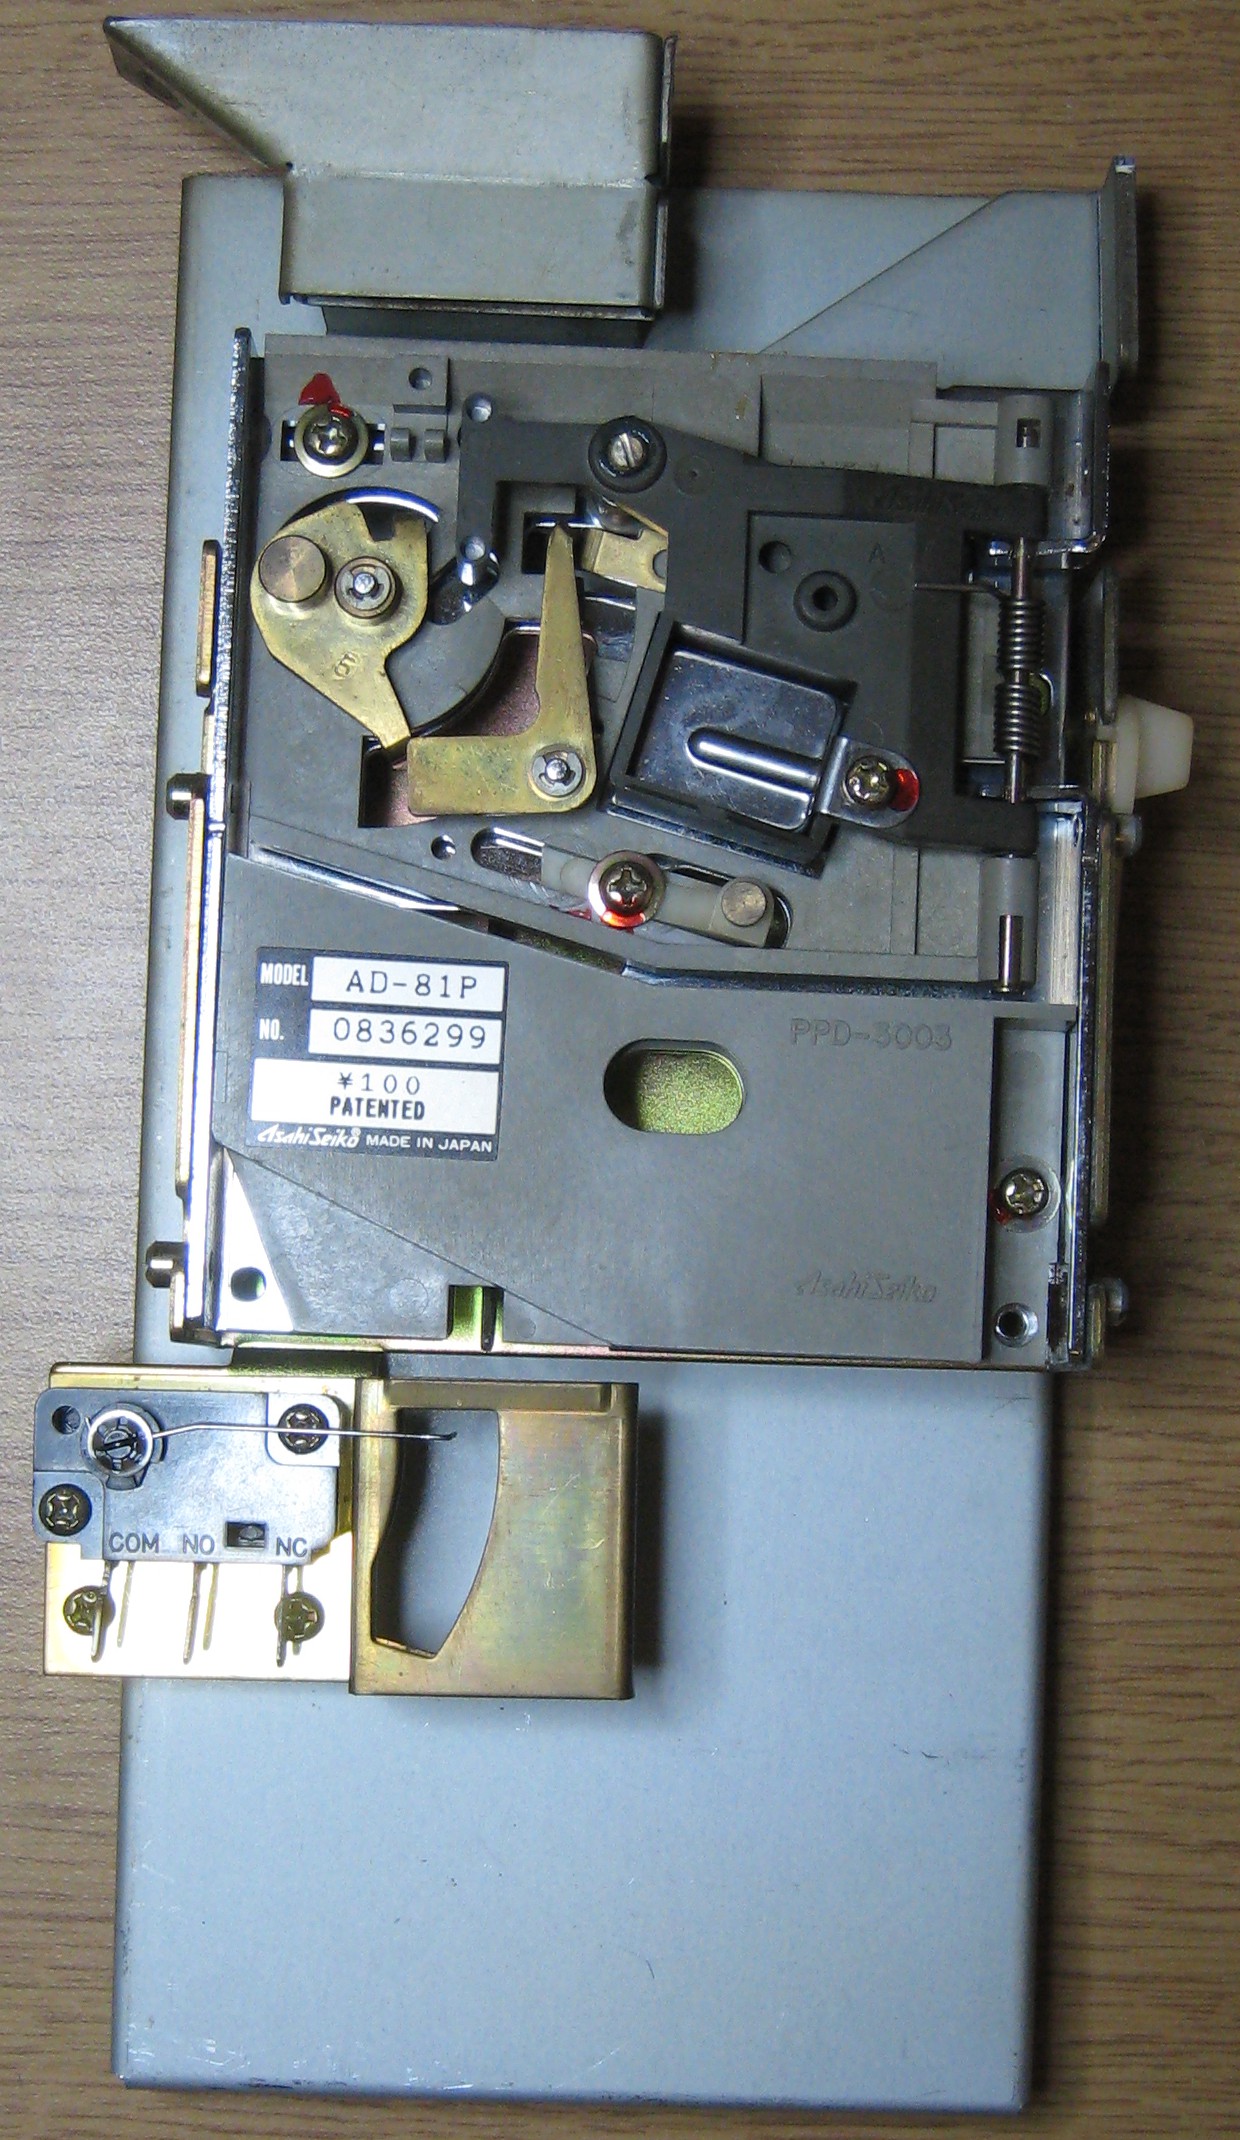
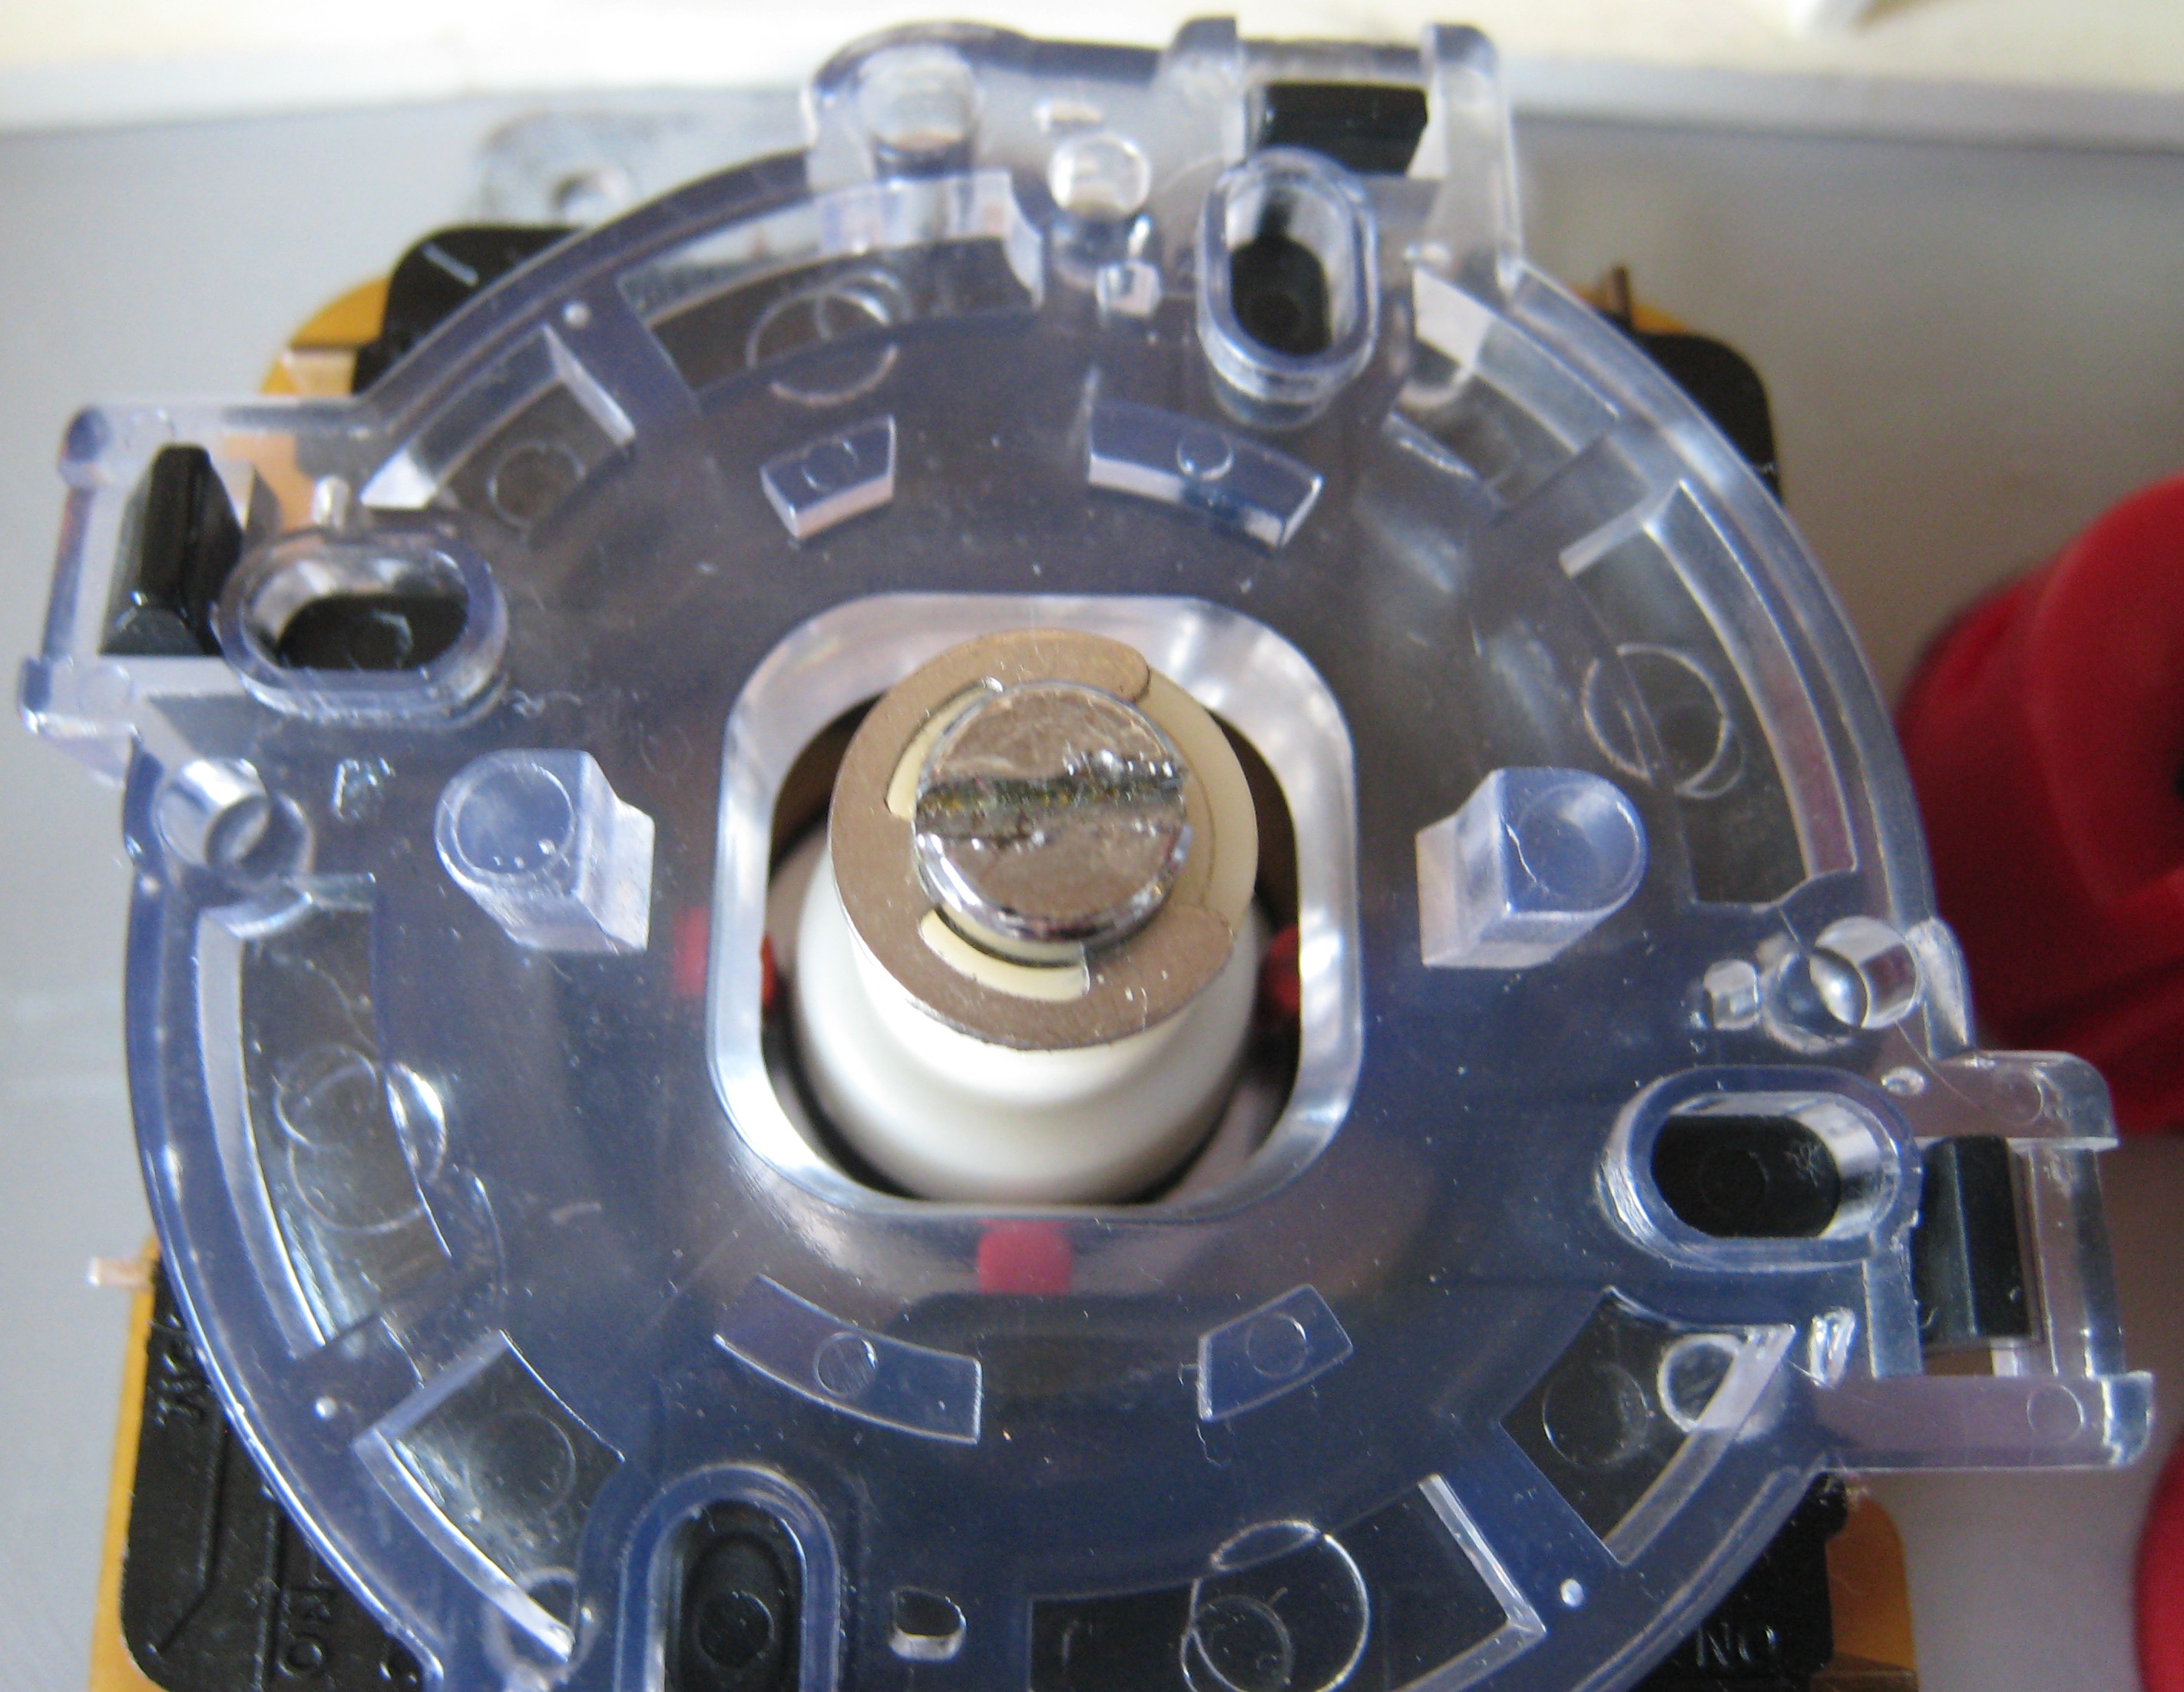
Coin Mech - Drop Type Coin Selector
Model AD-81P
No. 0836299
AsahiSeiko
These are no longer availible new.
Only two connectors to a single microswitch, the top left adjustment screw has been moved by a previous owner of the machine, this make the machine work with UK 20 pence coins rather than 100 Yen coins, easy enough to change back to Yen if need be.
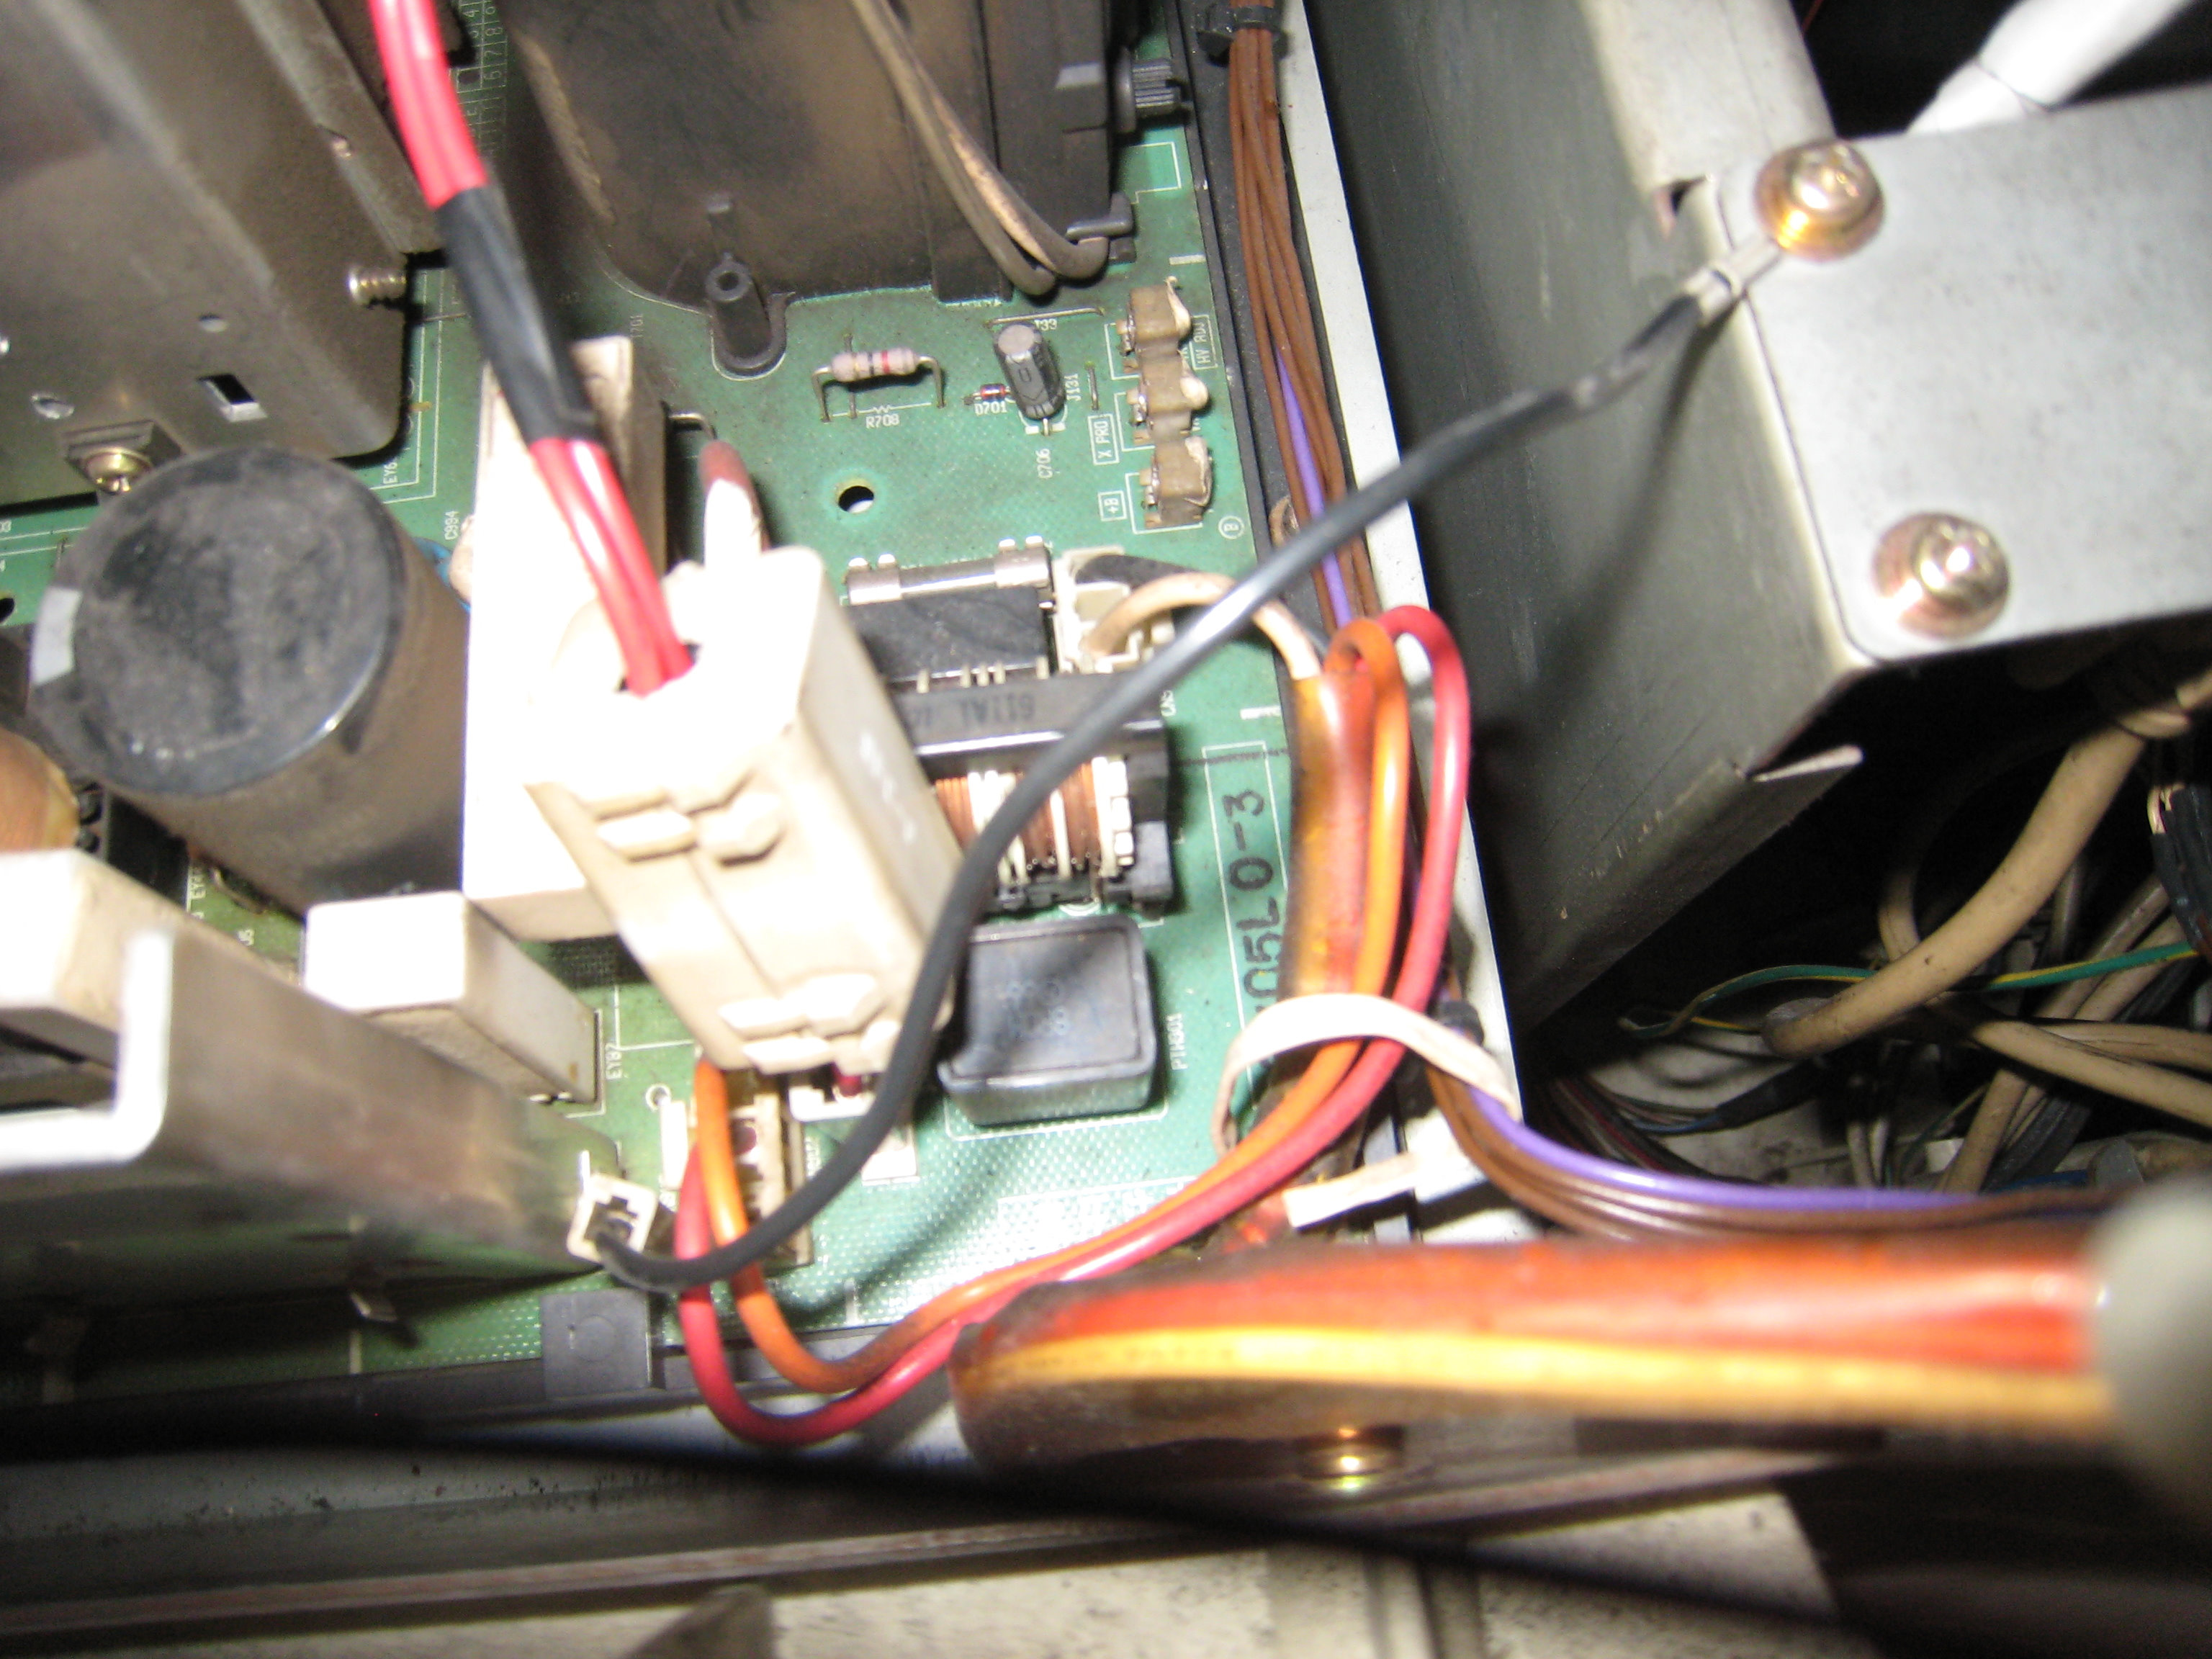
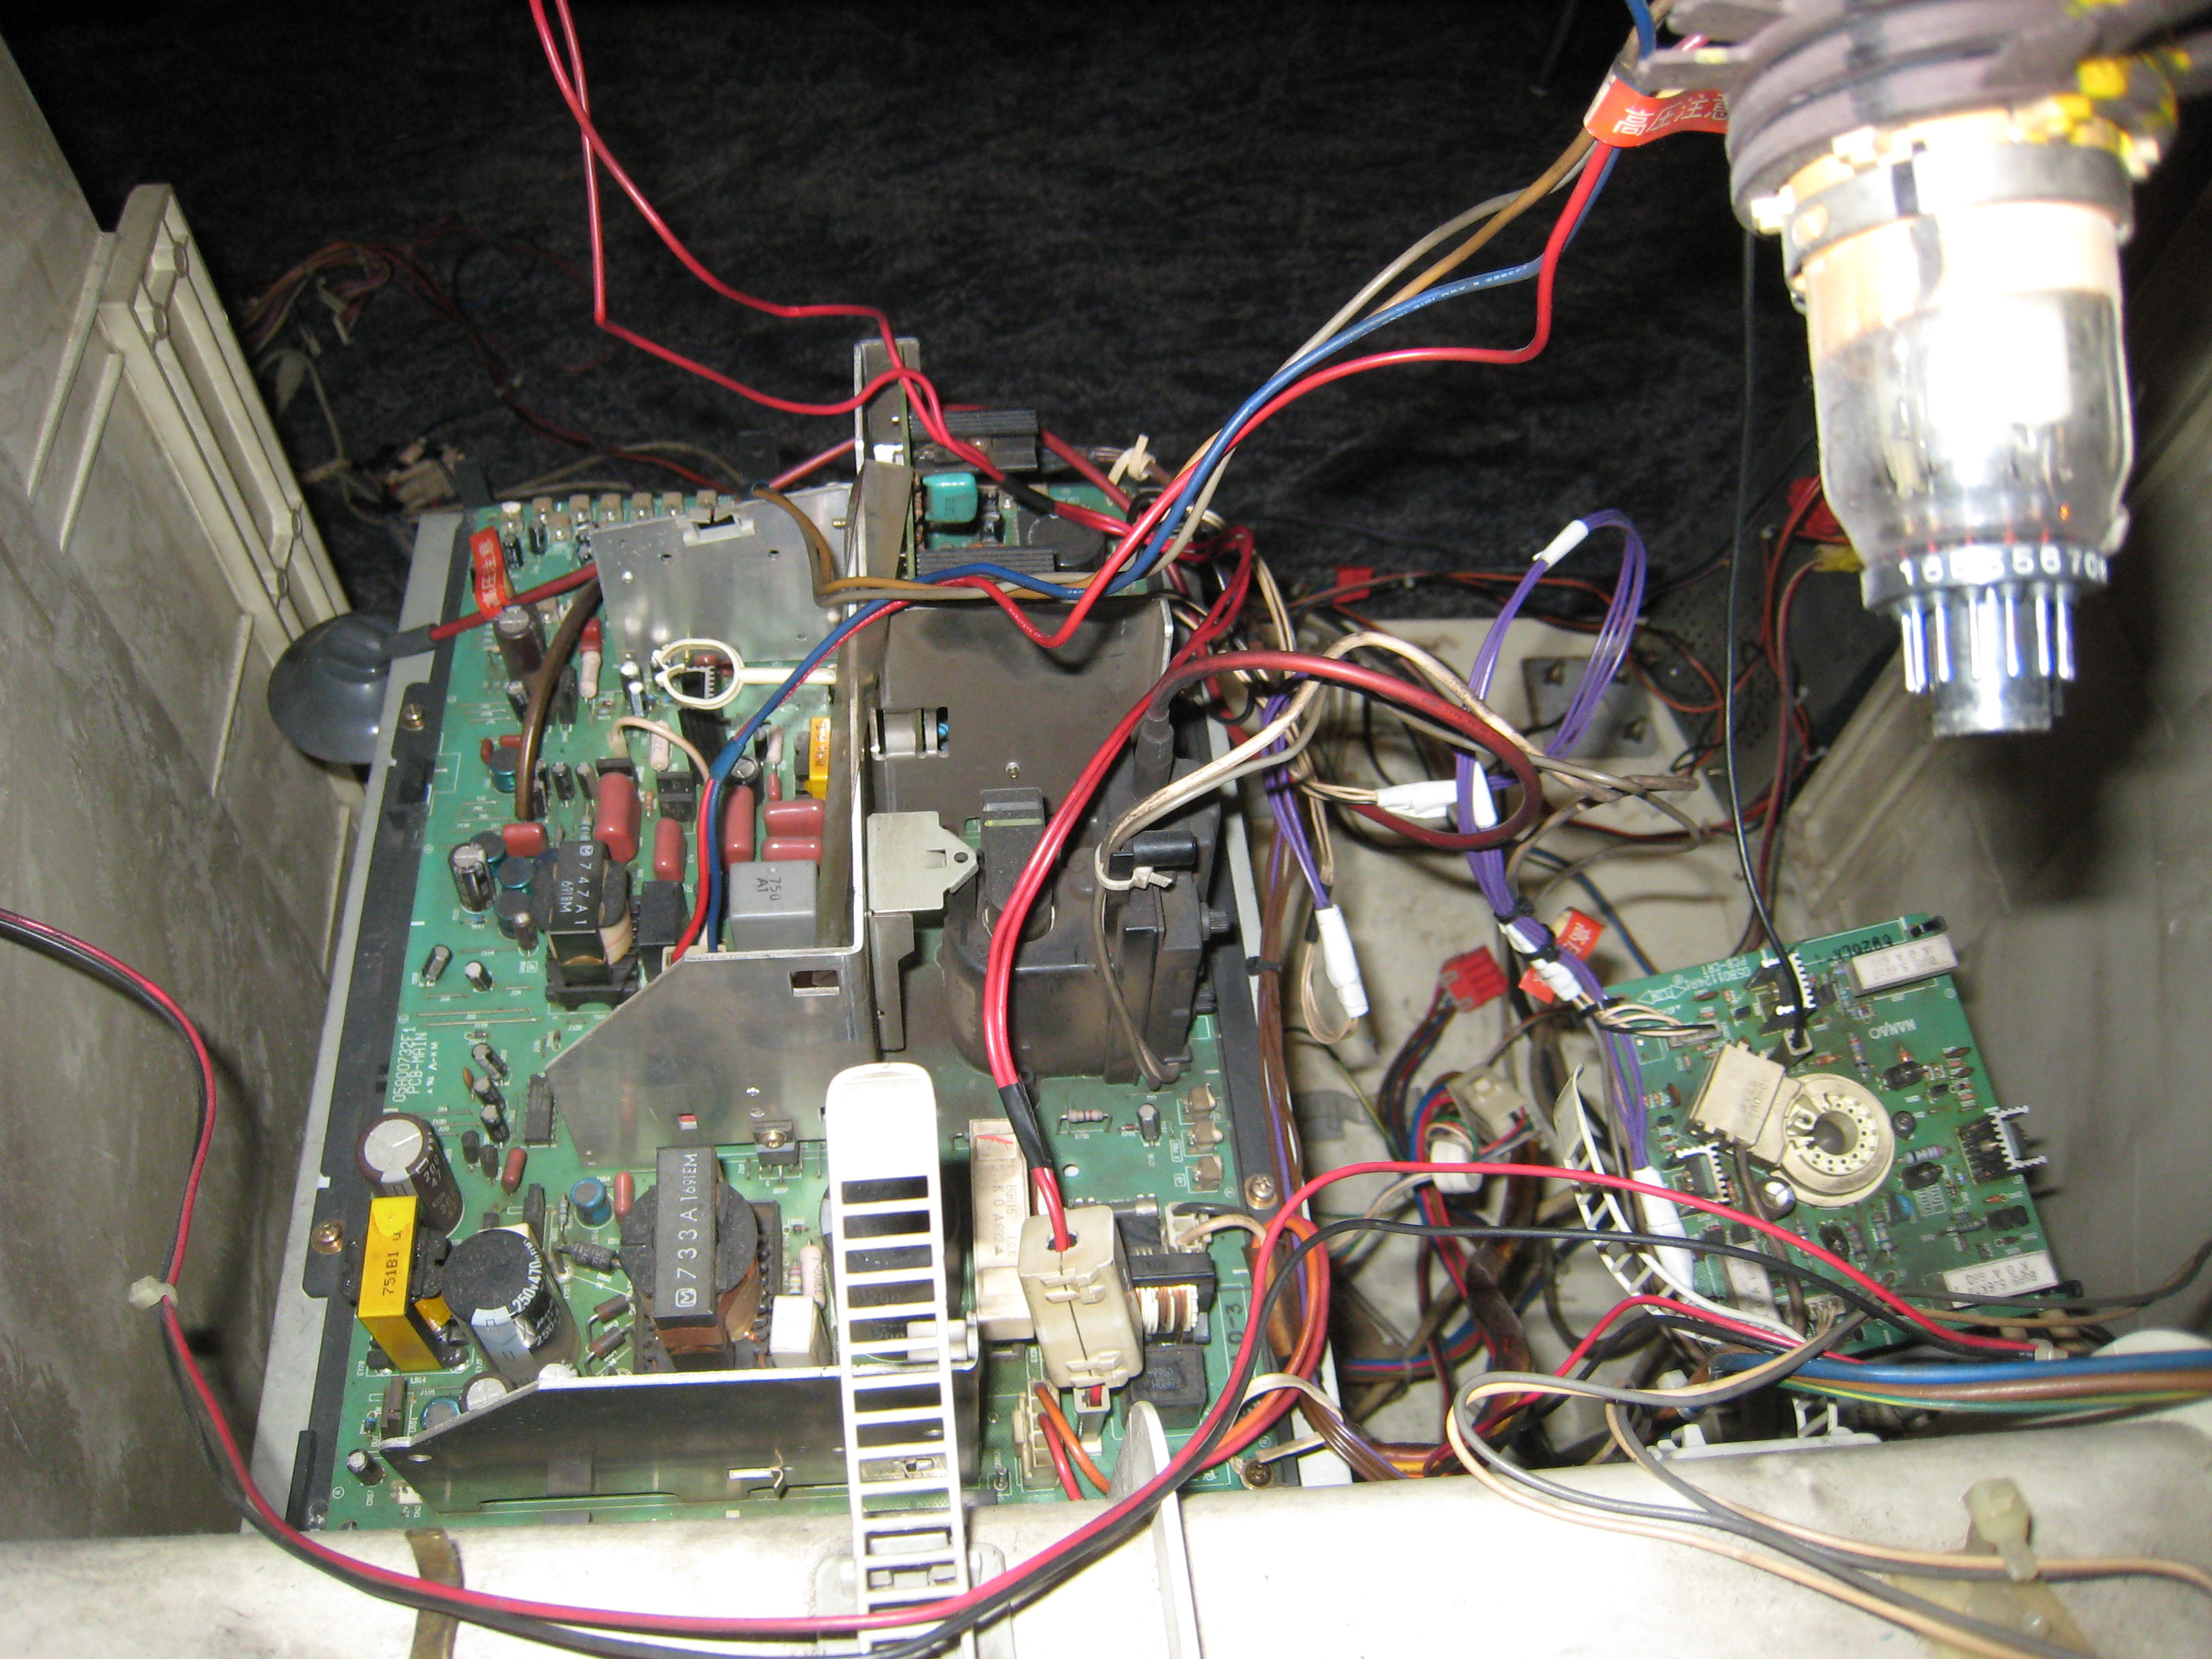
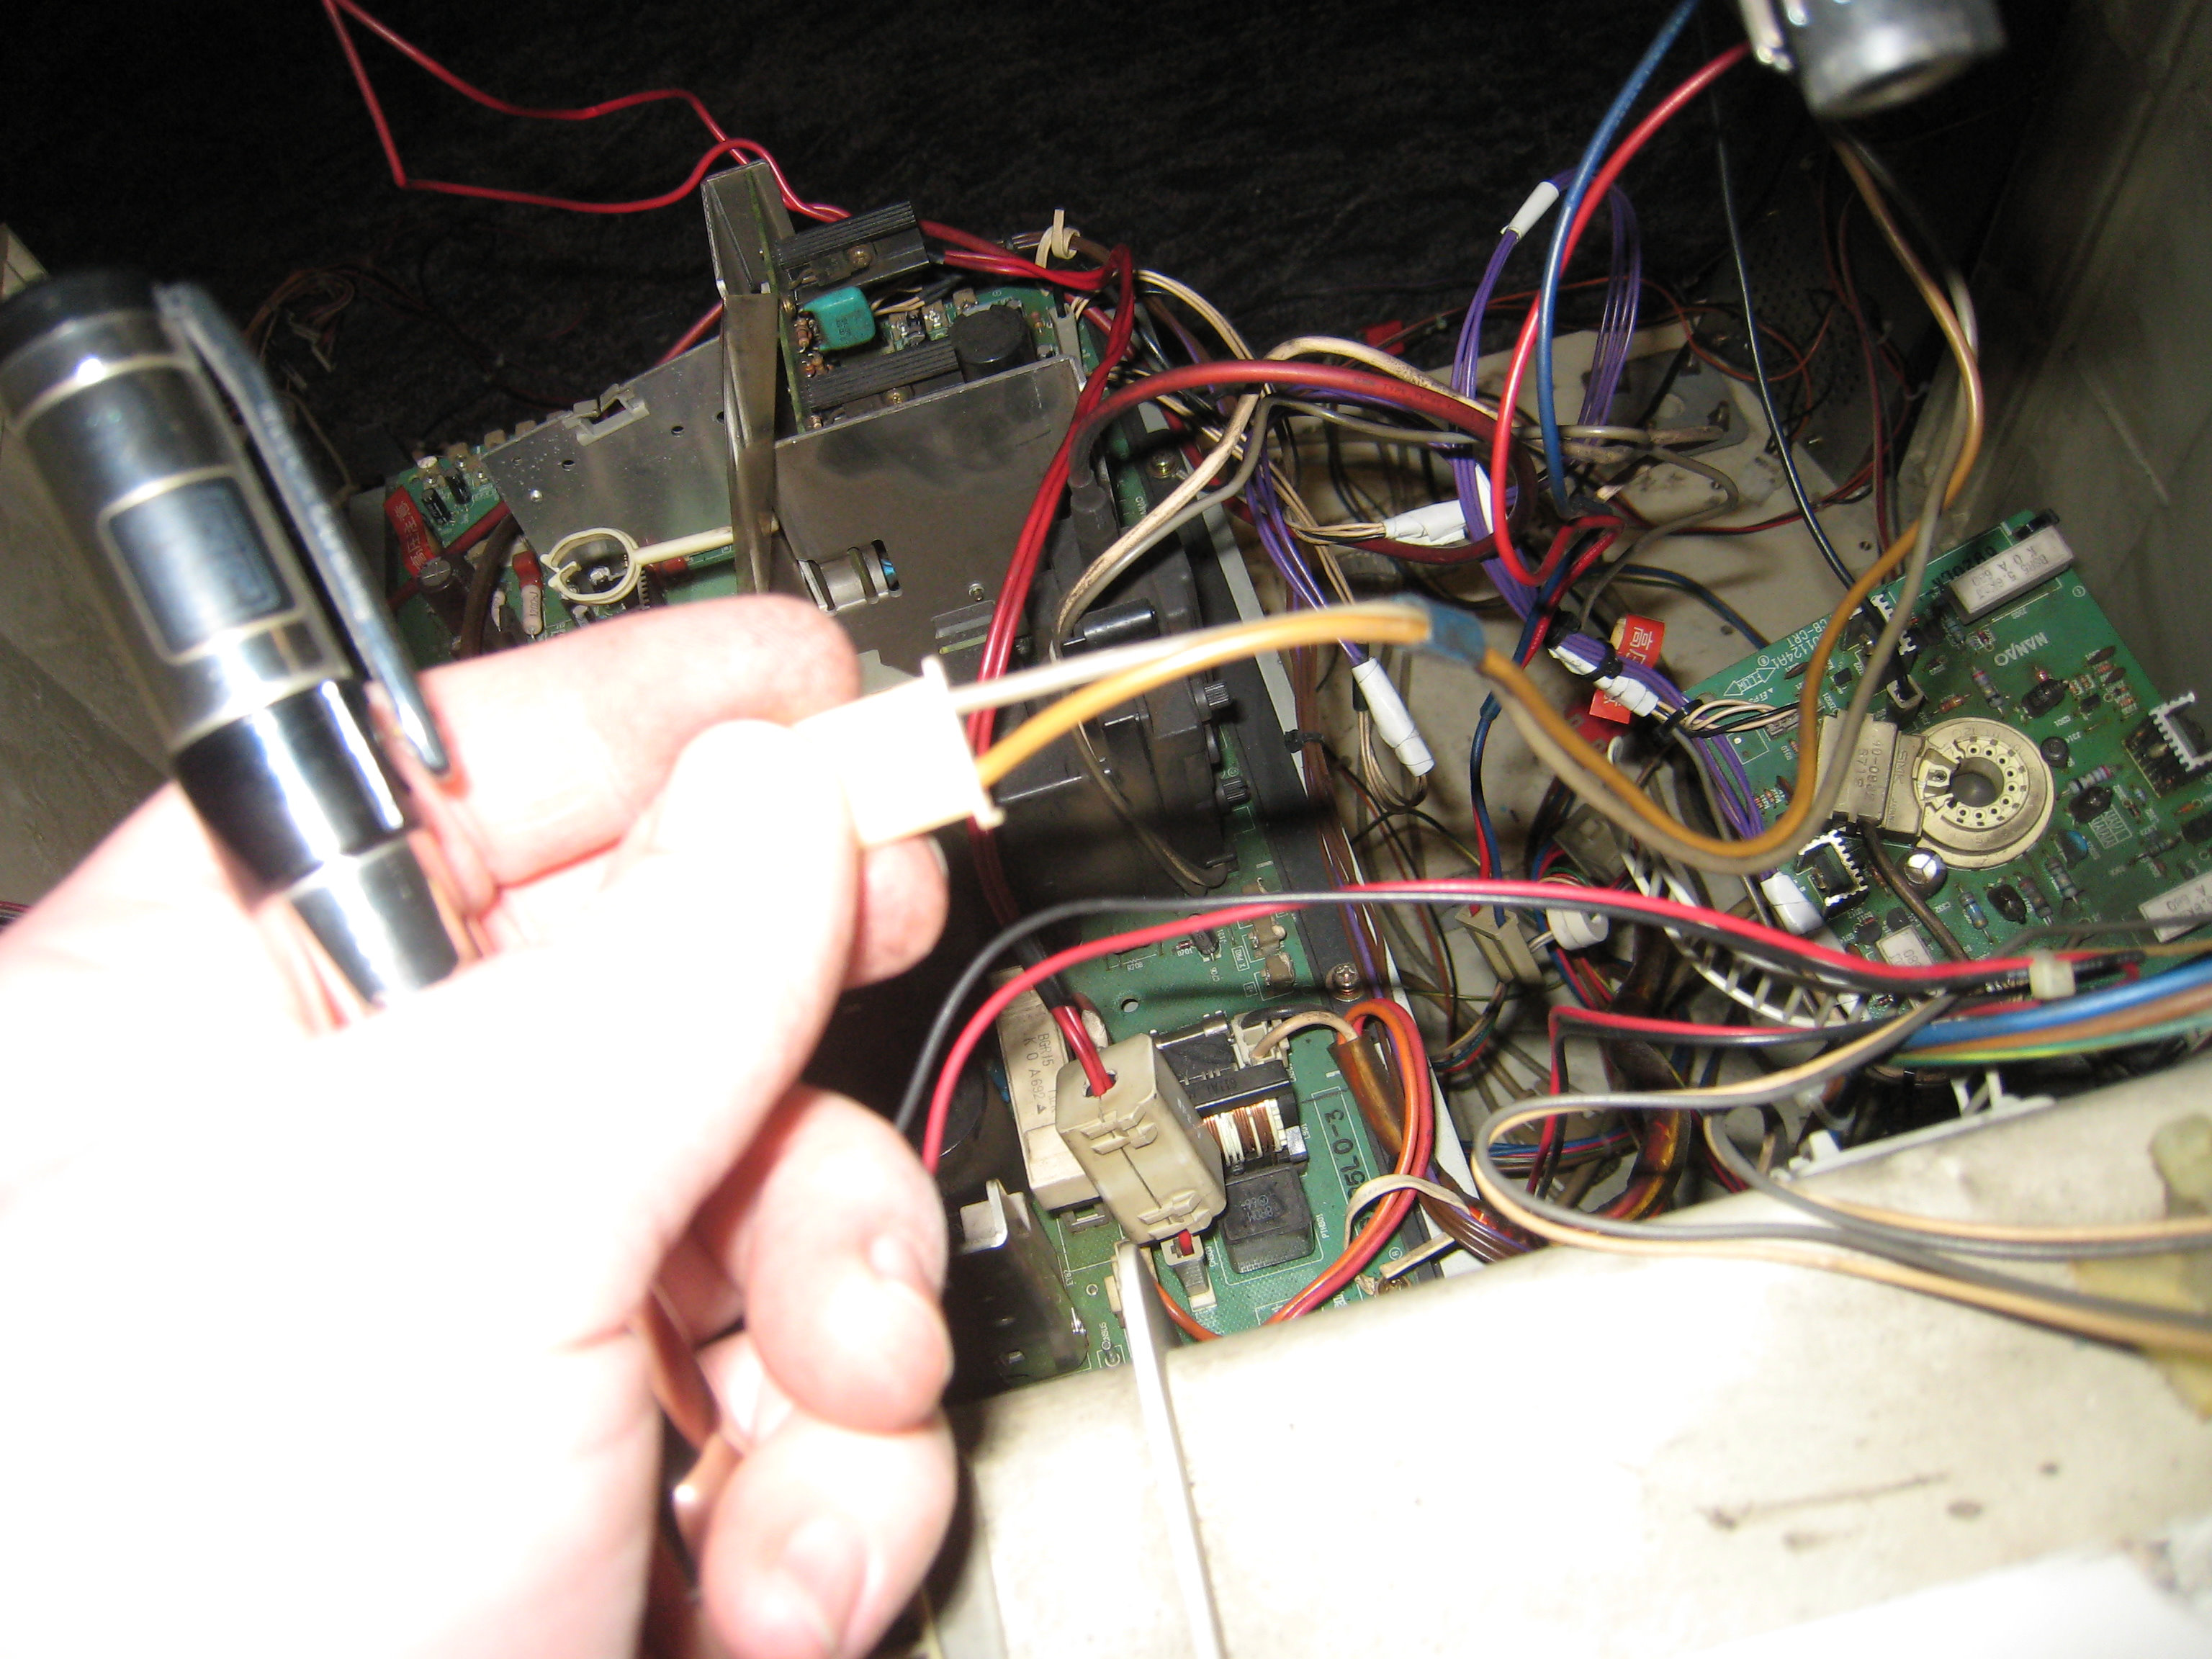
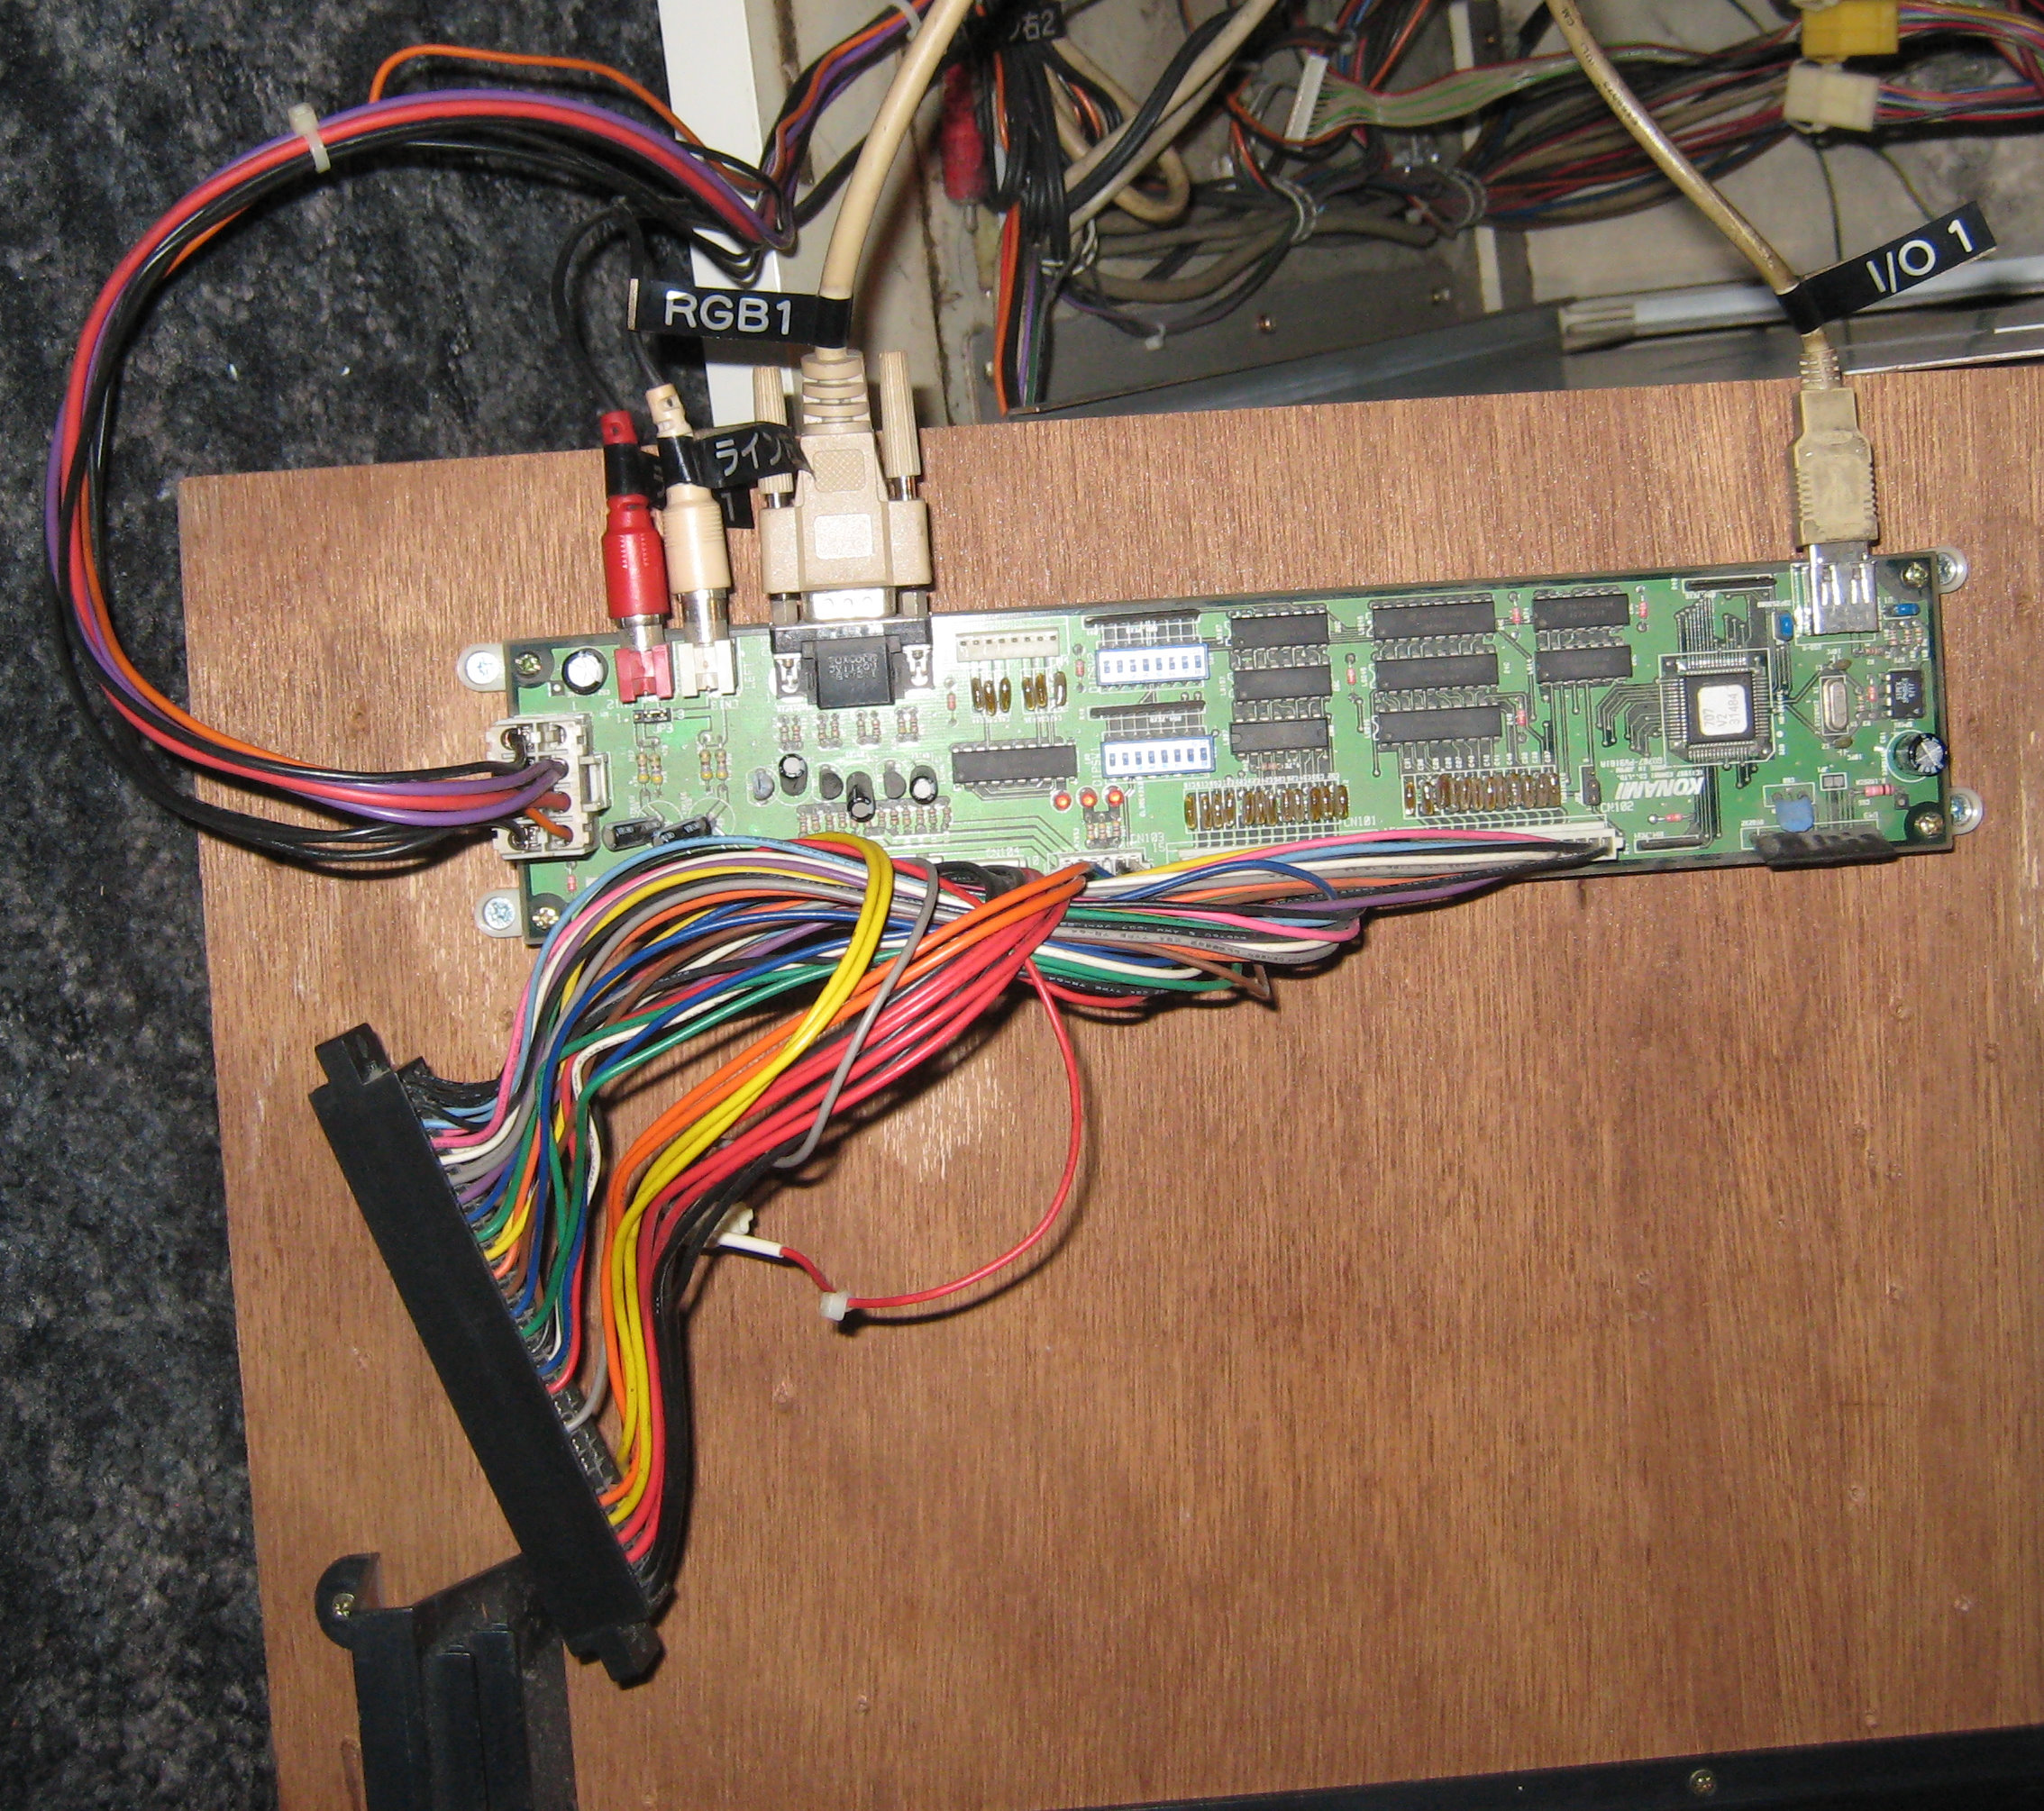
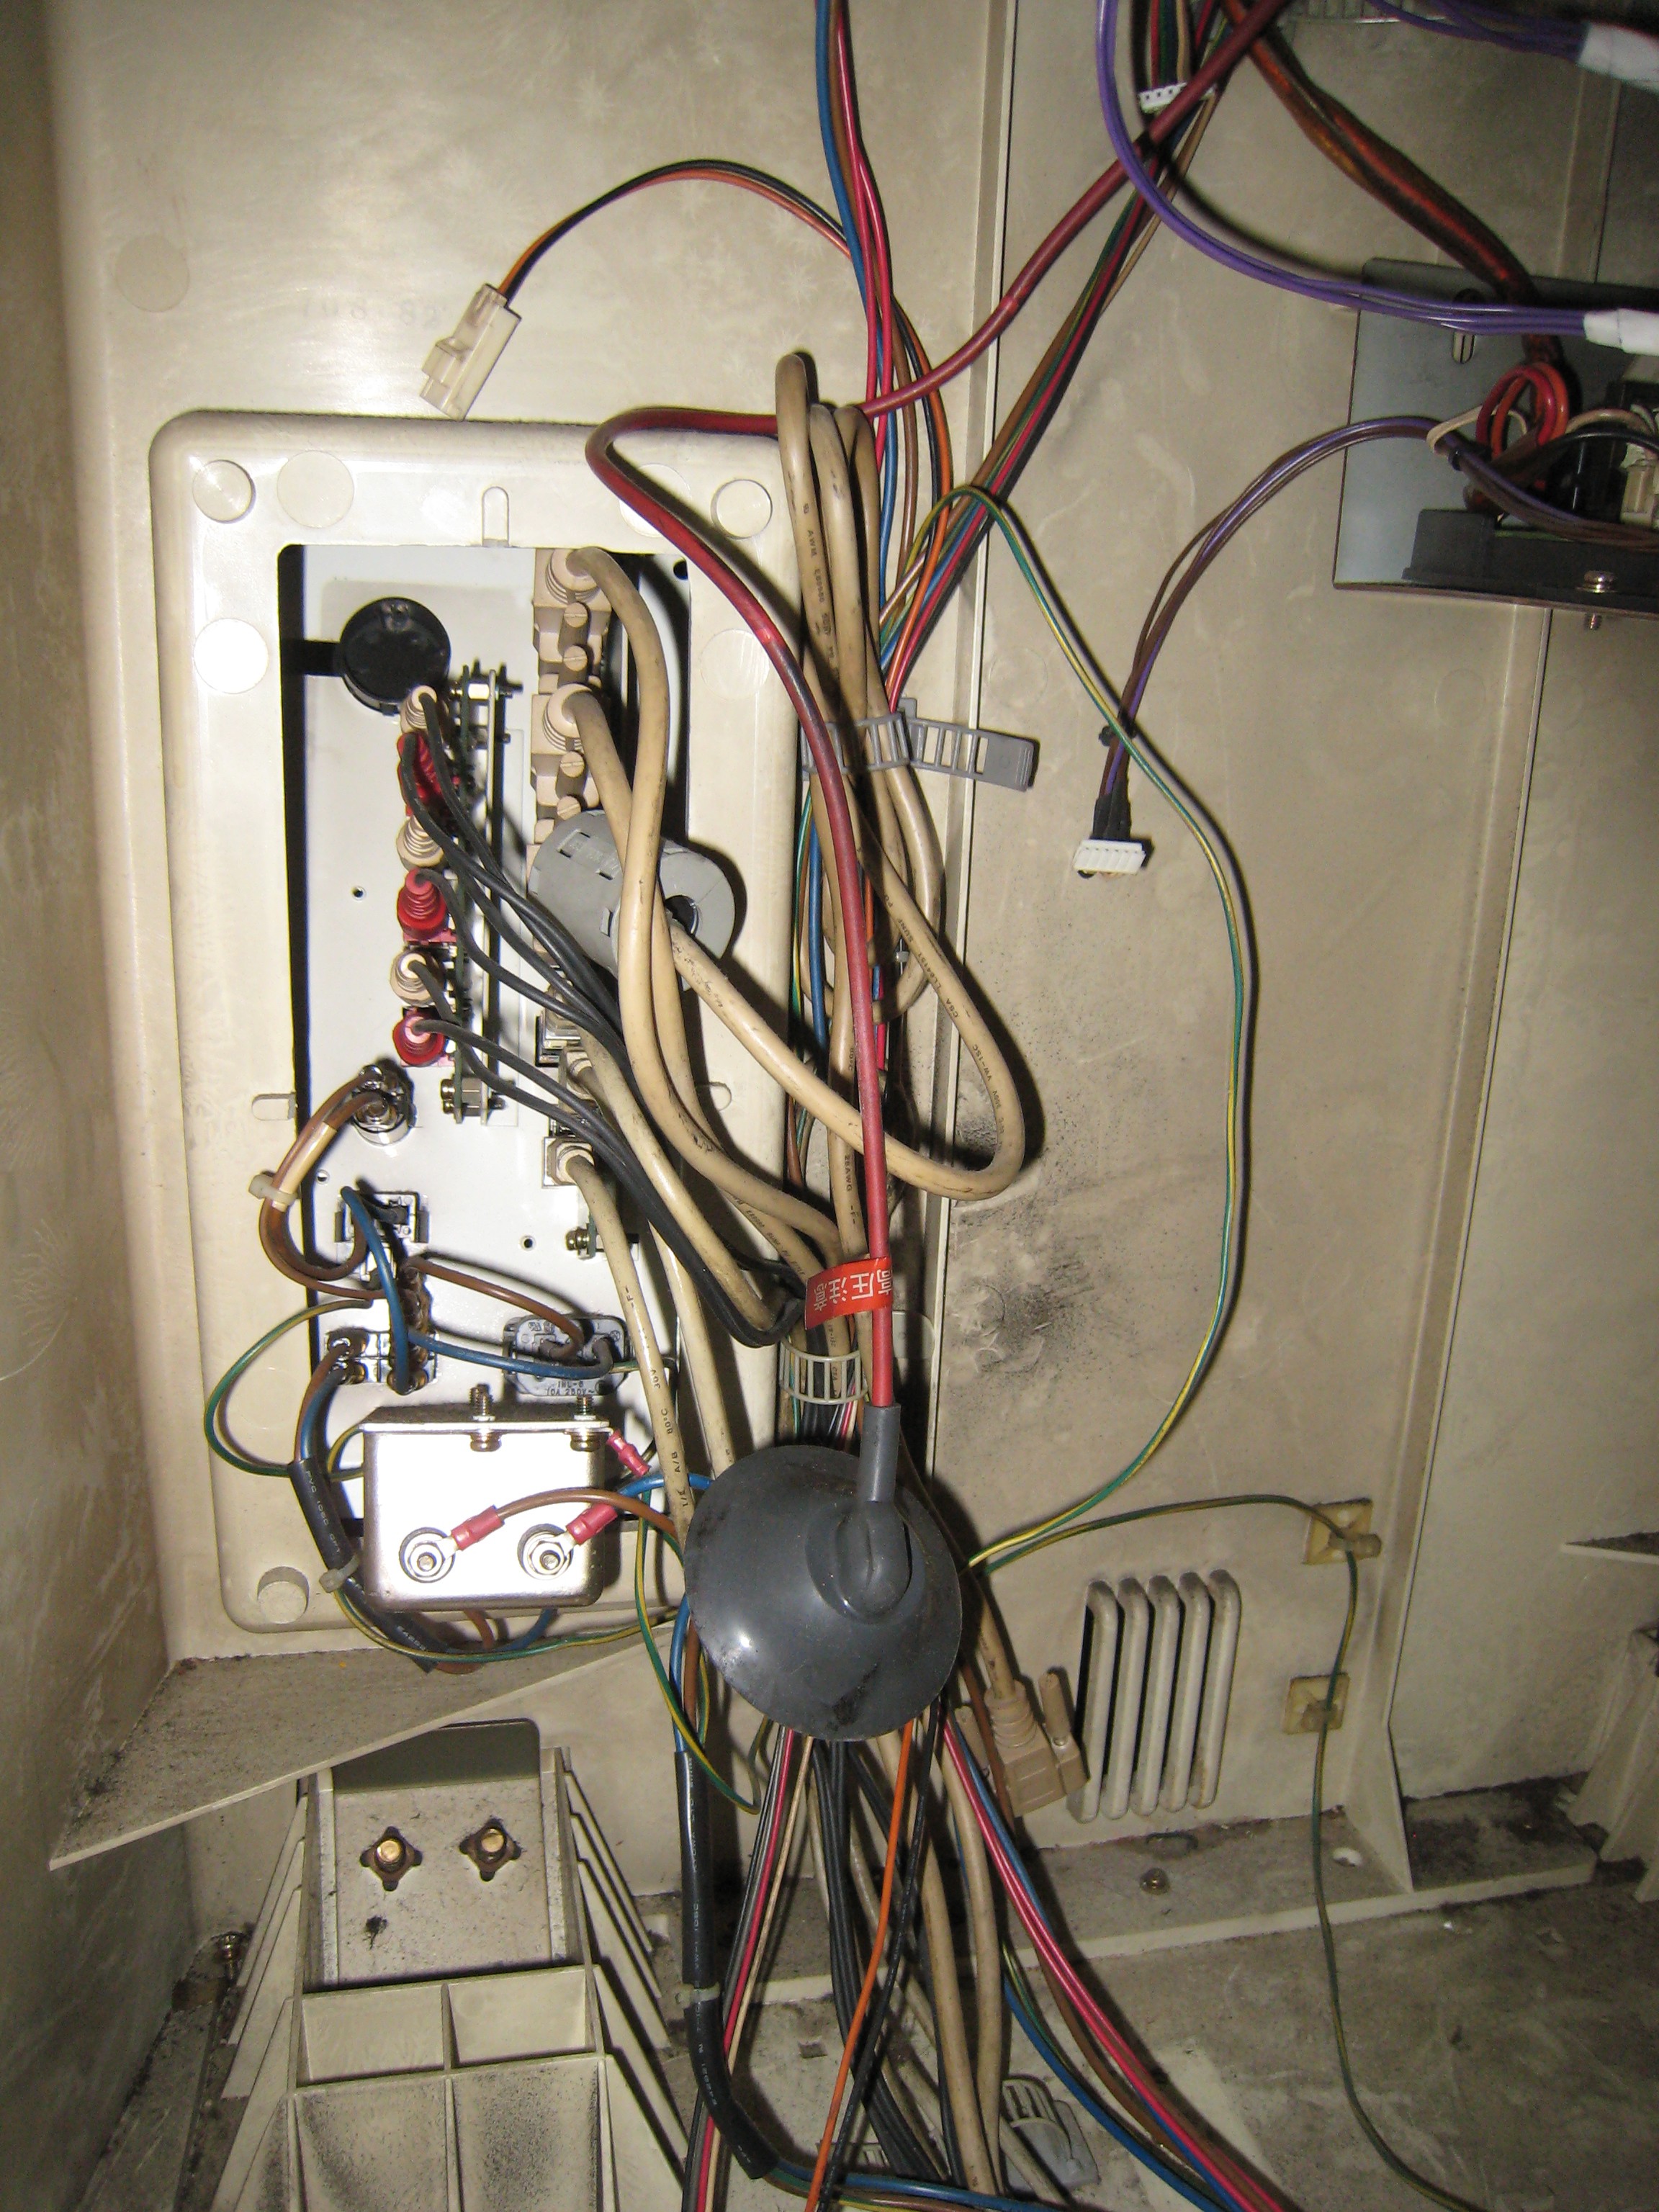
Monitor Connections
Quite a complex mess of cables.
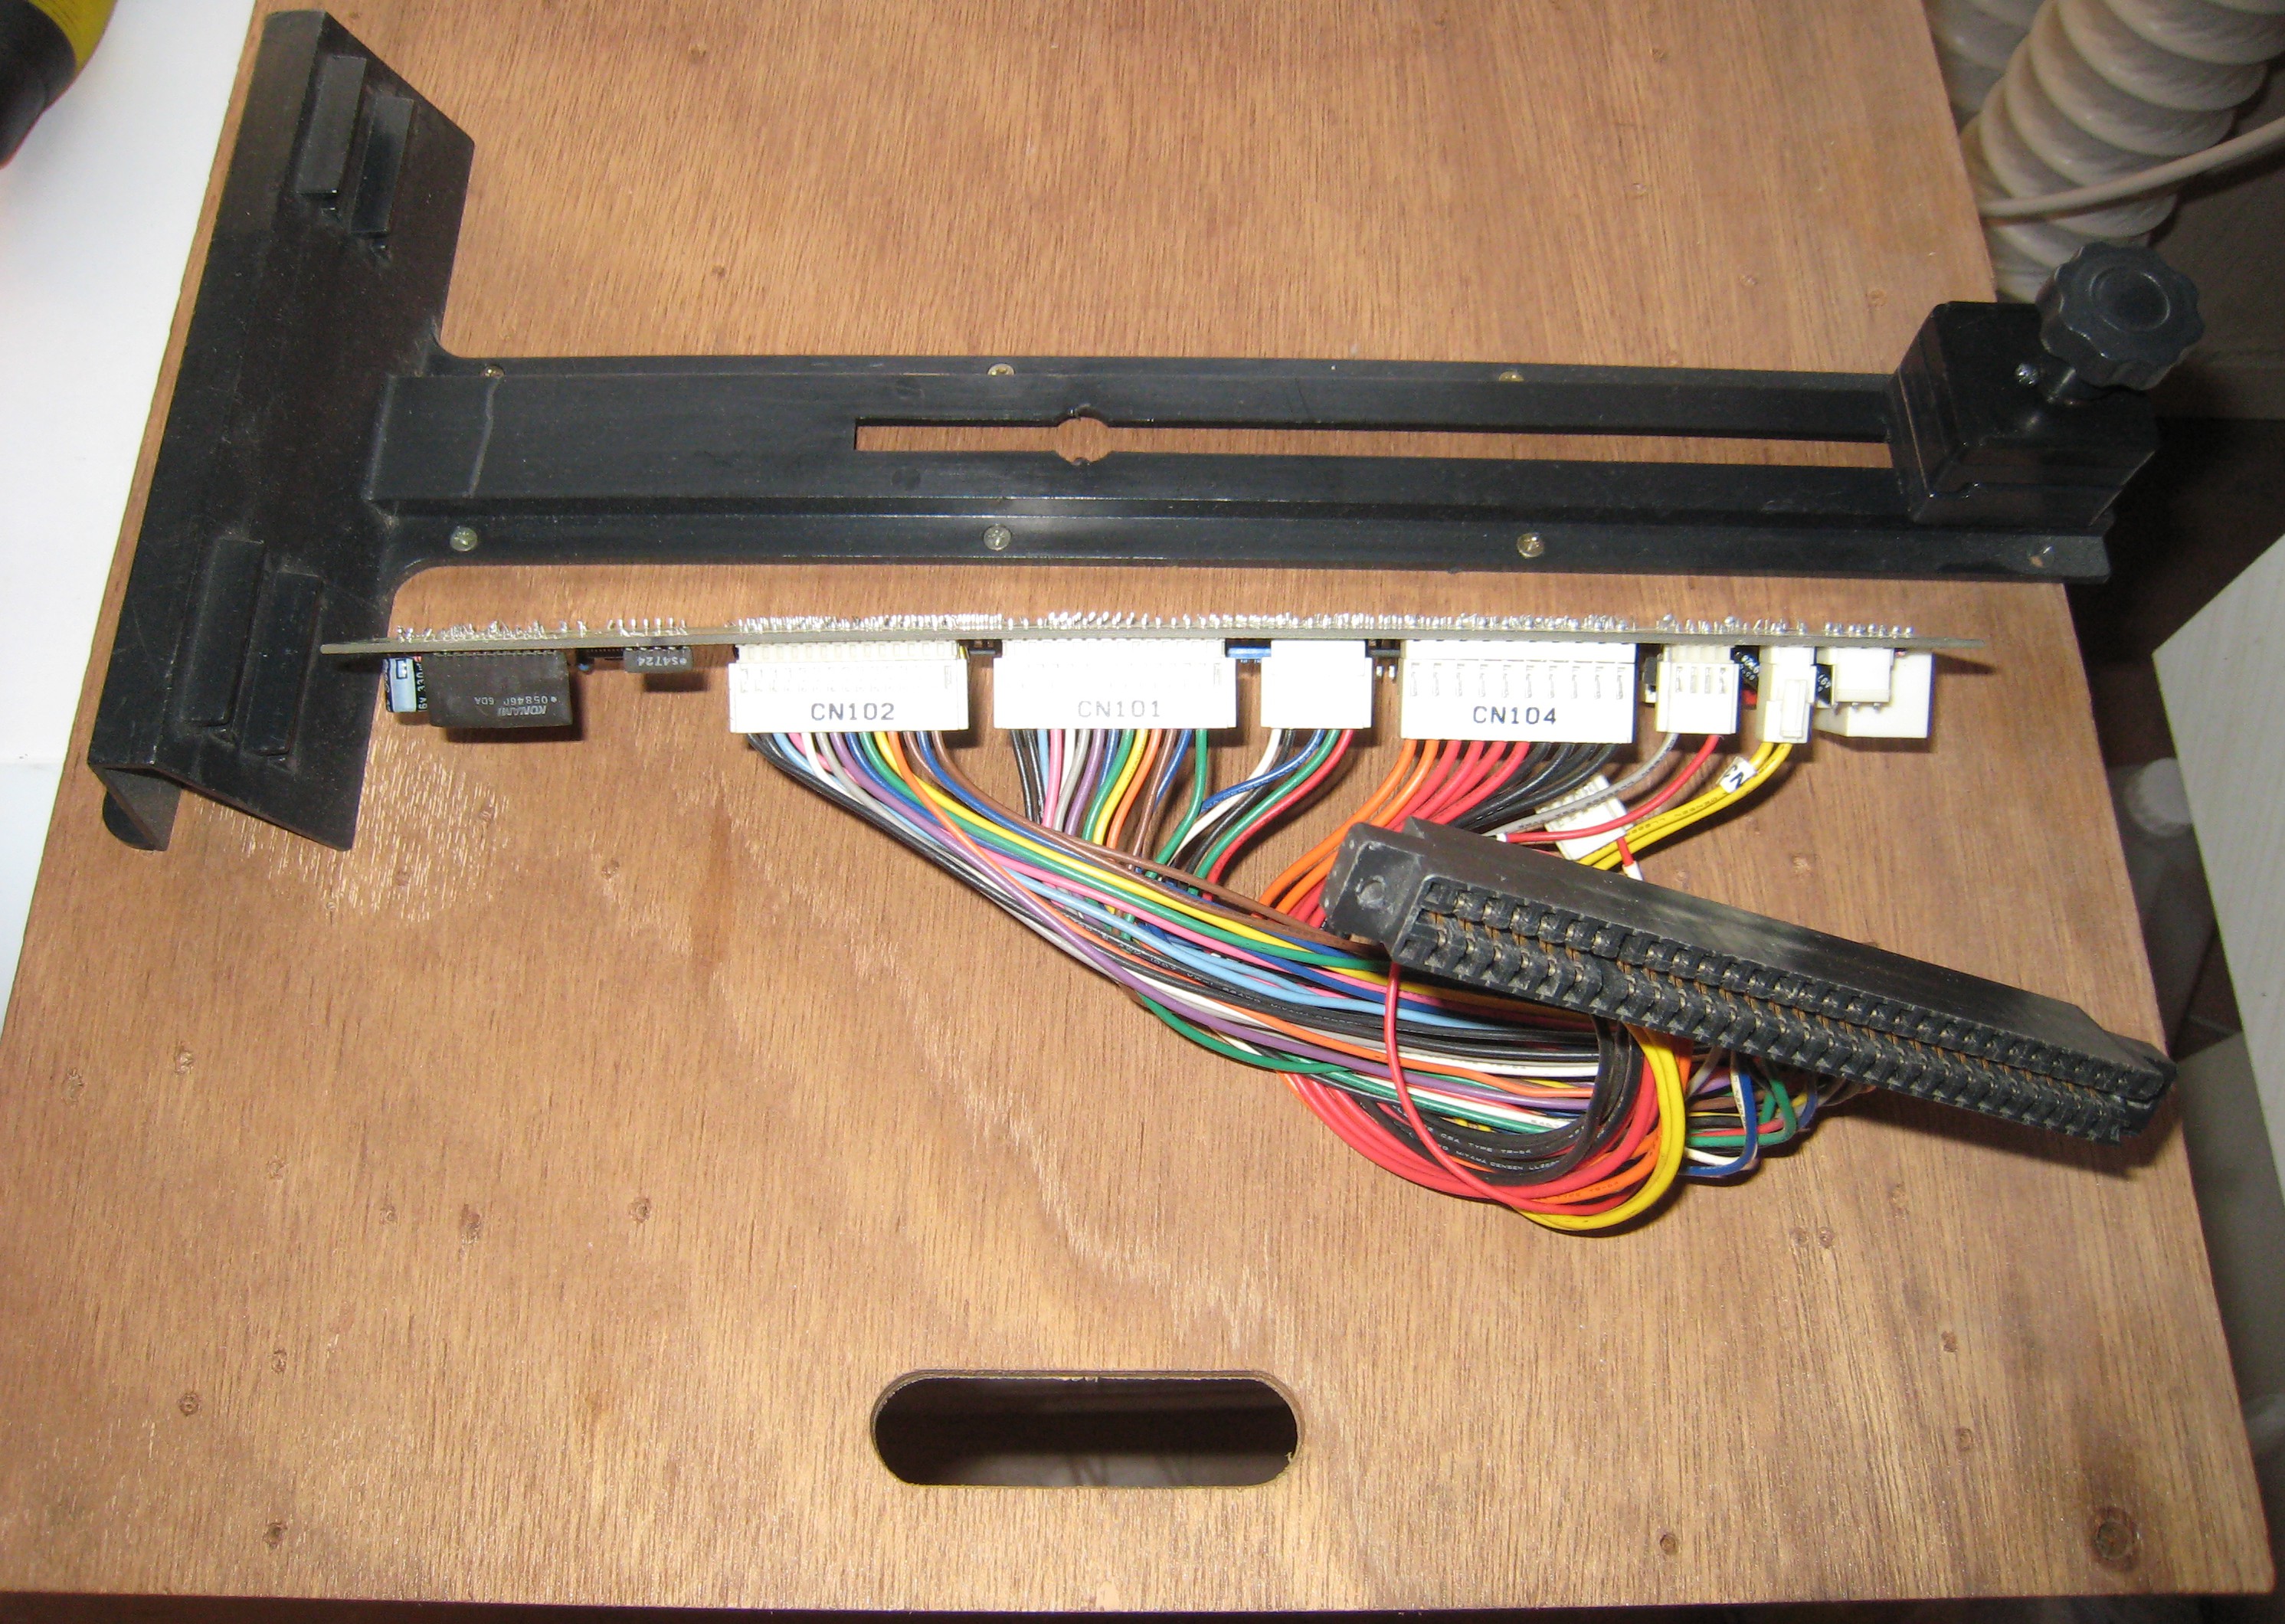
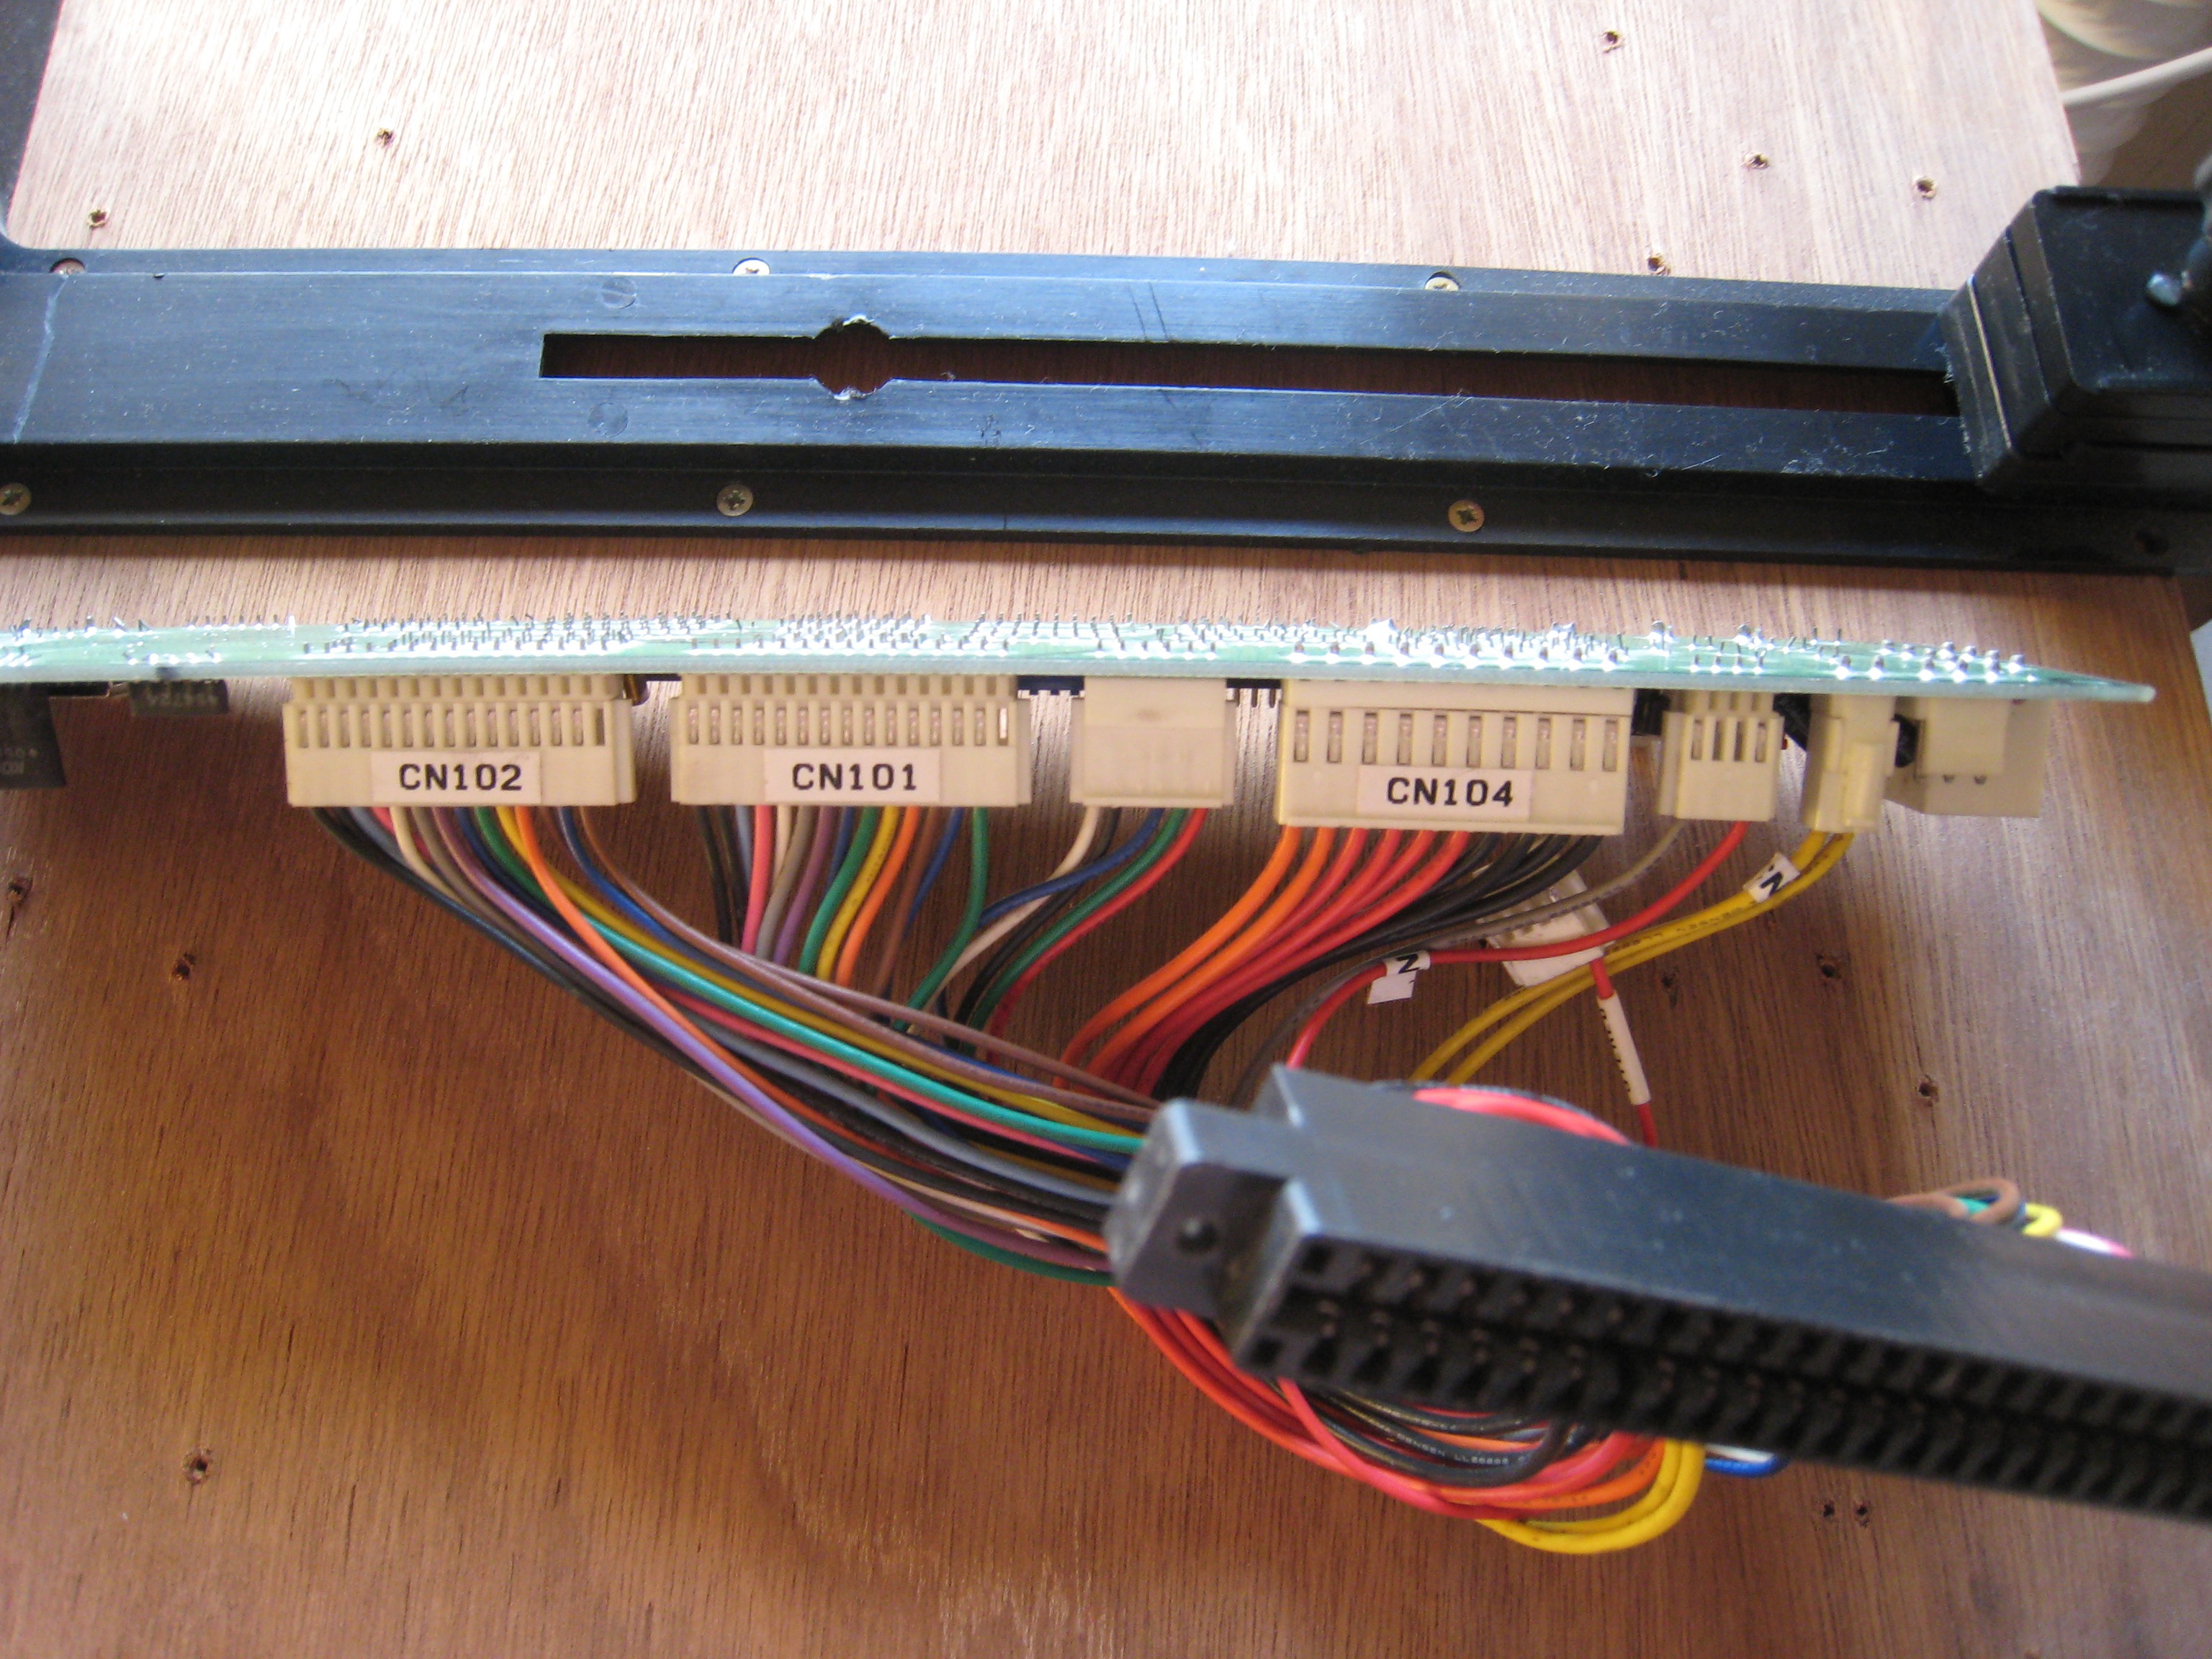
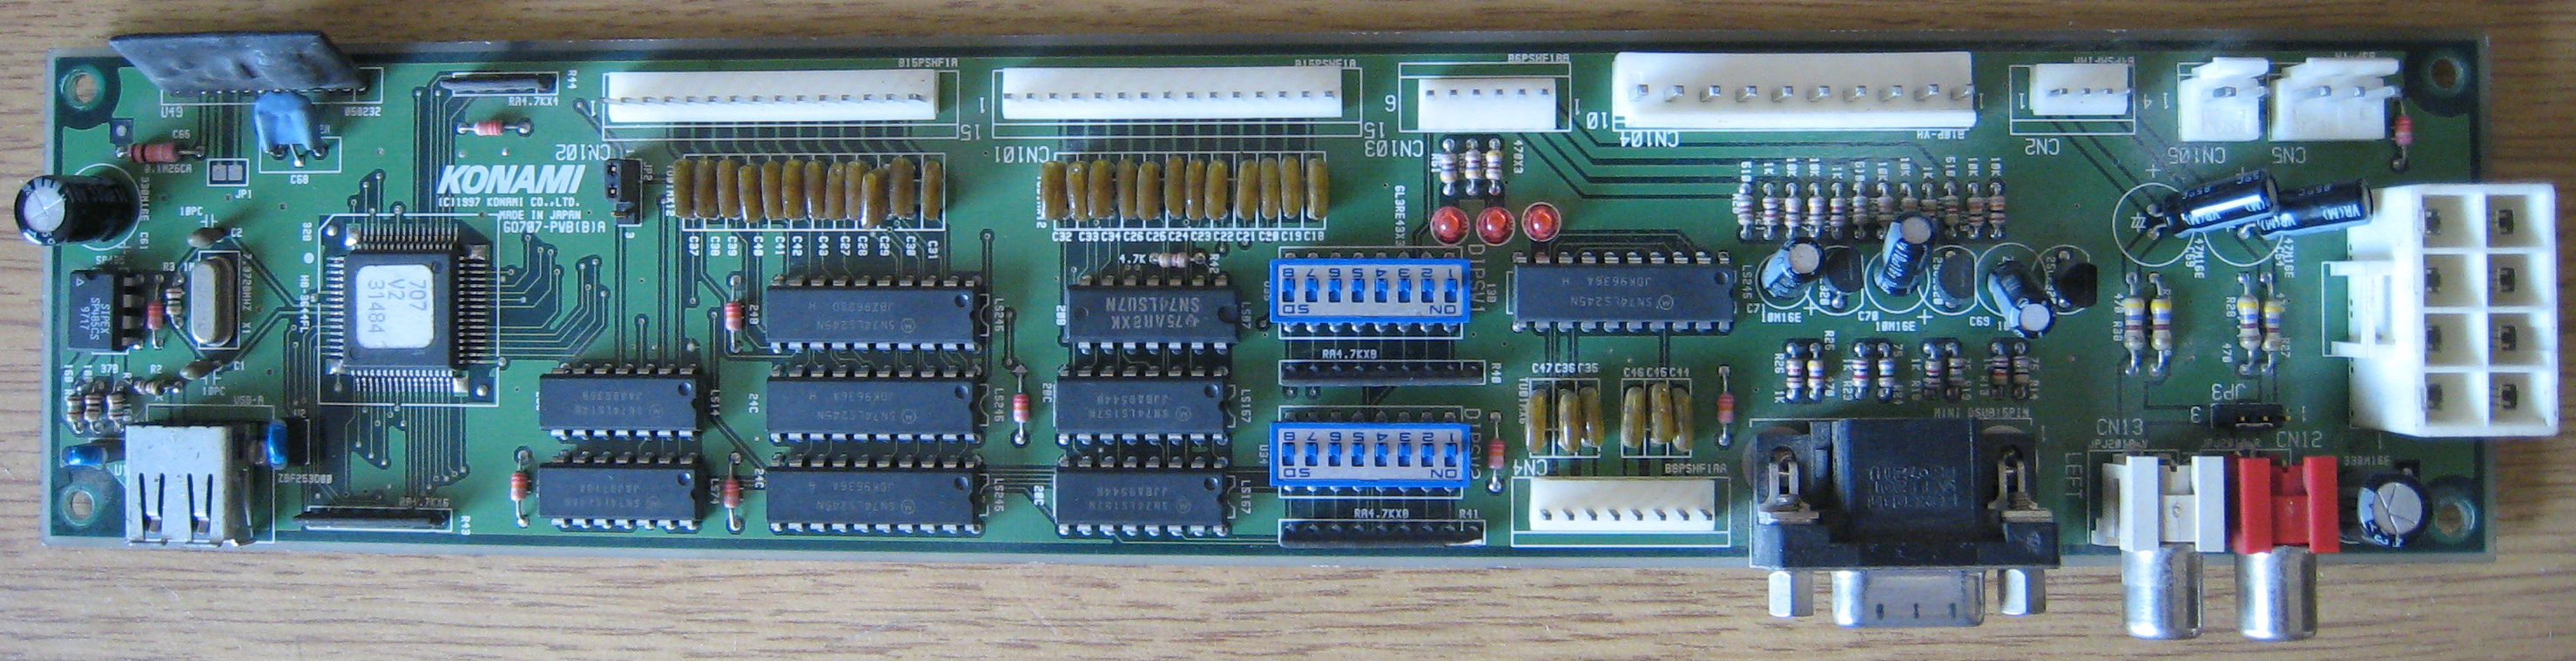
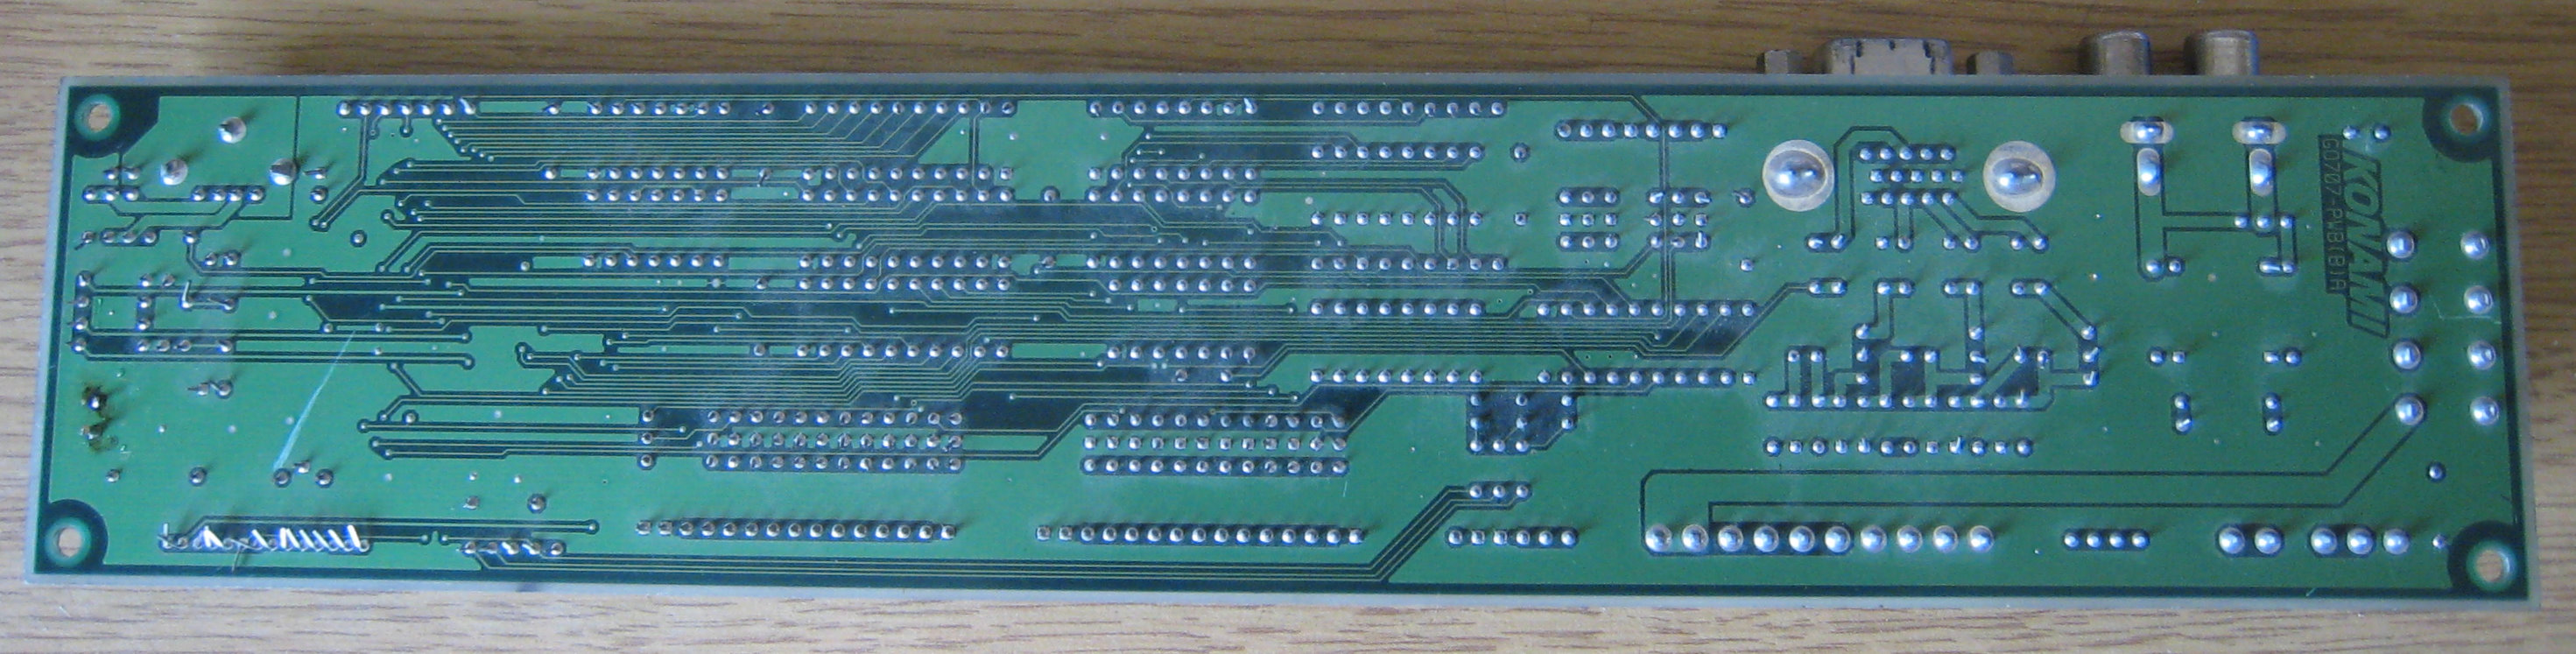
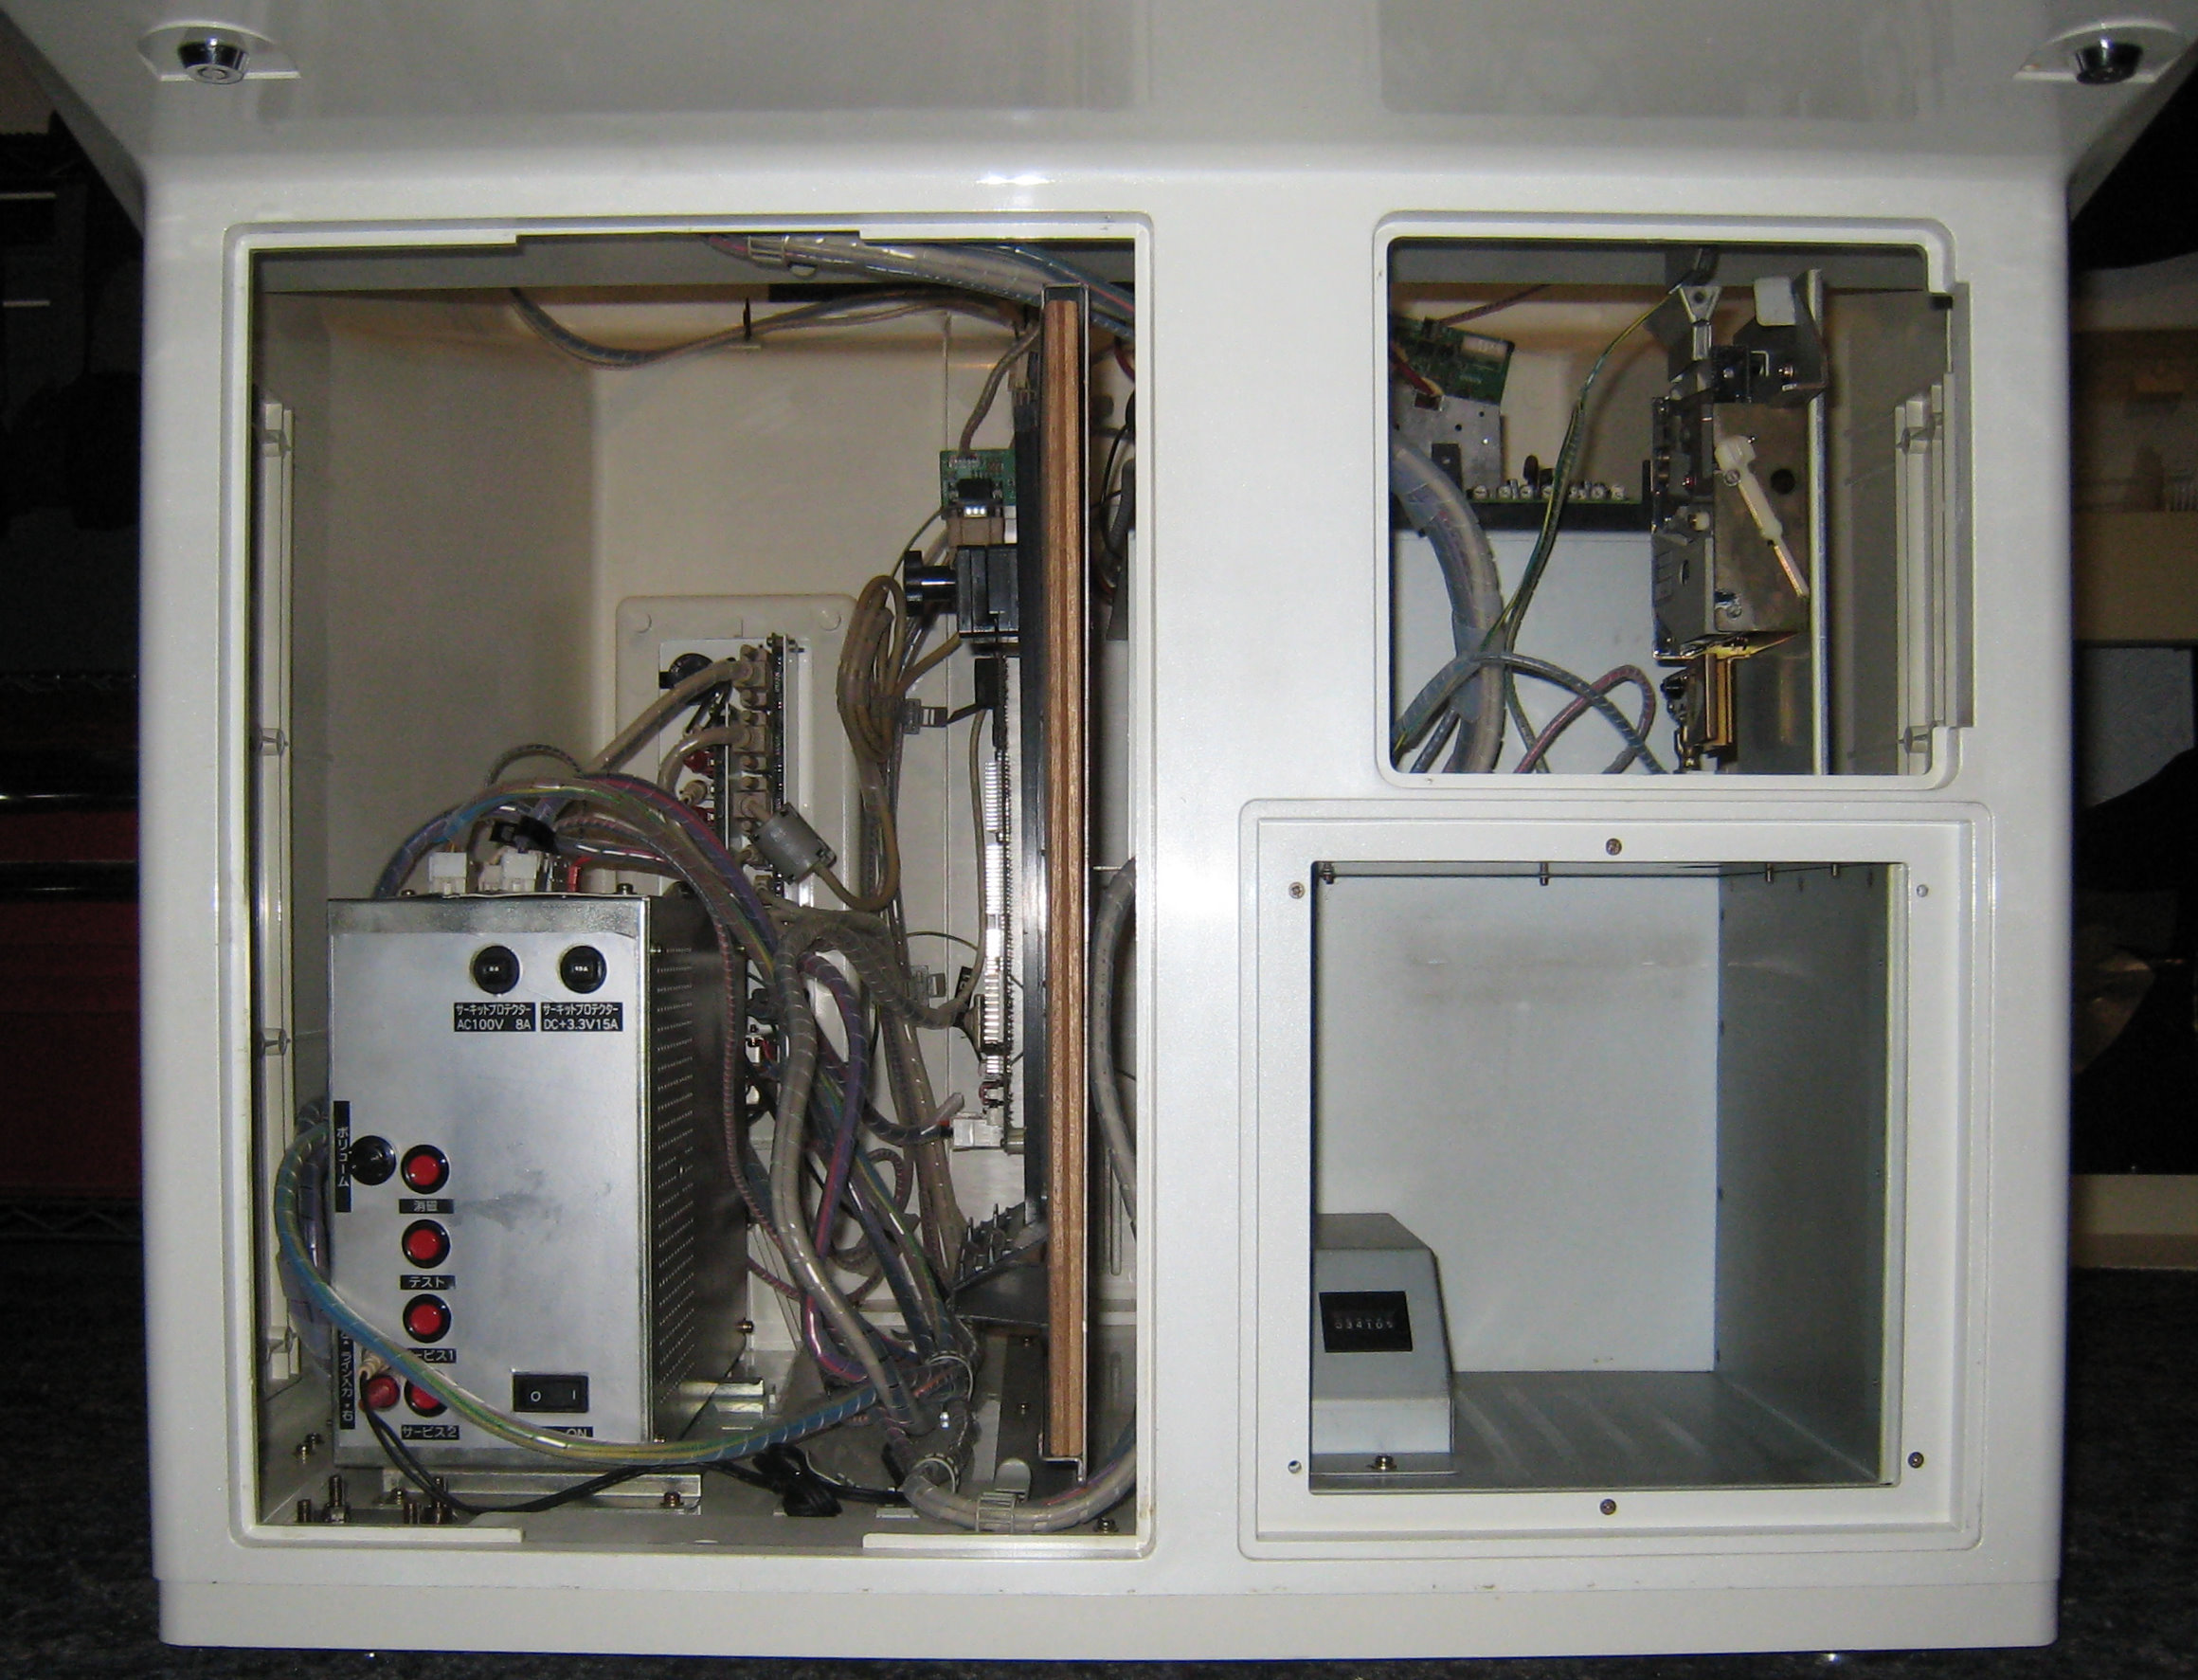
Konami JVS Main Board - GO707-PWB(B)A
This board is on the wooden PCB holder that slides into the machine that converts JAMMA to JVS.
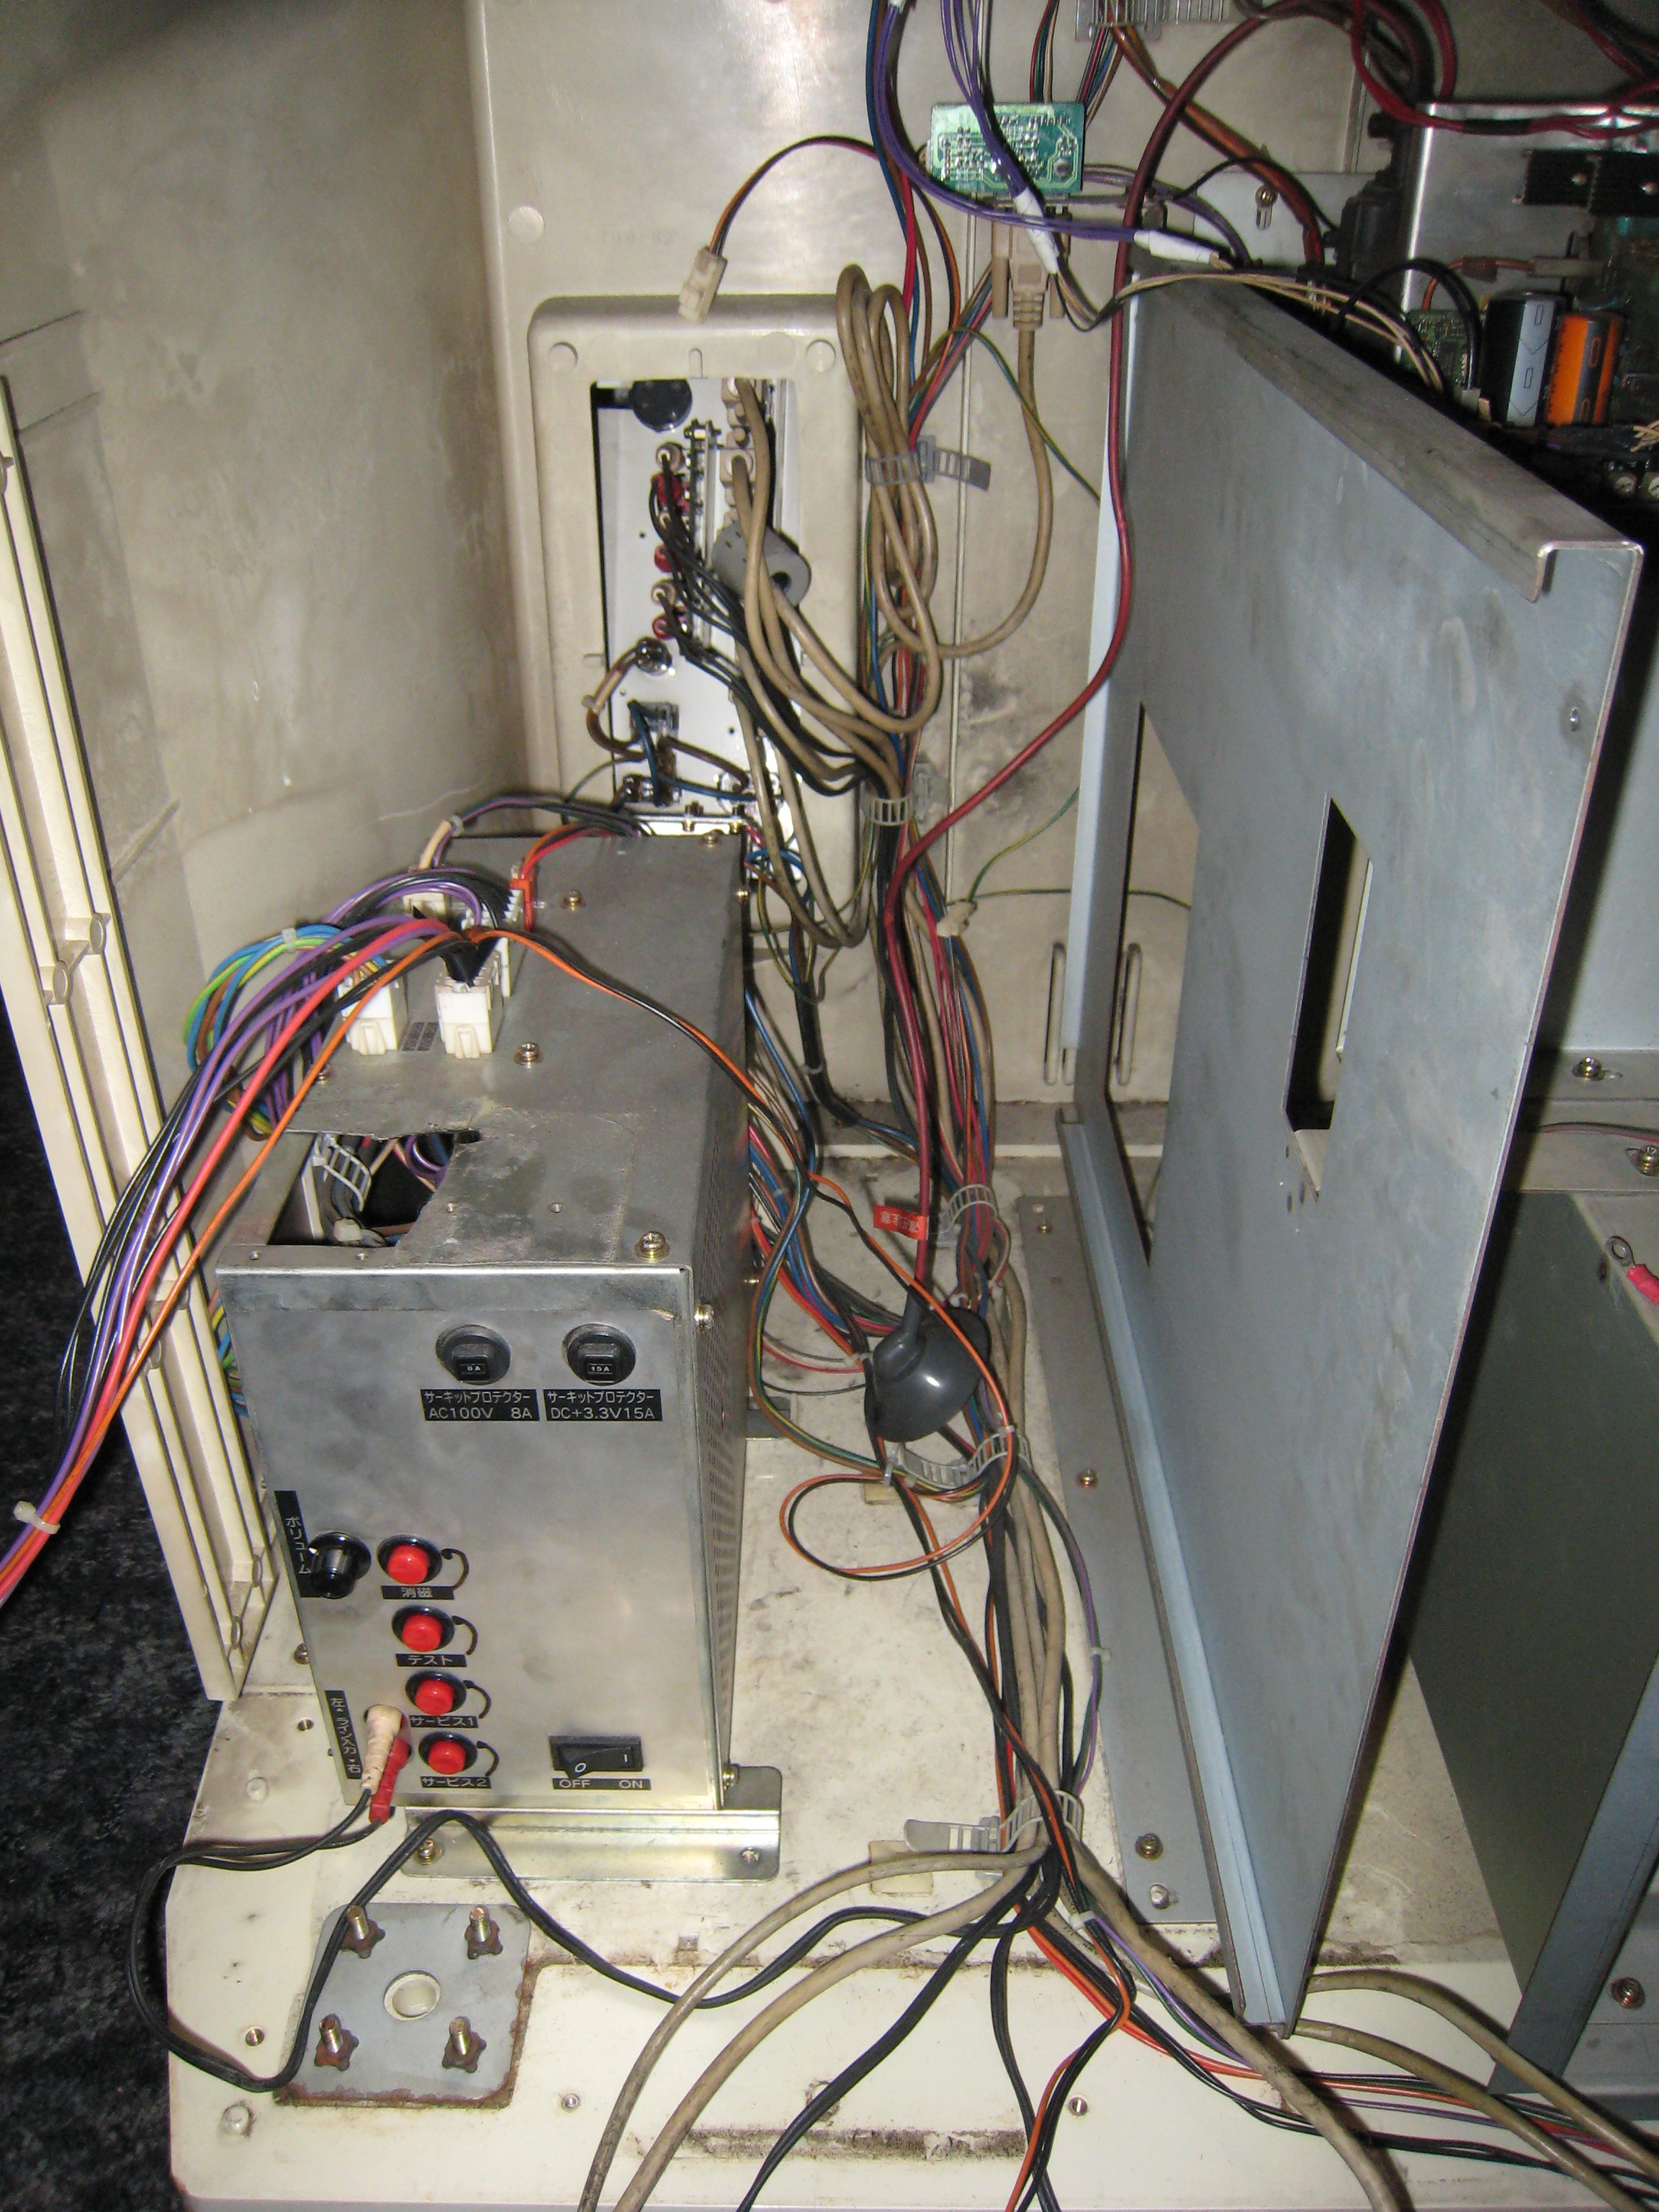
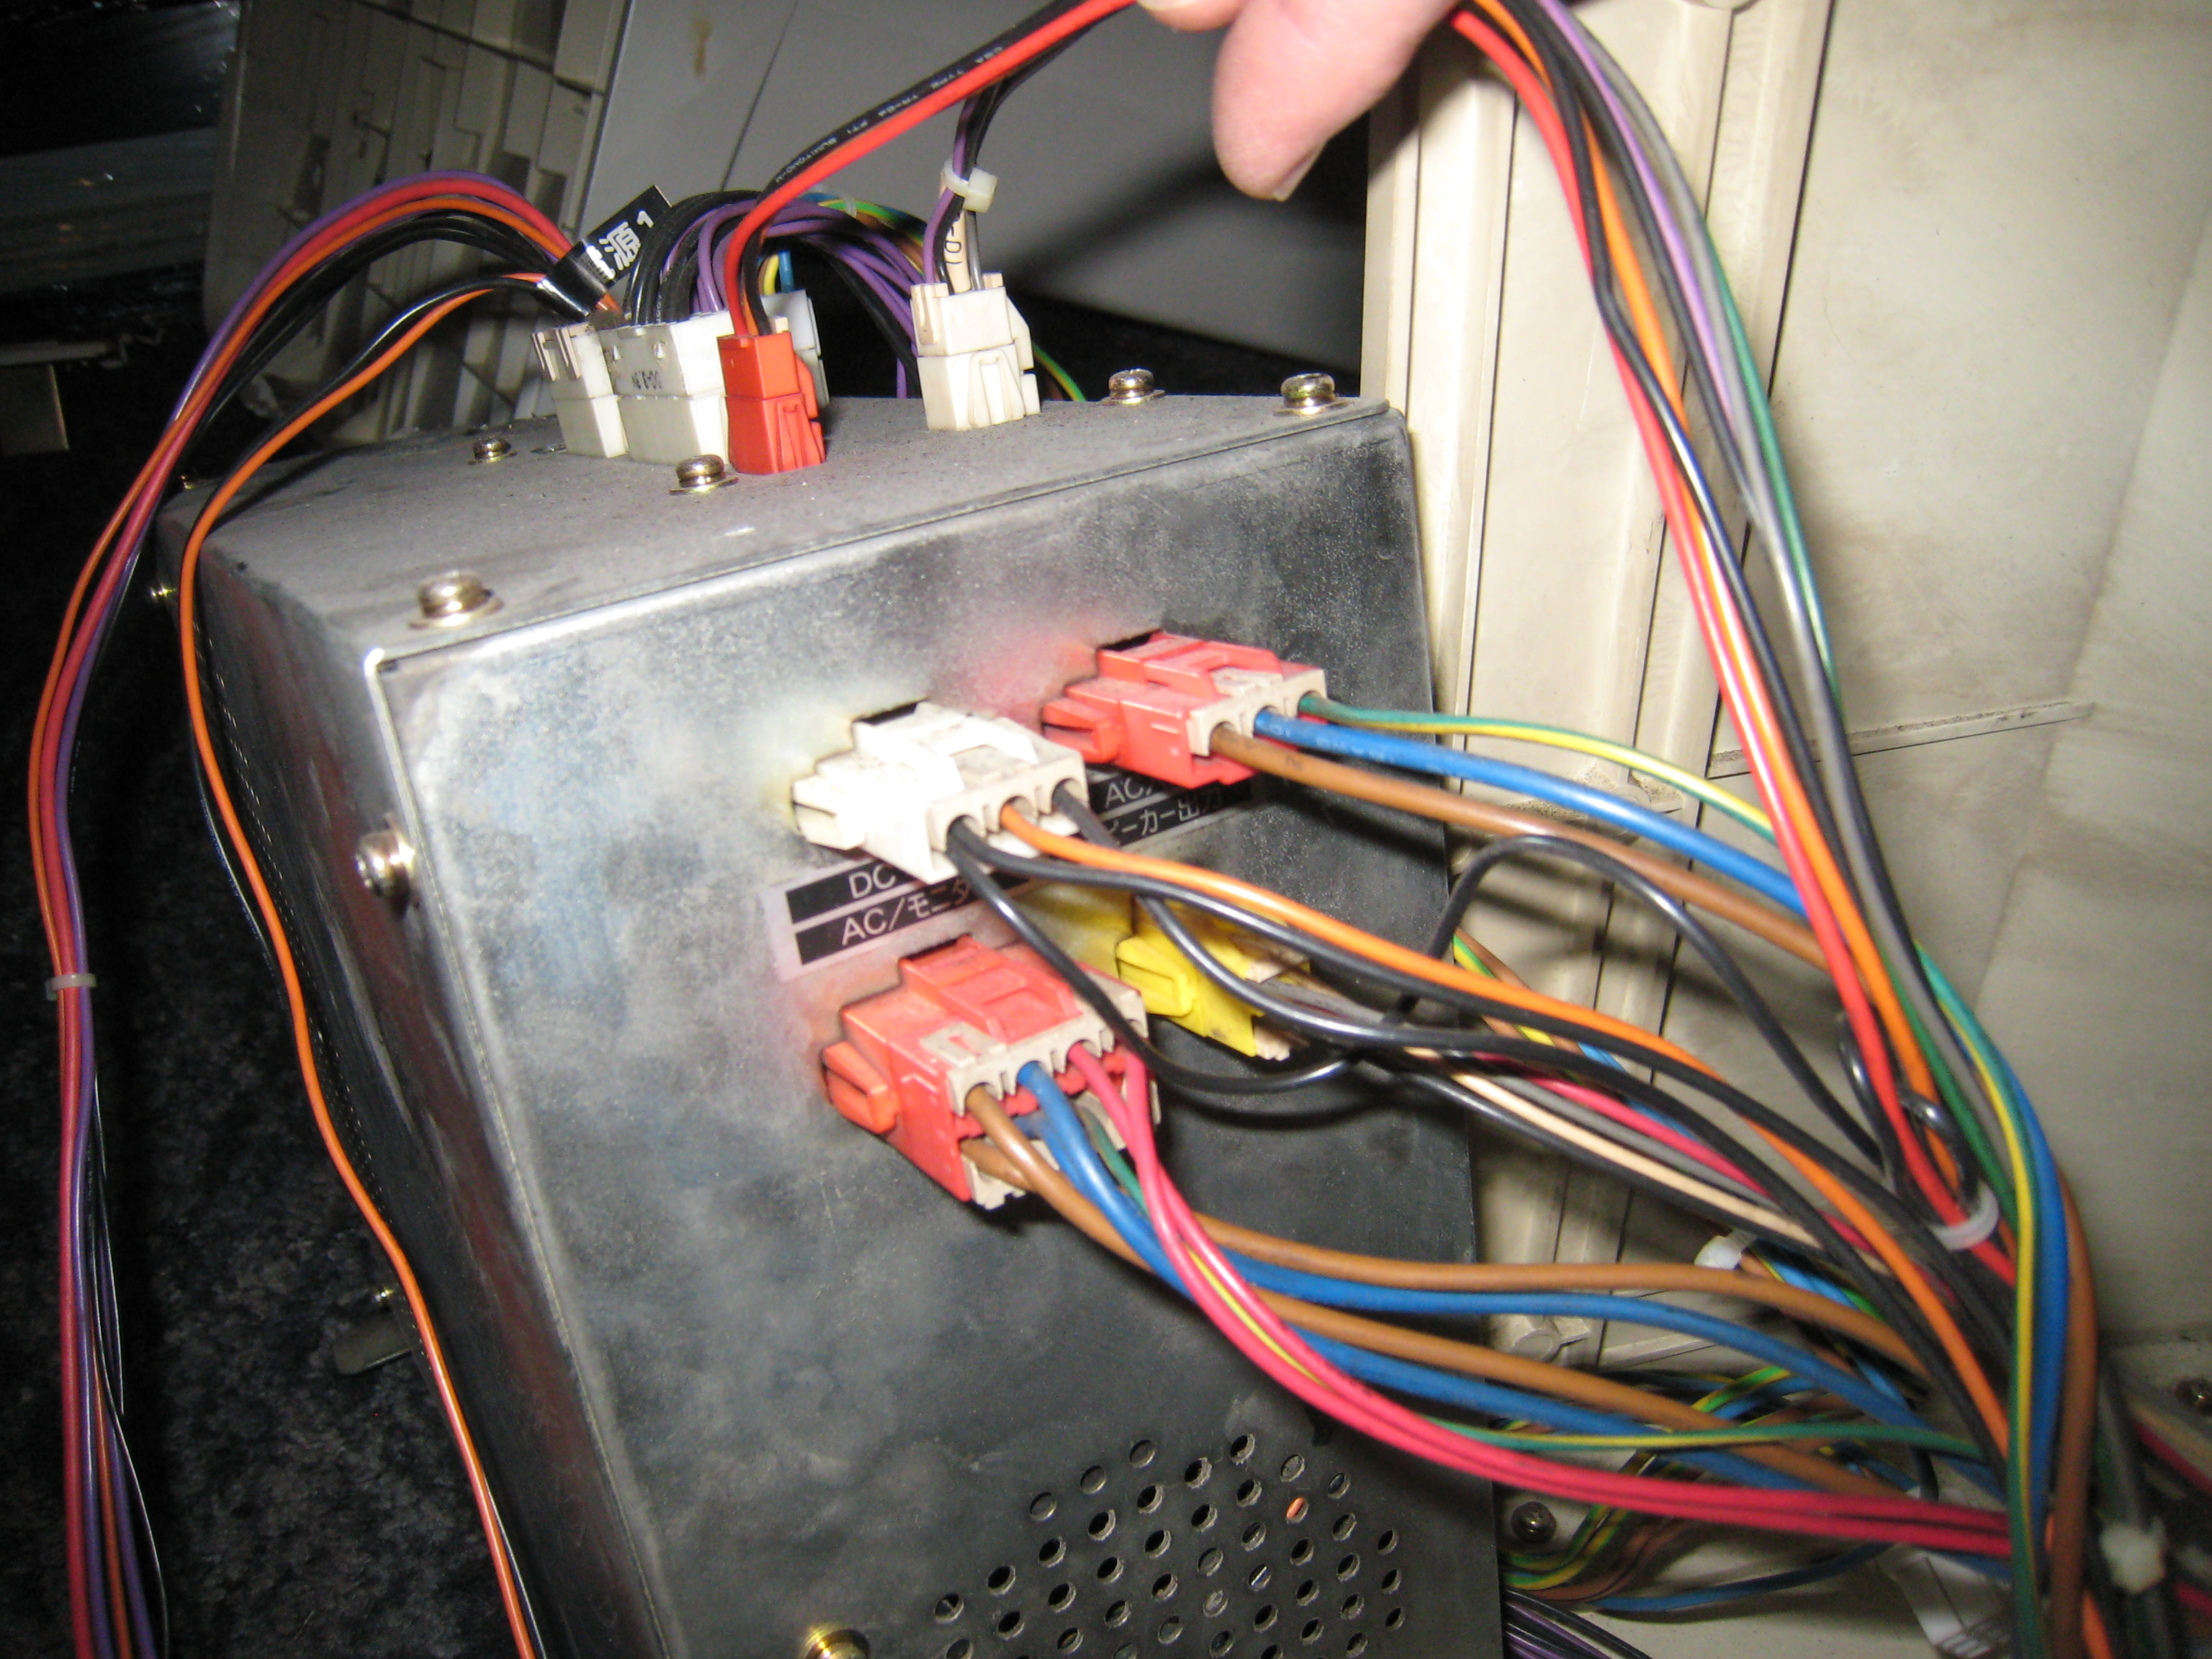
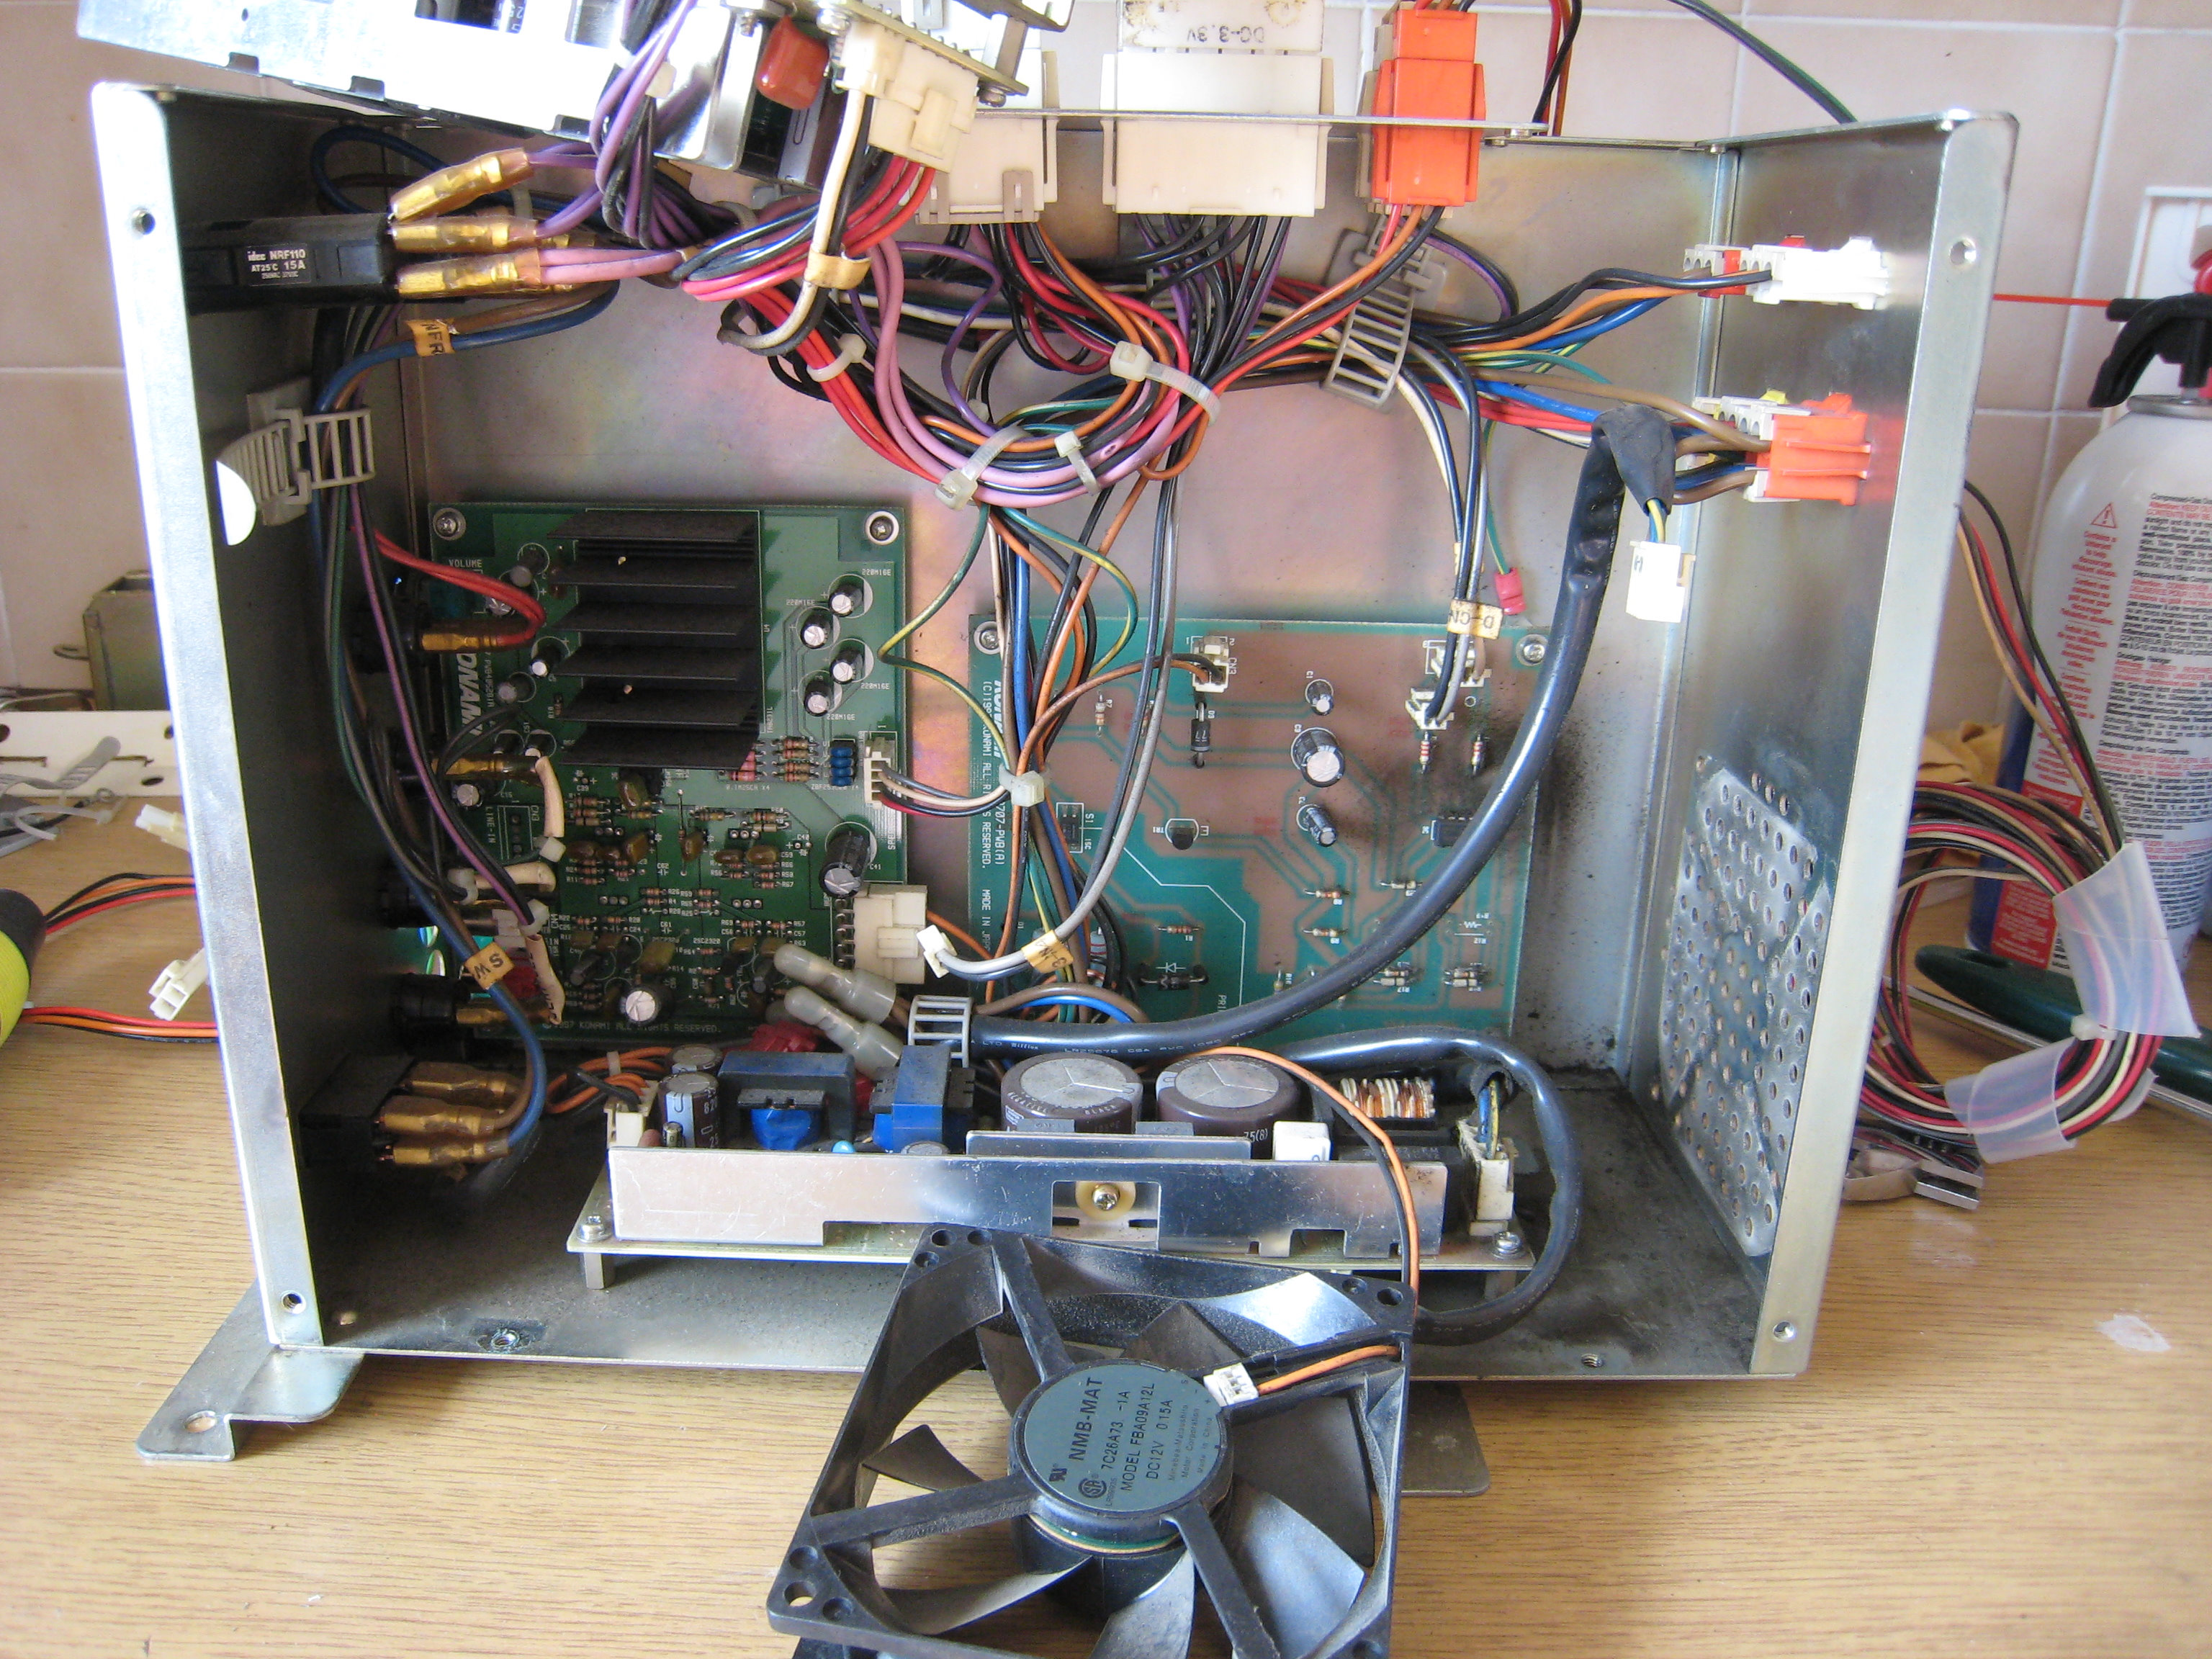
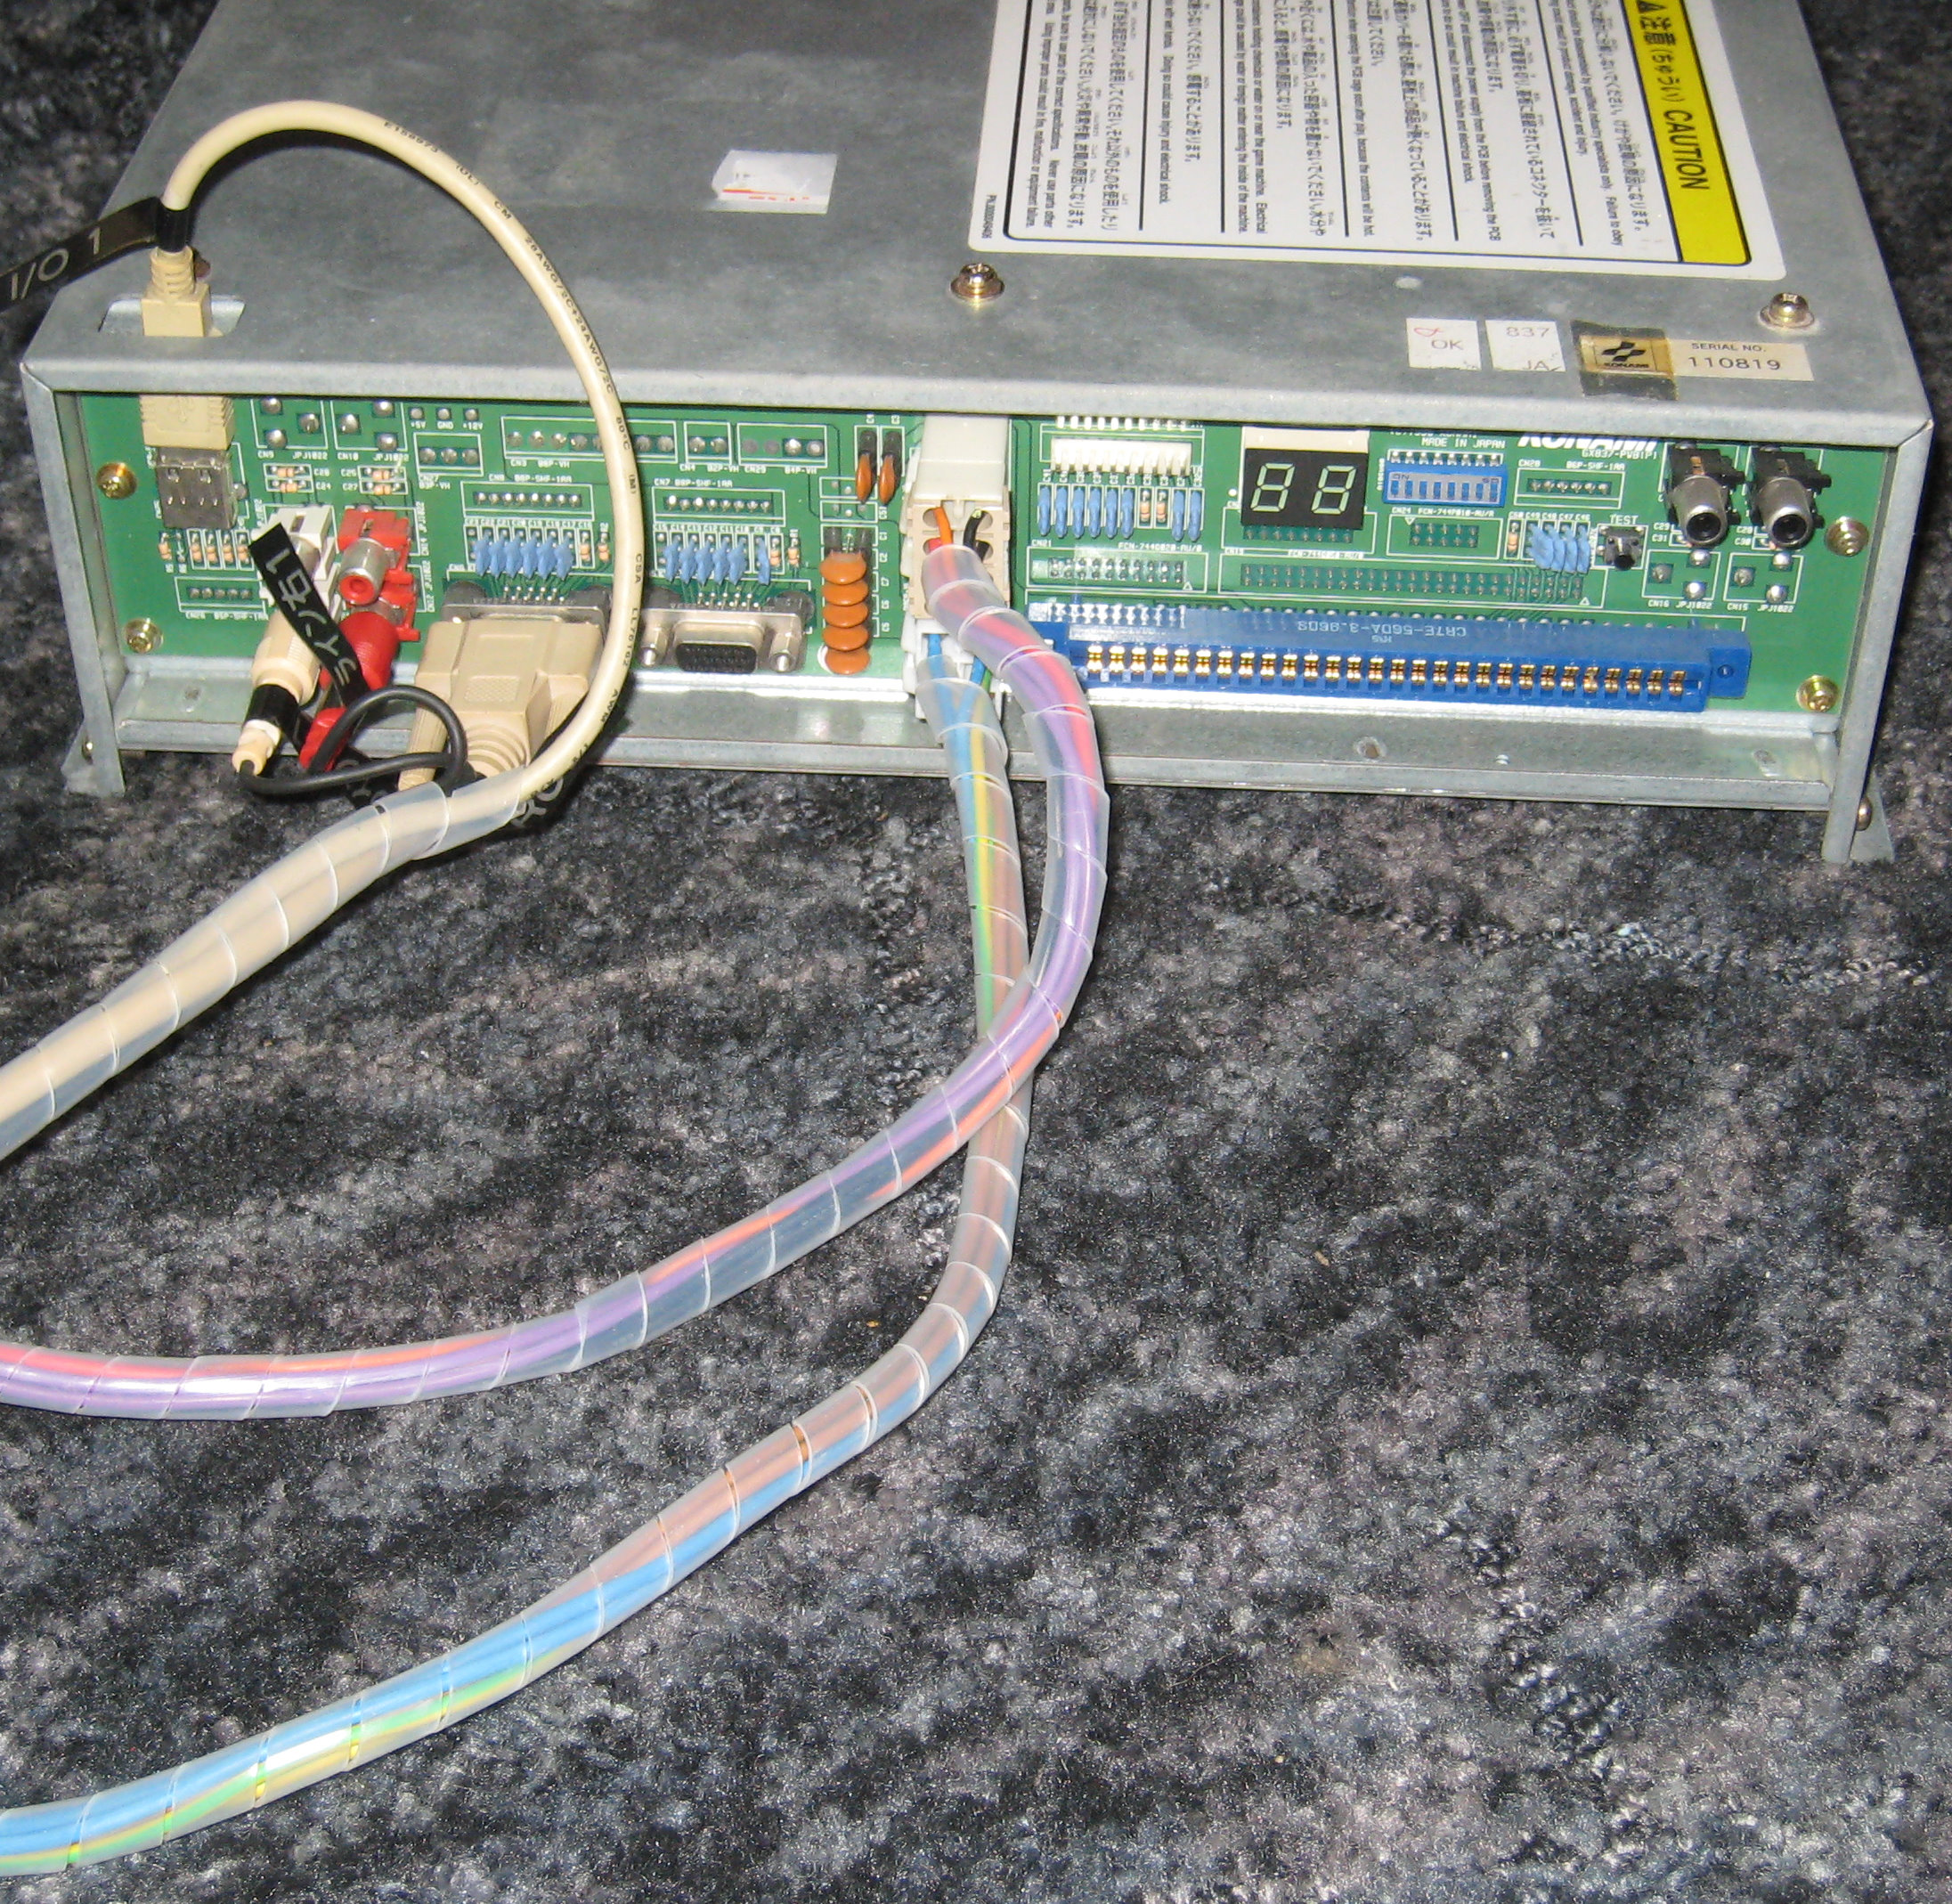
PSU and JVS
D SUB, USB and lots of custom connectors.
The PSU is pretty large and is more than just a power supply, it powers the Monitor, Marquee light, two JVS control boards and the actual JAMMA arcade board.
- Three Cosel power supplies (5v, 3.3v and 12V),
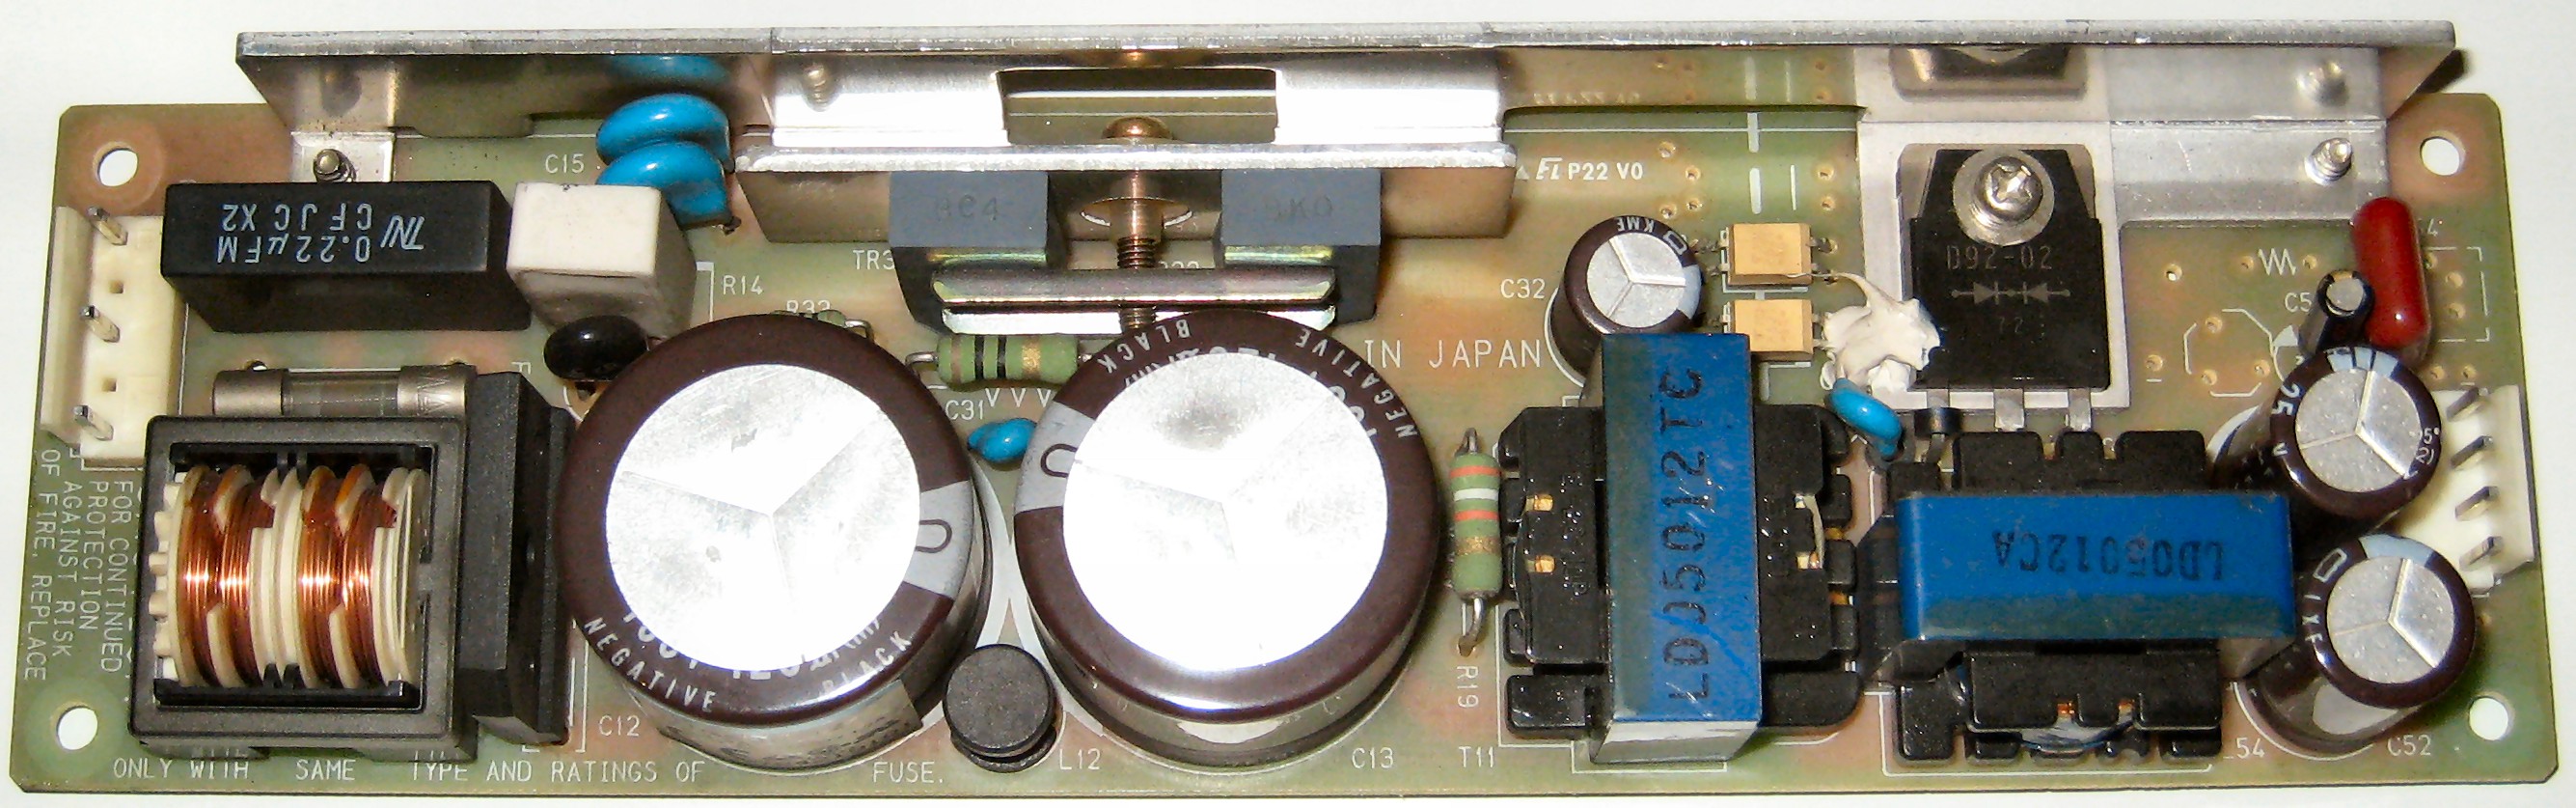
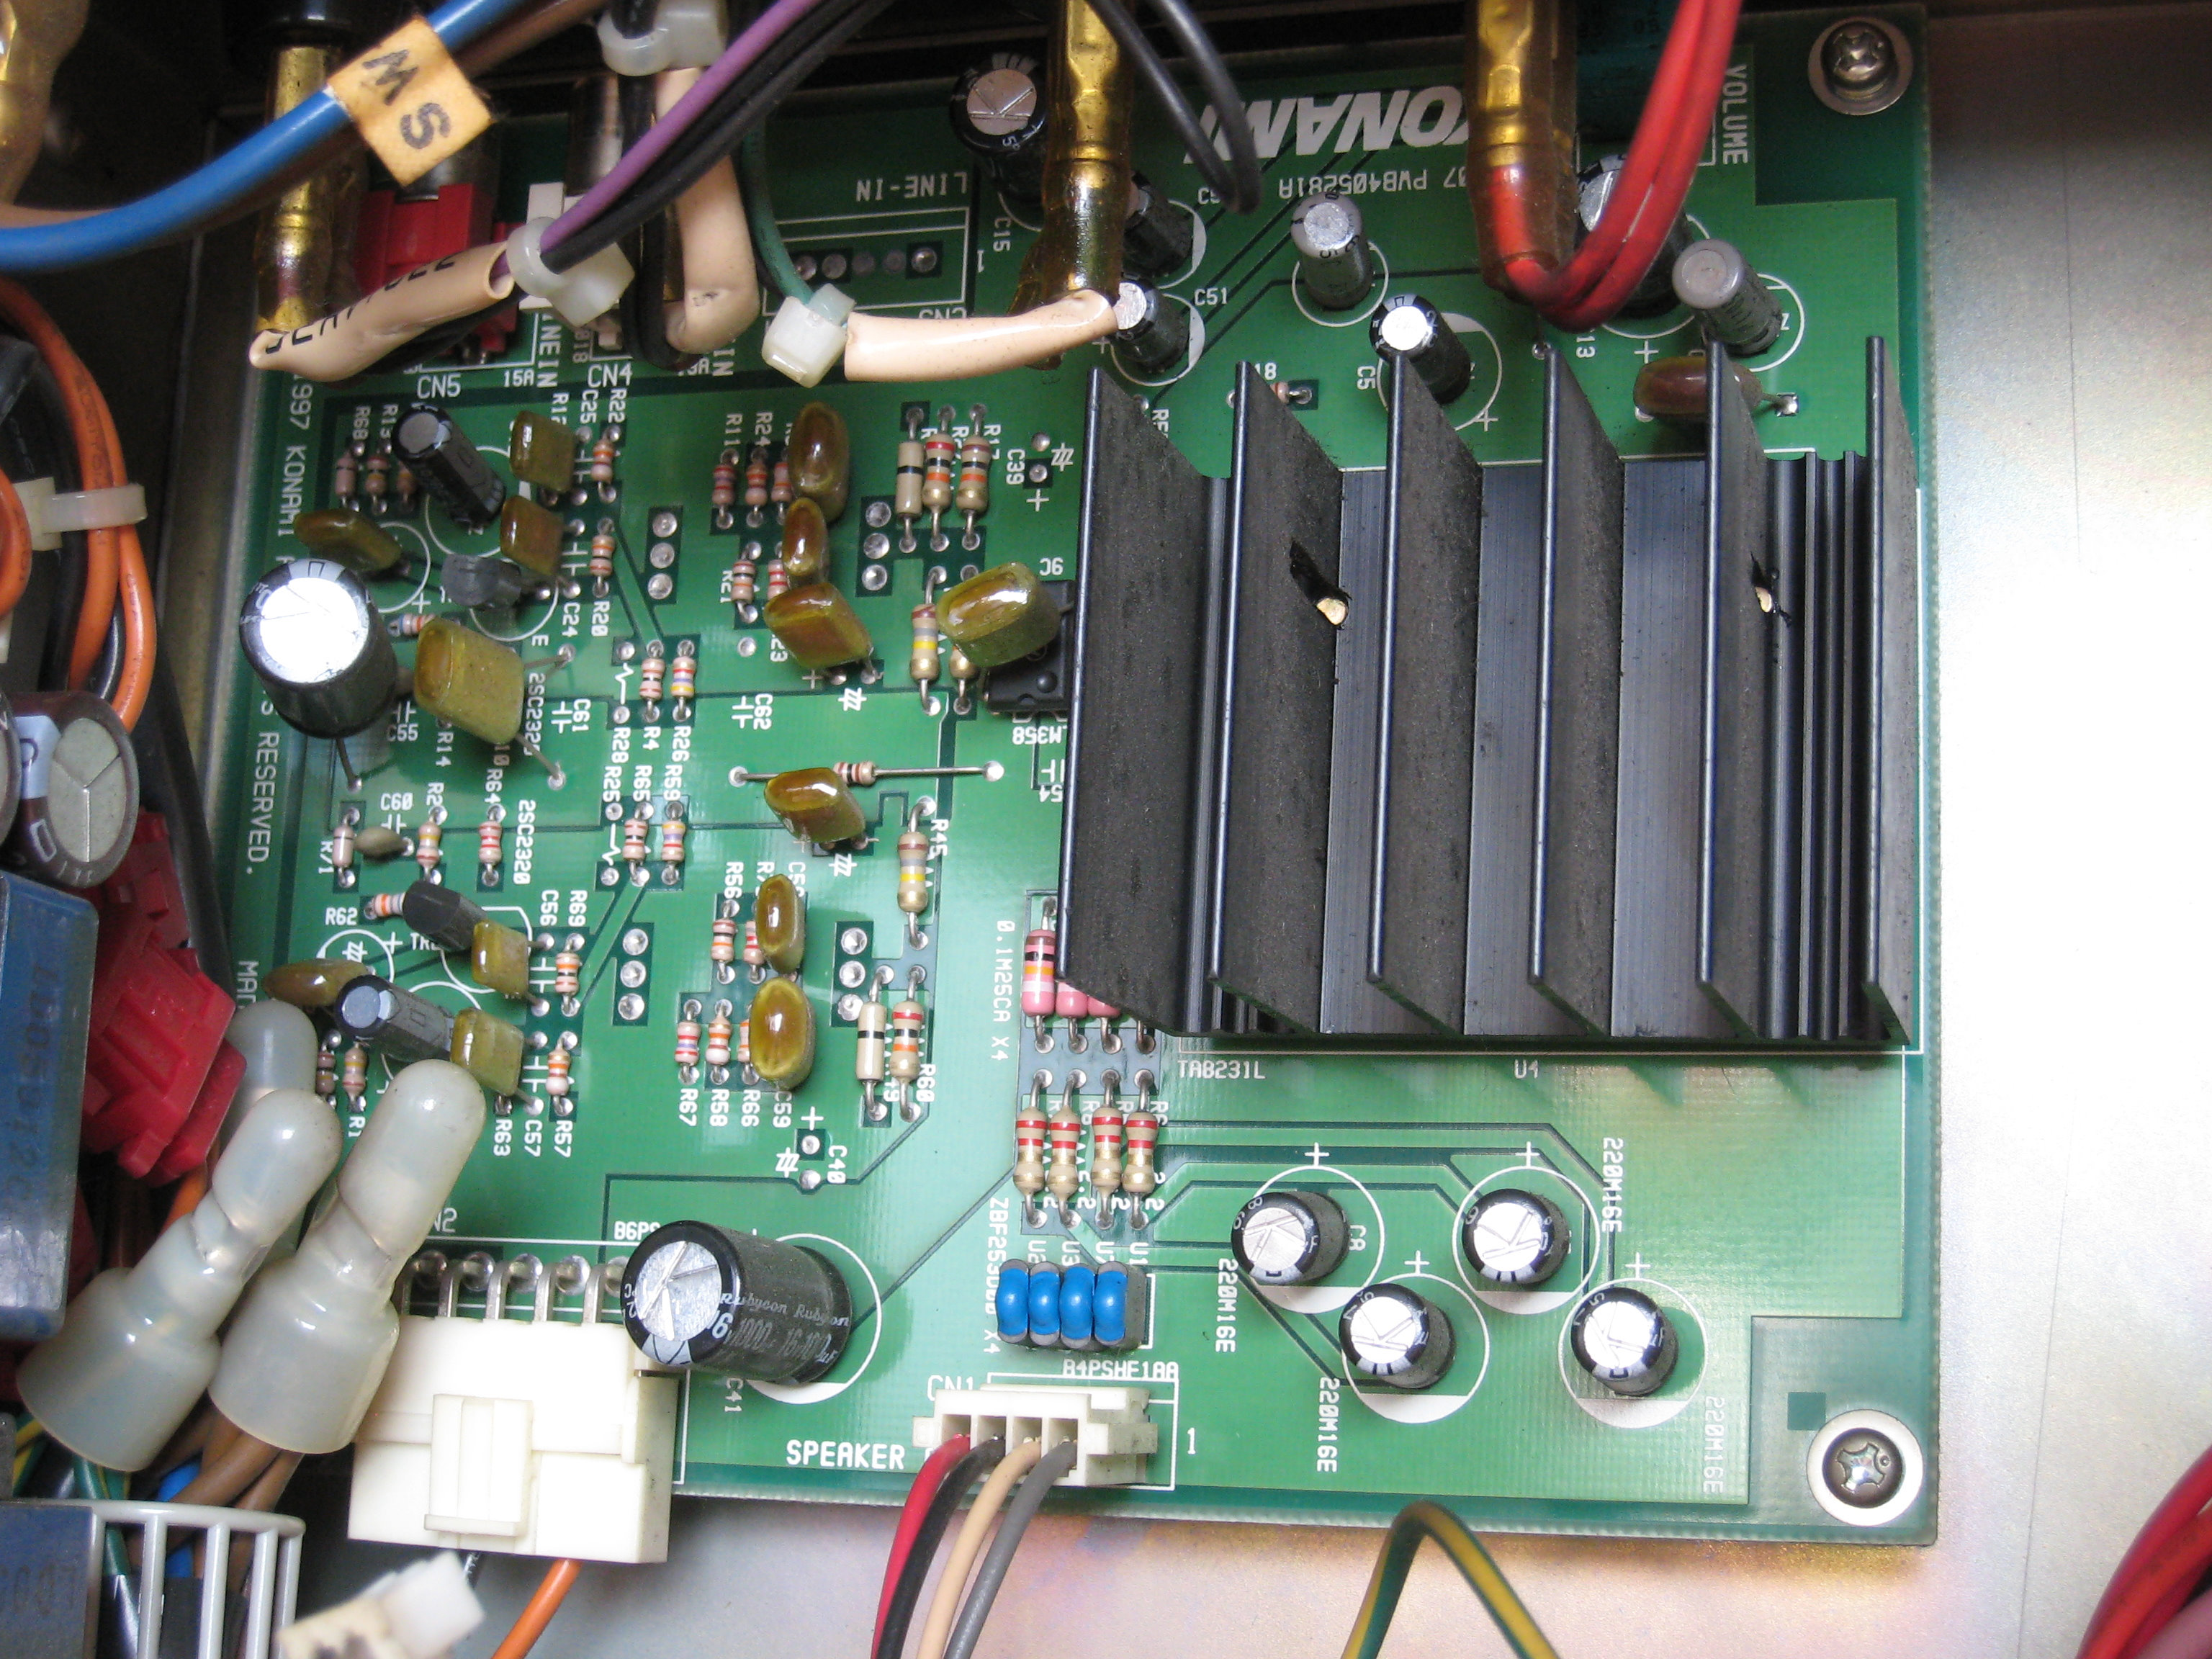
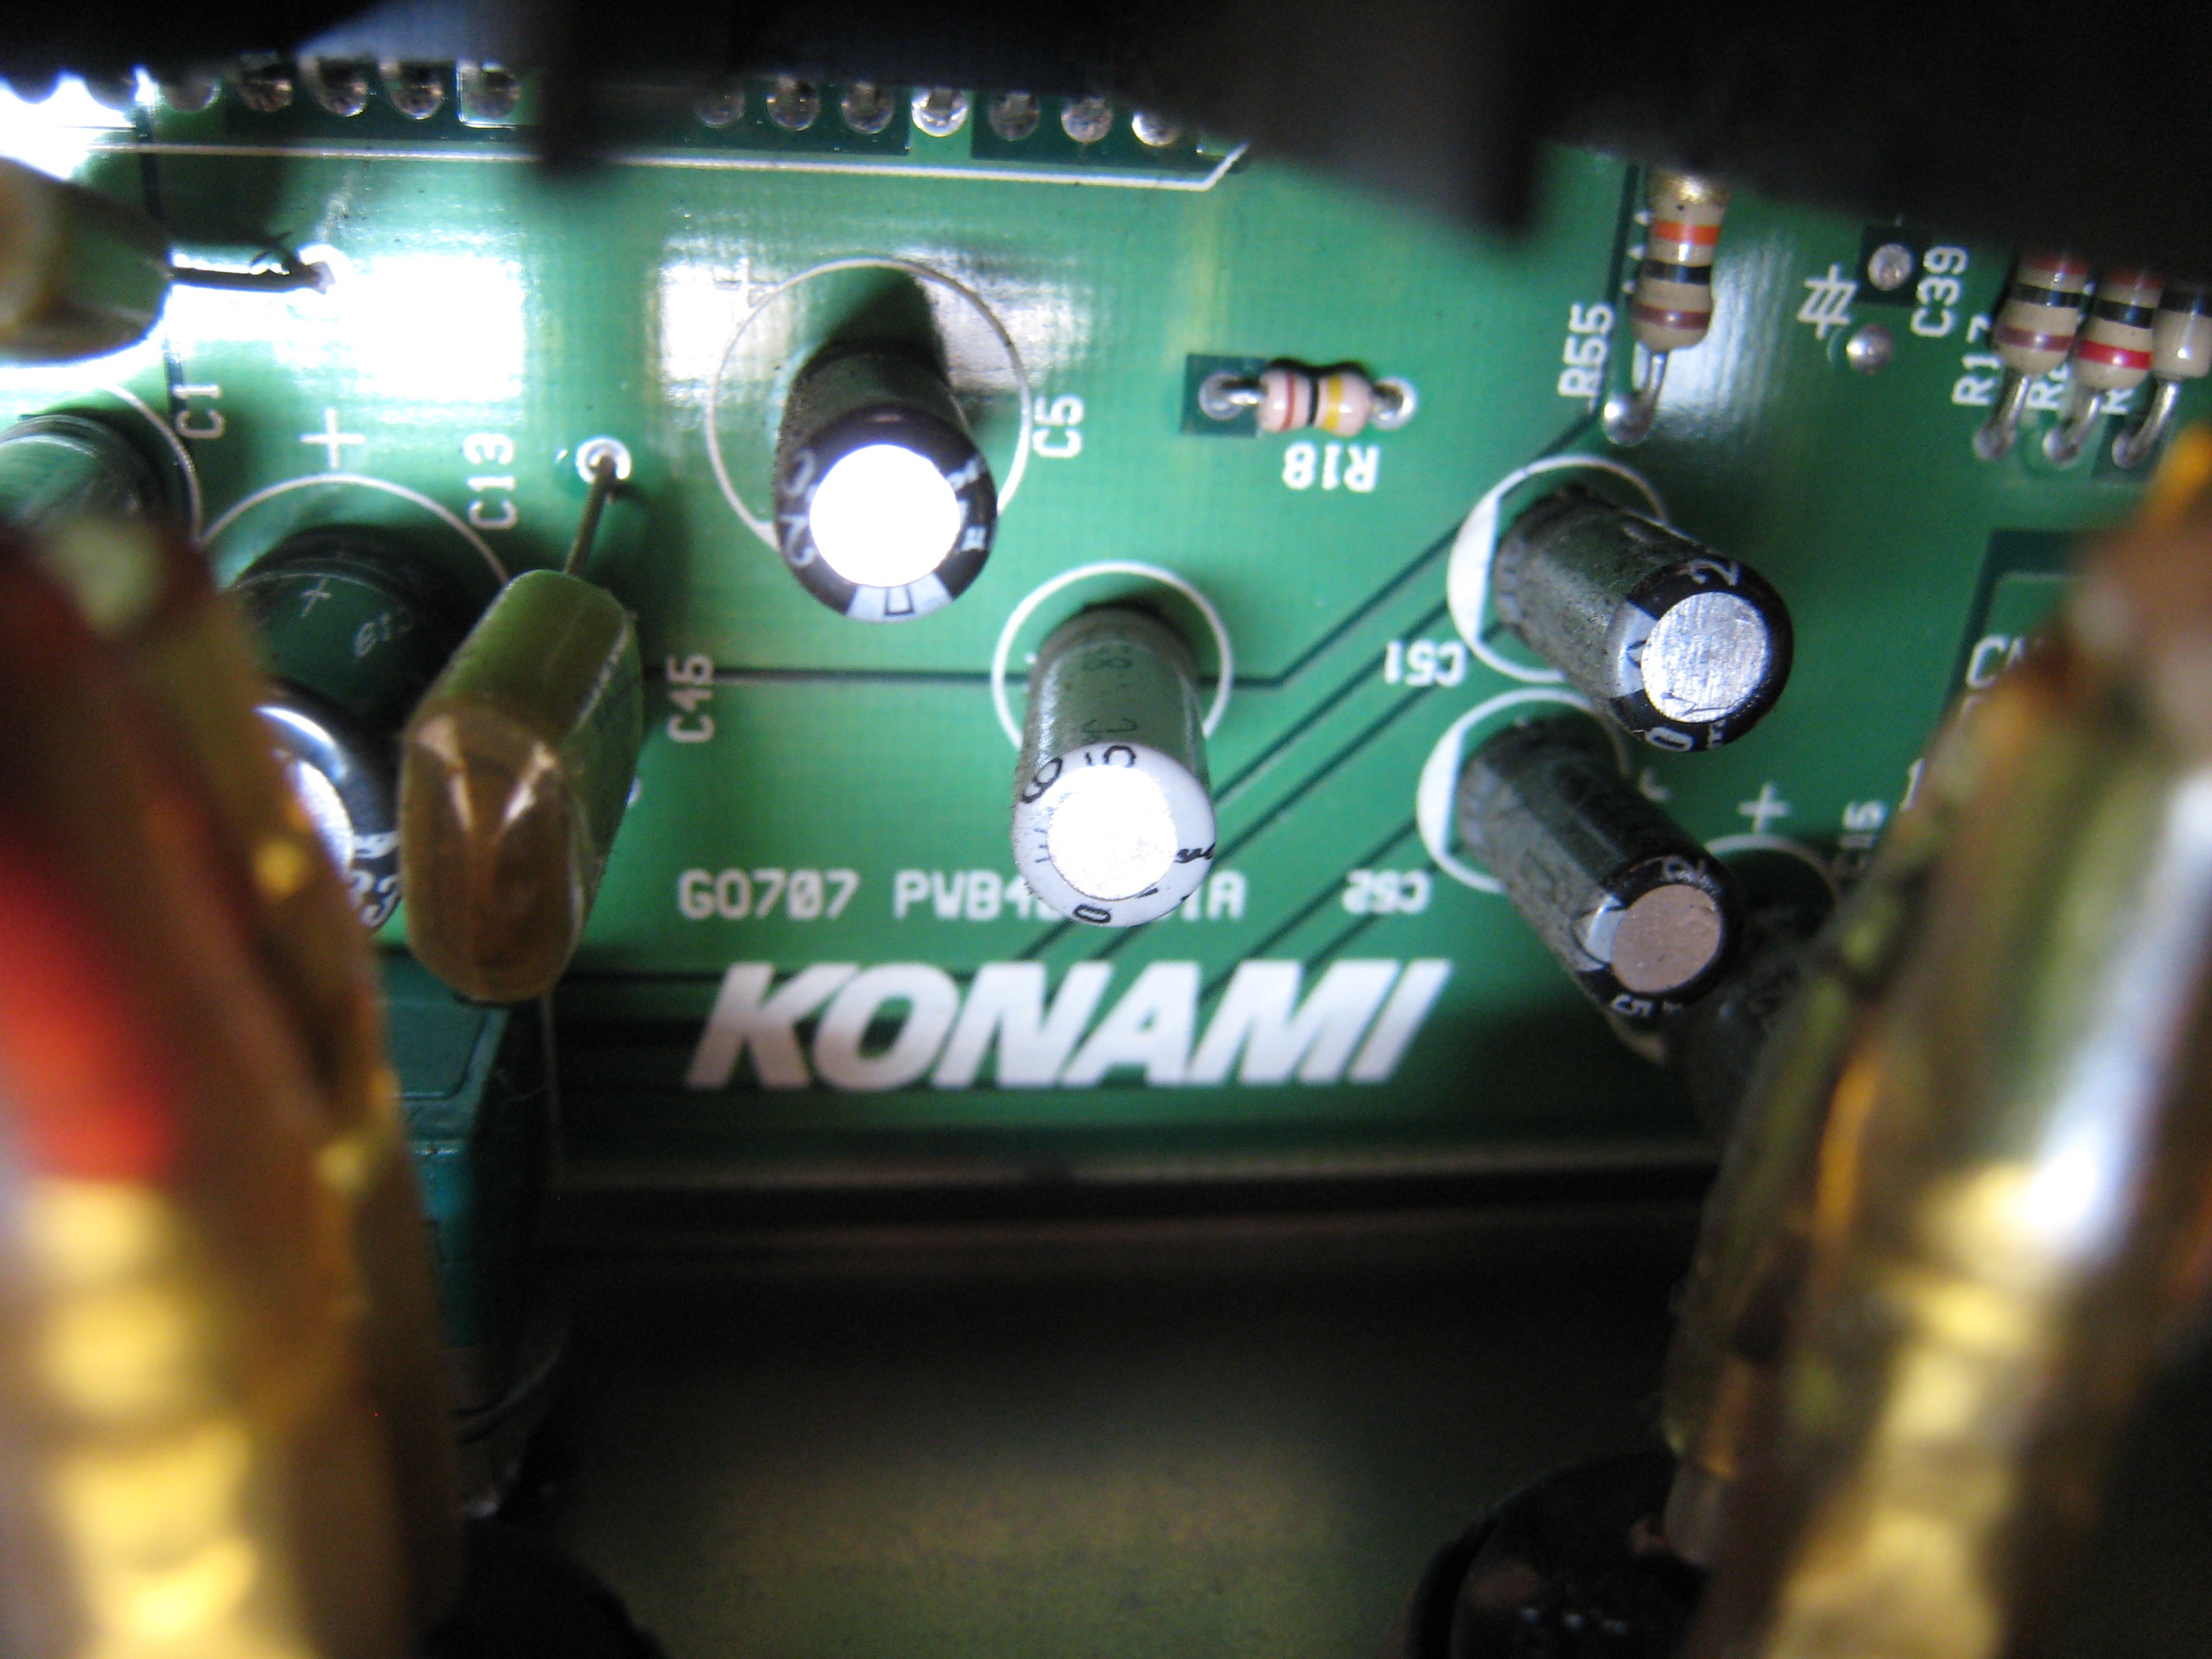
- G0707 PWB 405281A - (C) 1997 KONAMI - Stereo Sound Amplifier
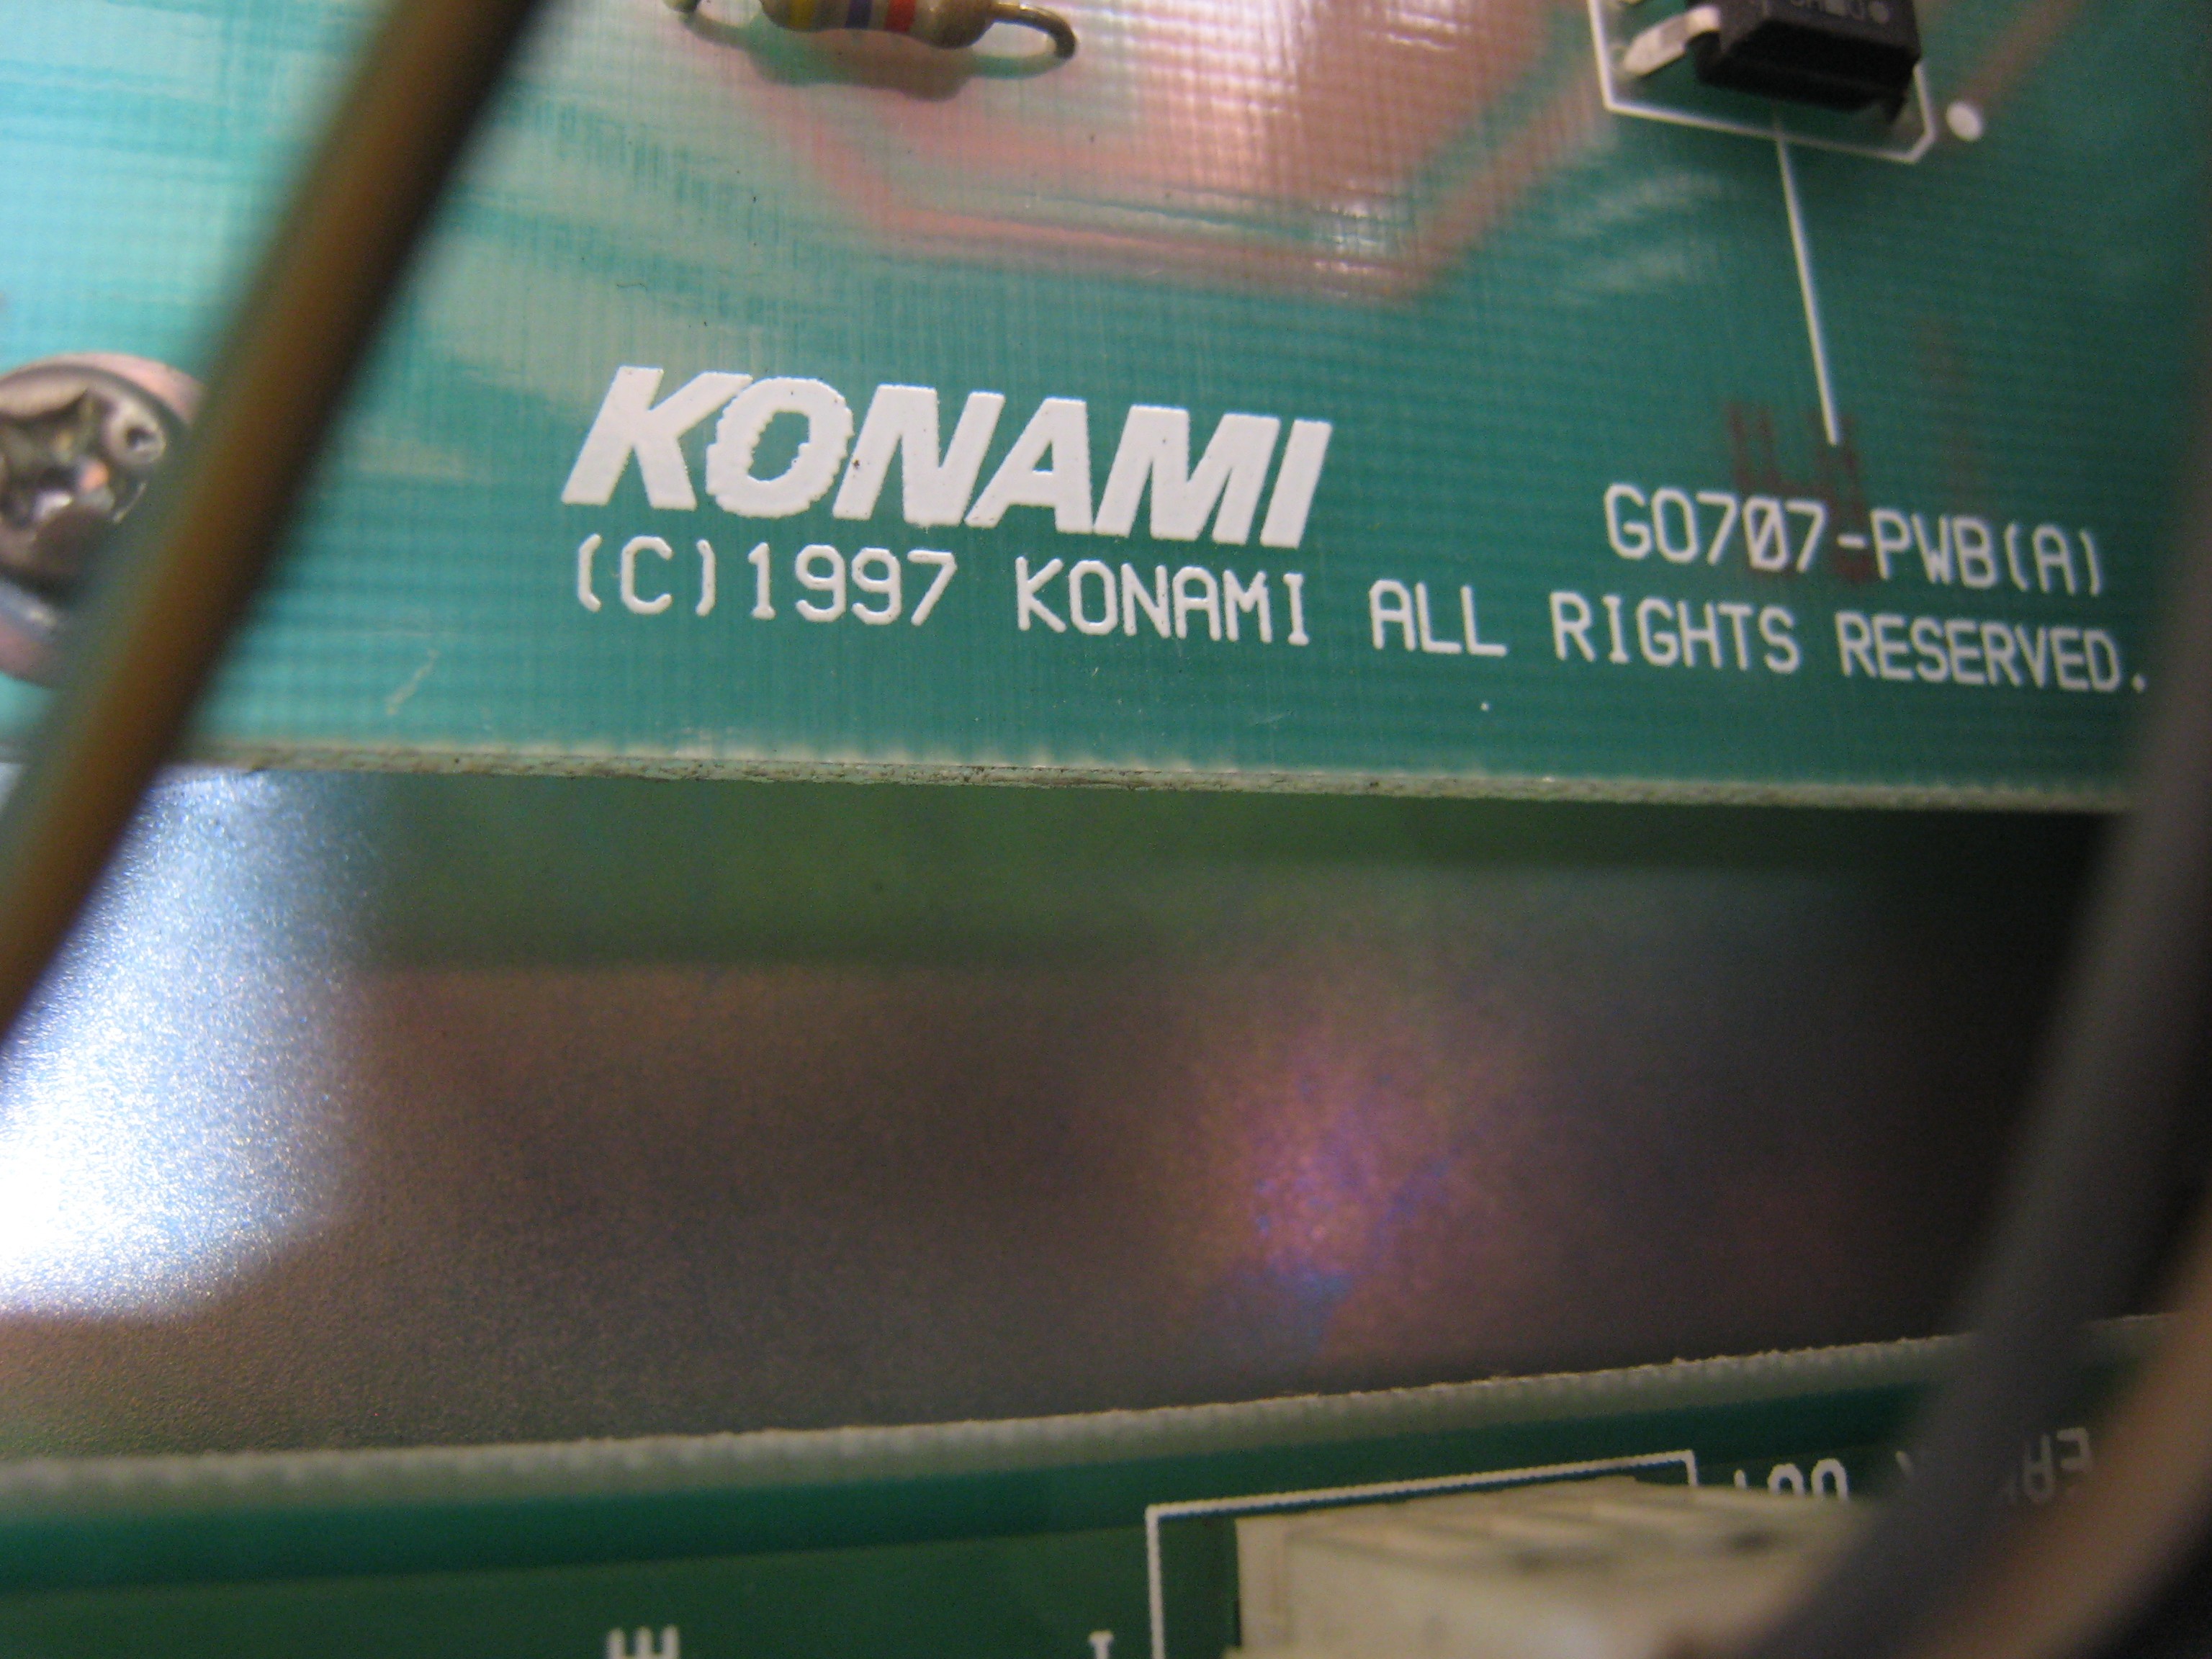
- GO707-PWB(A) (C) 1997 KONAMI - Power Control Board
I'm planning on taken the PSU apart as it has a fan that may well be gummed up with crap and will need a good clean.
The dodgy looking hole on the top left of the PSU is not meant to be there, it's supposed to have an alternate location bracket for the coin counter, a previous owner of the machine must have cut it up for some reason.
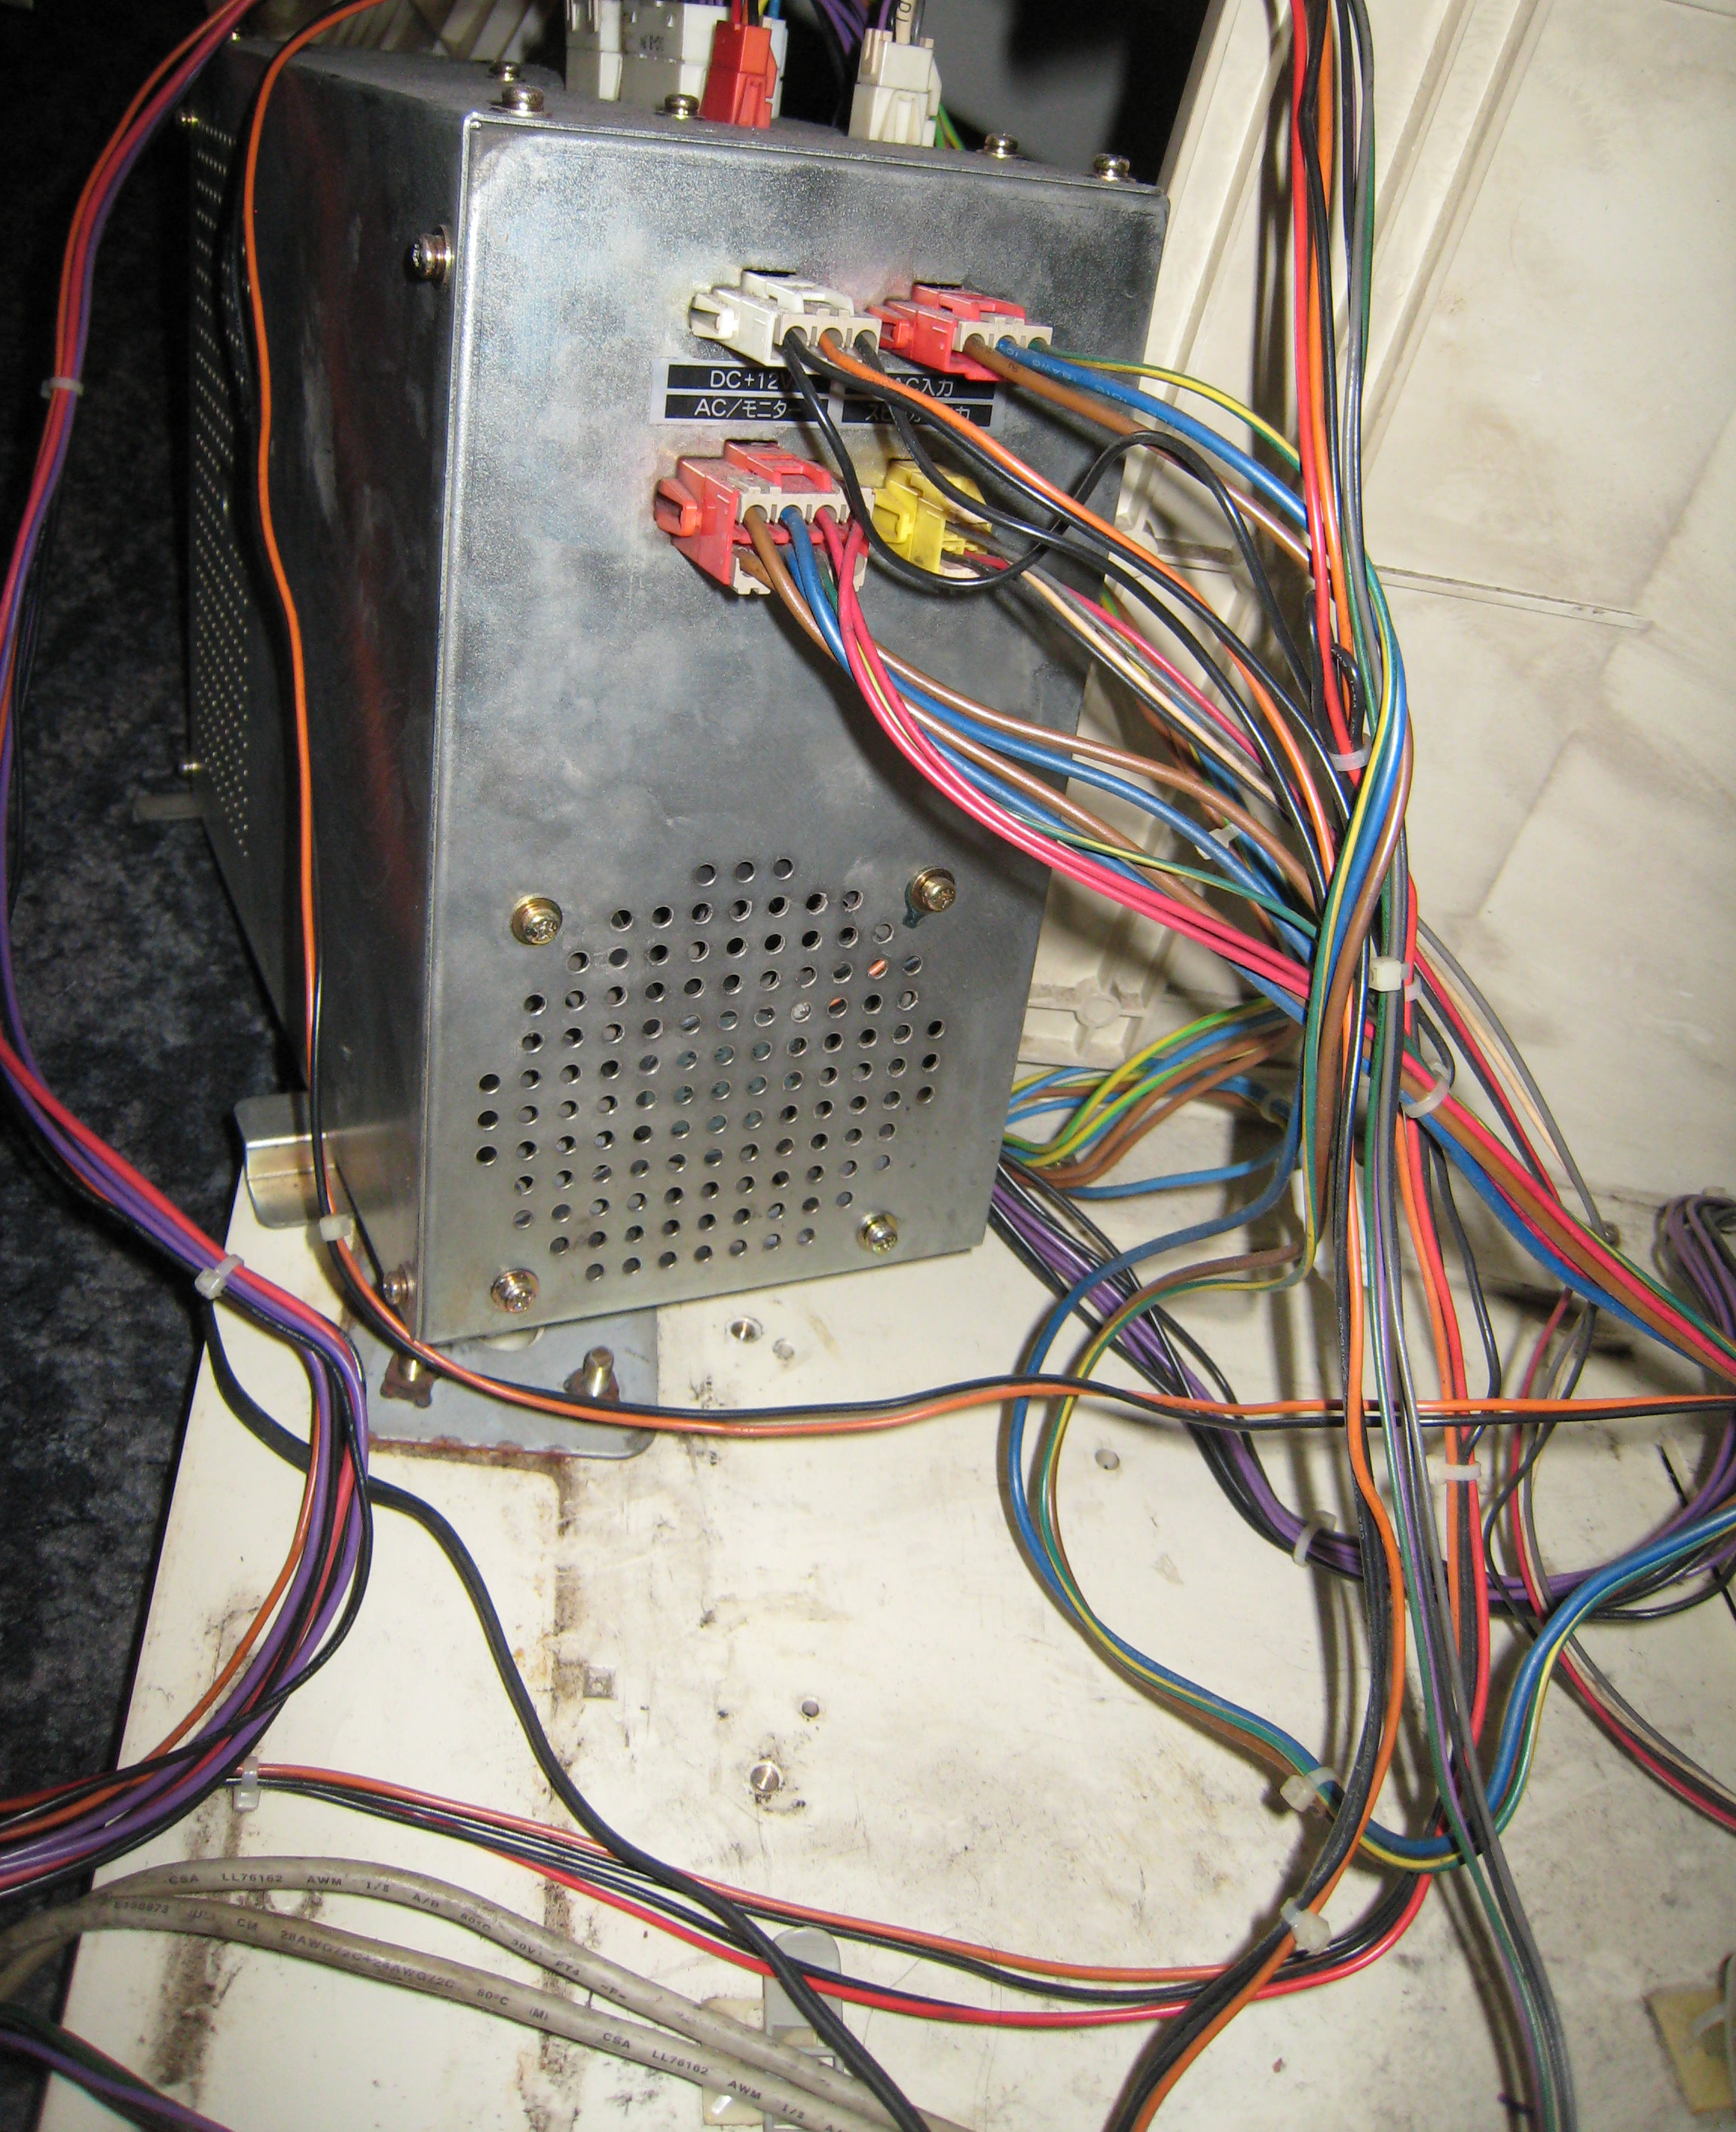
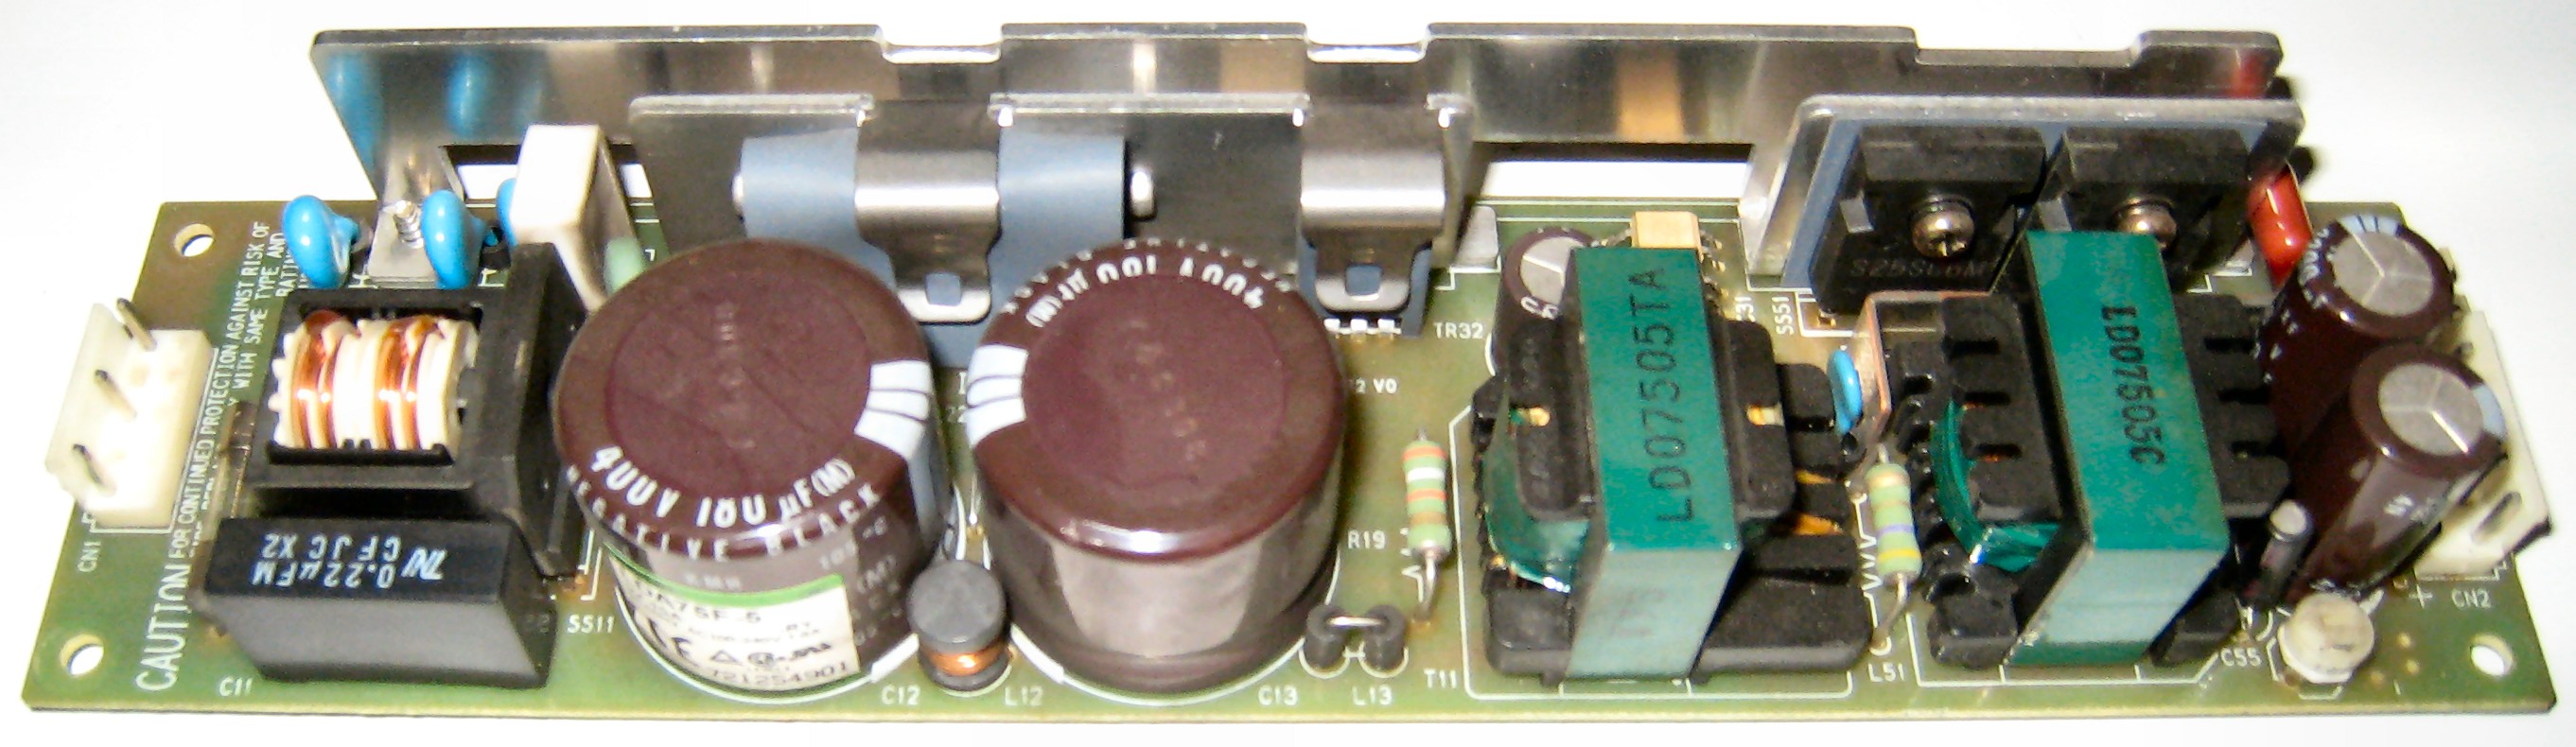
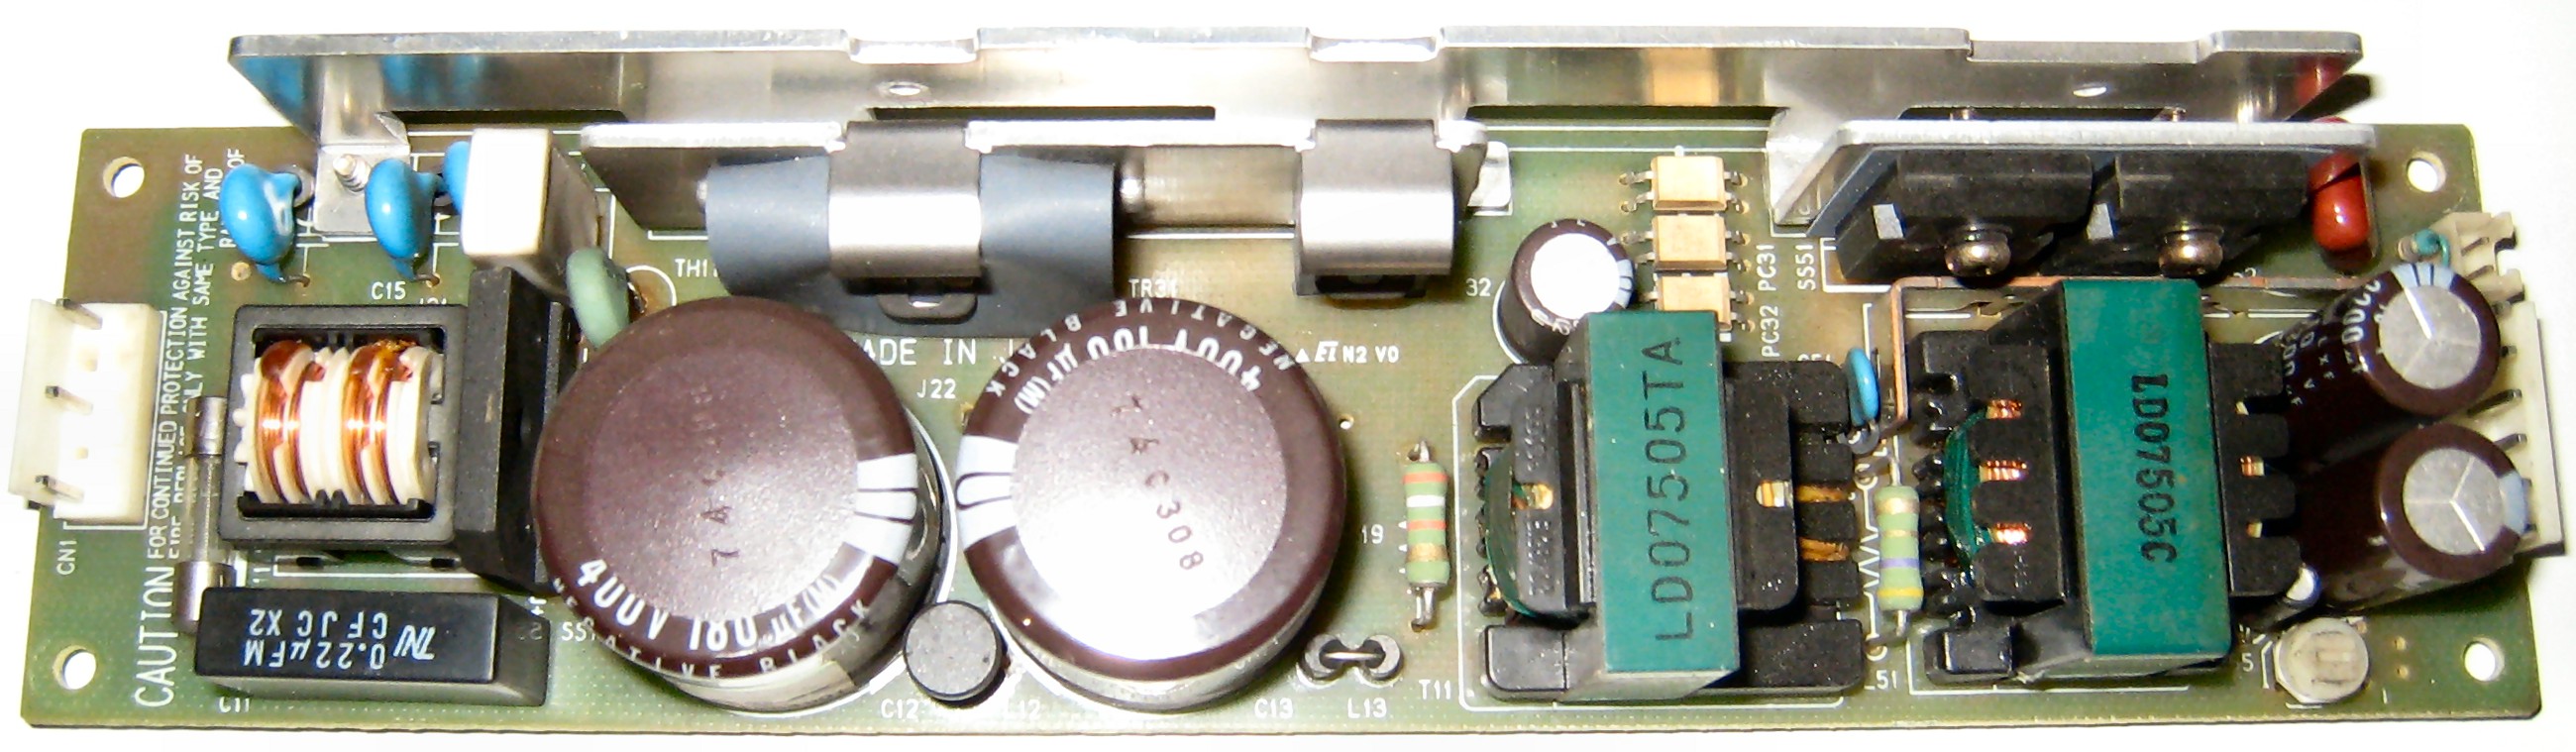
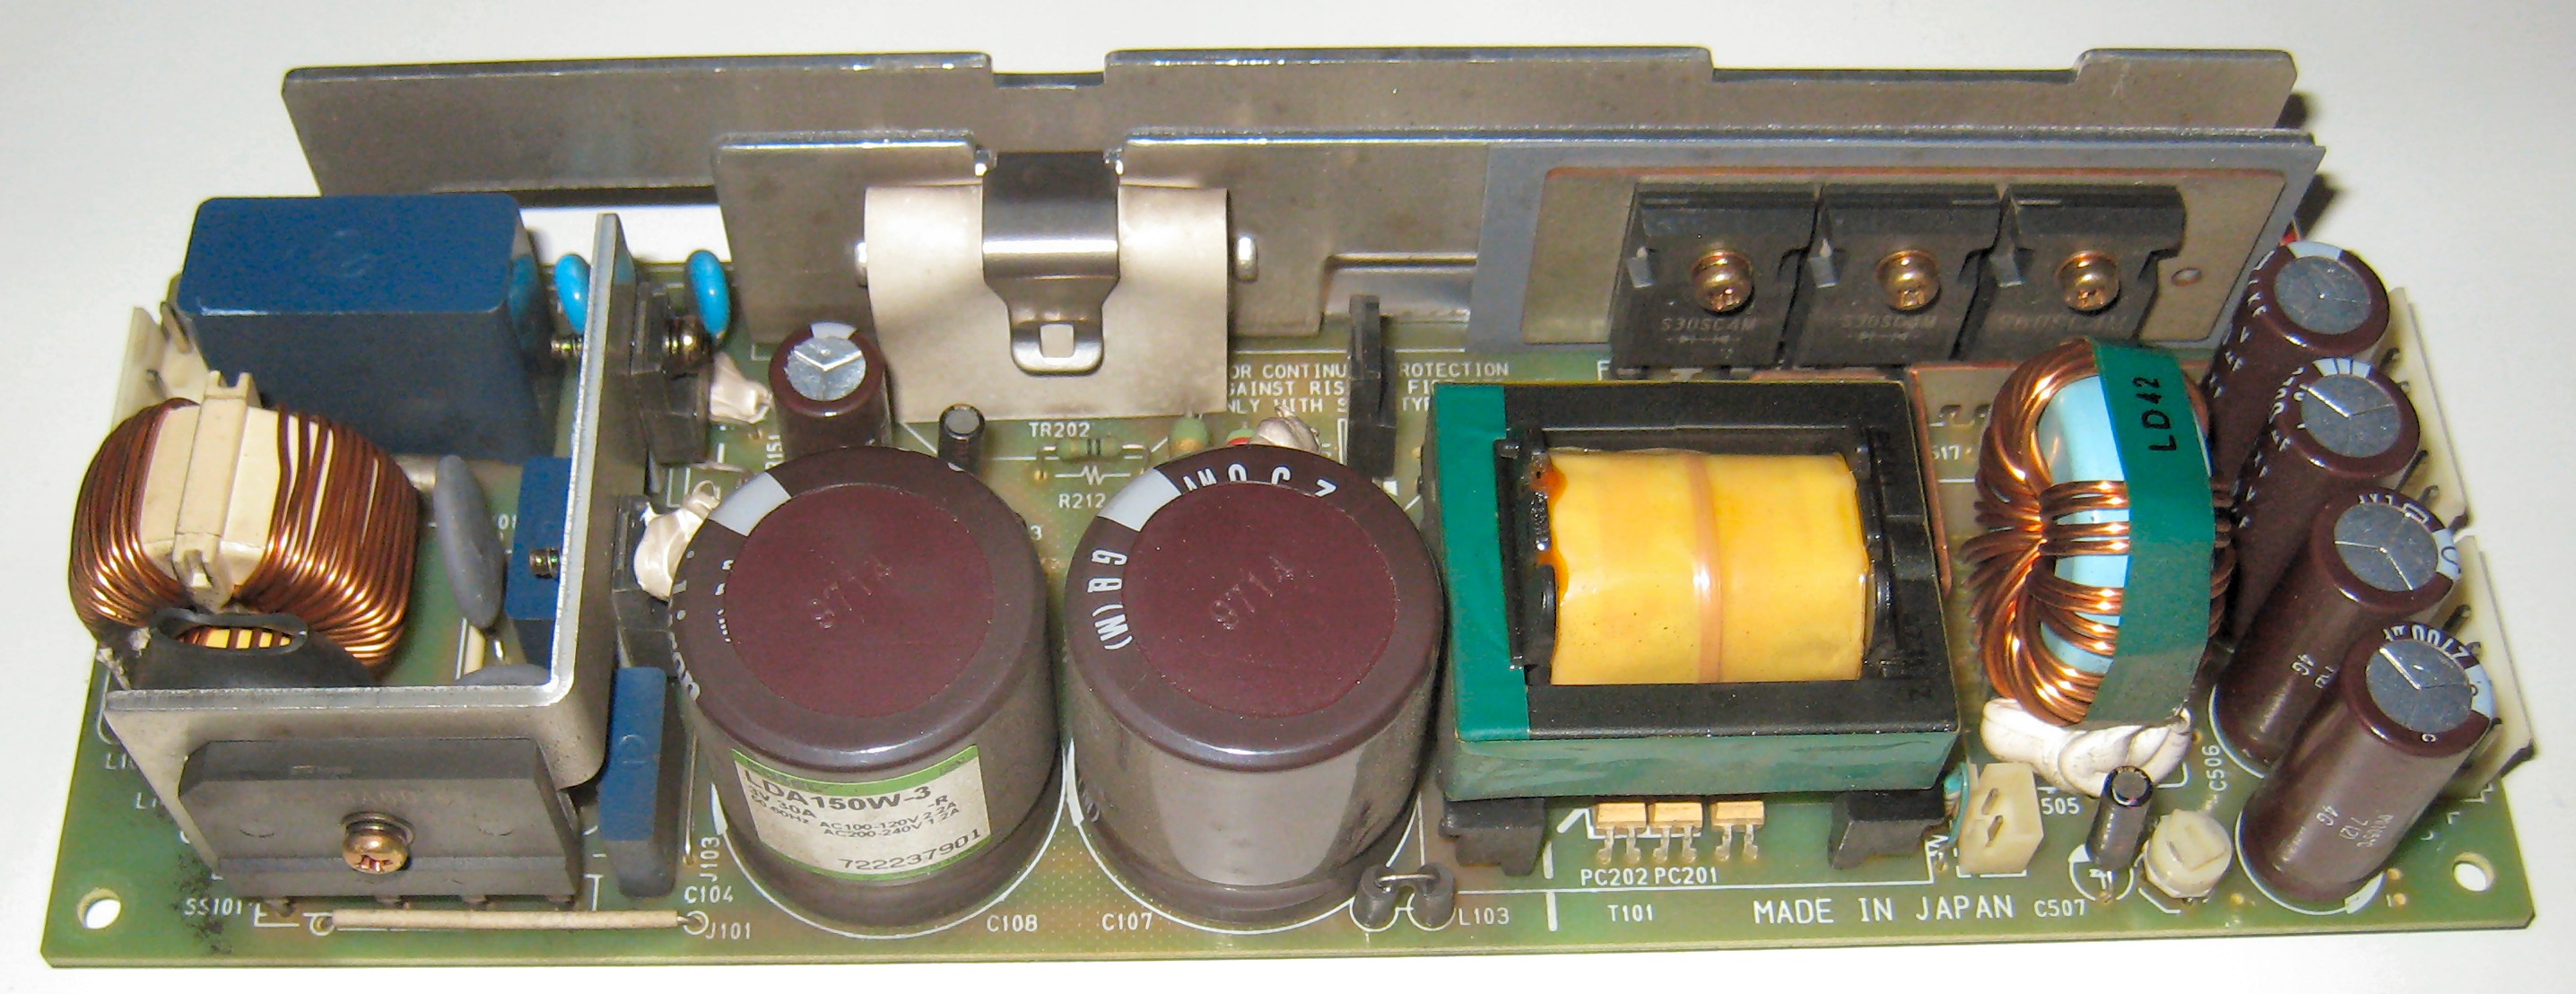
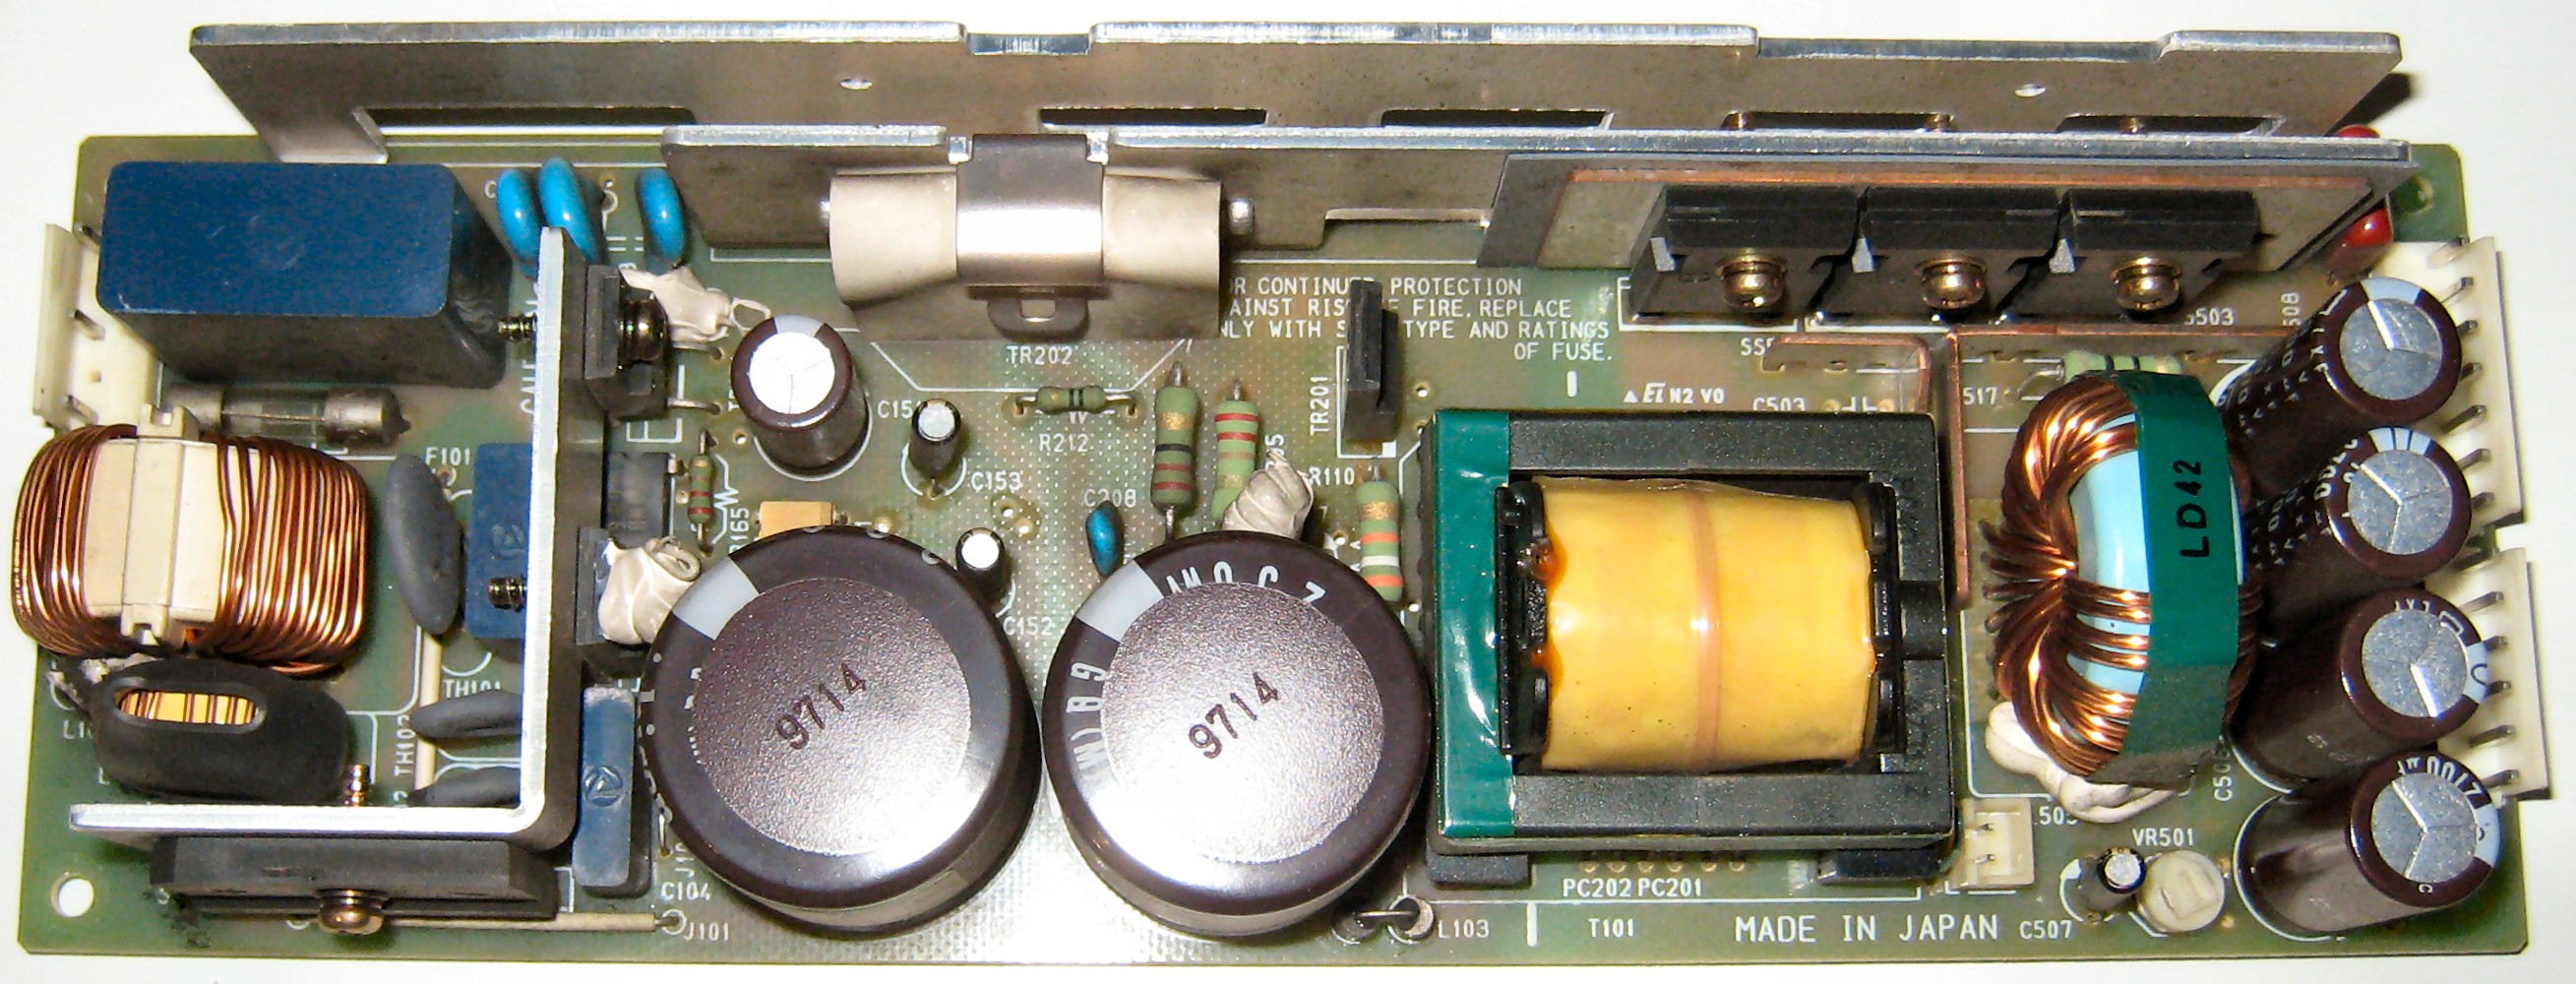
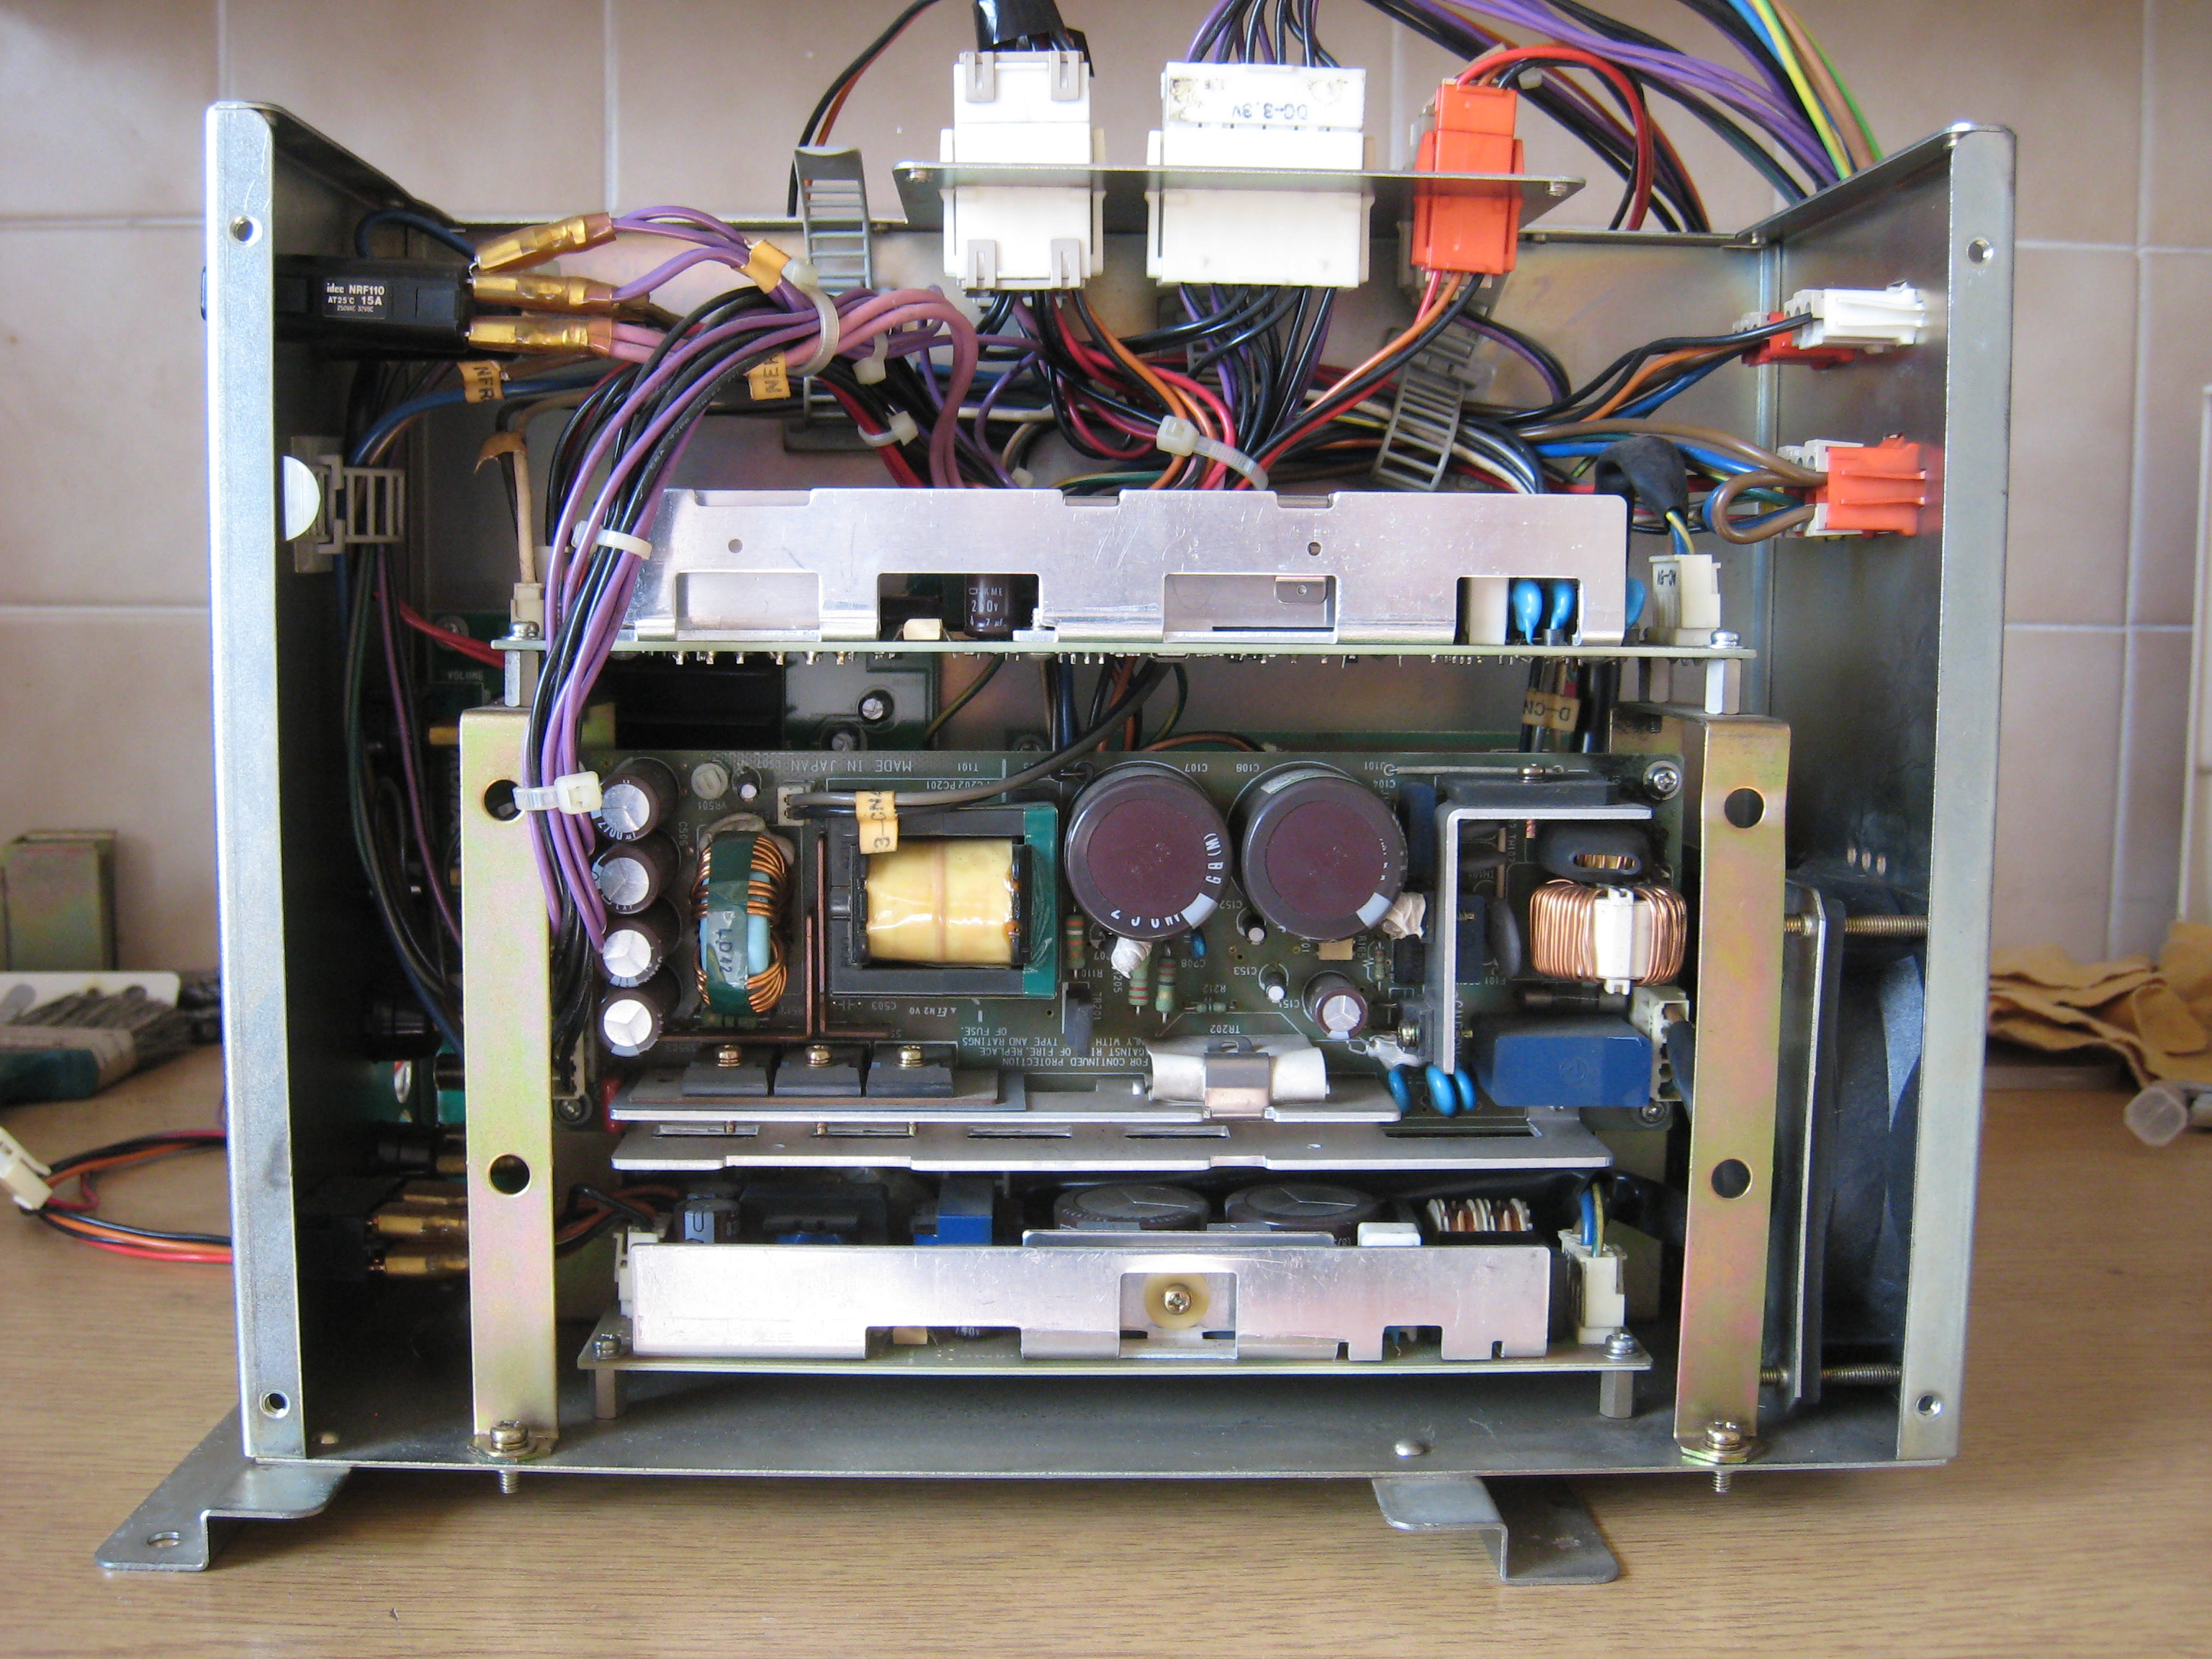
PSU
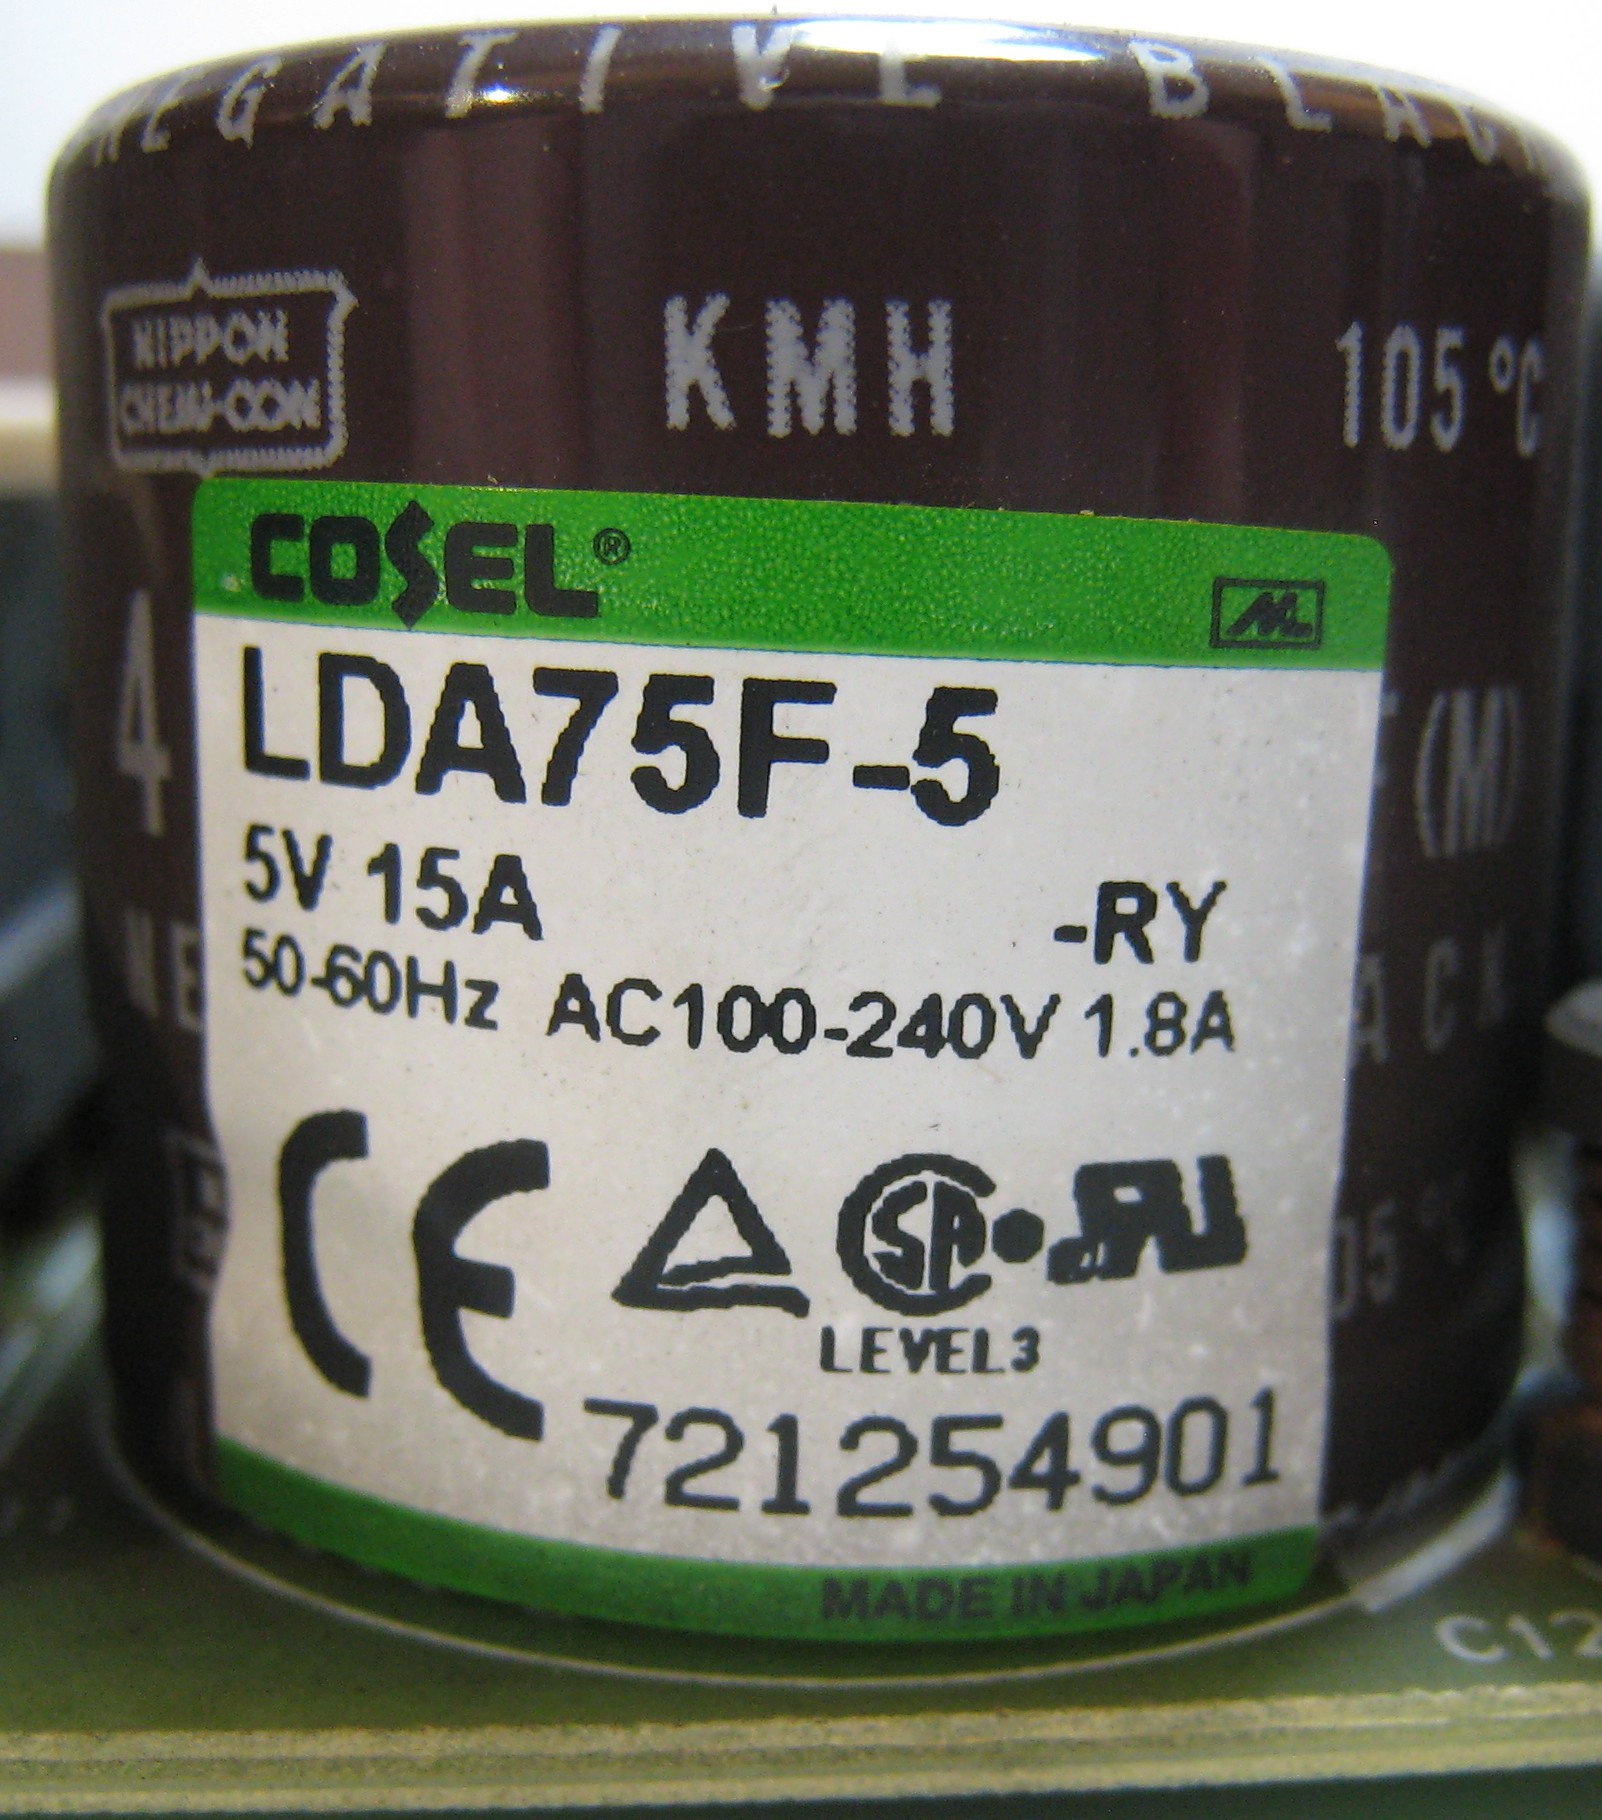
The three power supplies used in the Konami Windy II are manufacturef by Cosel and yes even after all these years they still make them.
You can get them from RS, Mouser and Digi-Key, they are not cheap and seem to be priced between £70-100 each.
The 5V and 3V PSU's have some extra options (check the part numbers are correct) or they will not work in the machine (there are quite a few variants of each supply).
R: with Remote ON/OFF
Y: with Potentiometer
-
Top PSU - 5v - Cosel - LDA75F-5-RY - https://en.cosel.co.jp/product/powersupply/LDA/LDA75F/ - Discontinued (November 2022)
-
Middle PSU - 3.3v - Cosel - LDA150W-3-RY - https://en.cosel.co.jp/product/powersupply/LDA/LDA150W/ - Discontinued (November 2022)
-
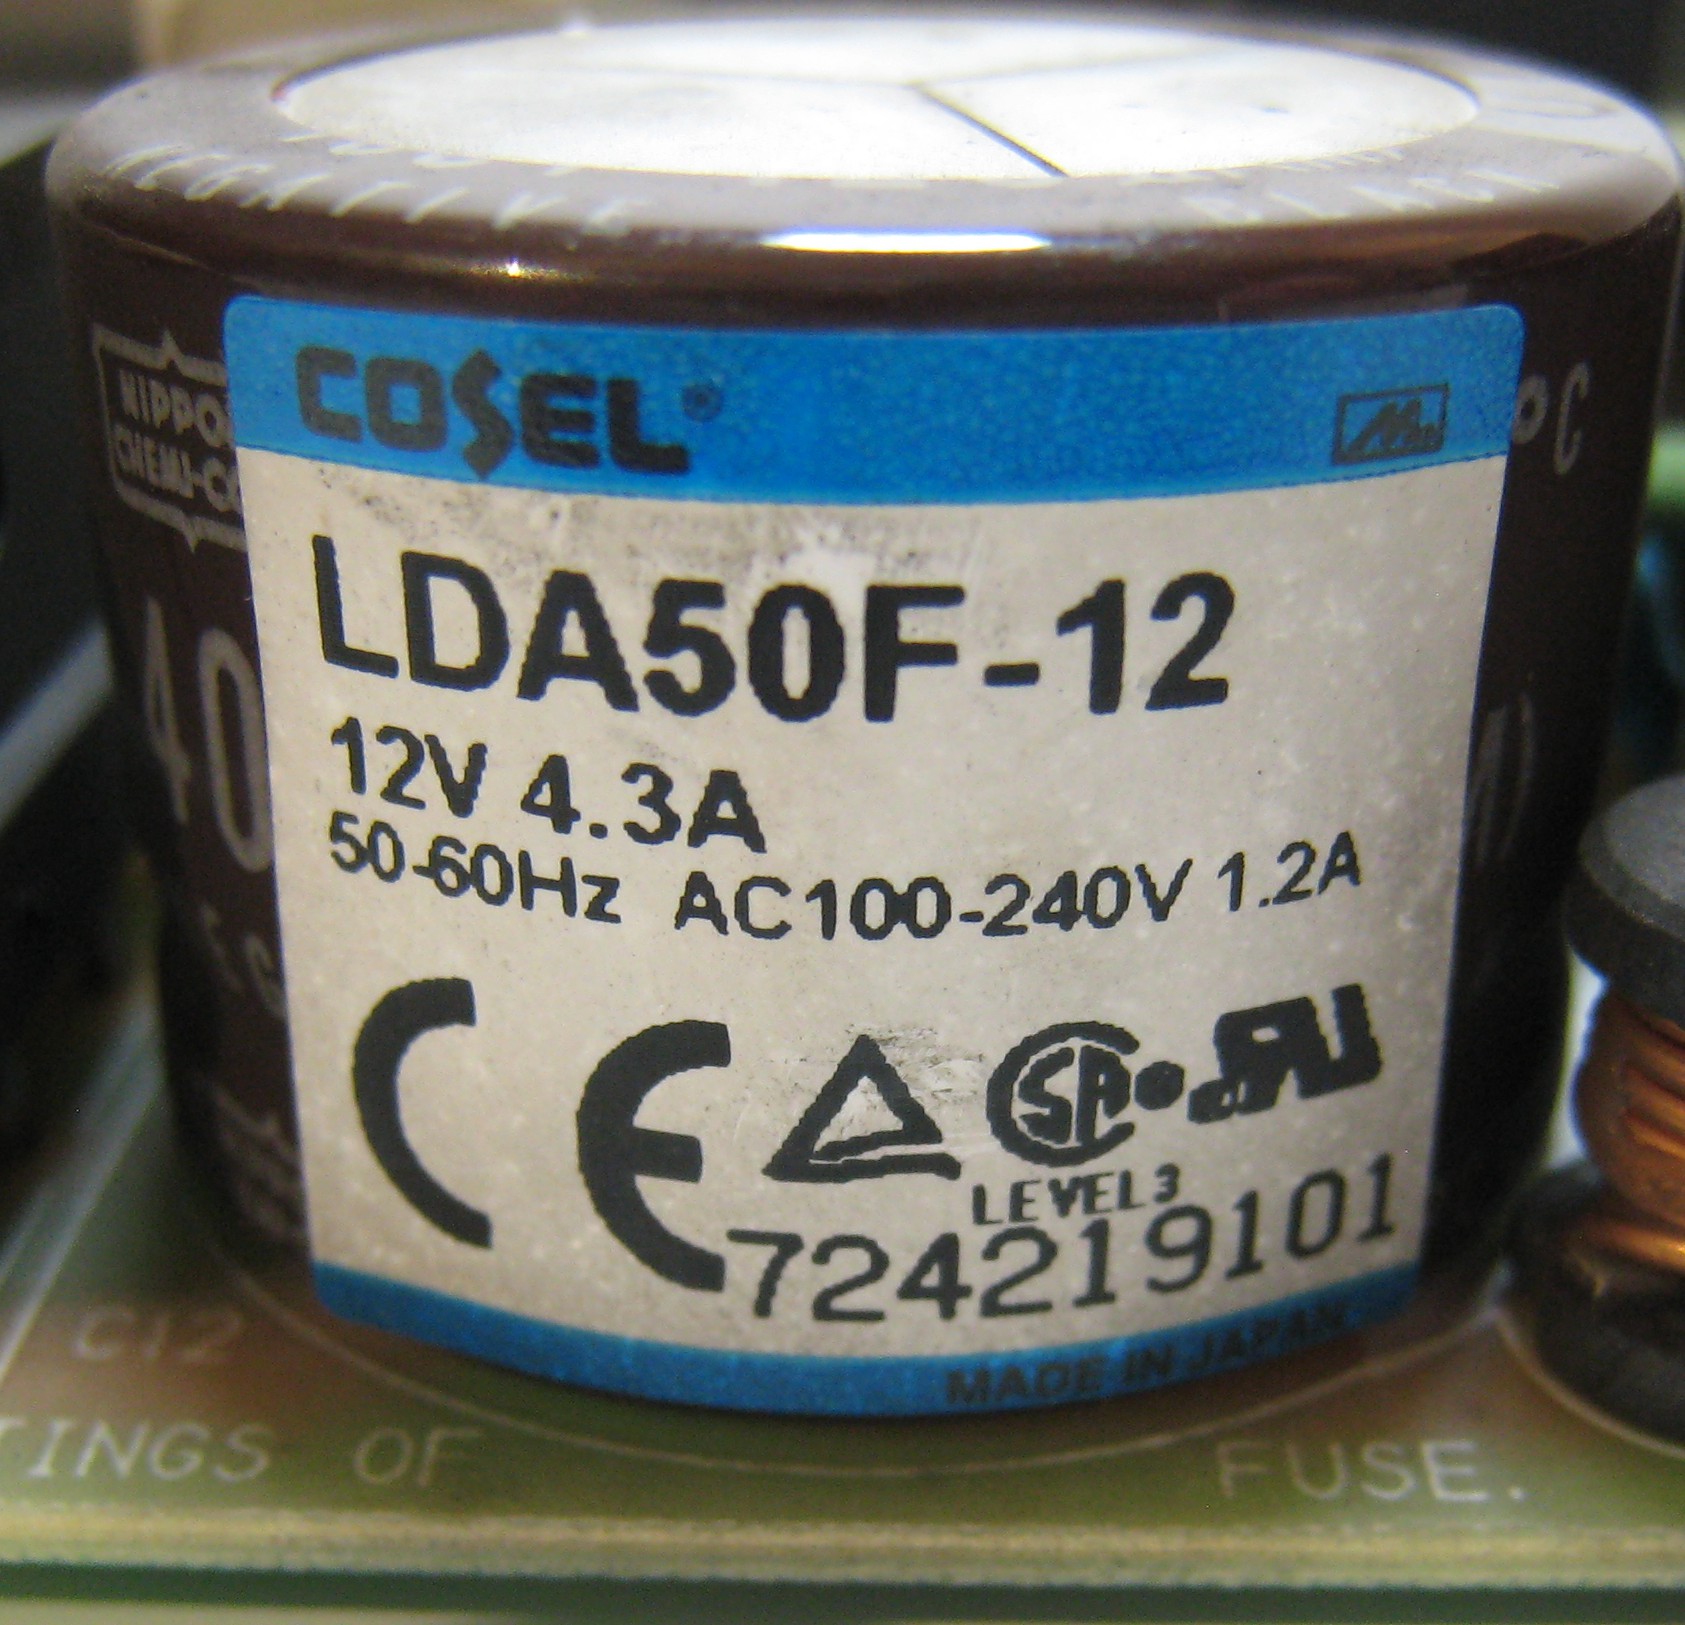
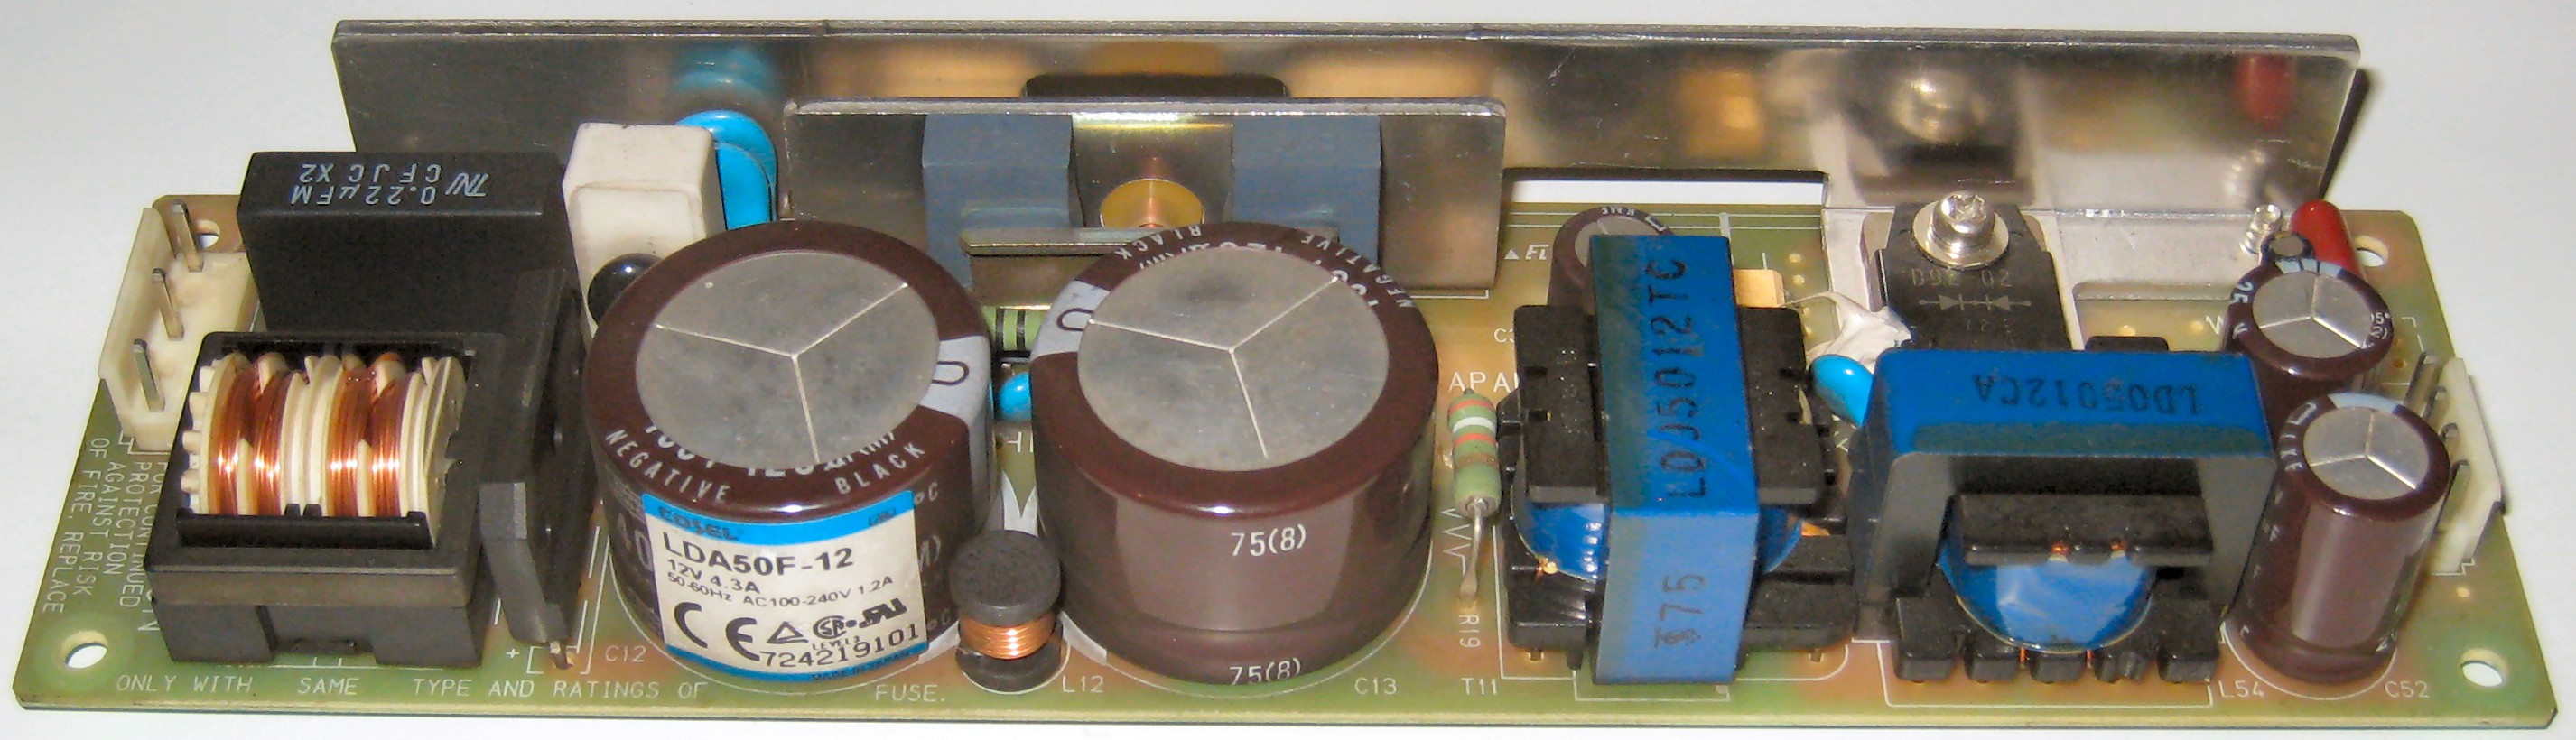
Bottom PSU - 12v - Cosel - LDA50F-12 - https://en.cosel.co.jp/product/powersupply/LDA/LDA50F/ - Discontinued (November 2022)
UPDATED 9th December 2023:- Original replacement PSU's have now been discontinued by Cosel and have been replaced with newer models listed below, apart from the 3.3v PSU that has no direct replacement.
R2: with Remote ON/OFF
Y: with Potentiometer
- Top PSU - 5v - Cosel - LHA100F-5-R2Y - https://en.cosel.co.jp/product/powersupply/LHA/LHA100F/LHA100F-5/
- Middle PSU - 3.3v - Cosel - No direct replacement
- Bottom PSU - 12v - Cosel - LHA50F-12 - https://en.cosel.co.jp/product/powersupply/LHA/LHA50F/LHA50F-12/
You only need the 3.3v PSU if you used the direct connections for games that support it (like in the Gradius IV Fukkatsu images at the bottom of this page) if you use the JAMMA adapter board with the game then only 5v and 12v are used.
Top PSU 5v - Cosel - LDA75F-5-RY
Middle PSU 3.3v - Cosel - LDA150W-3-R
The 3V PSU only shows R (Remote ON/OFF).

Bottom PSU 12v - Cosel - LDA50F-12
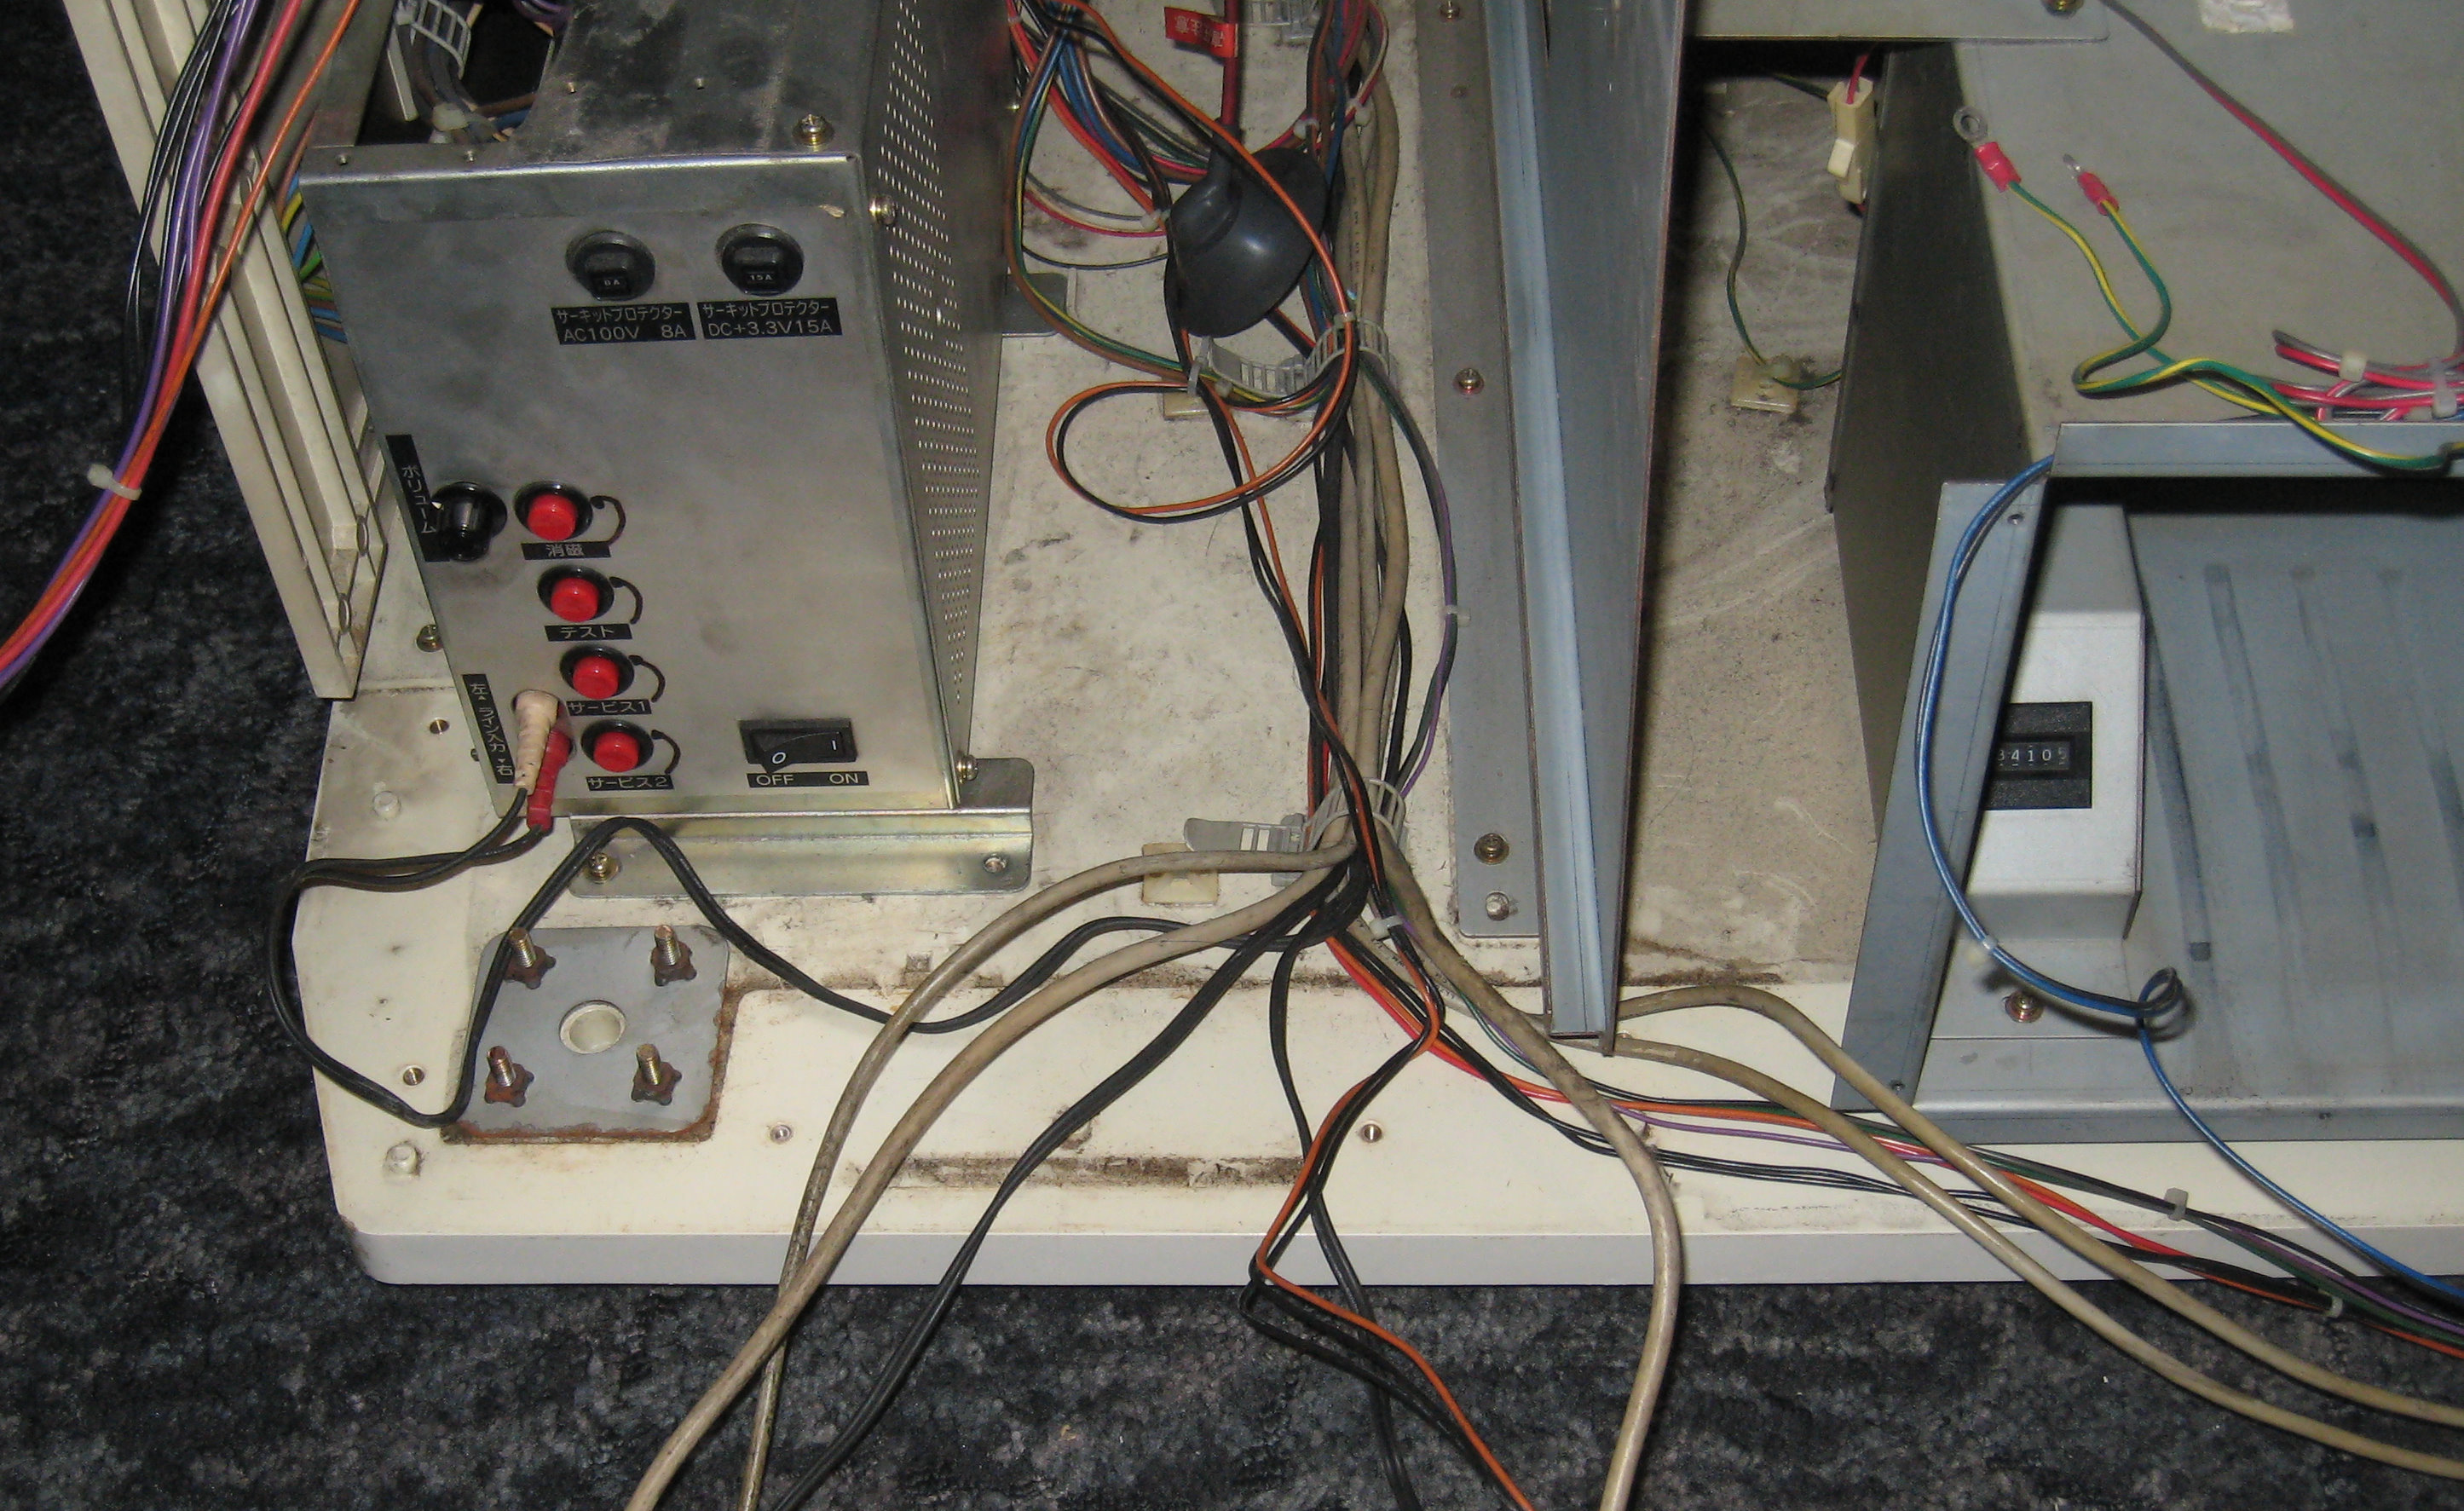
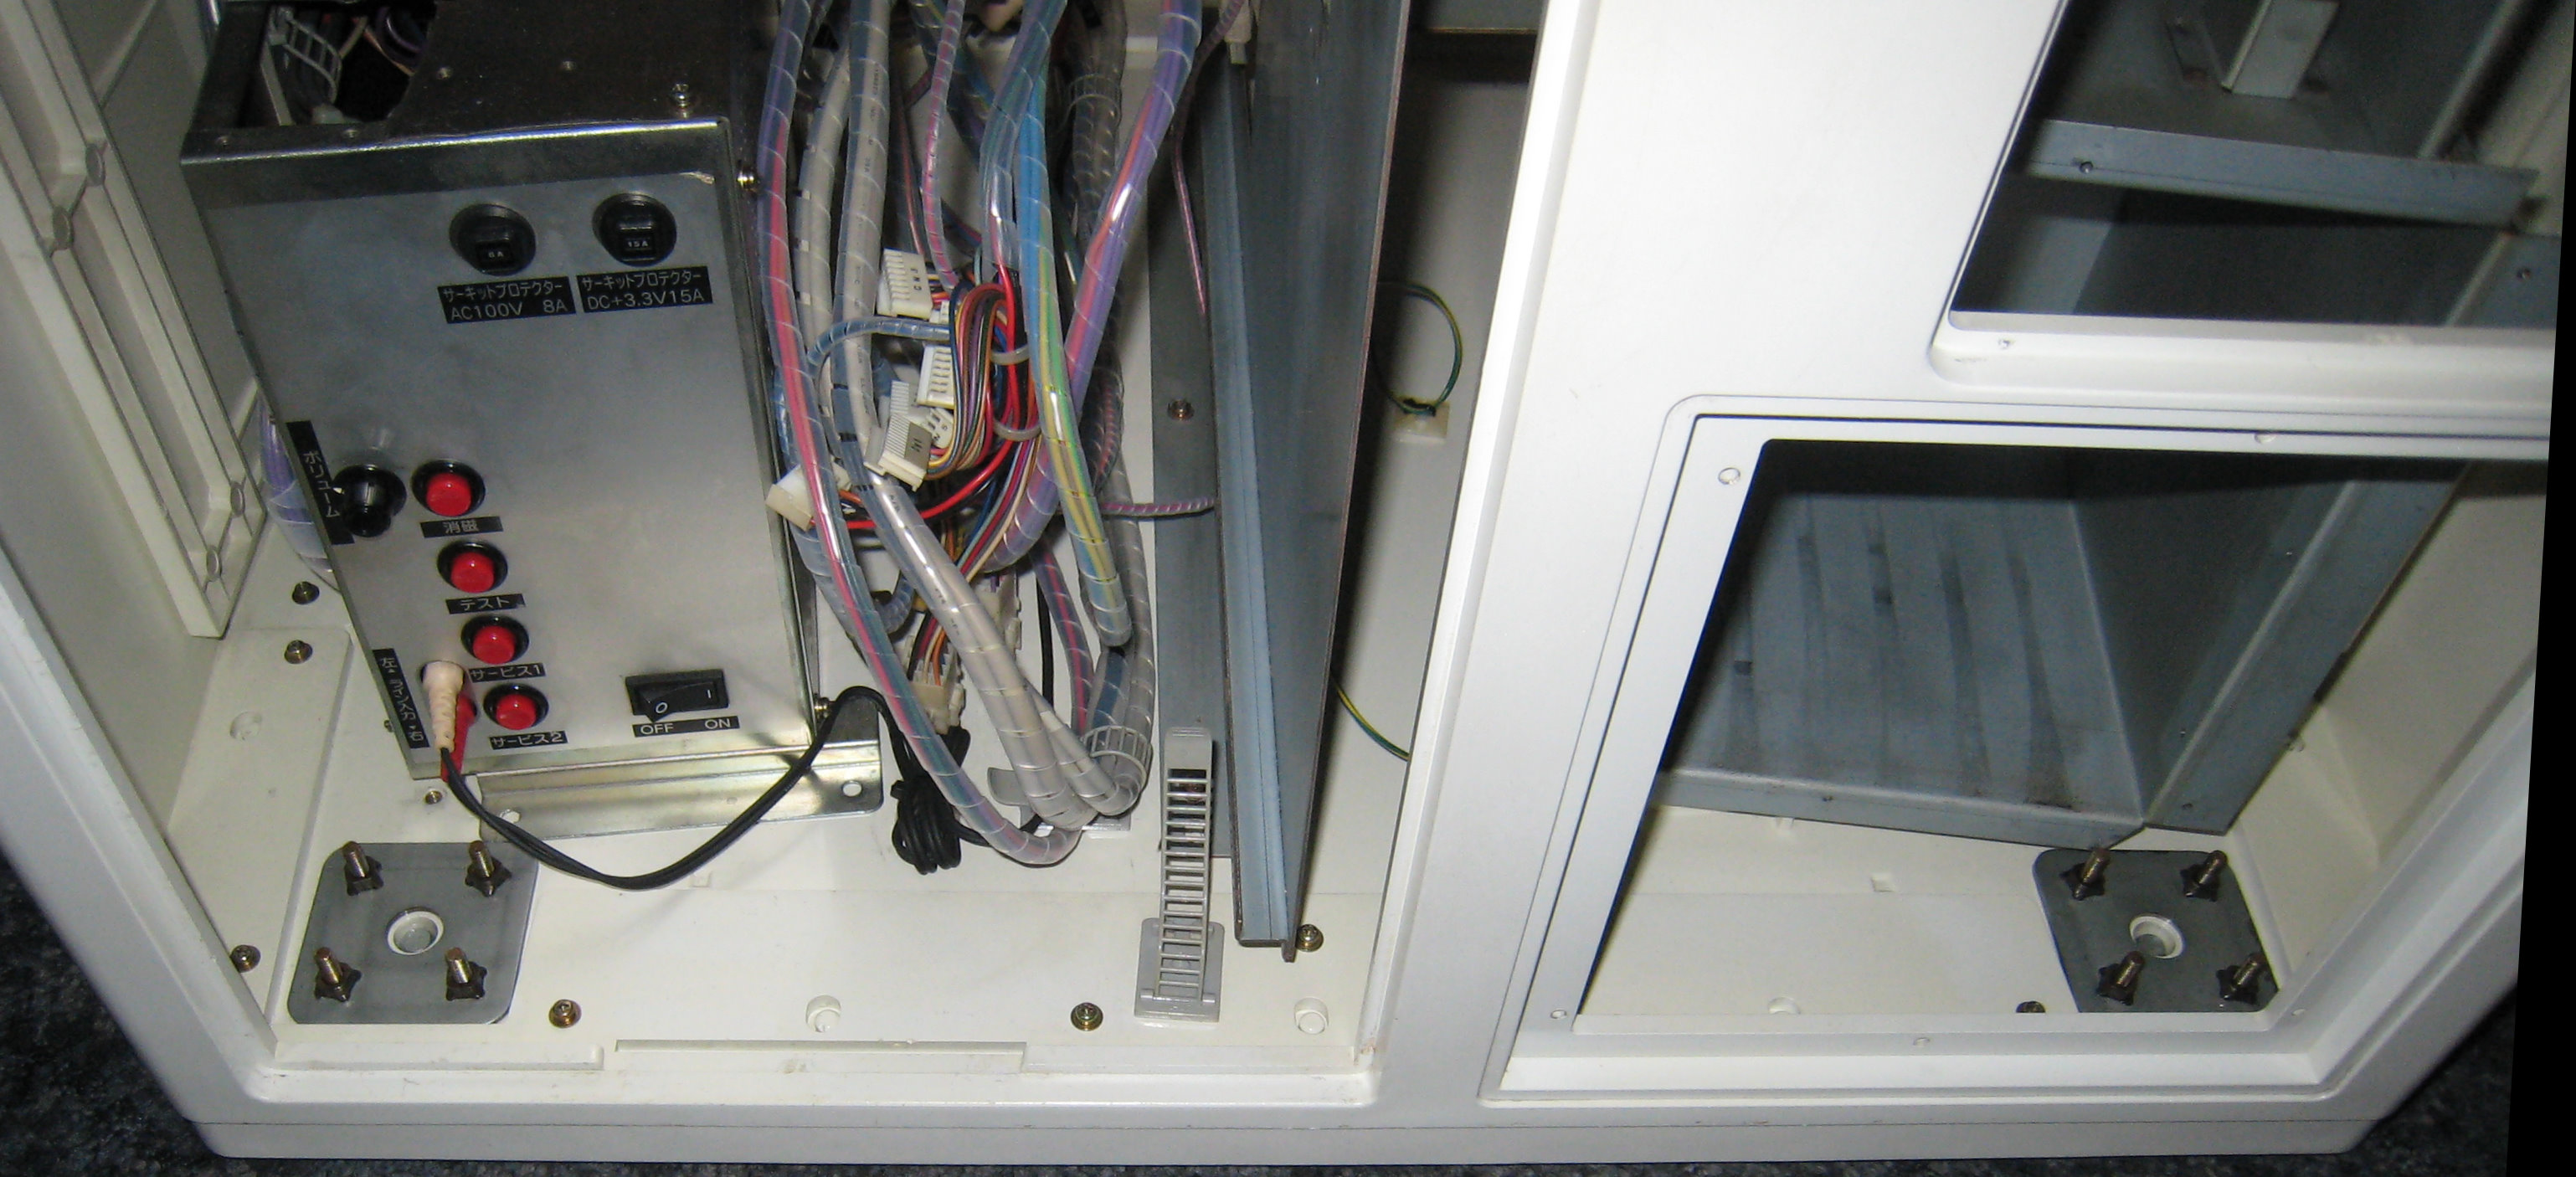
PSU Main Chassis
Front View
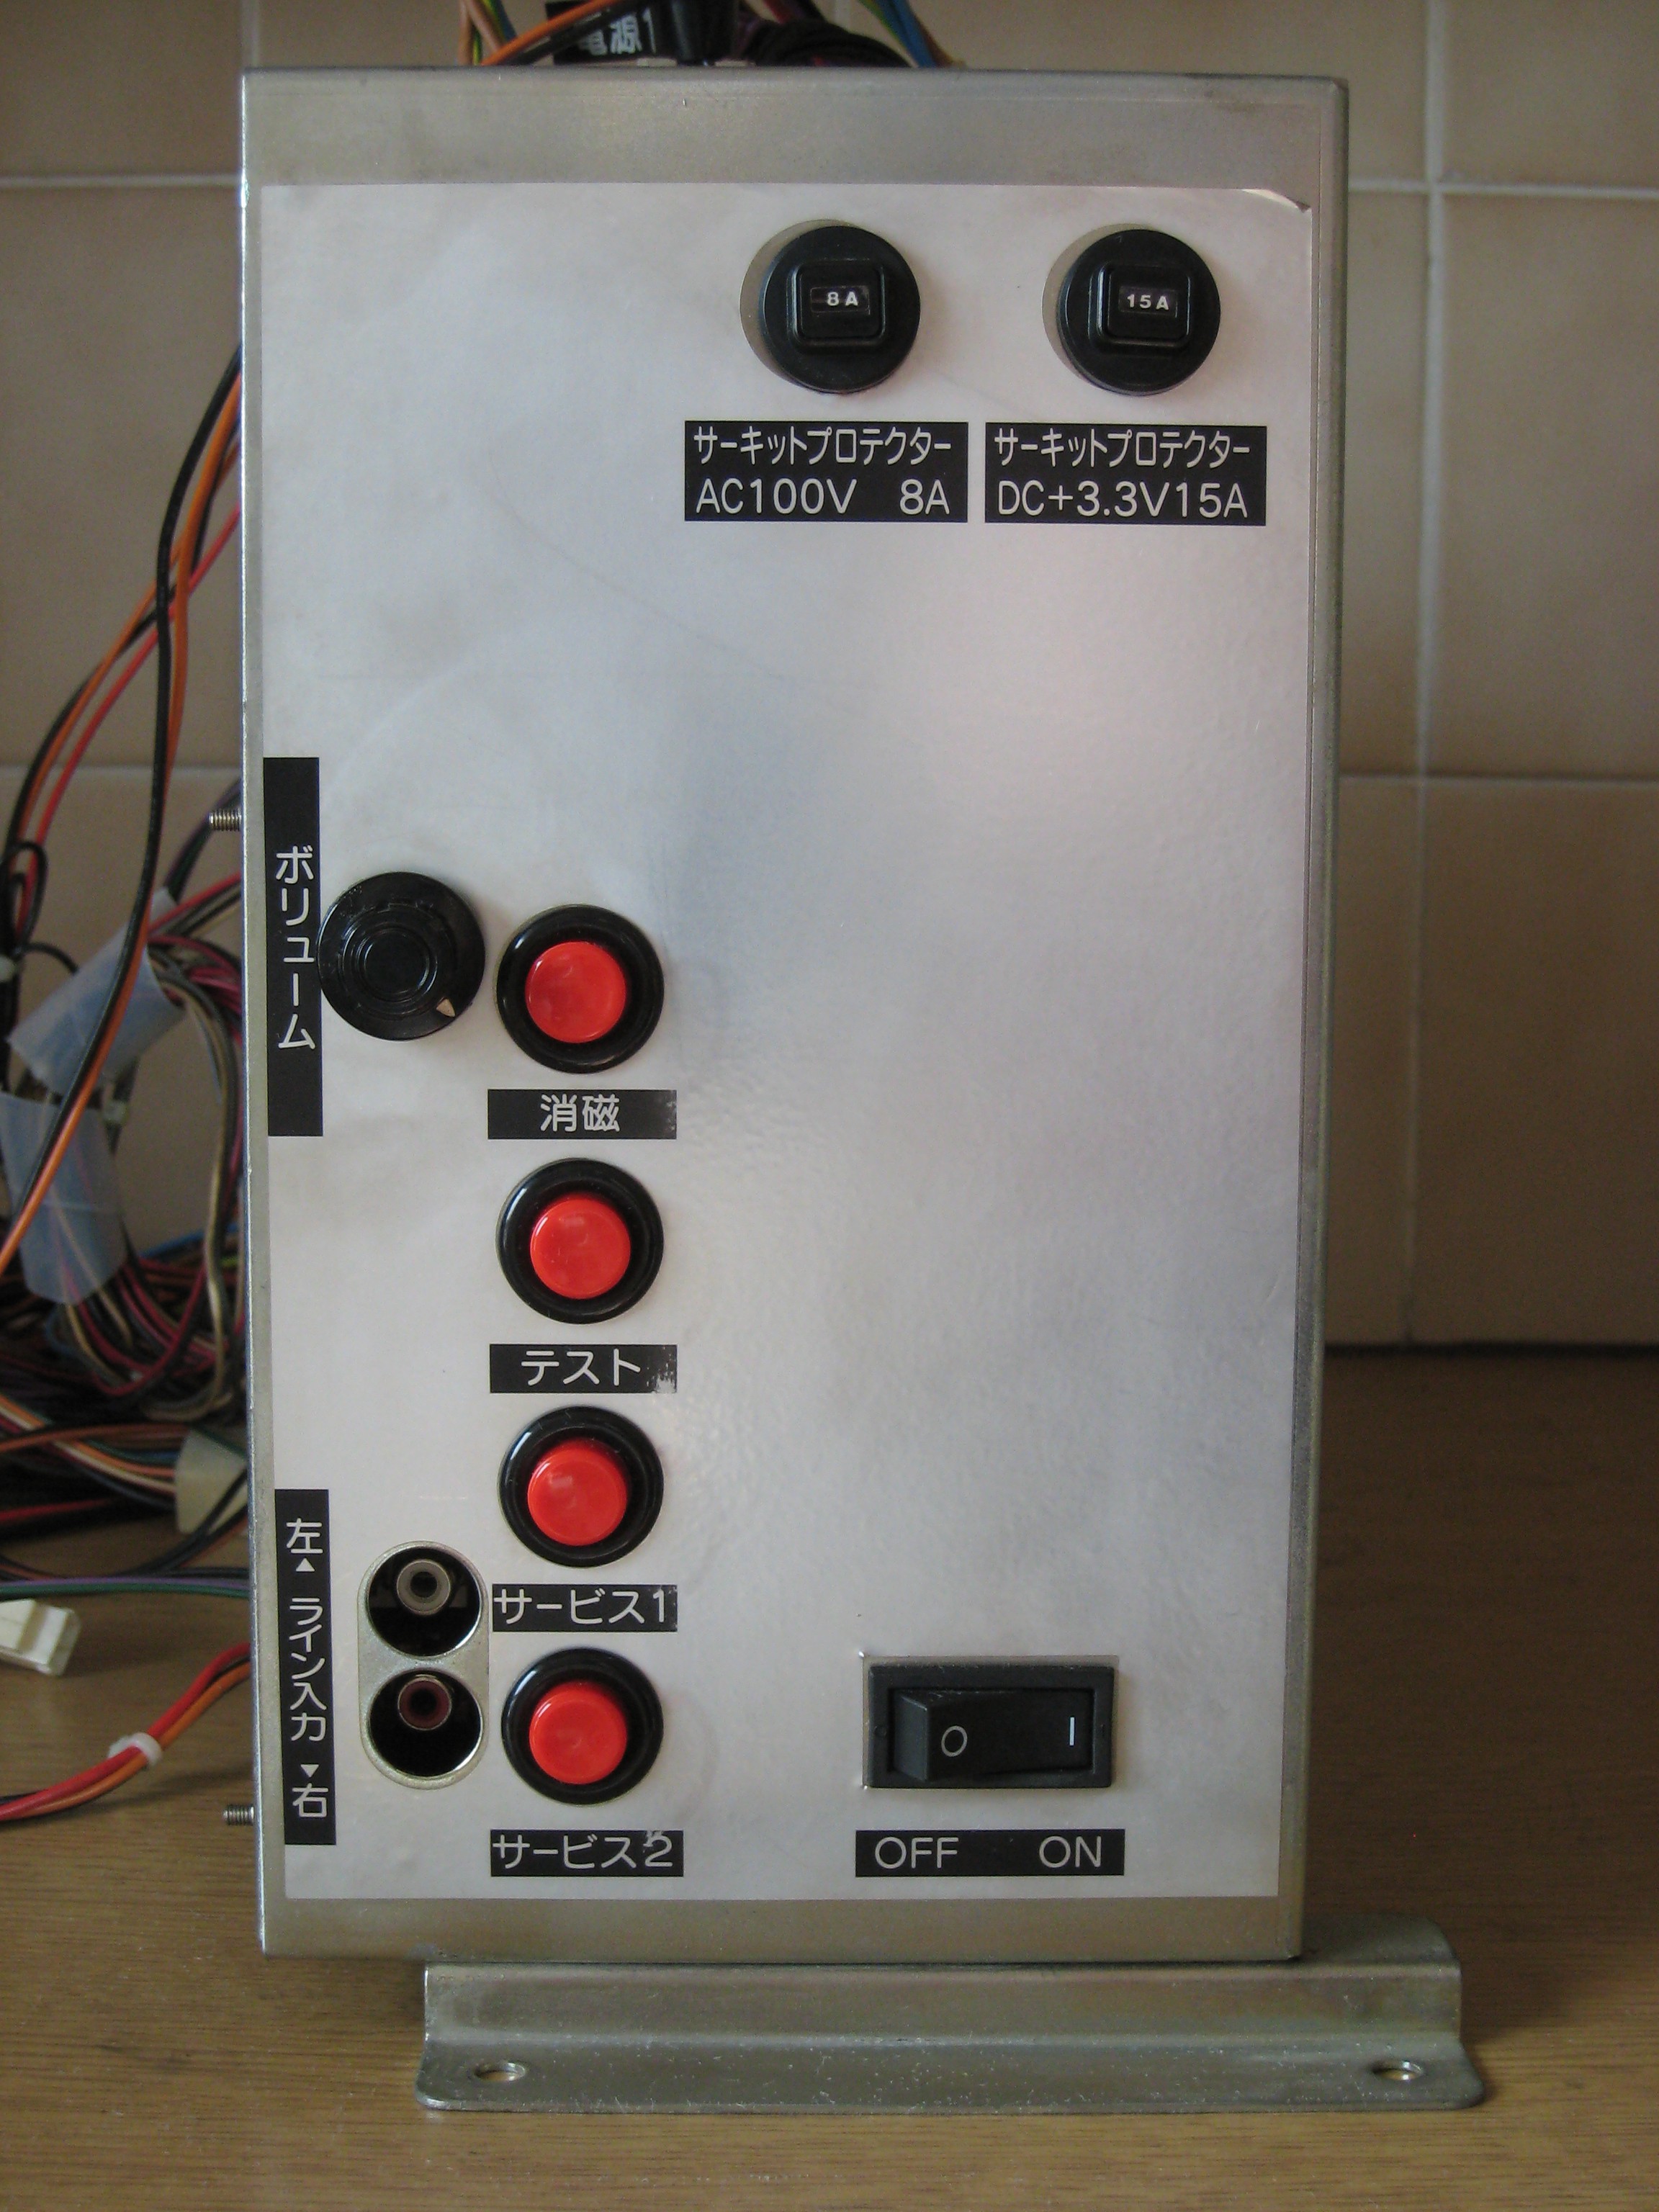
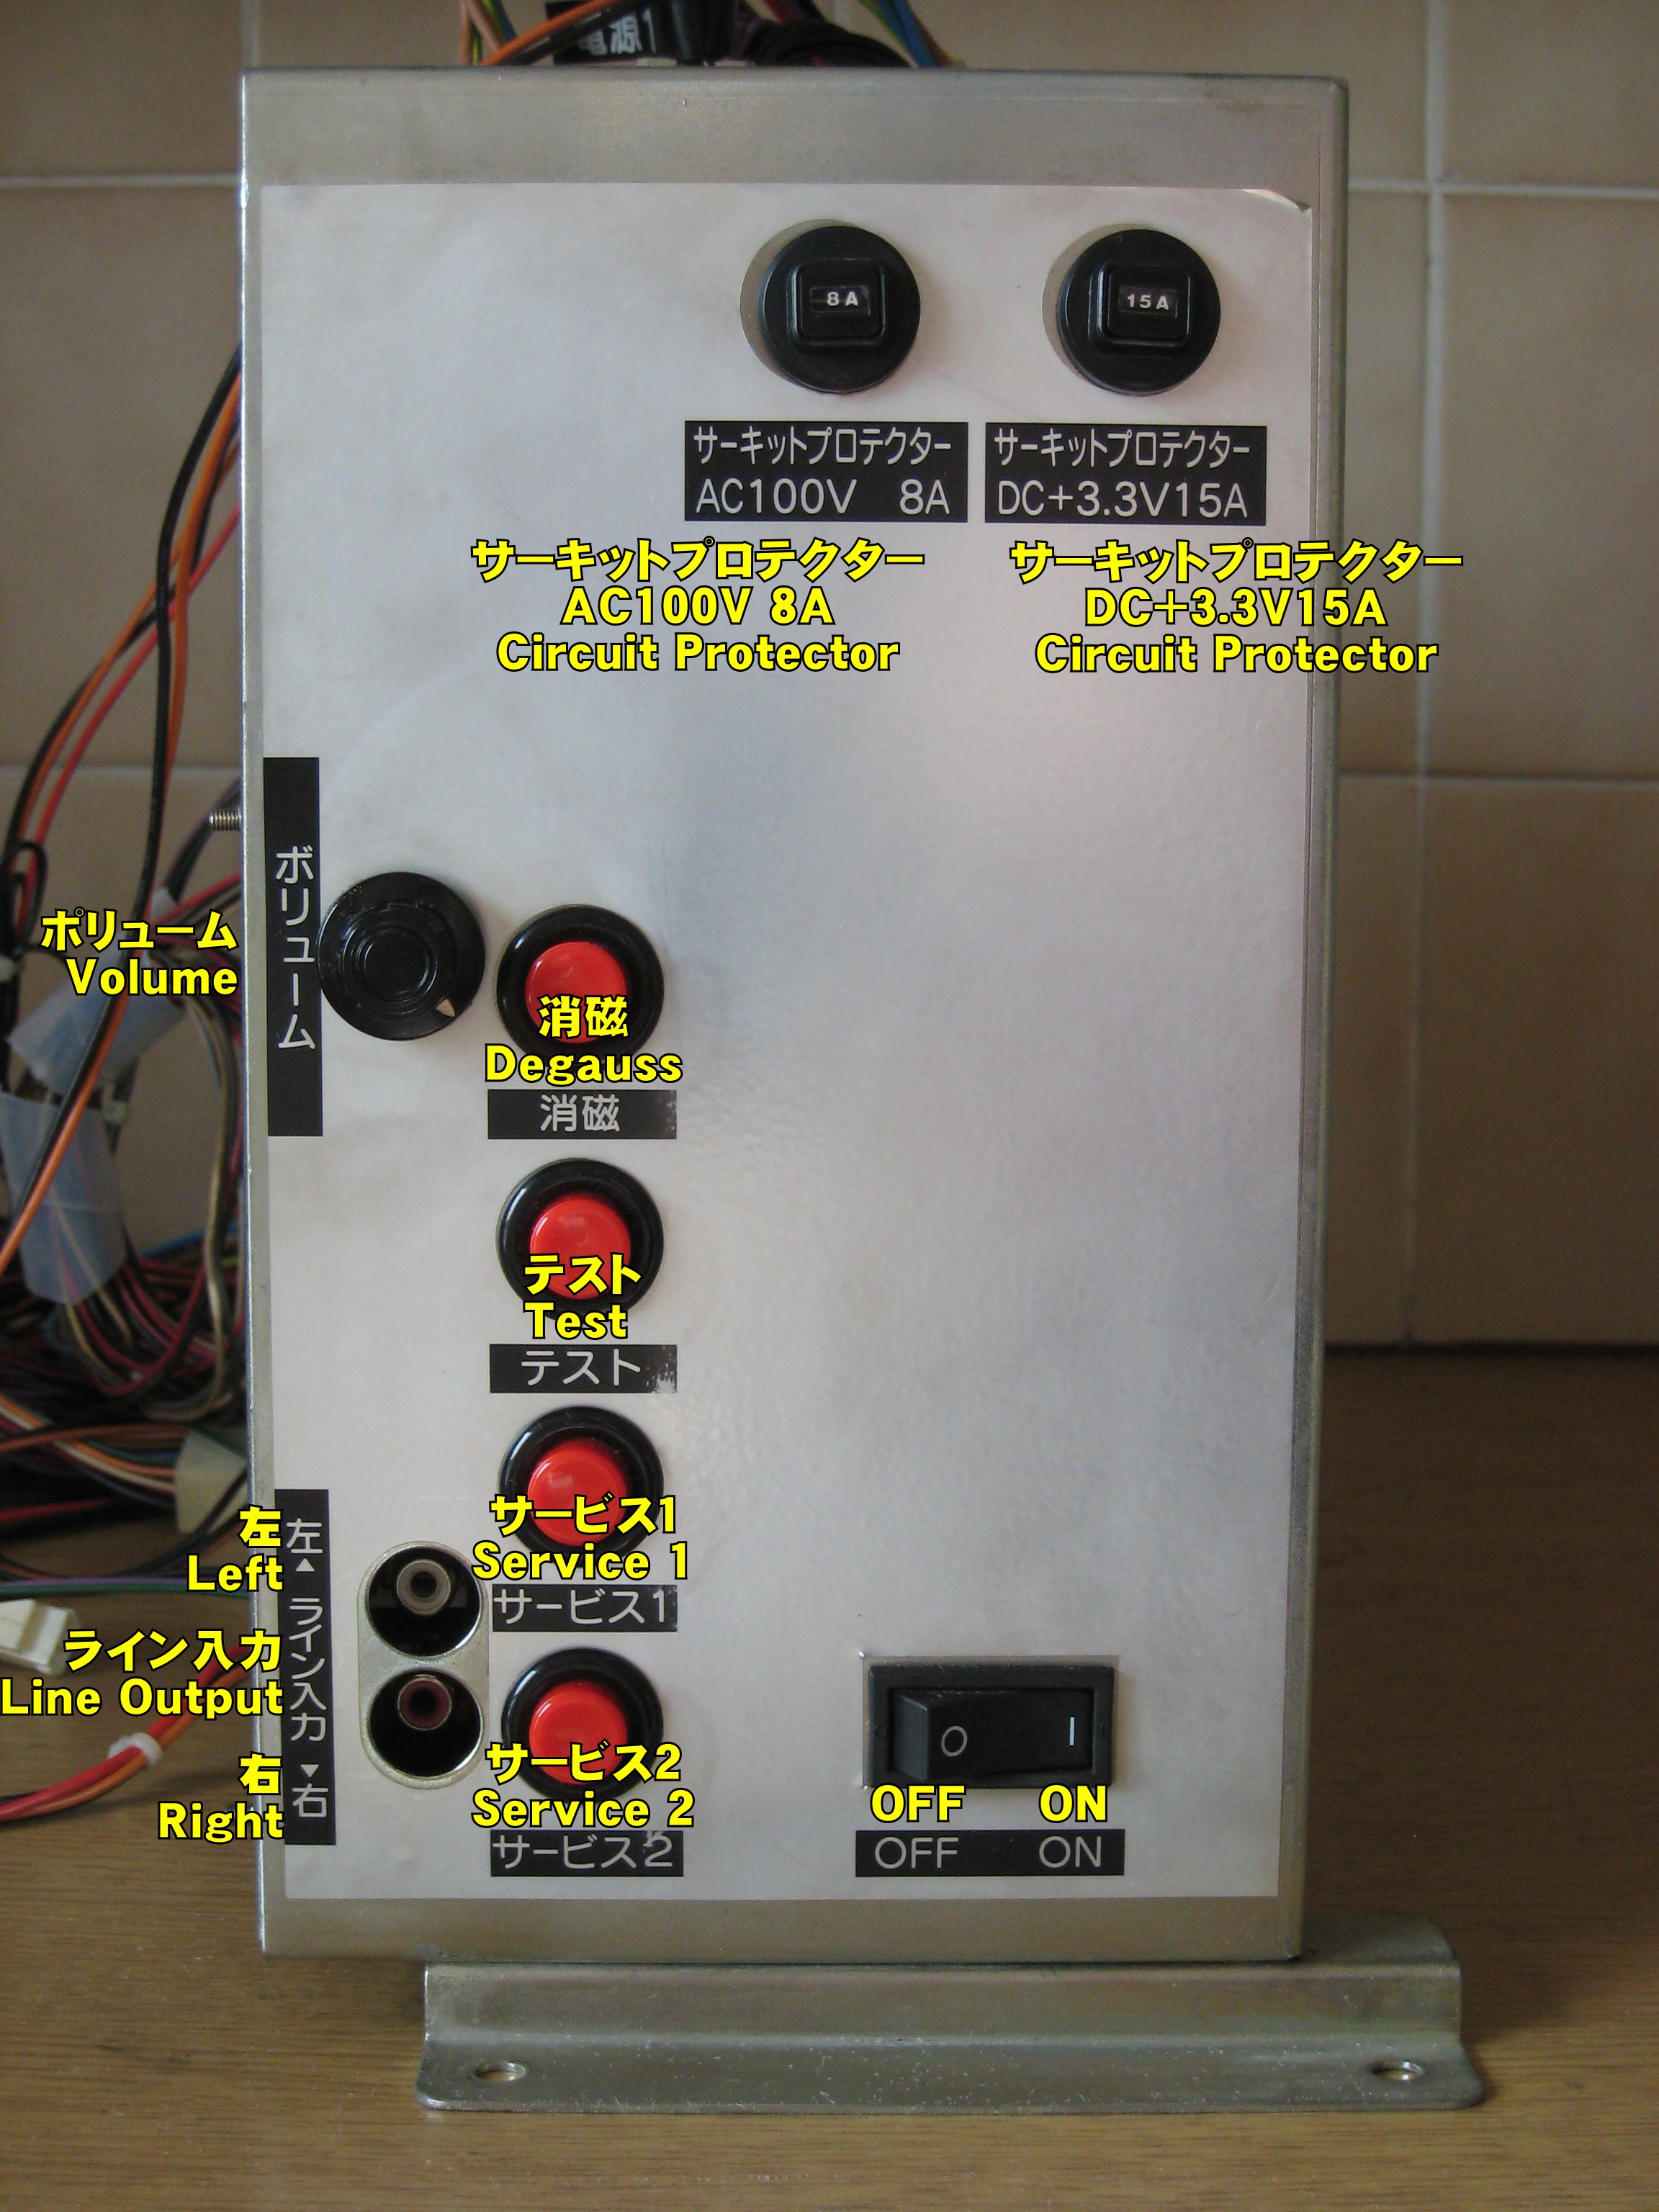
ポリューム
Volume
左
Left
ライン入力
Line Output
右
Right
サーキットプロテクター
AC100V 8A
Circuit Protector
サーキットプロテクター
DC+3.3V15A
Circuit Protector
消磁
Degauss
テスト
Test
サービス1
Service 1
サービス2
Service 2
Back View
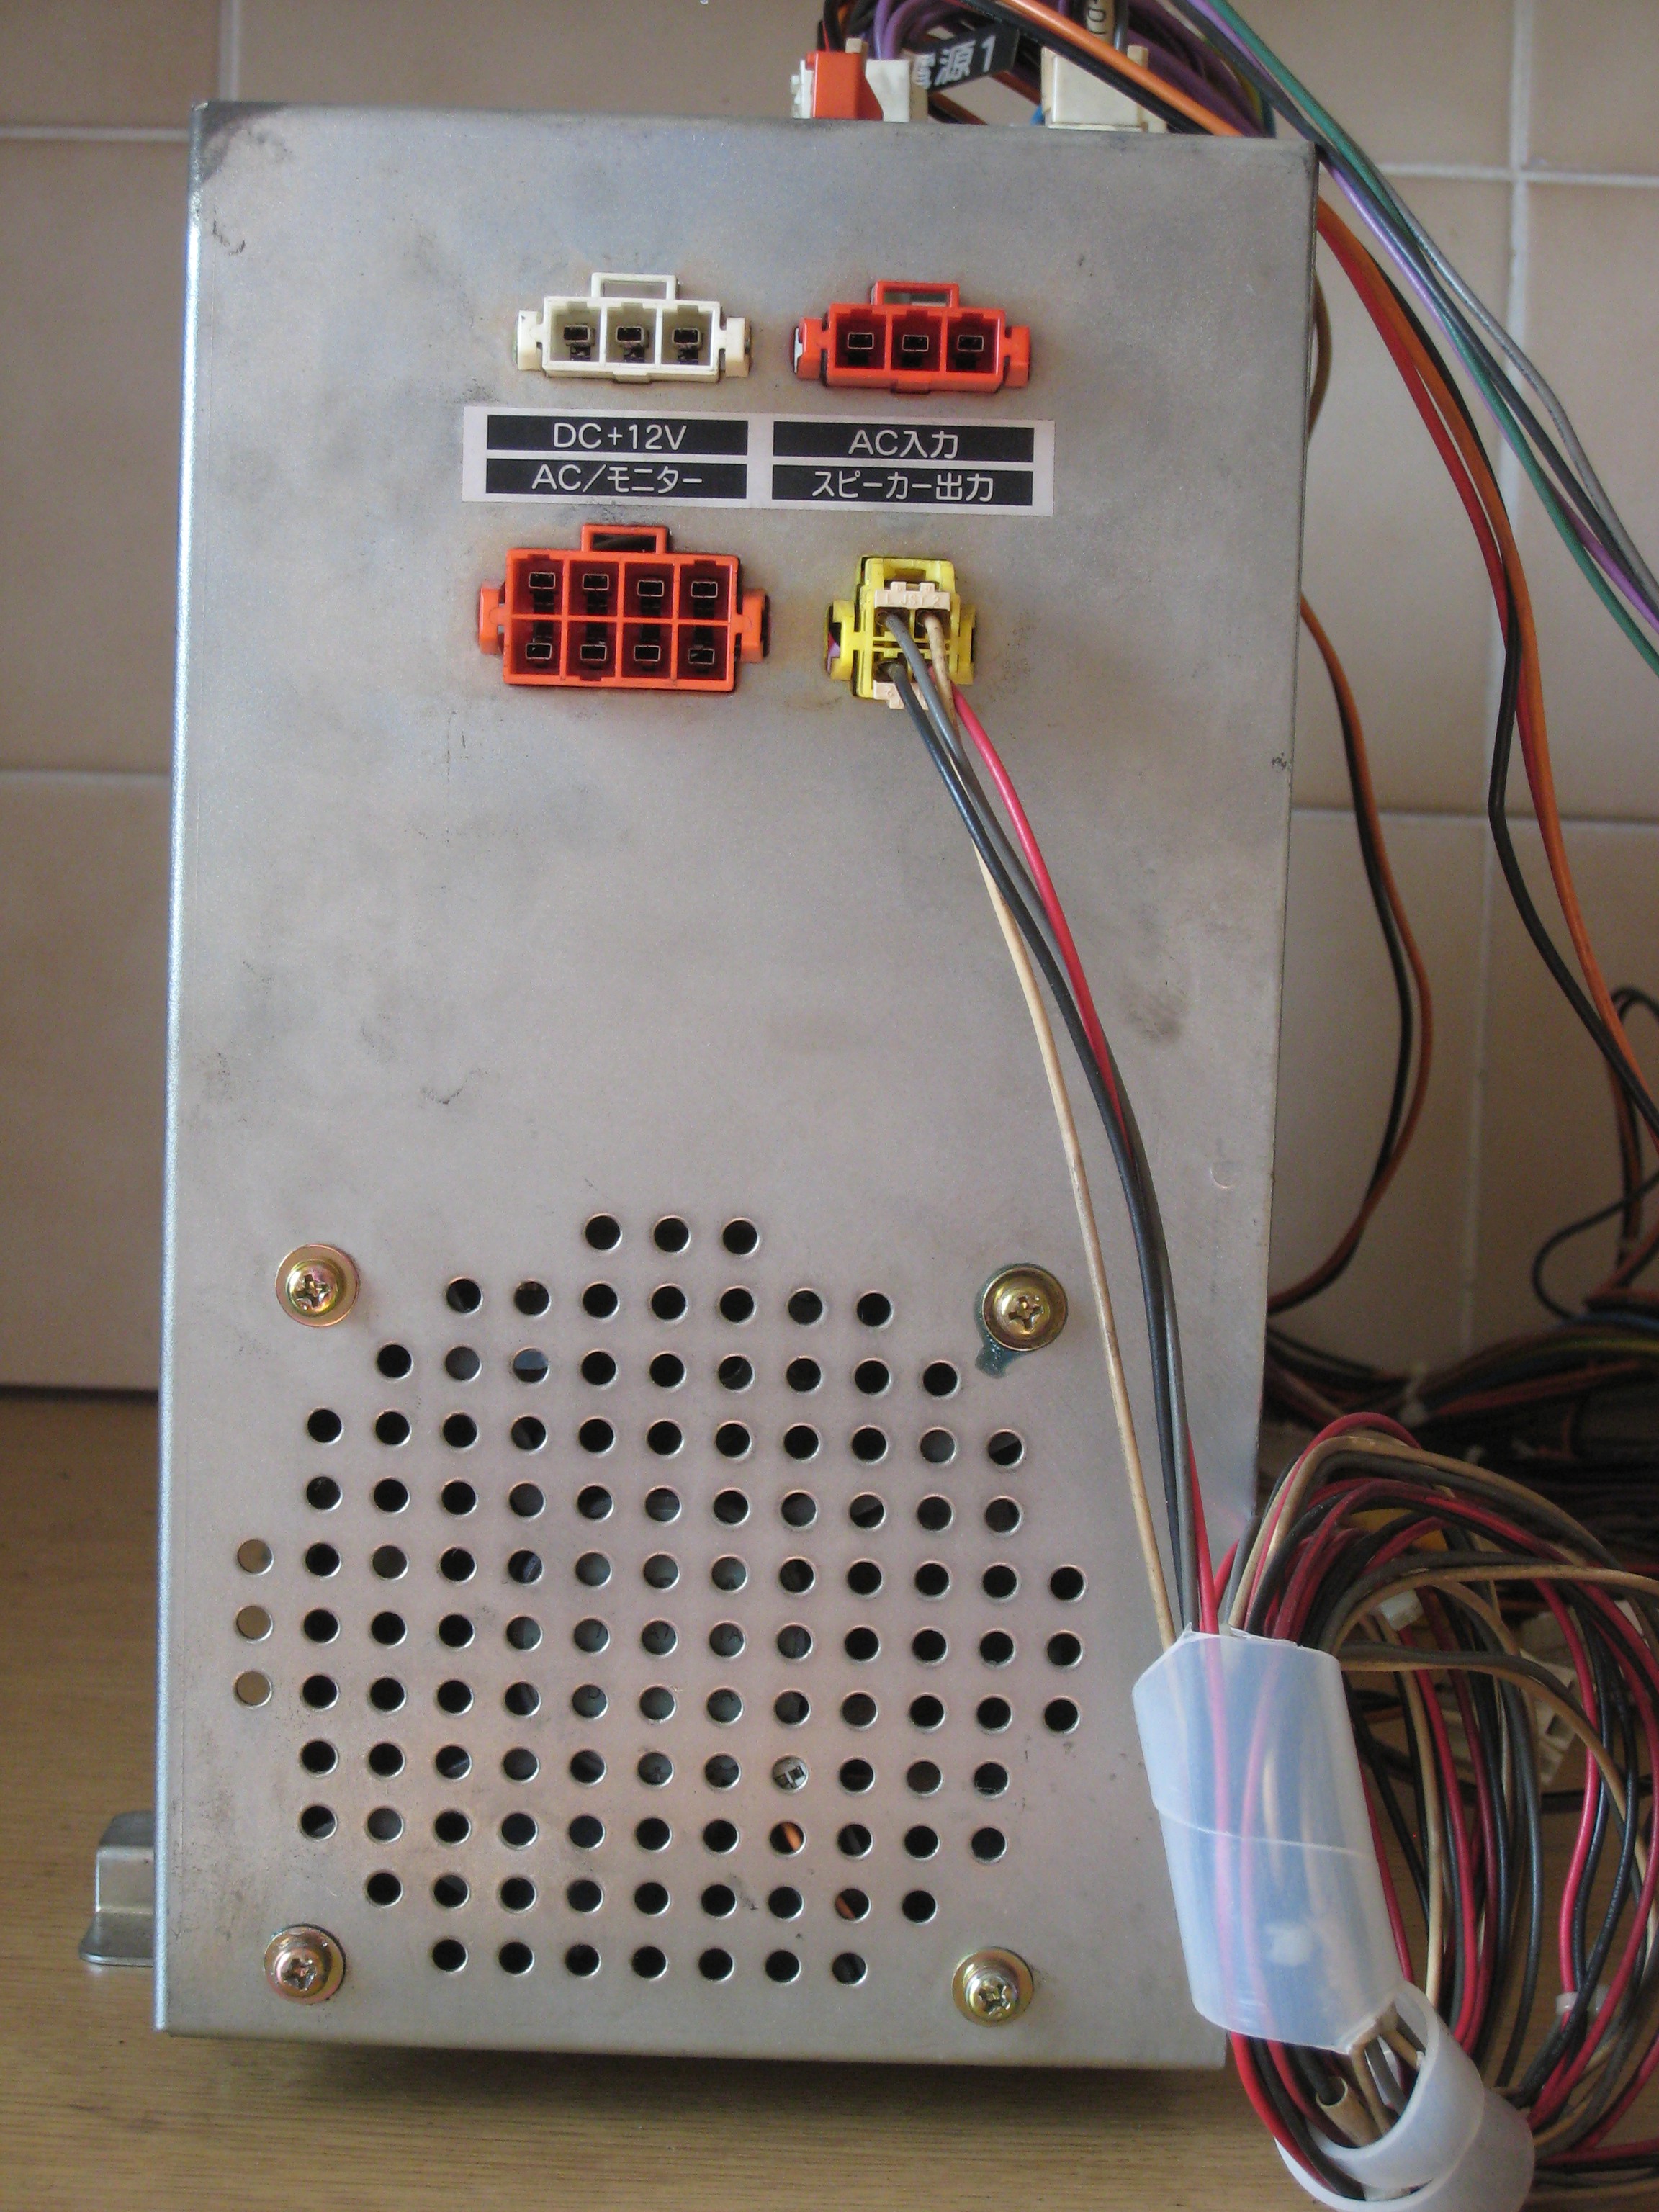

DC+12V
AC/モニター
AC/Monitor
AC入力
AC Input
スピーカー出力
Speaker Output
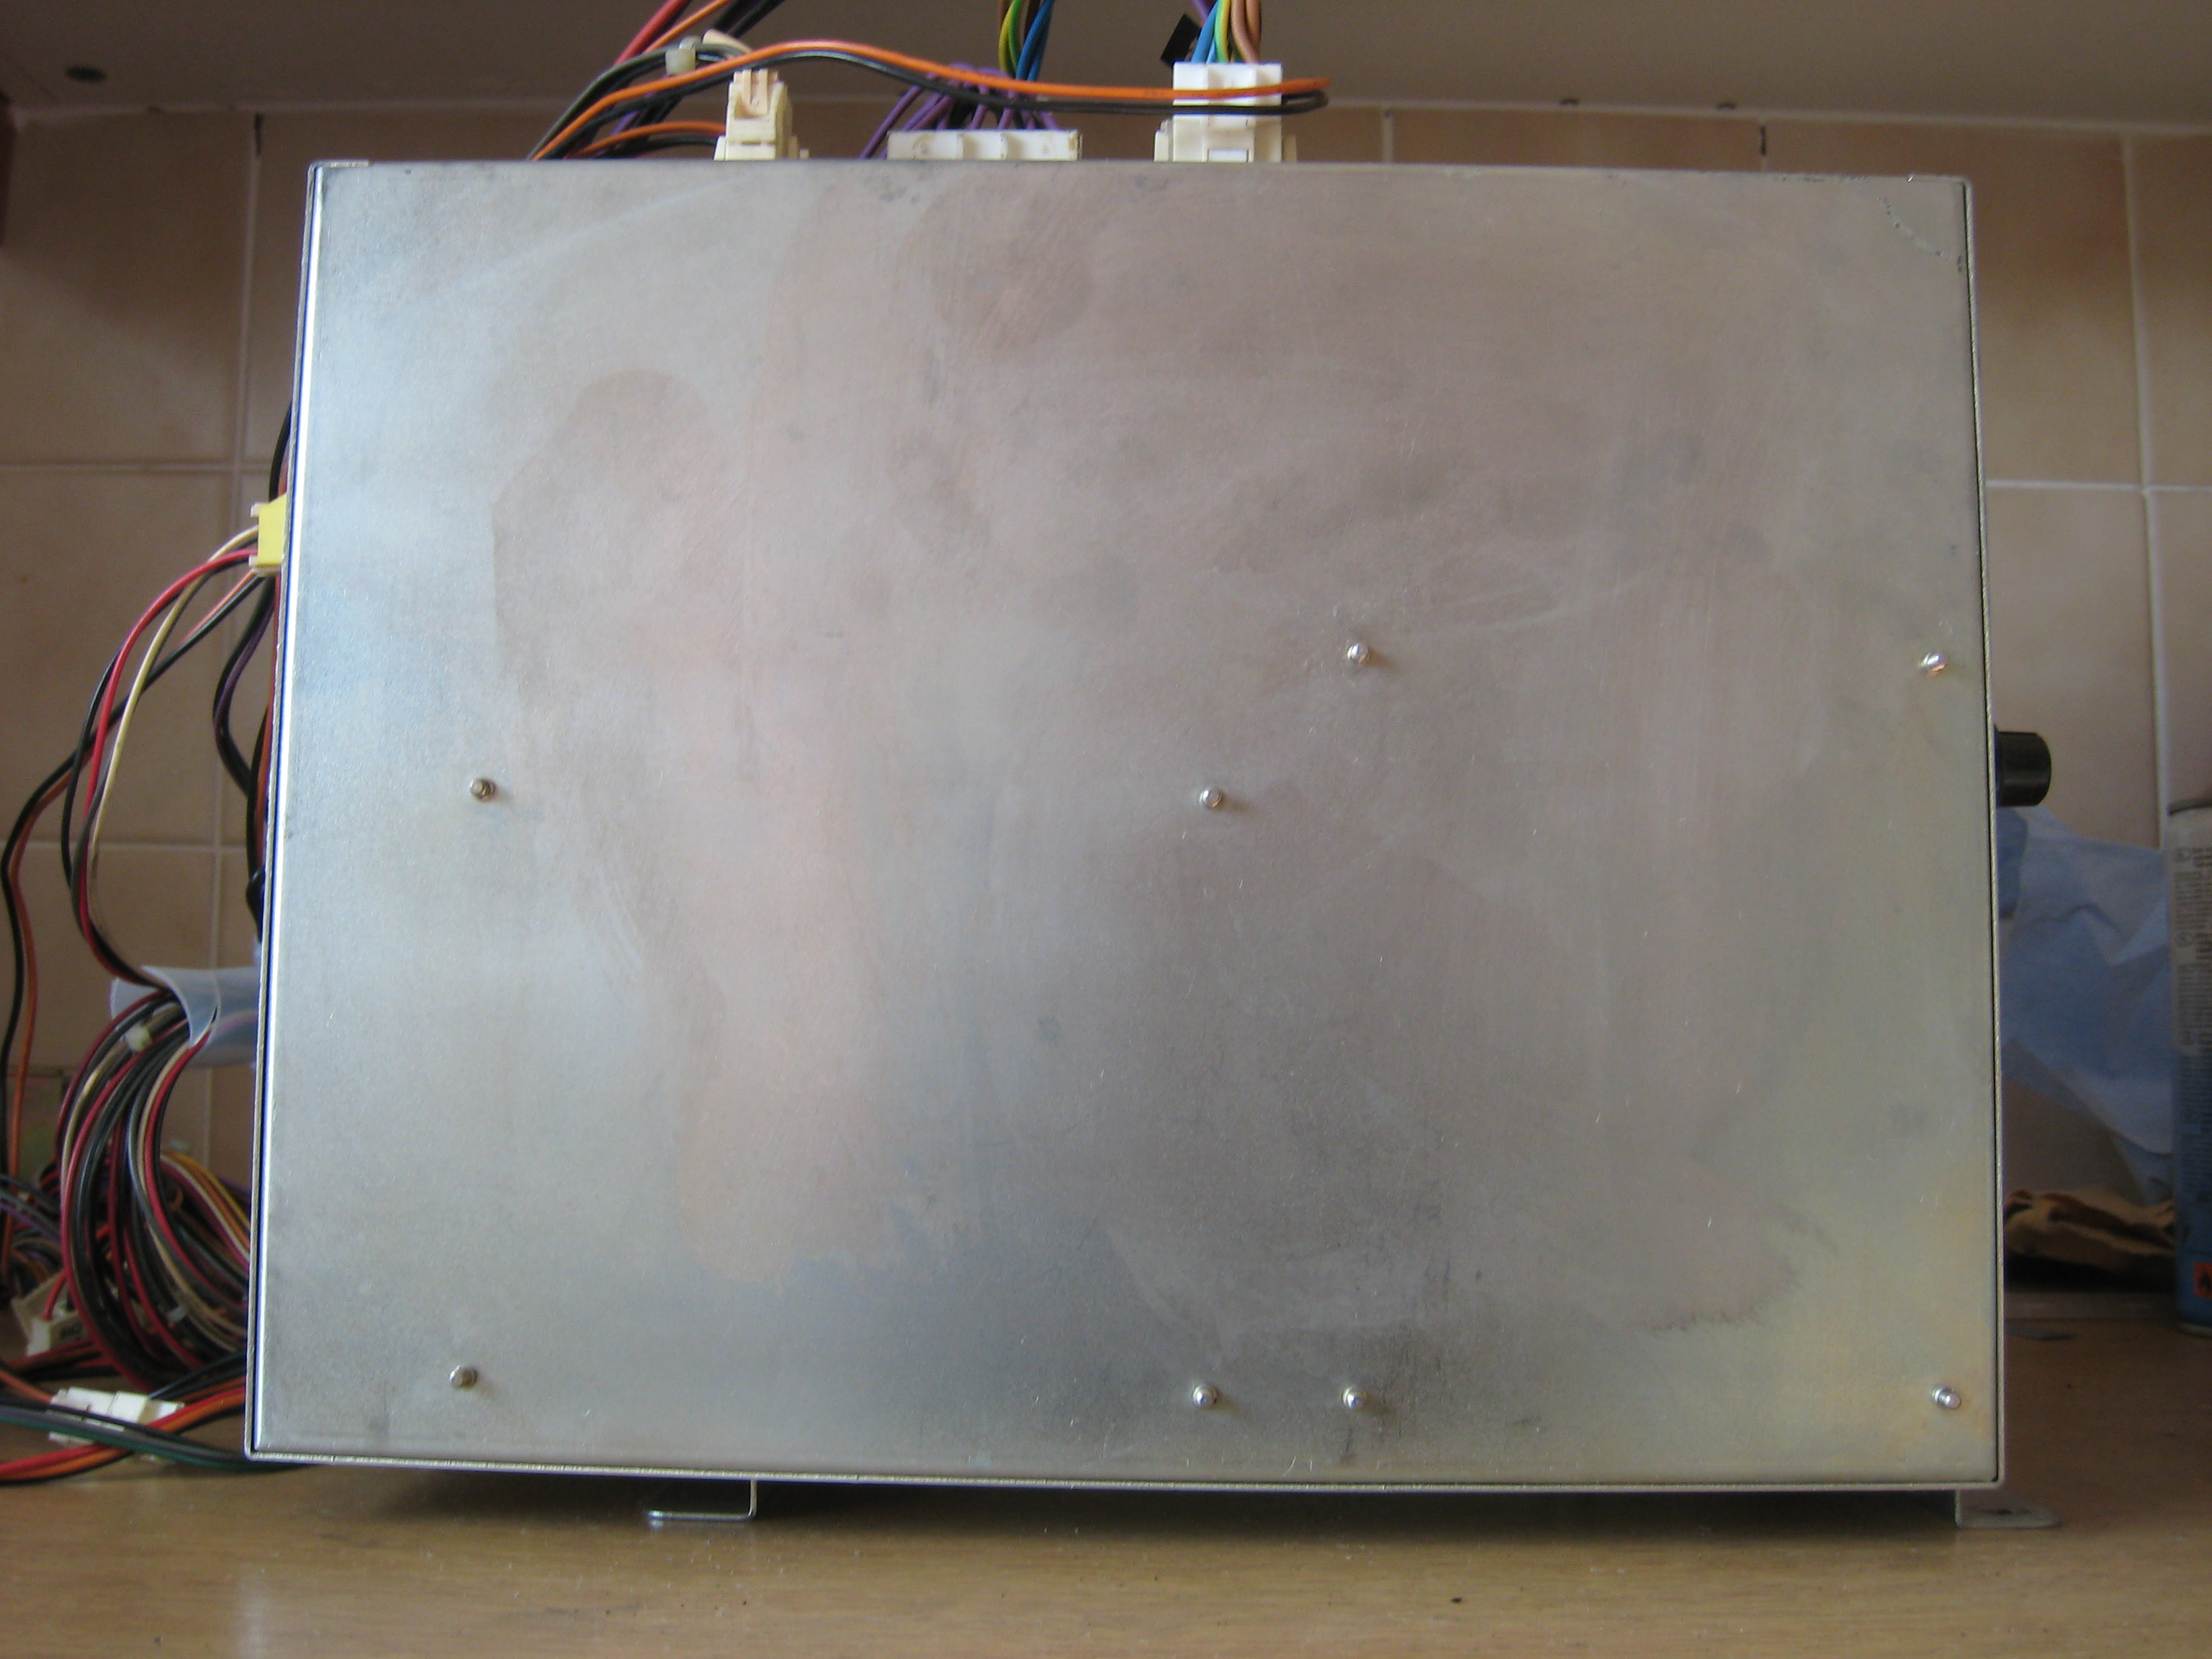
Top View
A previous owner of the machine cut some of the top panel away for no apparent reason.
There are two voltage adjustment holes for the 3.3v and 5v PSUs, top hole is for 5v, side hole for 3.3v.
Note: You should use a Trim Pot Adjustment Screwdriver and not a normal metal screwdriver for adjustments as these PSUs will kill you if you go poking around them with metal objects.
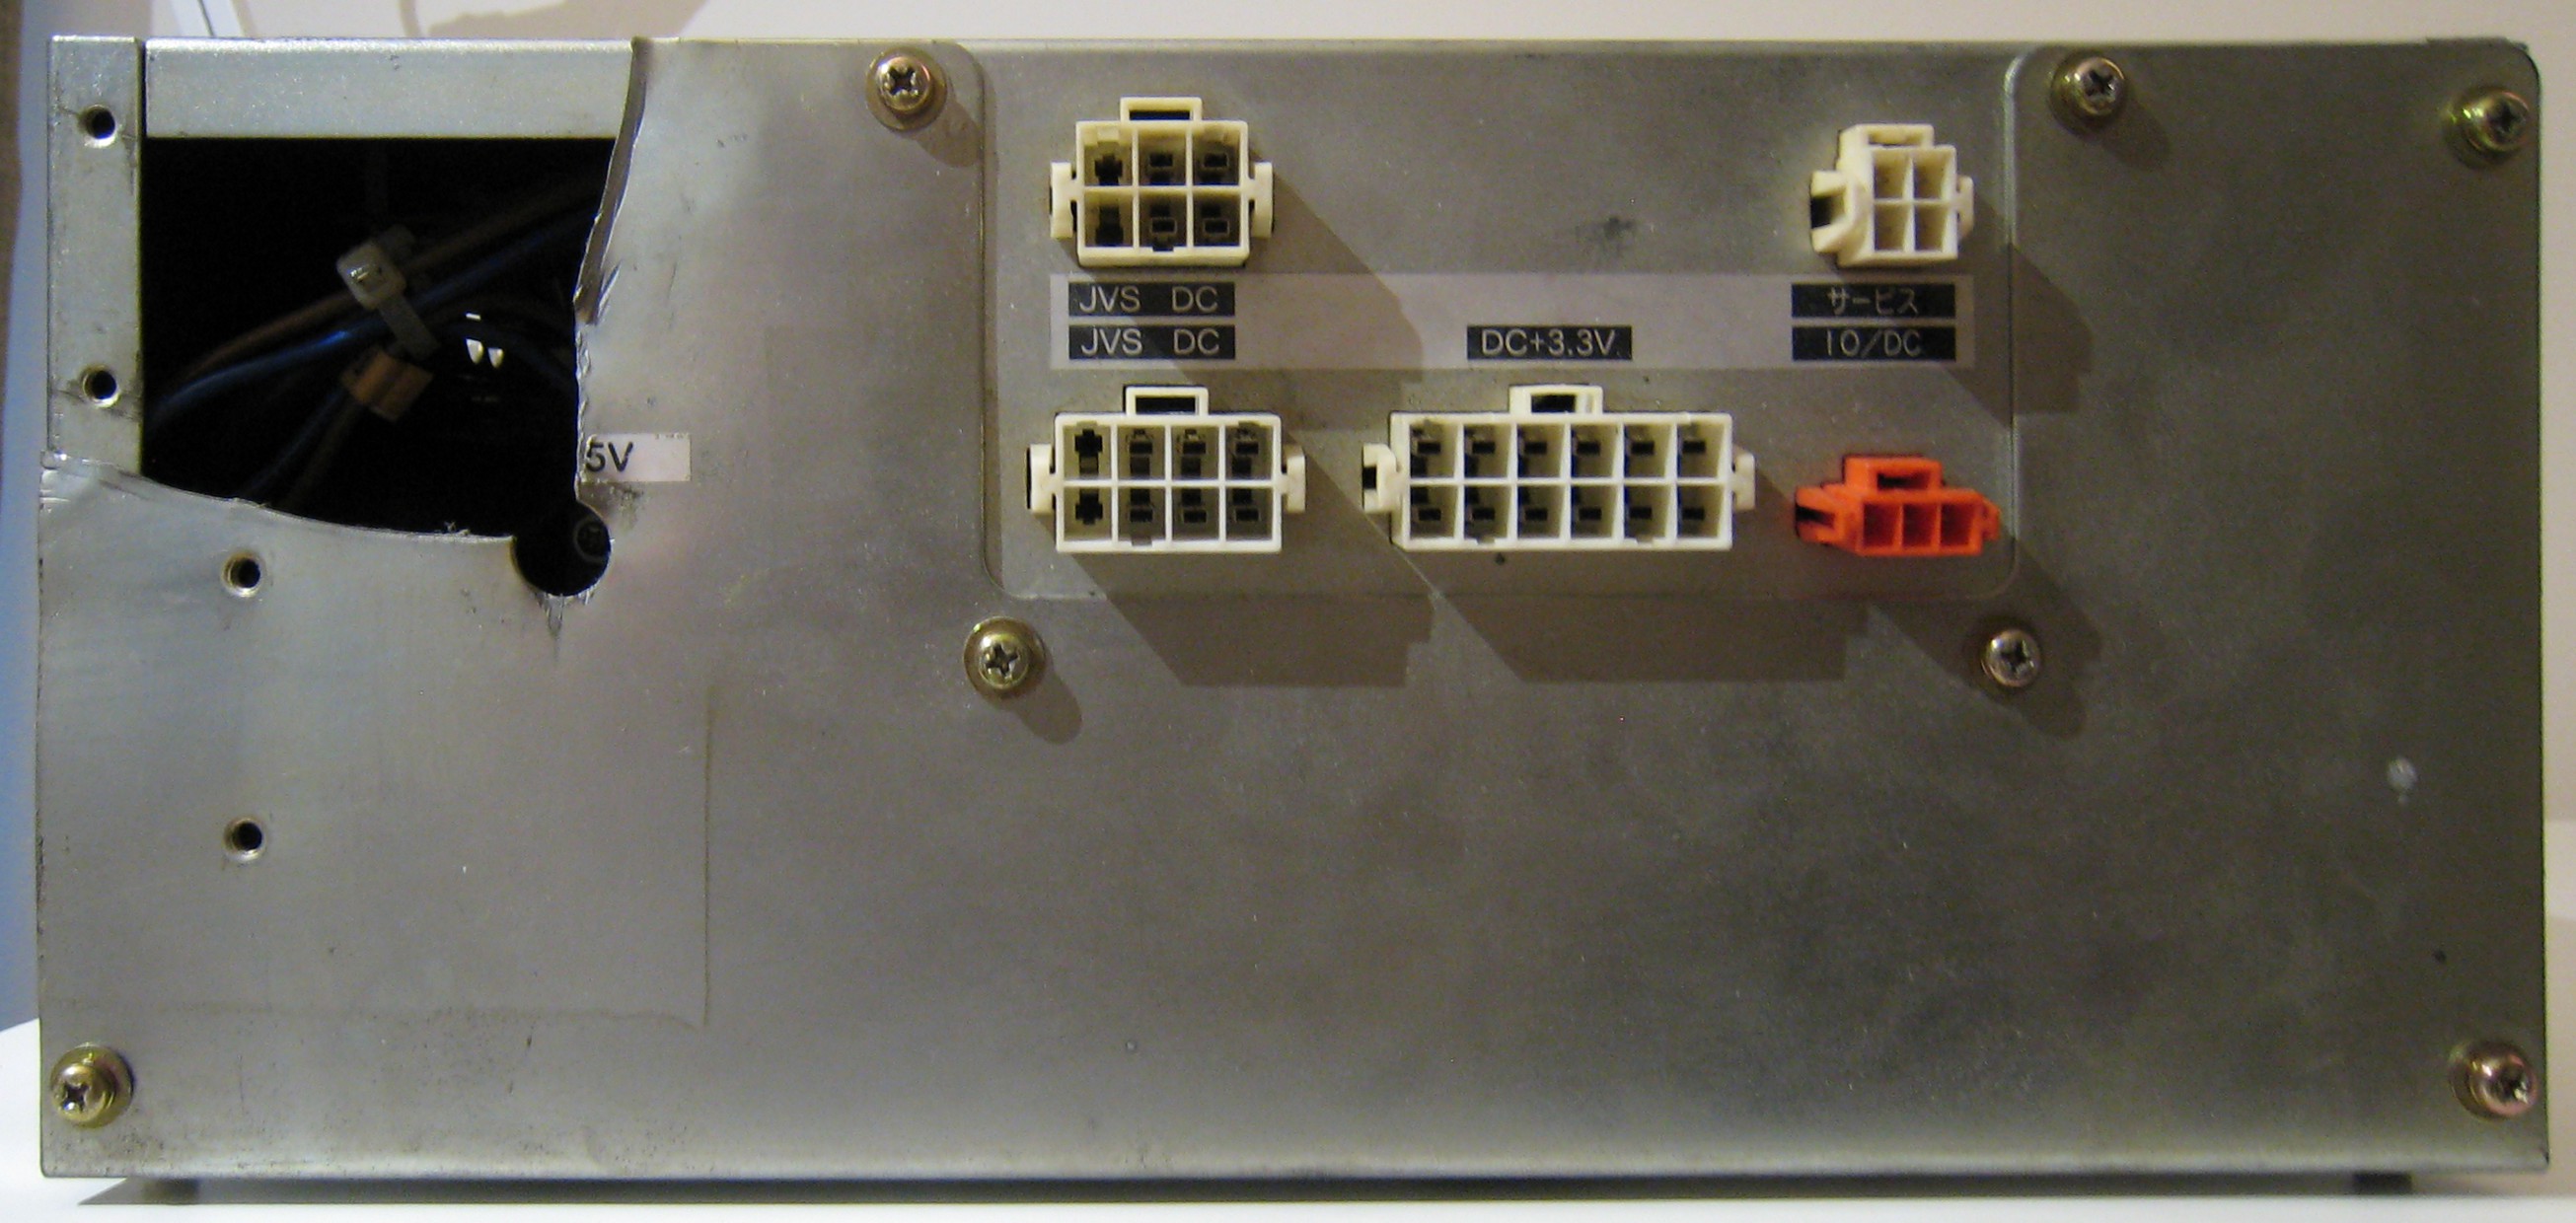
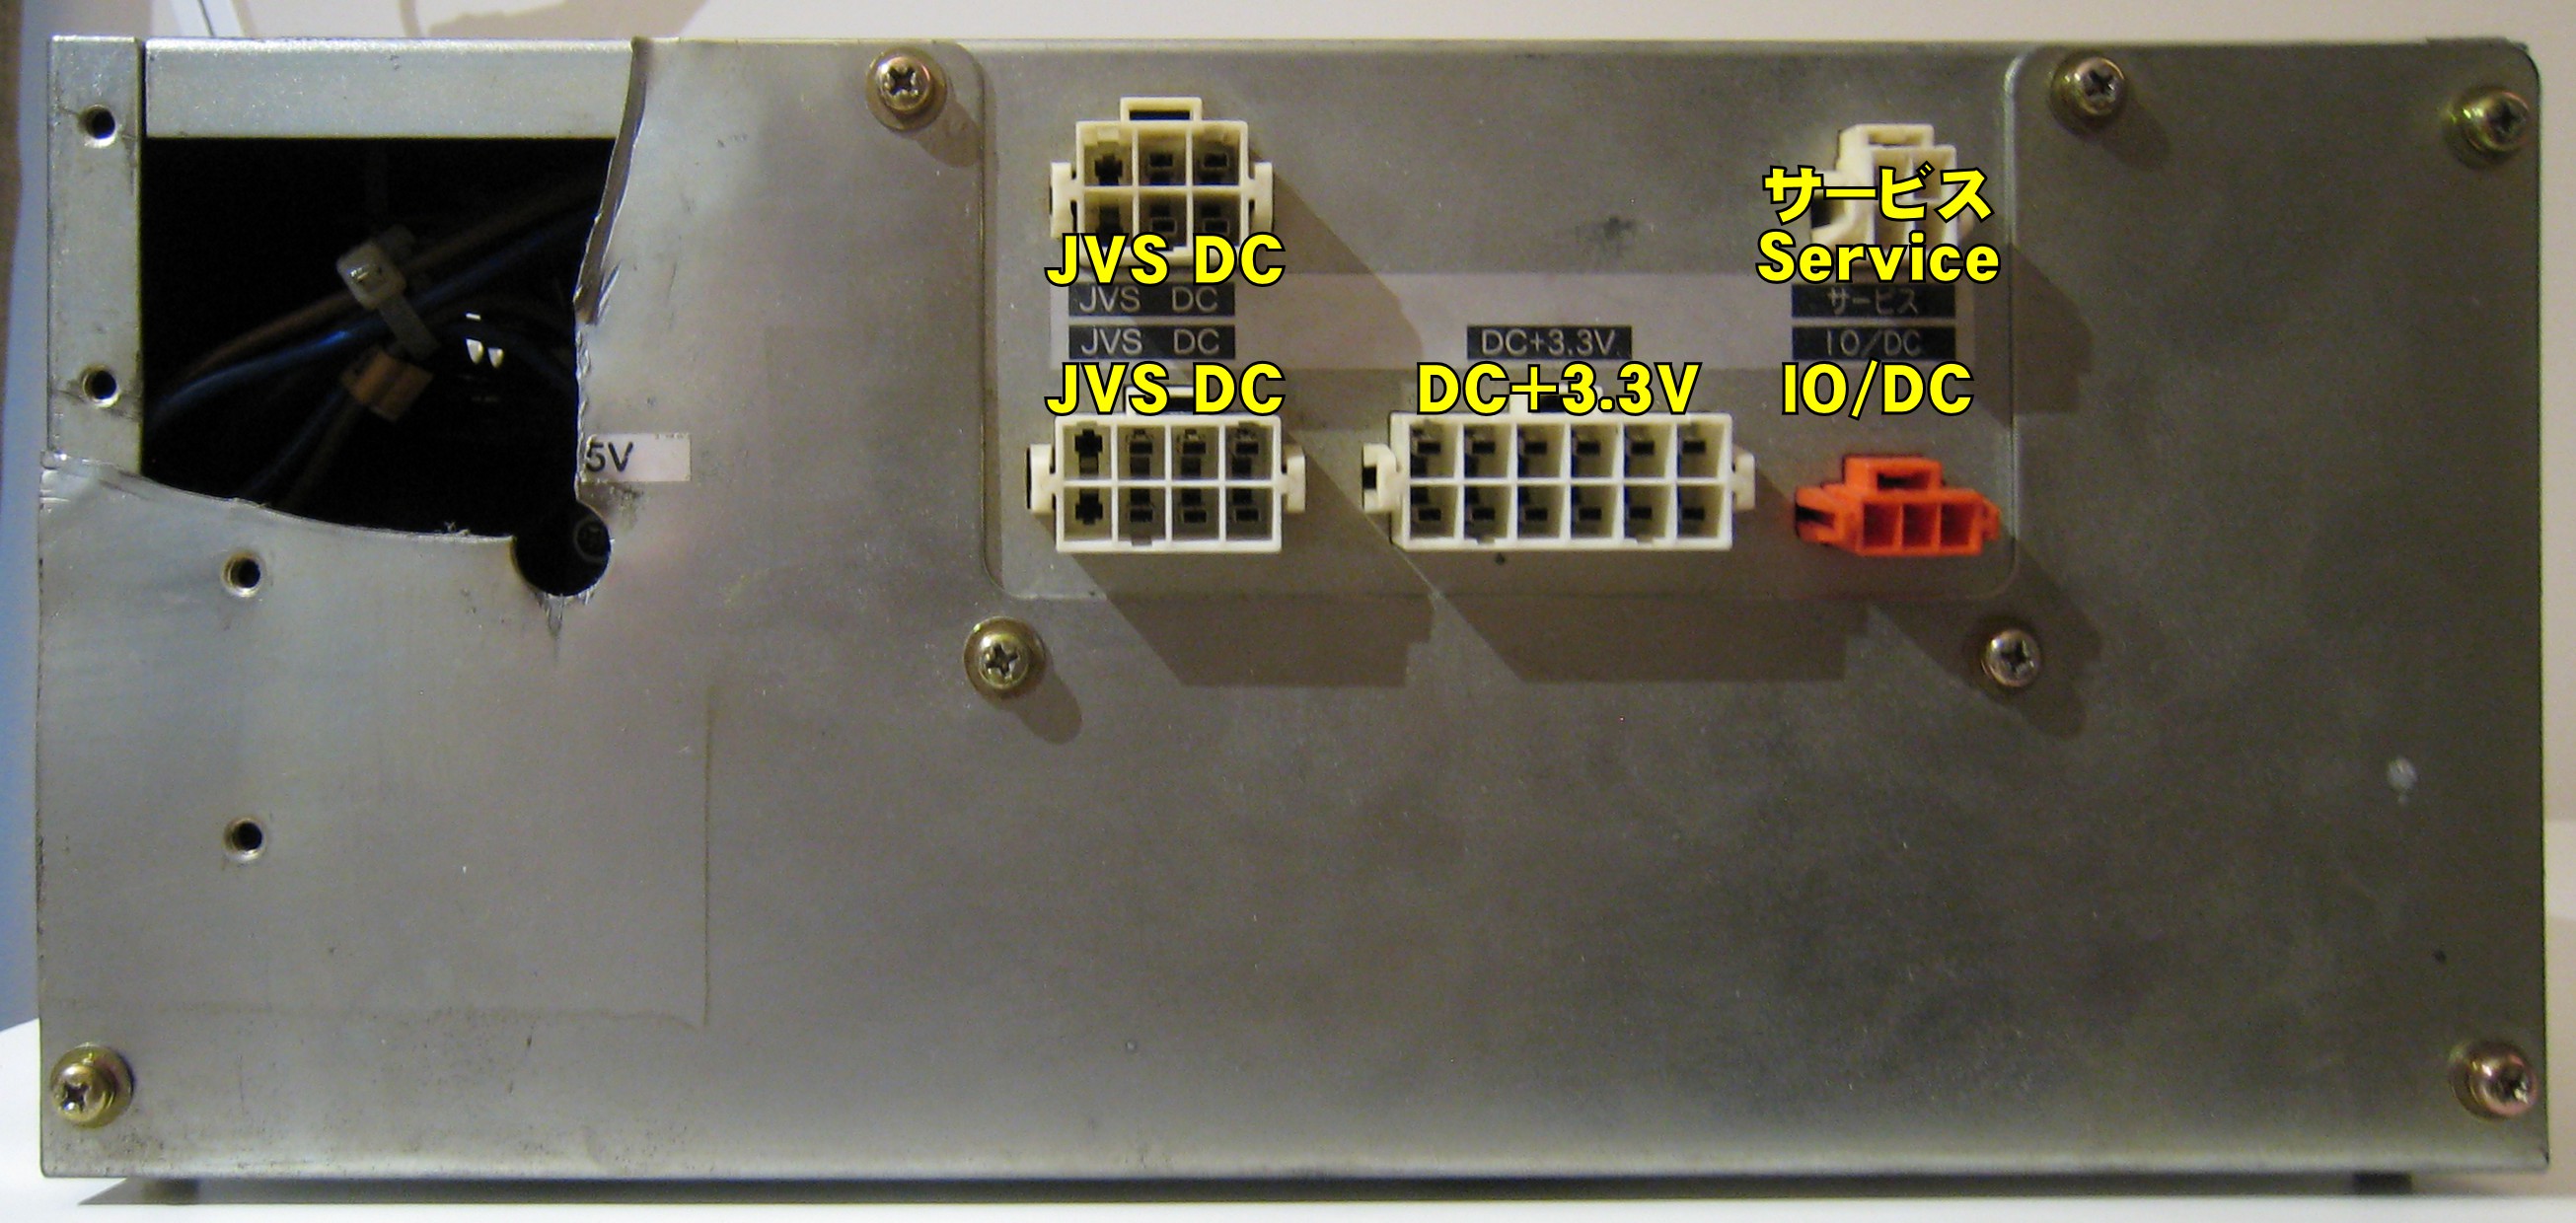
JVS DC
JVS DC
DC+3.3V
サービス
Service
IO/DC
IO/DC
Other Images
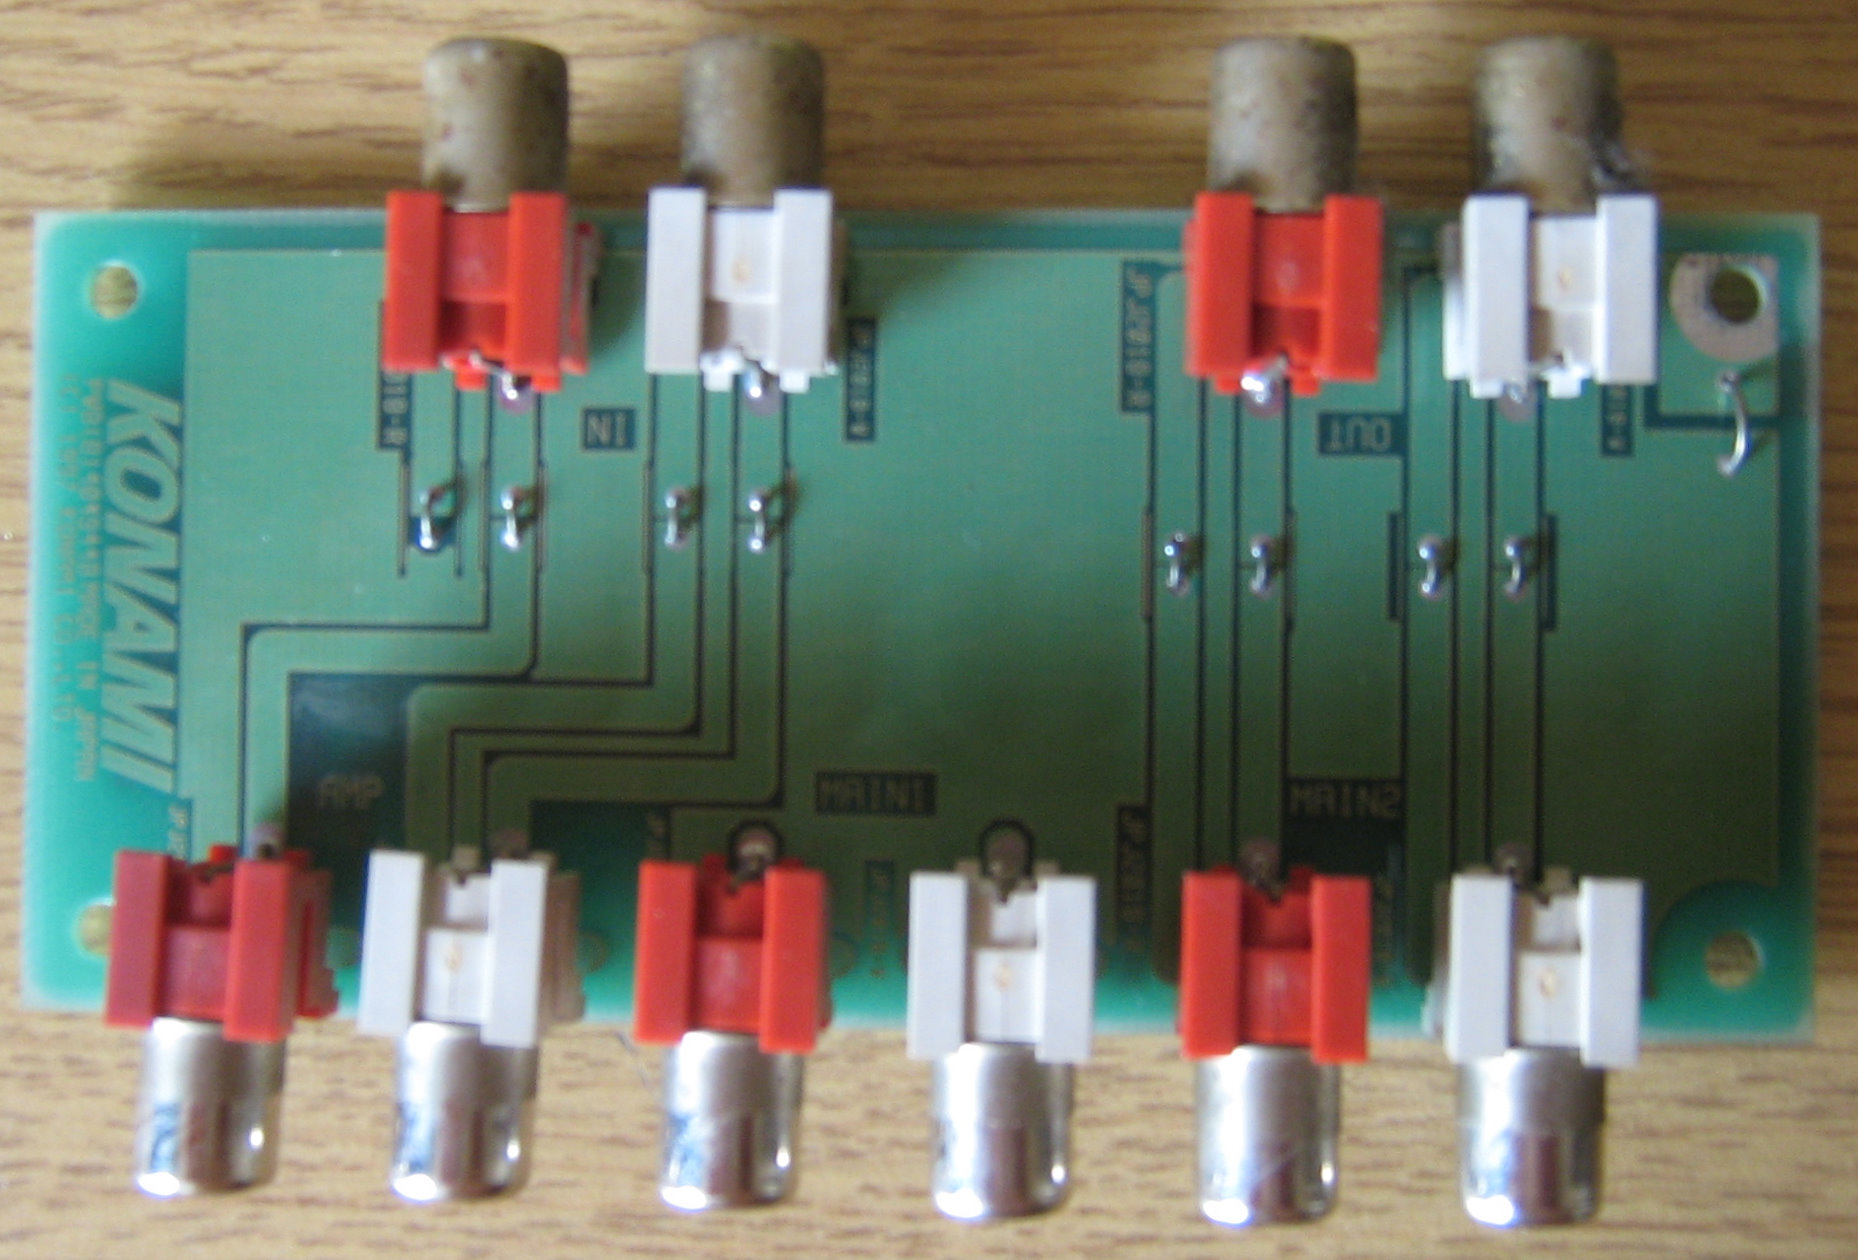
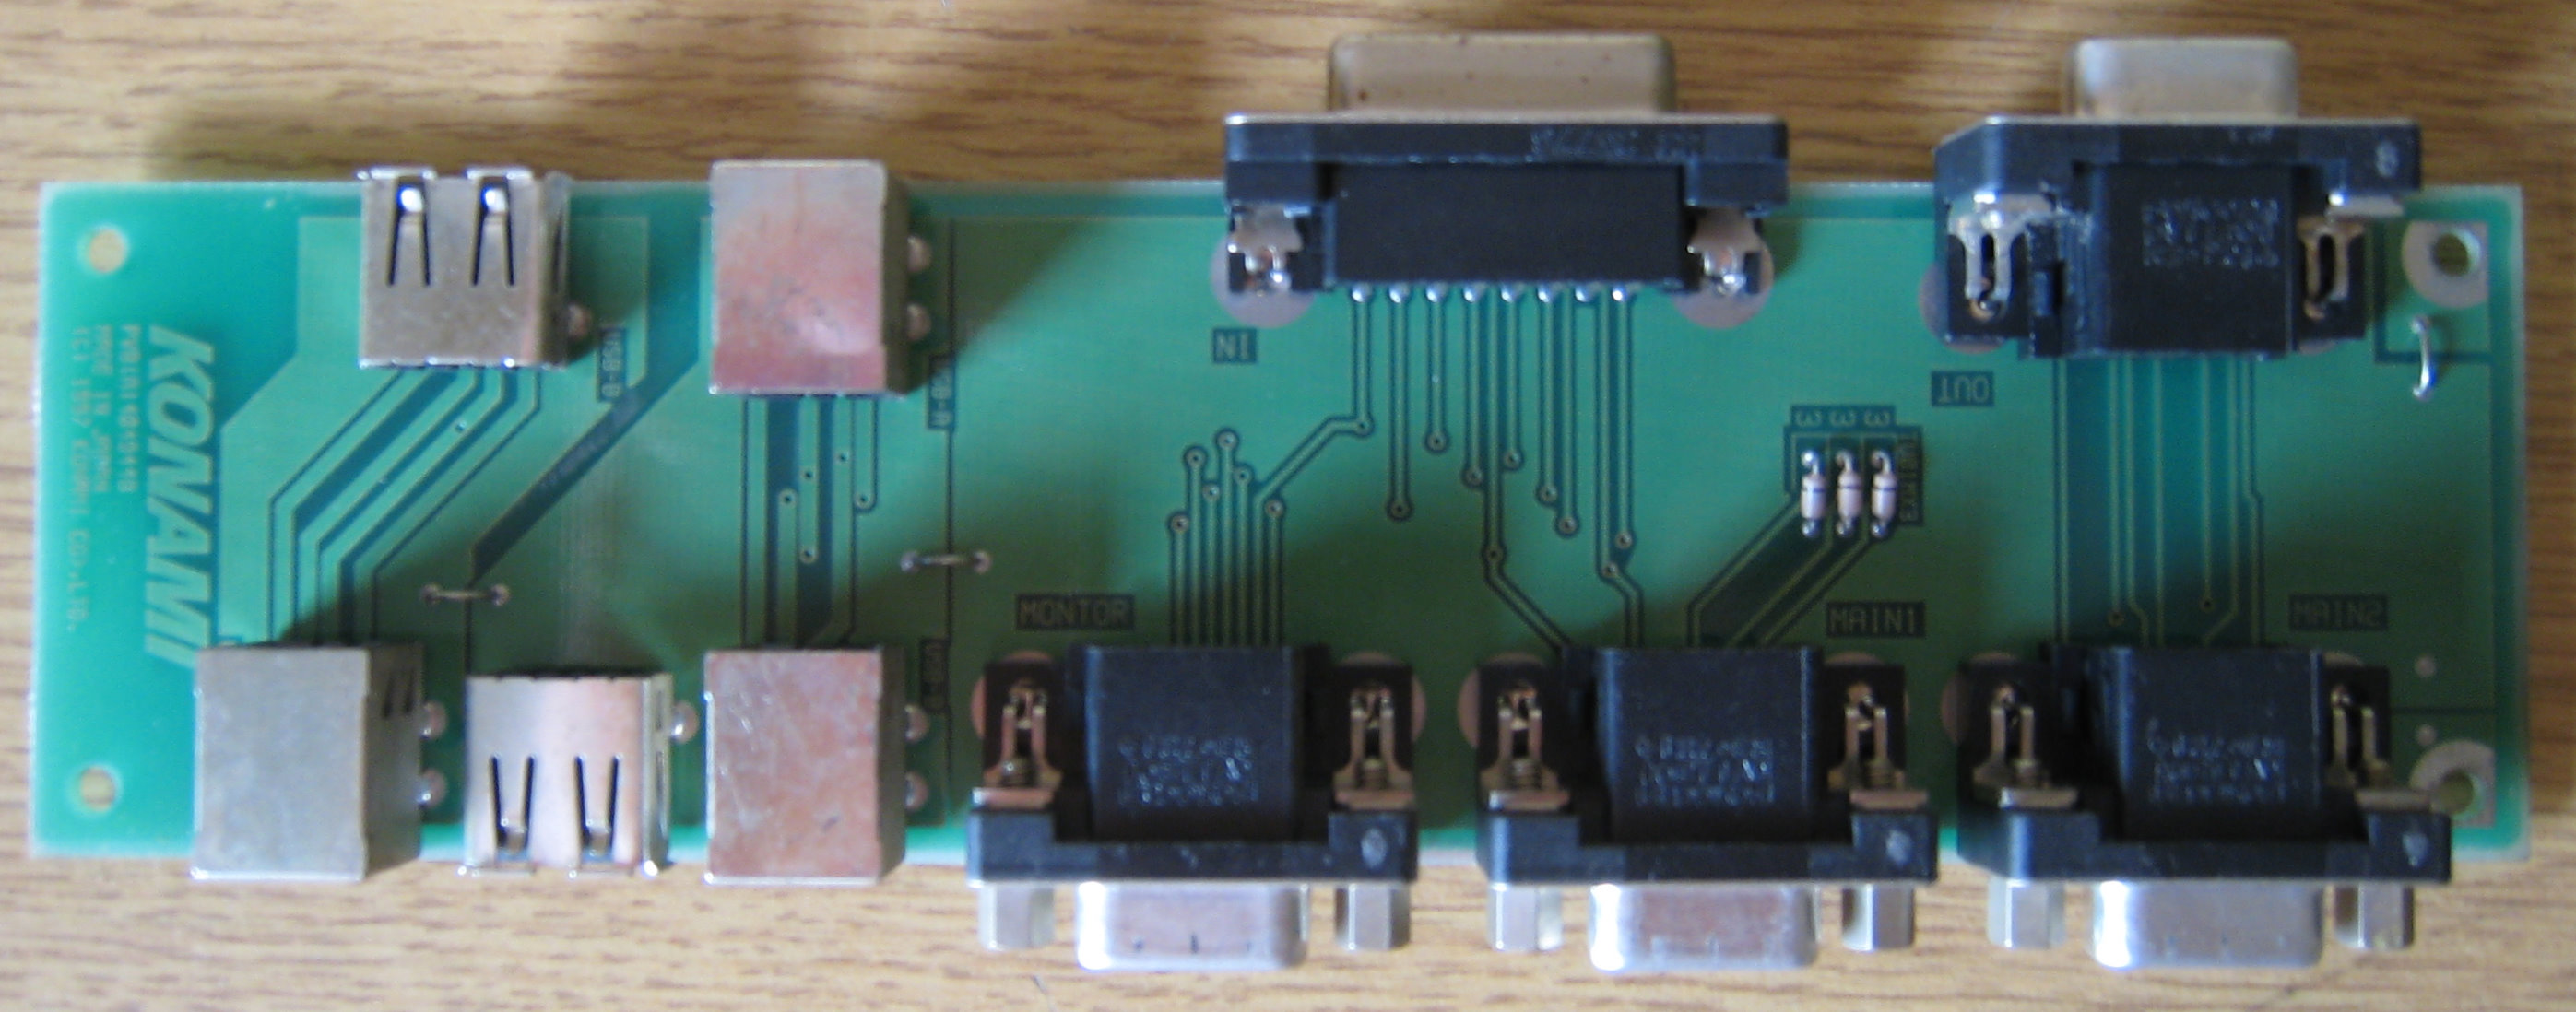
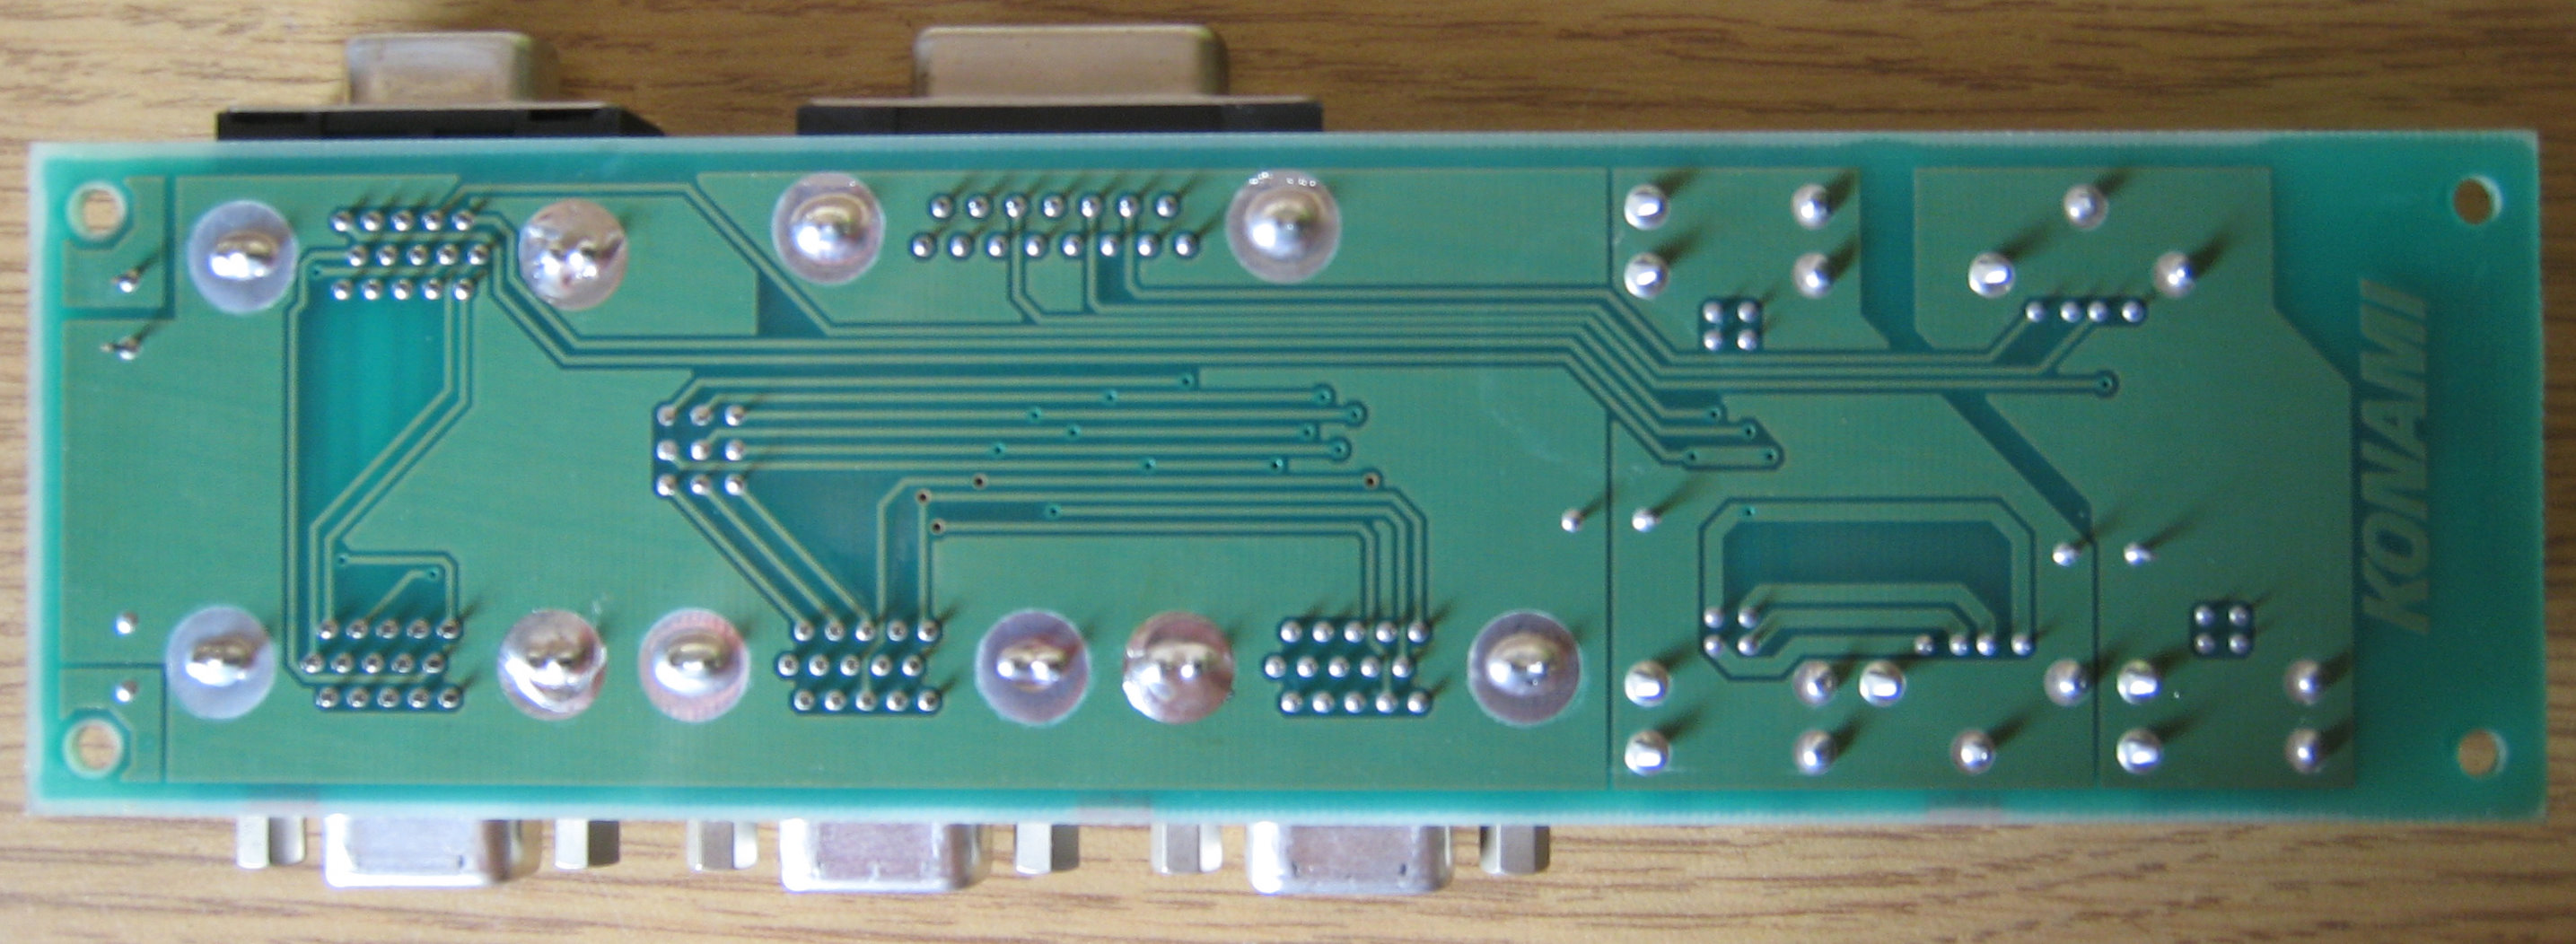
Rear Panel
I not sure what the all these rear connectors are used for.
The top set of Phono connectors (in the second image) are sound out and can be connected to another sound amp (or computer), this makes capturing arcade audio much easier.
左
Left
ライン入力
Line Output
右
Right
左
Left
ライン入力
Line Output
右
Right
RGB出力
RGB Output
RGB入力
RGB Input
通信入力
Communication Input
通信出力
Communication Output
サーキットプロテクター8A
Circuit Protector 8A
サービスコンセント8A MAX560W
Service Outlet 8A MAX 560W
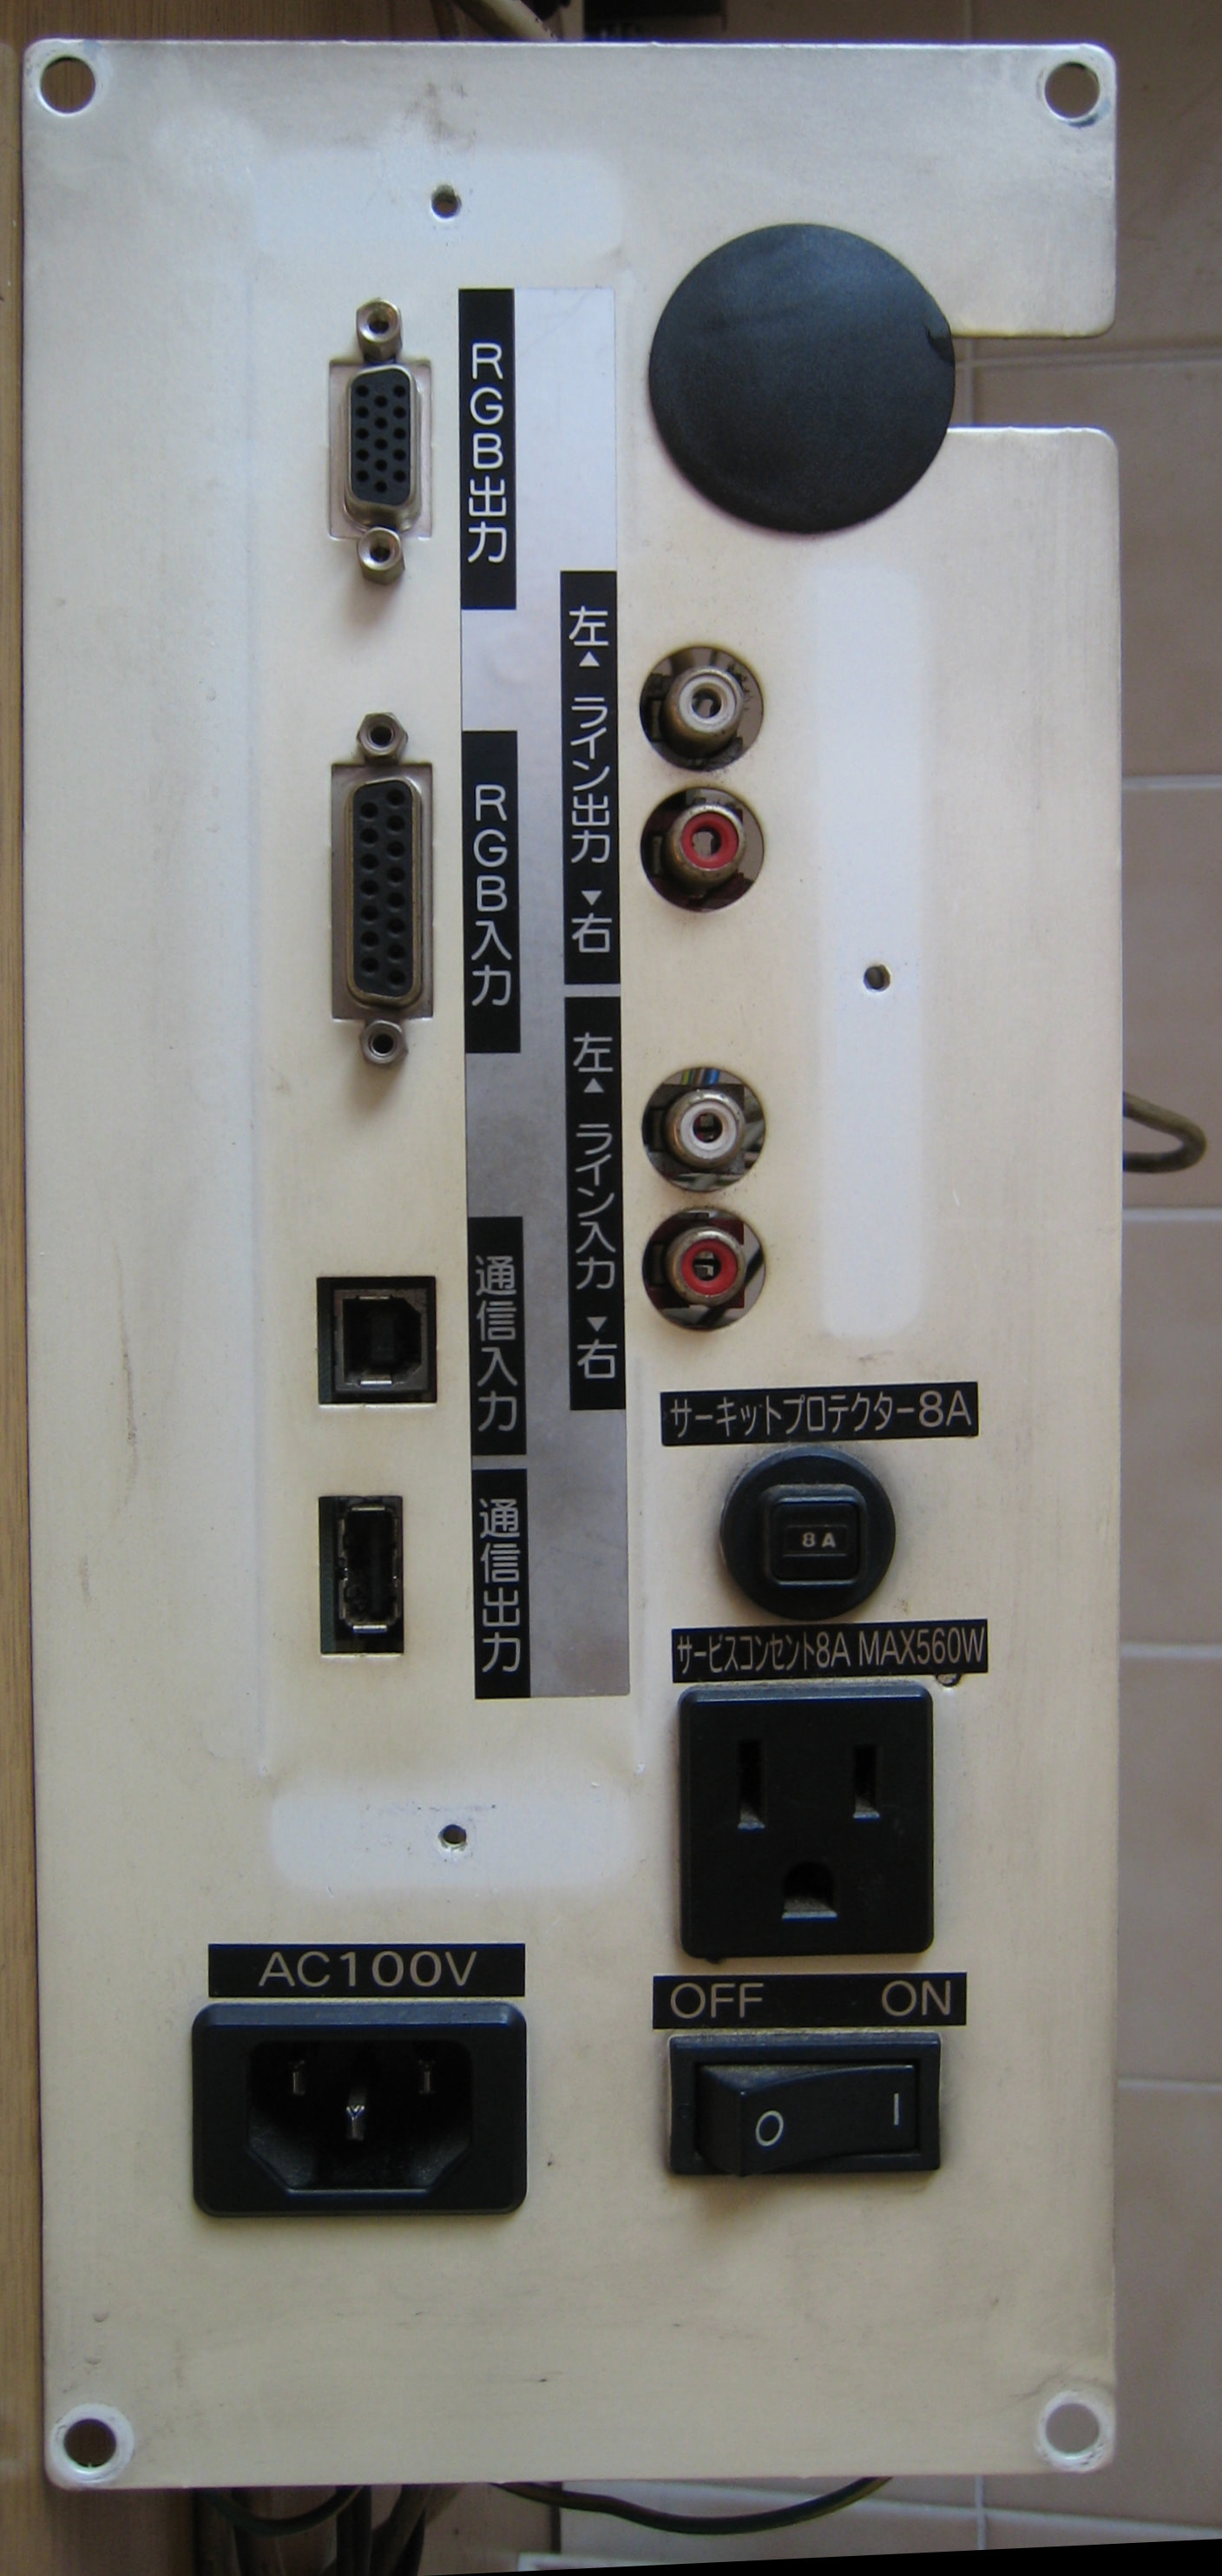
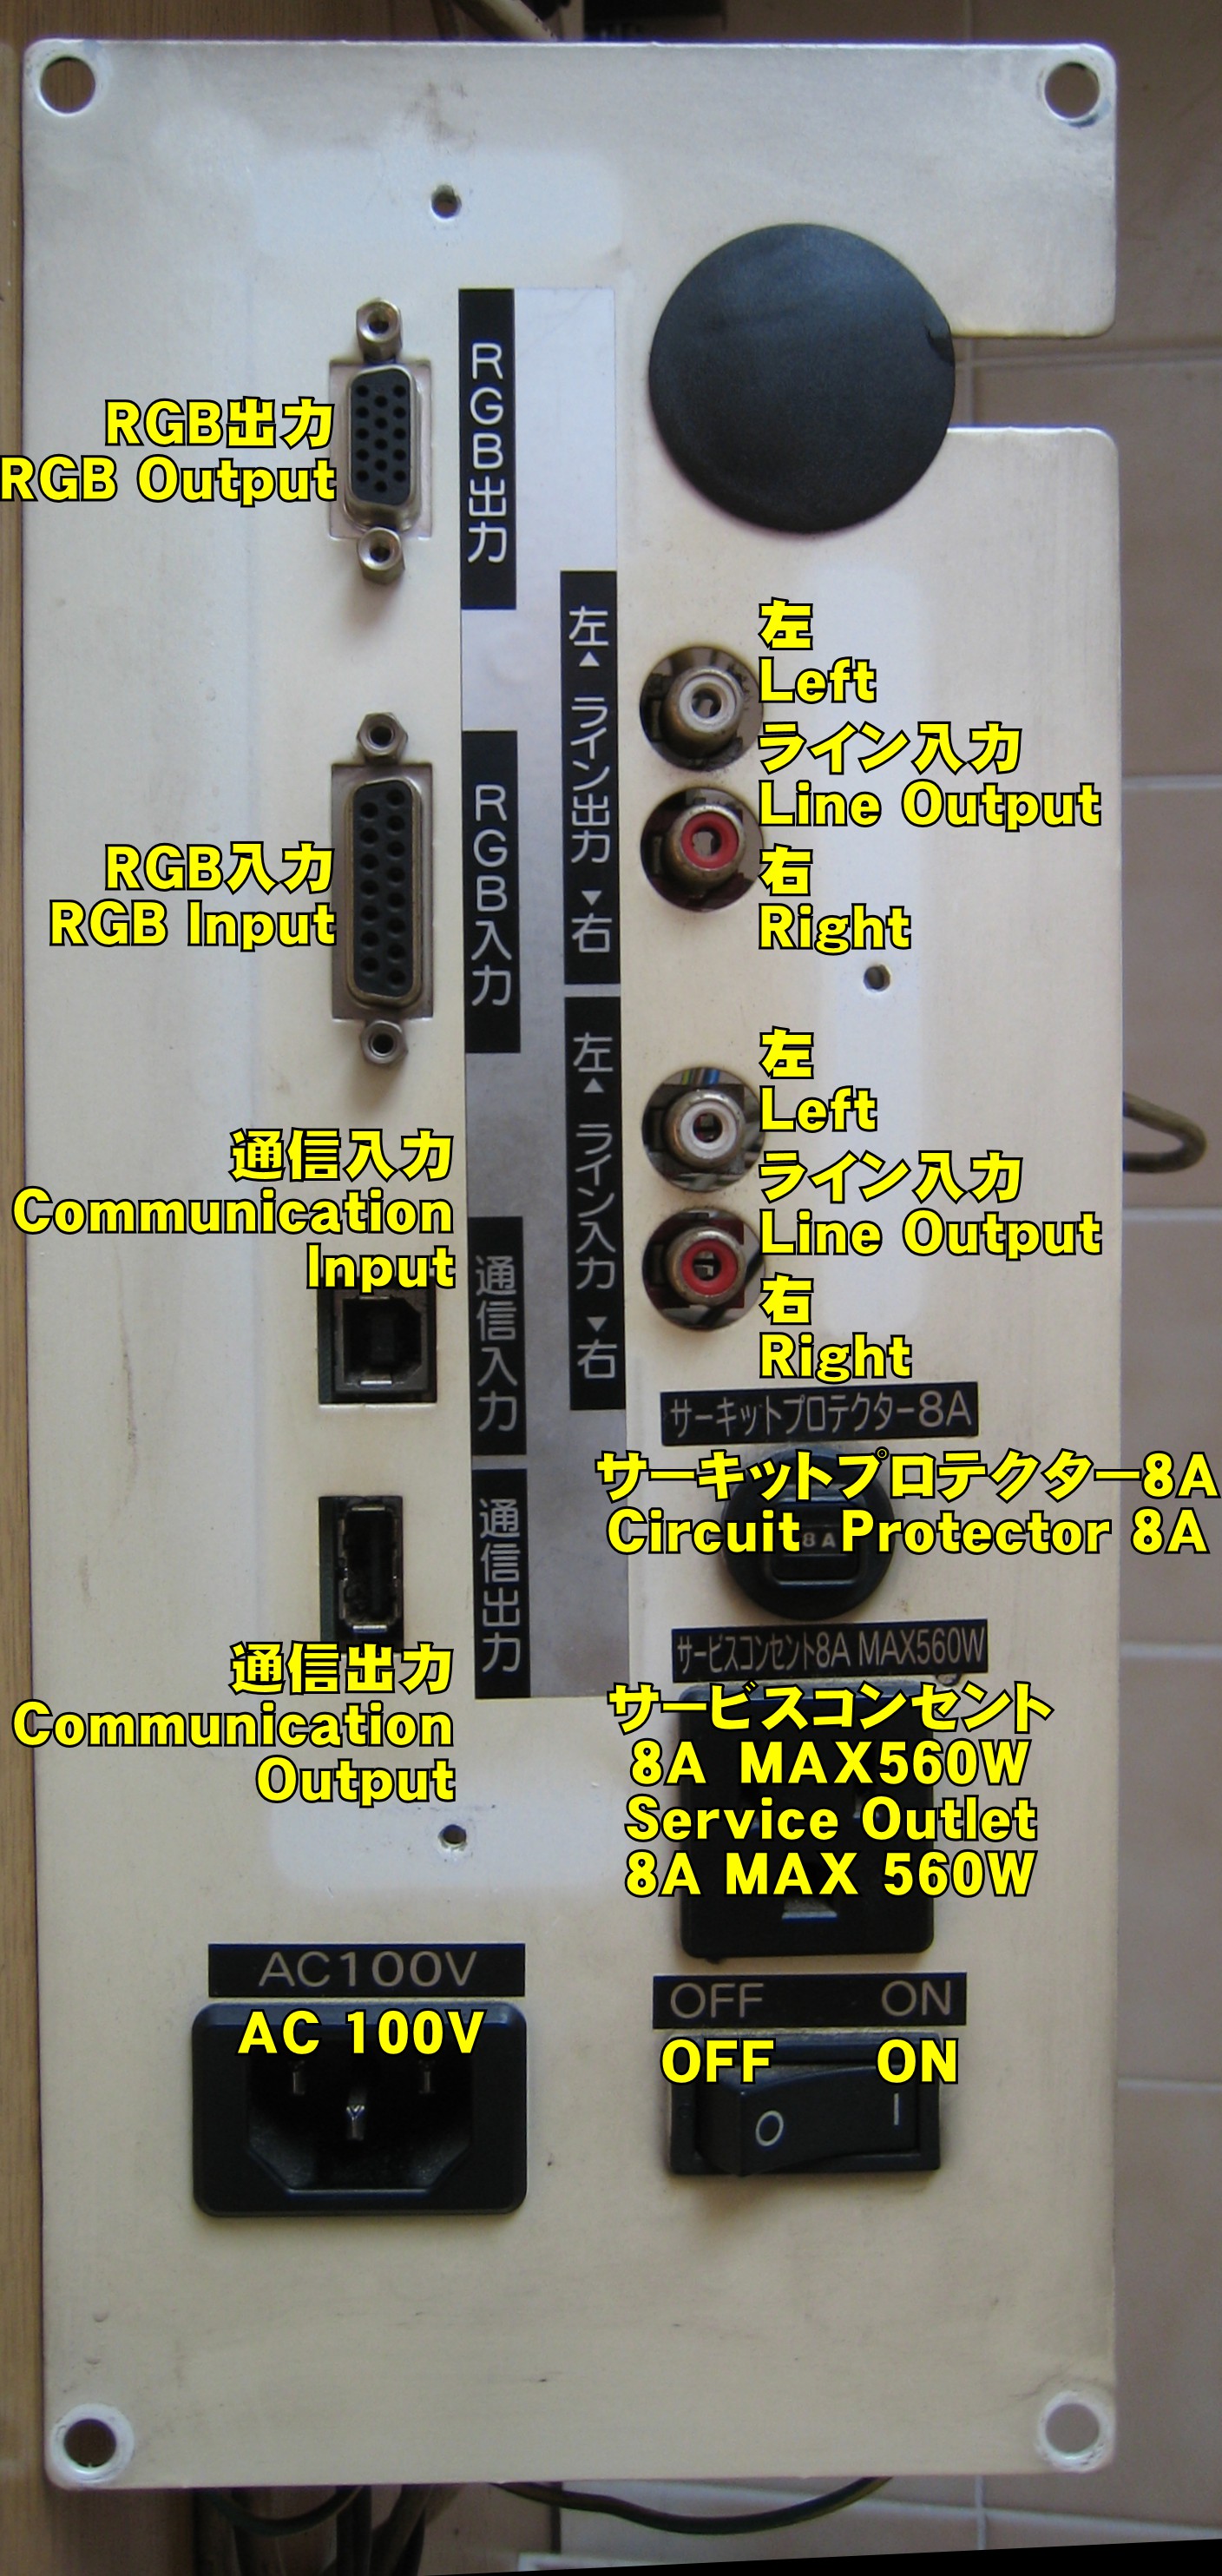
Note that even though the D-SUB RGB出力 (RGB Out) is a VGA connector it is not VGA monitor, this is RGB video for a low res 15Khz monitor (24Khz or 32Khz depeneding on what you have the monitor set to).
ALso note the Communication Input and Output maybe using USB sockets but they not USB, they carry the JVS signal, they just happen to use the connectors.
Other Images
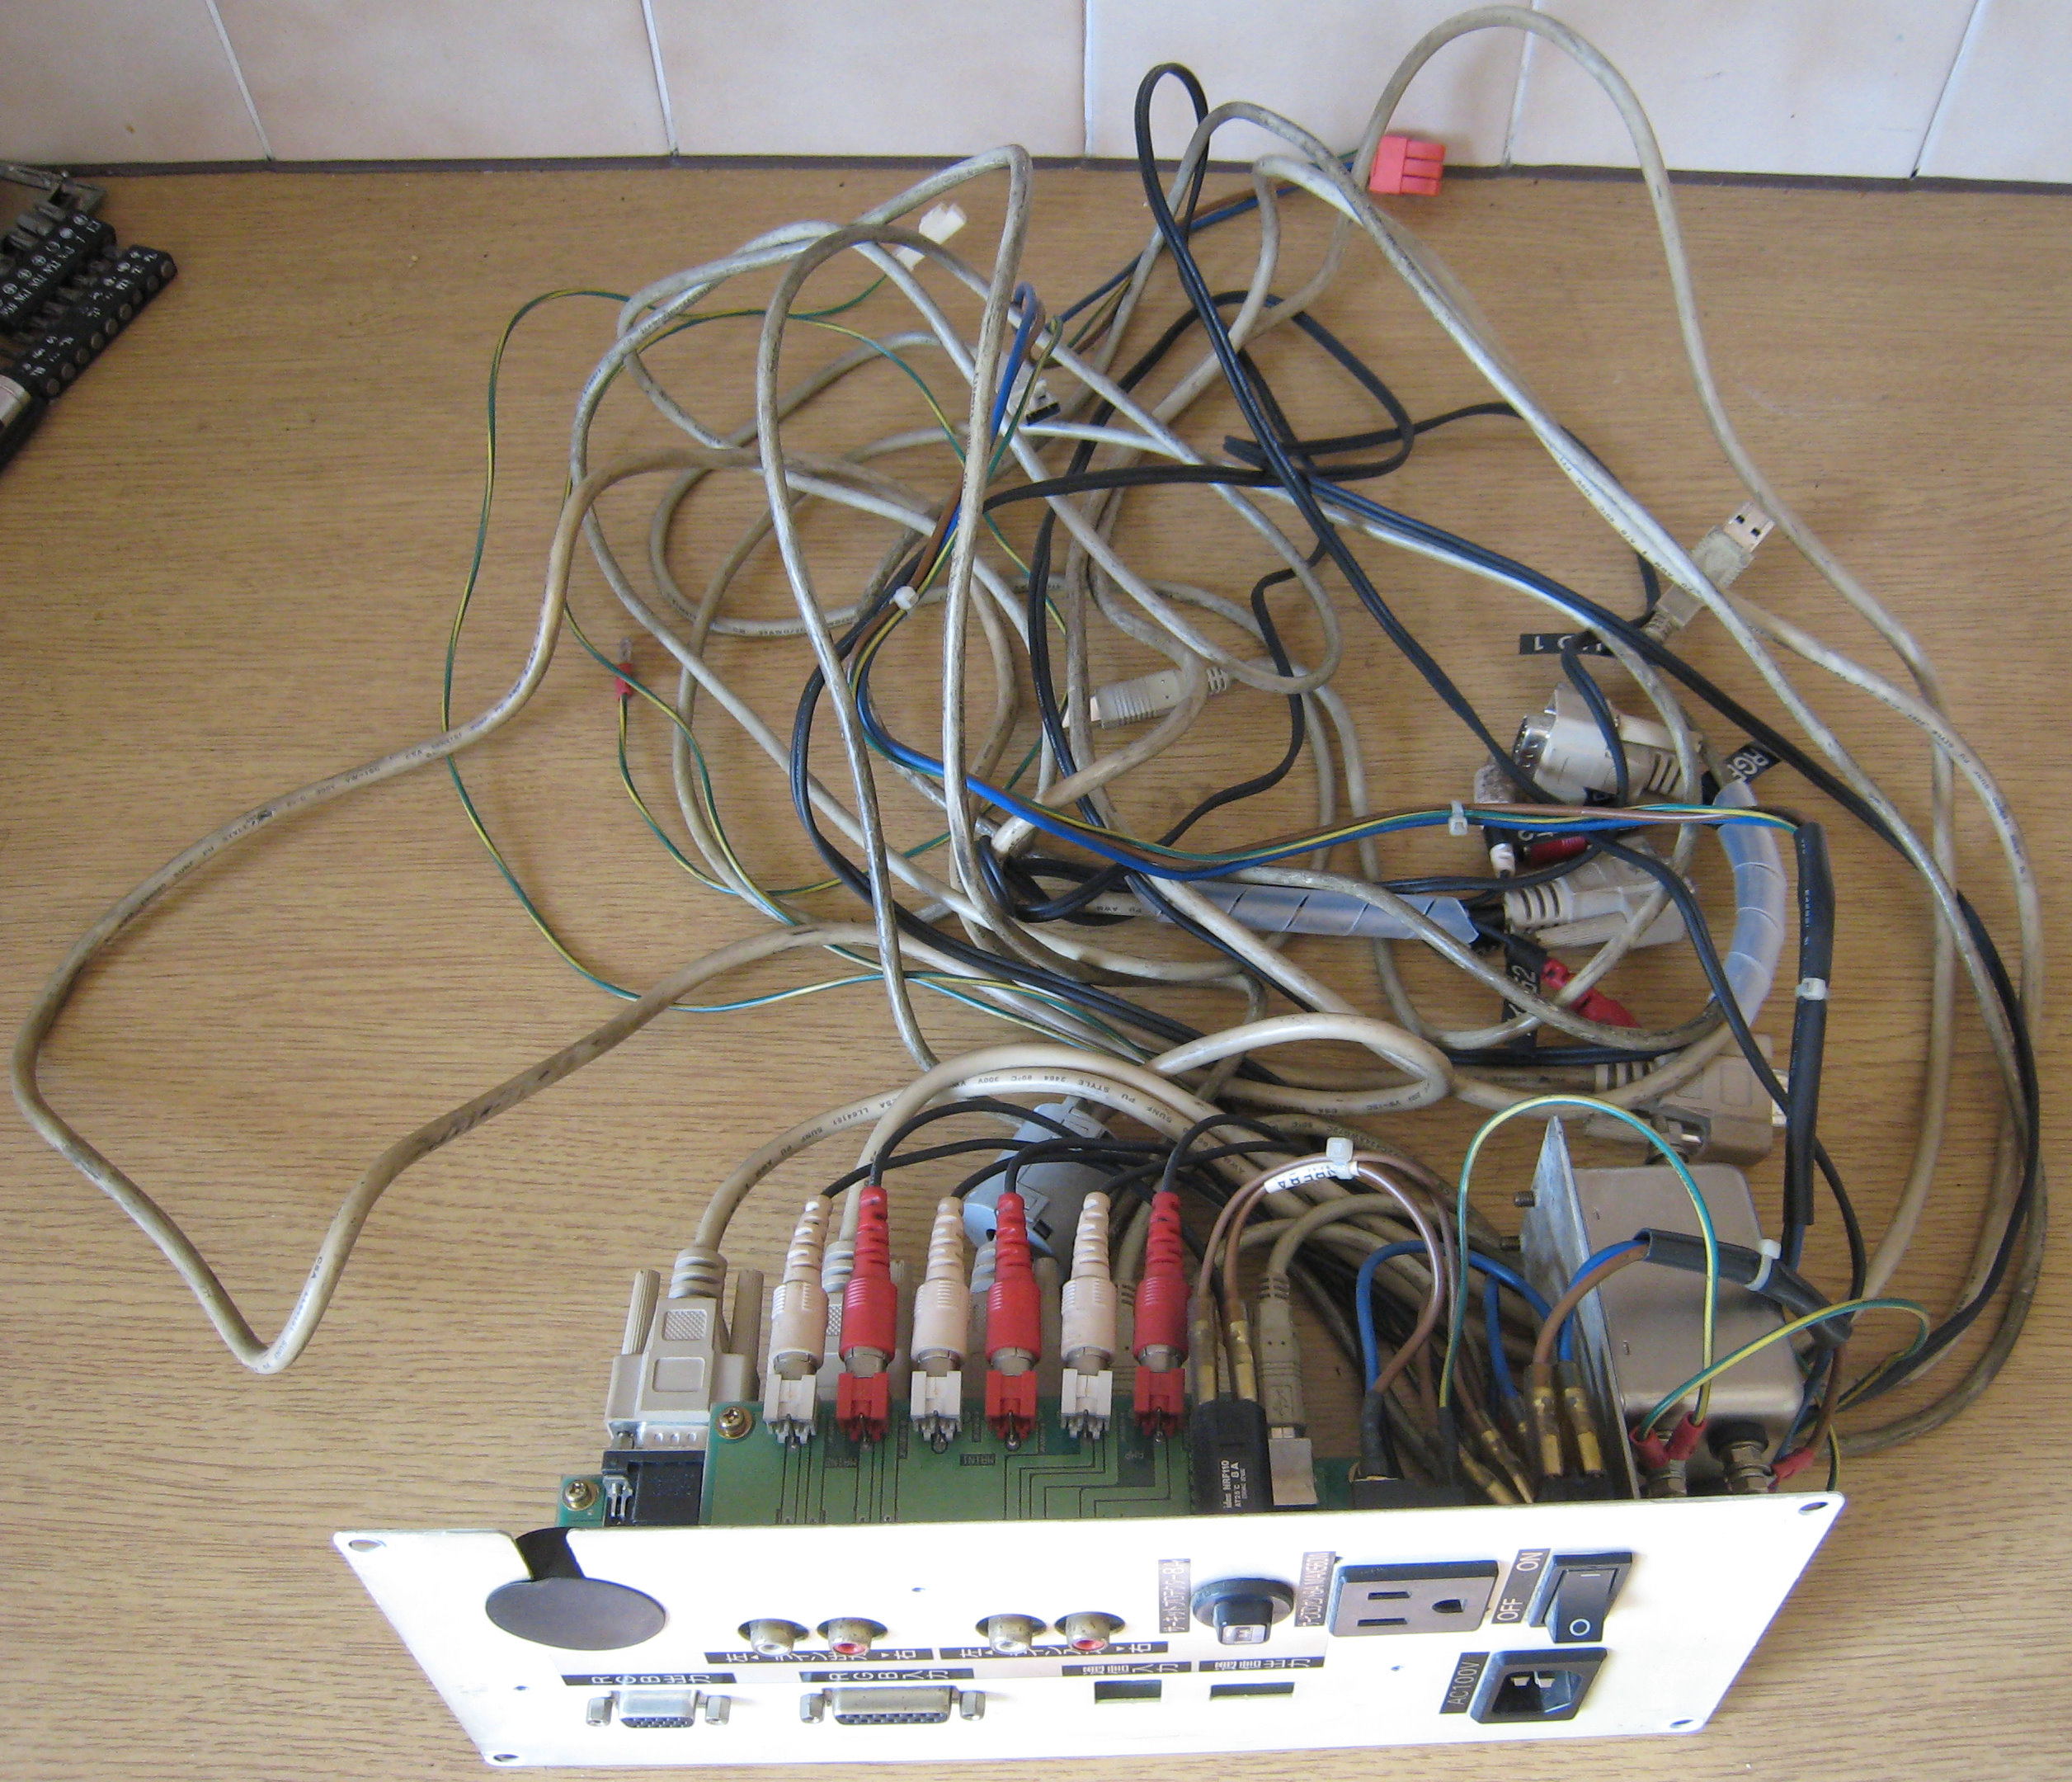
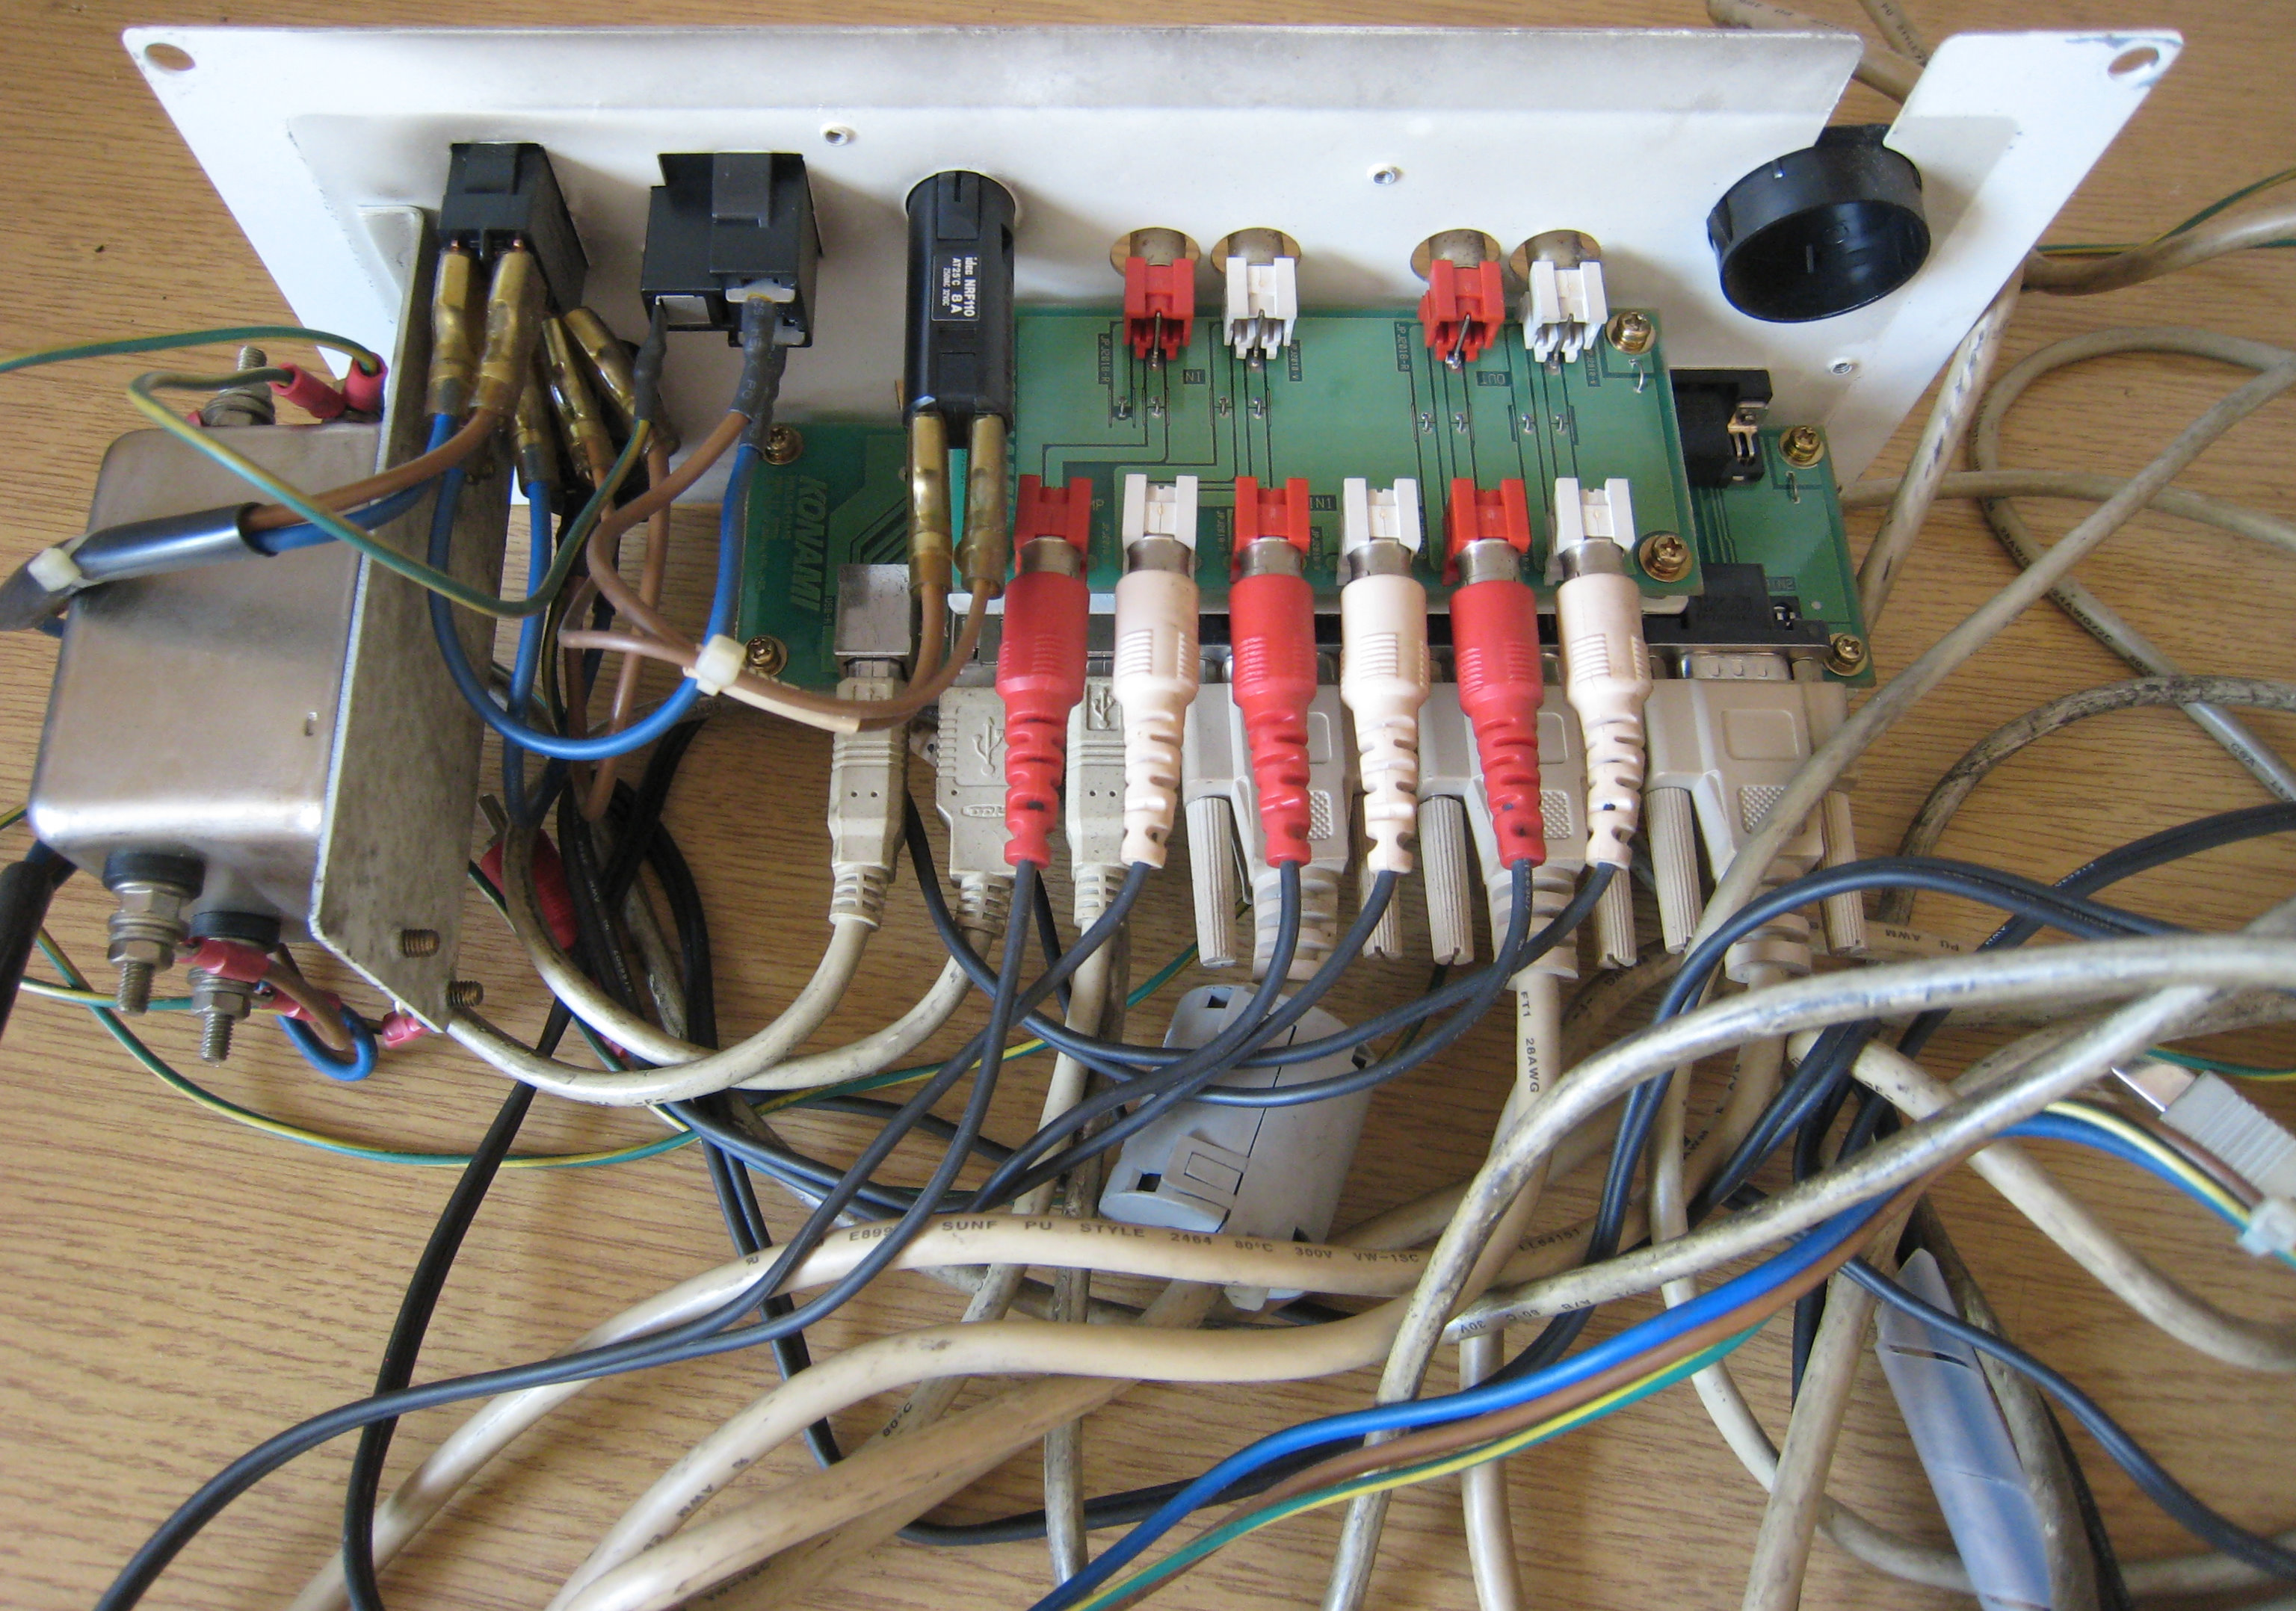
Audio Connections

JVS and D-SUB Connections
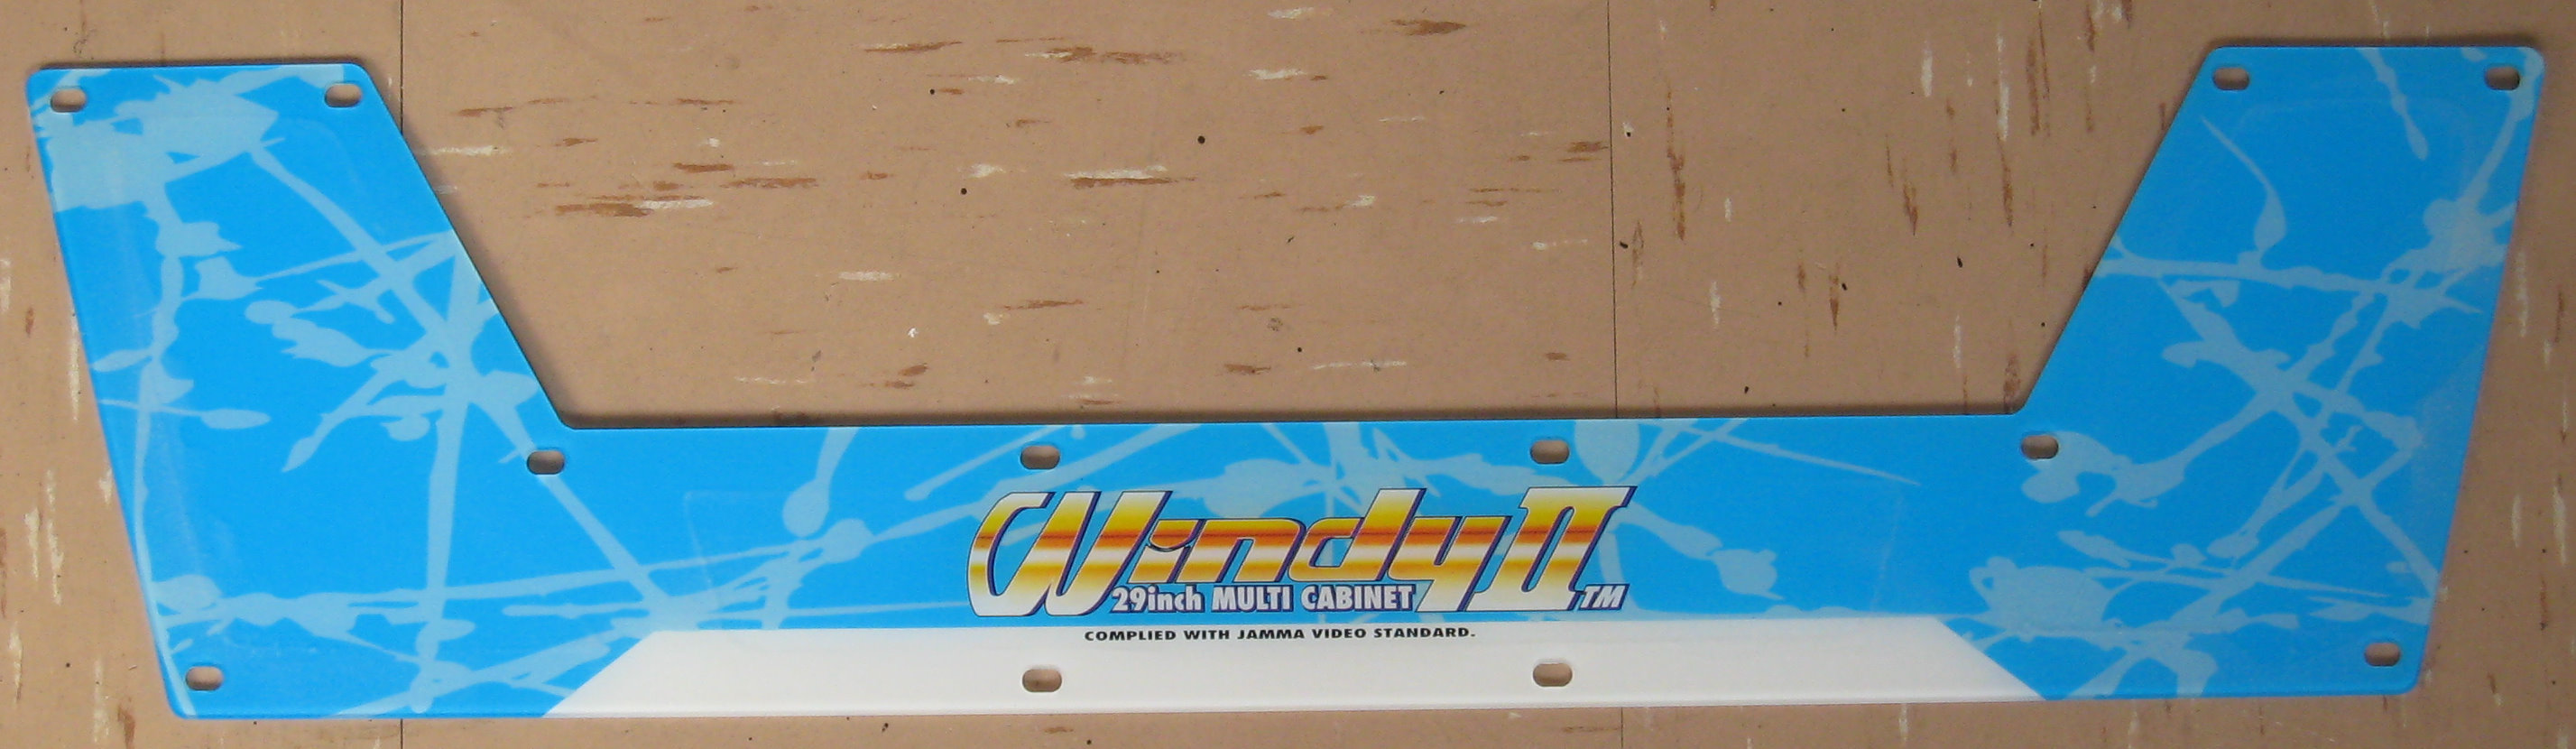
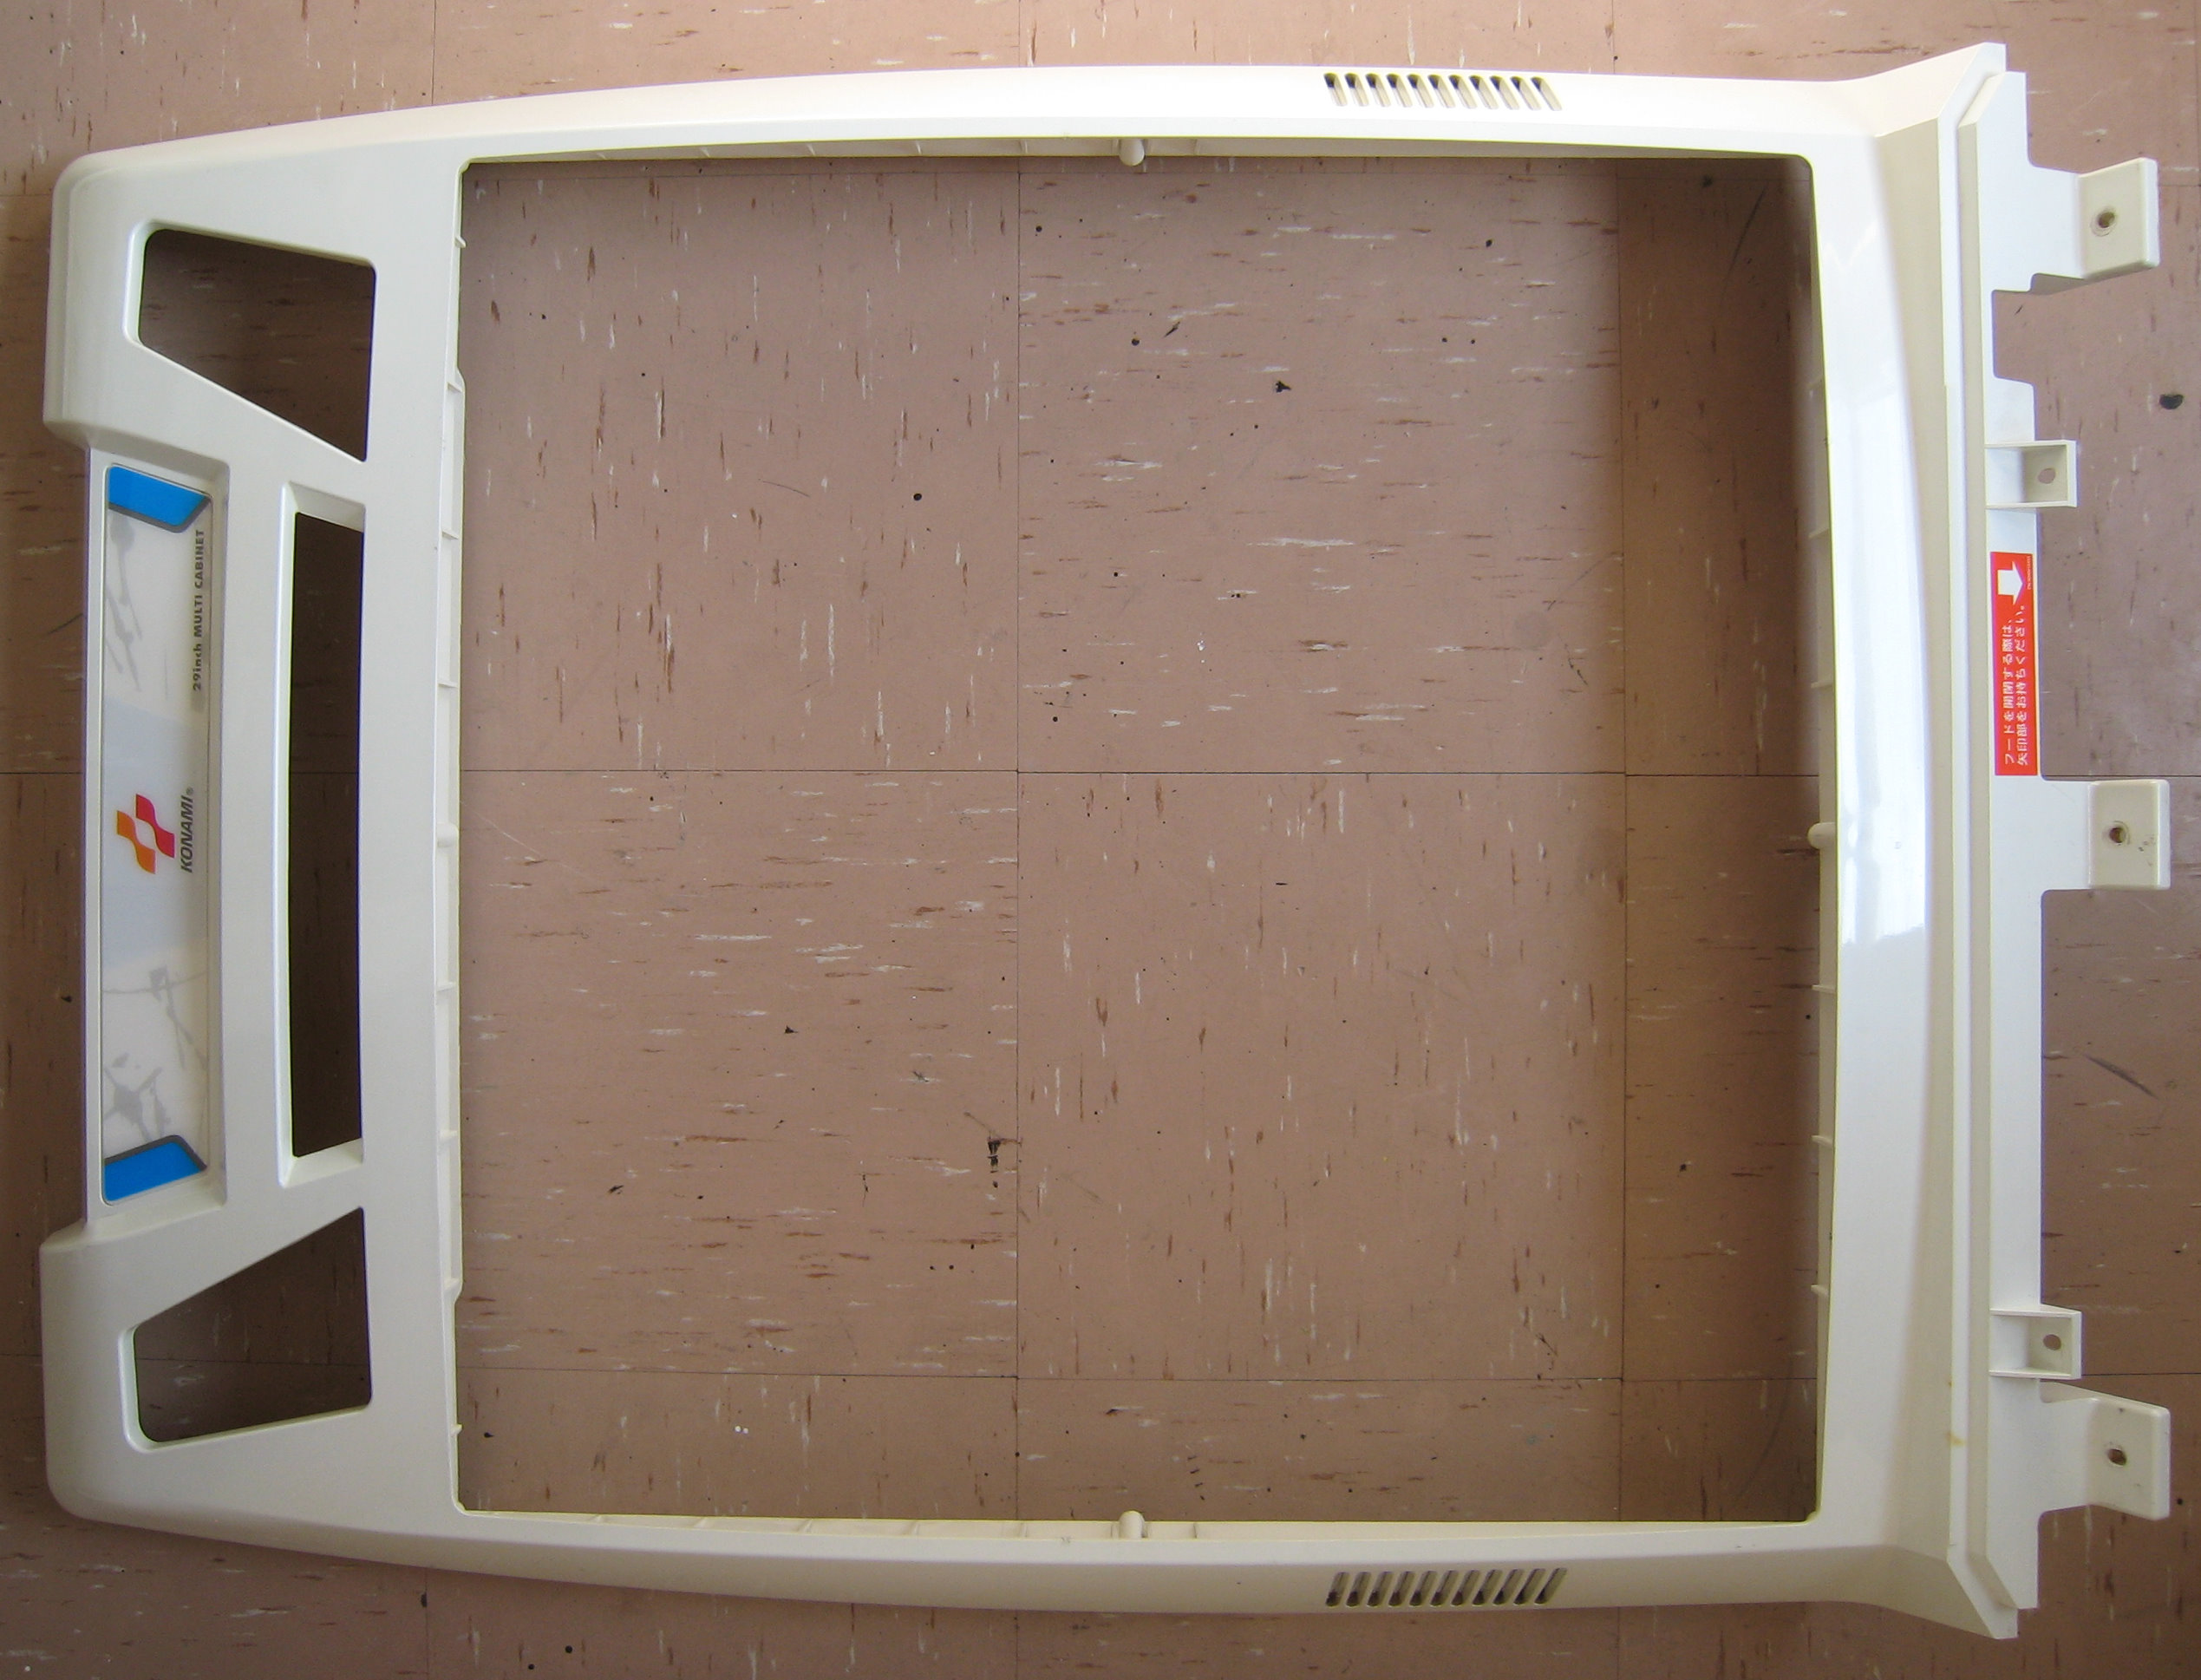
Front Panel
Top marquee.
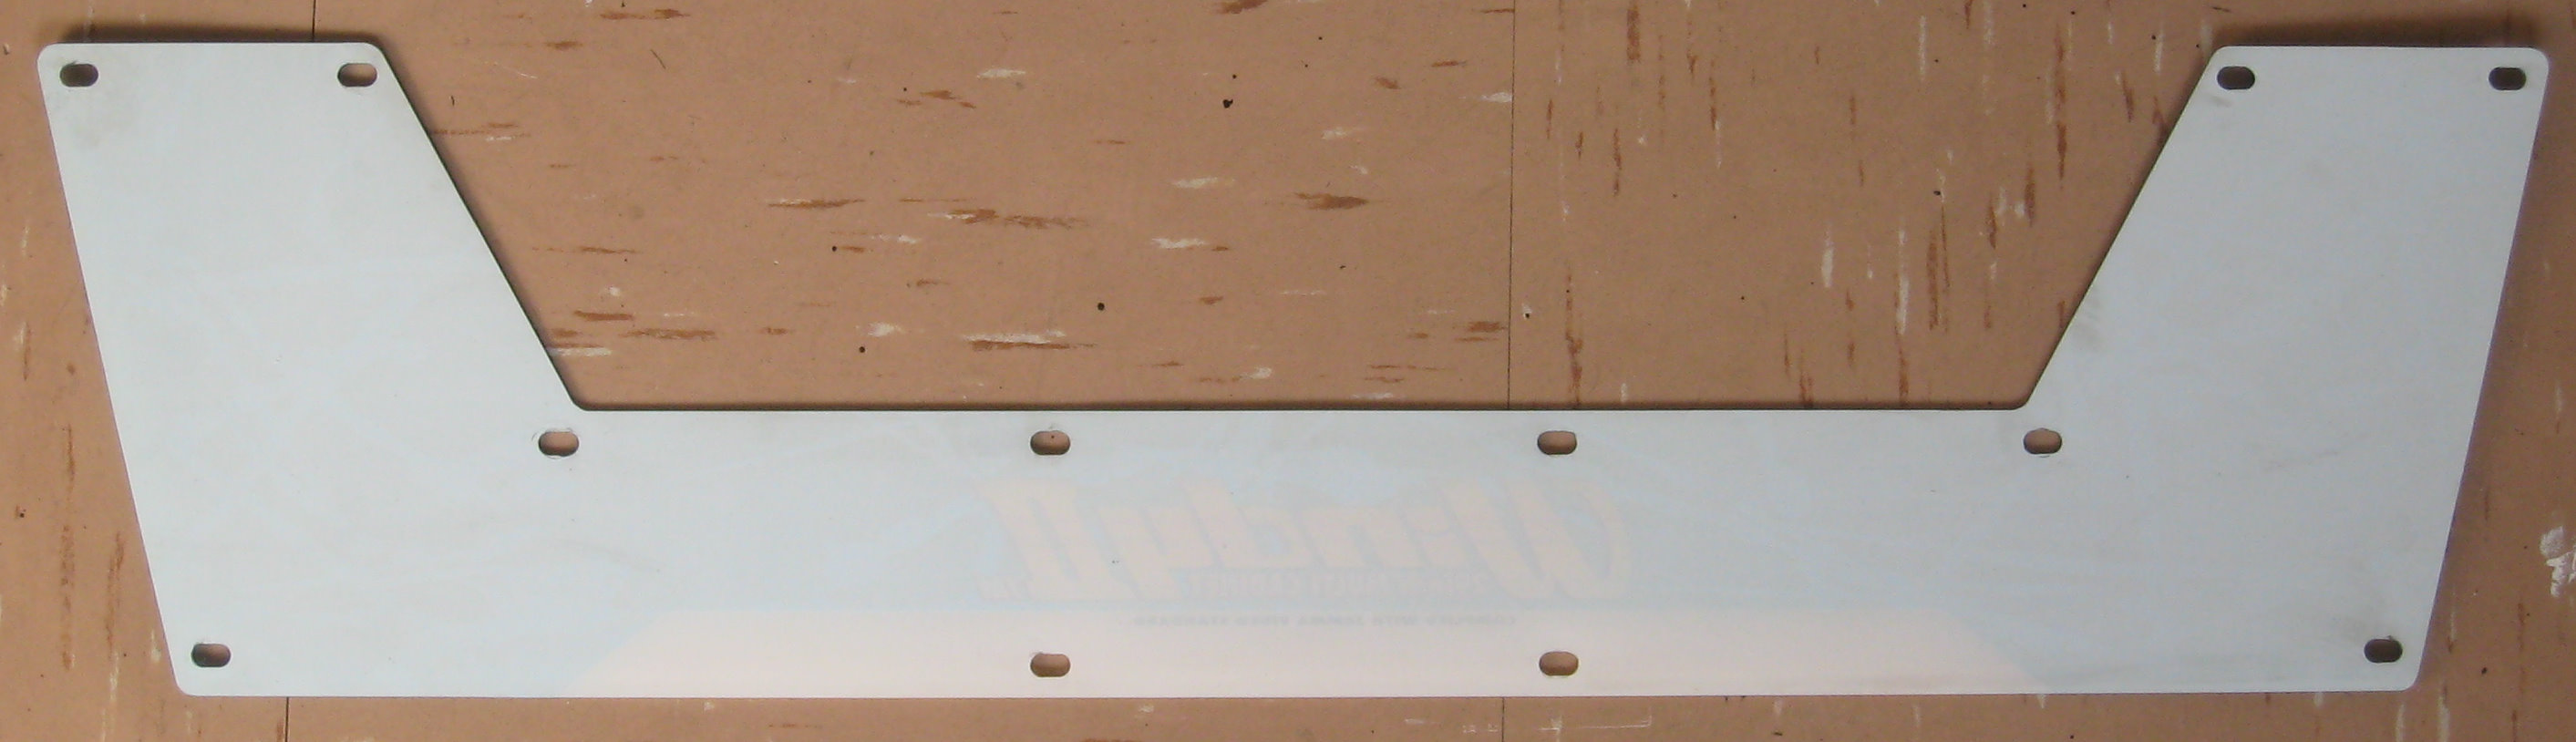
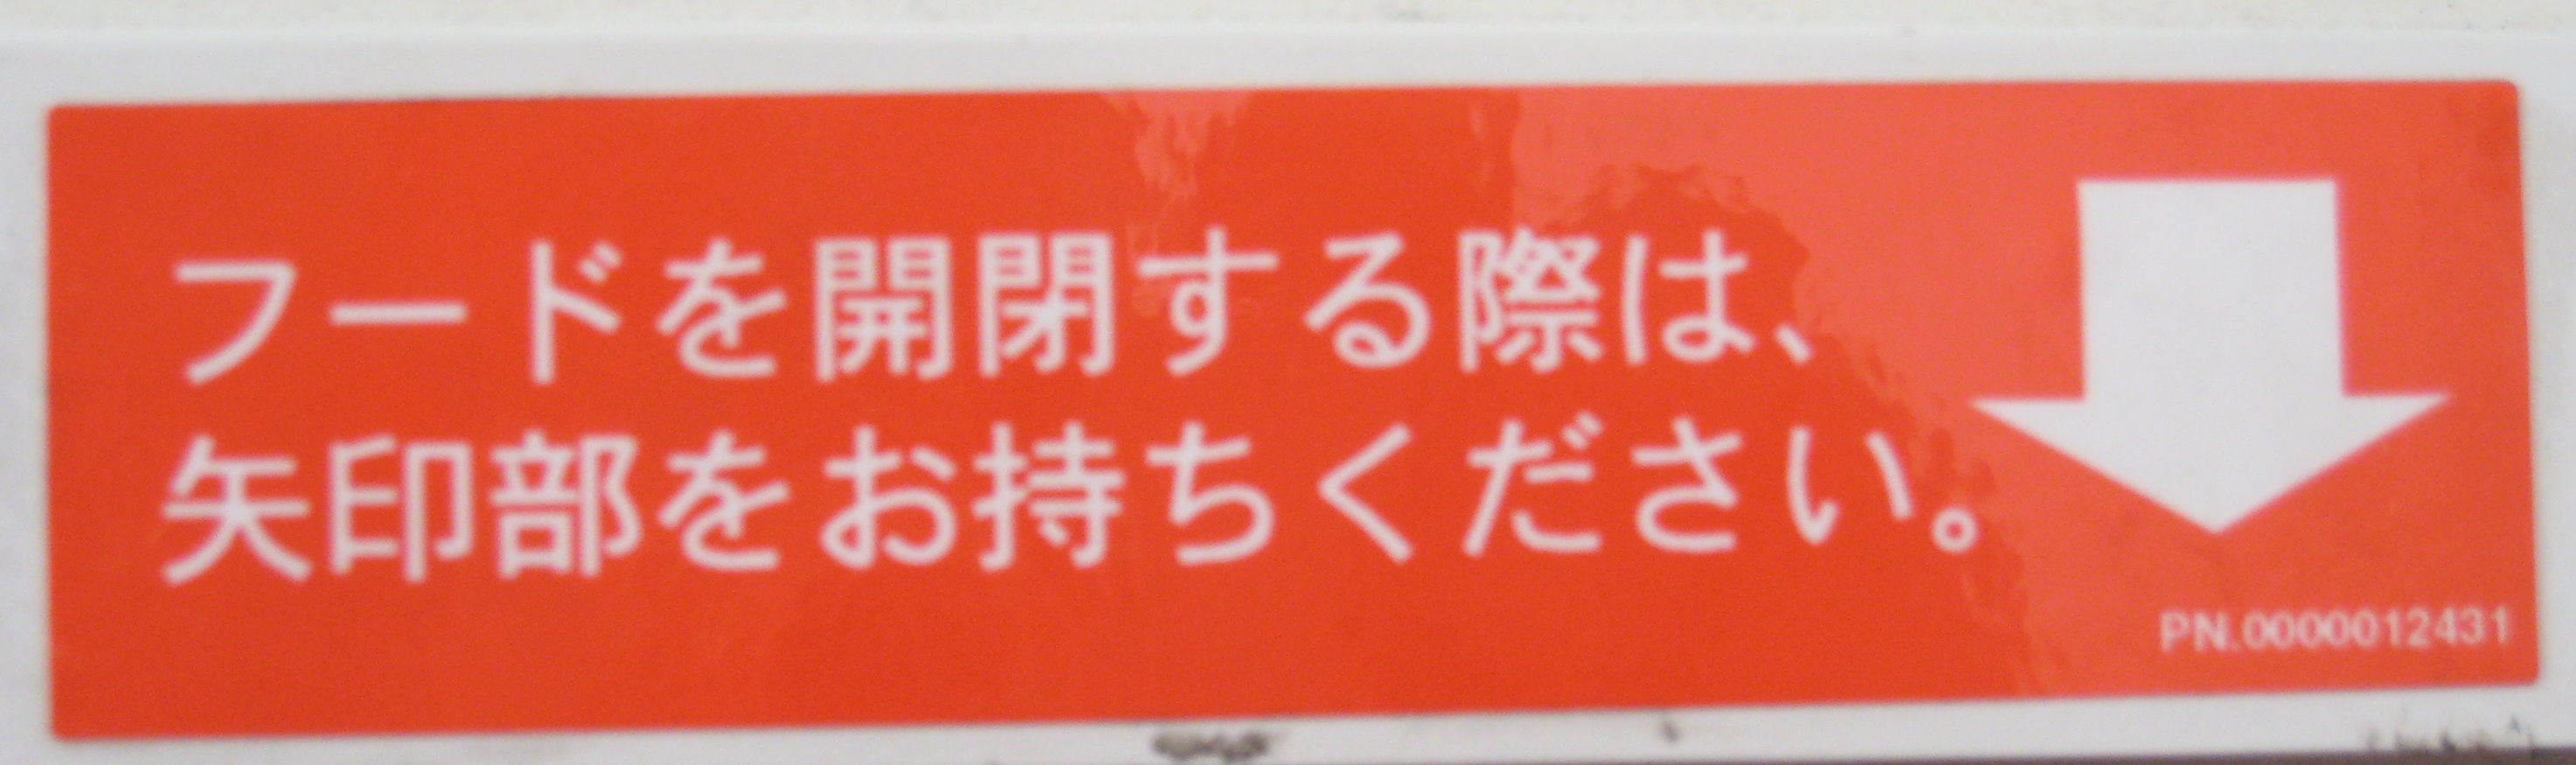
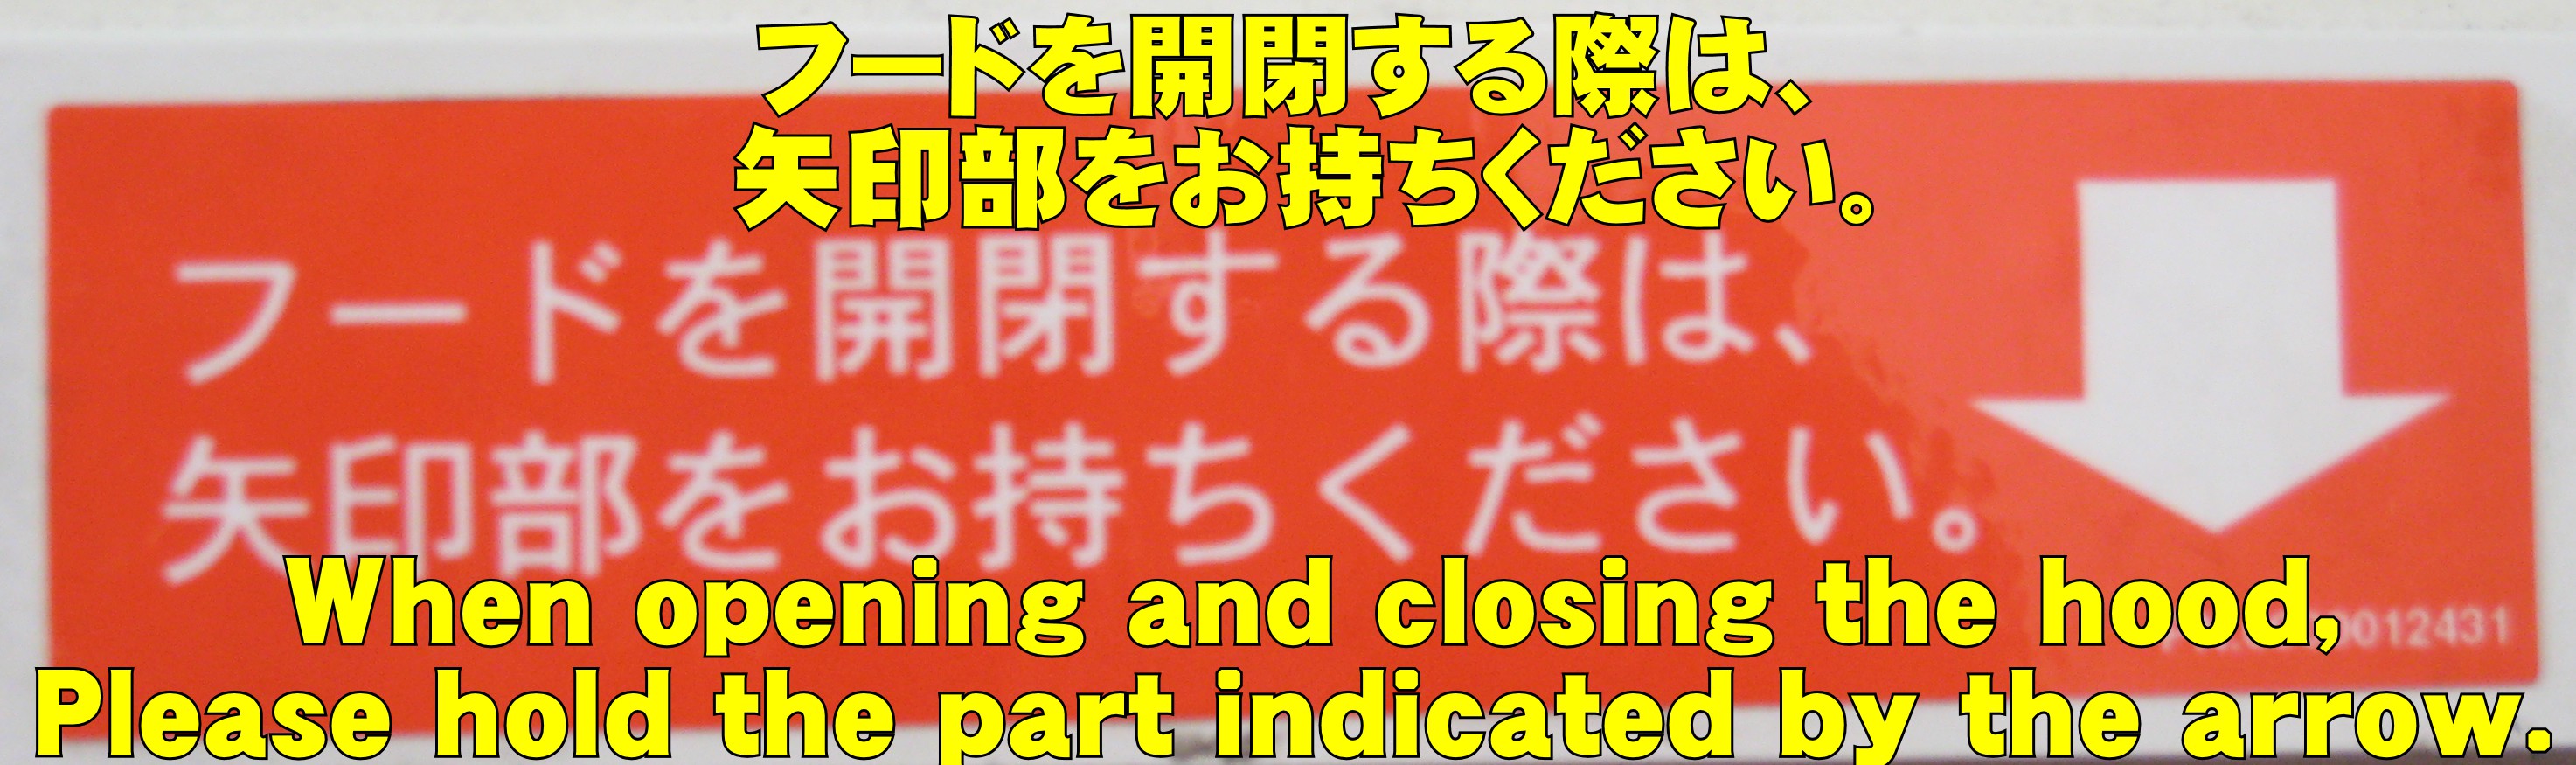
フードを開閉する際は、 矢印部をお持ちください。
When opening and closing the hood,
Please hold the part indicated by the arrow.
PN.0000012431
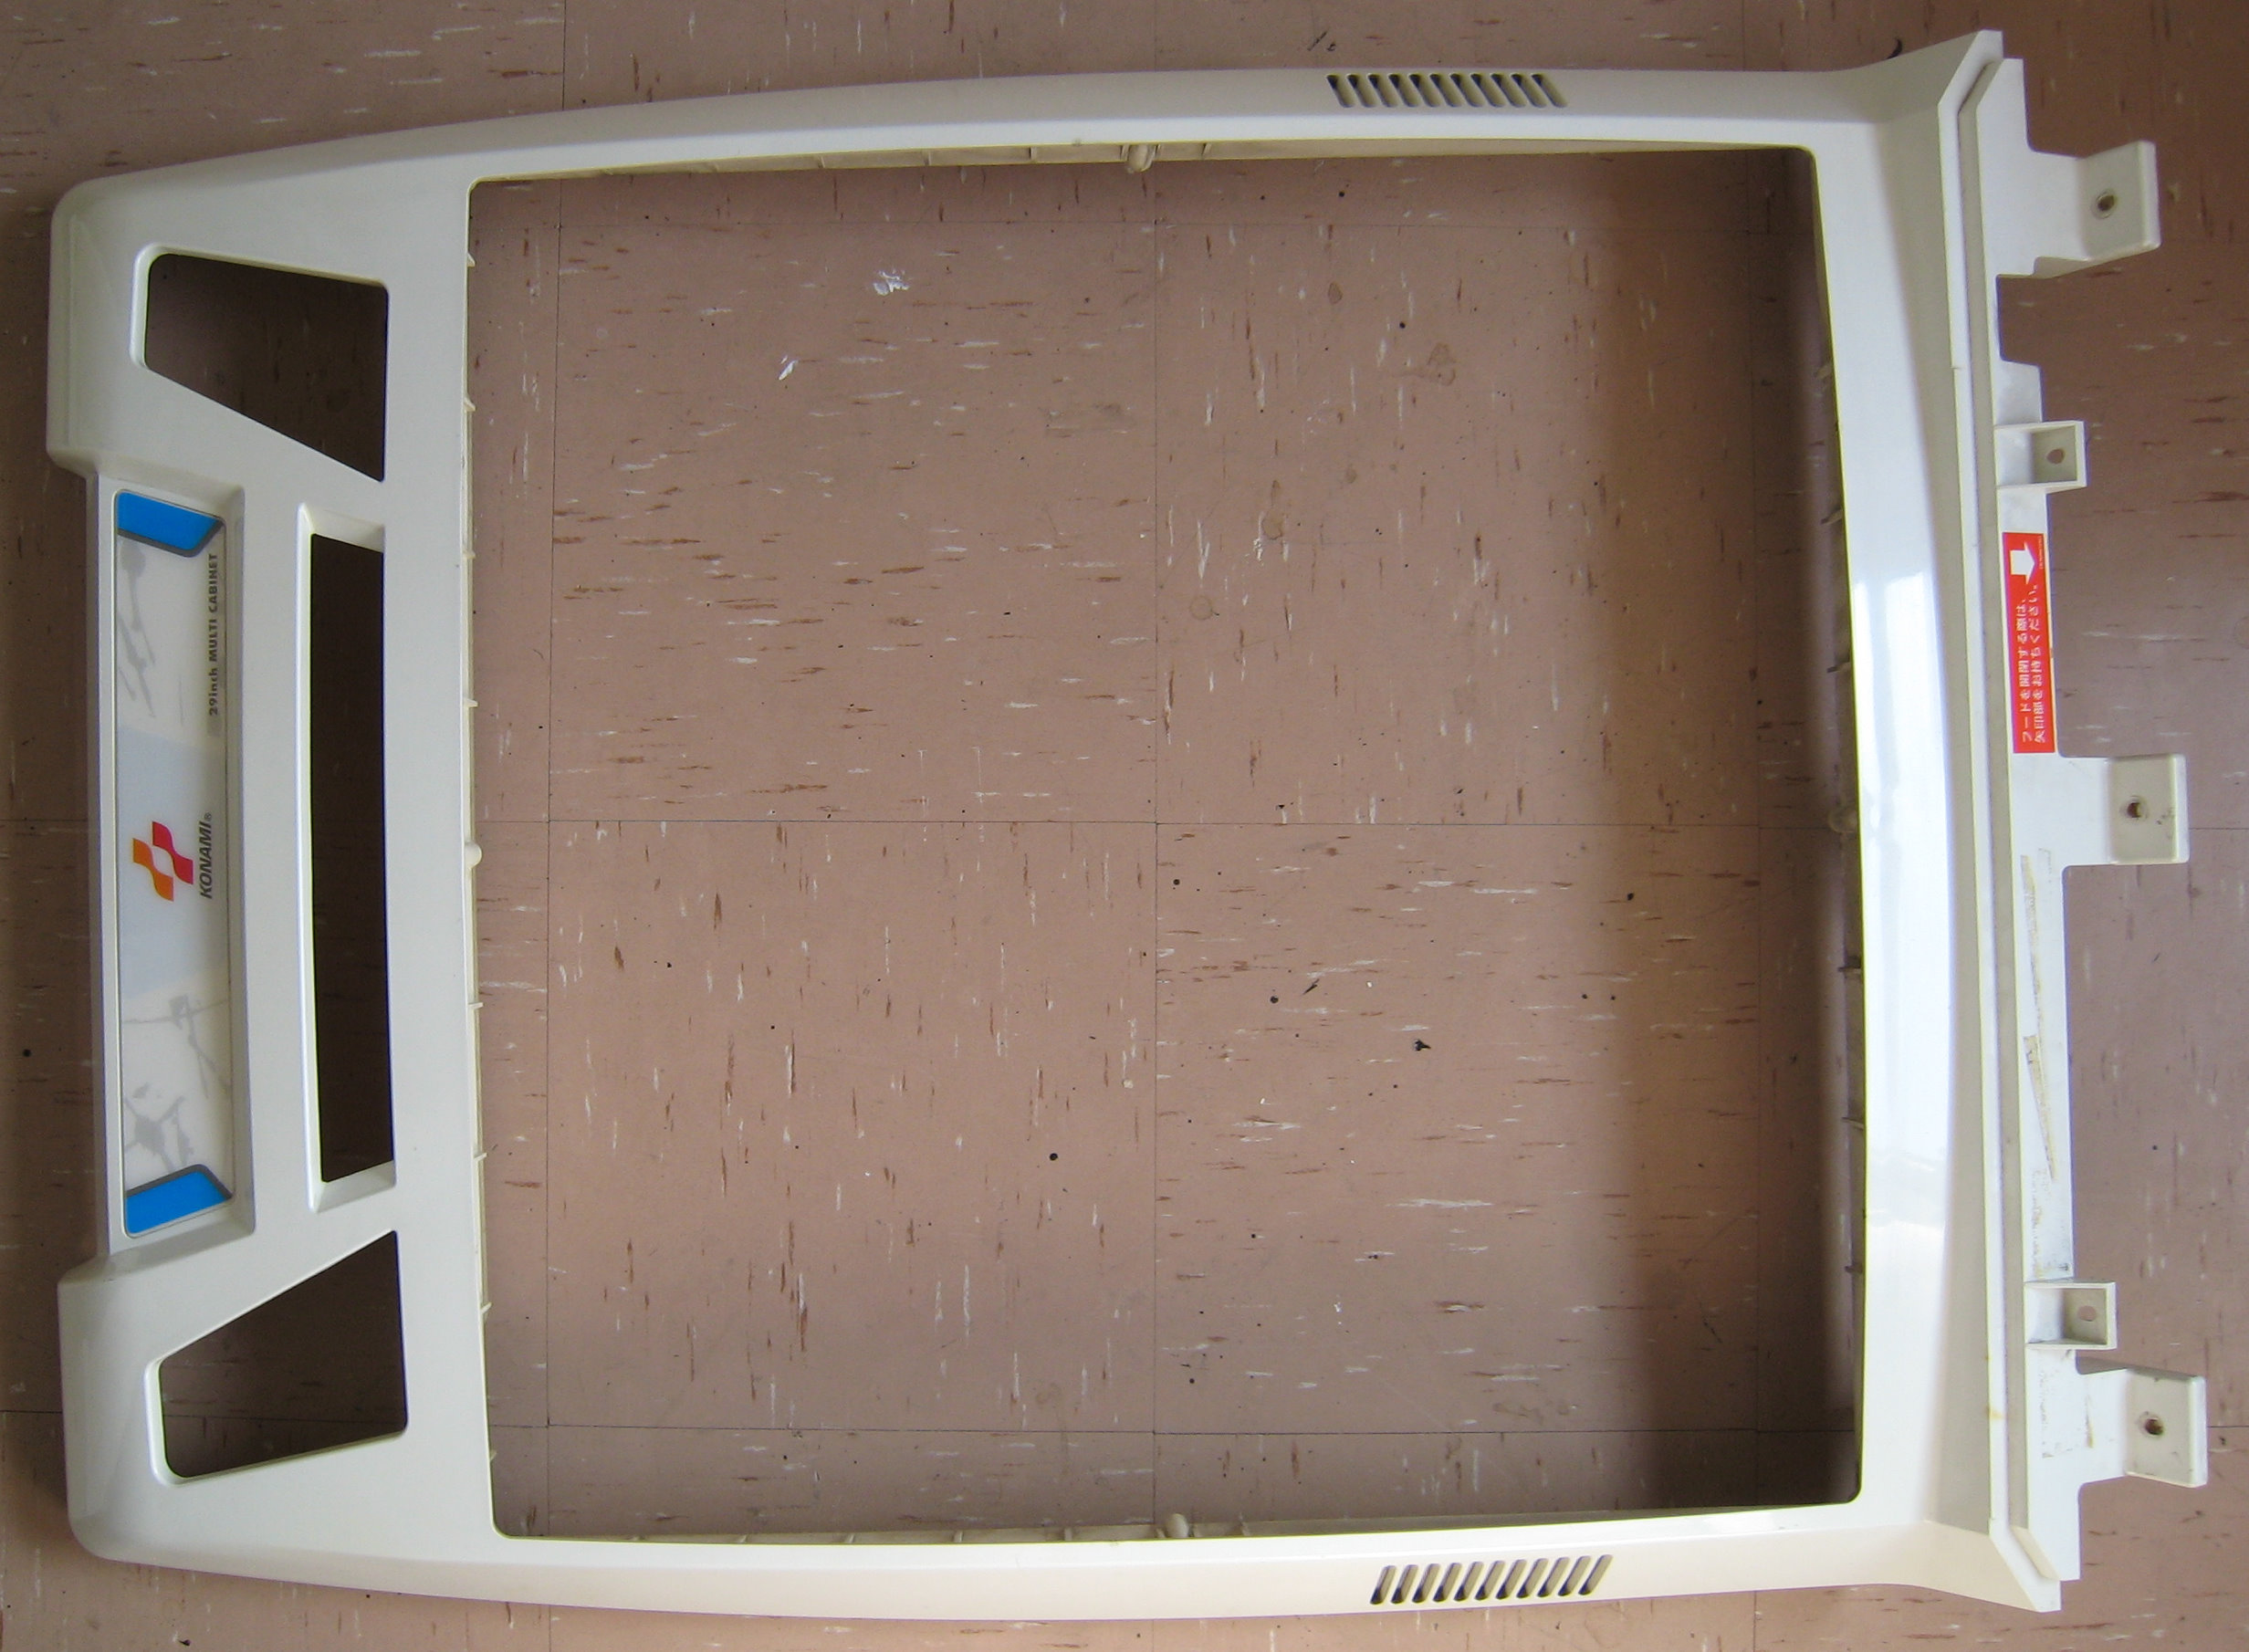
After Cleaning

Reassembly
This is where I'll document the reassembly of the machine, I'm making it up as I go so some things may change.
I'm coating all of the unpainted metal components with ACF-50, I use it on my motorcycle and its good stuff at keeping things from corroding.
![]()
#1 - Base Assembled
Wheels and Feet are now assembled and I now have a rolling chassis.
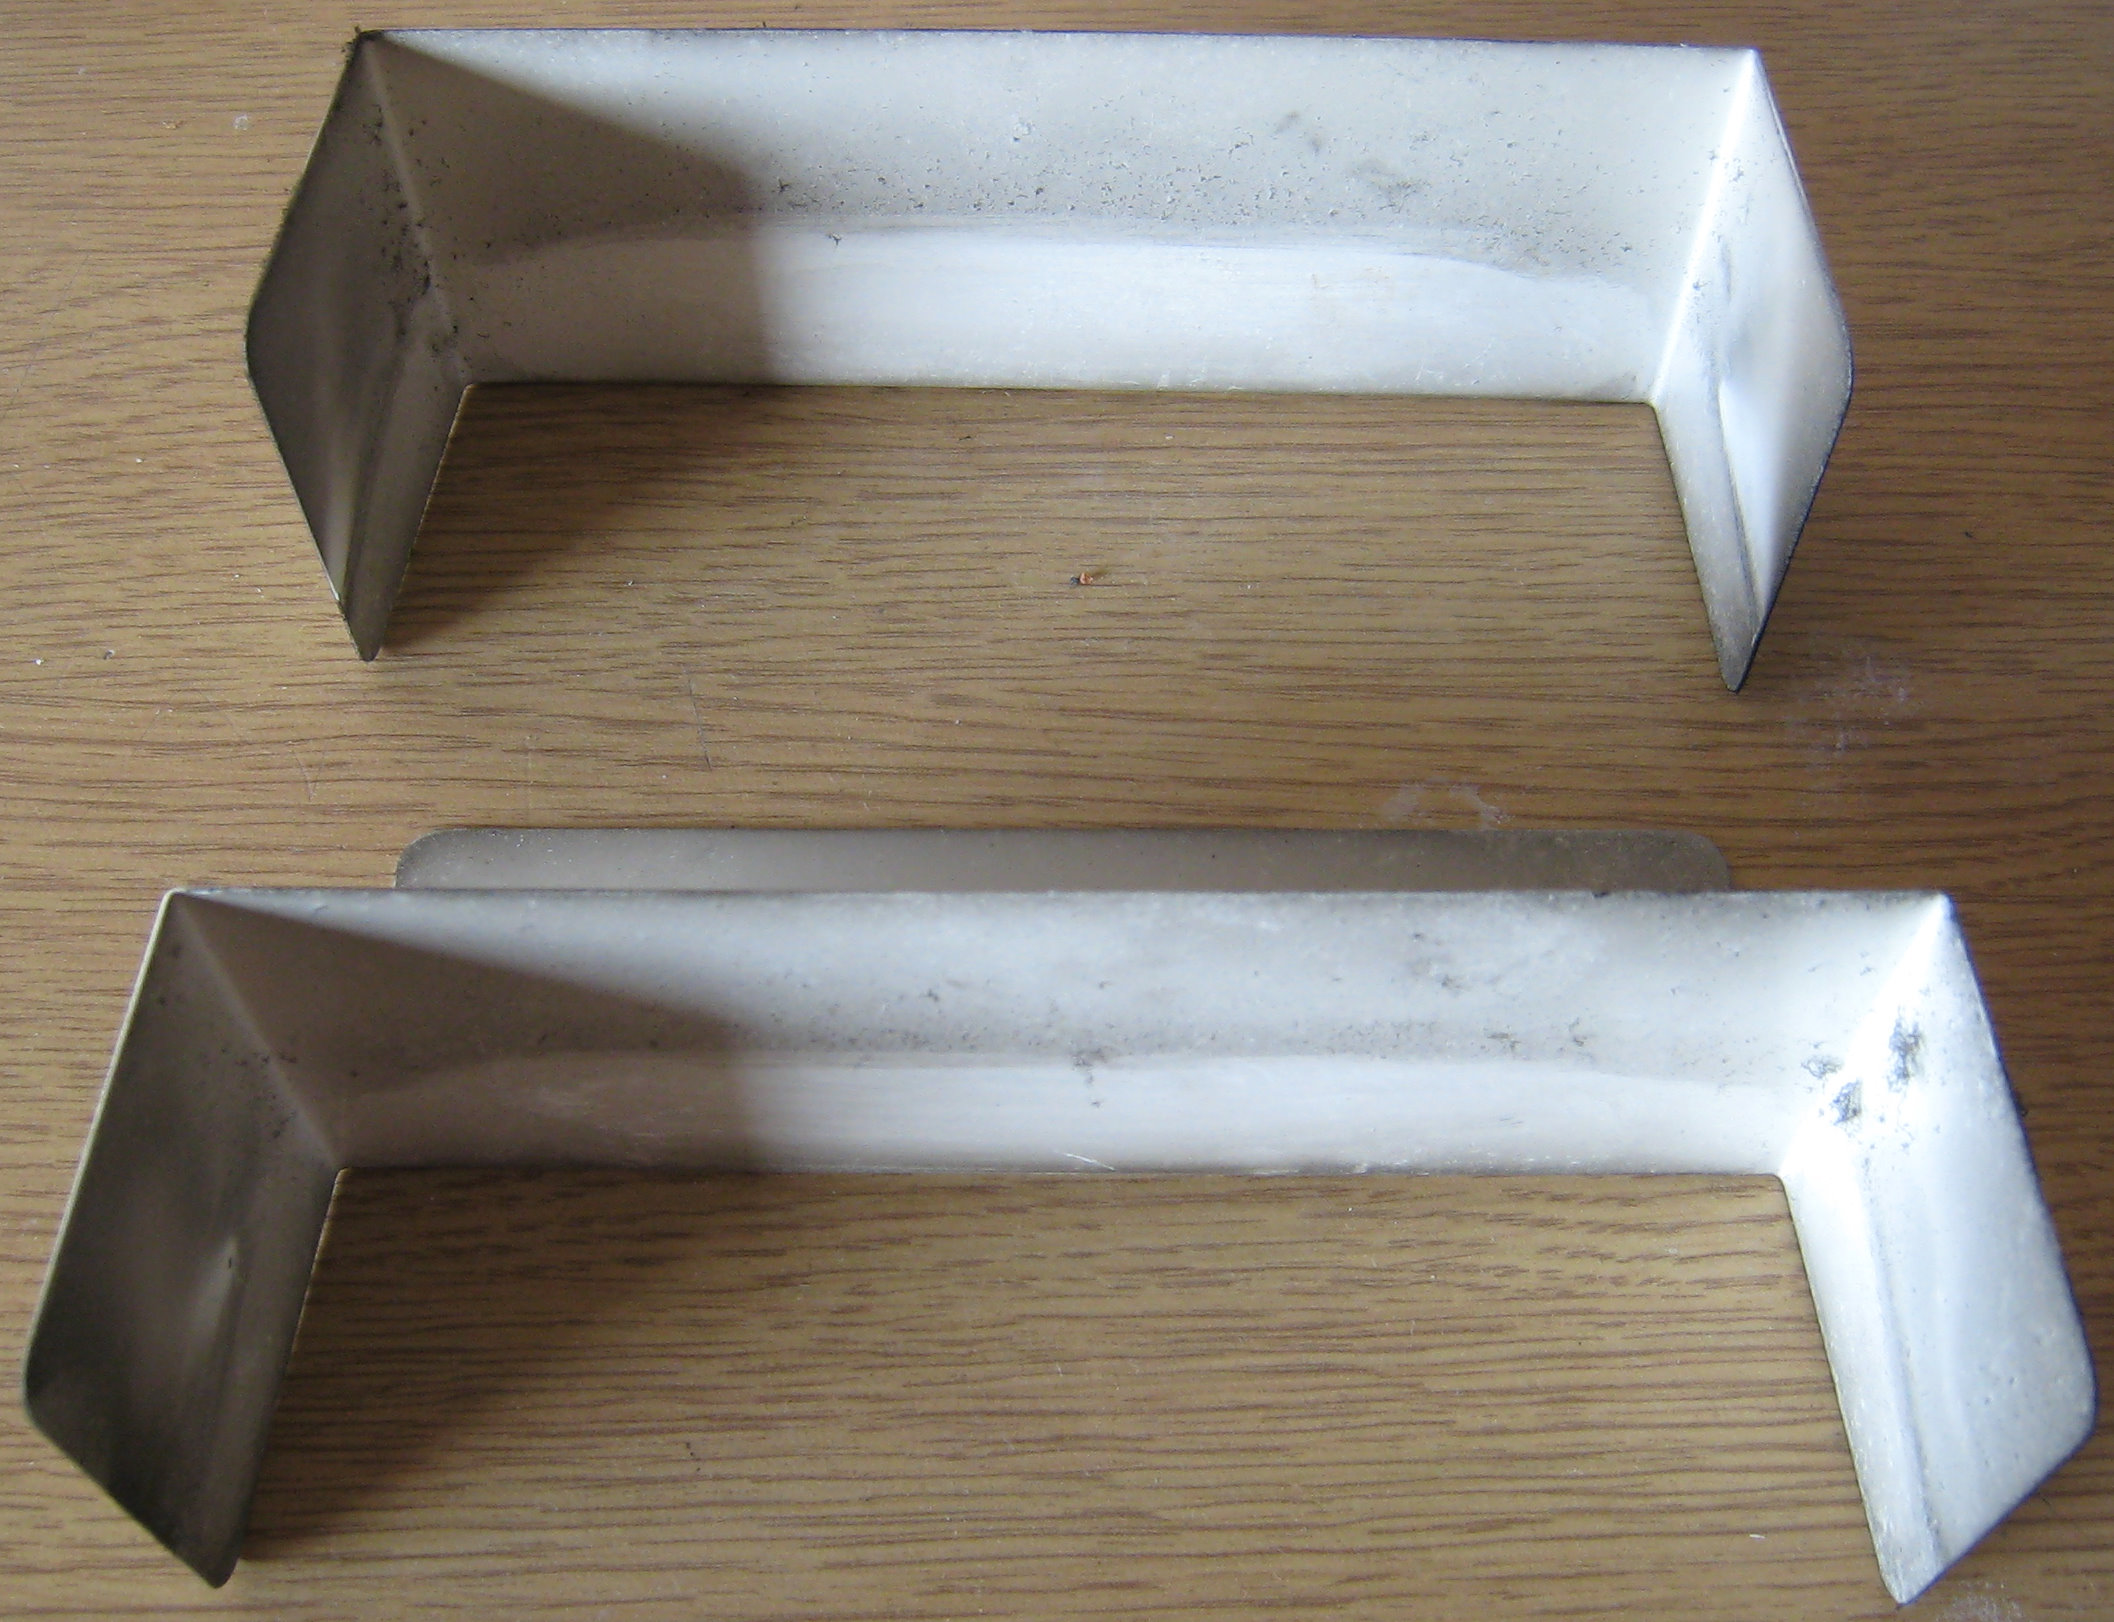
#2 - Base to Main Body
Metal Handle Guards are installed and Main Body is now joined onto the Base, it's so nive working with a freshly cleaned machine.
#3 - Rear Connection Panel and Install PSU
Some of the cable clamps had fallen off, these were cleaned and re-stuck (Unibond No More Nails Strips Permanent).
Install the cable ties ready for the cables.
I'm spiral wrapping the cables into looms which will make the machine more consumer than industrial, it also makes the job look much neater and easier to route the cables.
Bolt the PSU in and route the power cables through the clamps to the back of the machine.
Route the D-SUB, Audio and USB JVS cables to the front of the machine, this is now a single spiral wrapped loom.
Route the Speaker cables to both speakers, note which is left and right. (Grey/White - Left, Red/Black - Right), route the front JVS and Power looms.
The 3.3v and 12v looms are not used on any of the games I have so they have been spiral wrapped and hidden on the left of the PSU.
Important
Don't forget to leave enough slack in the cables so the PSU can be removed through the door once the Joystick Pod has been installed.
#4 - Monitor Board Holder and Cash Box
Temporally place the Cash Box in the machine, this is needed to hold up the Monitor Board Holder while that's being installed.
Bolt using just the rear top two screws and rest it on the Coin Box (don't bolt in the Cash Box in just yet or the Joystick Pod cannot be fitted).
Route all the cables to the correct connections.
#5 - Metal Game Slide Holder
Install the large middle metal game slide holder and connect the three monitor cables to the small D-SUB board.
#6 - Joystick Pod, Cash Box and Coin Return Doors
Fit the Coin Return Door before fitting the Joystick Pod as it's very difficult to fit once the Joystick Pod is fitted to the Main Body.
Install the Joystick Pod to the Main Body and then secure the Cash Box, don't forget to connect the Earth, Coin Counter and Coin Mech cables.
Once the Cash Box is secured you can install the Cash Box Door.
Route and clamp the USB JVS and Earth cables.
#7 - Monitor Holder
Install the speakers into the Monitor Holder then fit the Monitor Holder onto the Main Body, connect the speaker cables.
#8 - Marquee Light
Bolt on using the two screws and route the cable to the Marquee Light, secure the cable in the two cable clamps.
#9 - Check Connections
Check all connections to make sure they are connected and routed properly (no pinched cables).
It's a good idea to do this now as once the monitor is in it's a little harder to check as you will only have the lower front hatch and rear access cover.
#10 - [CAUTION] Monitor Installation [CAUTION]
DON'T NECK THE MONITOR.
http://www.arcaderepairtips.com/ - See this site for some great videos and guides on setting up and adjusting arcade monitors.
Now the tricky bit, take your time with this bit as this is the make or break part.
Prepare the area so there is nothing you are going to trip on, have the monitor mounting screws and screw driver to hand, secure the machine so it wont roll backwards on its wheels (against a wall is good).
Secure all the cables (I used two small length of Spiral Wrap) as you don't want any cables falling down and getting trapped while you're holding a heavy, fragile monitor.
Check the monitor is up the right way, carefully pick it up and install it in the machine, in my case the monitor will be in the horizontal mode so the Anode connector would be at the top.
If this looks too hard you can lay the machine down on it's back (on carpet or a large mat so as not to scratch the plastic) and install it that way, depends how strong you feel or you can get someone else to help you.
Remember, DO NOT touch the neck of the monitor on anything while you are installing it, I cannot stress this enough, one wrong move and the monitor is toast, which would mean all your hard work is for nothing and you will have to source a replacement monitor.
It's all to easier to catch the monitor neck on the side of the machine when installing it, be careful.
Secure the monitor in the machine with the four screws, don't go too mad on tighting them down.
#11 - Monitor Wiring
Connect all the Monitor cables and Neck Board, don't forget the Ground wire that connects to the Neck Board.
#12 - Check, Check and Check again
Double check and check again all connections.
#13 - Player Control Panel
Install the main Player Control Panel.
#14 - Test the machine
Test the machine with no game in it to see if the PSU (Fan), Marquee Light and Monitor all come on.
For the monitor you should see a faint neck glow and a crackle of the static thing you all love about CRT tubes.
Turn the Audio Amp up and down to see if there is any hum on the speakers.
And then turn it off.
#15 - Test a Game
Now test the machine with a game connected.
Hopefully the machine still works.
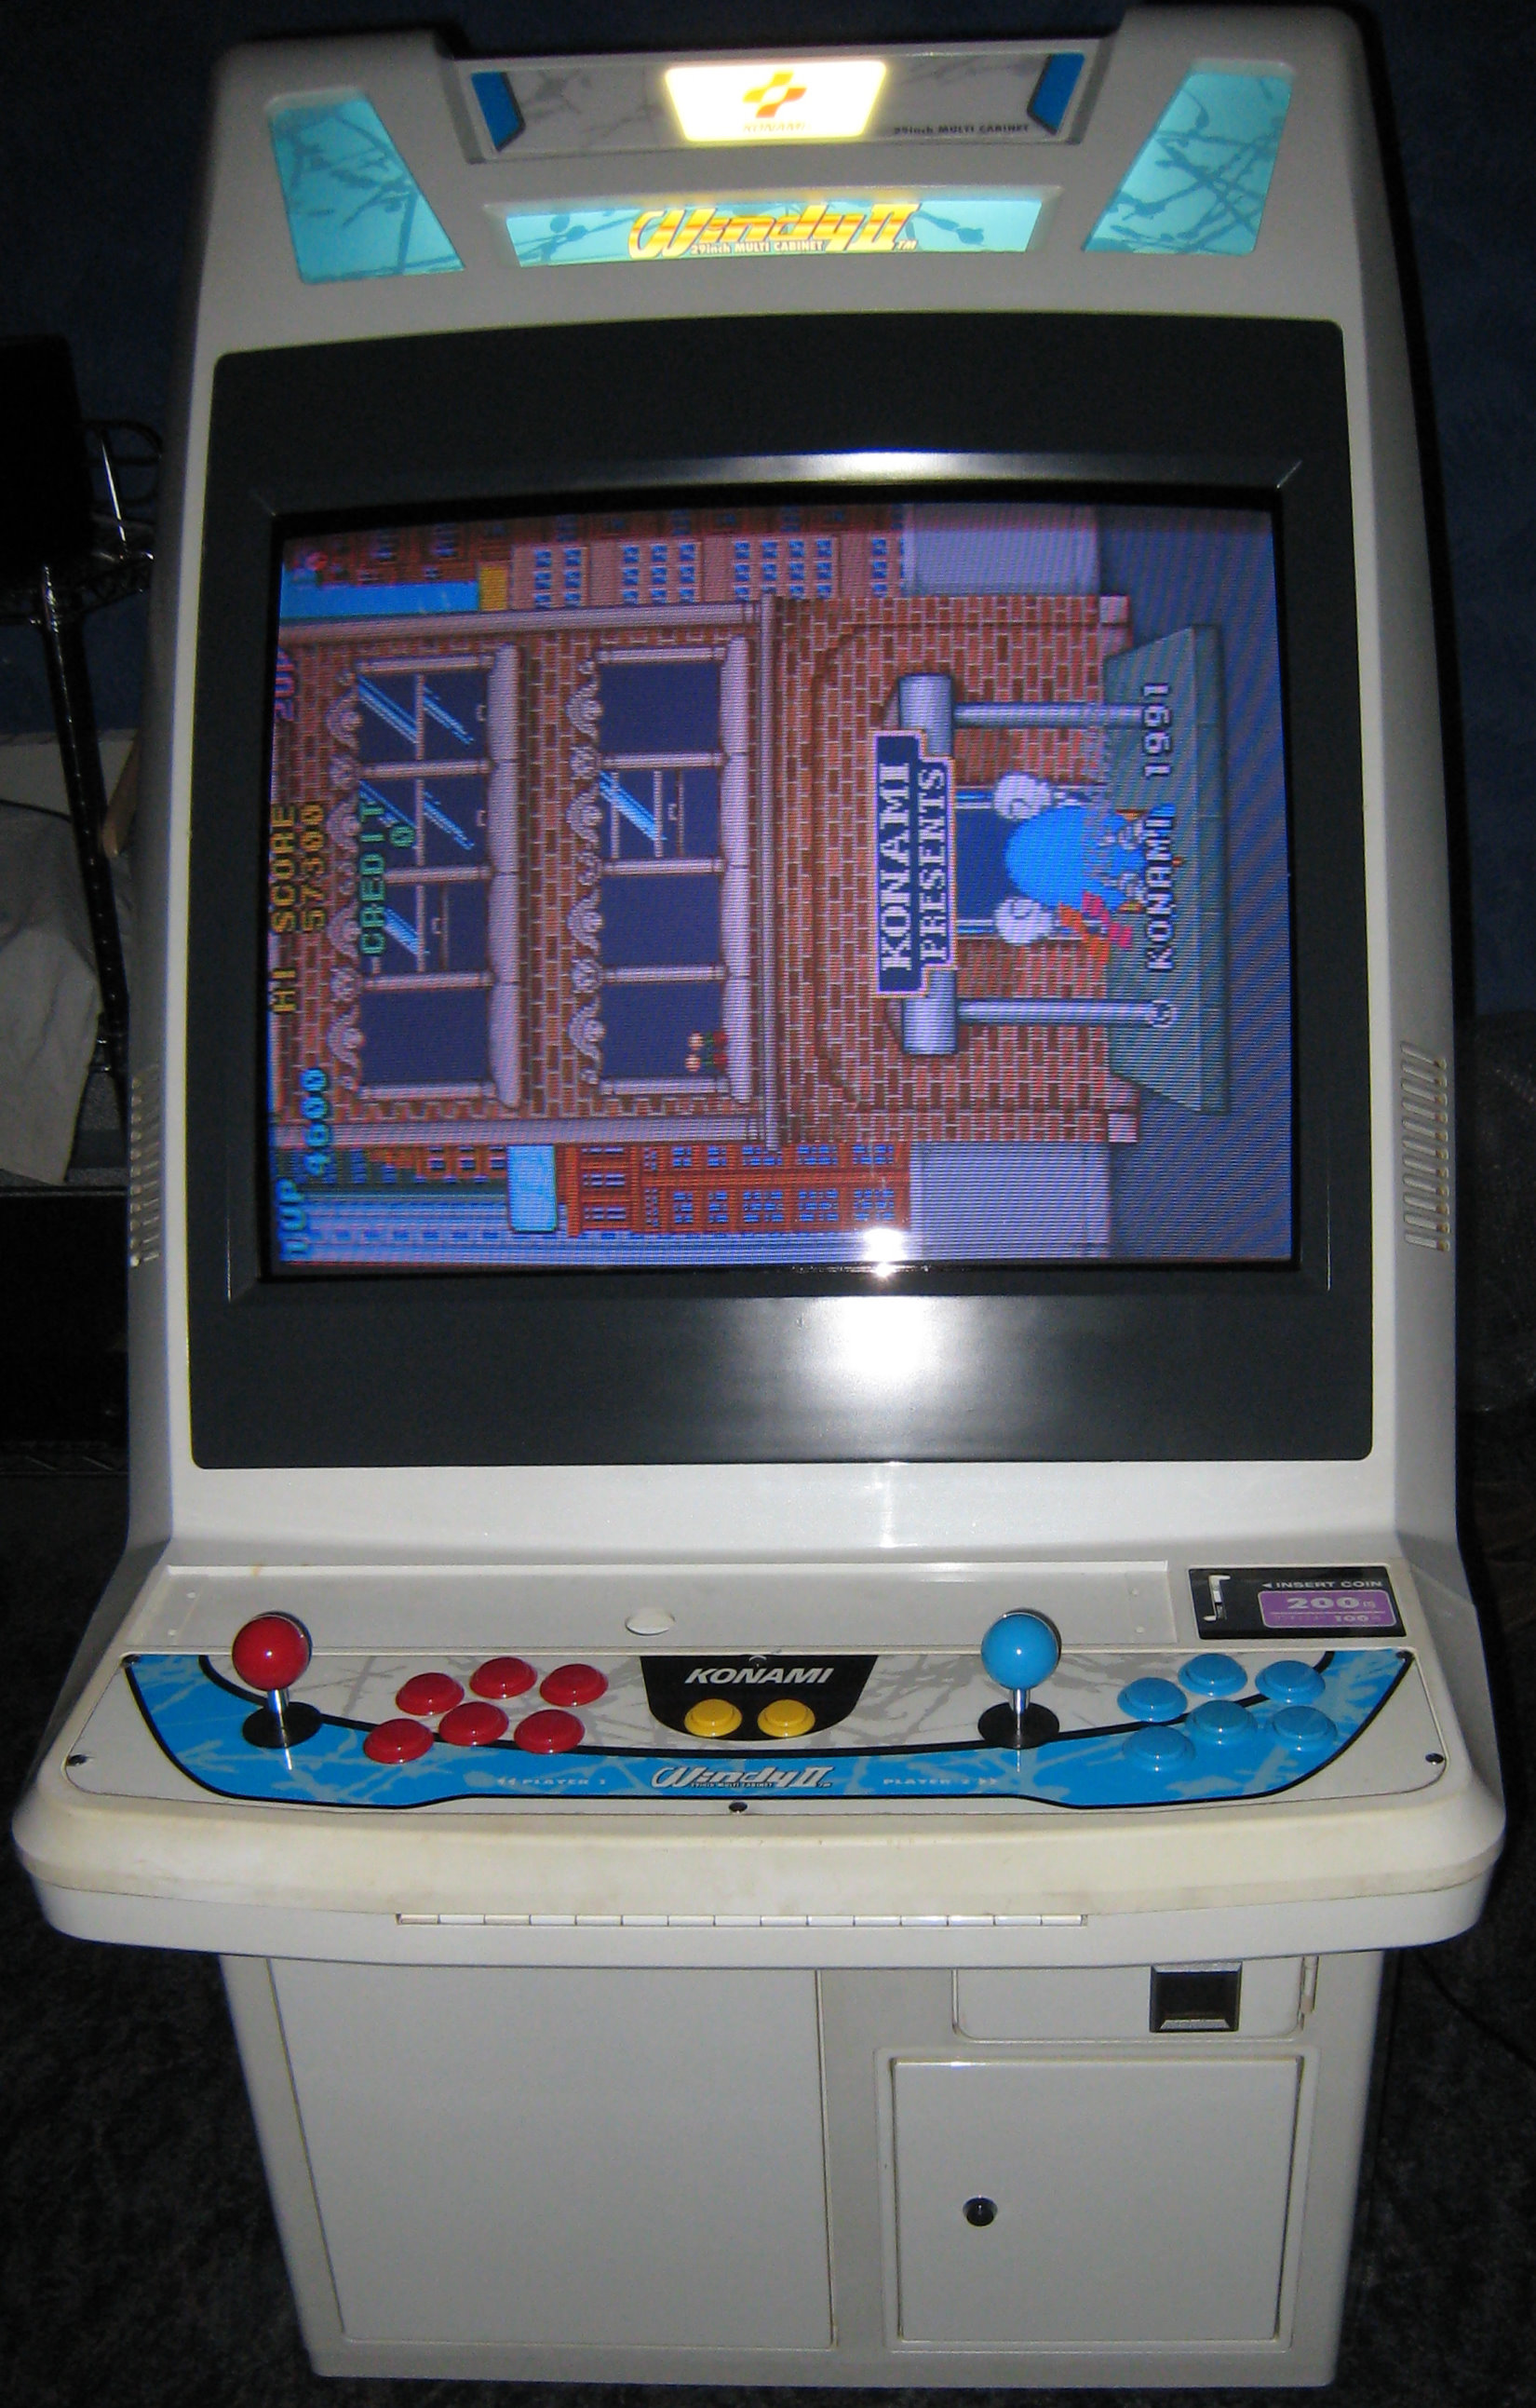
My test board is a Konami System GX board Taisen Puzzle-Dama (対戦ぱずるだま) 1994, it has issues and doesn't always boot (ROM errors) but at least I can see it the machine switches on.
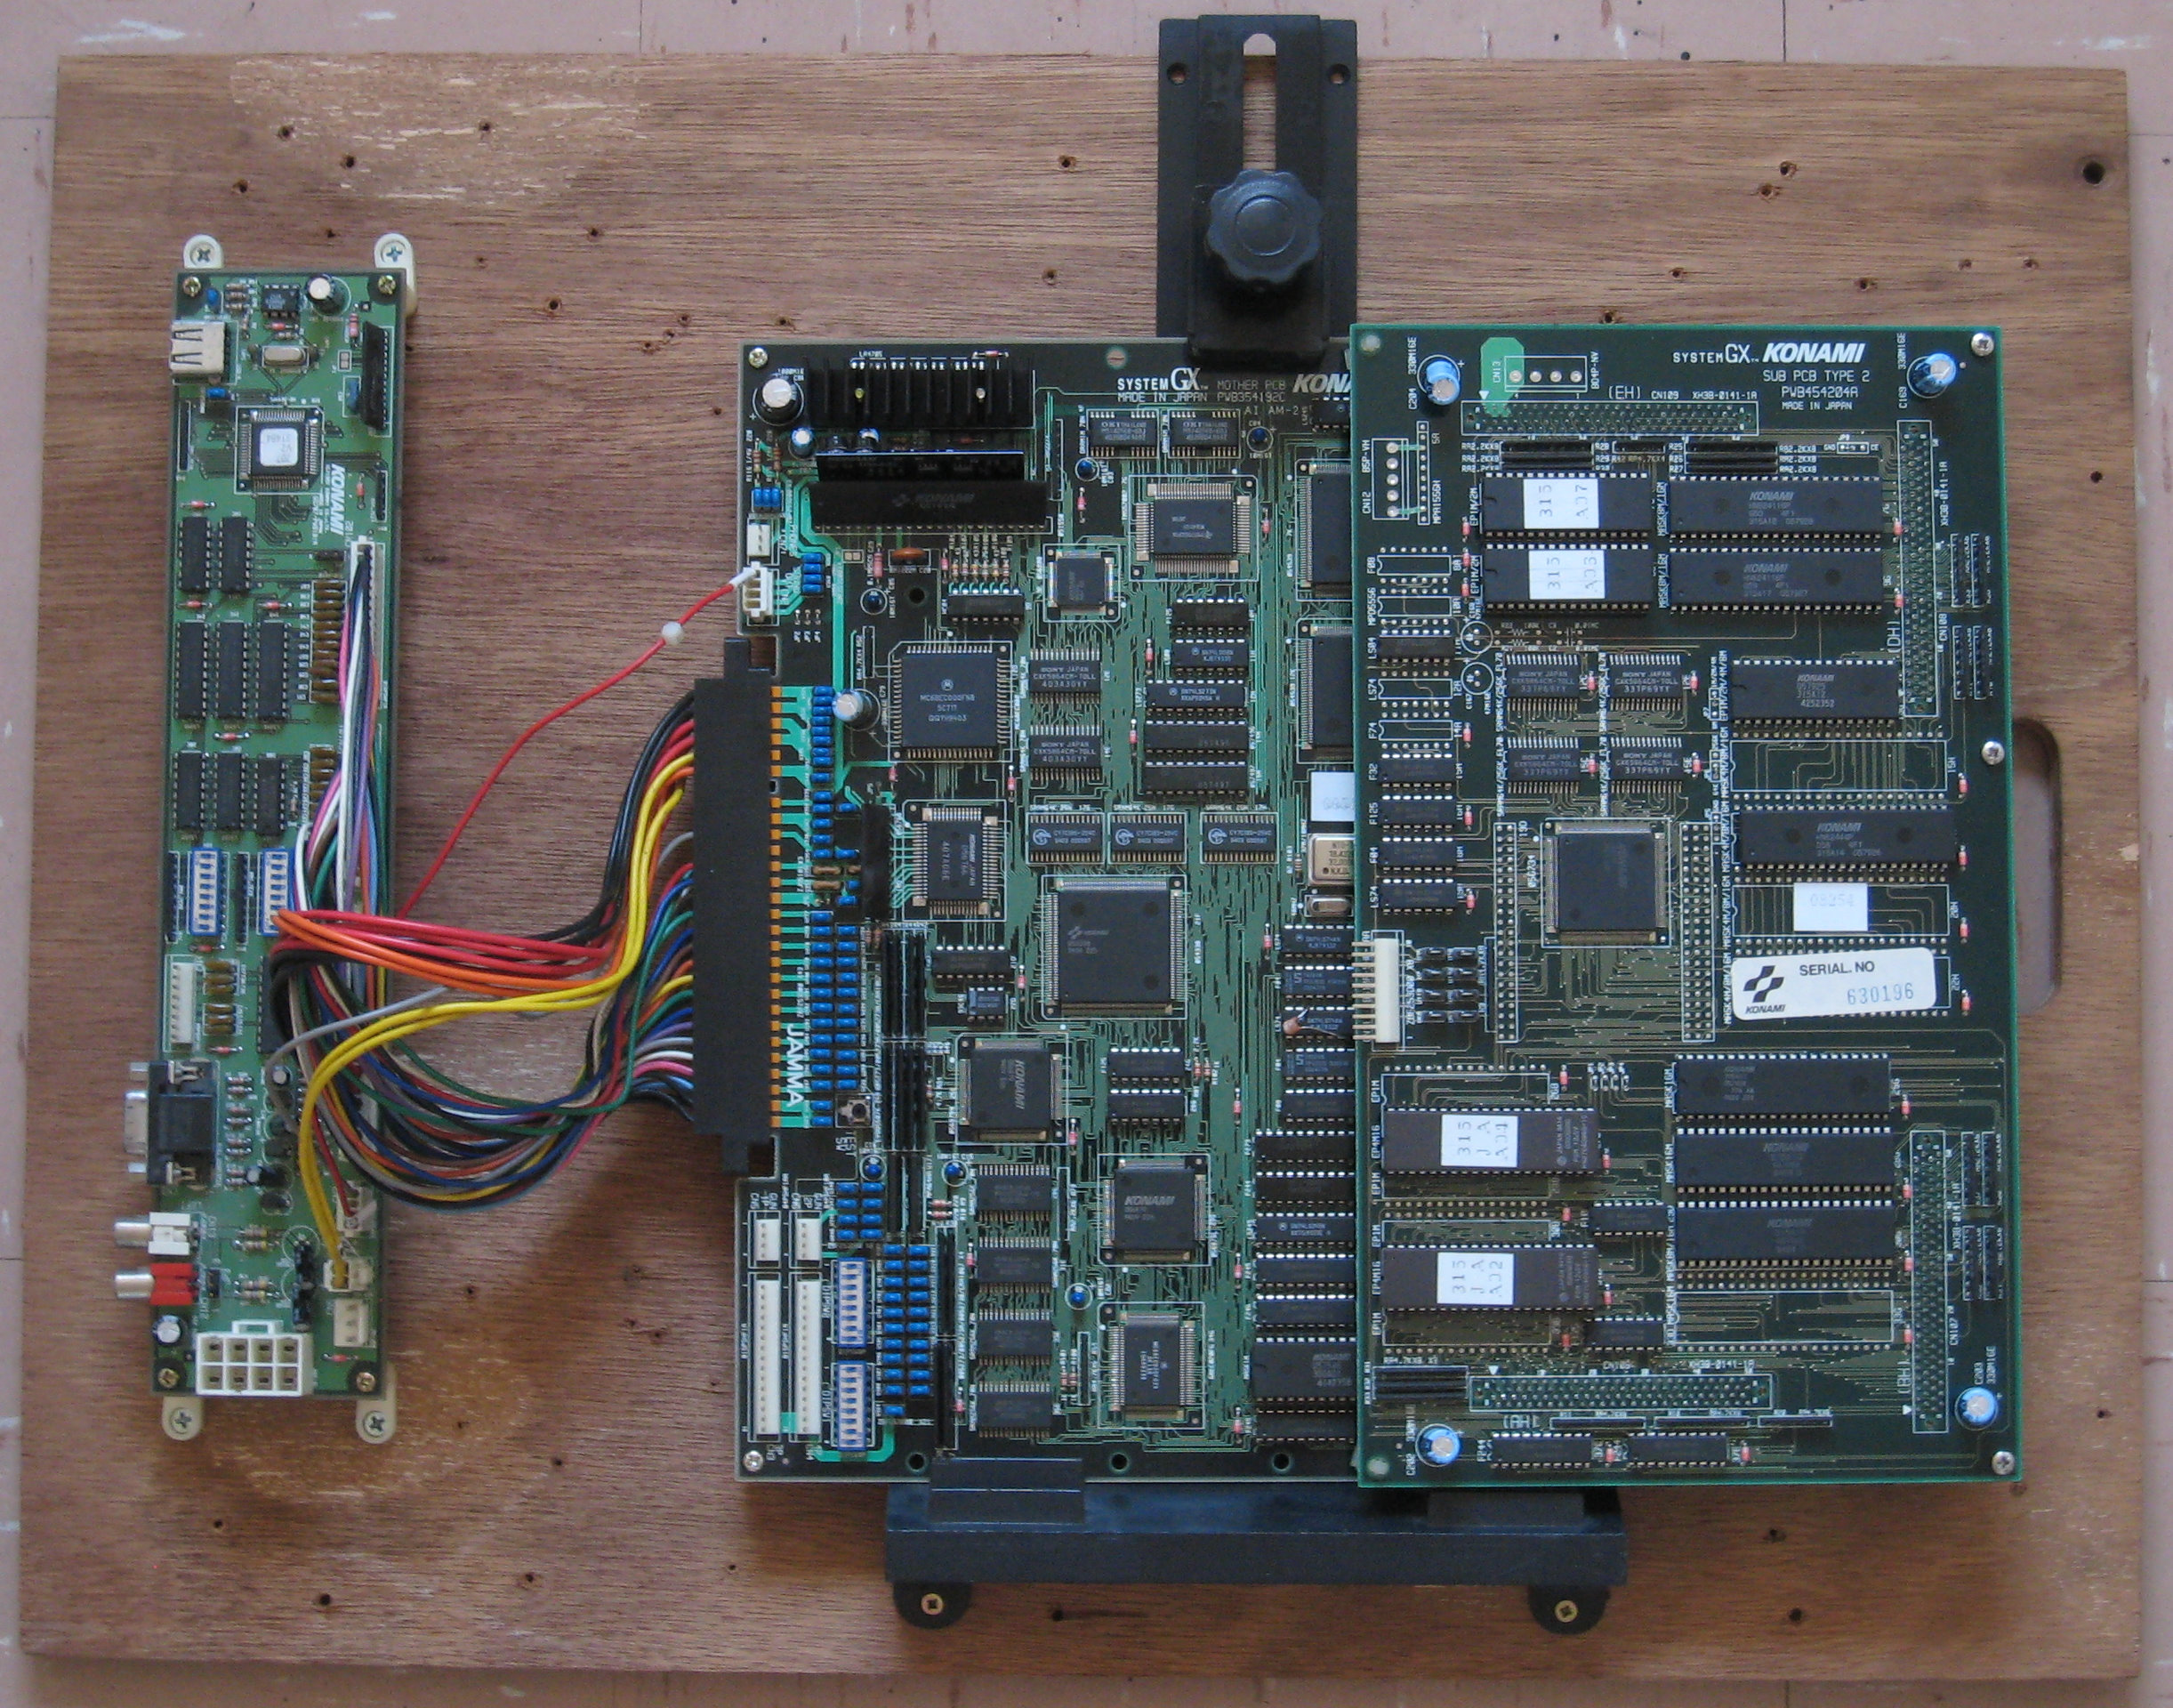
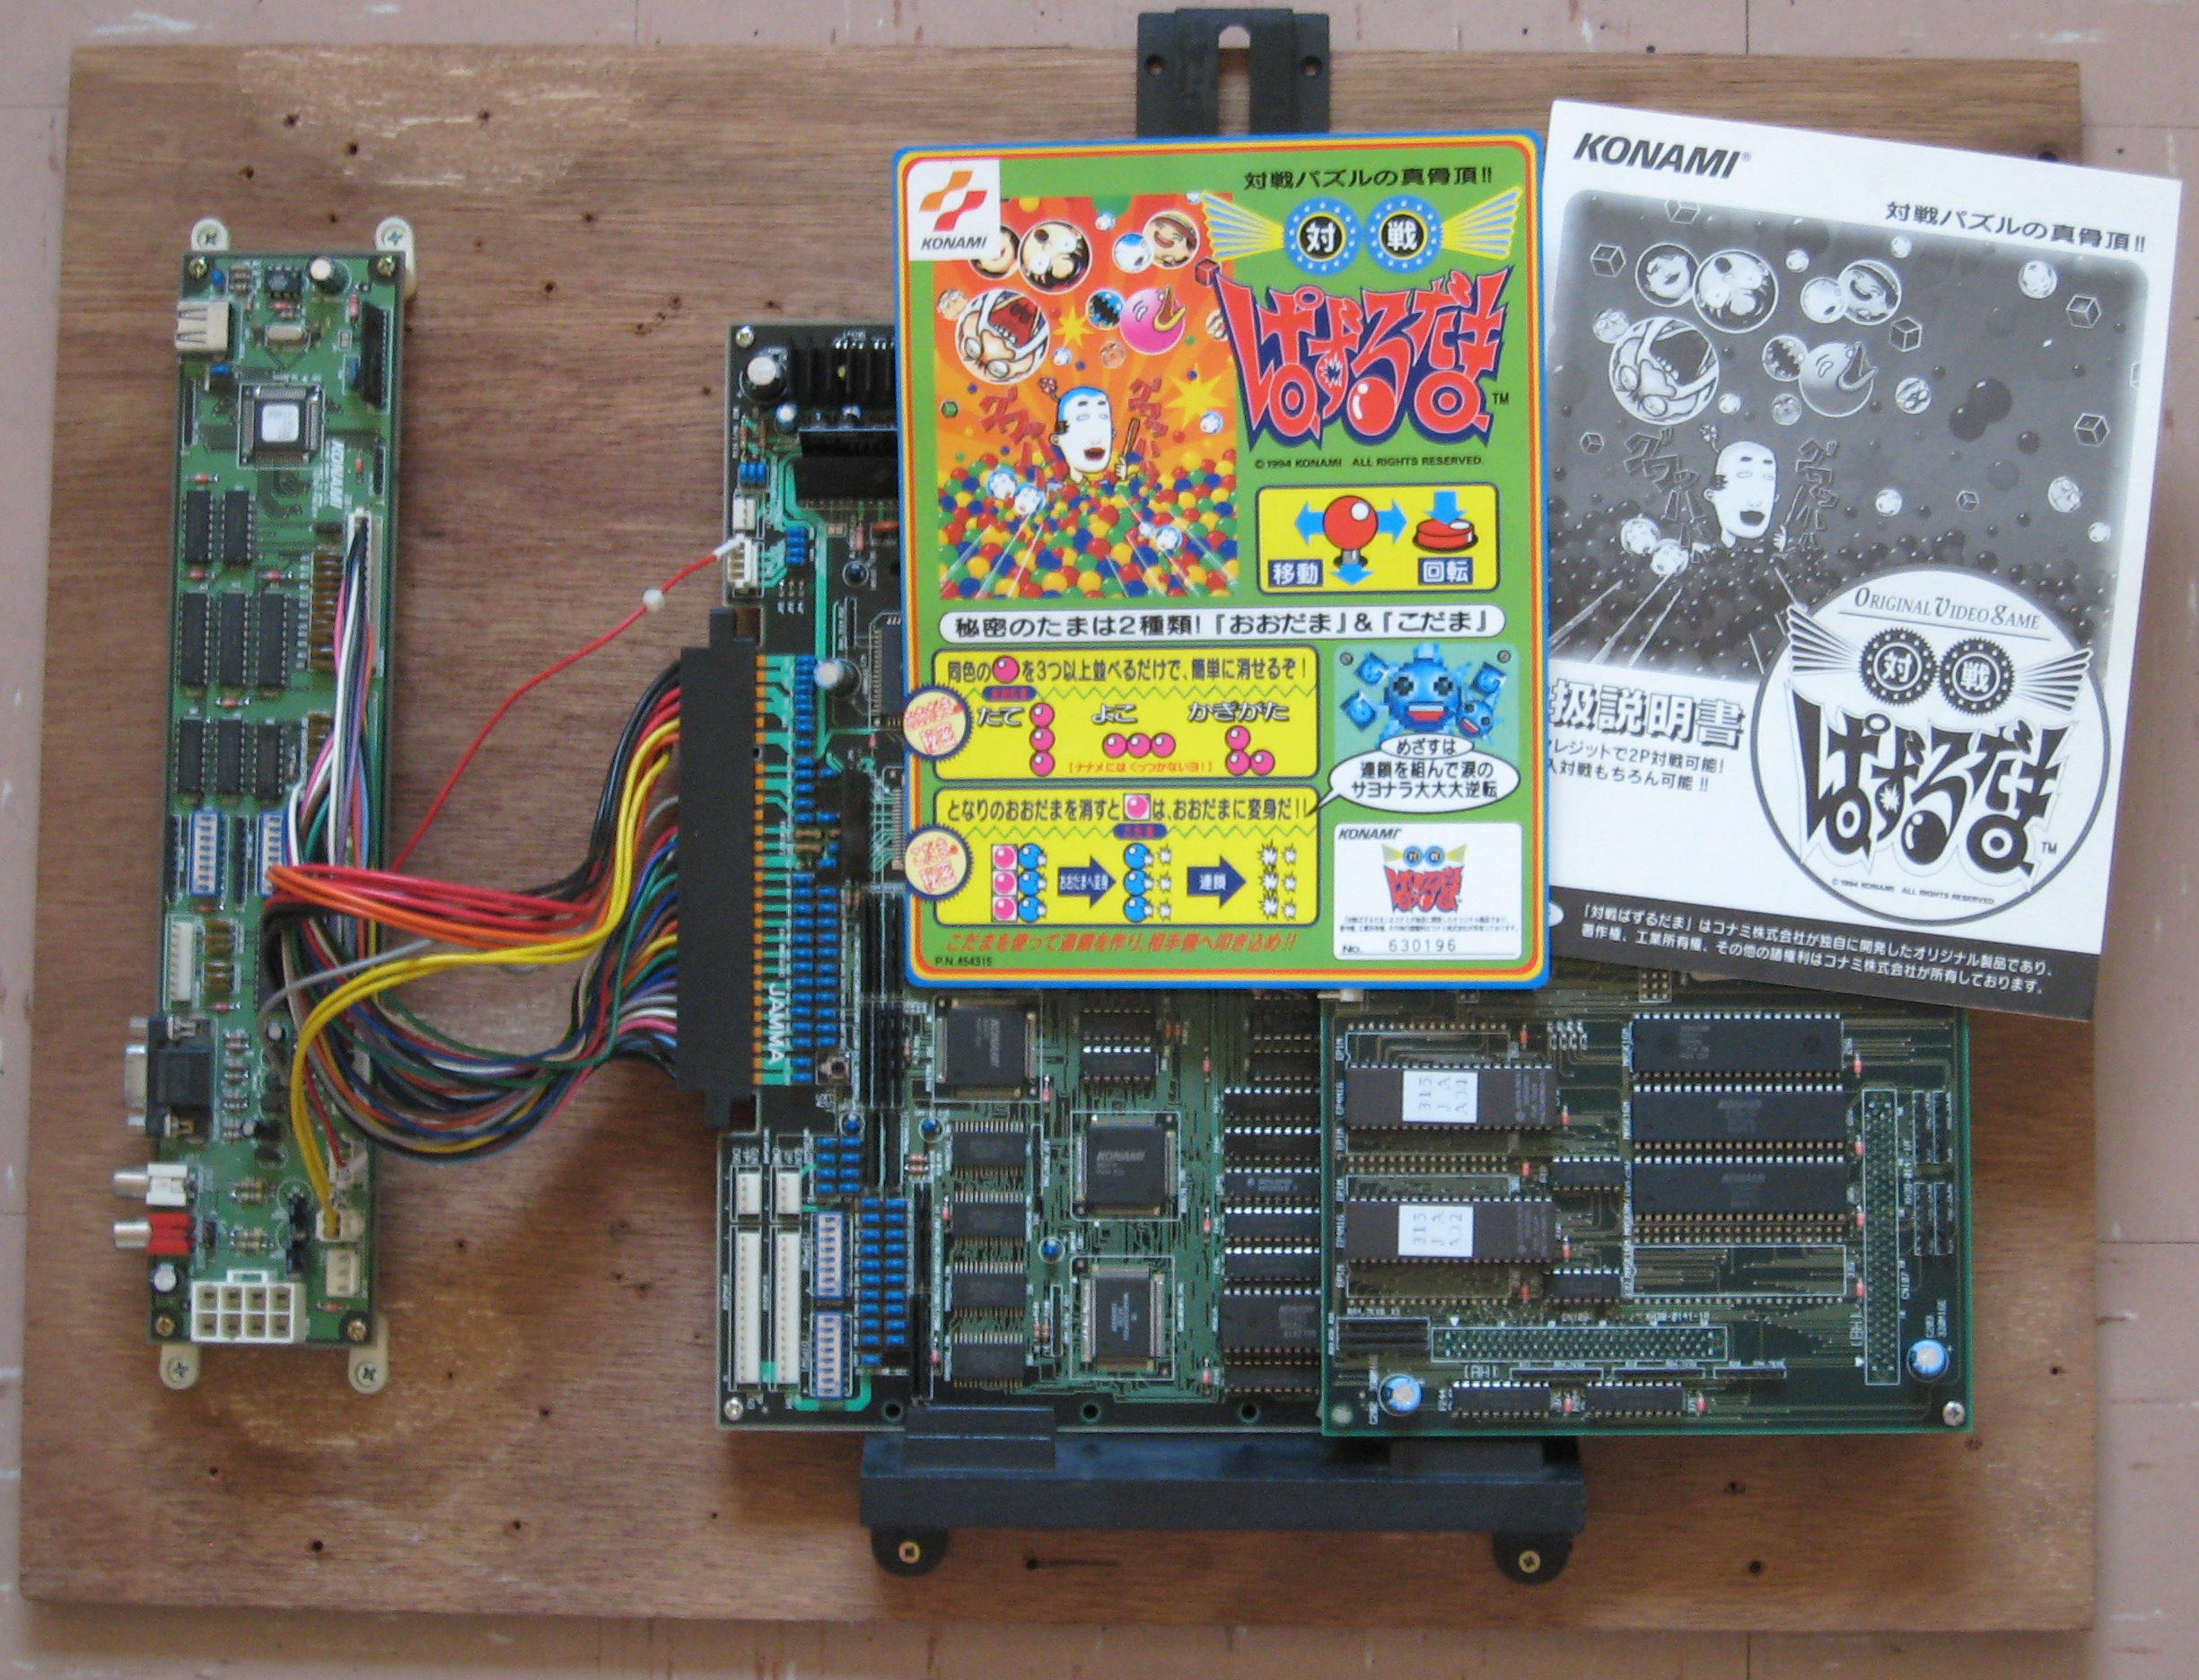
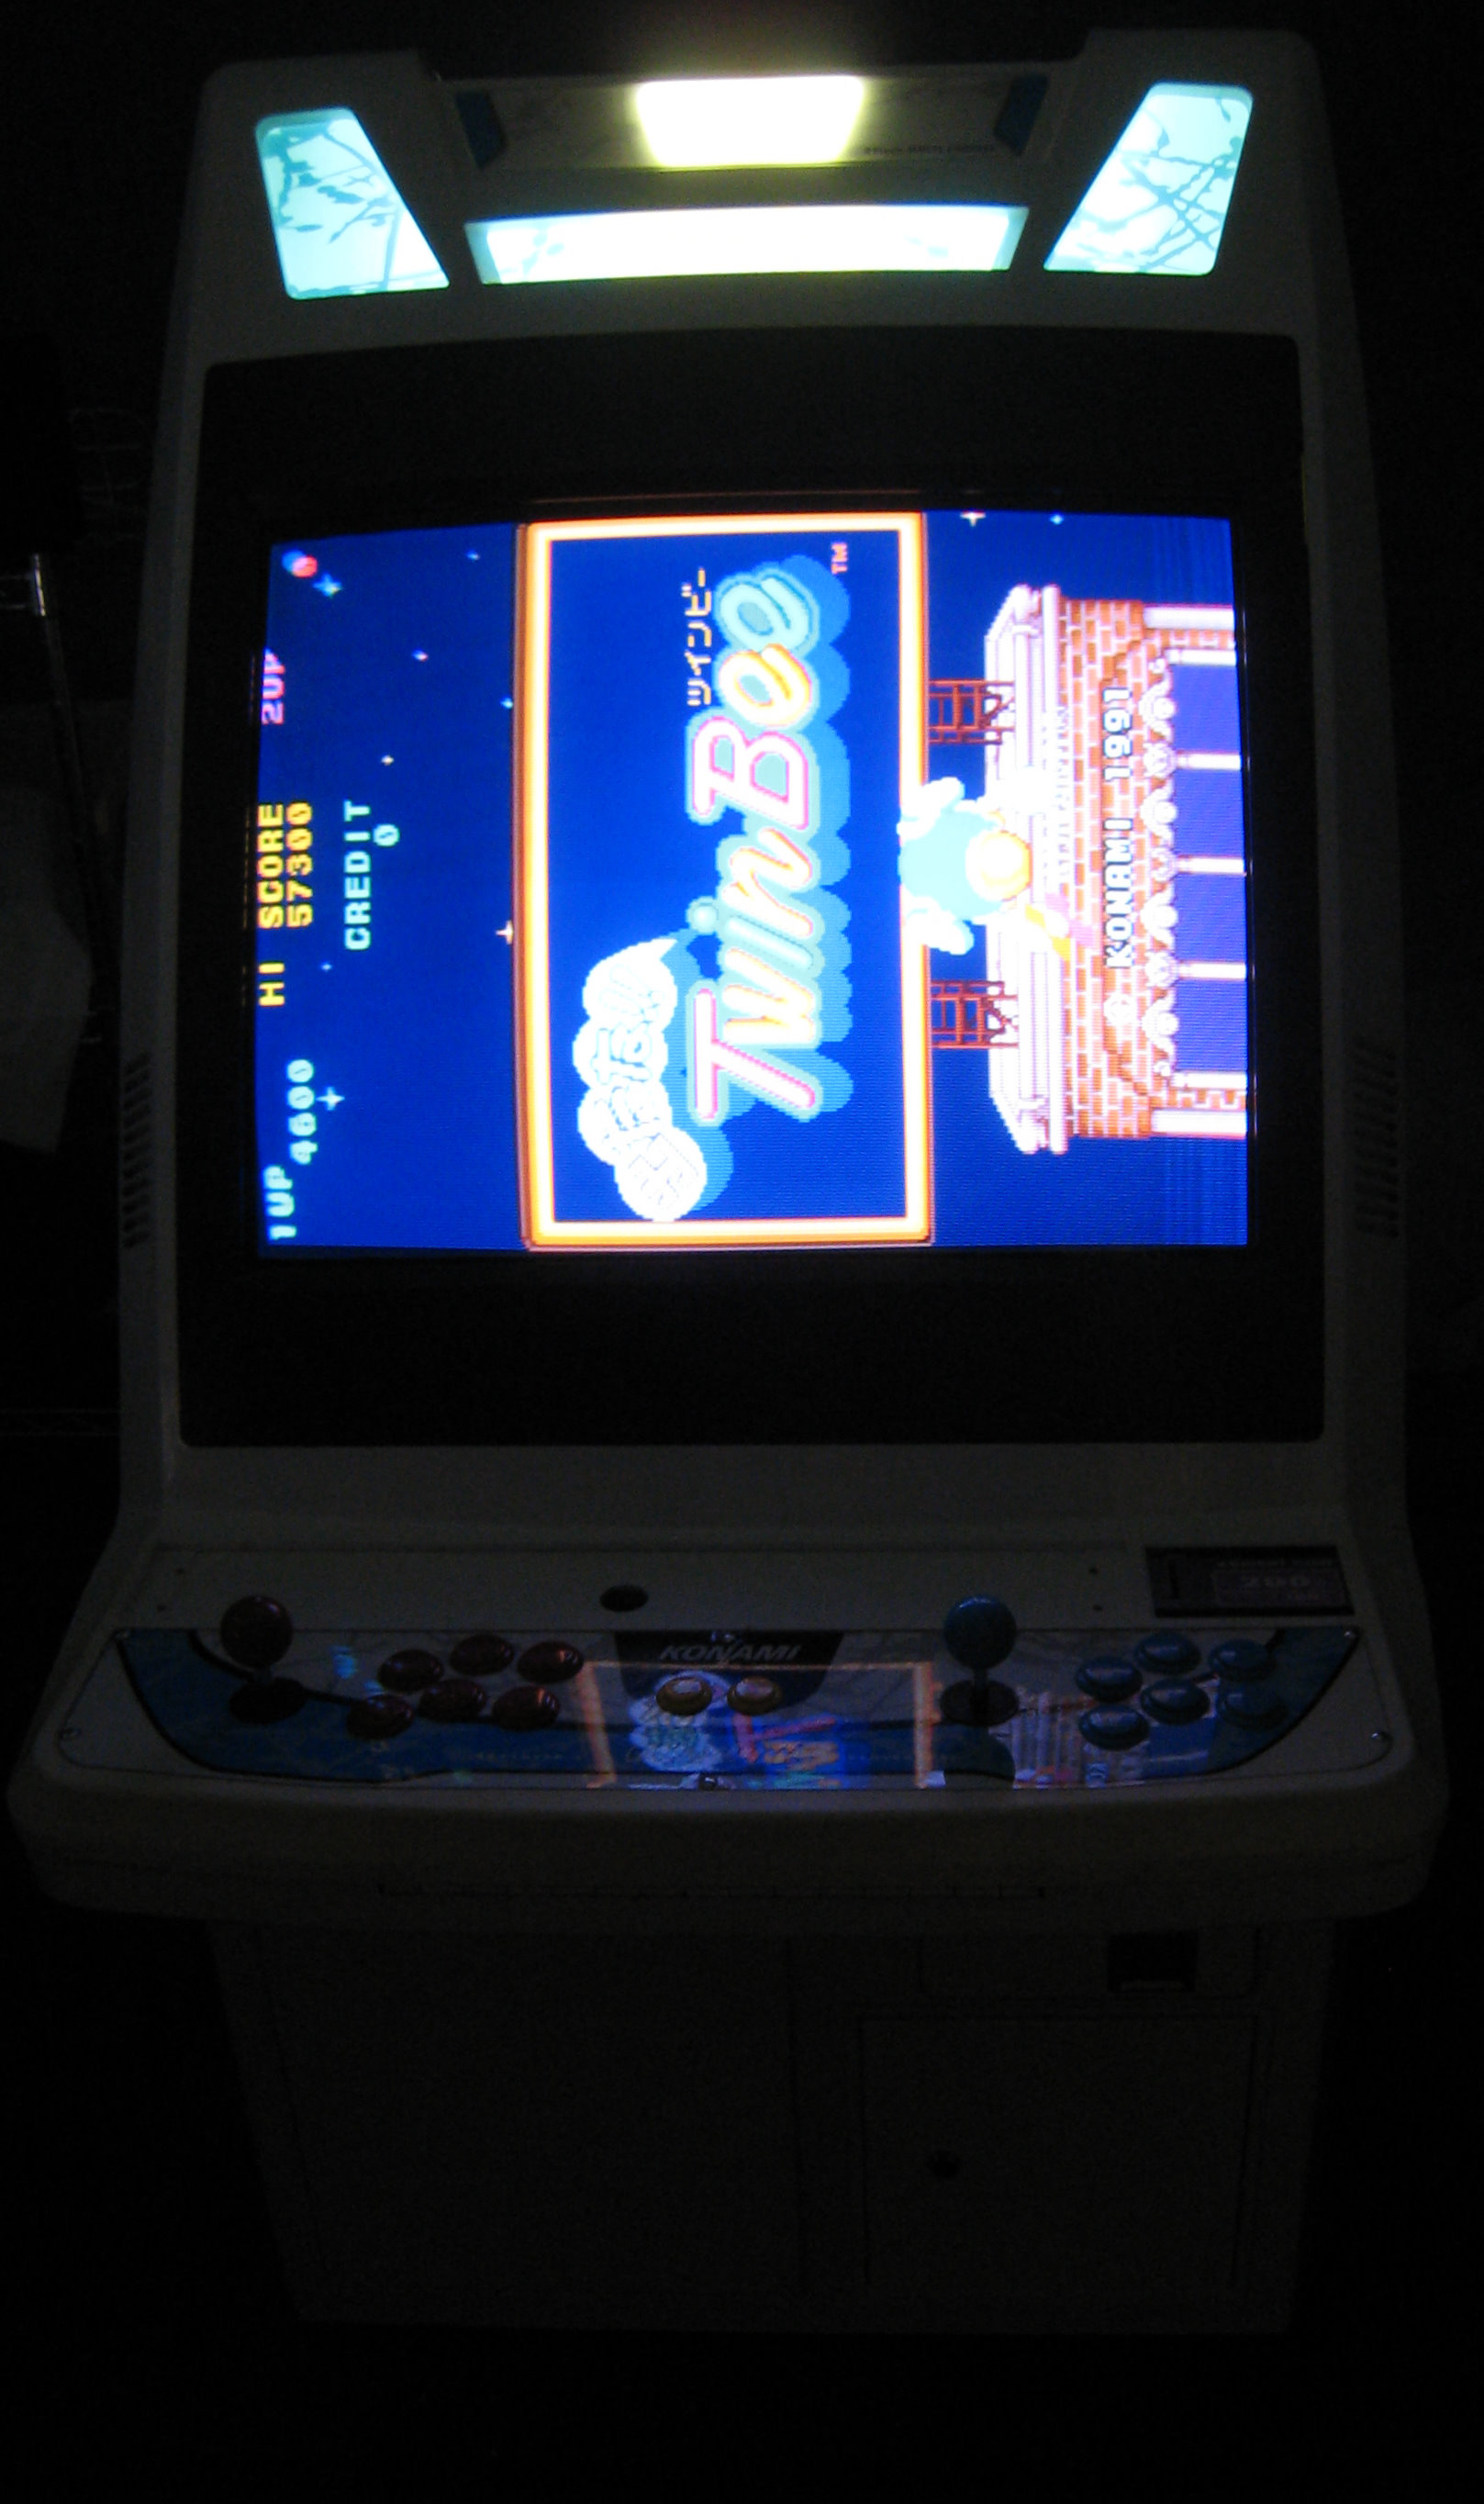
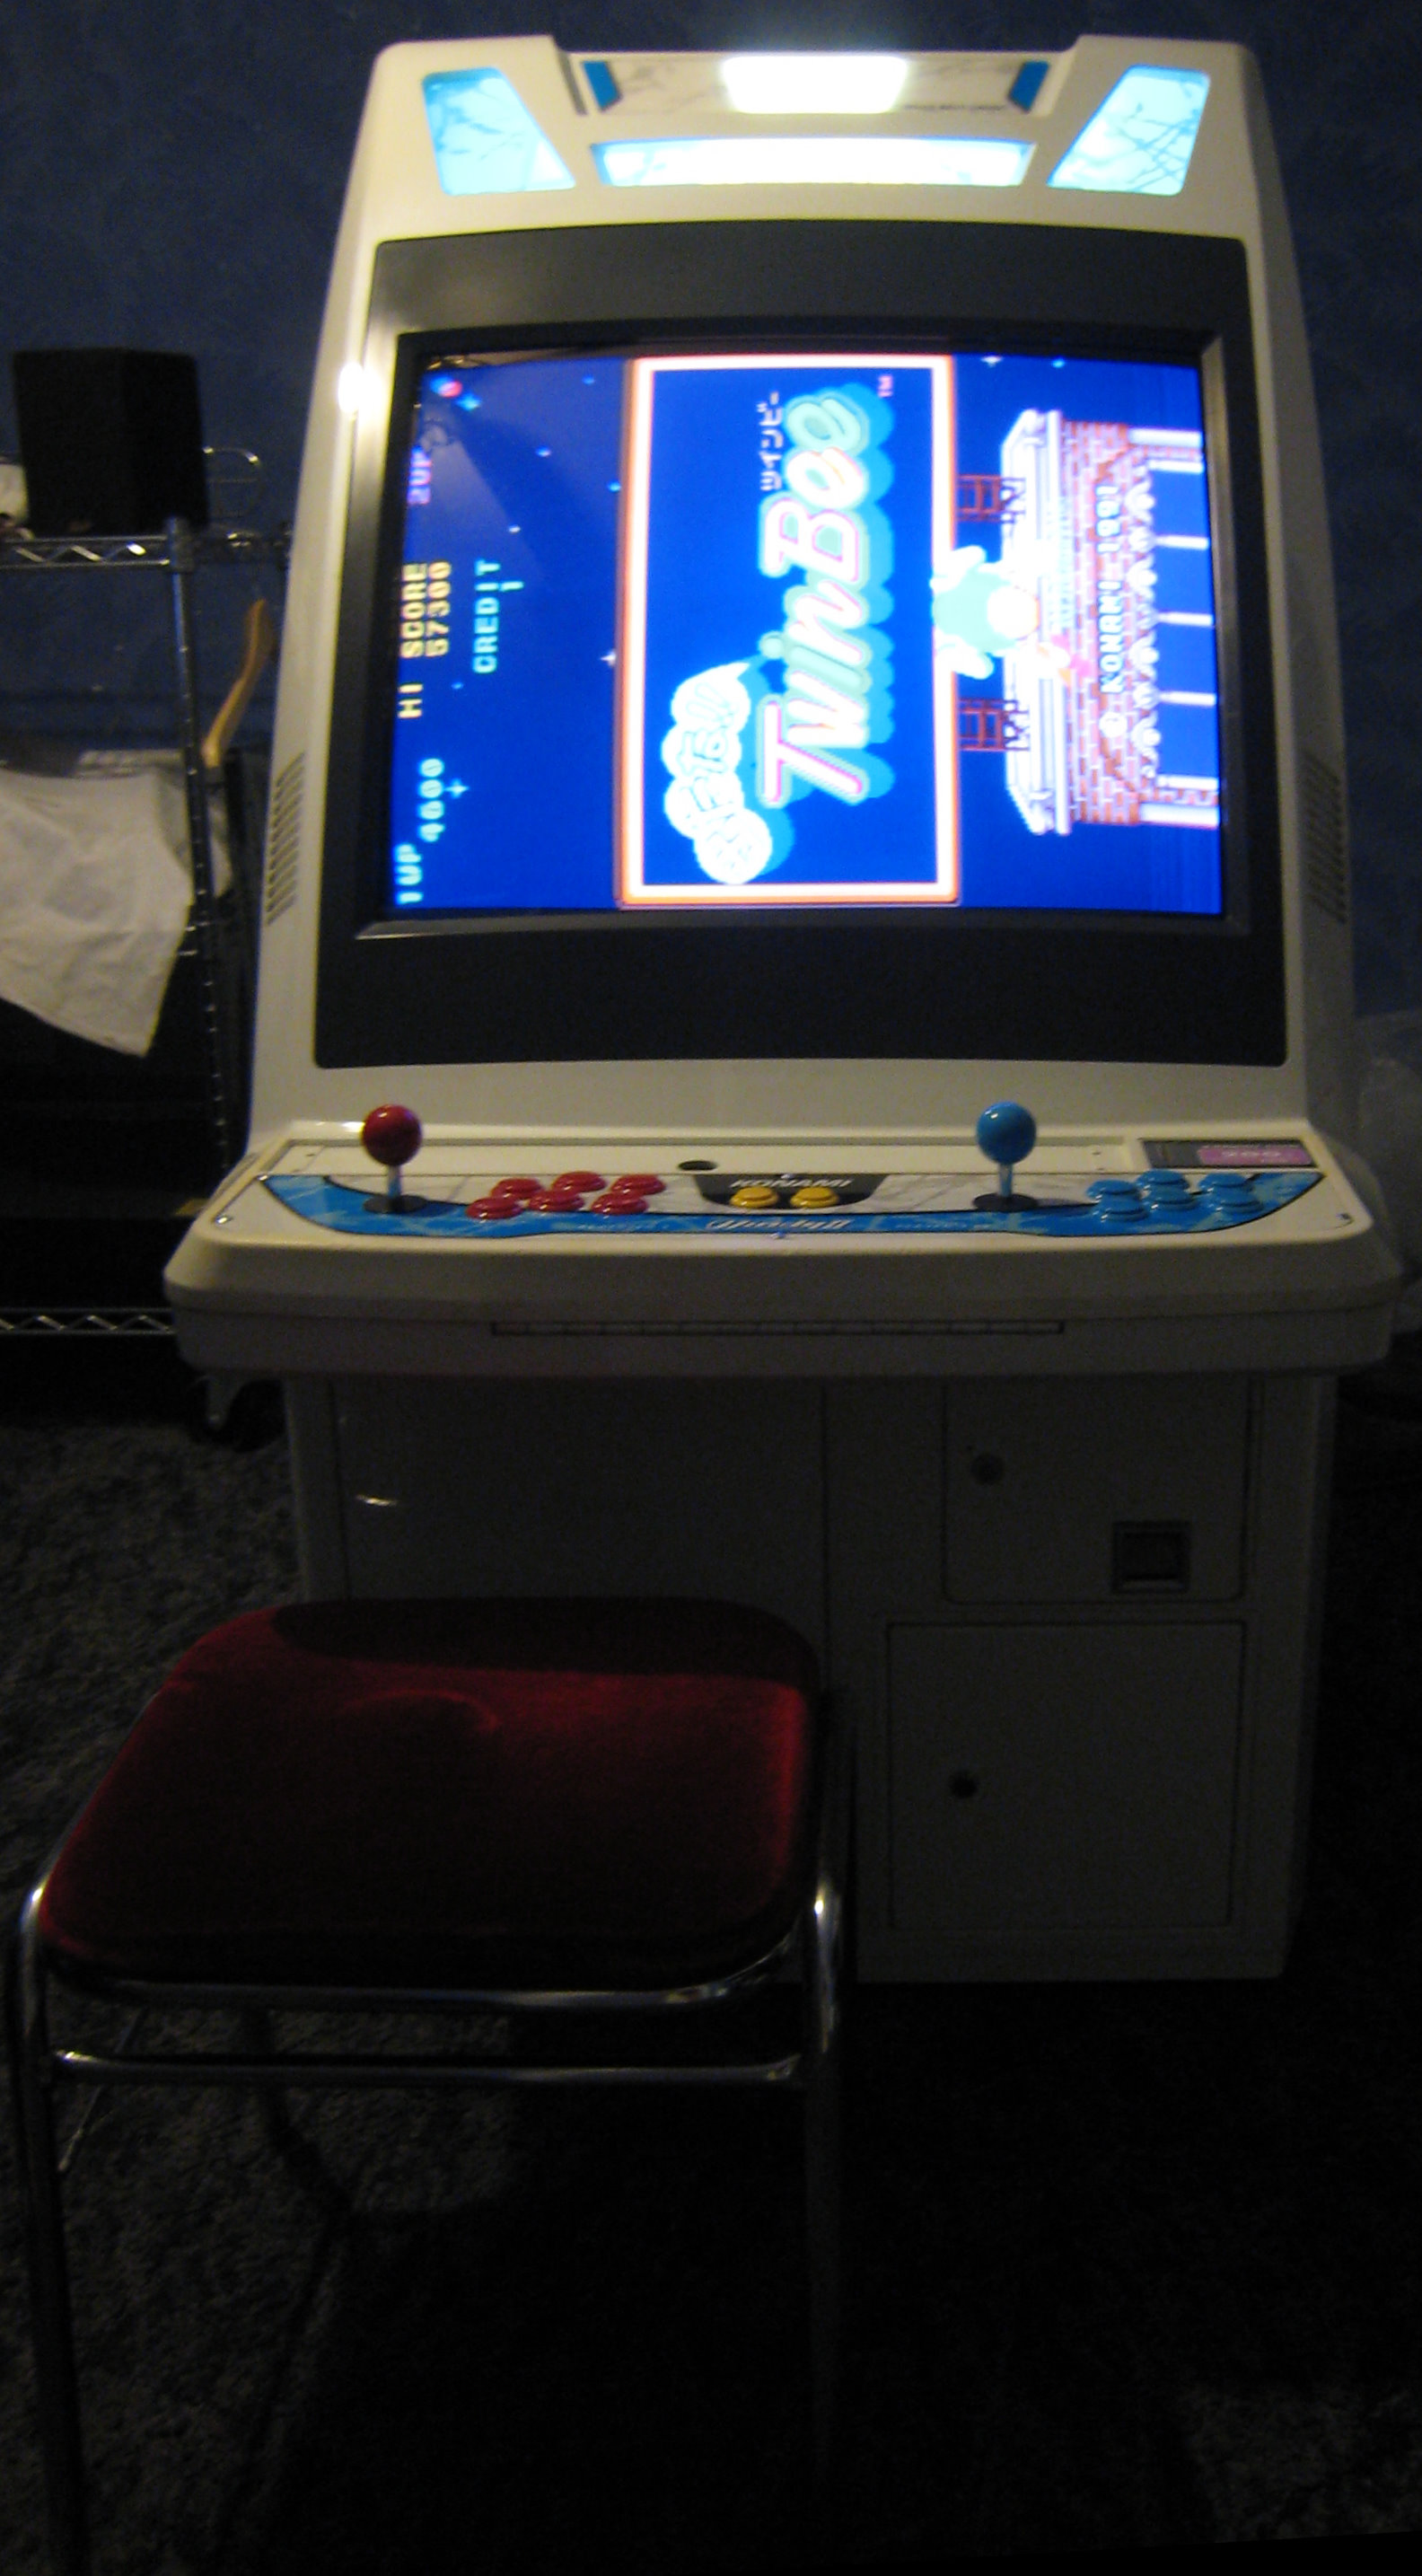
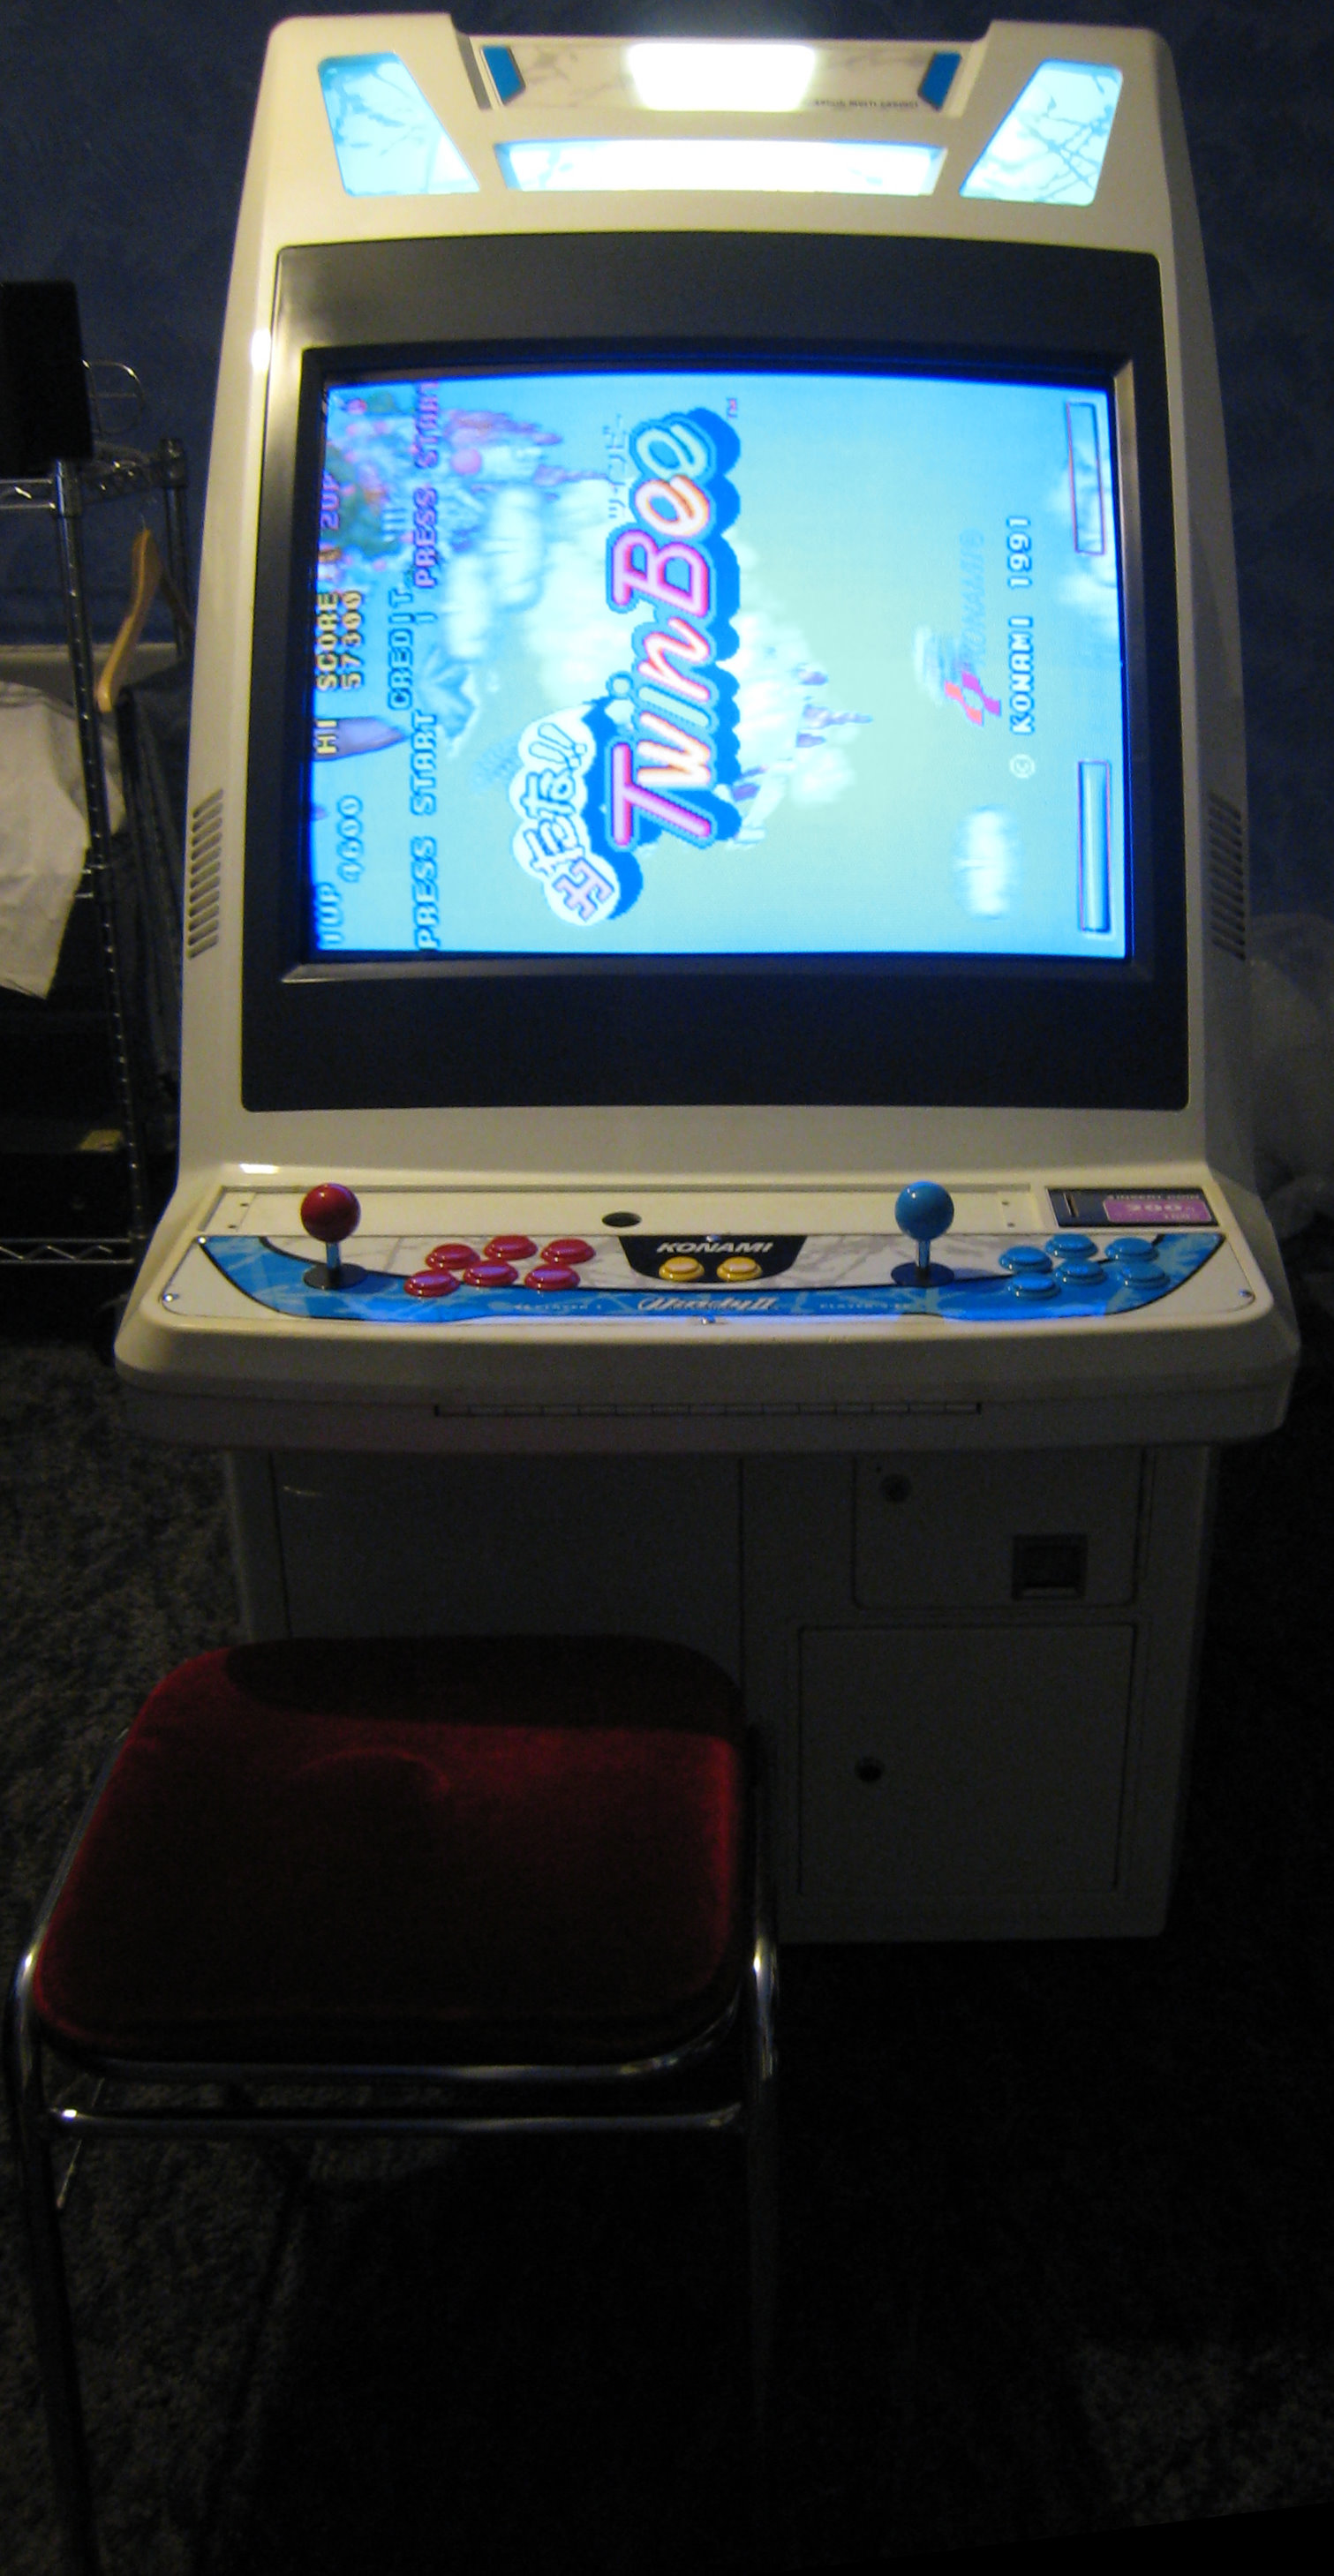
As Taisen Puzzle-Dama (対戦ぱずるだま) would not boot at all (ROM errors) I decided to use one of my spare copies of Detana TwinBee!! (出たな!!ツインビー) , the problem is out of all the games I own Detana!! TwinBee (出たな!!ツインビー) is a TATE (Vertical monitor orientation) game.
The game plays fine and the sound works good but I can't play it as it's on it's side.
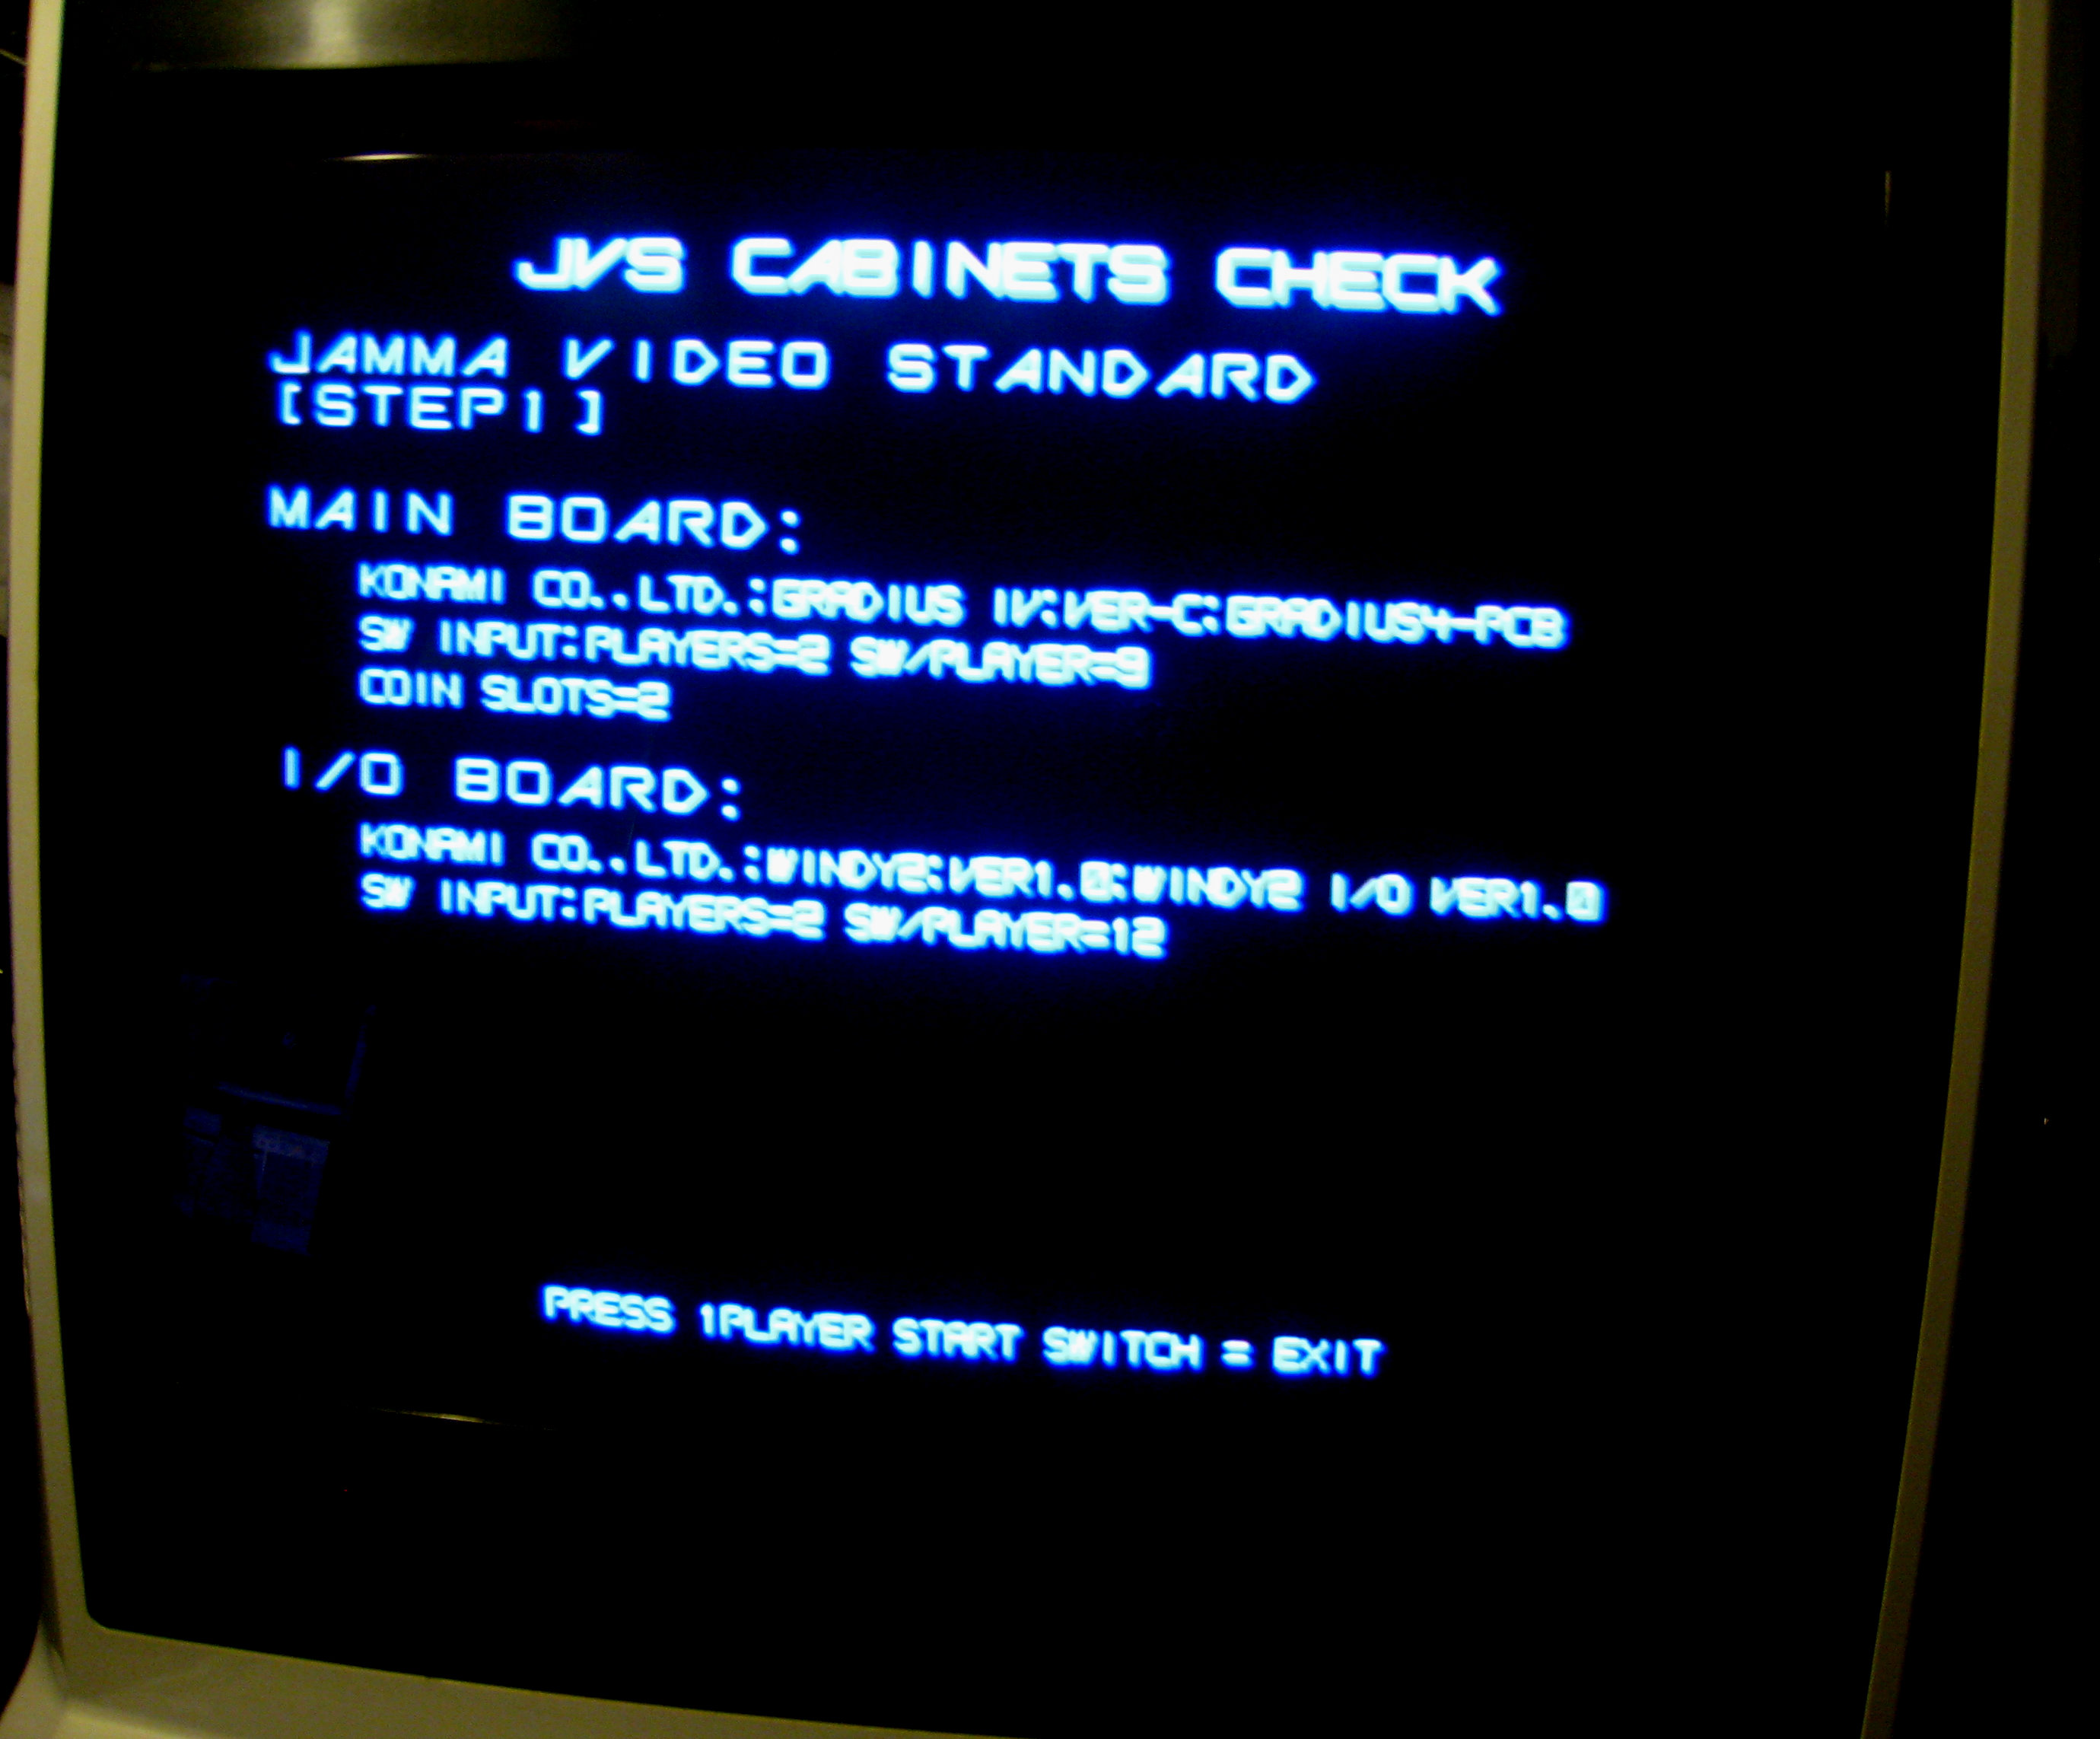
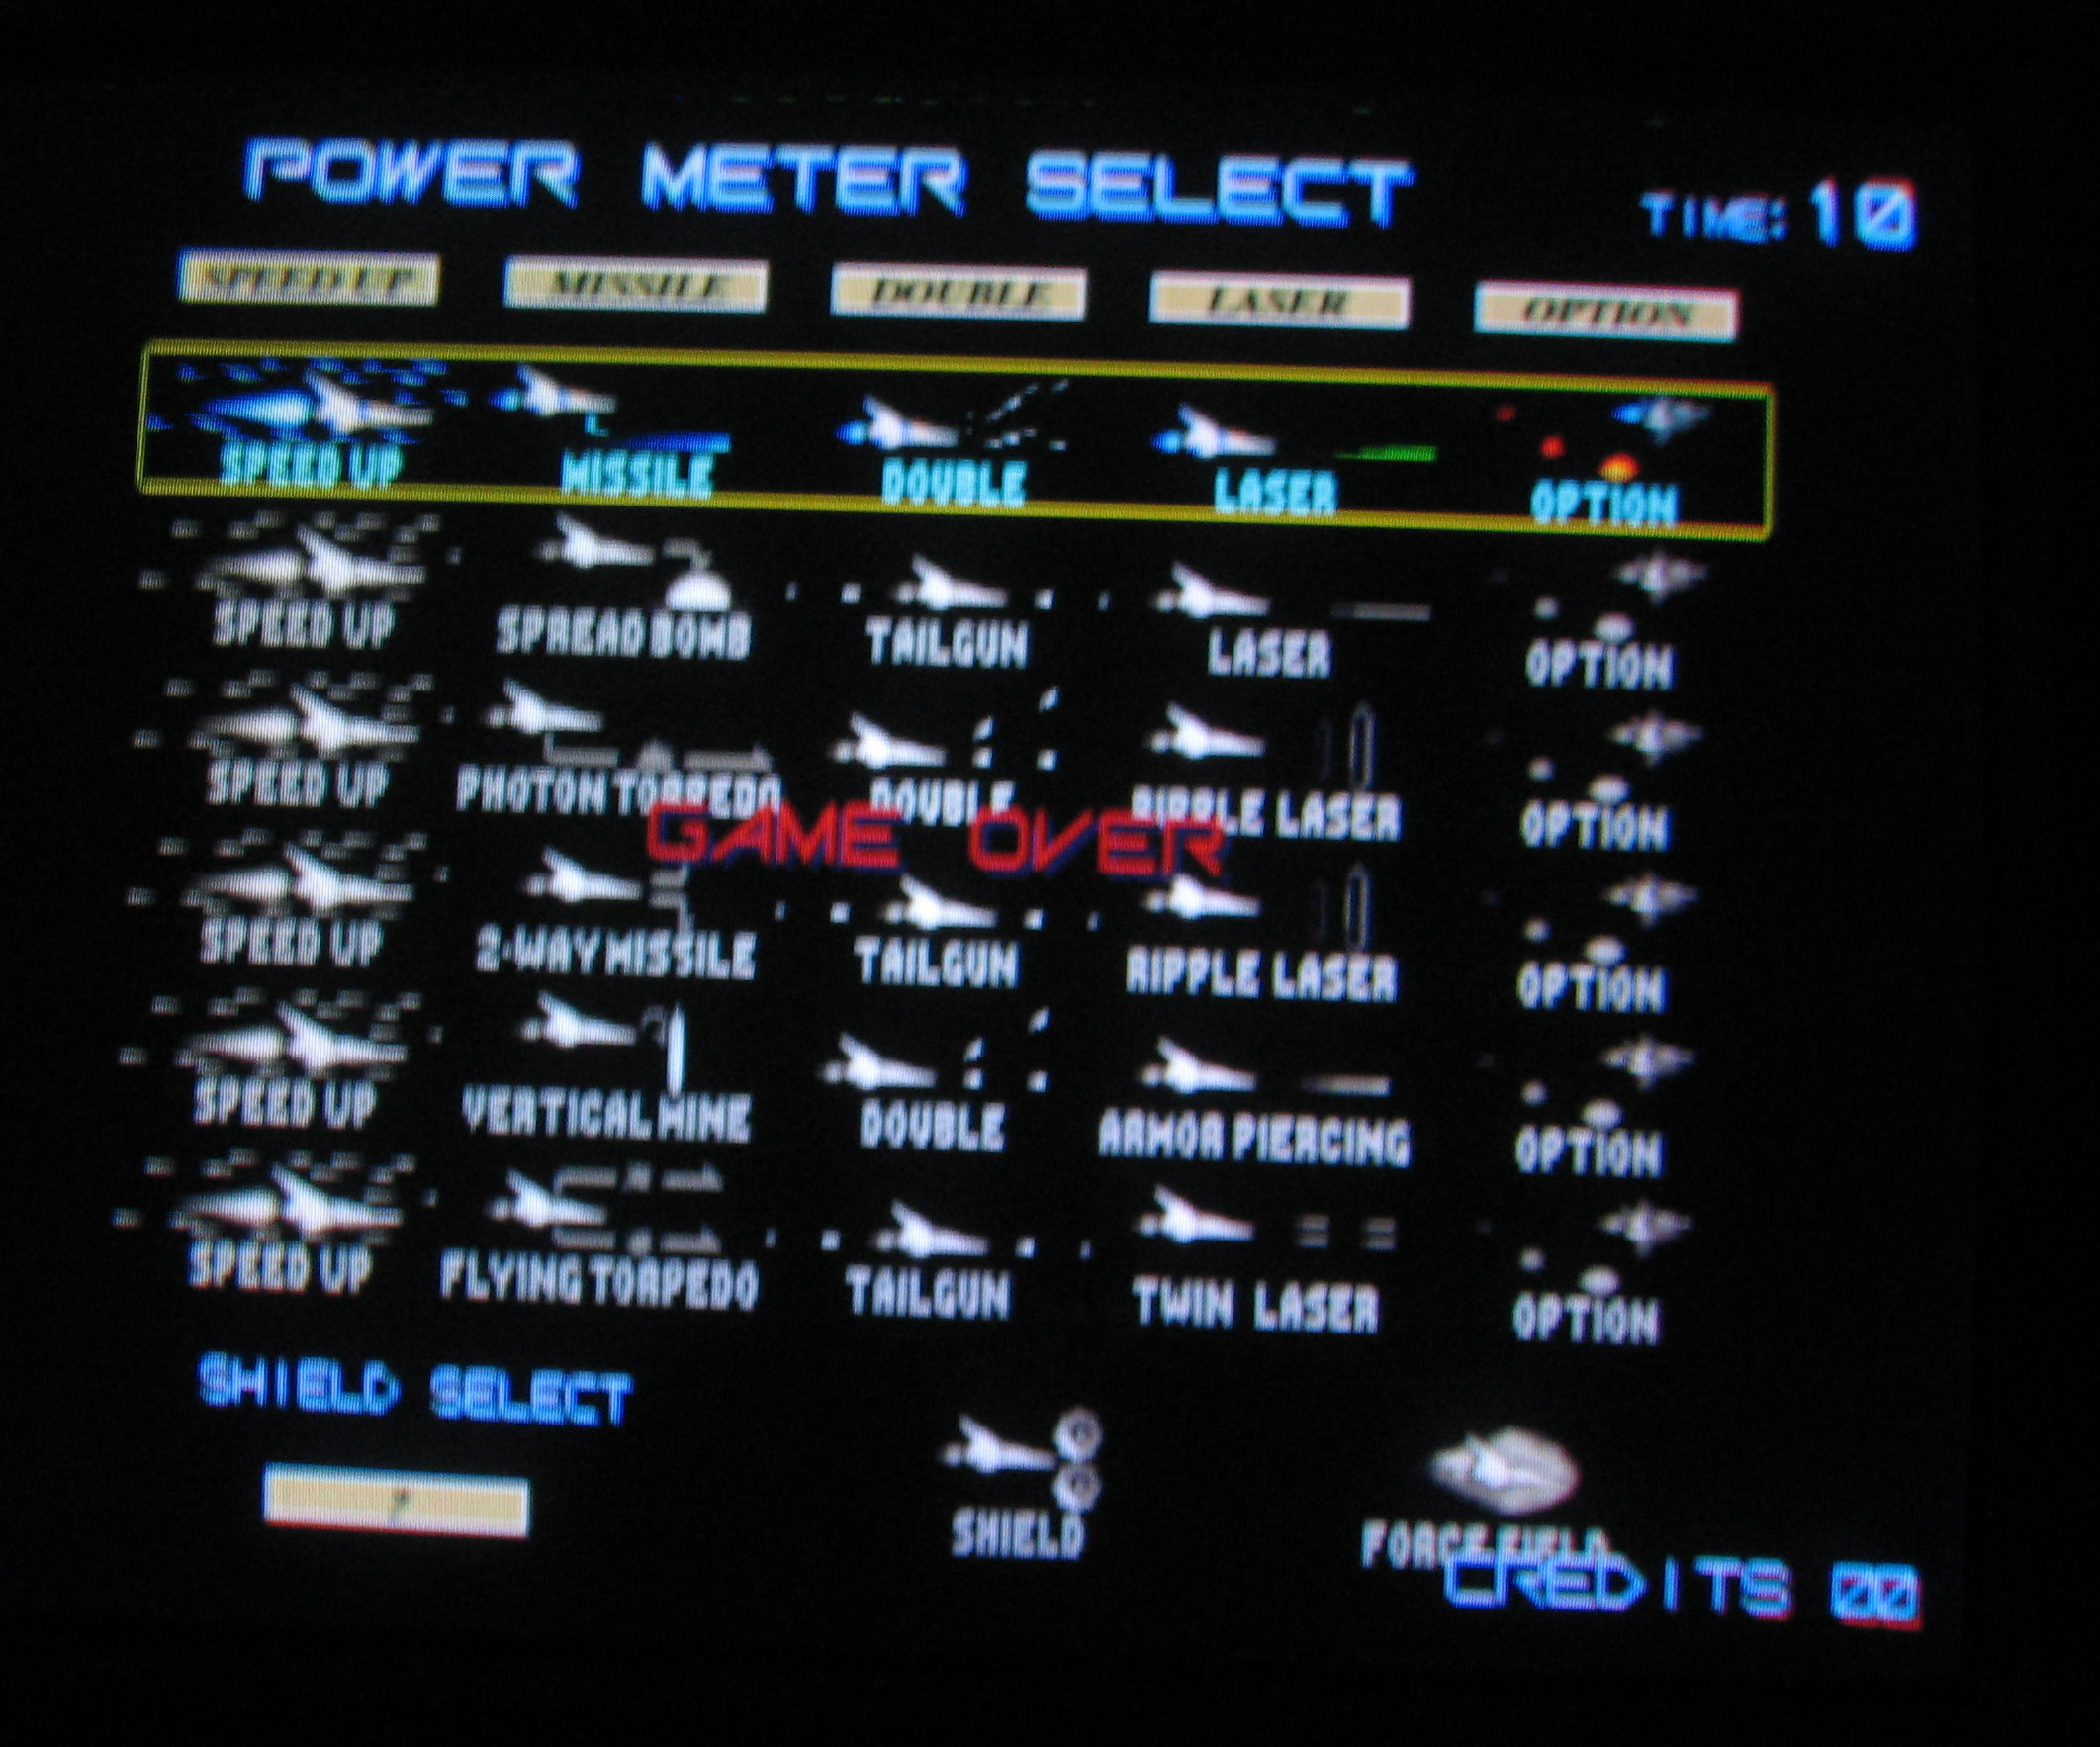
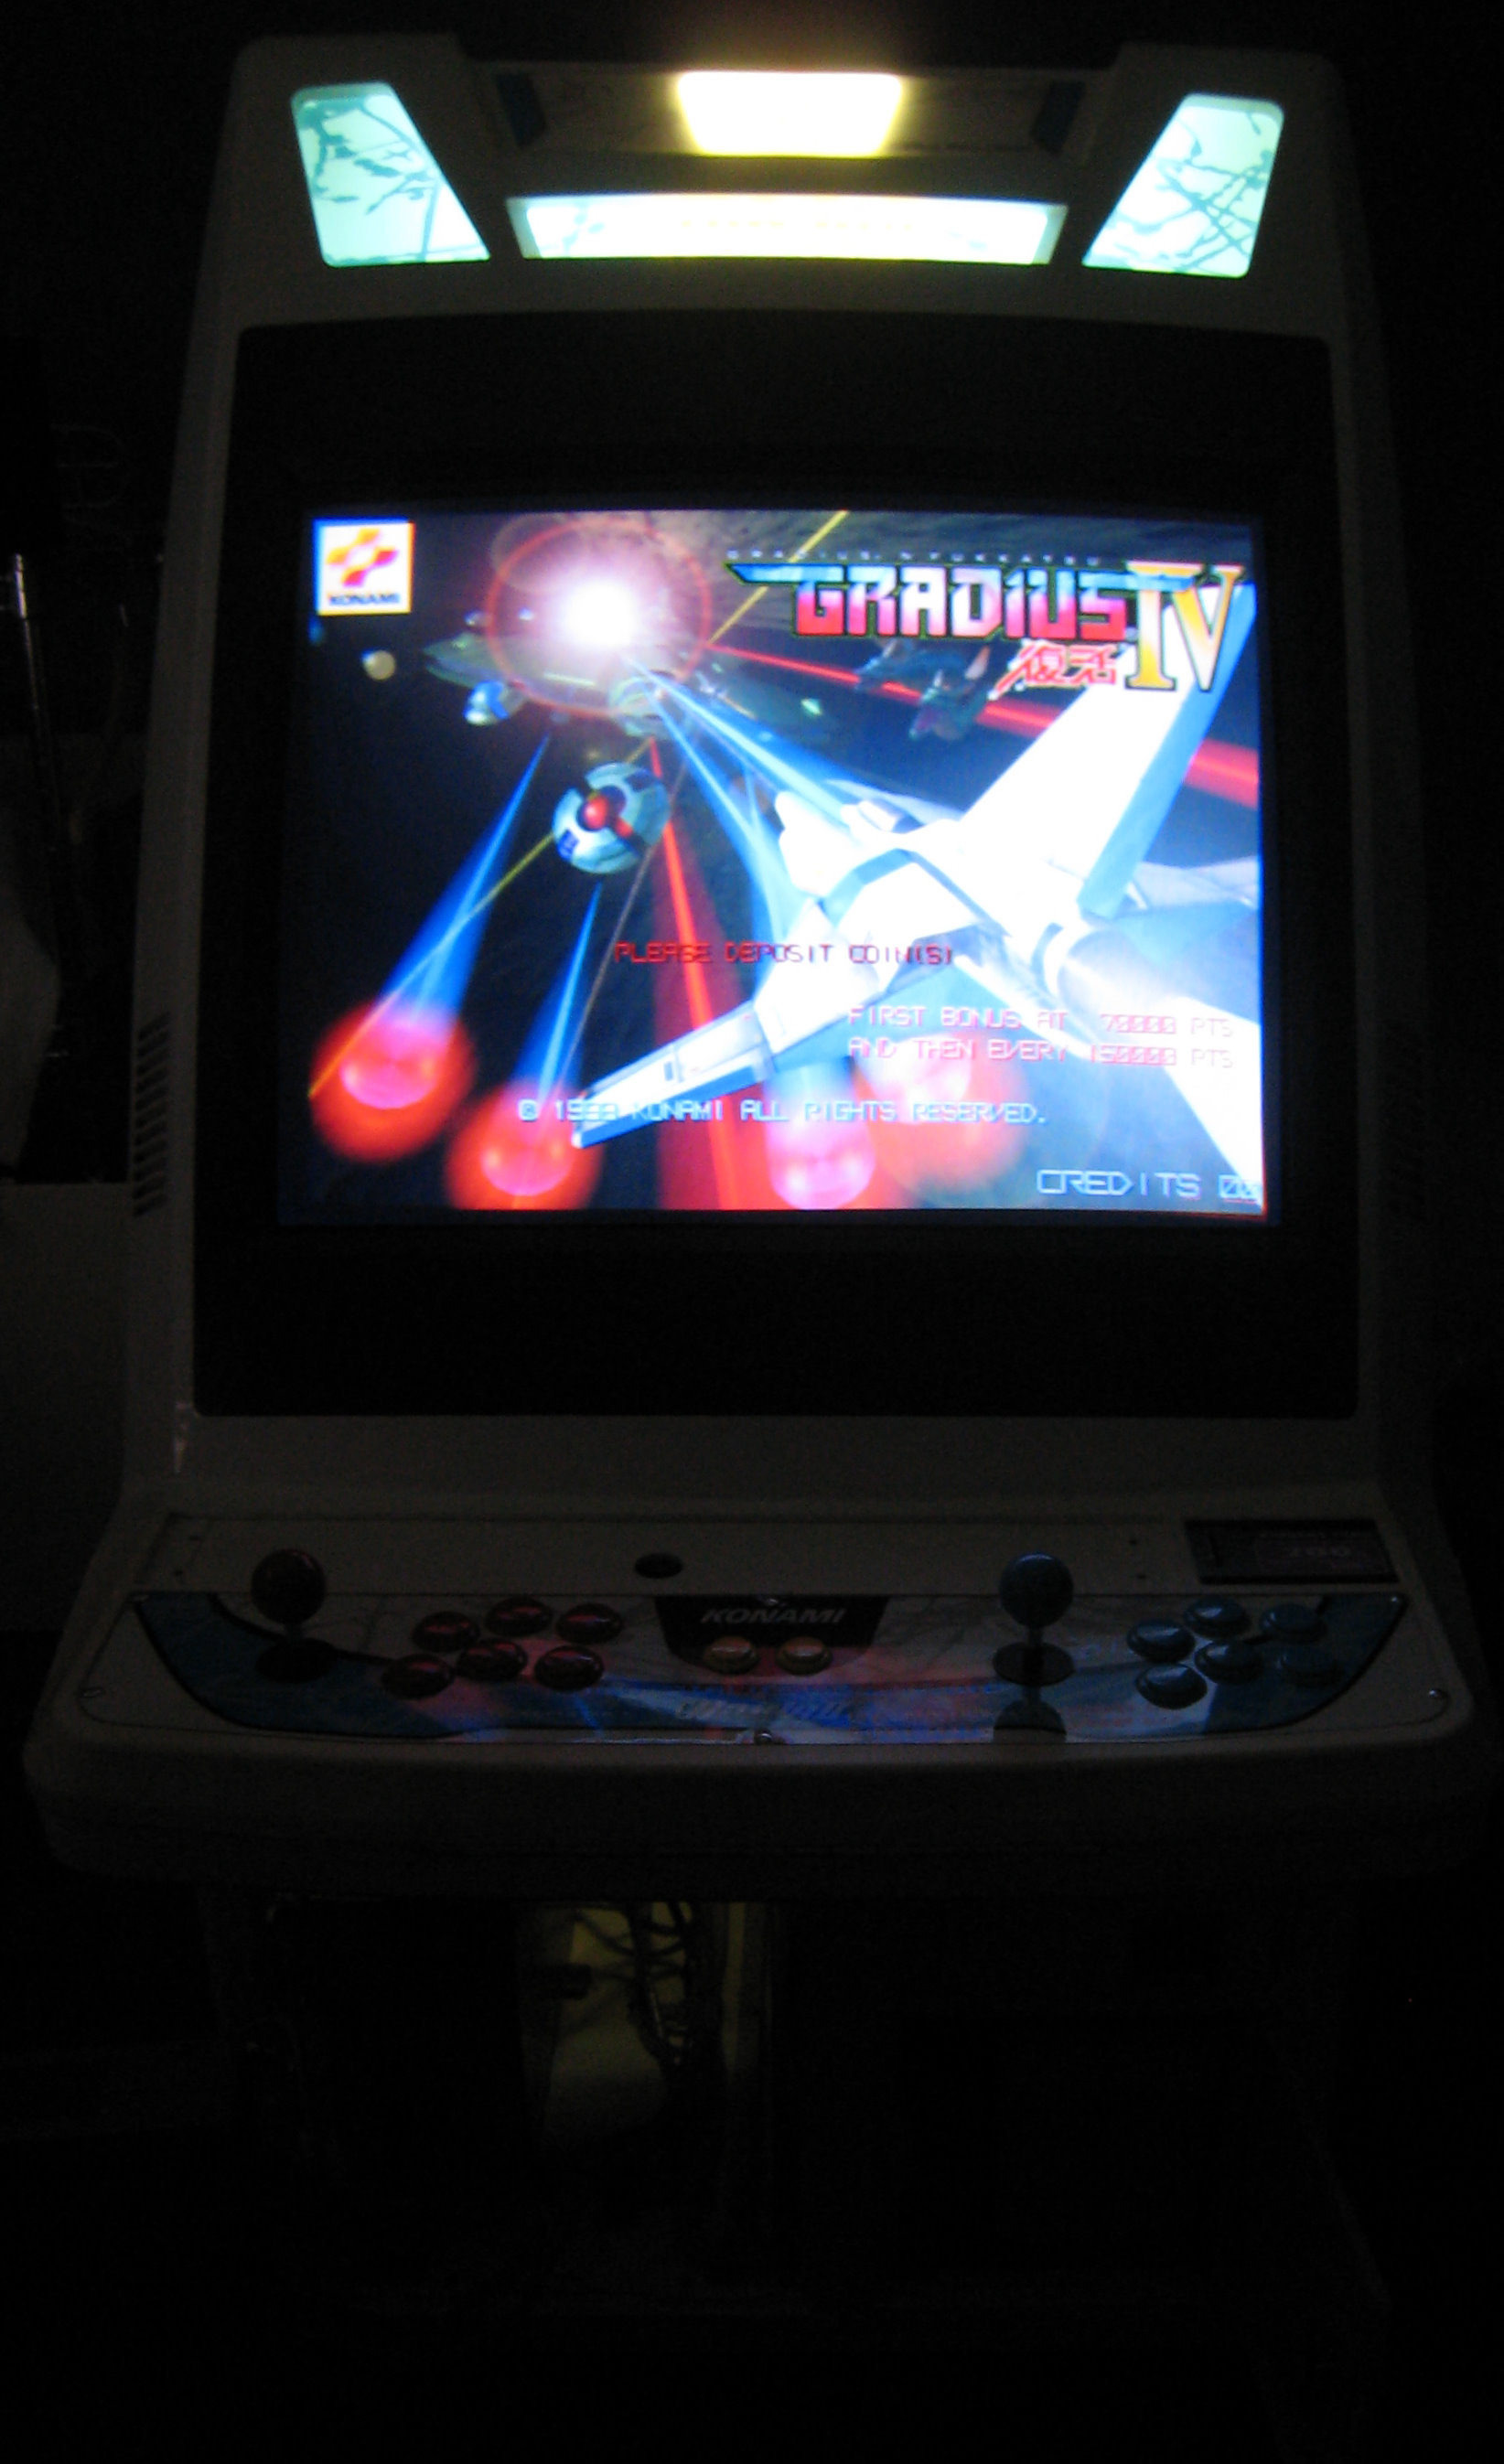
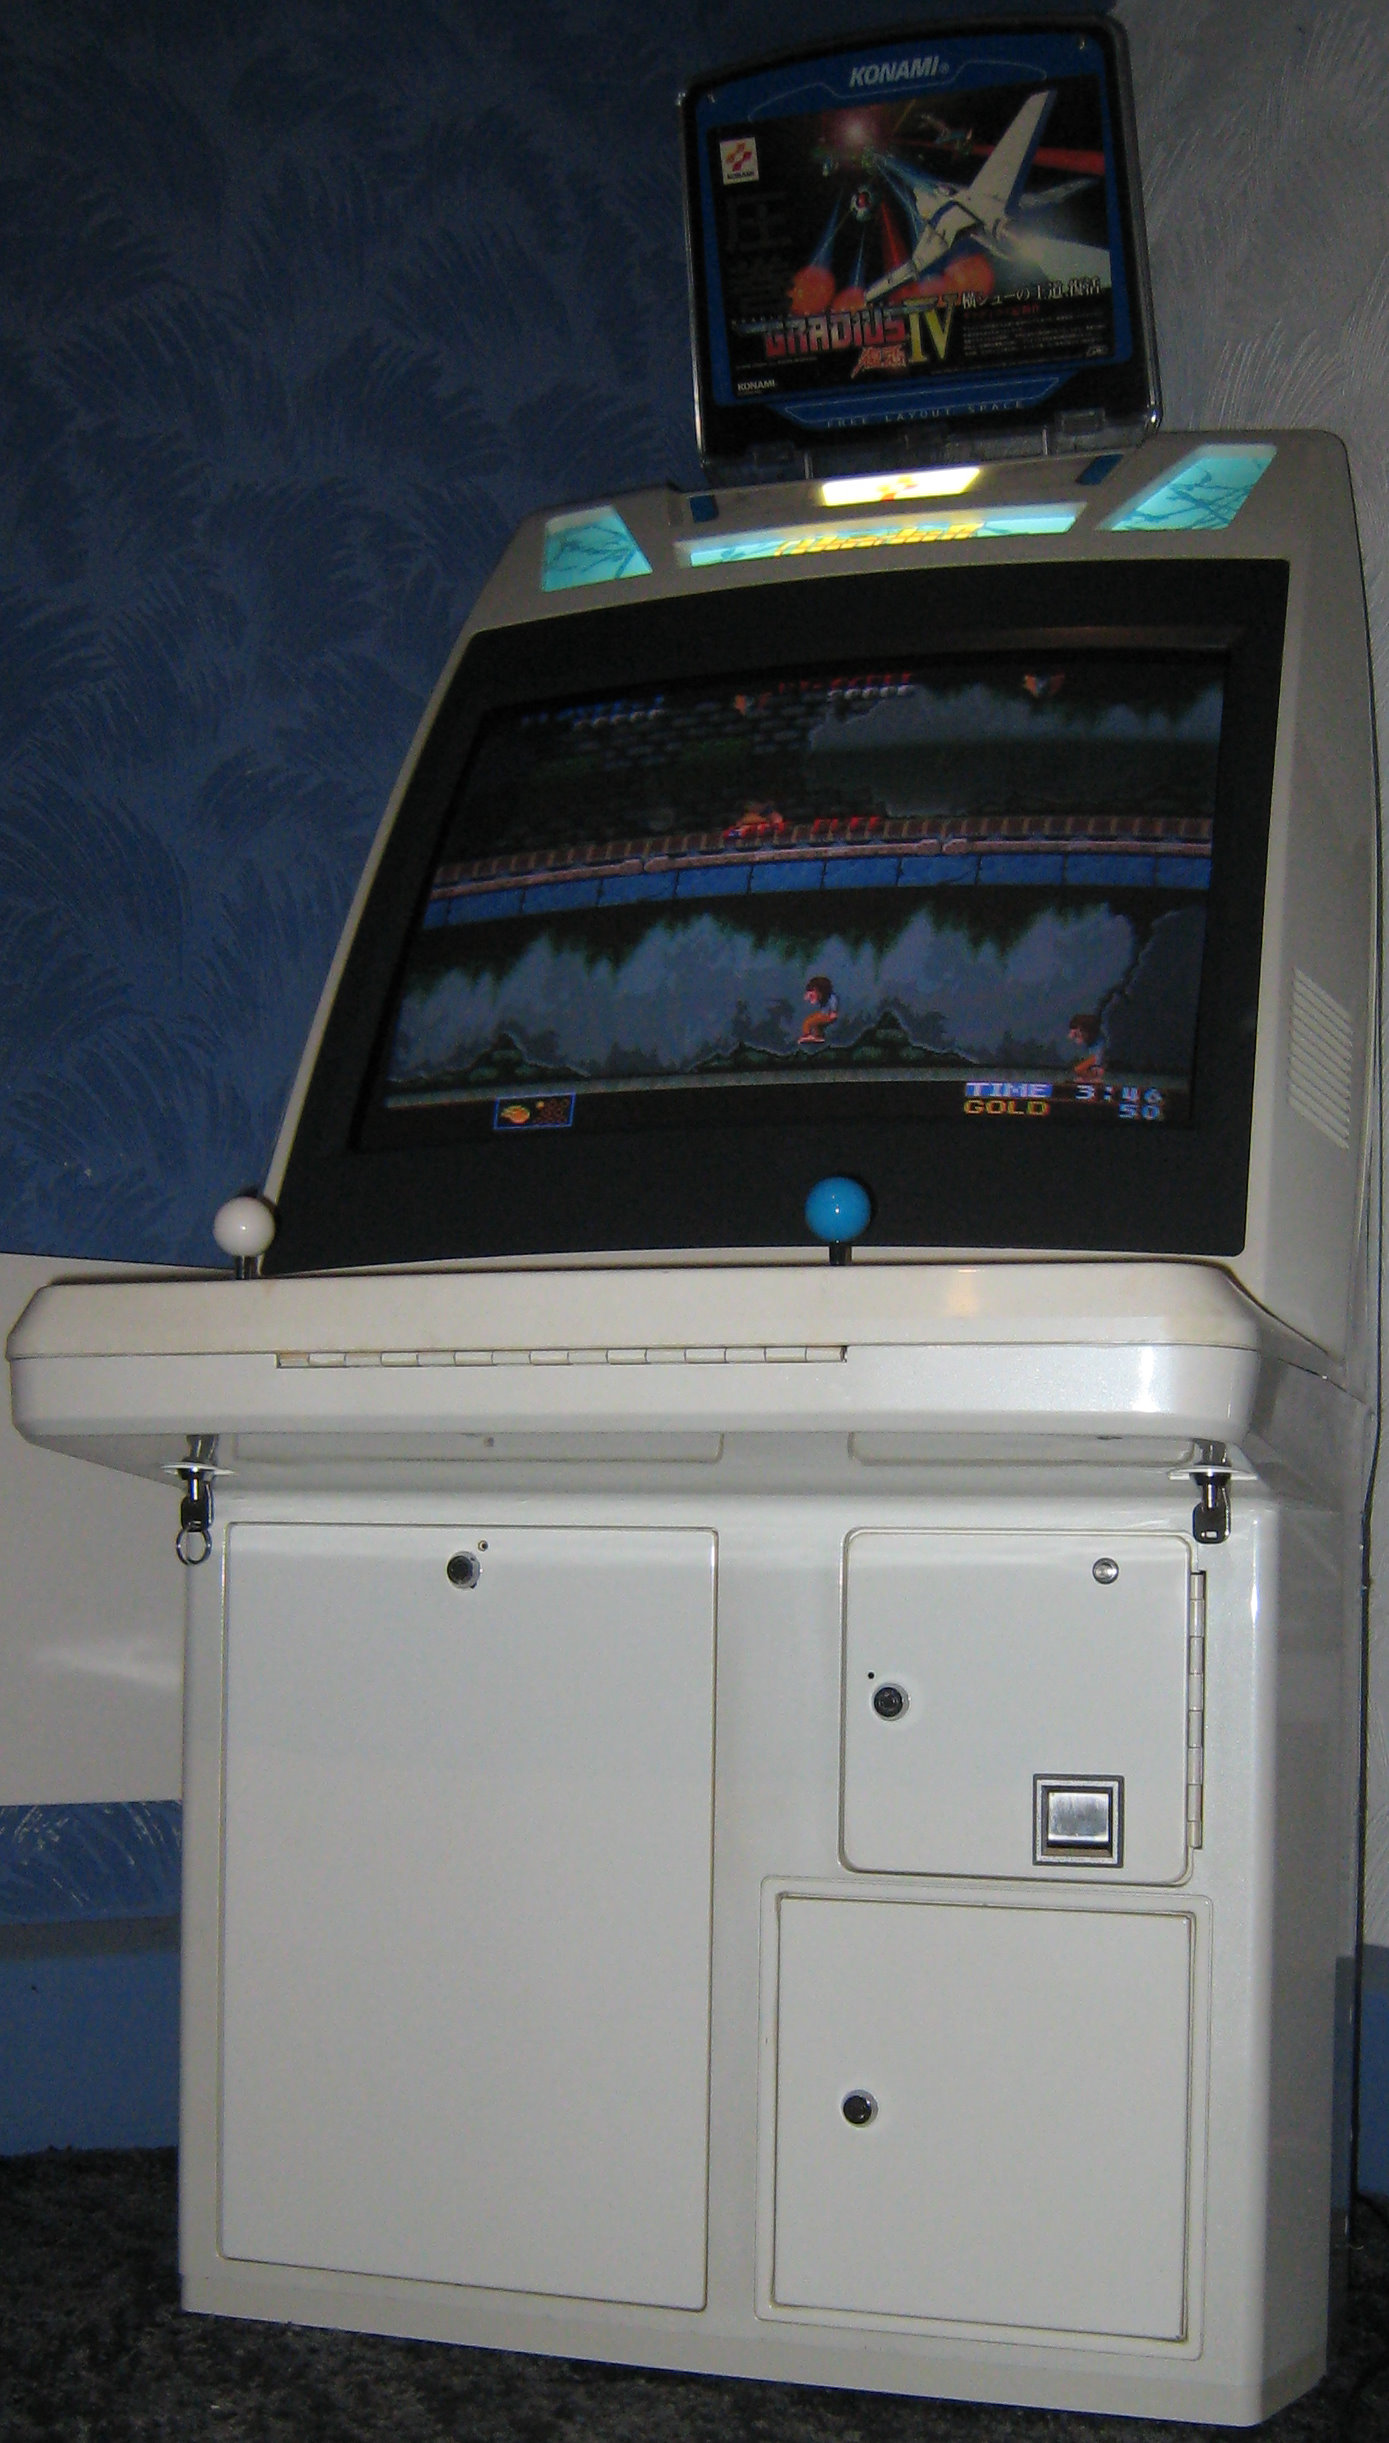
Right onto a horizontal game, Gradius IV ~Fukkatsu~ (グラディウスIV~復活~), I've plugged this game directly in to the JVS rather than the JAMMA, switched the monitor DIP Switches to 24k (1 UP, 2 DOWN, not shown in picture), the game boots finds and loads into the test settings.
As the RTC (Real Time Clock) battery on my board died long ago, the game doesn't remember any settings like time and game settings, it's a little annoying but once in game mode the game plays fine.
If the game you're testing has a service mode, go into that and see if all the controls are working (player buttons, start buttons, joysticks and coin mech).
If you have a JVS game hooked up using the JVS connectors (rather than the JAMMA conversion board), then this will test the JVS Main Board and I/O boards
Check if both speakers are working, if you have a game that has stereo output, check the left and right speakers are playing the correct way around, adjust the machines volume using the knob on the PSU.
You could also check the monitor remote board to check and adjust the geometry for the game you're testing.
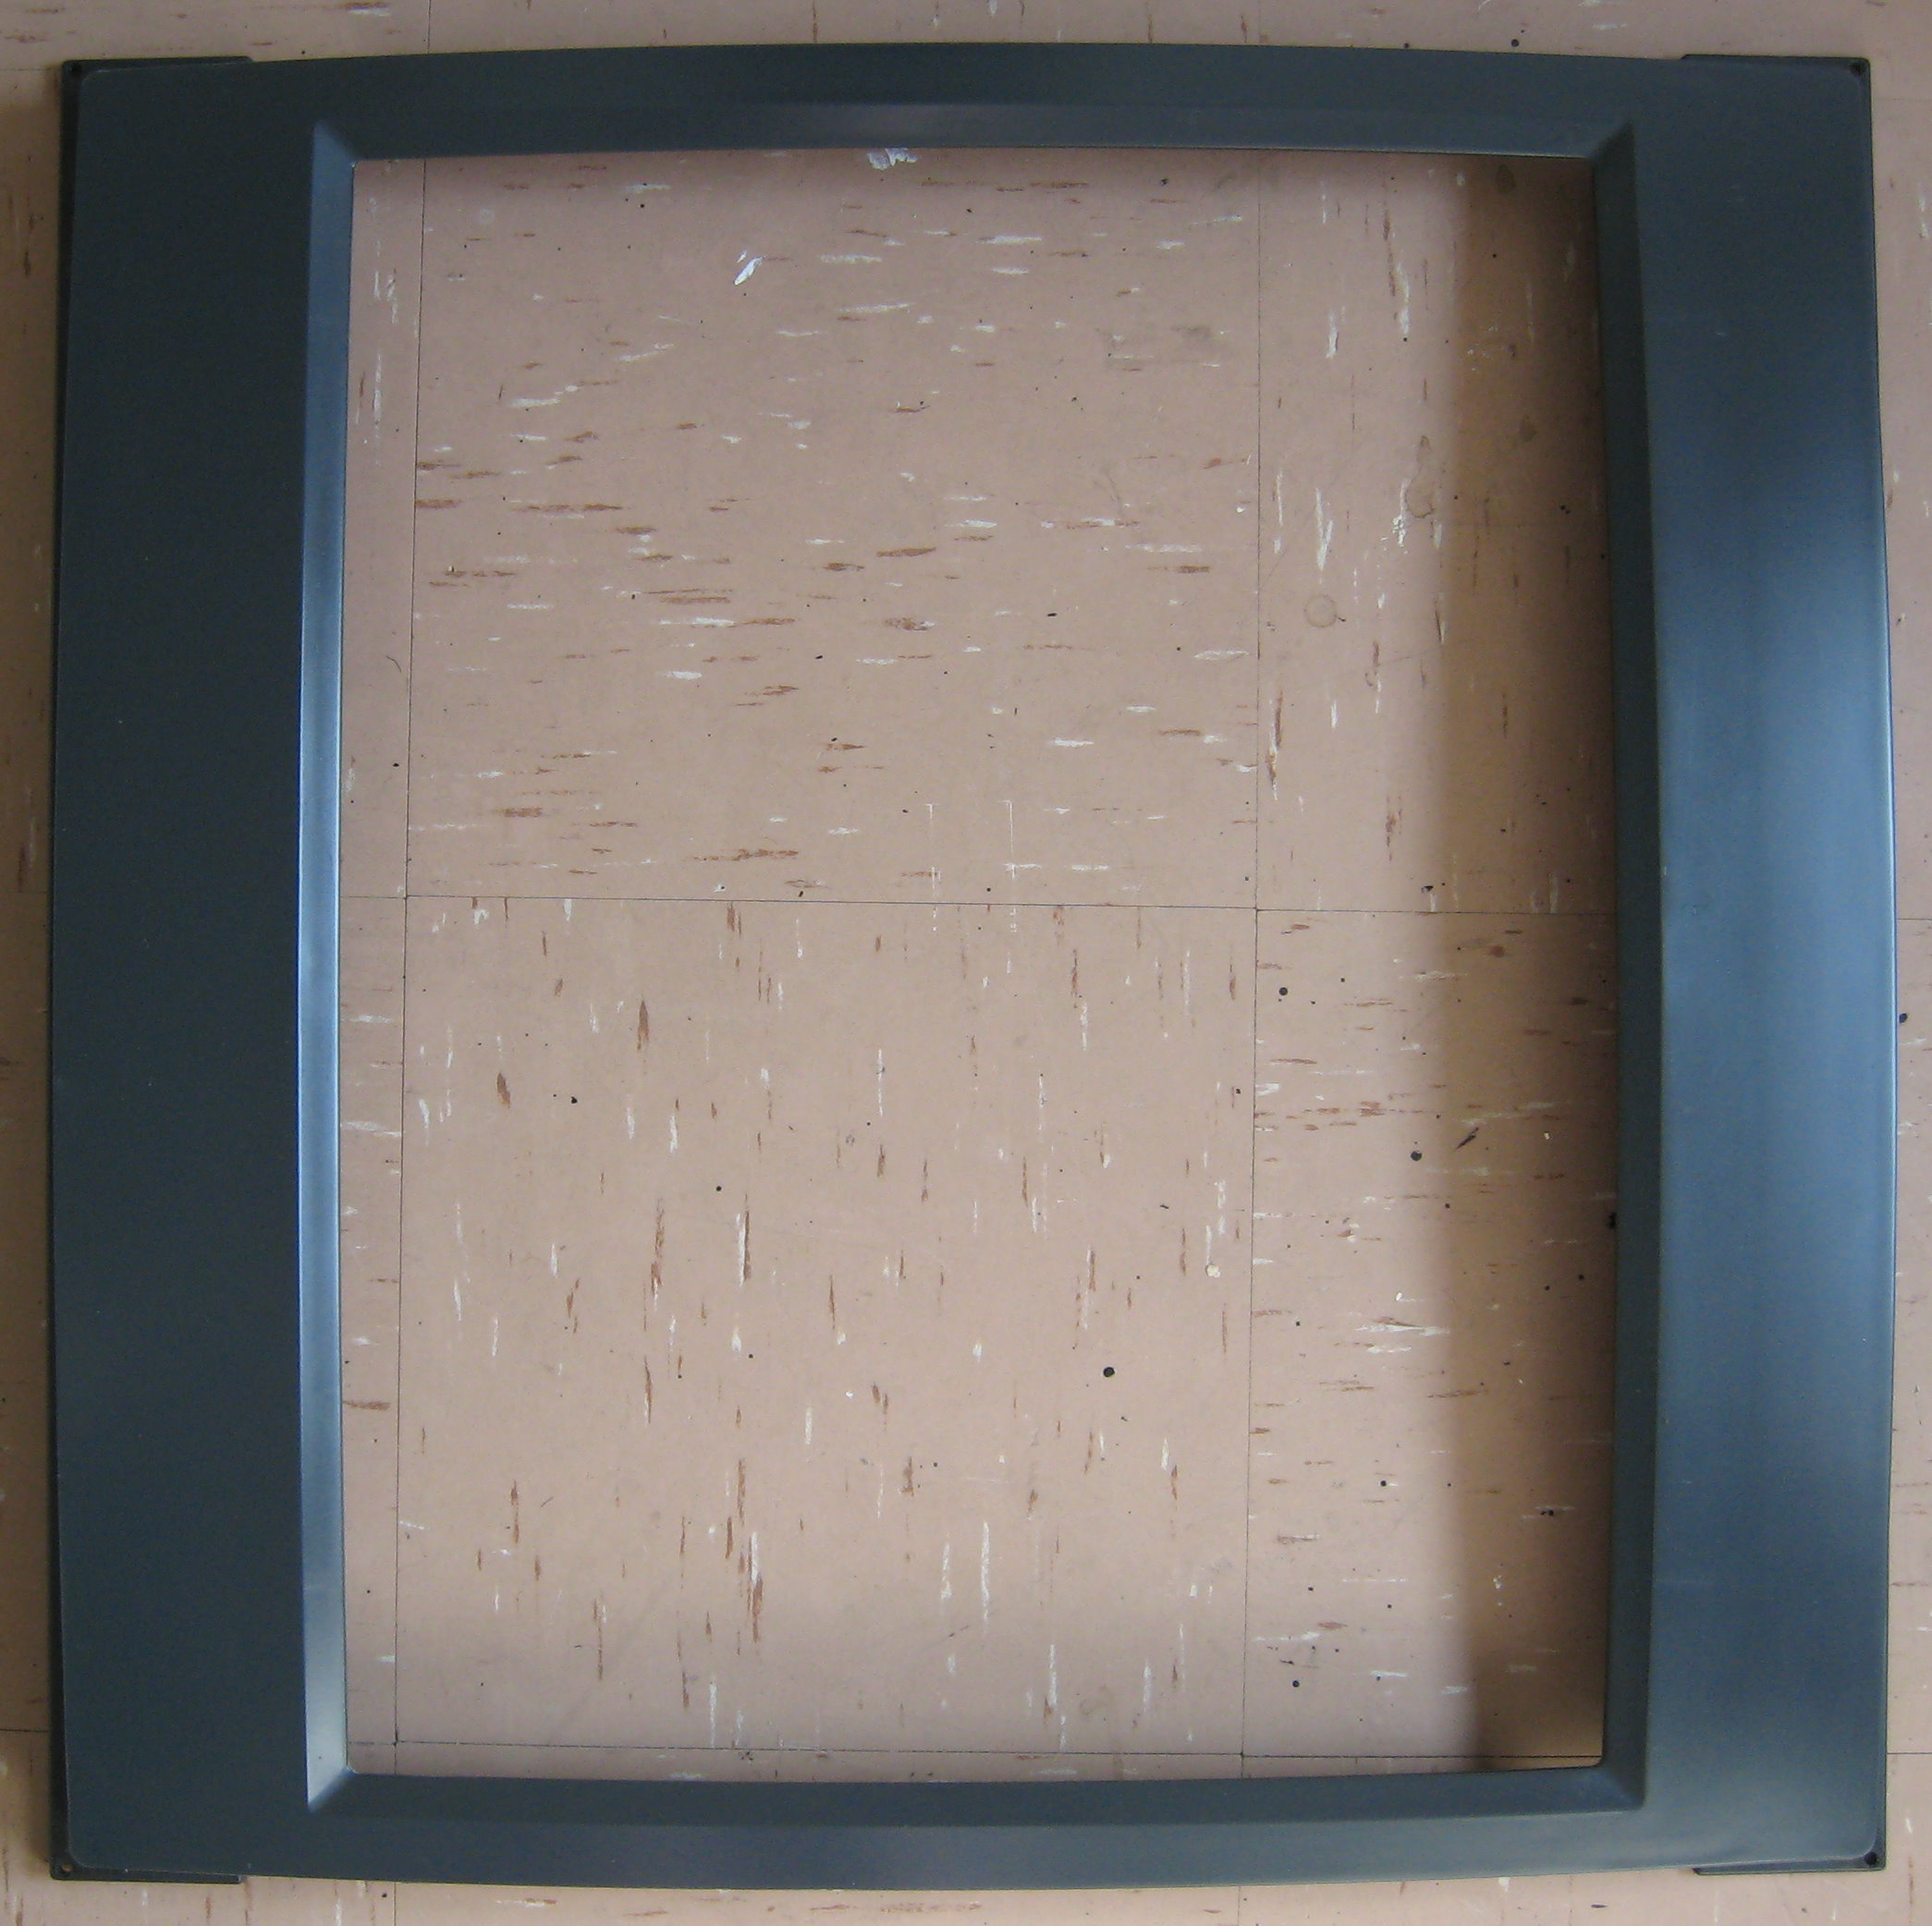
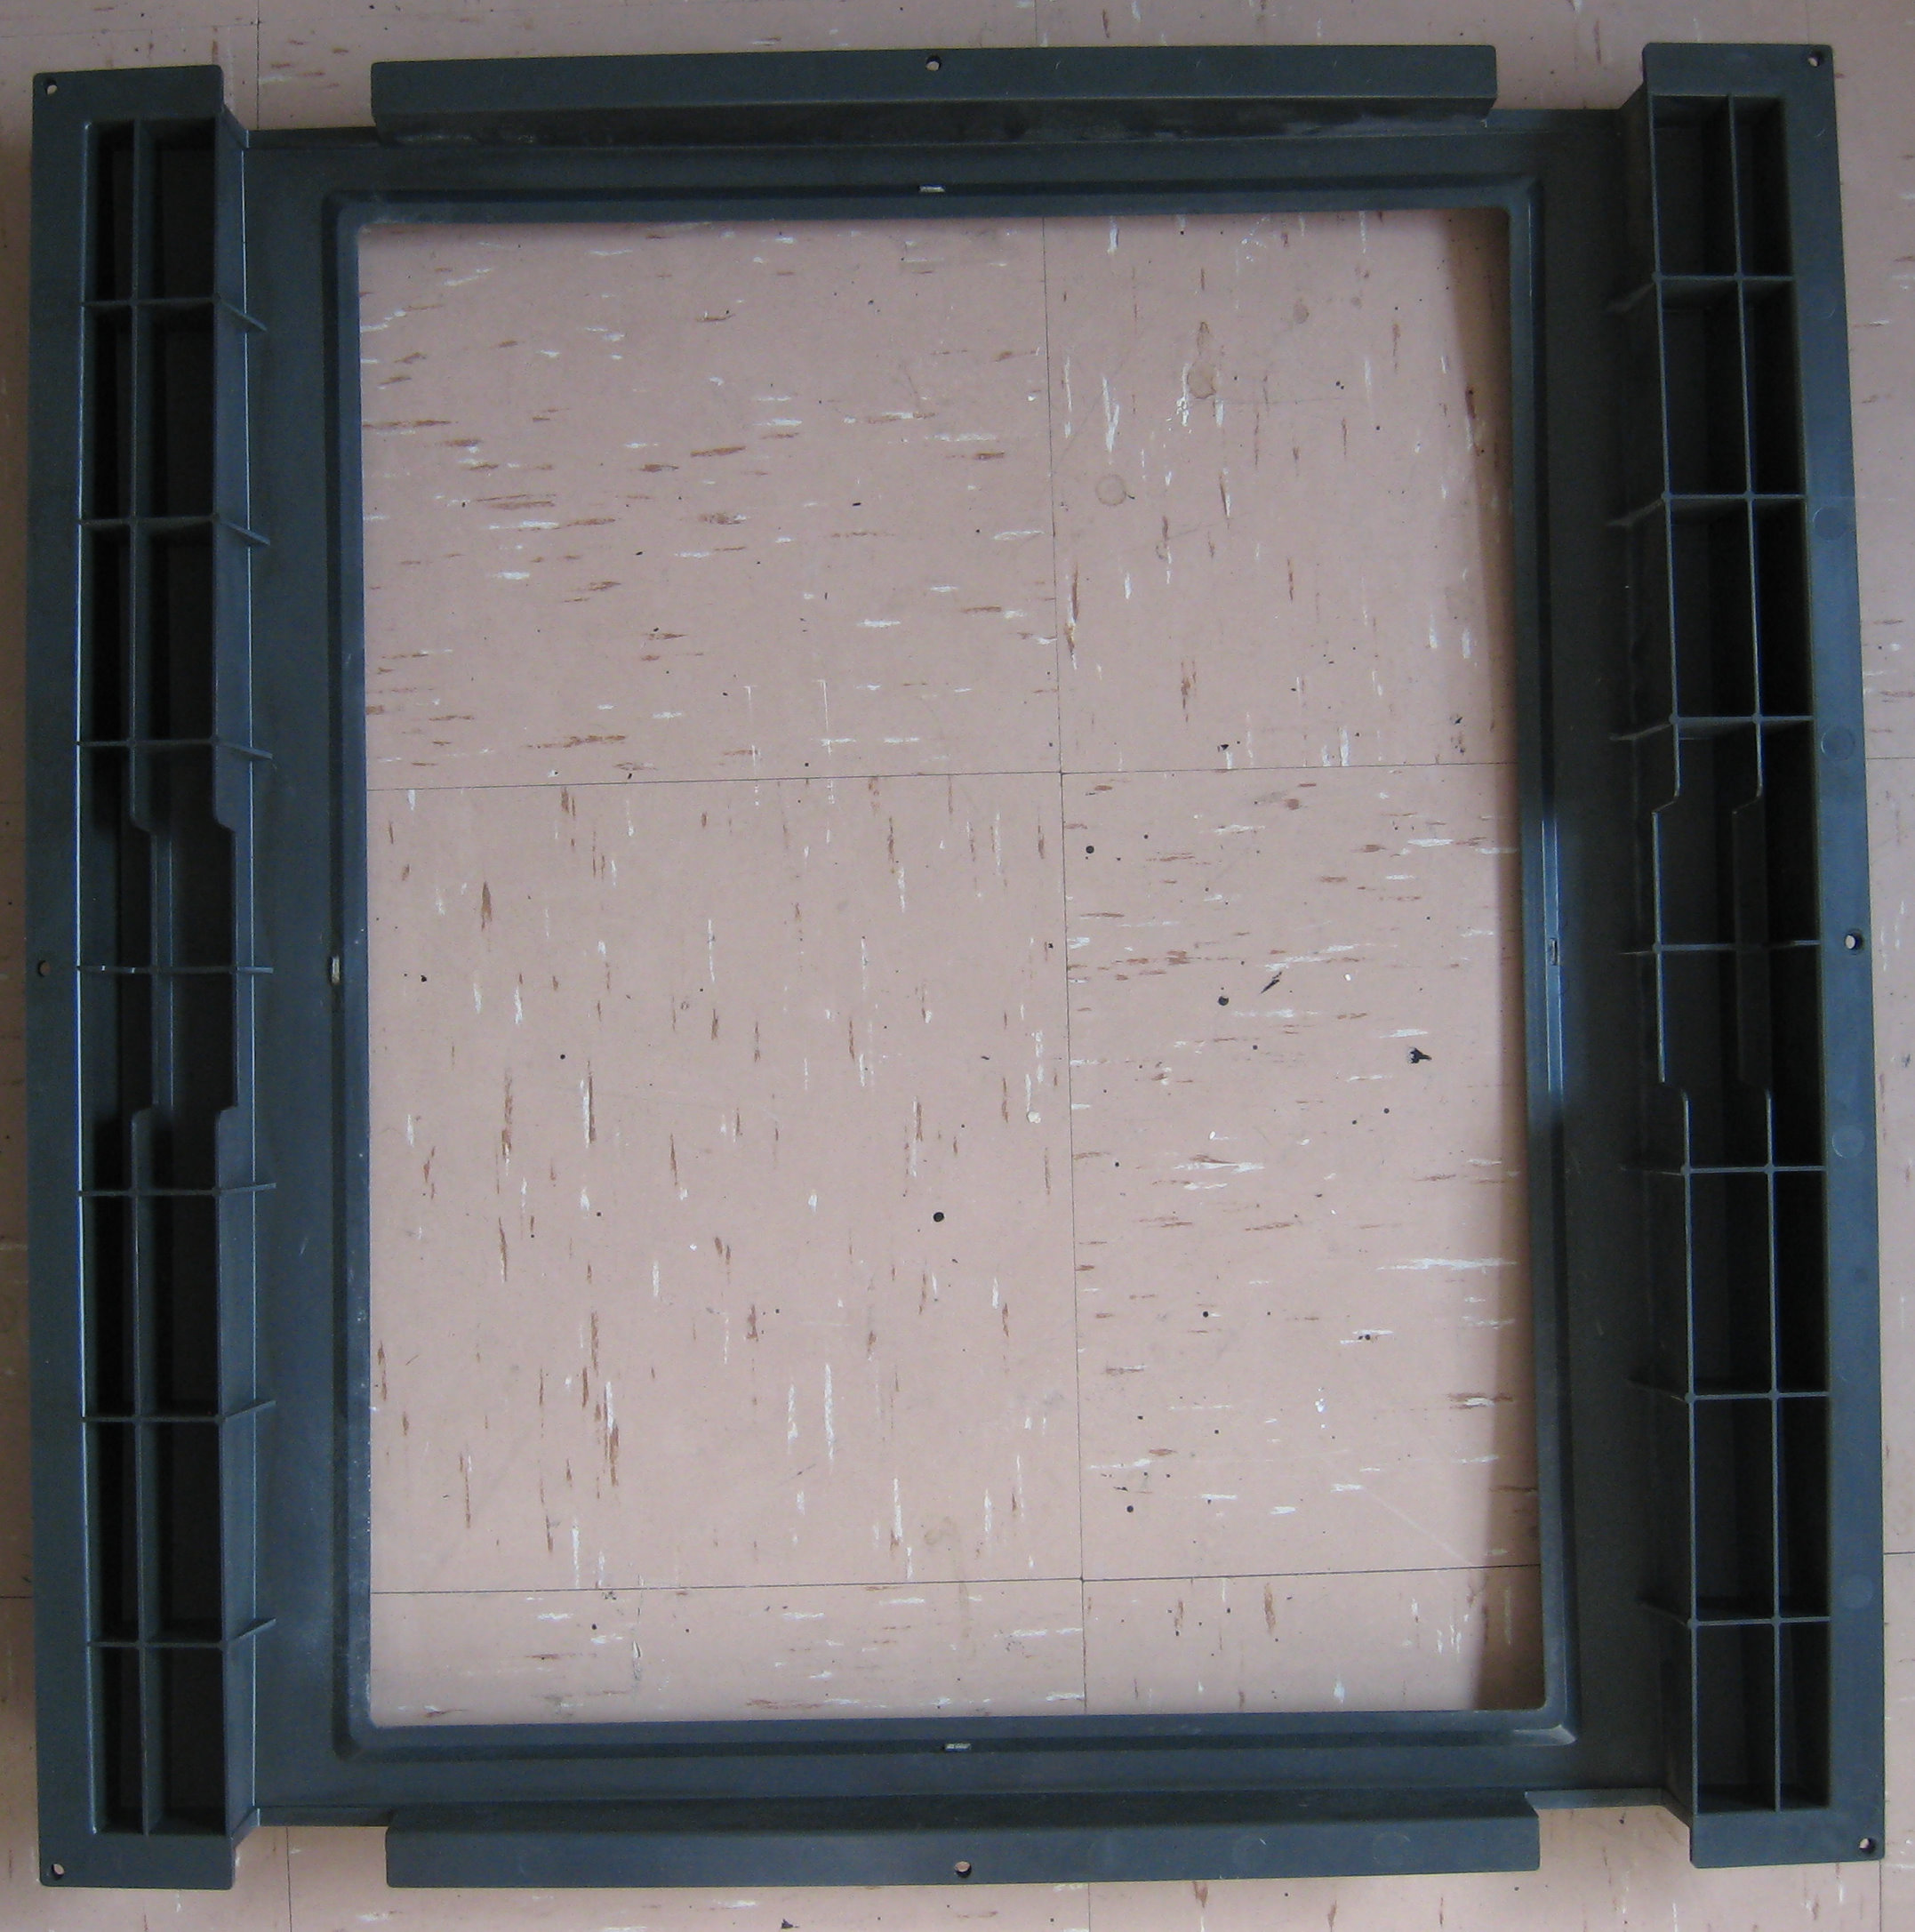
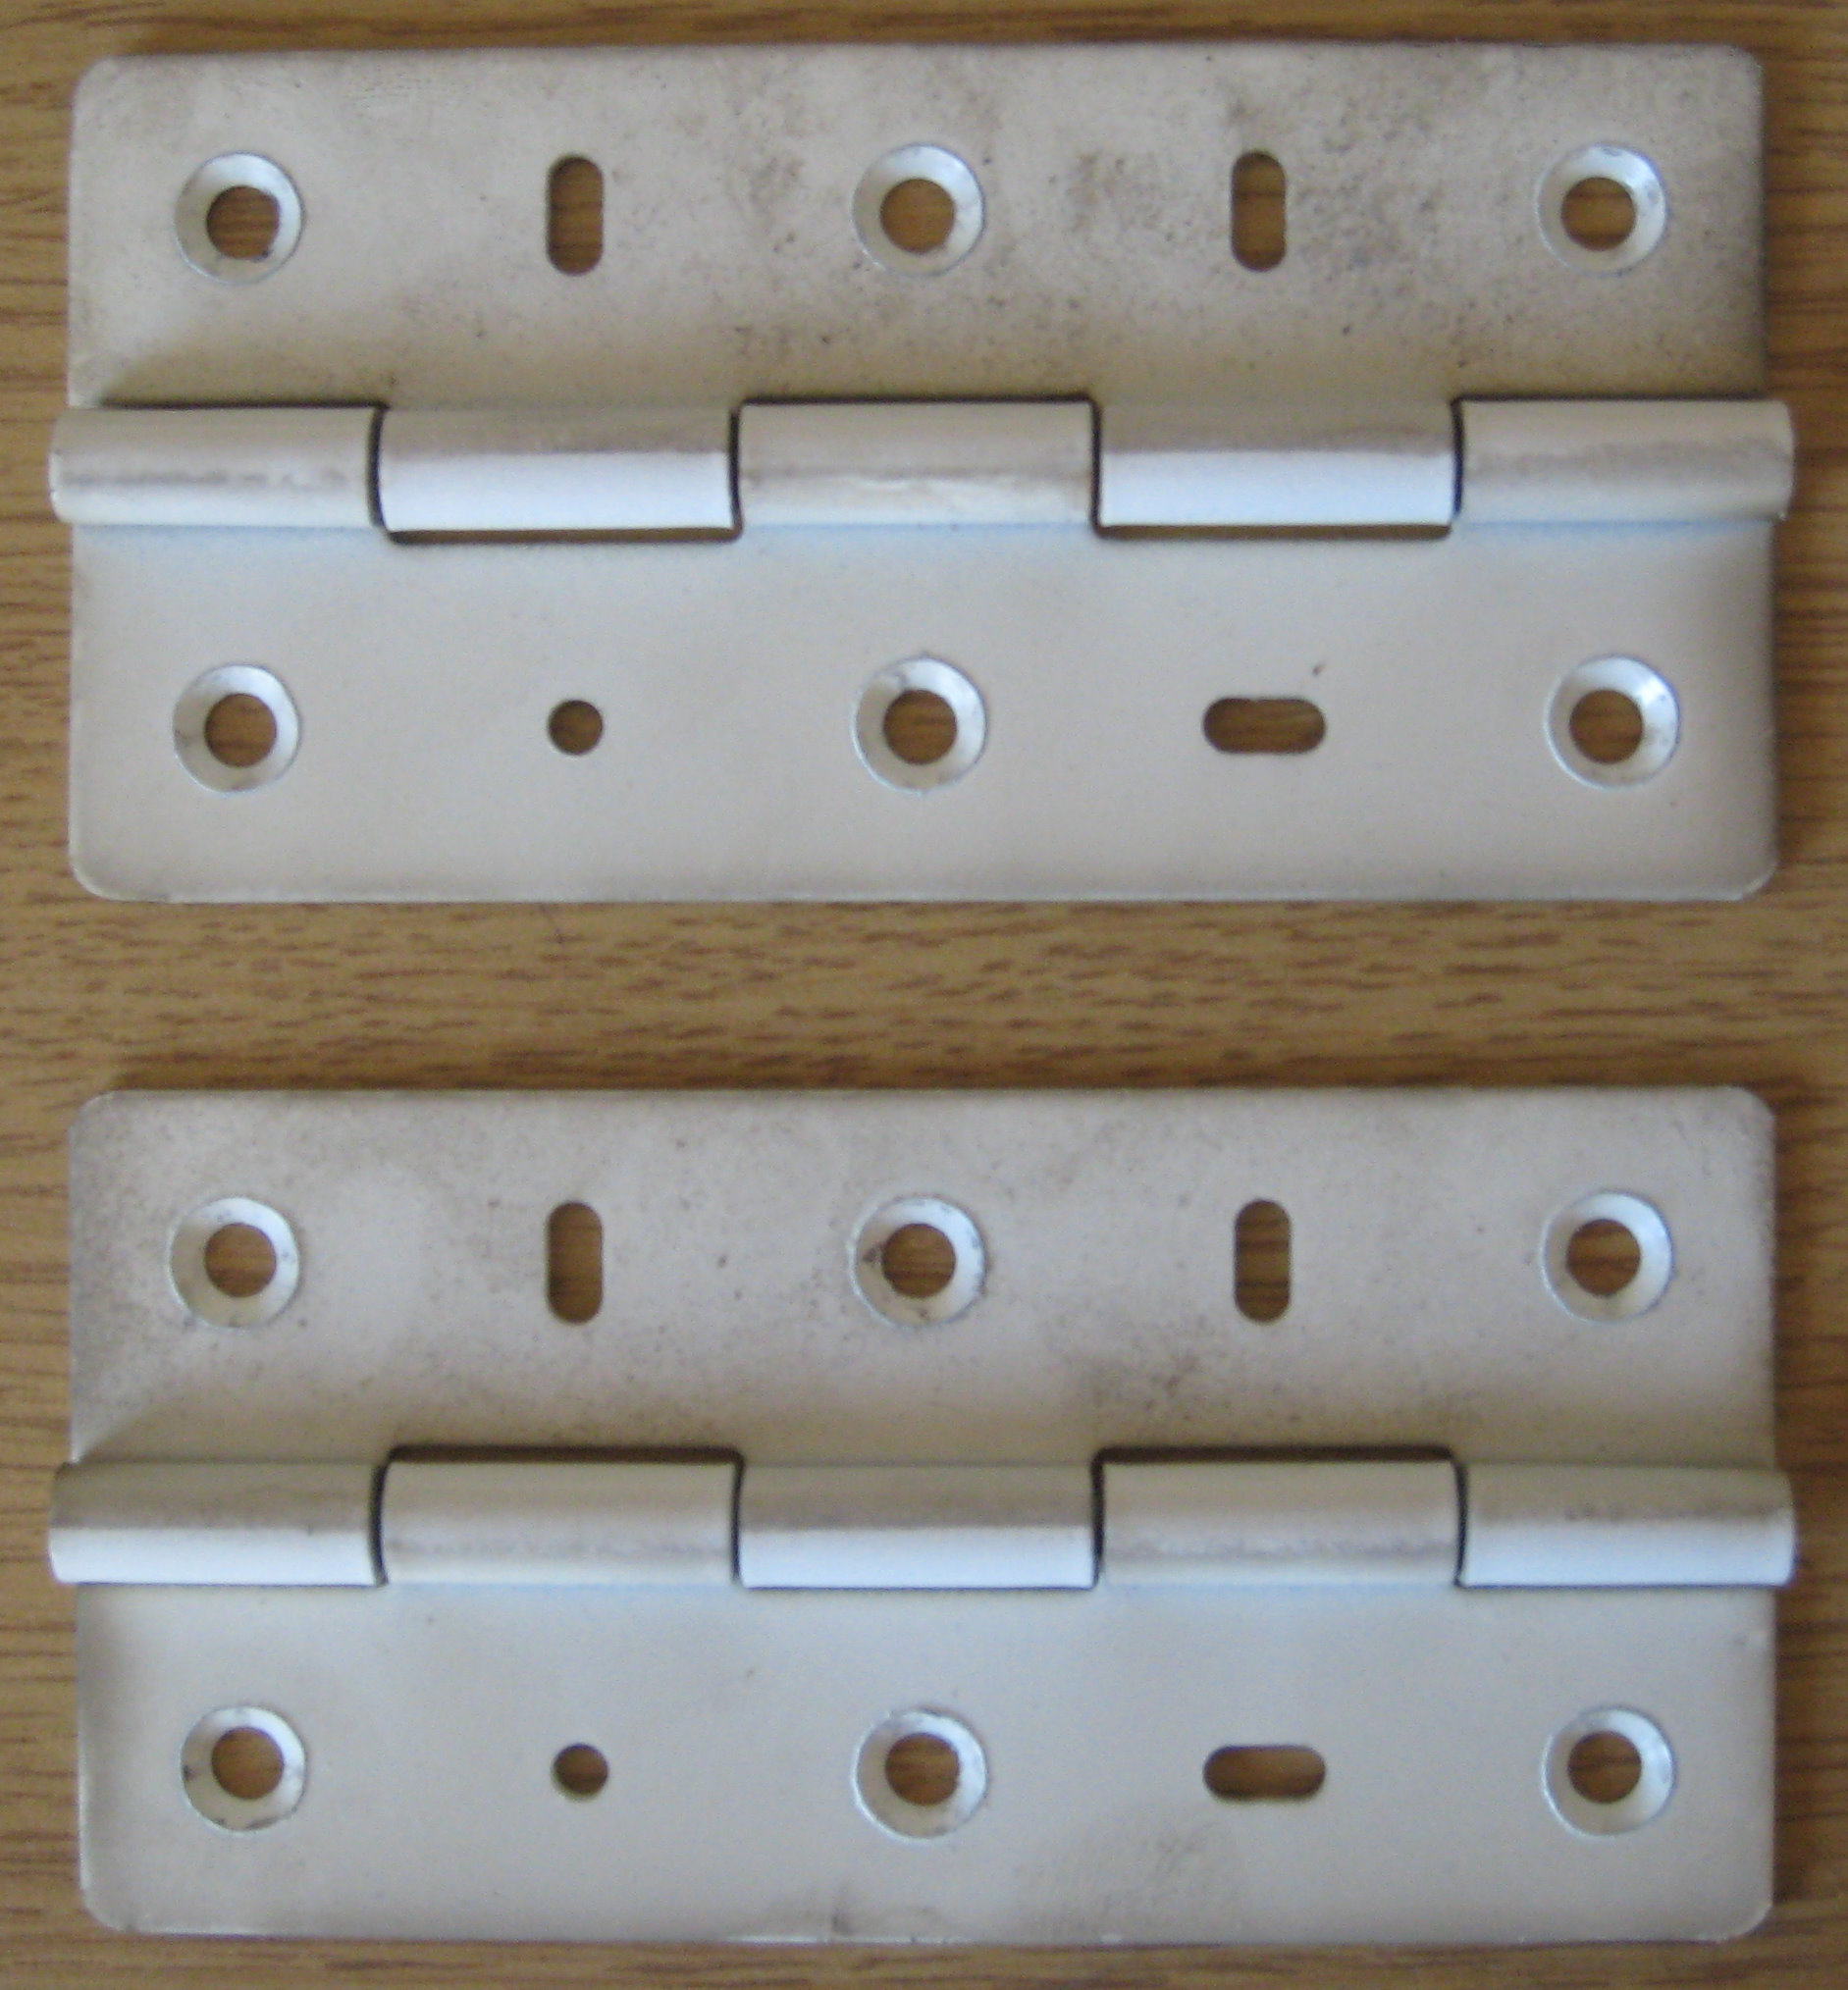
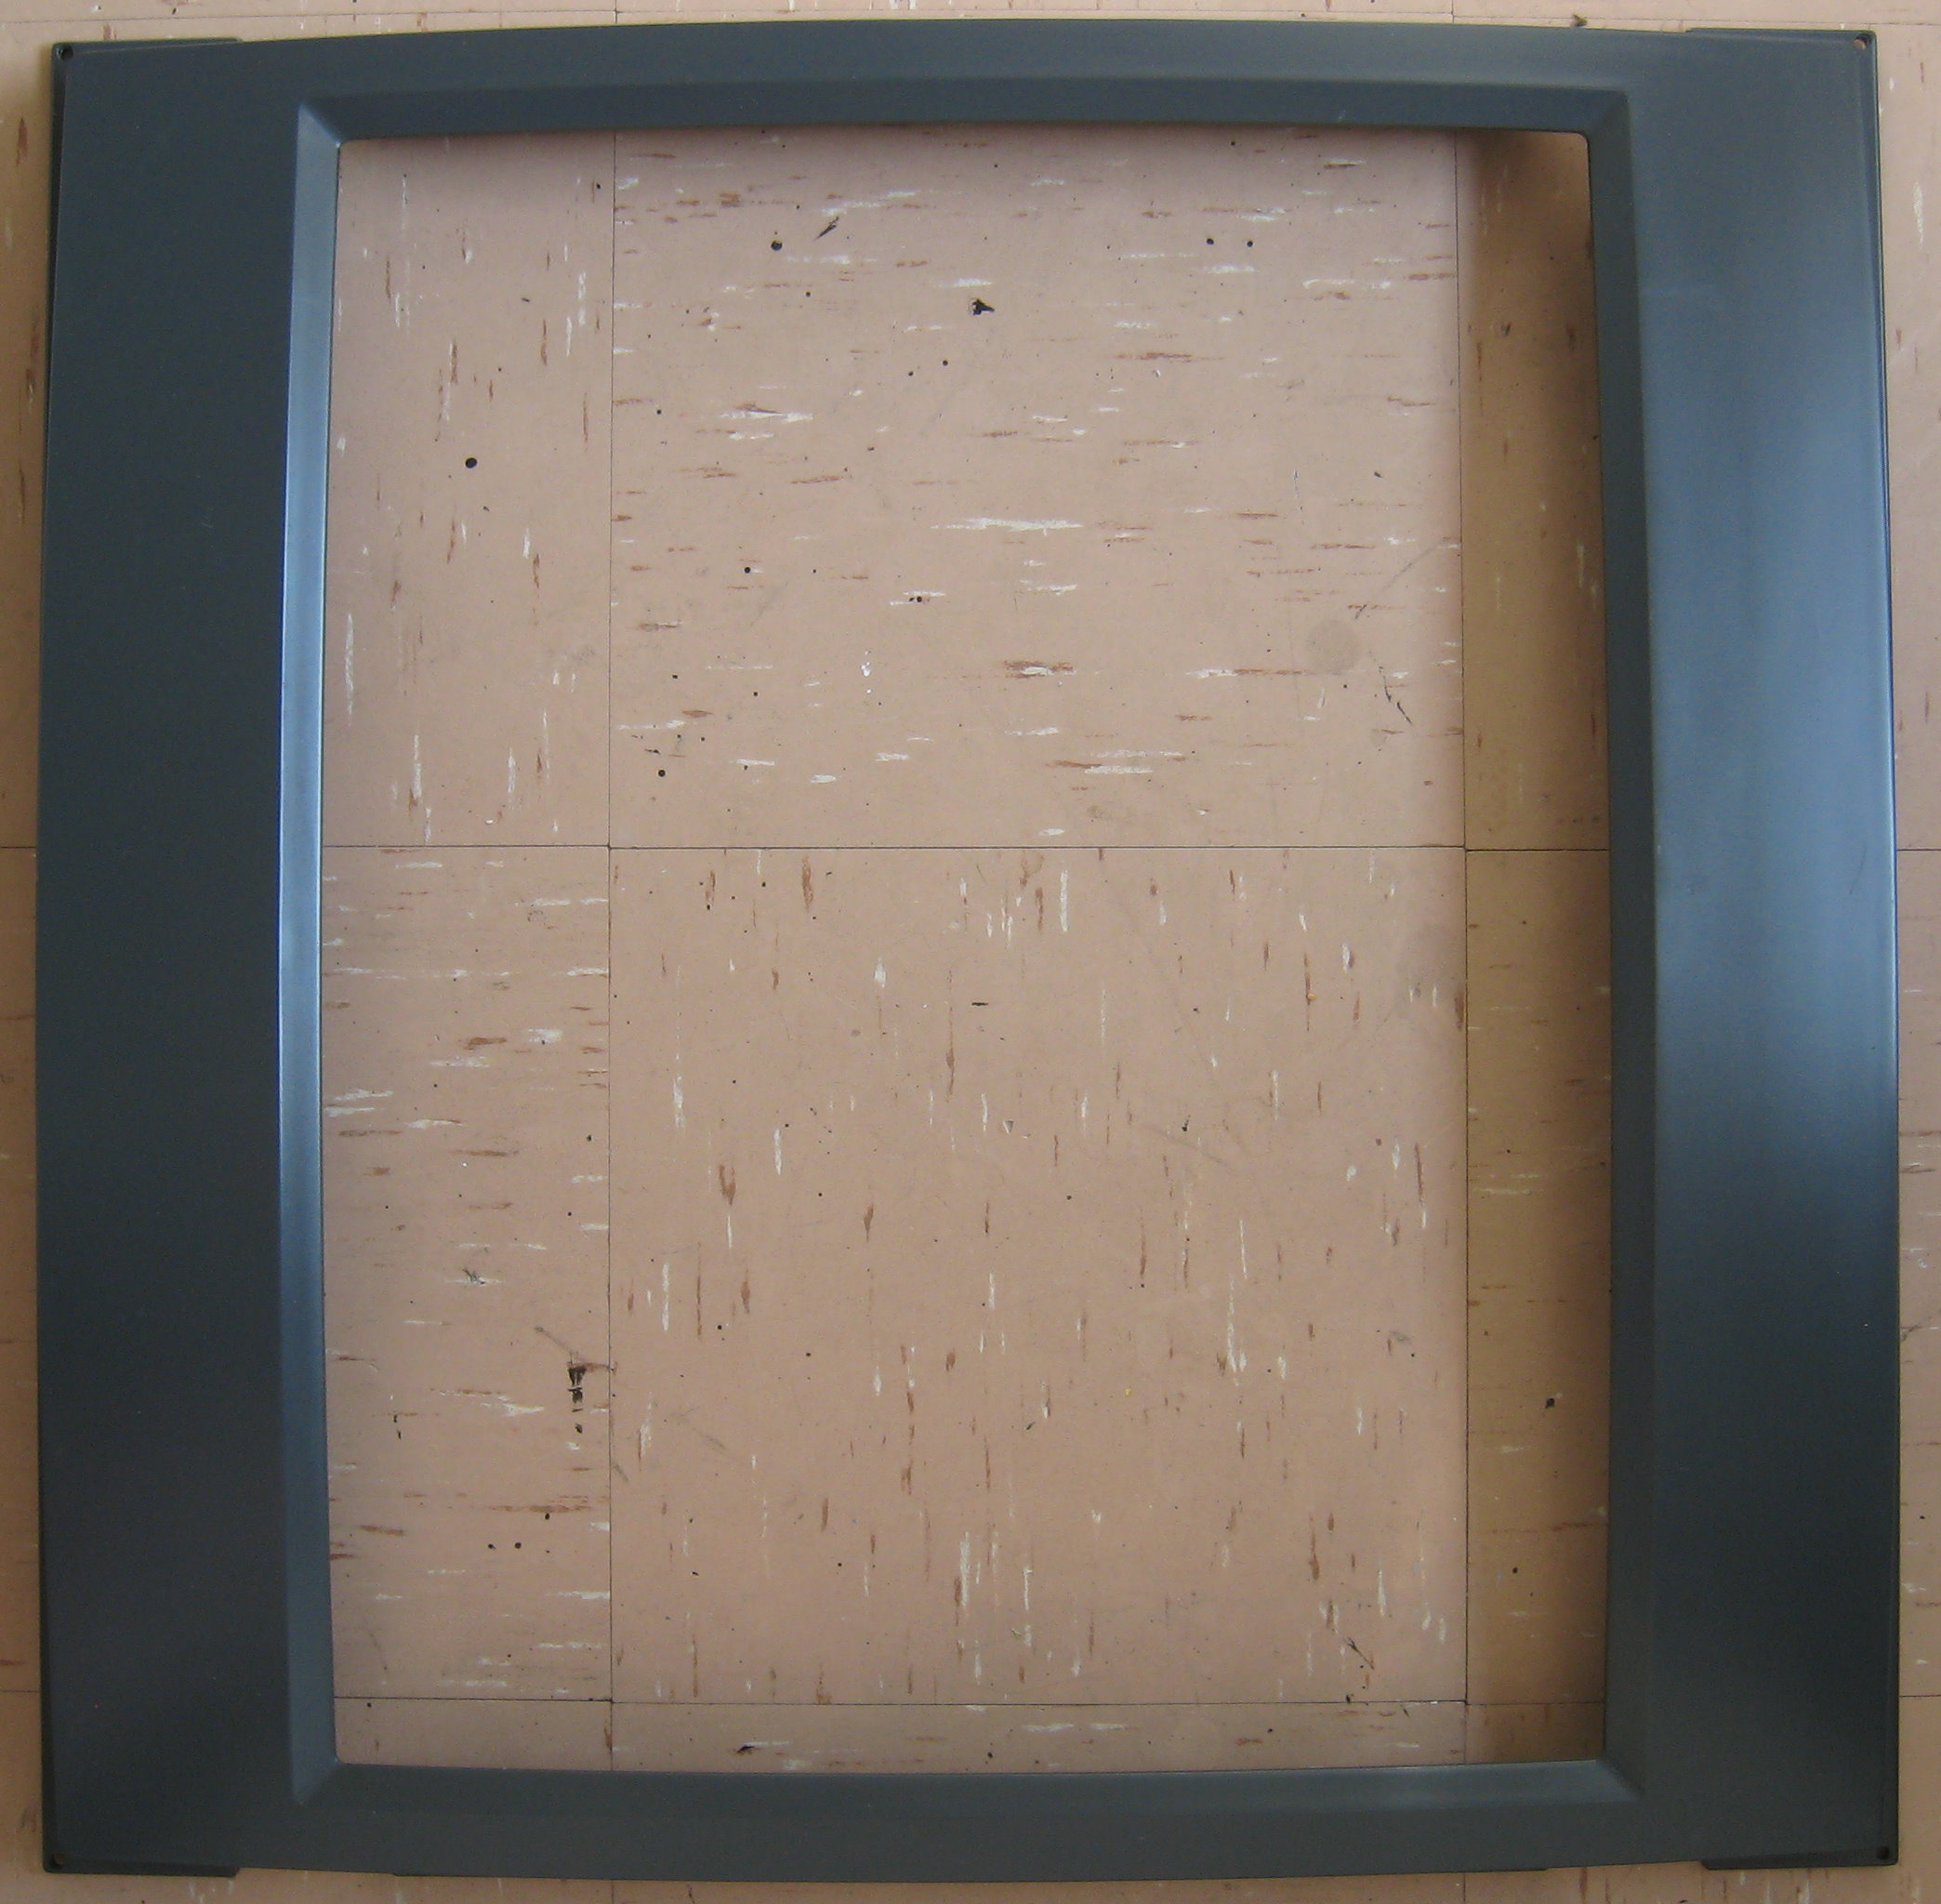
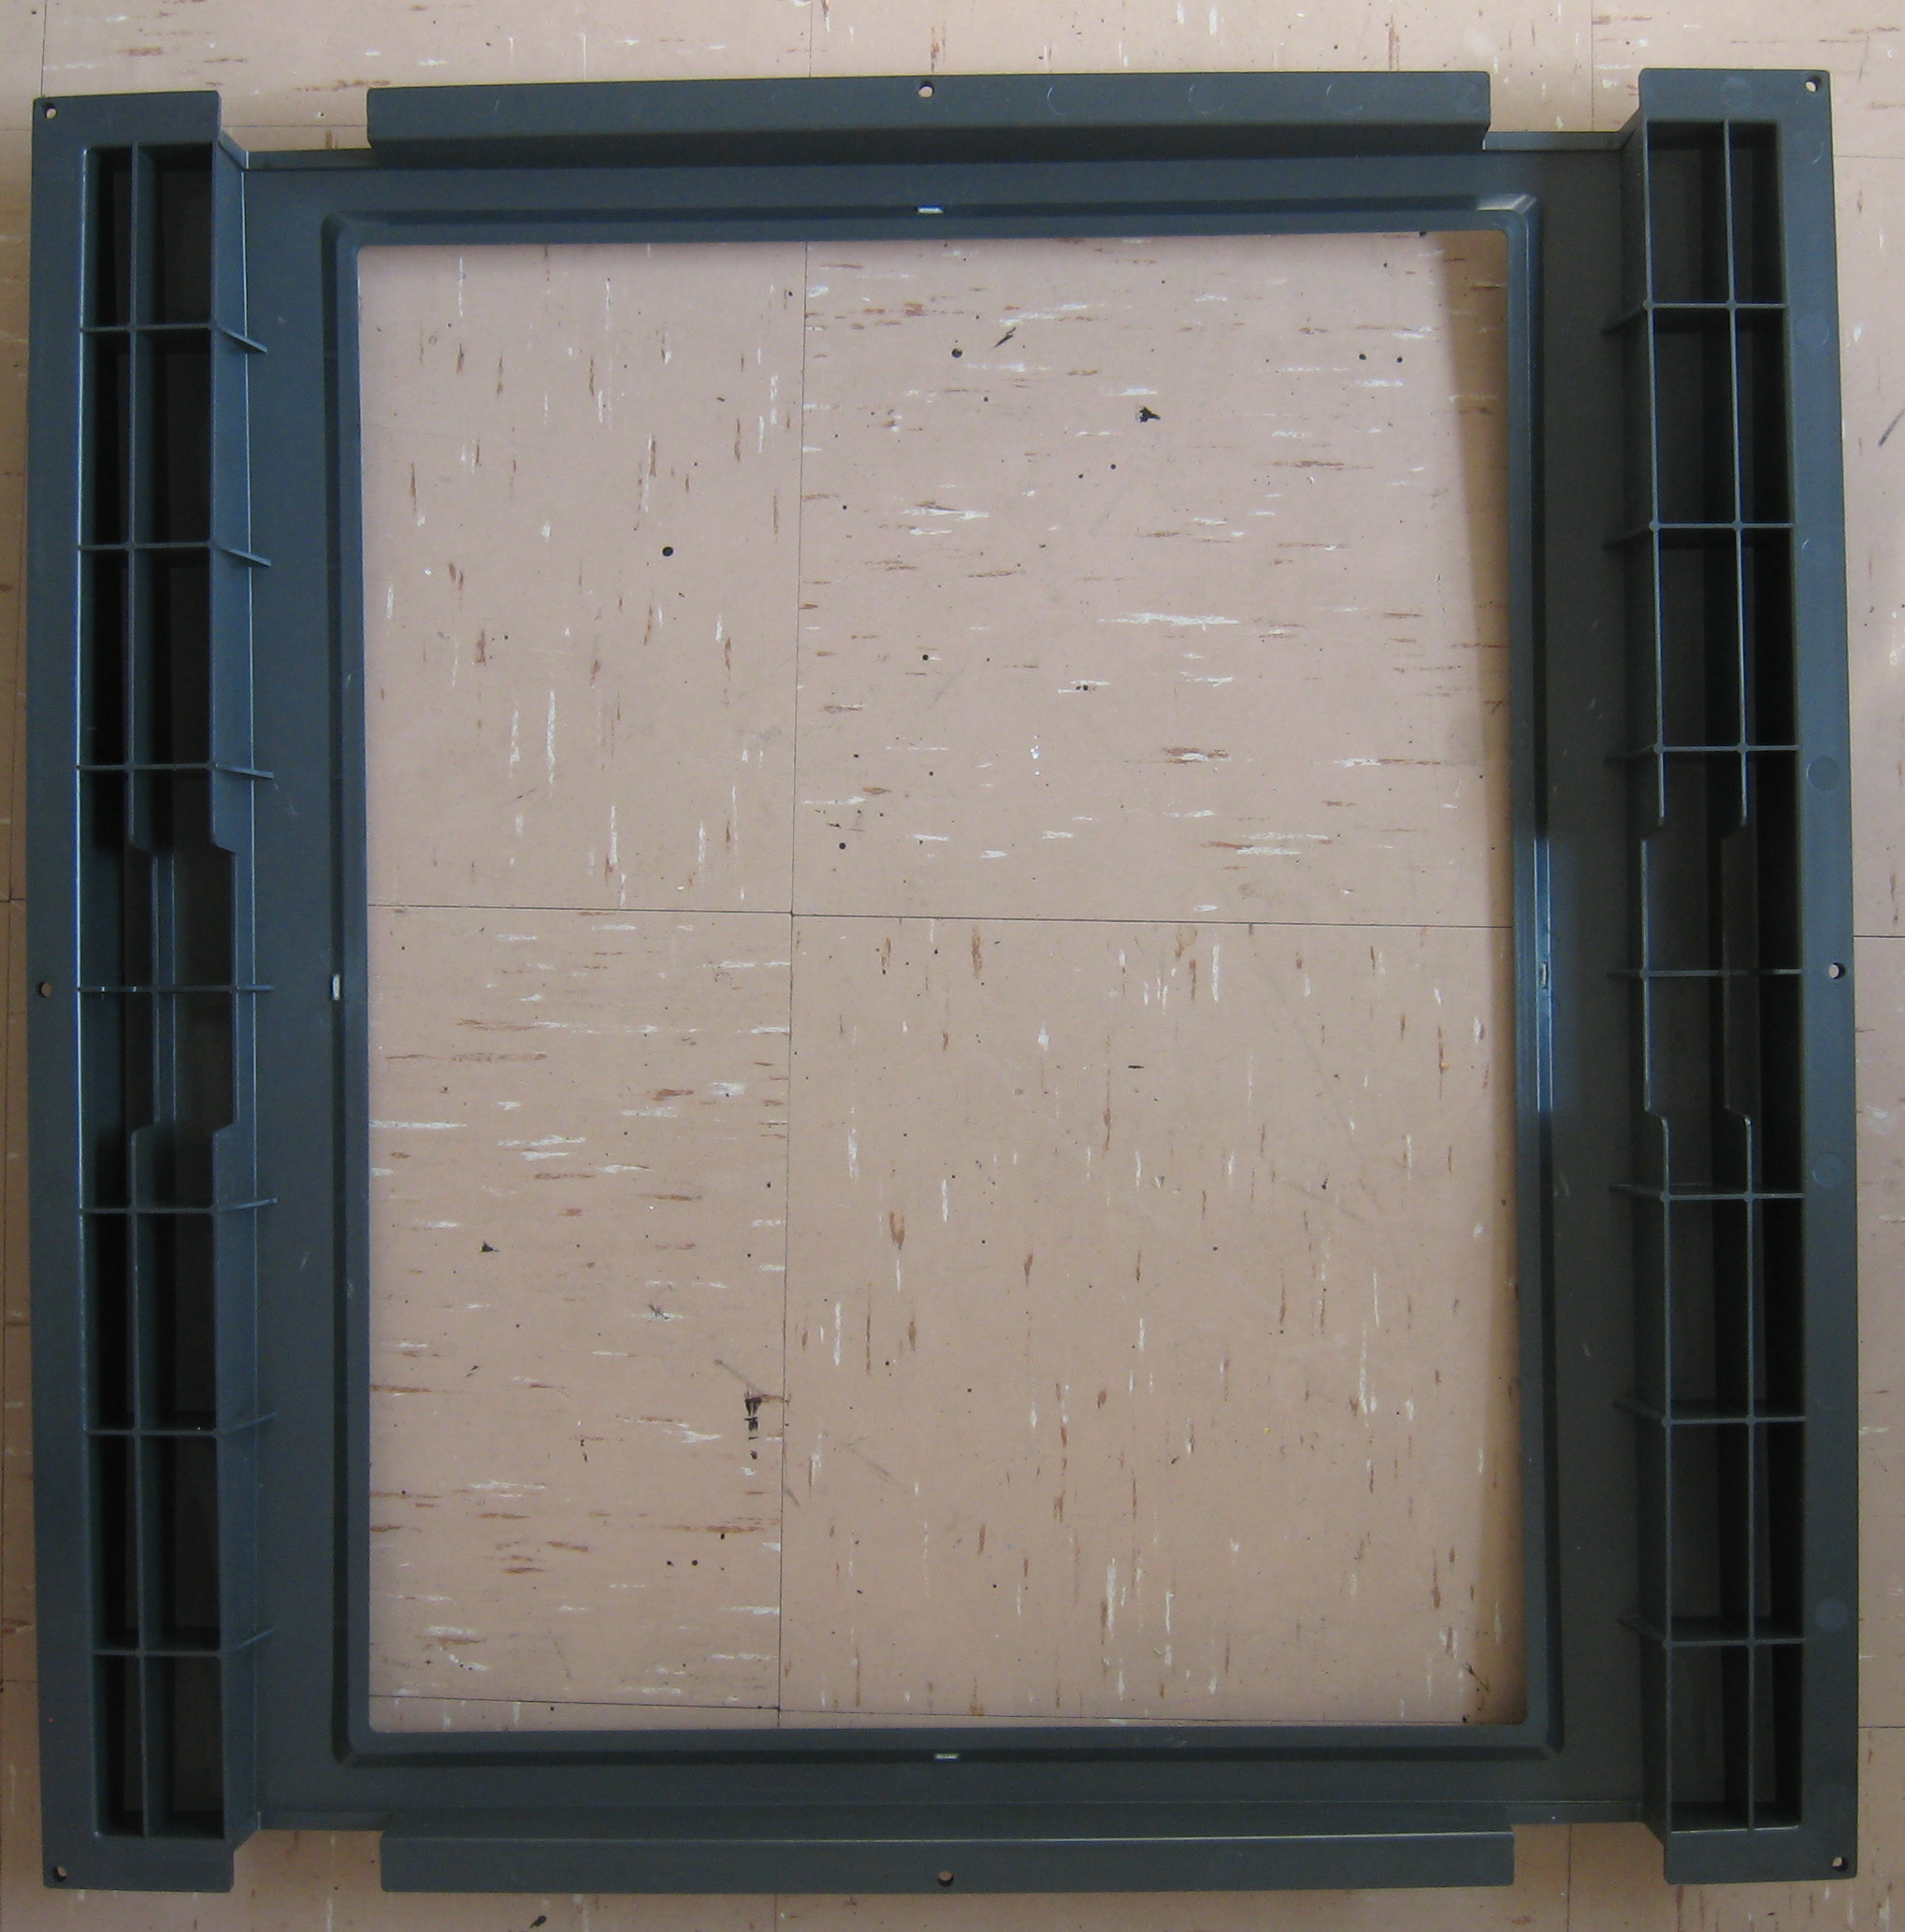
#16 - Monitor Surround
Fit the Monitor Surround and lift hinges.
#17 - Job more or less done
Lock the player panel, coin door, cash box and machine inspection panel, insert some coins and go play some games.
Upgrades and mods
After playing games for a few weeks, I thought about some small quality of life upgrades.
Note that all these upgrades are easy to change back to default for the out of the factory purist.
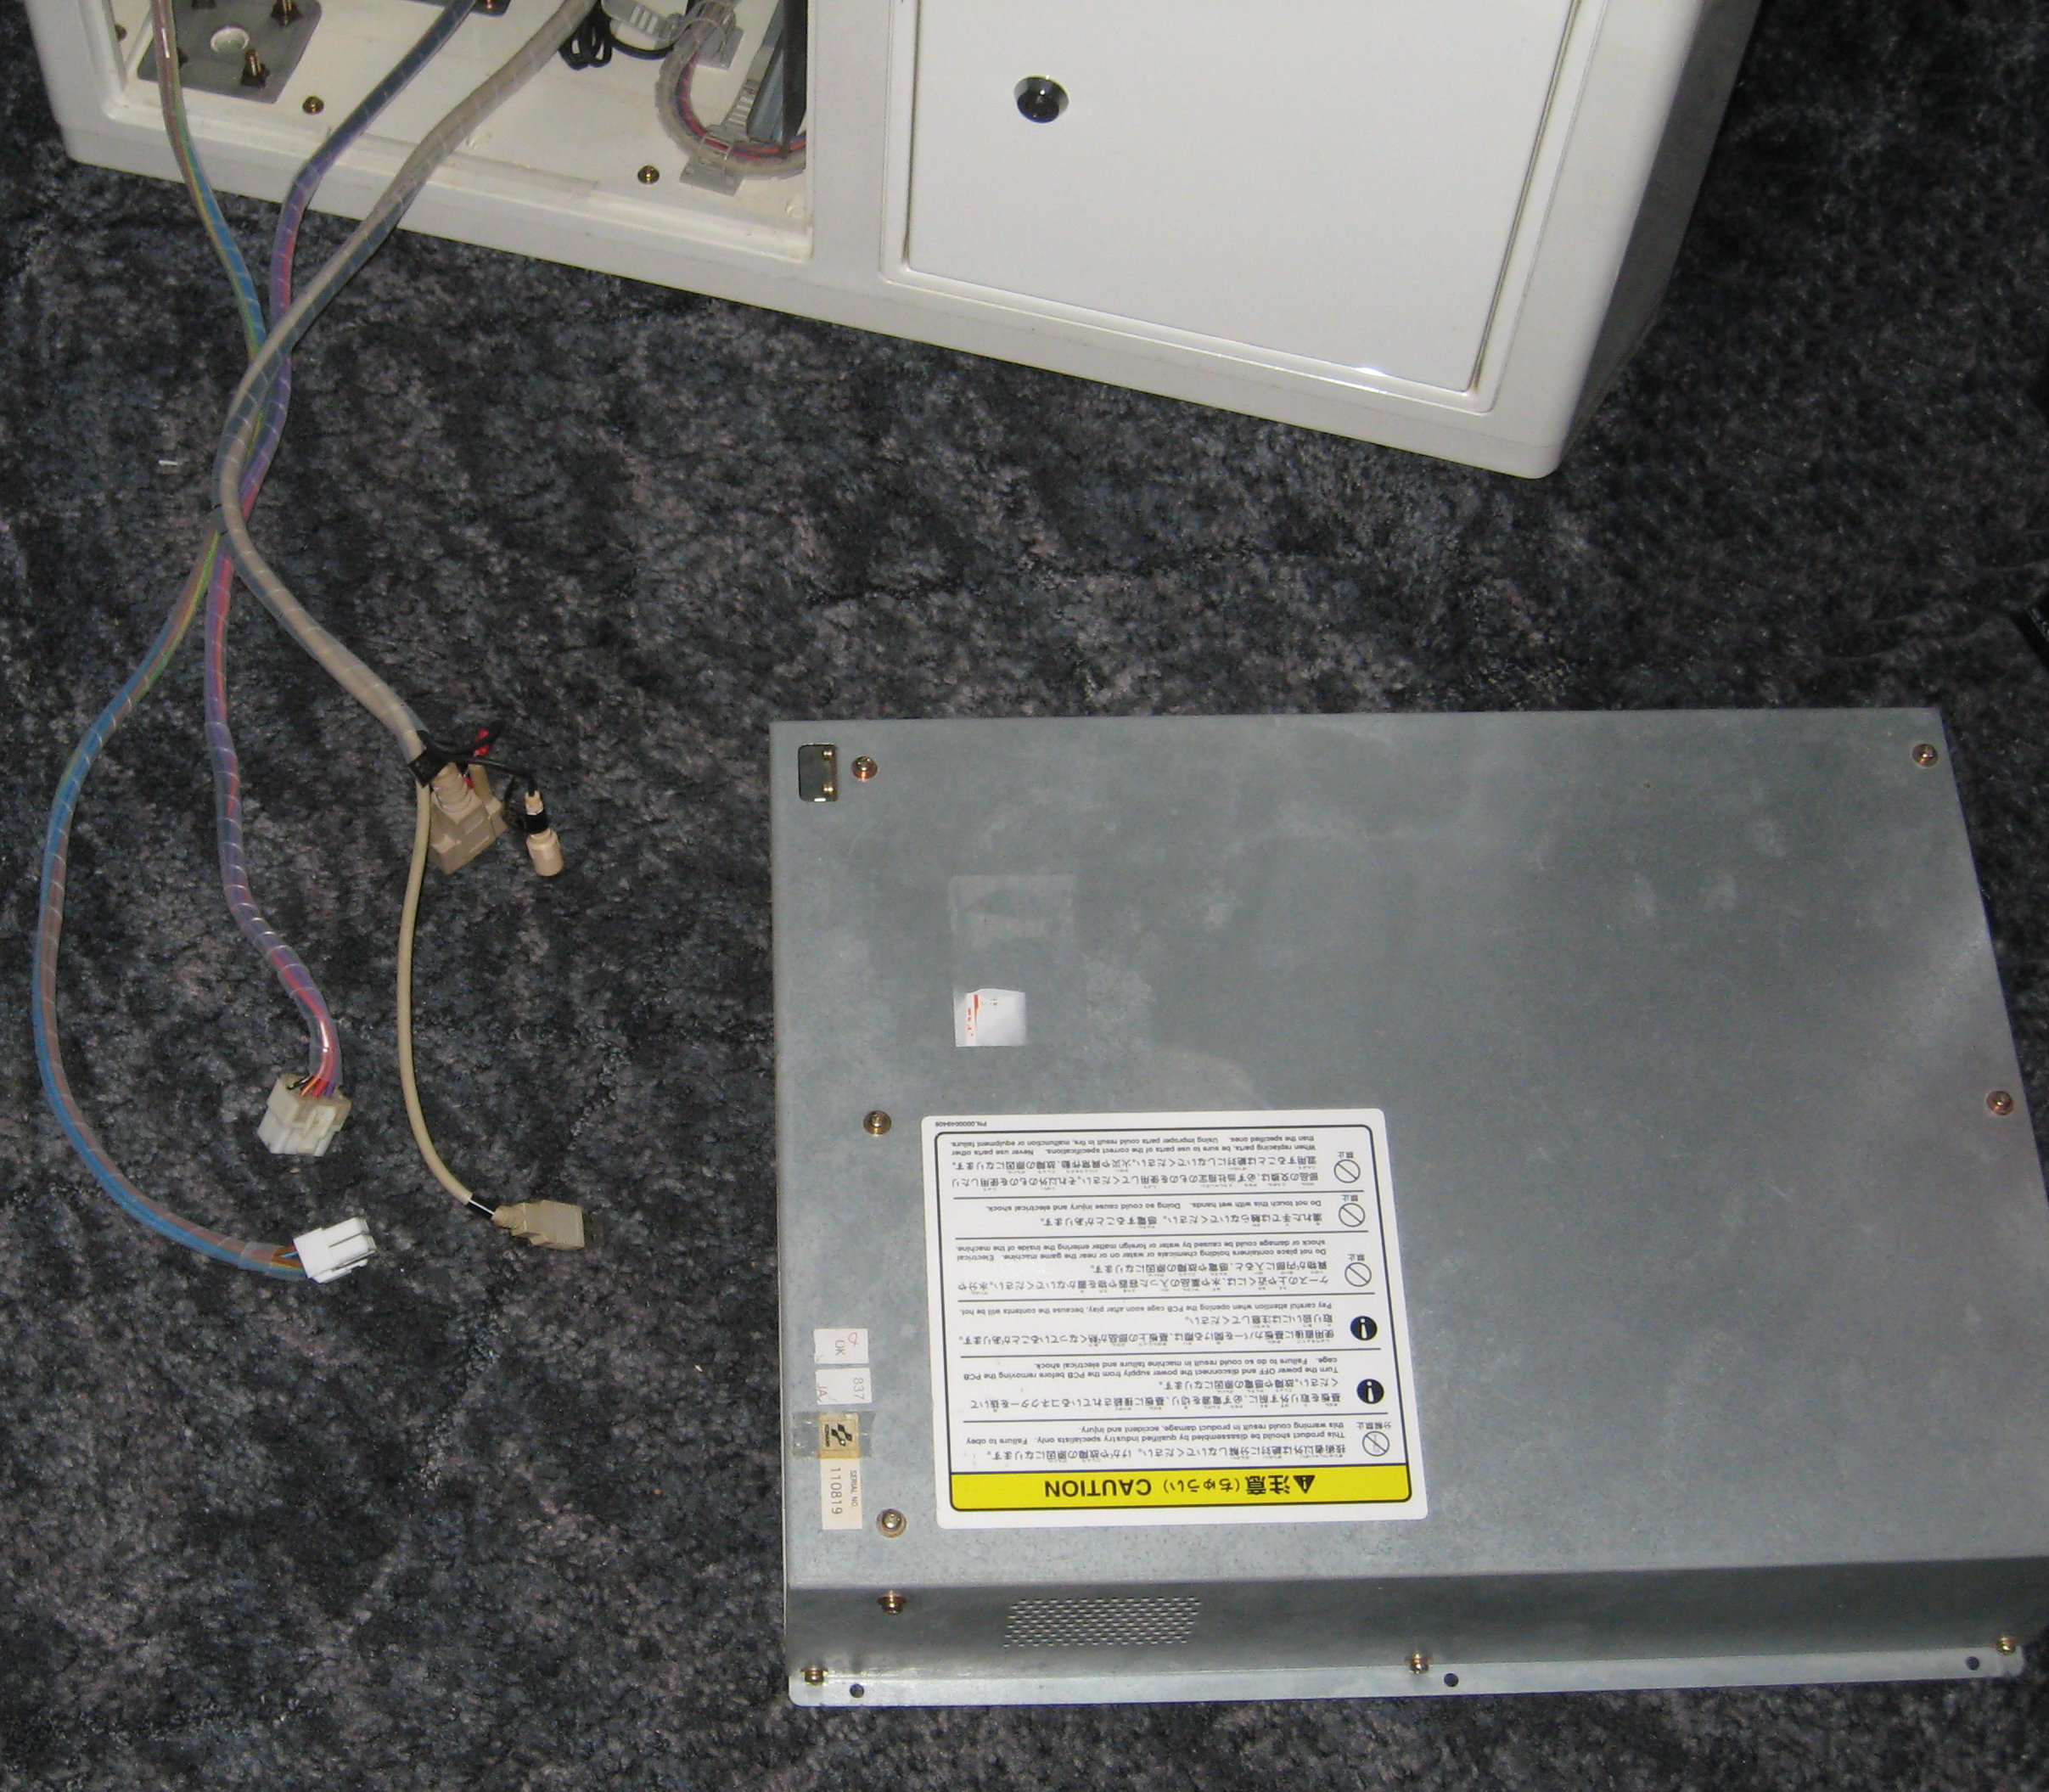
#18 - PSU Fan Replacement
I decided to change the PSU and rear Monitor Cooling Fans to Noctua NF-B9 92mm fans, I've been running the 80mm and 120mm versions my main workstation for a number a years, great airflow, reliable.and most important very quiet.
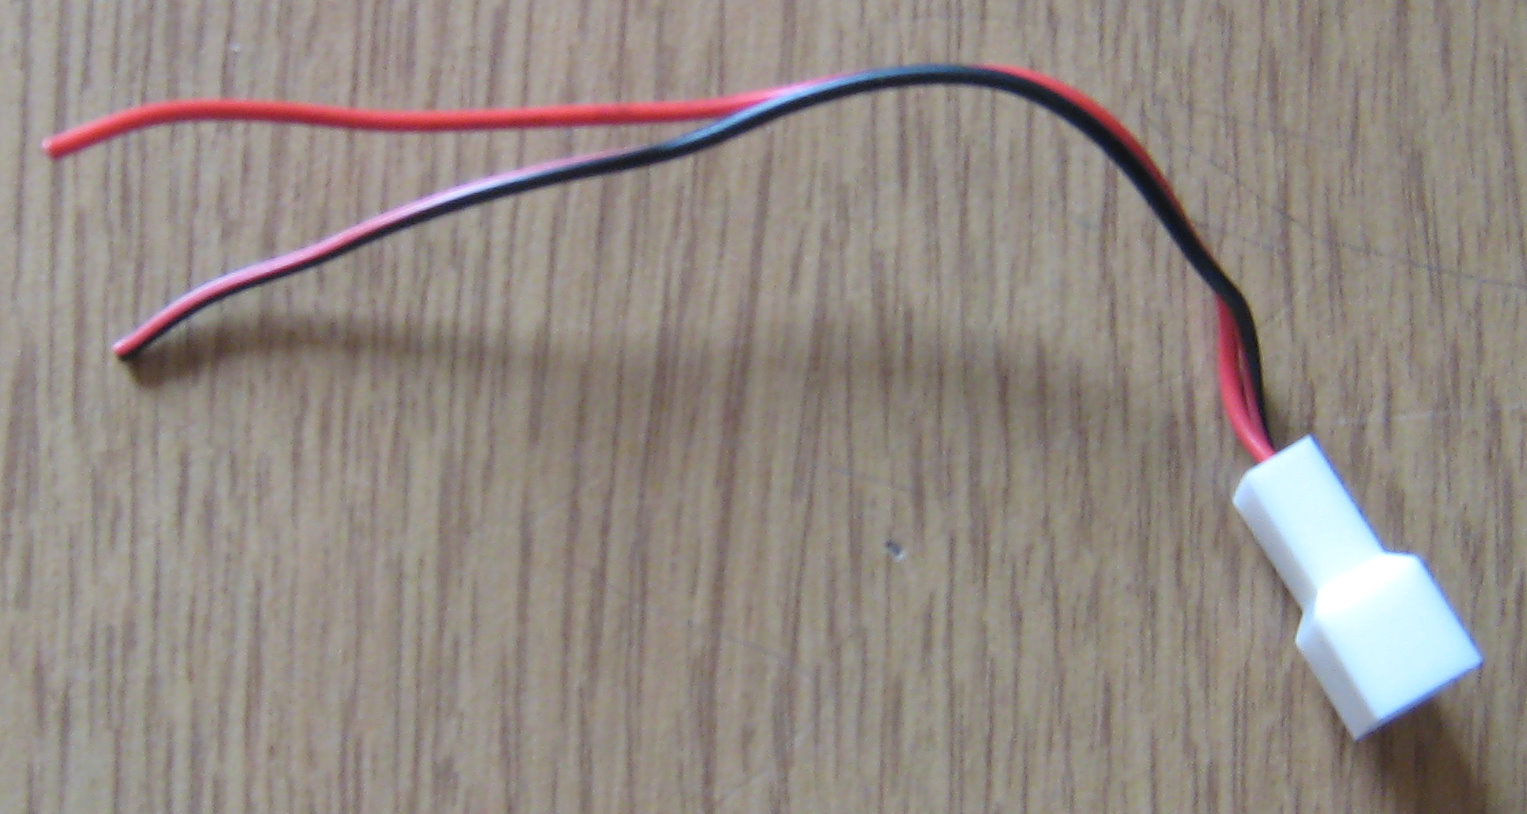
Noctua NF-B9 92mm fan on the left and the original fan on the right,
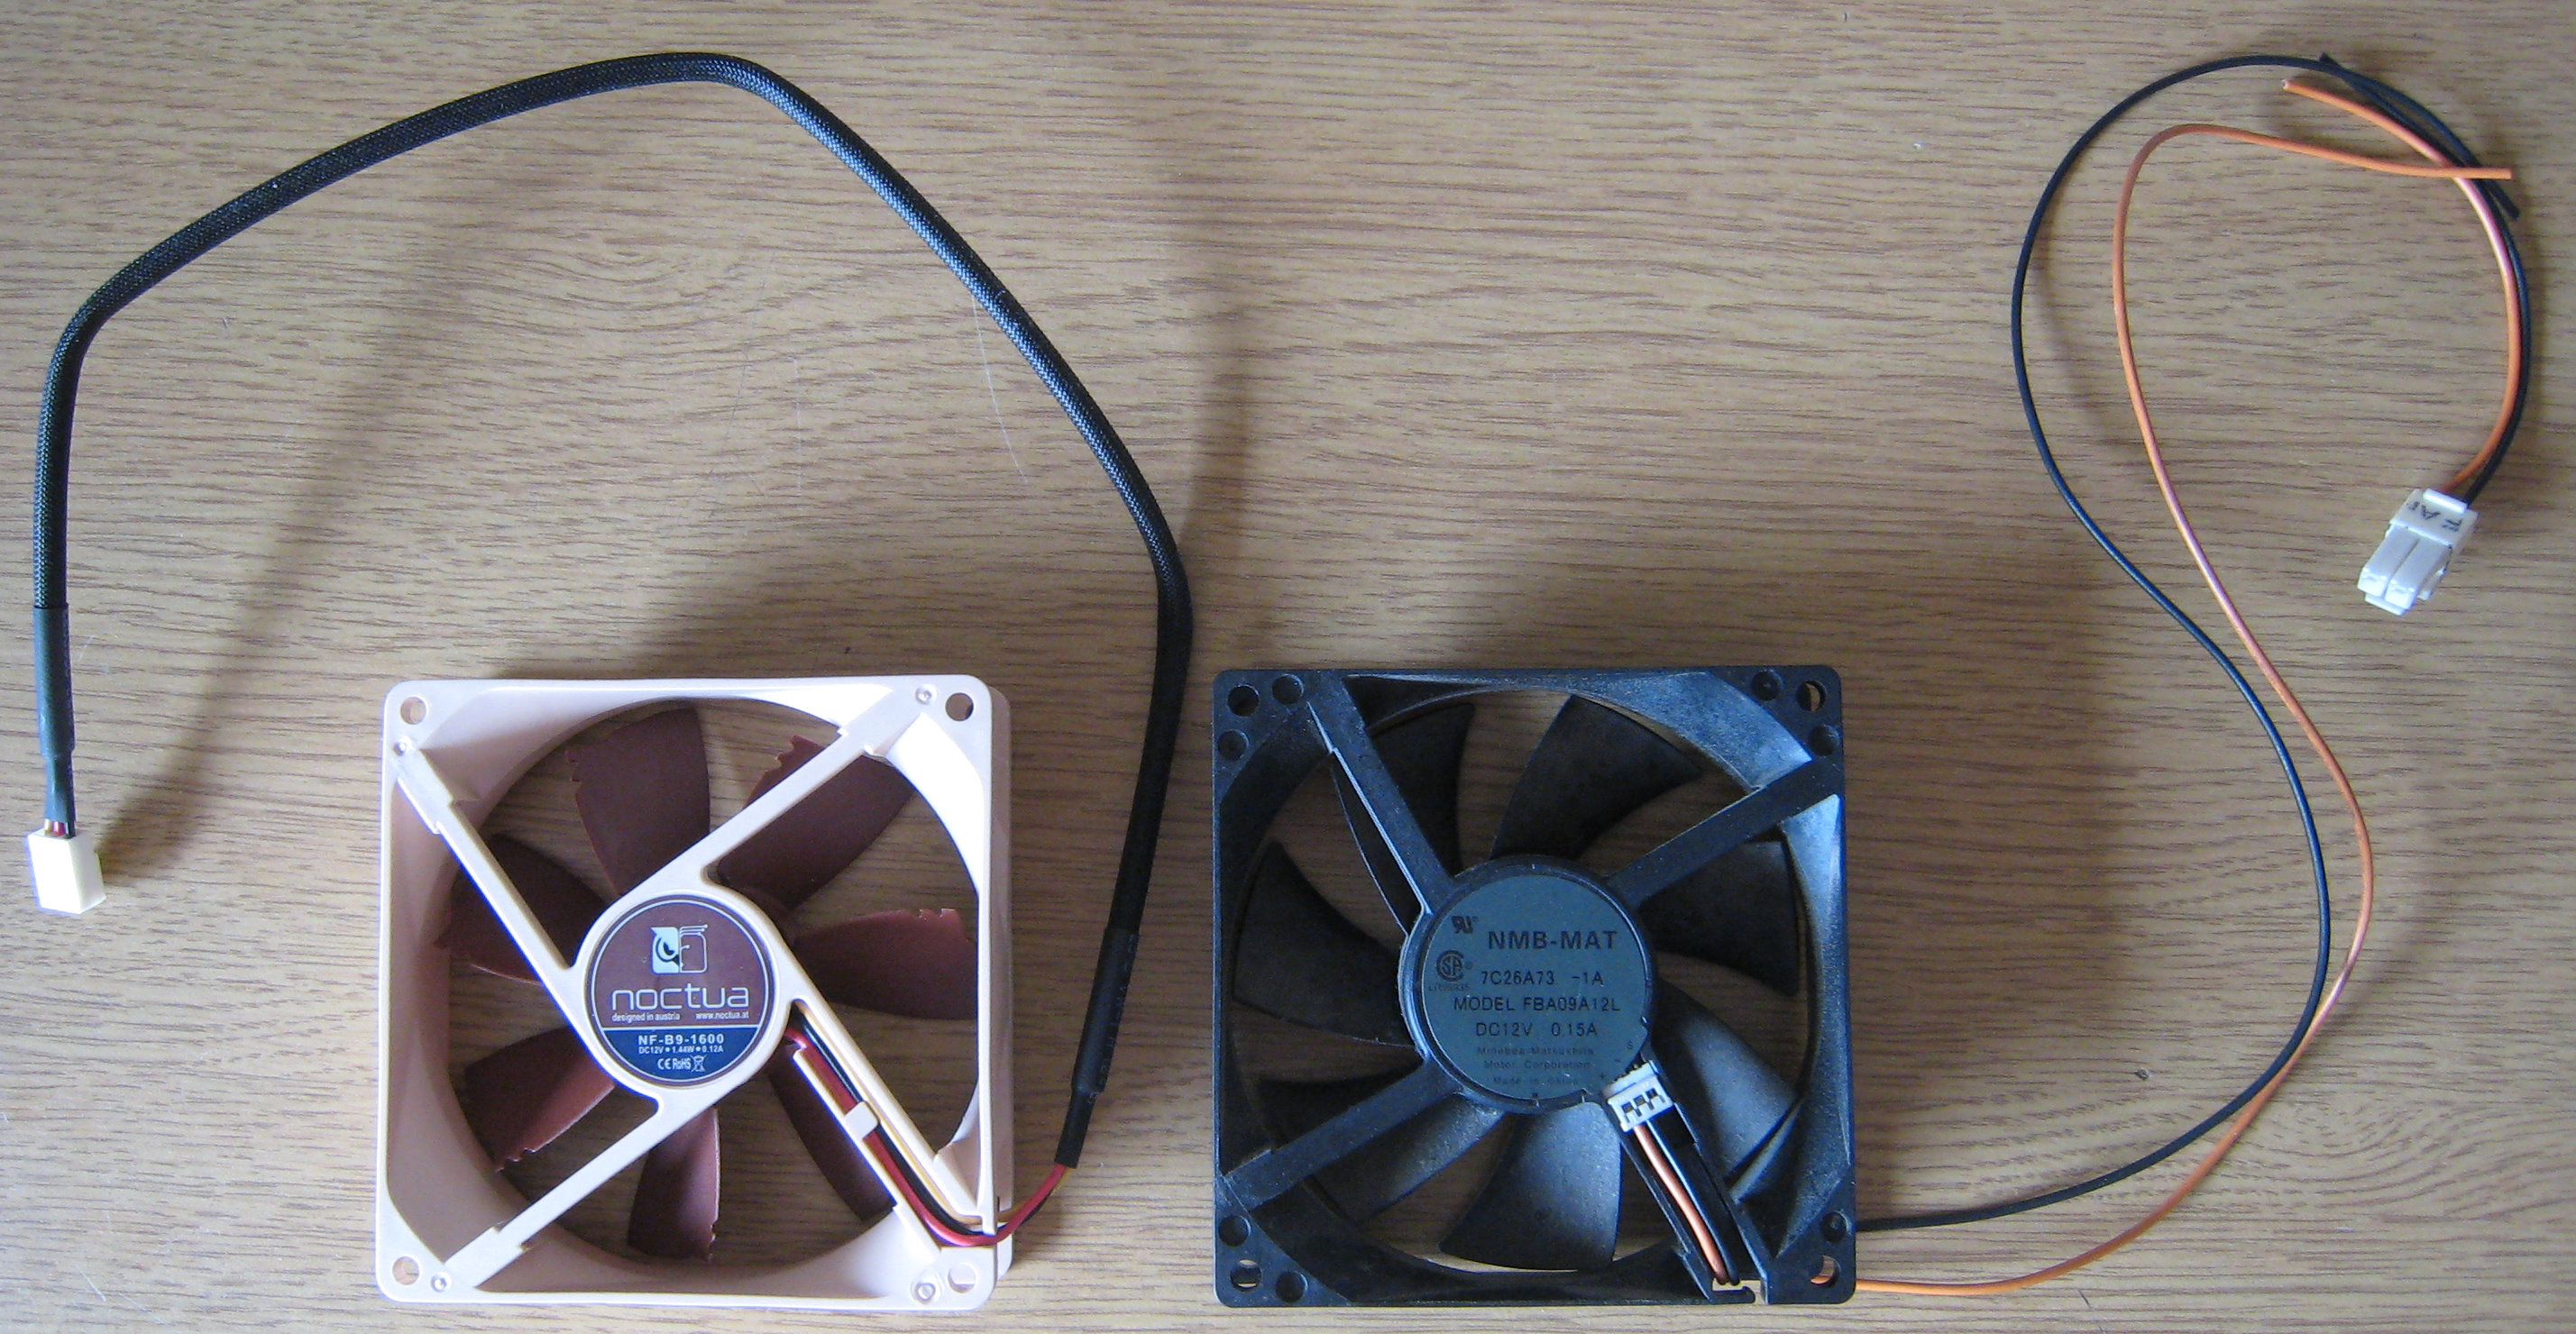
The original fan has a larger connector (2 pins) where the Noctua has a smaller connector (3 pins), the third pin is not required as that's only use on a PC with fan speed control.
I don't like cutting looms to change stuff so all of these changes are on the extra wiring so it's easily reversed.
The Noctua come with two fan speed control connector that's not used and a Molex convertor for PCs with no 3 pin connector.
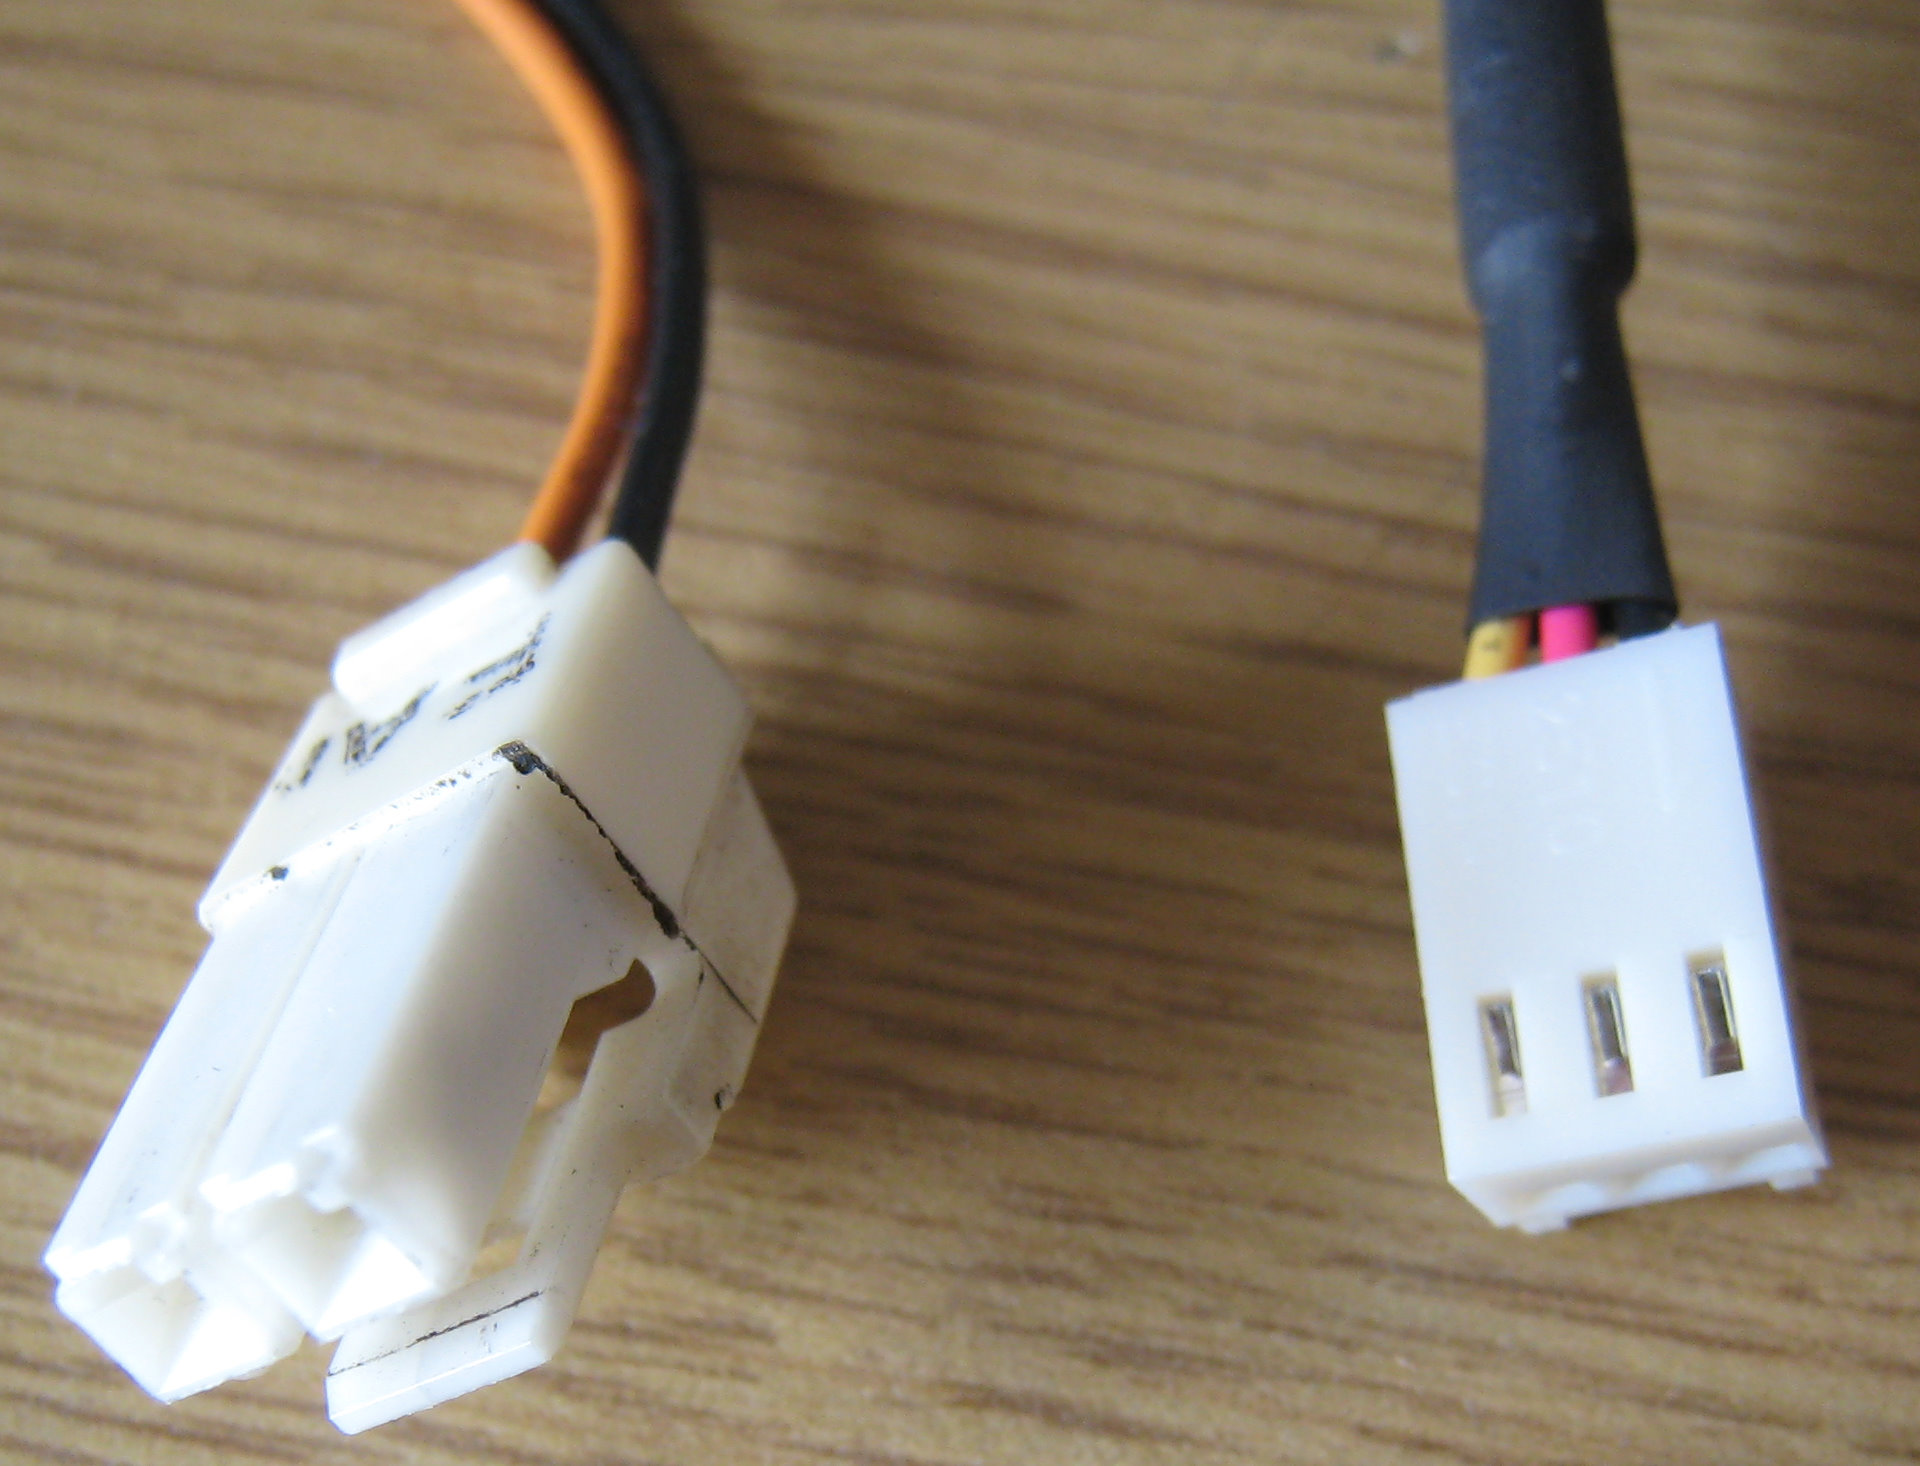
What I did was cut off the original connector and the Molex convertor from the Noctua pack, soldered them together and use two lots of 2.5mm shrink wrap (for each wire) and one lot of 5mm shrink wrap to put the original connector onto the Molex cable.
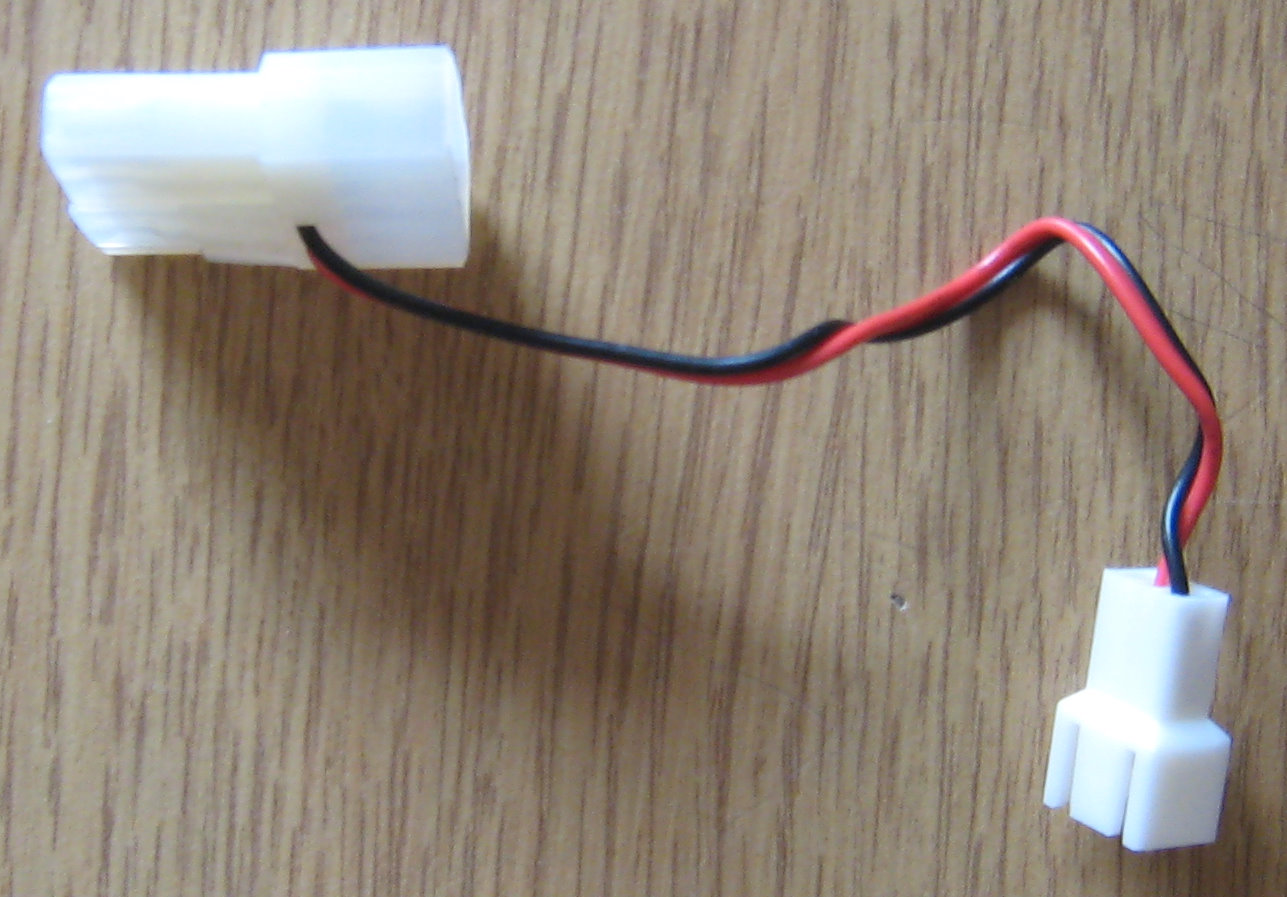
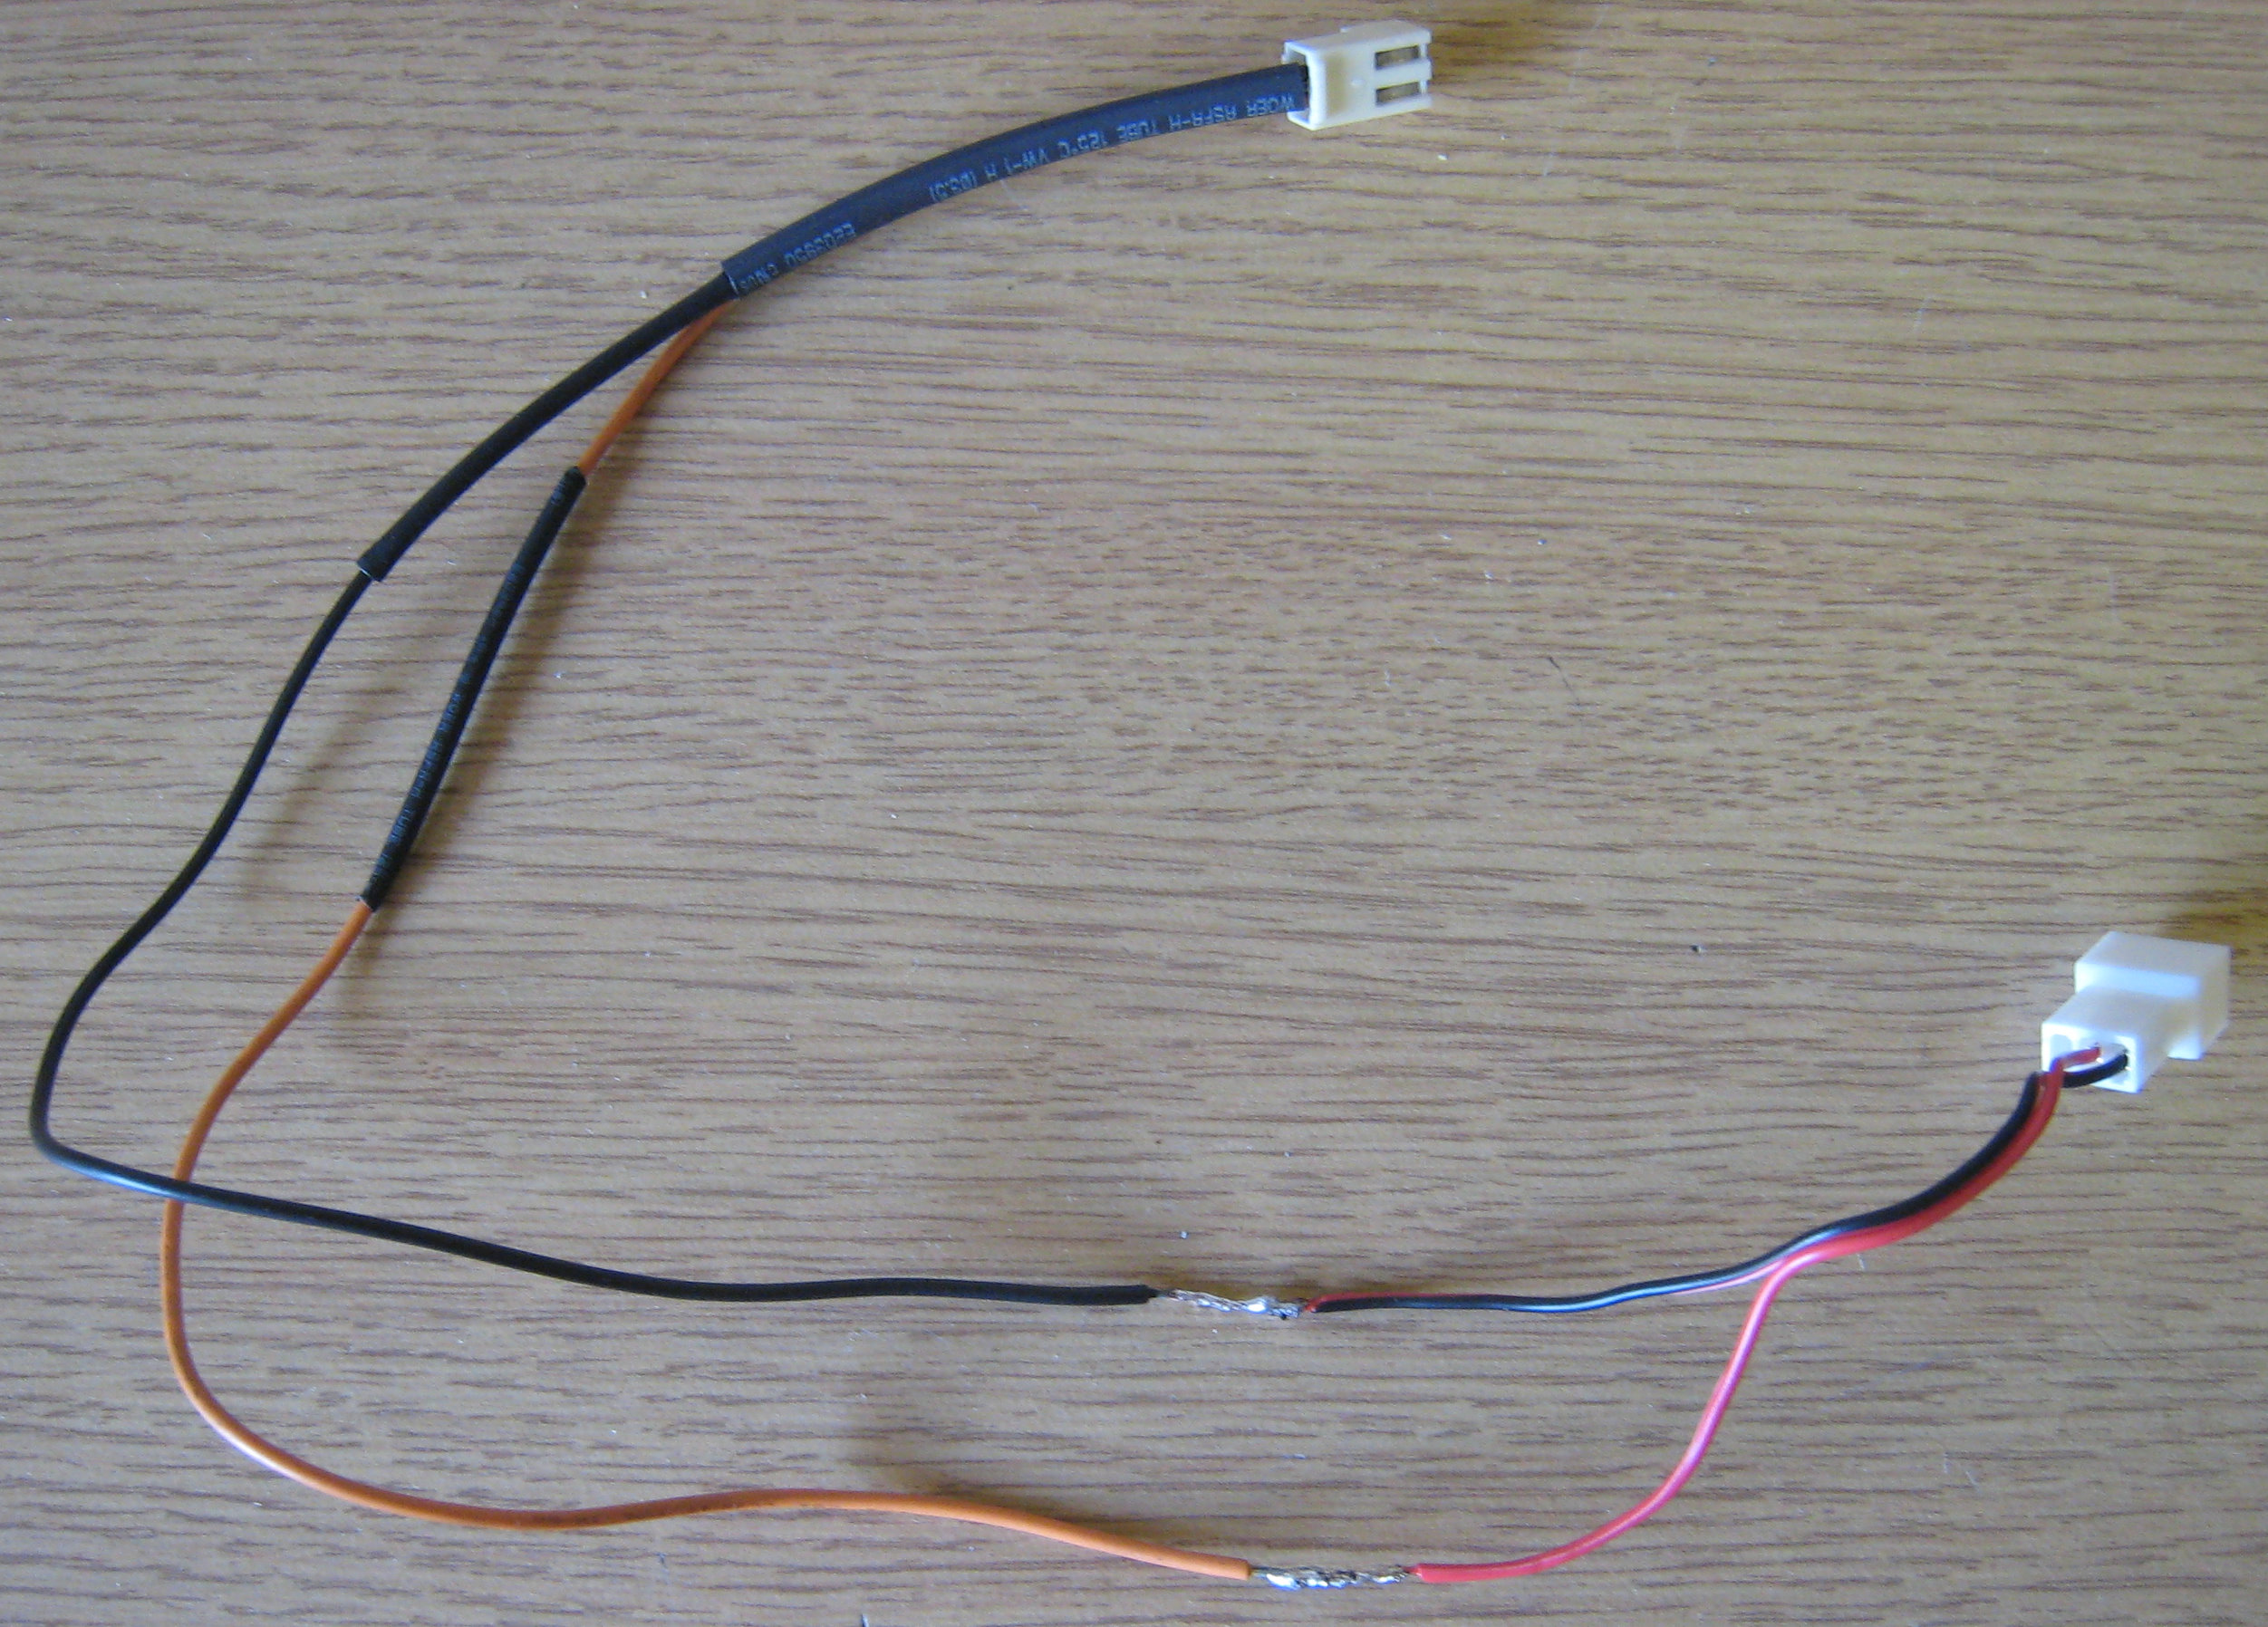
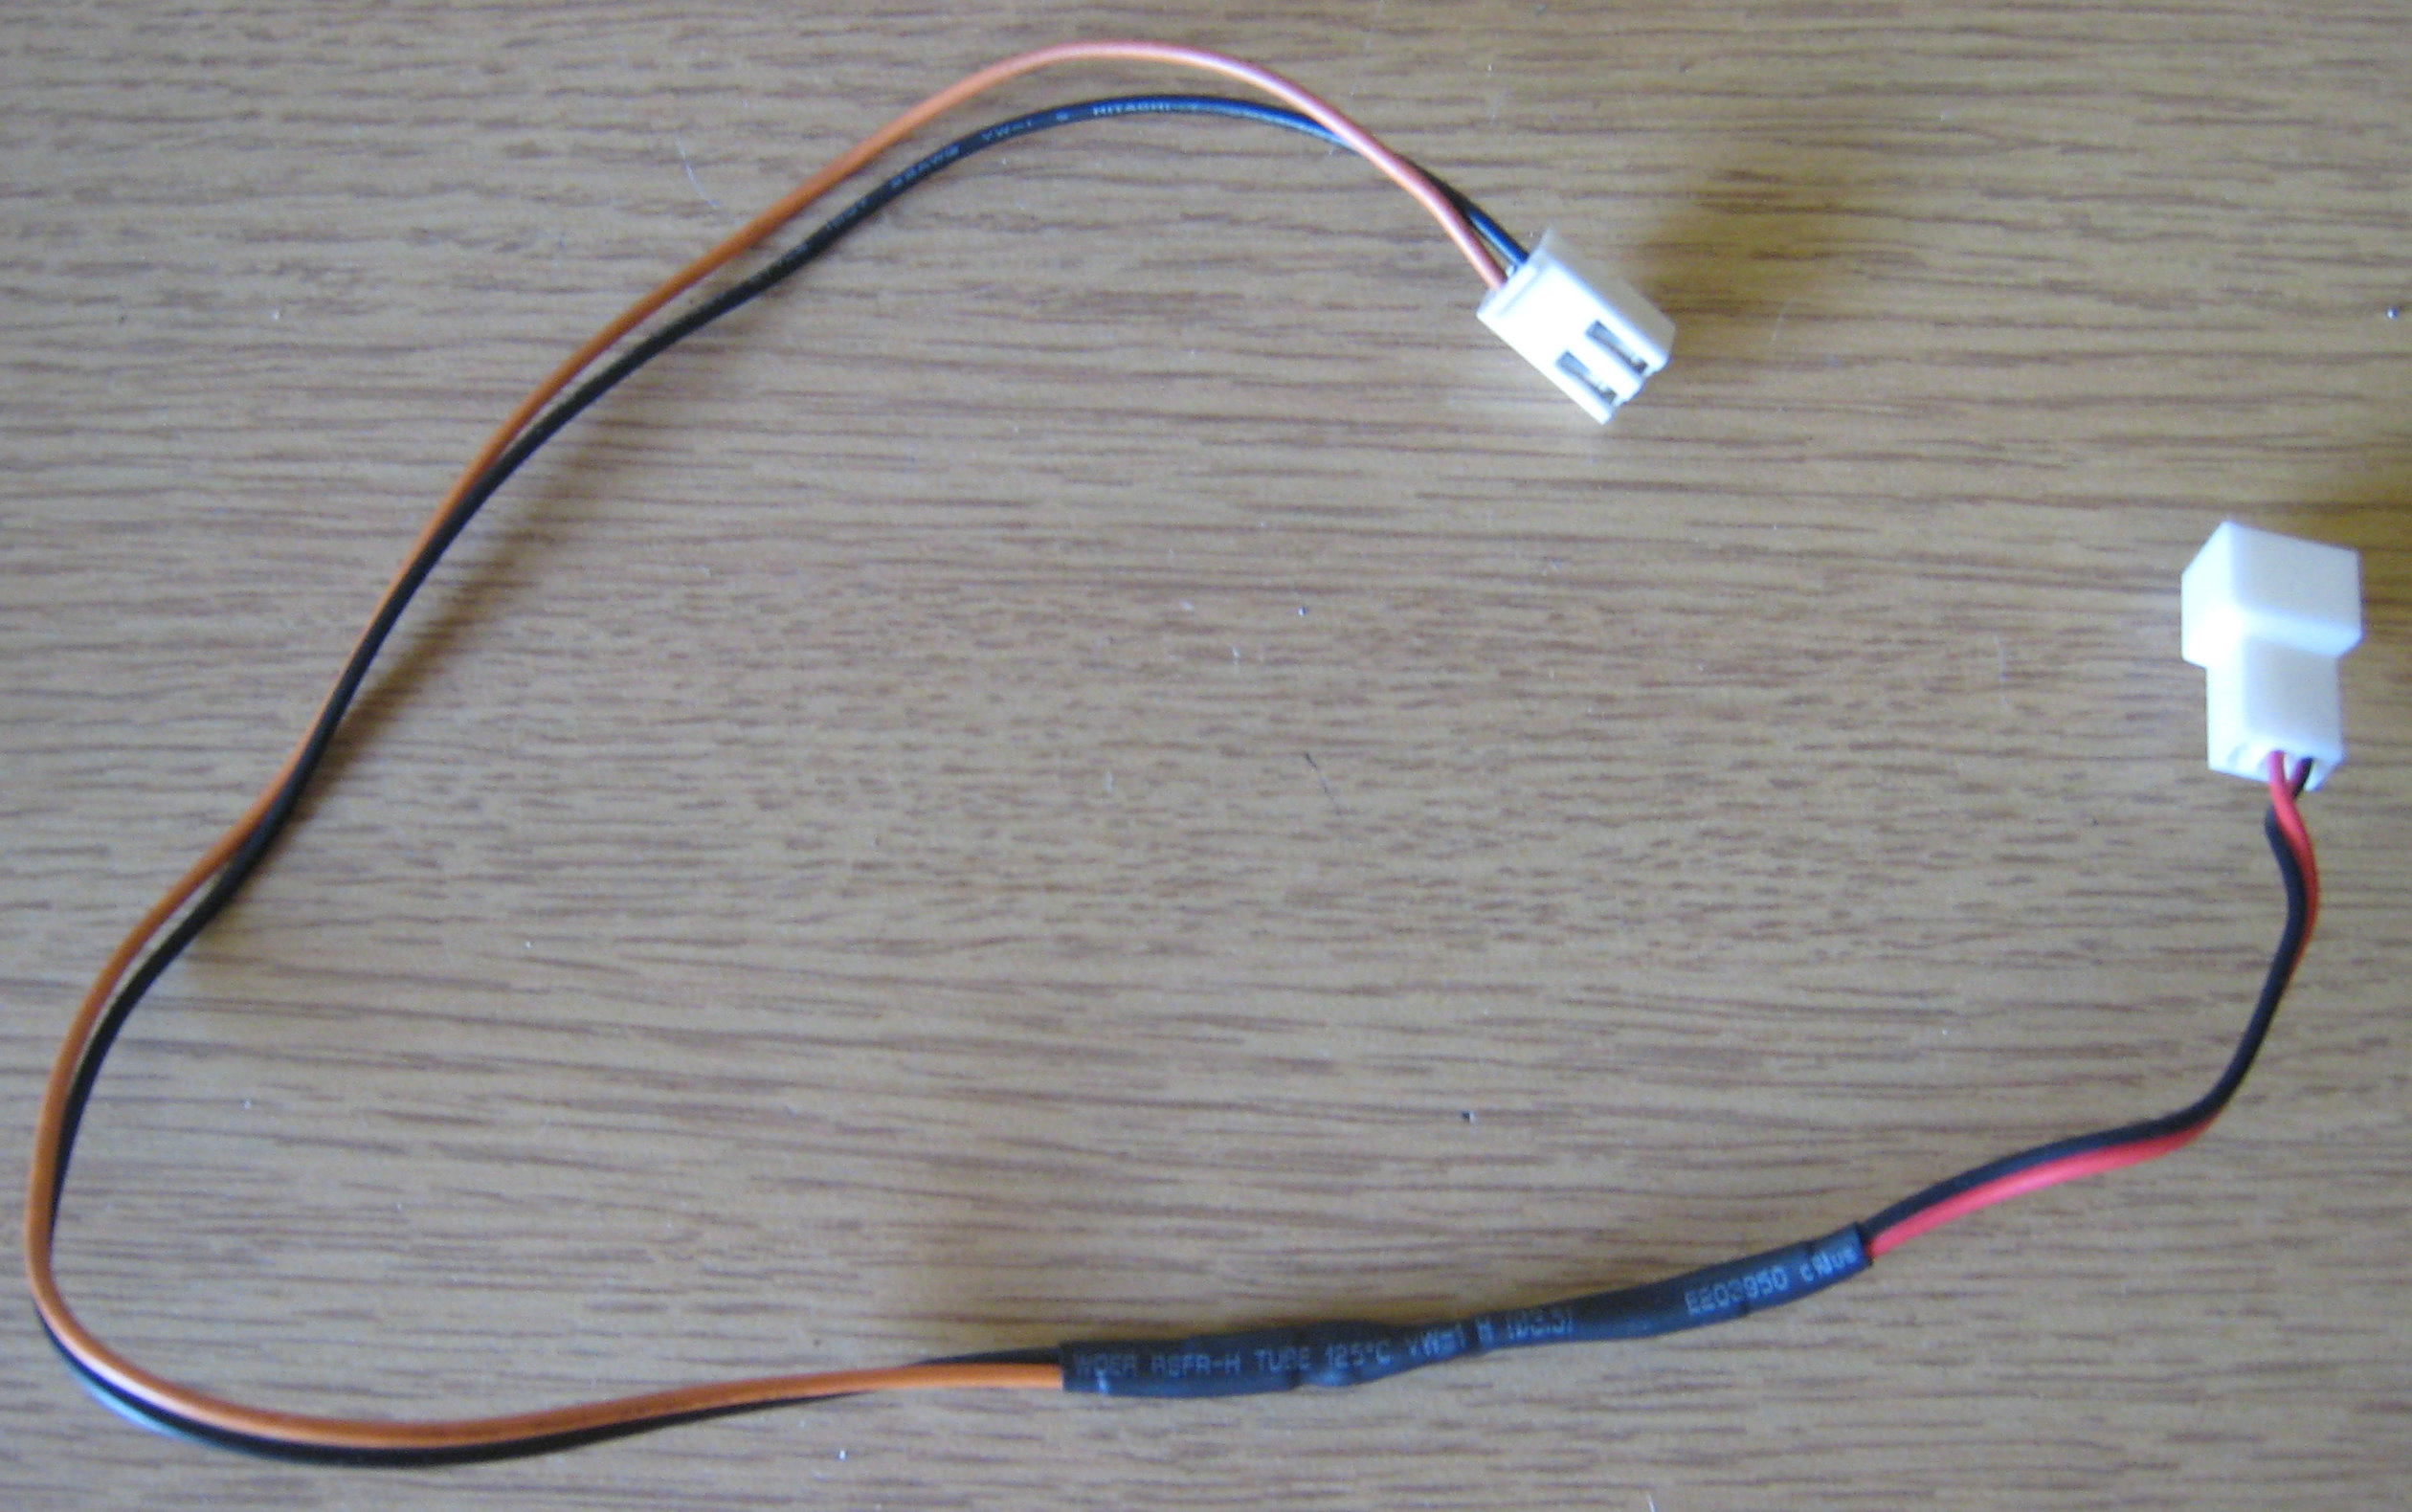
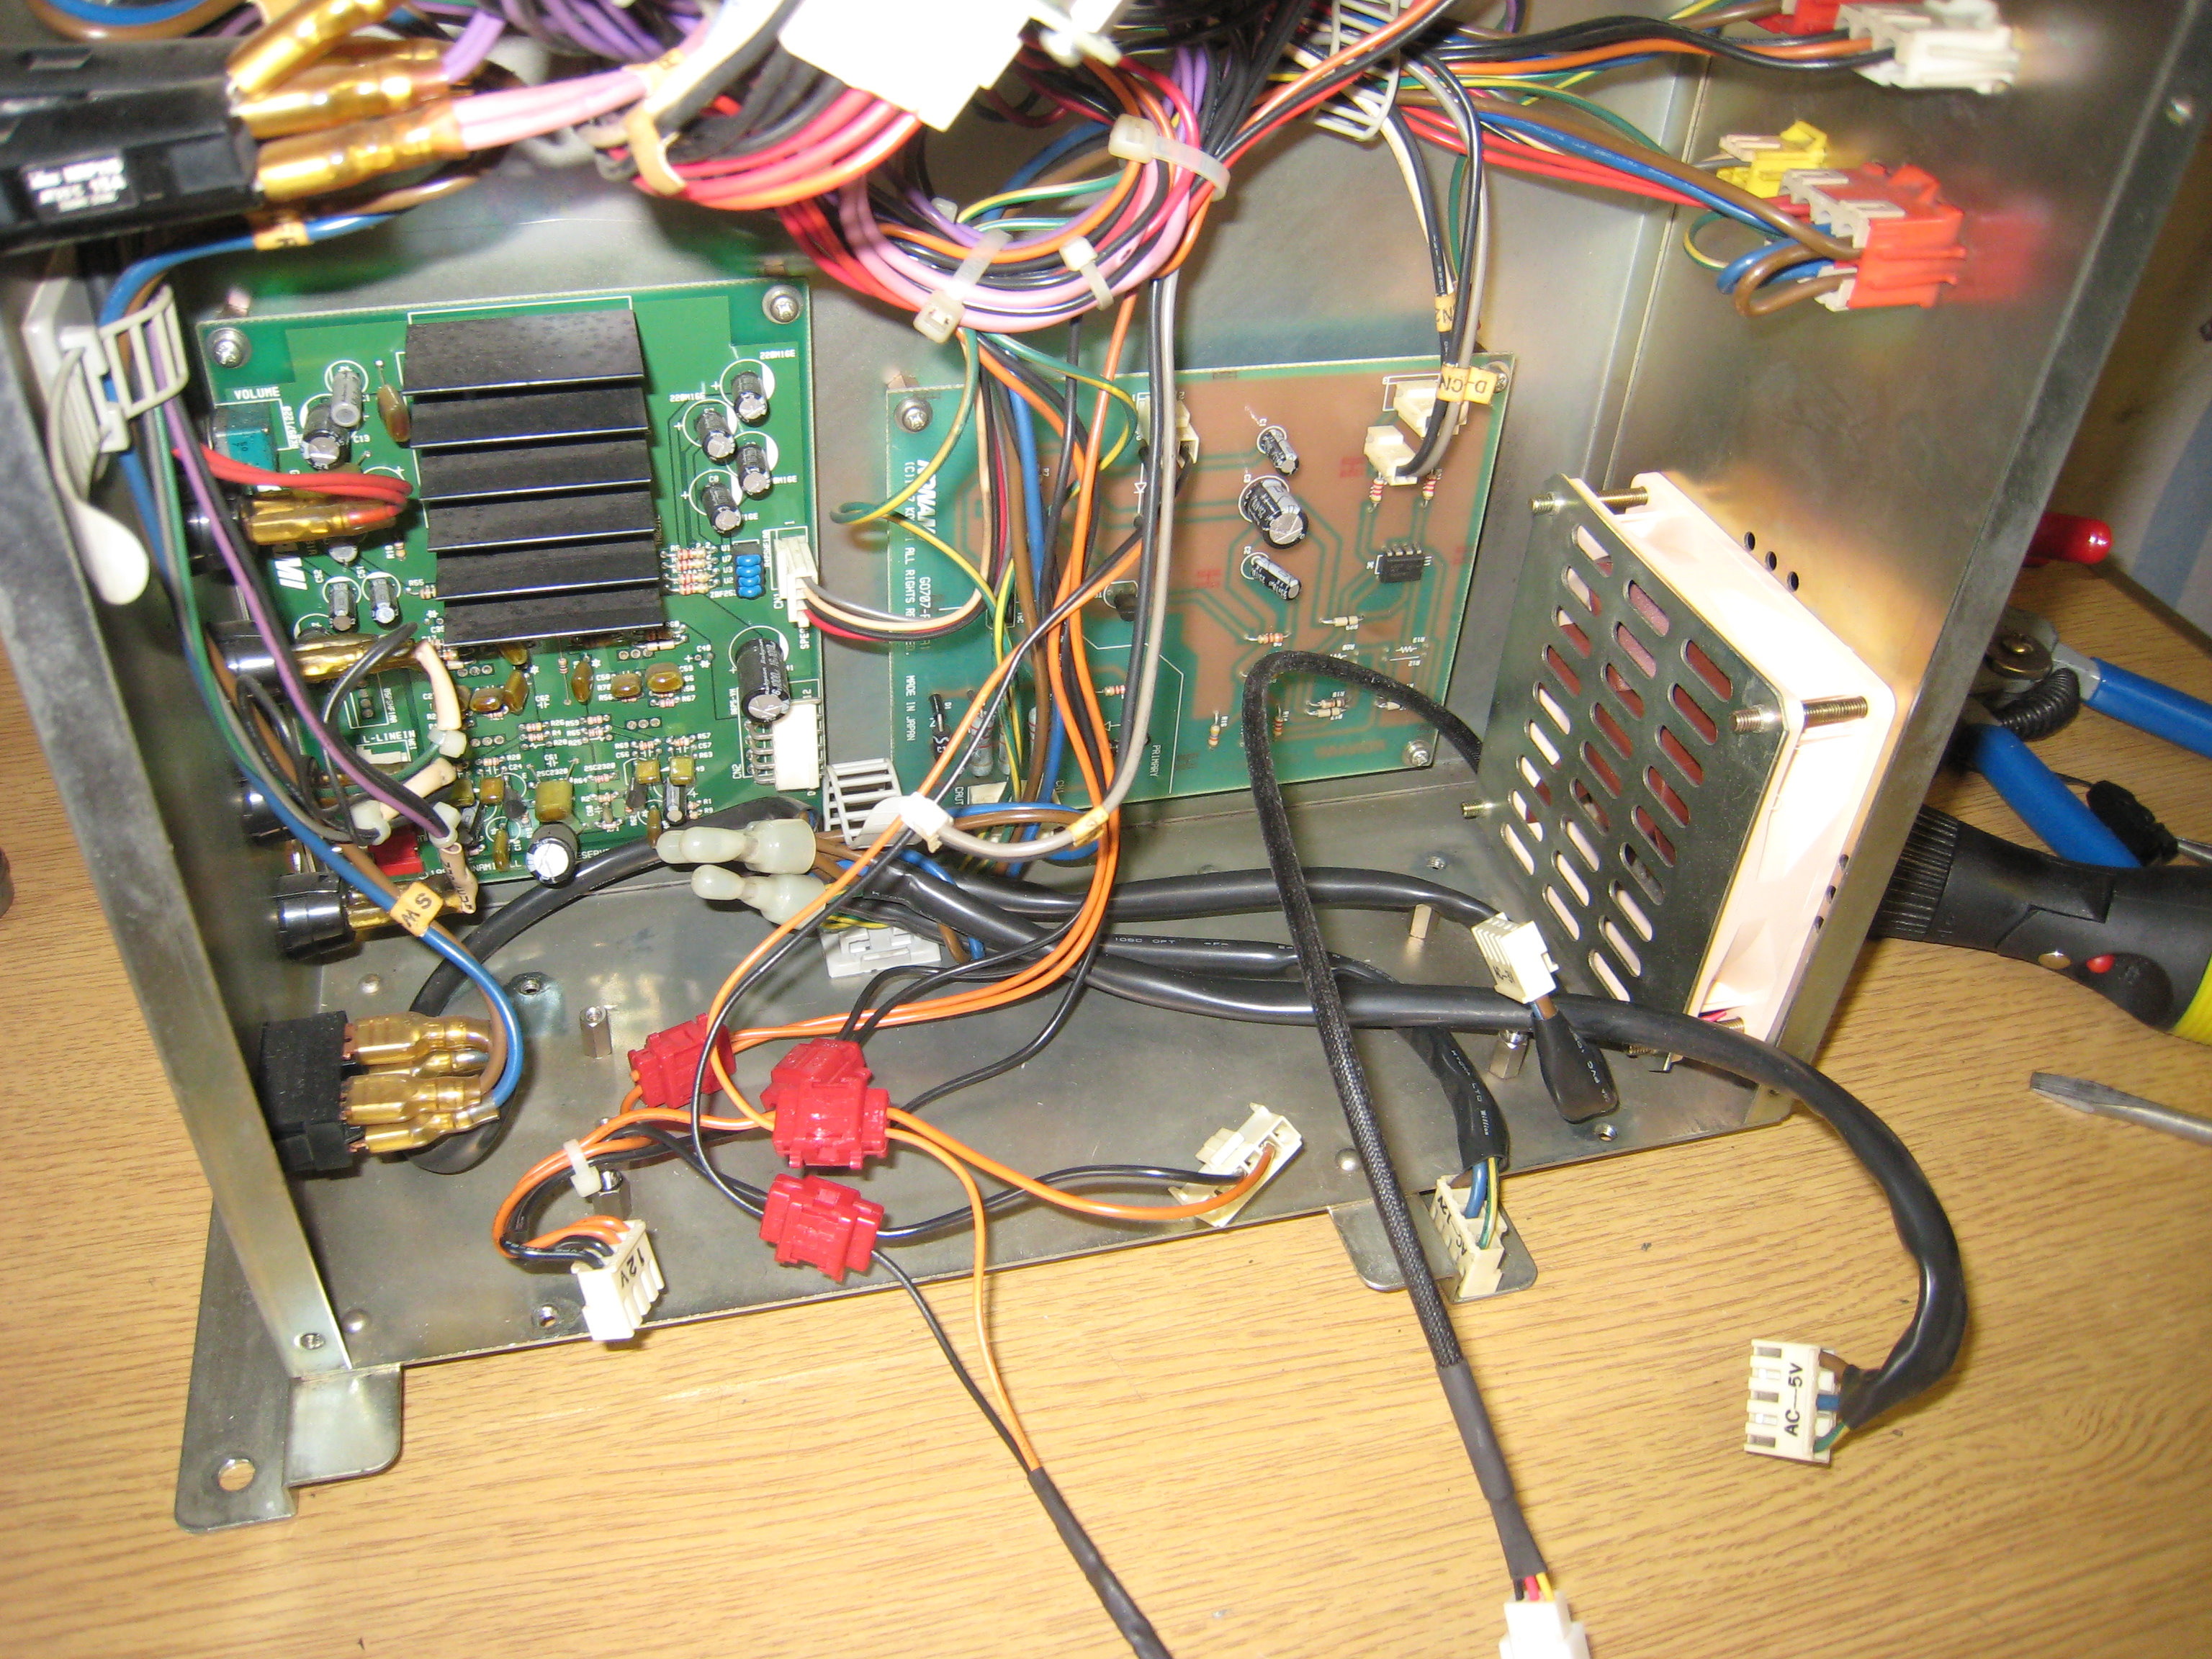
Here's the fan installed, it's quite a bit quieter, I will say that the PSU has some odd scotch locks bridging some of the wires, not sure why, maybe the connectors were wrong and change.
In the last image you can see that there are three different Power Supplies in the main PSU box.

Shame that the Gradius IV ~Fukkatsu~ (グラディウスIV~復活~) board (I say board, it's a huge metal box) also includes a fan (60mm I think) that's pretty noisy, Noctua doesn't make fans that small, it's not that much of an issue as with the machine inspection panel closed and the game playing, the fan can barely be heard, plus all my other games are passive (no fan) games.
11th March 2017 update, Noctua now makes 60mm fans so I may replace the fan in both of my Gradius IV boards.
#19 - Rear Monitor Fan
Measuring the cabinet temperatures with my optical thermometer, the Monitor neck was running at 70 degrees Centigrade, other parts of the chassis were 40-50 degrees C, the previous owner had disconnected the fan as it was noisy, but I think it's a very good idea to run the rear exhaust fan to dissipate the heat and to maintain a better internal temperature, this should help extend the life of the machine.
While the original fan works and in an arcade setting with all the noise of crane games and screeming kids you would not notiice it, in a quiet house with just one machine running the original fan is quiet noticable, after using Noctua fans for years on all my computers I replaced it with the Noctua NF-B9 92mm fan.
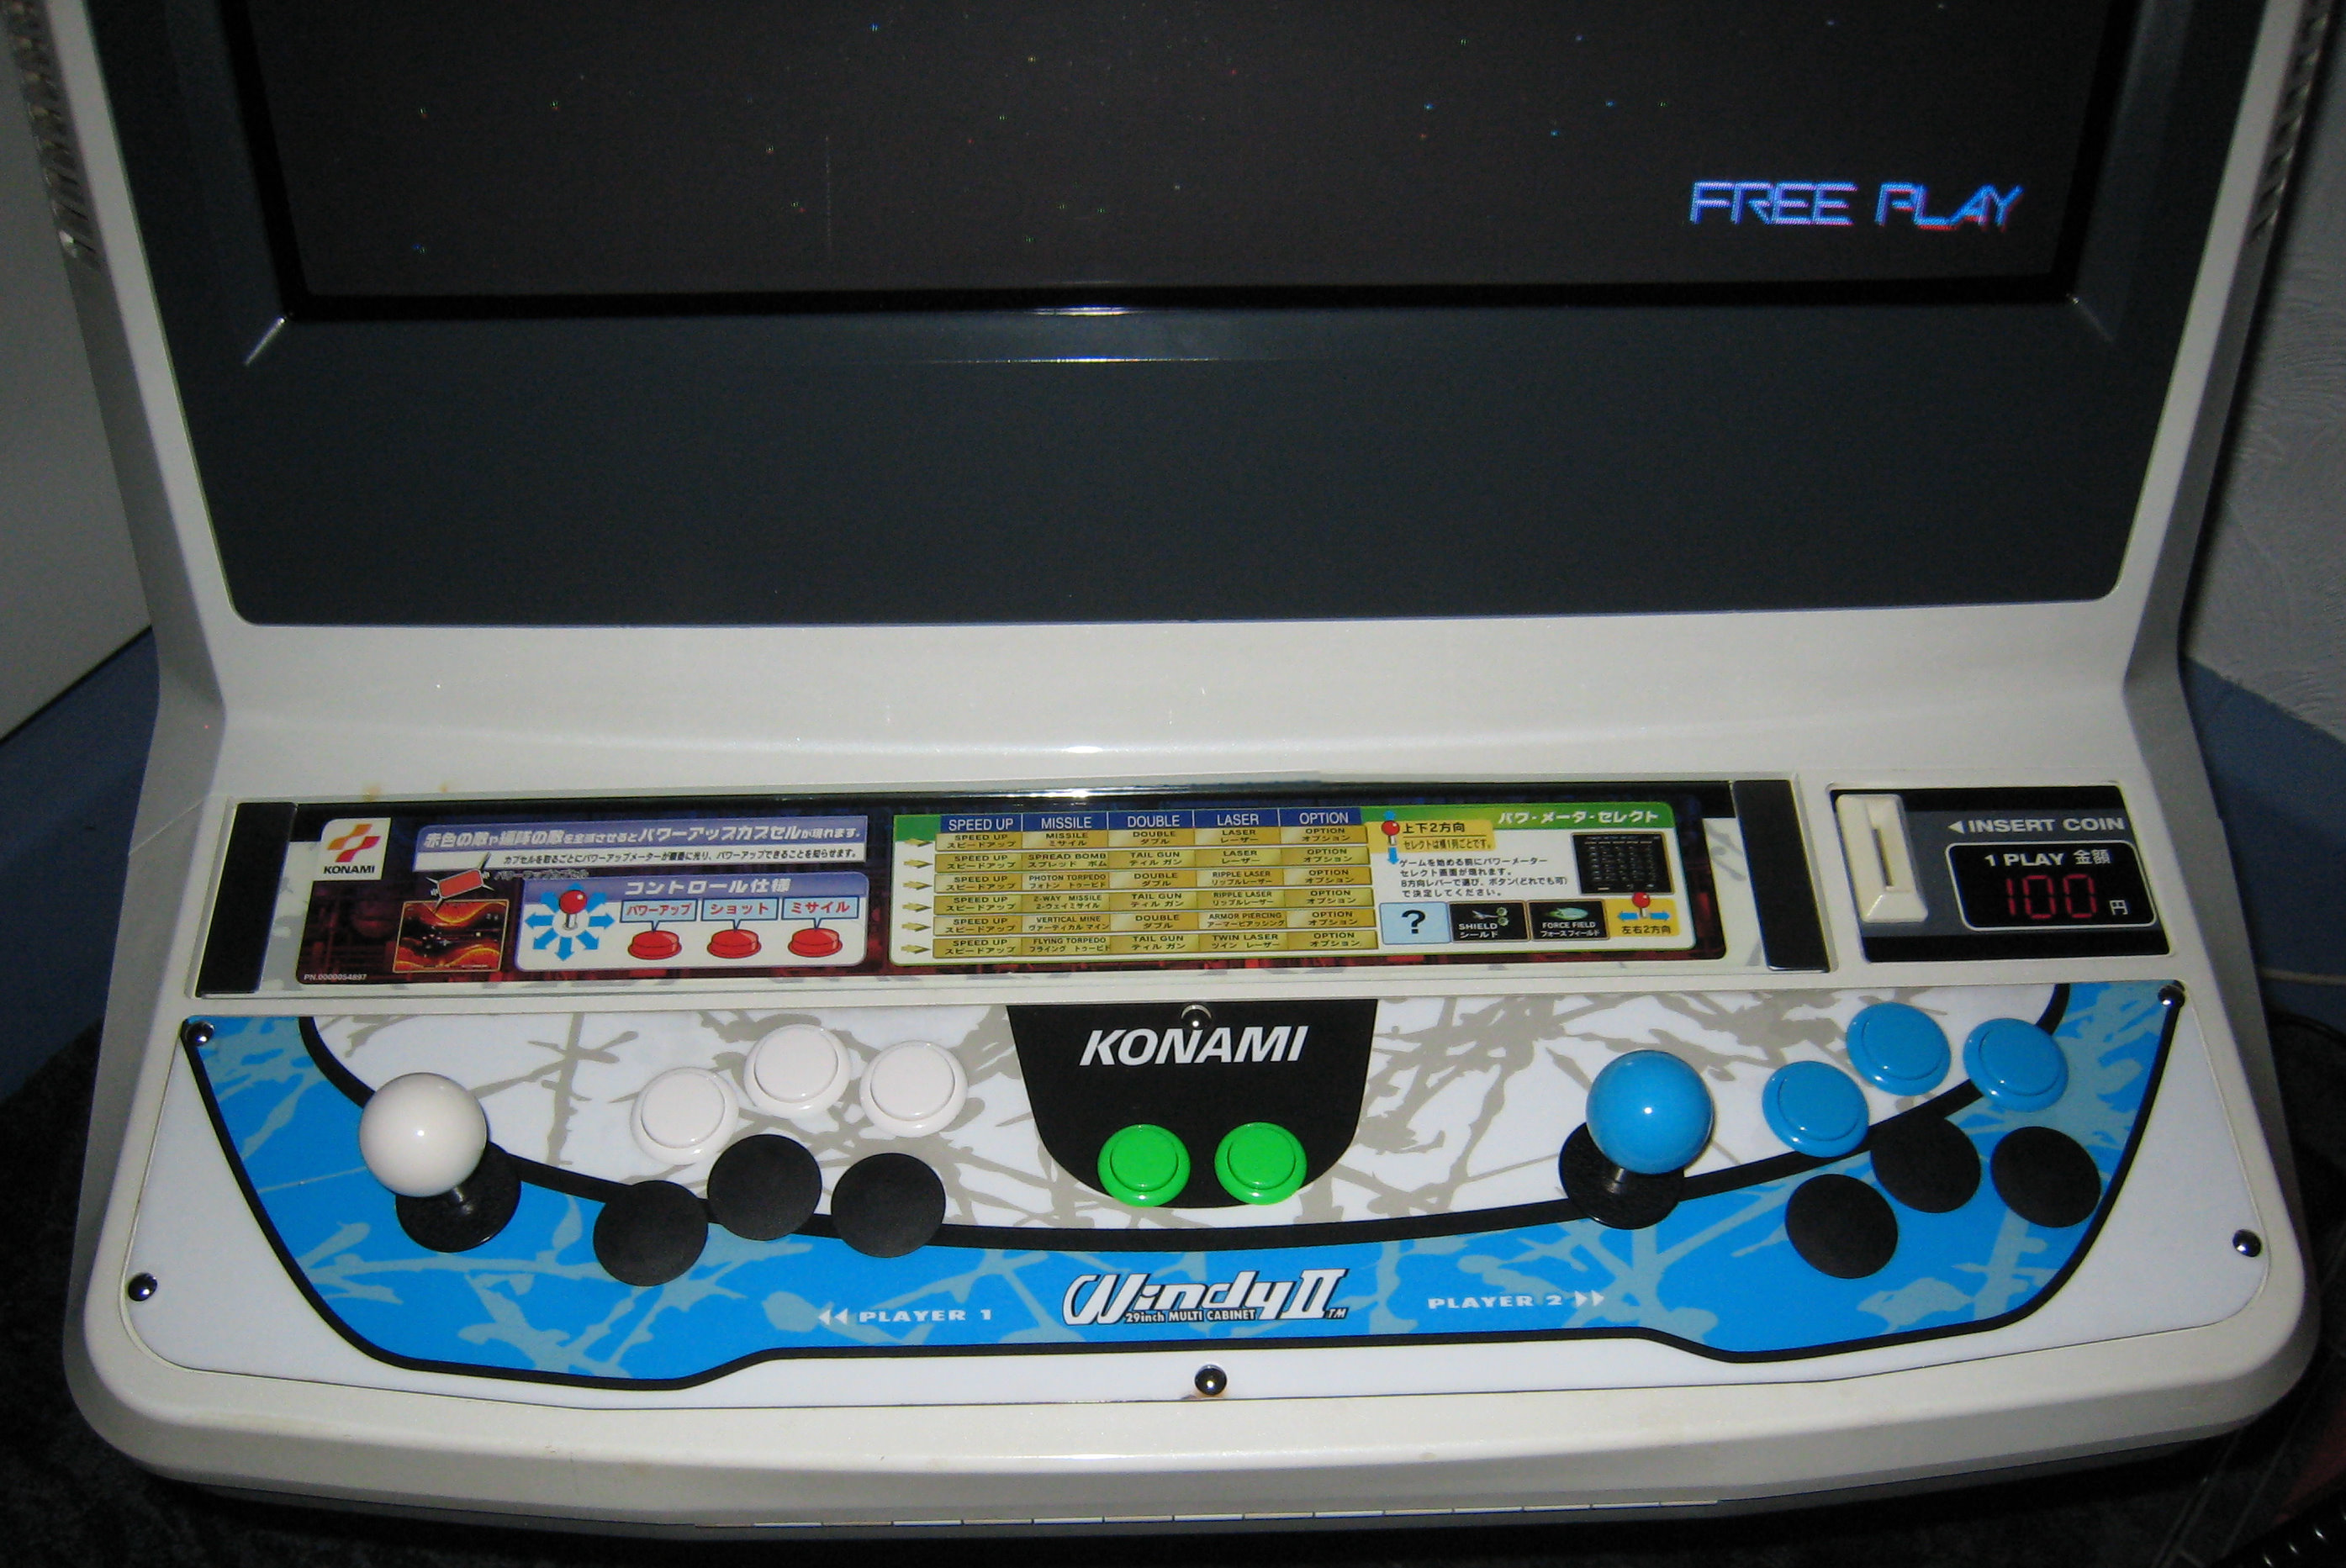
#20 - Control Panel Colours
The control panel I've fitted is a spare and not the final control panel I'm planning on fitting, in fact it's not even bolted on, it doesn't move when playing so it's not that much of a problem.
I'm still waiting on some White Buttons, White Ball Top and Green Start Buttons to make the machine the original Konami Standard.
I will also be fitting Black Blanking Plates on the bottom three buttons for each player (Player Buttons 4, 5 & 6) as all the games I have only use three buttons, this was how the machine is shown on the front of the manual and when Konami had the game Gradius IV ~Fukkatsu~ (グラディウスIV~復活~) running at it's launch back in 1998.
#21 - Slack Joystick Modification
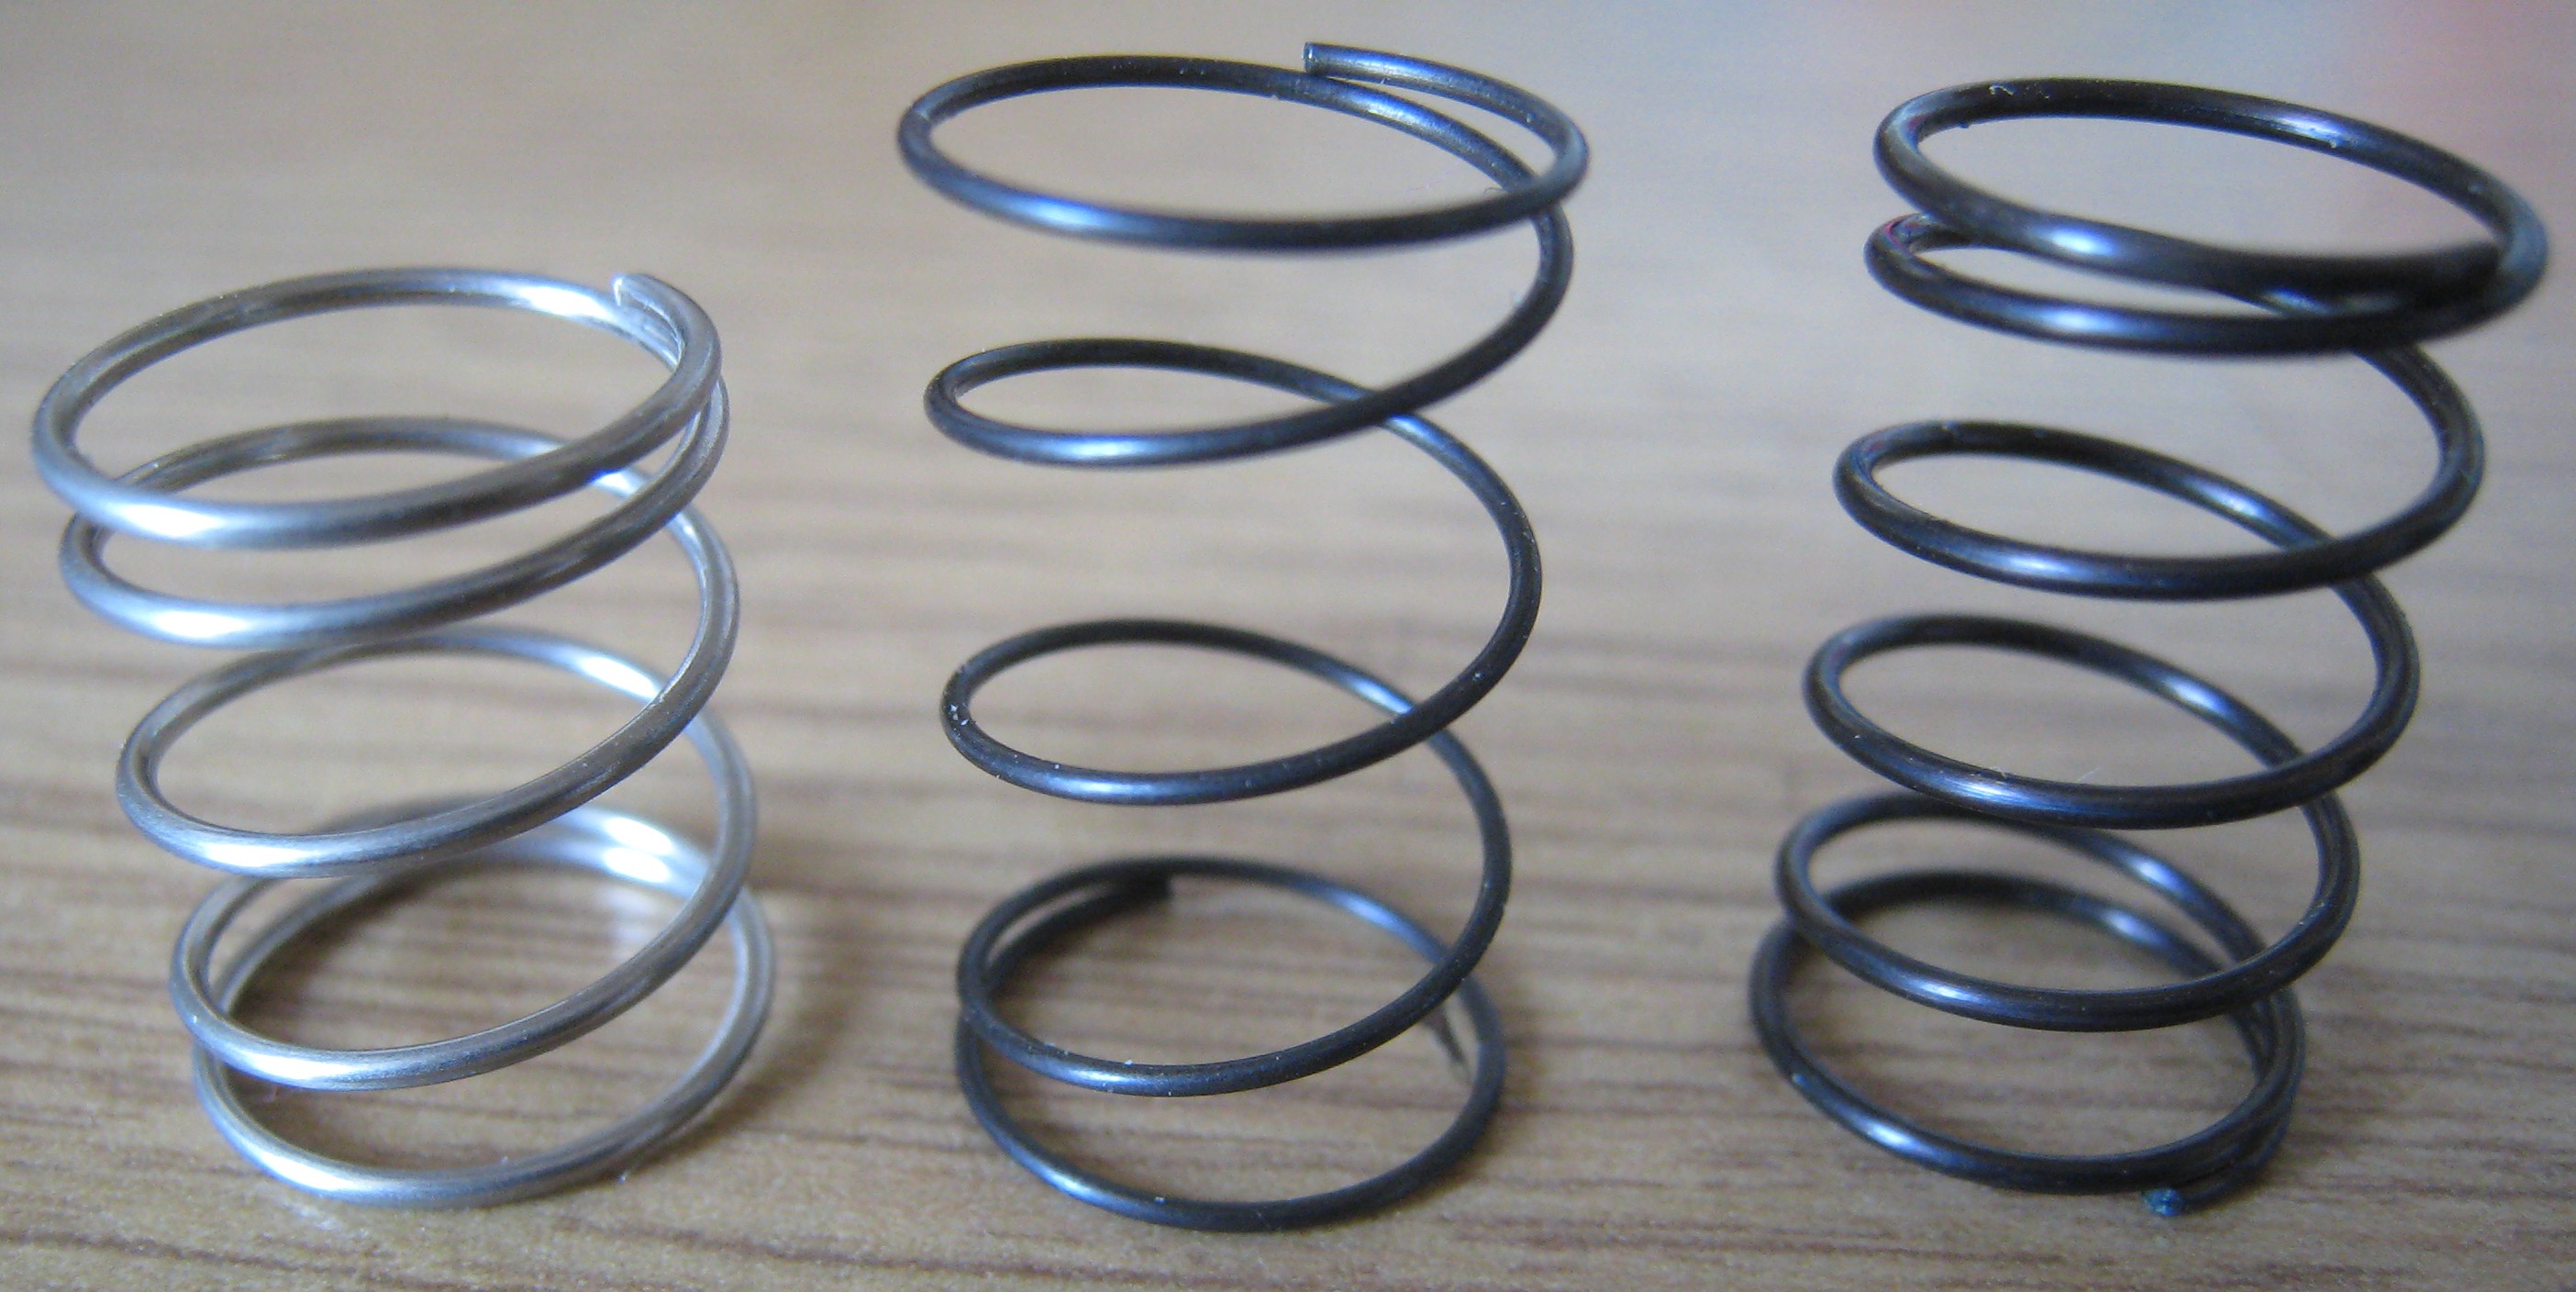 Sanwa JLF - Seimitsu LS-33 - Seimitsu LS-55
While the Sanwa JLF joysticks in the machine are fine for Street Fighter type games I find for Shoot'em-ups and Platform games are a little too lose, after some research I found that the Seimitsu LS-33 and Seimitsu LS-55 springs are the same diameter as the Sanwa JLF spring which makes them interchangeable.
After acquiring some Seimitsu LS-33 and Seimitsu LS-55 springs, where I work we have a spring testing machine so I tested their compression strength to show the differences between the three springs.
The machine is essentially a manual press with a set of calibrated scales on the bottom, as the spring is compressed the scale is deflected by the power of the spring giving a scale deflection weight in grams.
I also completed some measurements by combining the springs (ie. Sanwa JLF & Seimitsu LS-55 combined = 1350g or 1.35kg).
This gives you an indication that the Seimitsu LS-55 spring is 50% stronger than the Sanwa JLF (all numbers rounded up to the nearest hundred), this make the joystick less slack and better for the type of games I play.
I went with the Seimitsu LS-55 in the end as I found that they do not quite feel right if I combined the two Seimitsu springs.
| Type | g | g | g |
|---|---|---|---|
| Sanwa JLF | 600 | ||
| 900 | |||
| Seimitsu LS-33 | 400 | 1350 | |
| 1150 | |||
| Seimitsu LS-55 | 900 |
#22 - Job Done
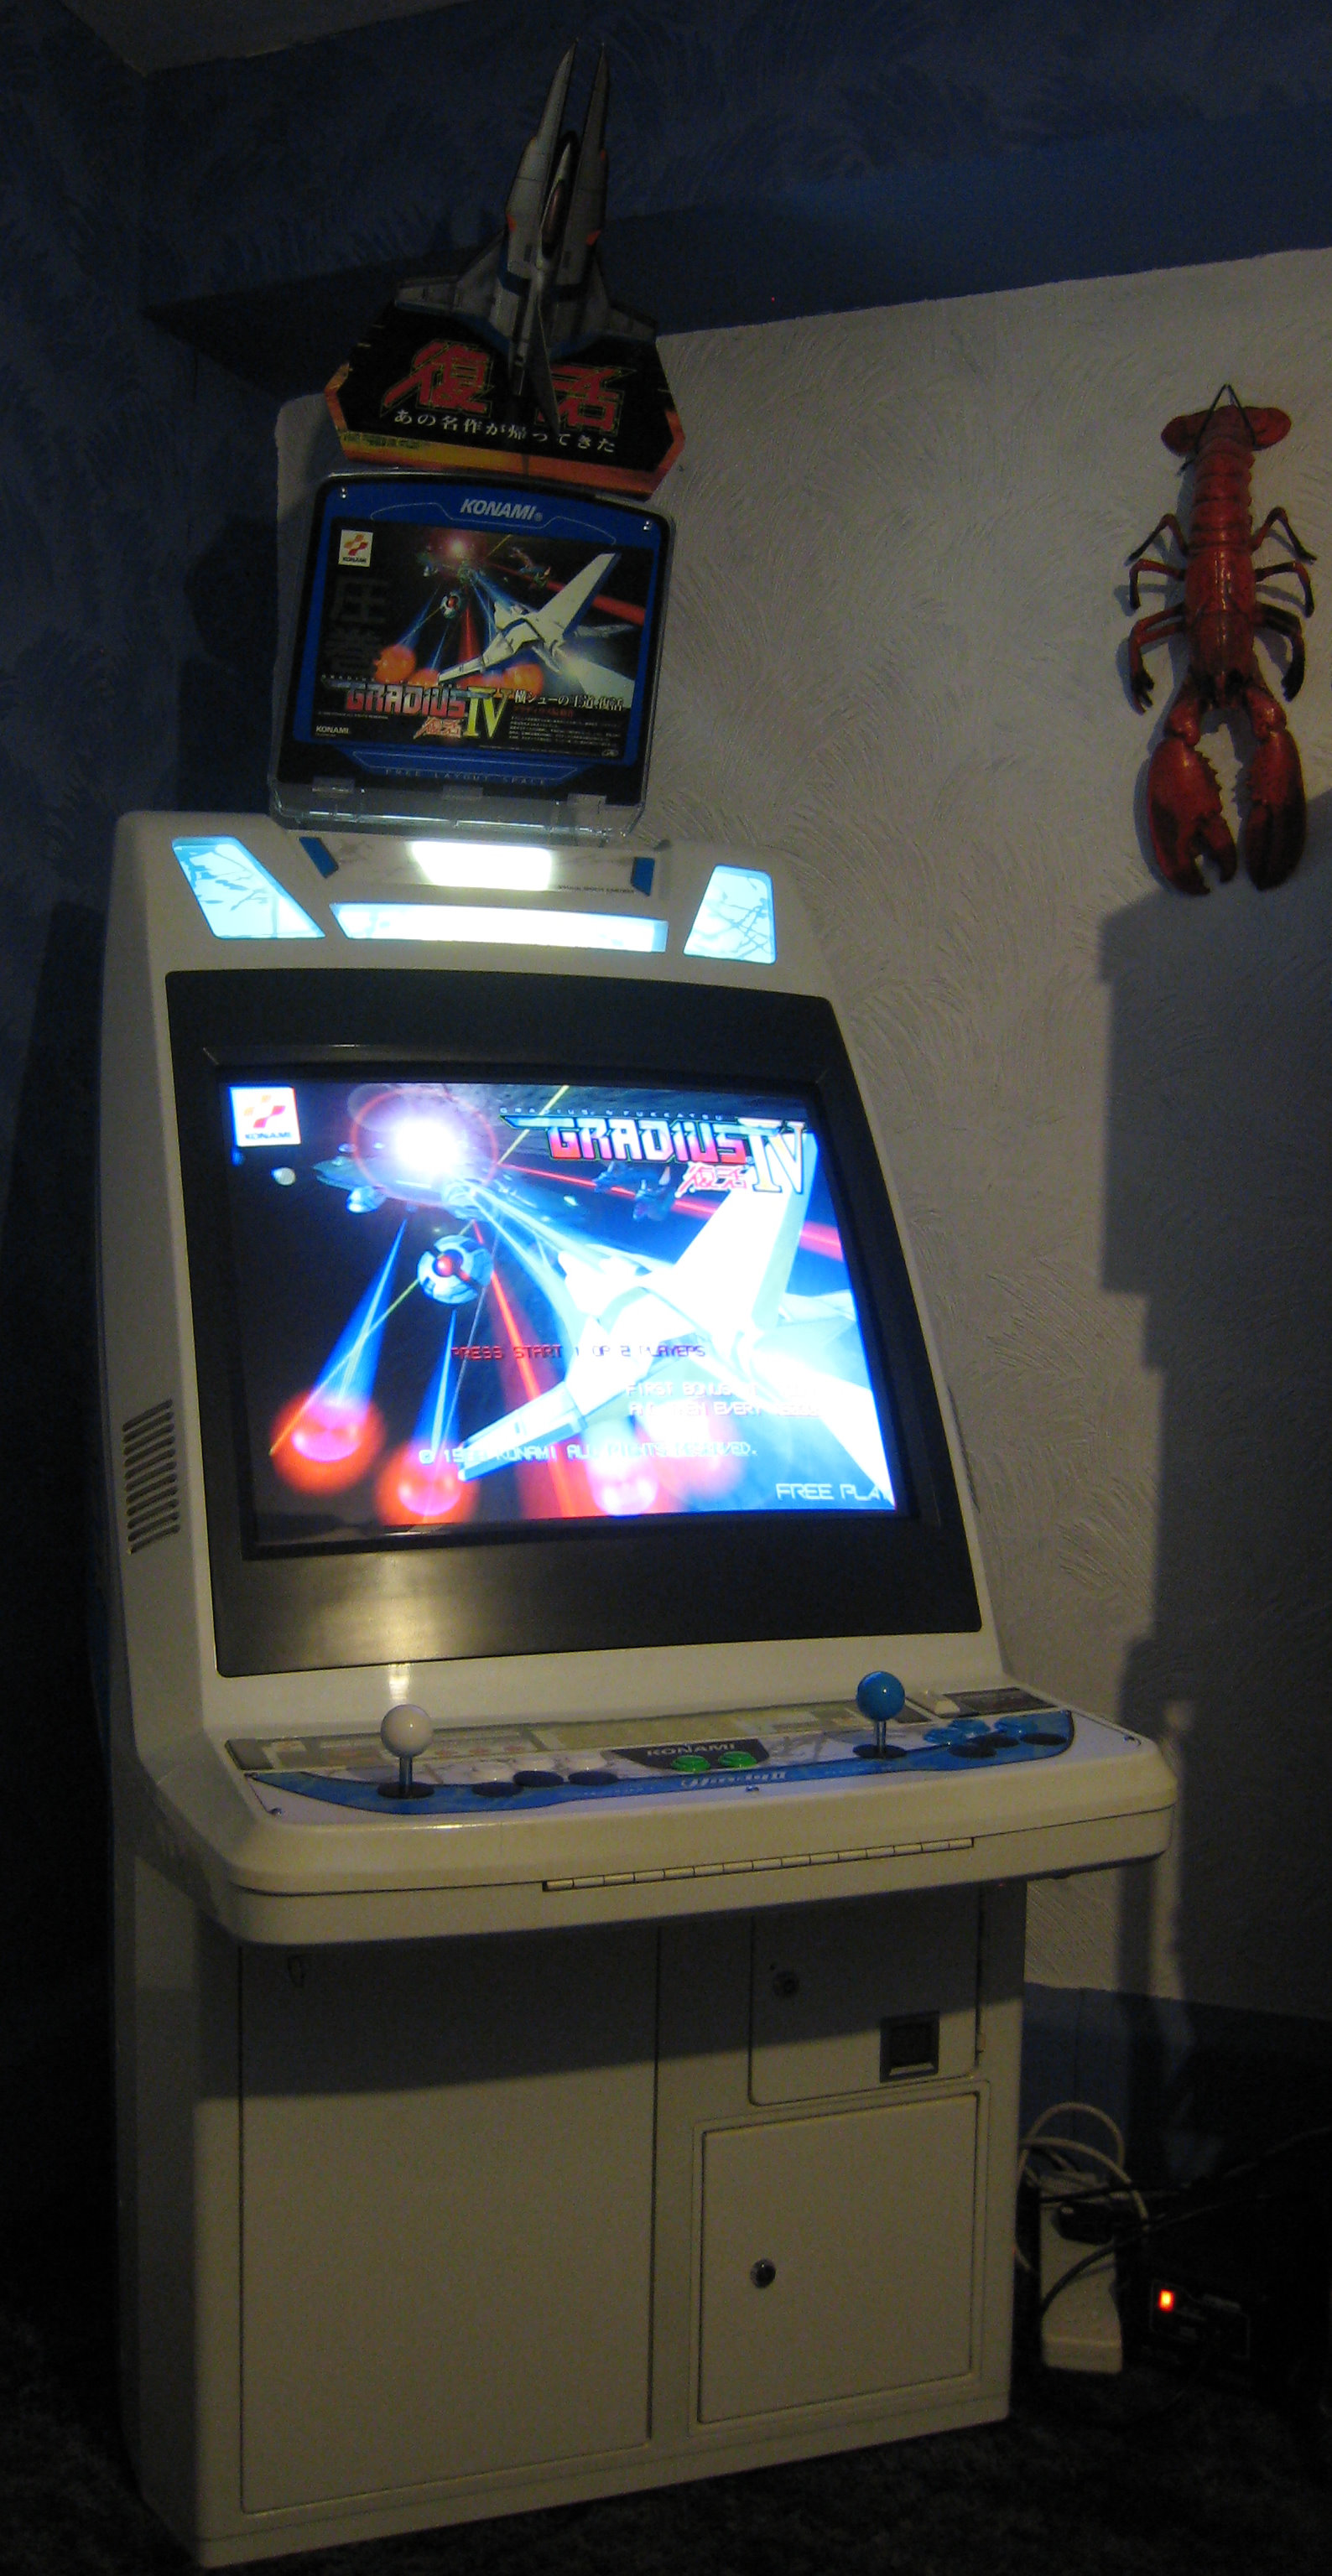
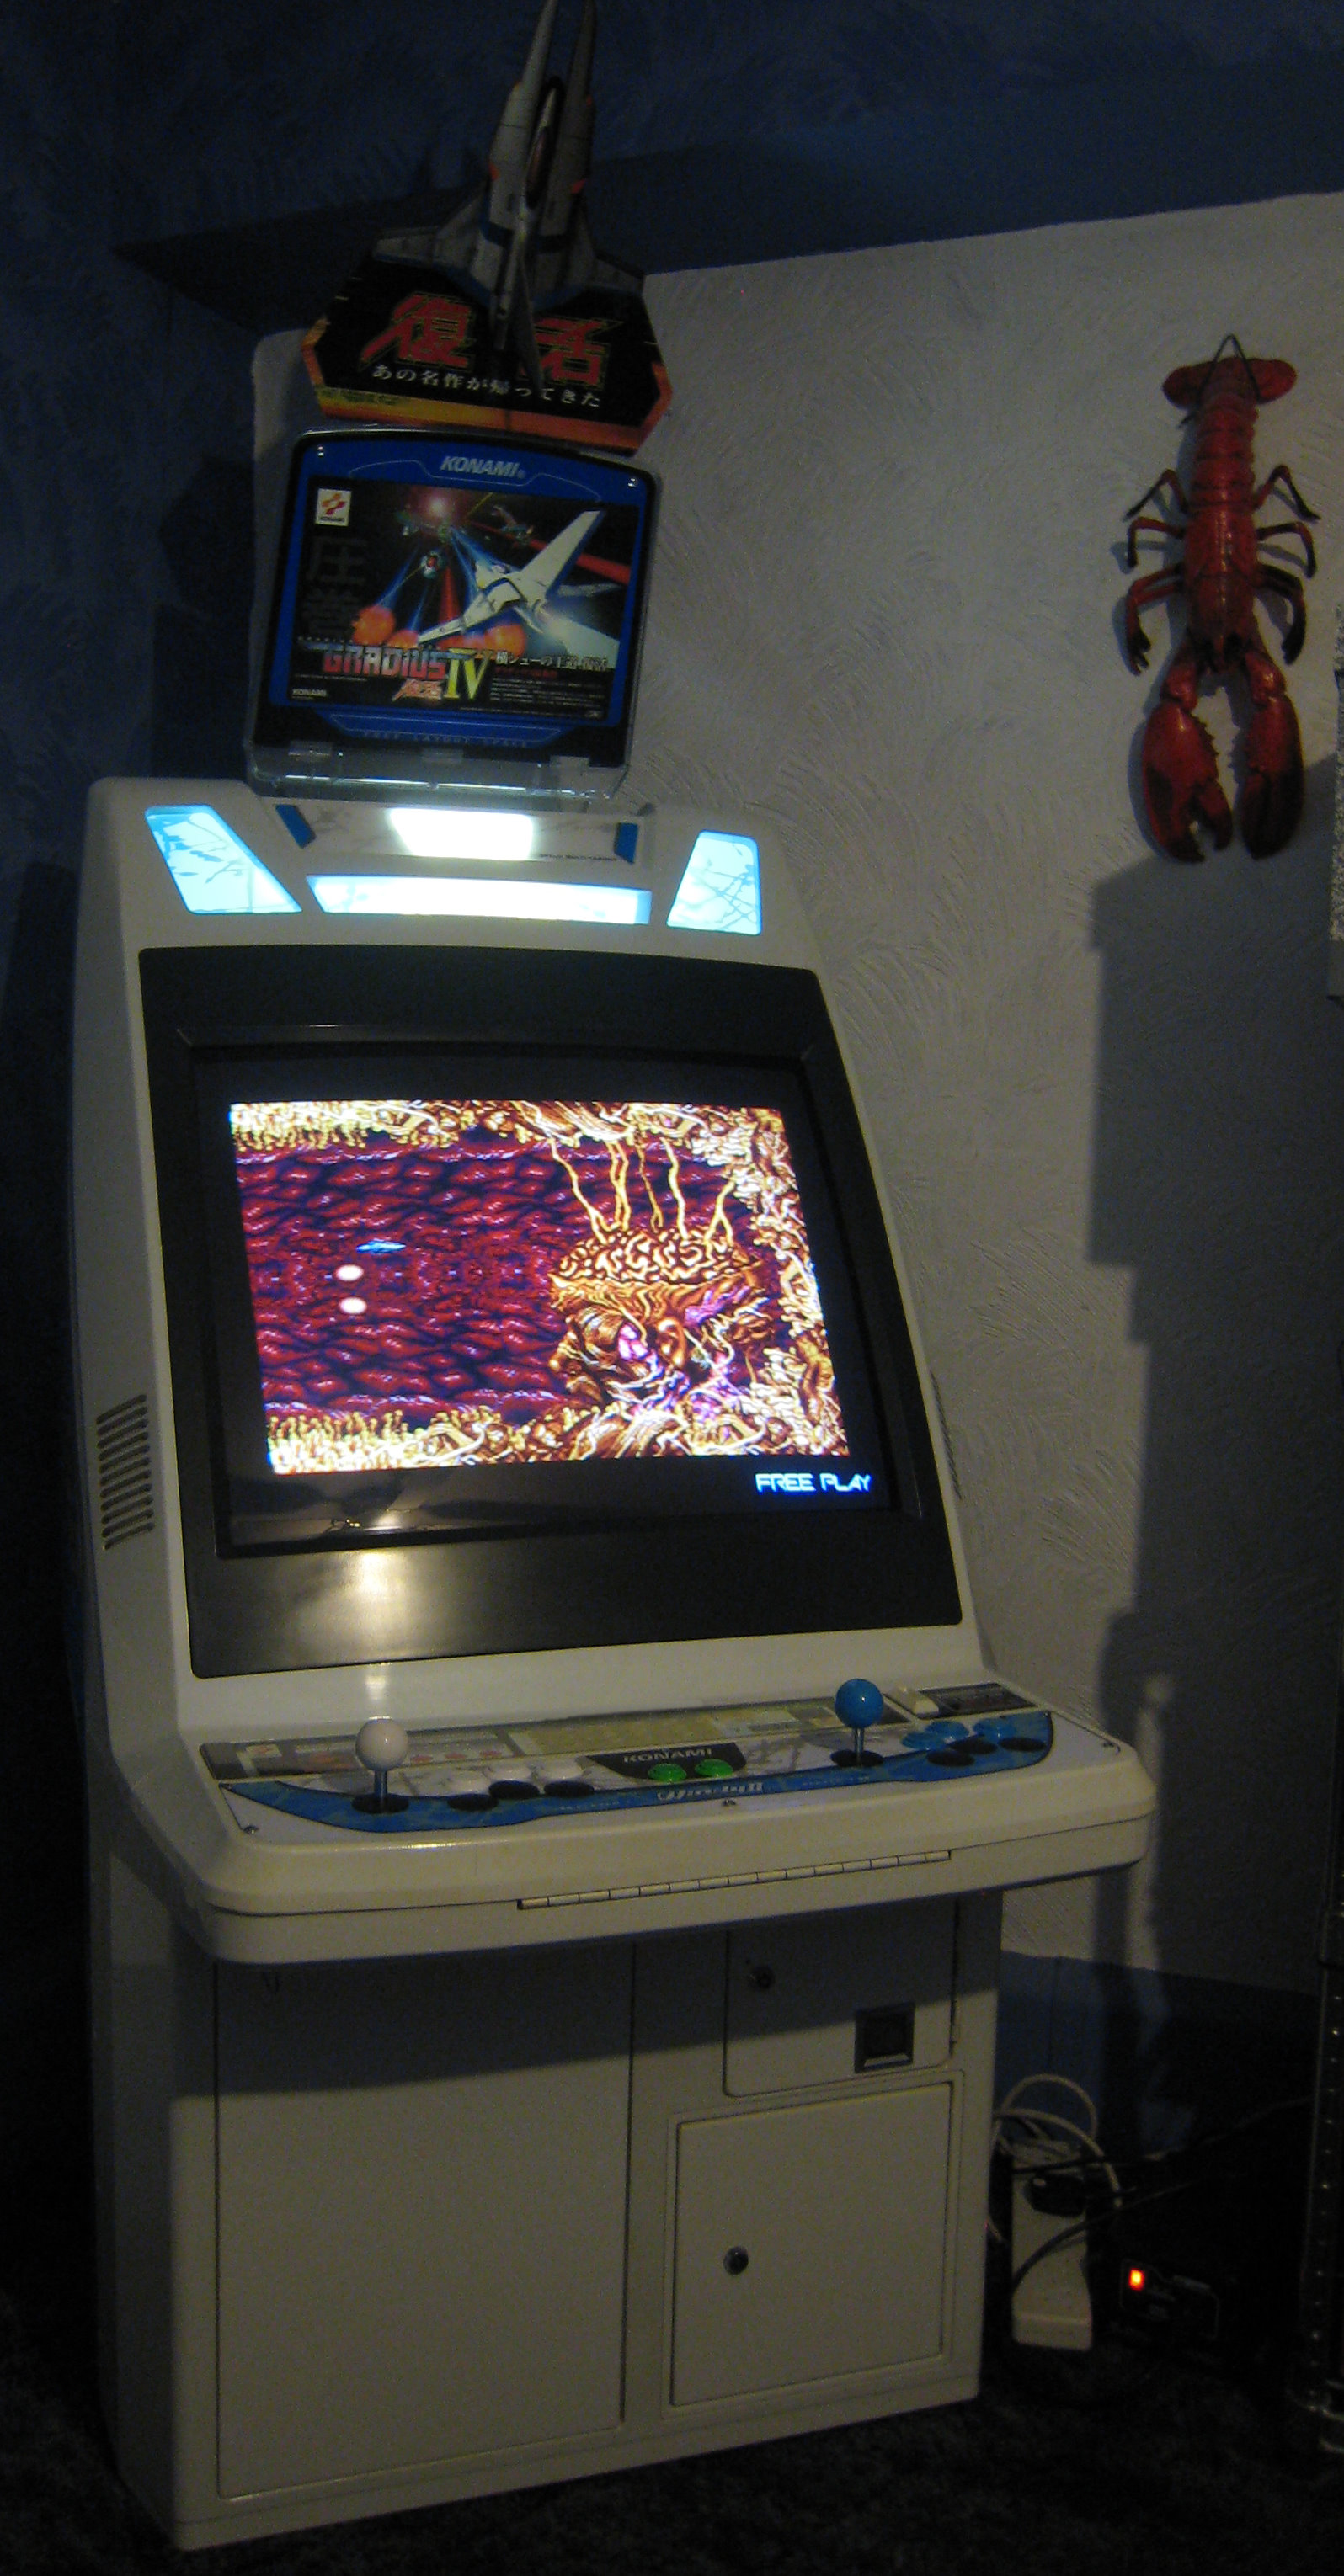
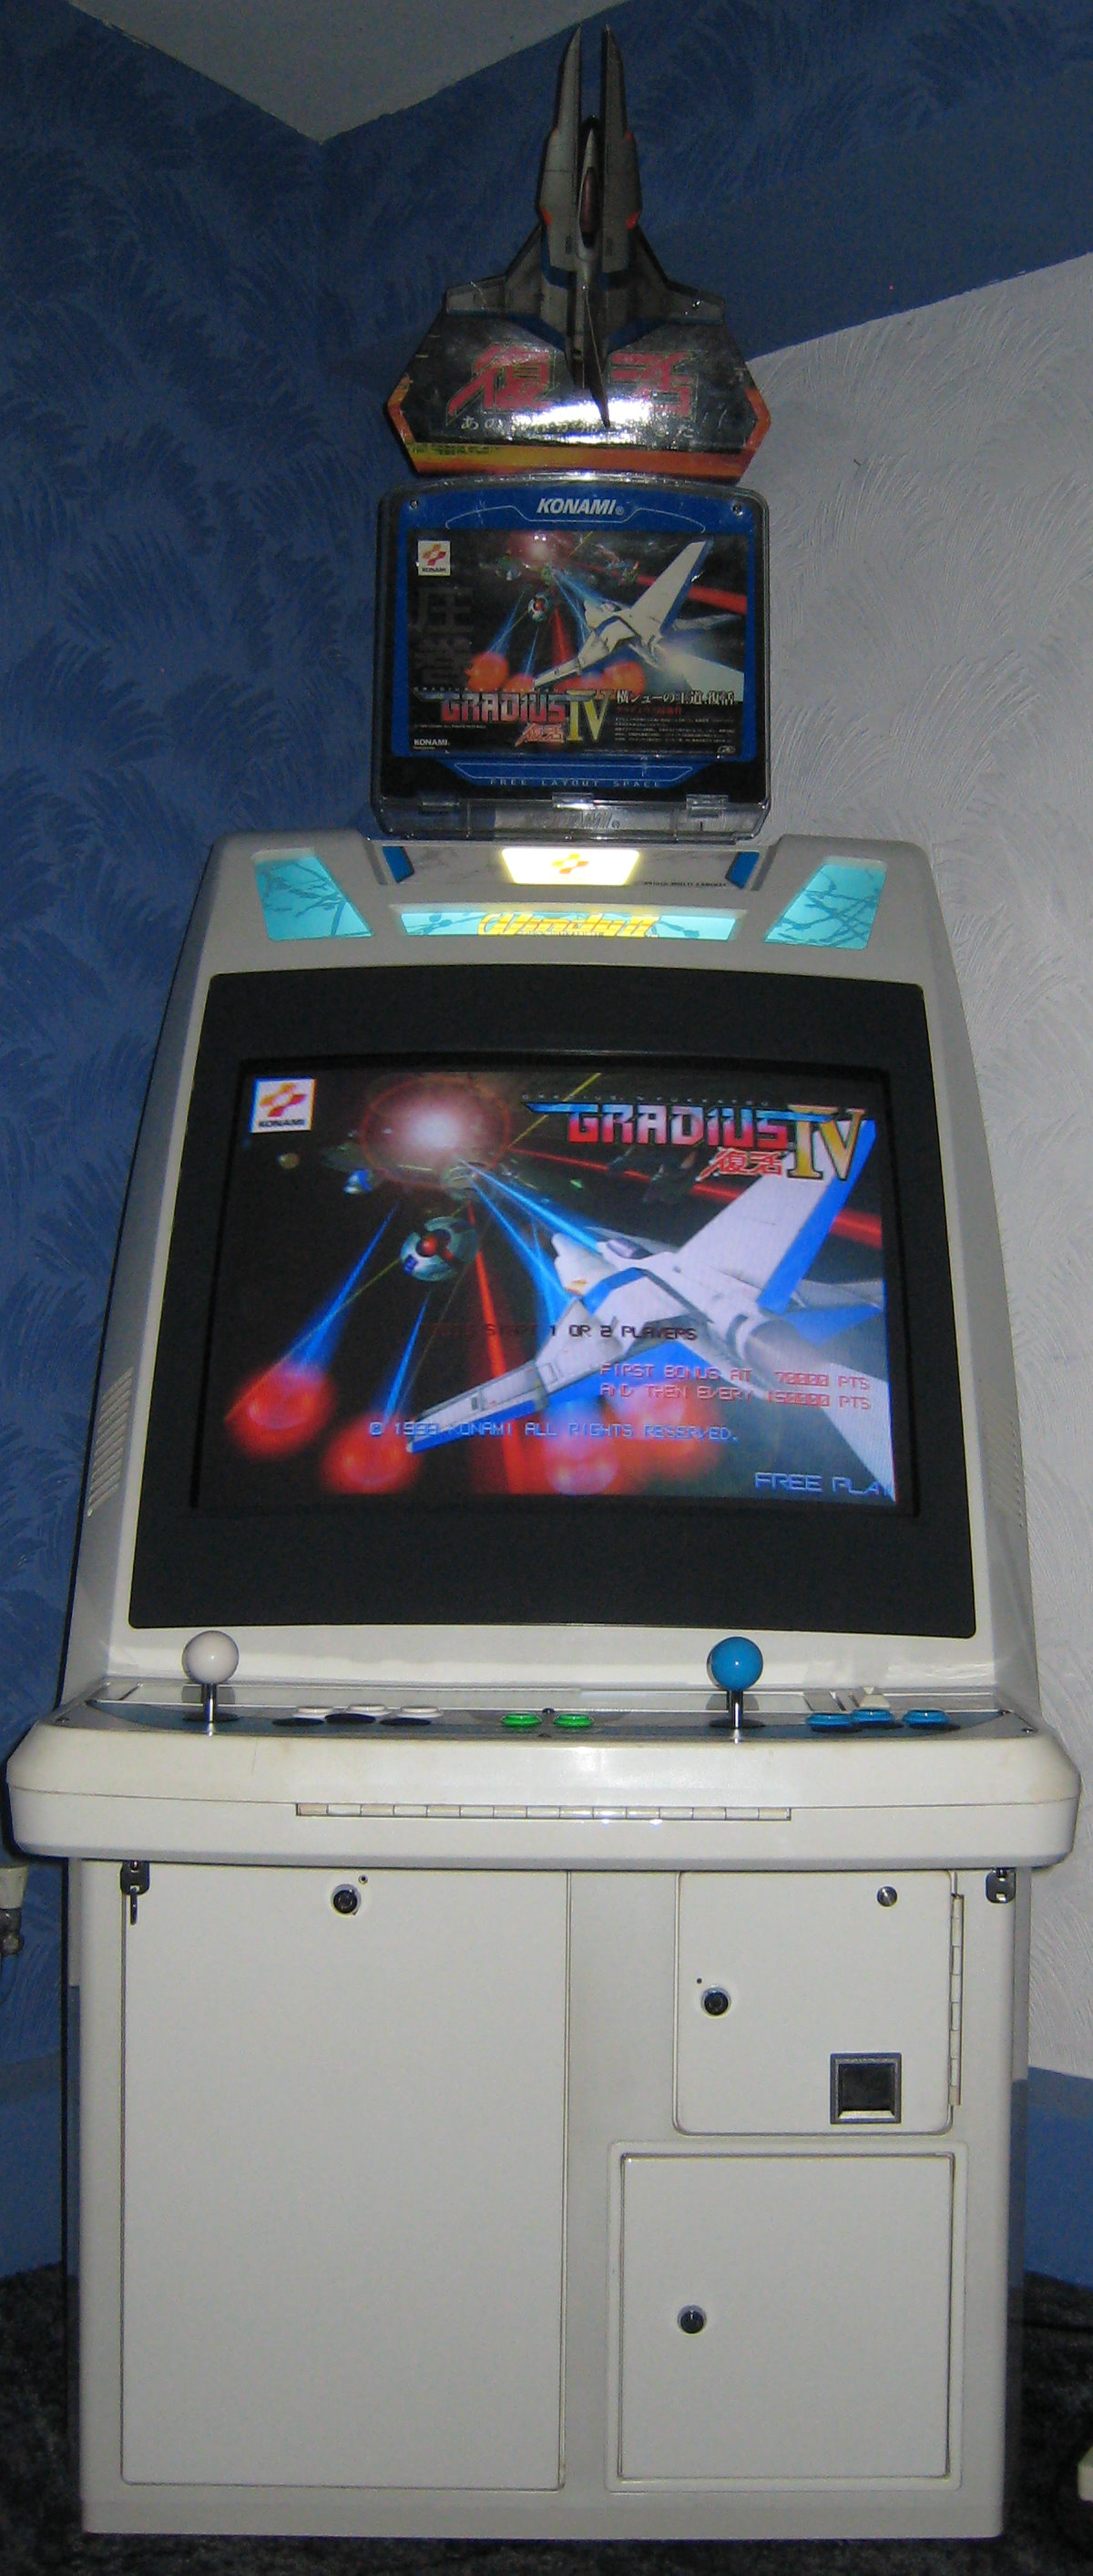
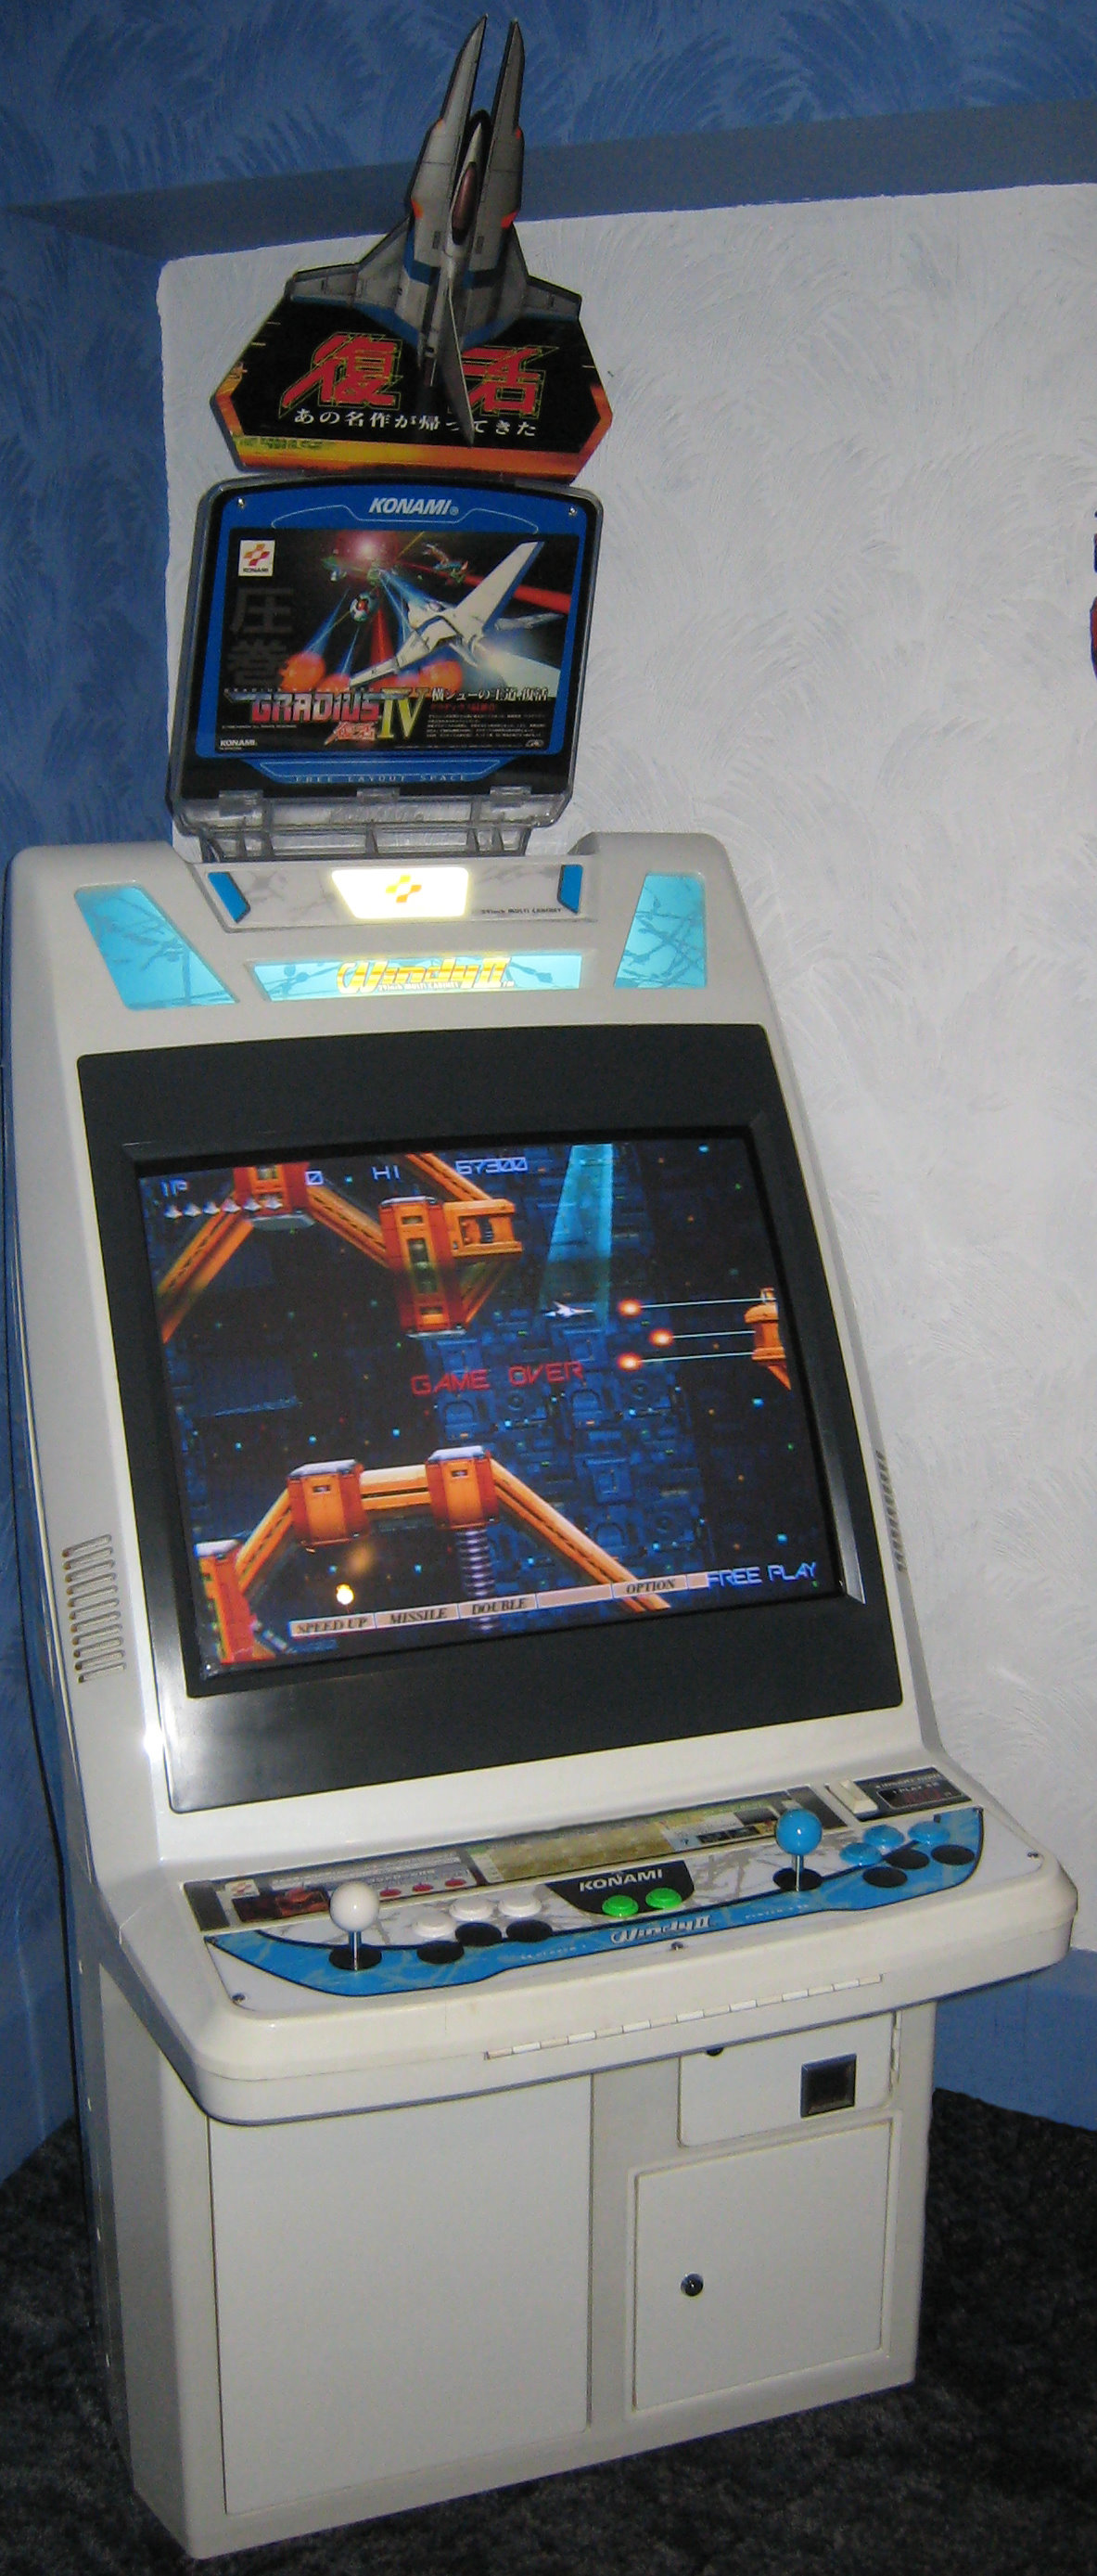
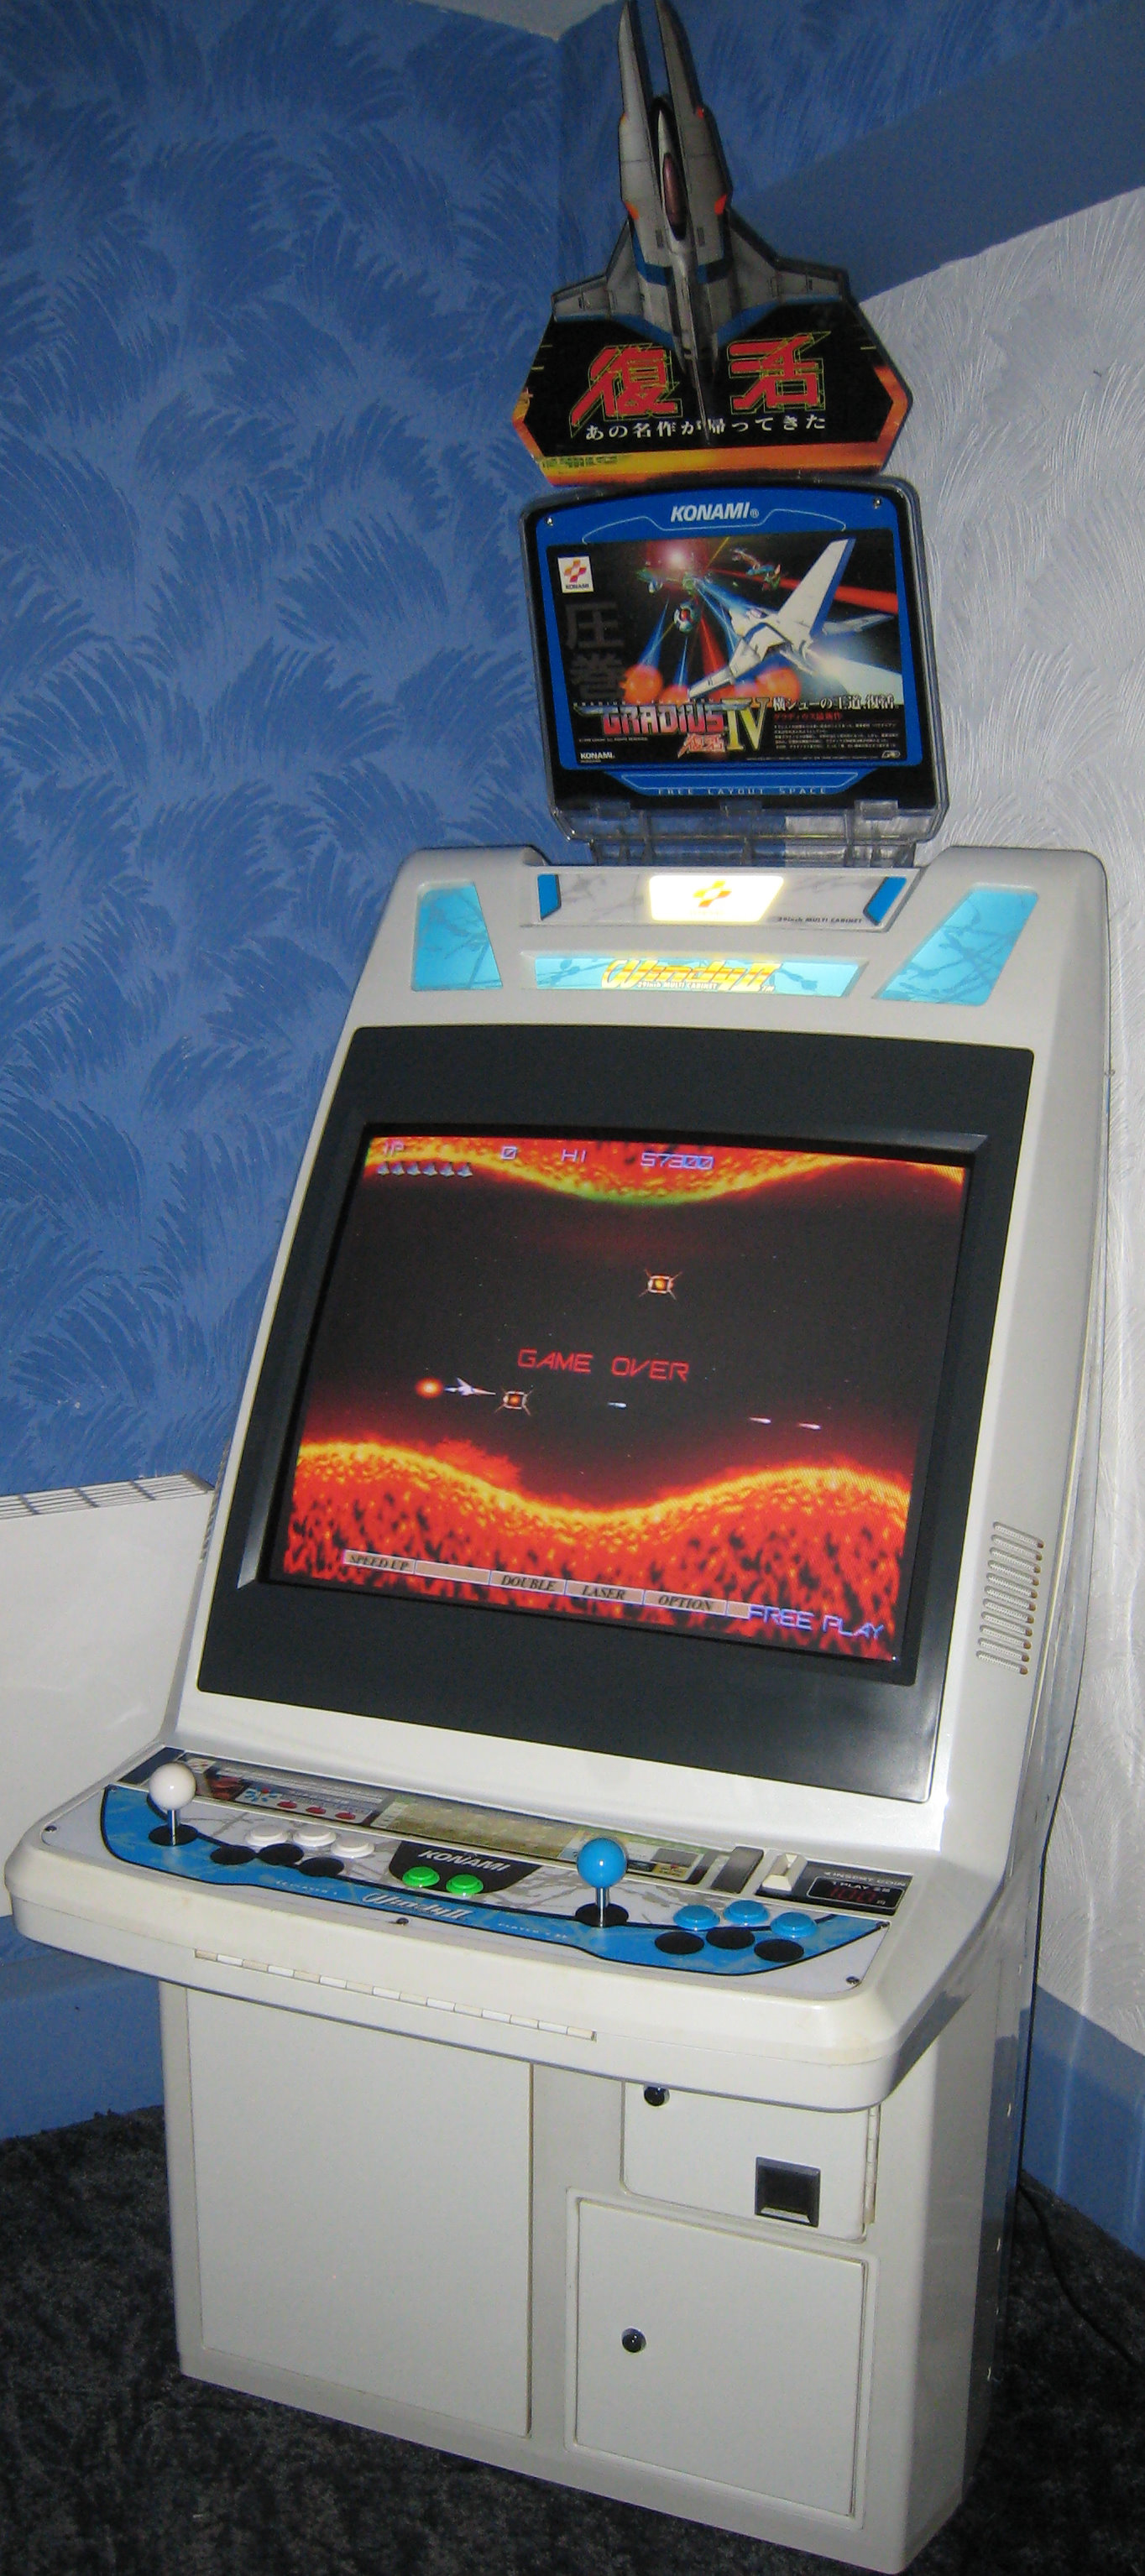
Original white and blue player buttons, green start buttons and joystick balls have been installed, while the machine can be set to six buttons for Street Fighter type games, I decided to set it three buttons and three blanks as per the Gradius IV Fukkatsu launch event that was in Japan back in 1998.
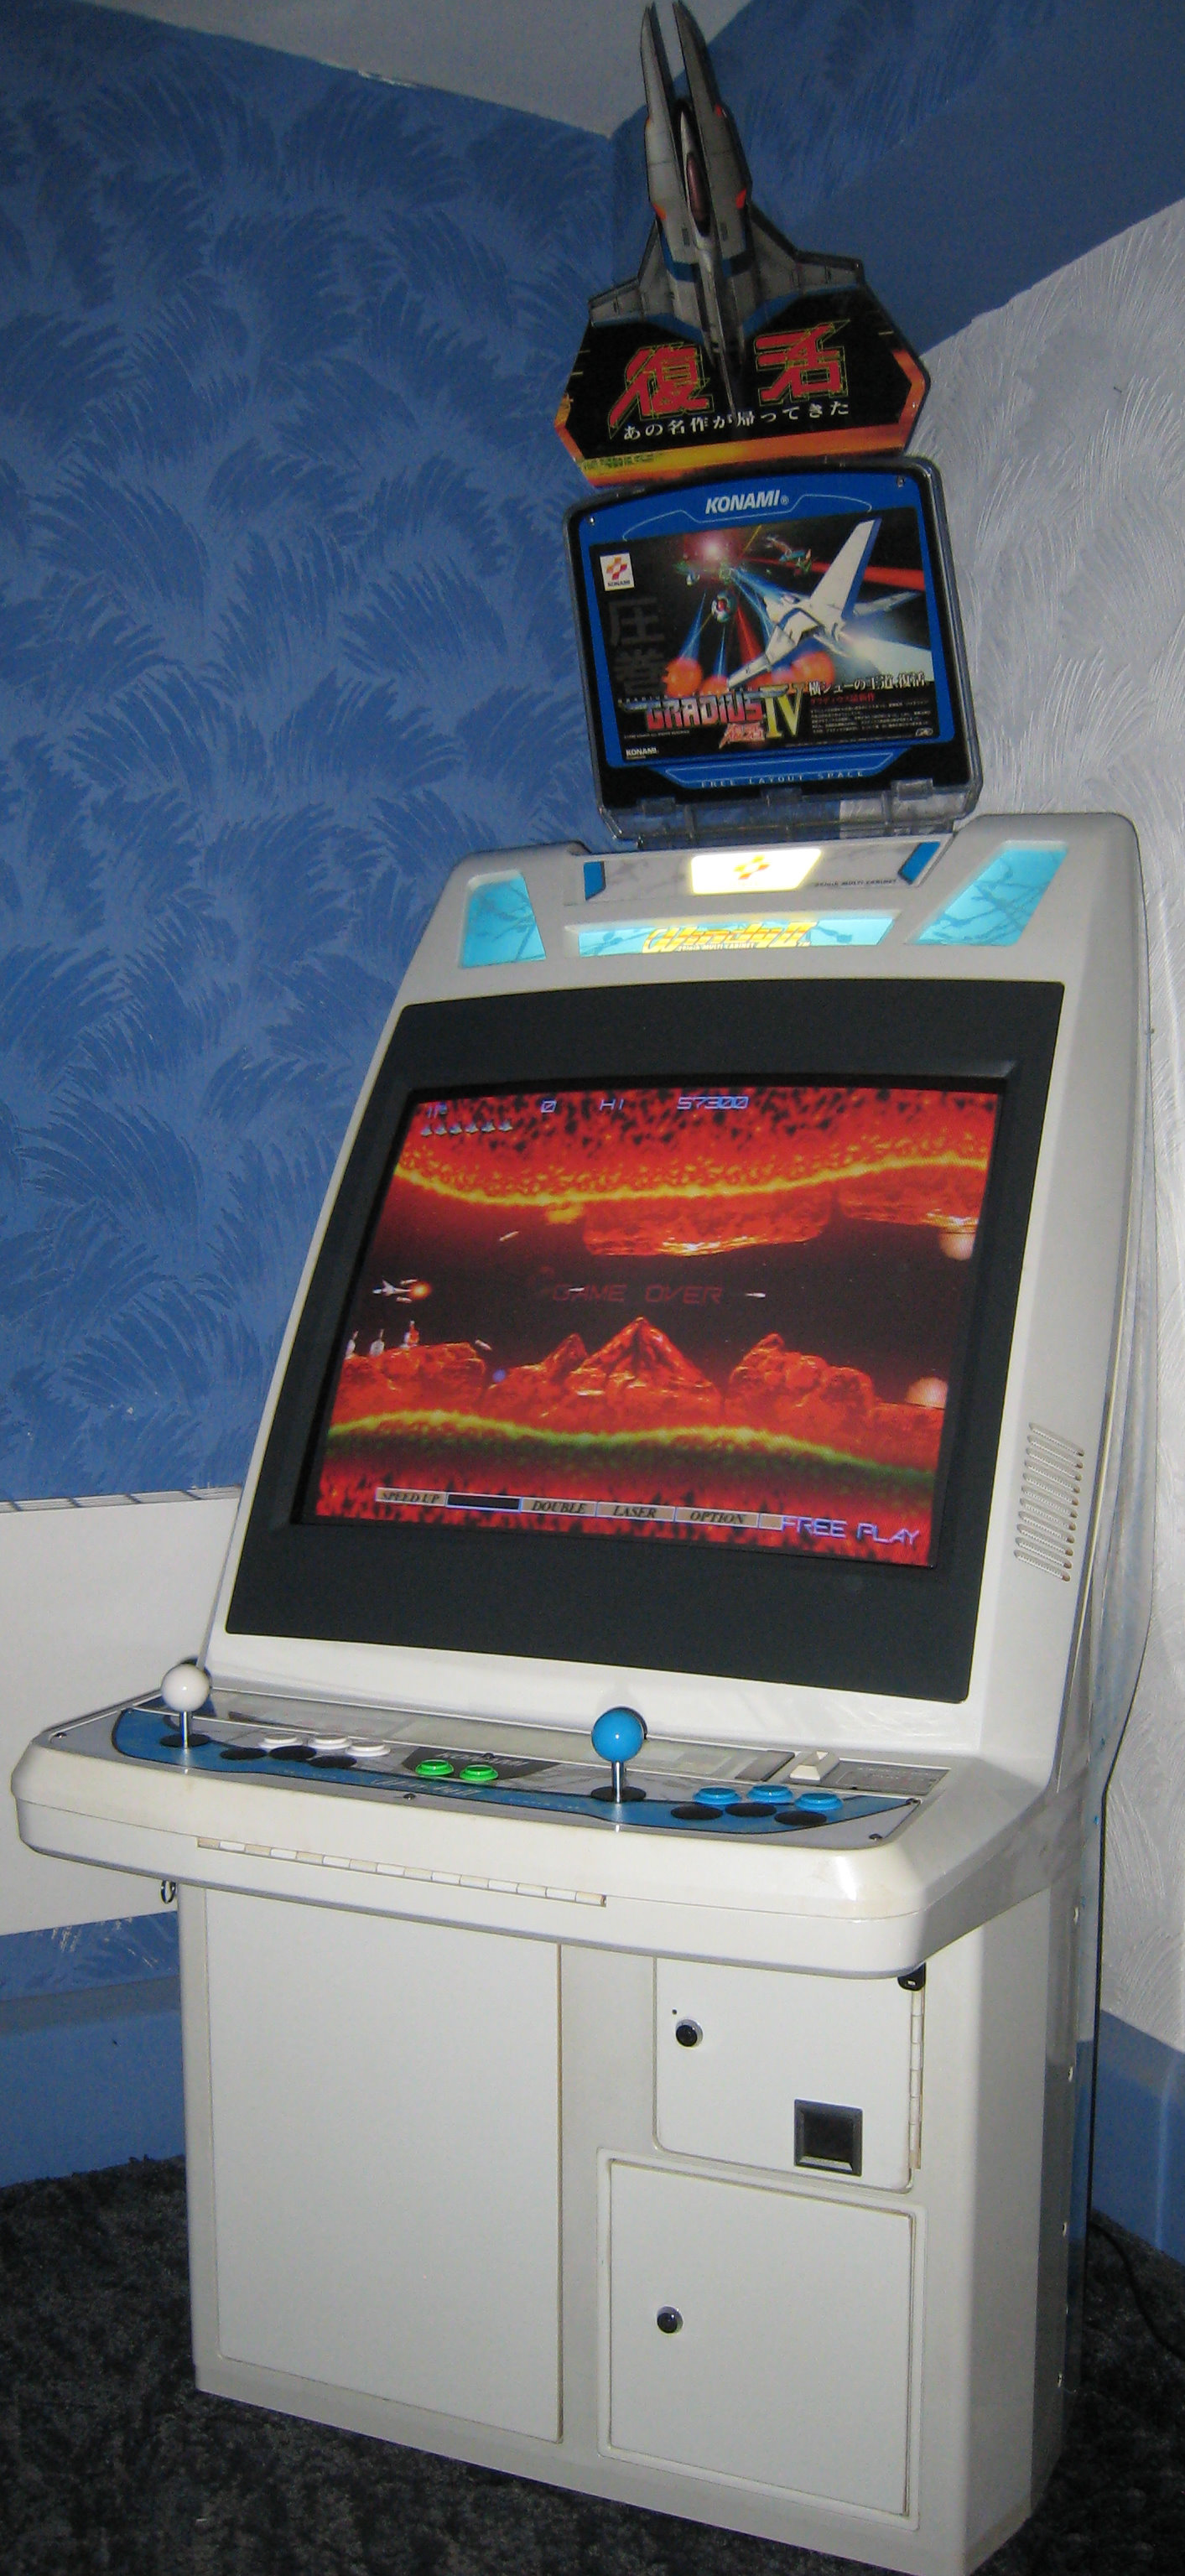
Gradius IV ~Fukkatsu~ (GX837-JAC) Konami 1998 グラディウスIV~復活~ コナミ
Banner weapon sticker, top marquee and top Vic Viper have been installed, this is as it was when the game was launched in the arcades back in 1998.
Here are two images I have for the original show launch of Gradius IV ~Fukkatsu~, this is how I found out the original button colours.
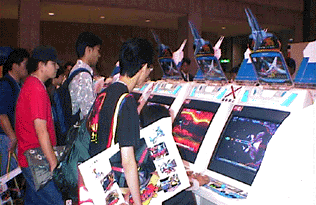
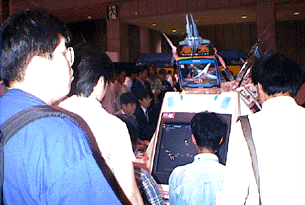
JVS connection rather than using JAMMA, it's a much cleaner method of connection for this game as it uses less wires and looks more modern.
Here's the game in all it's glory.
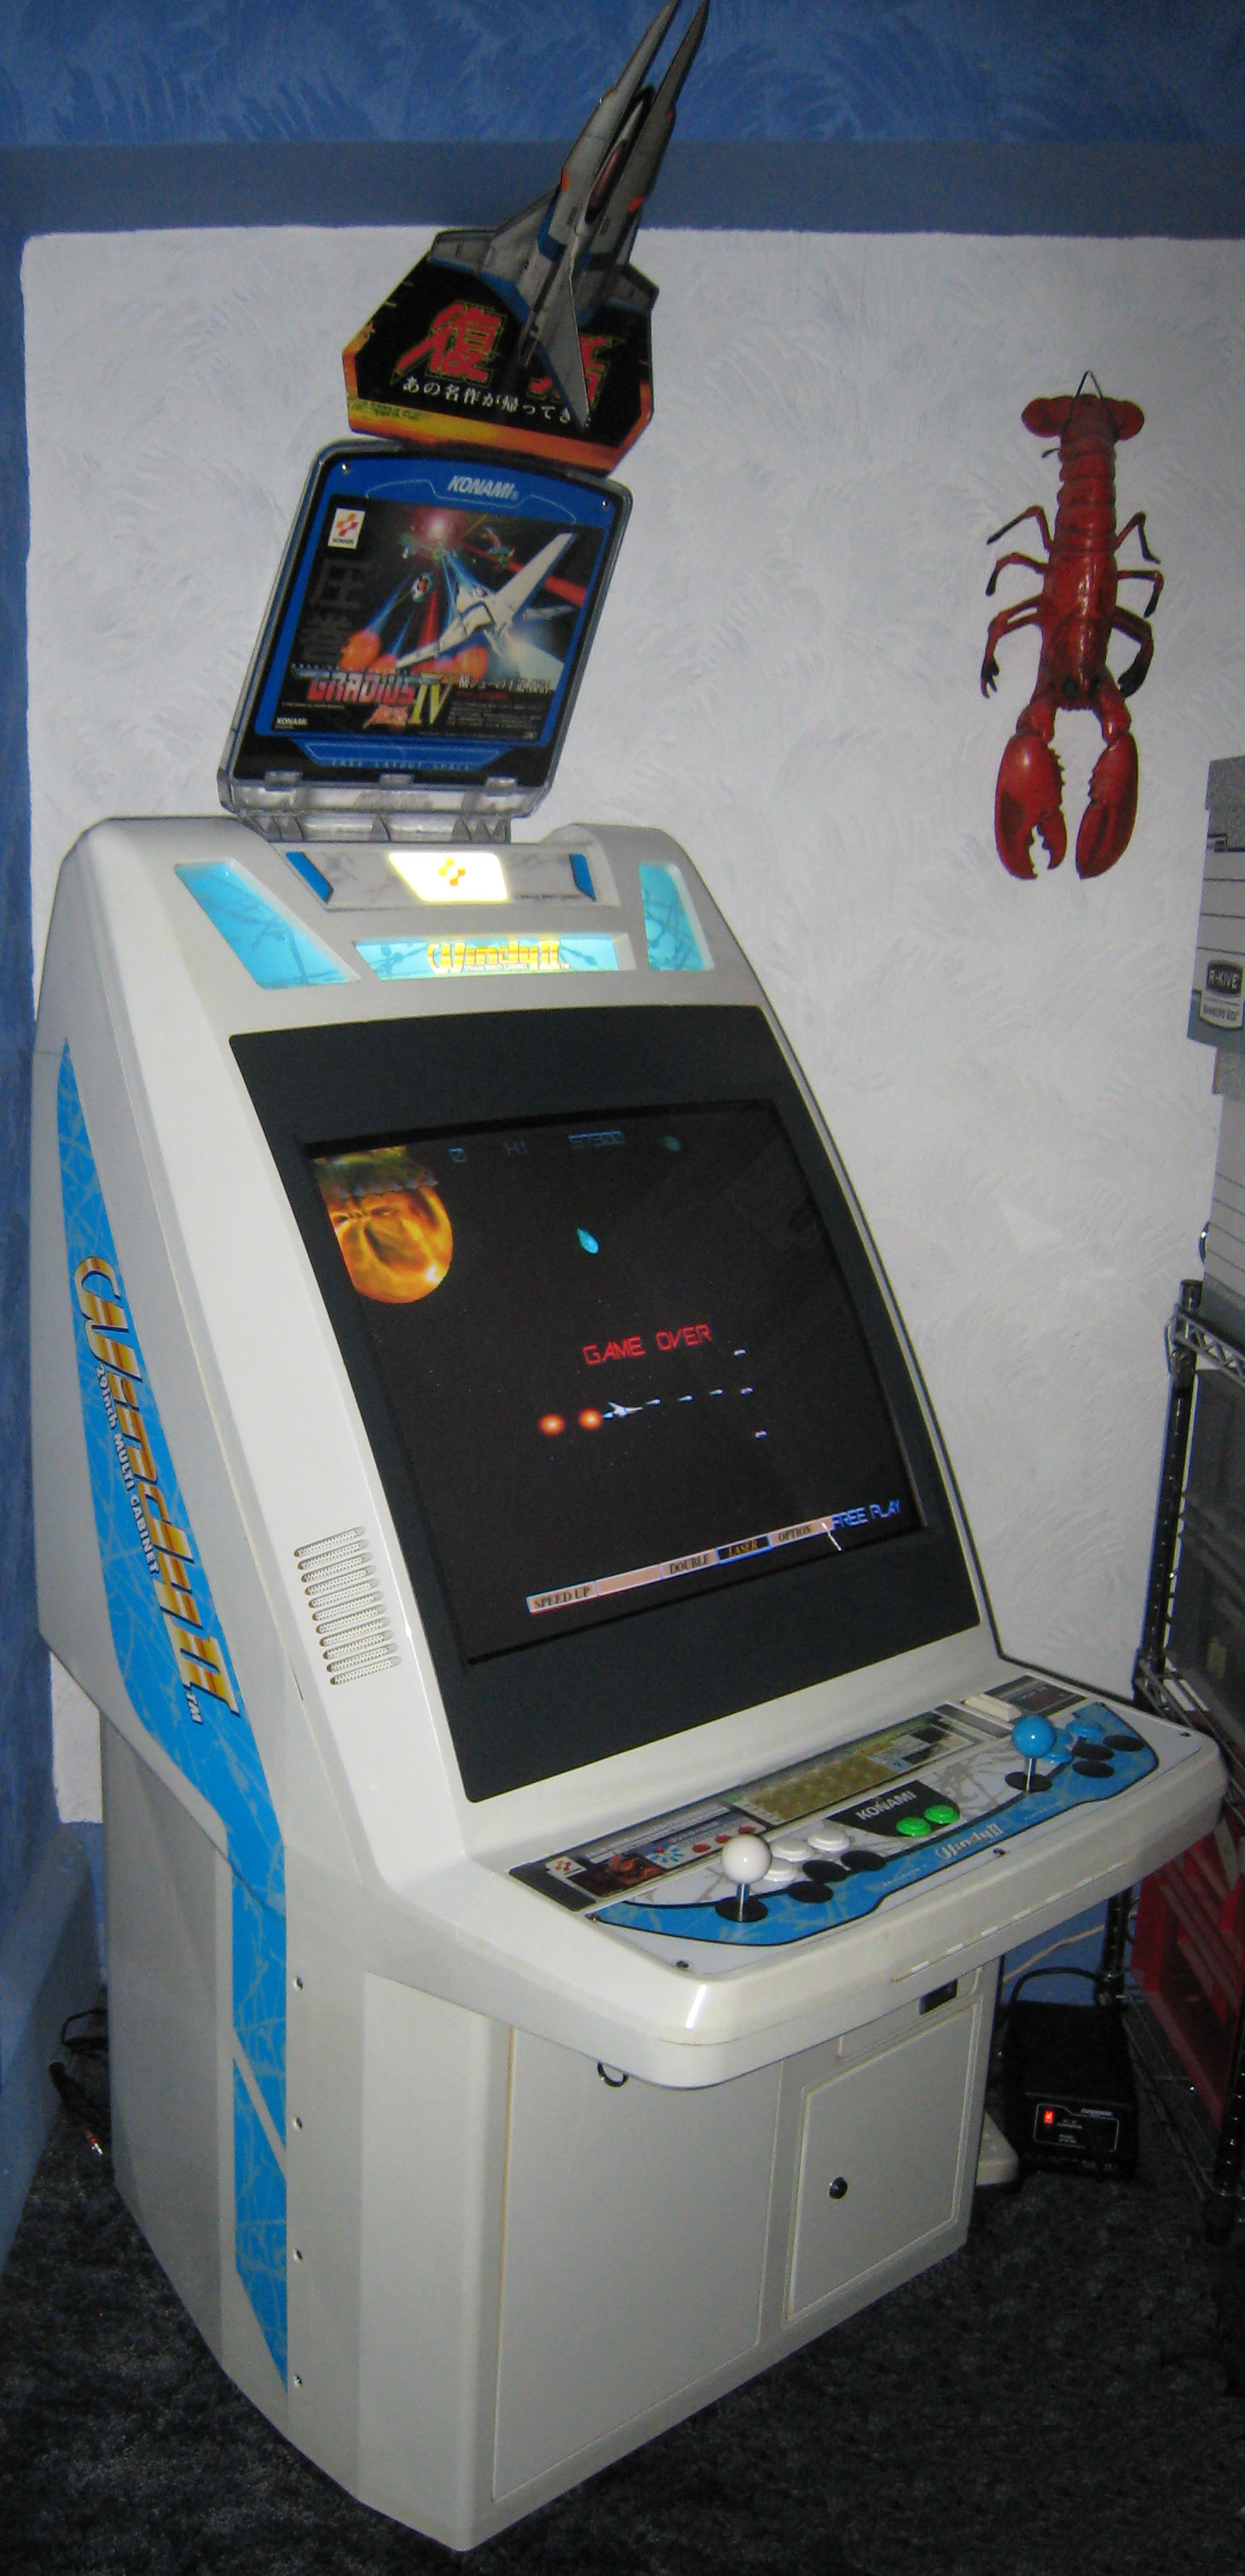
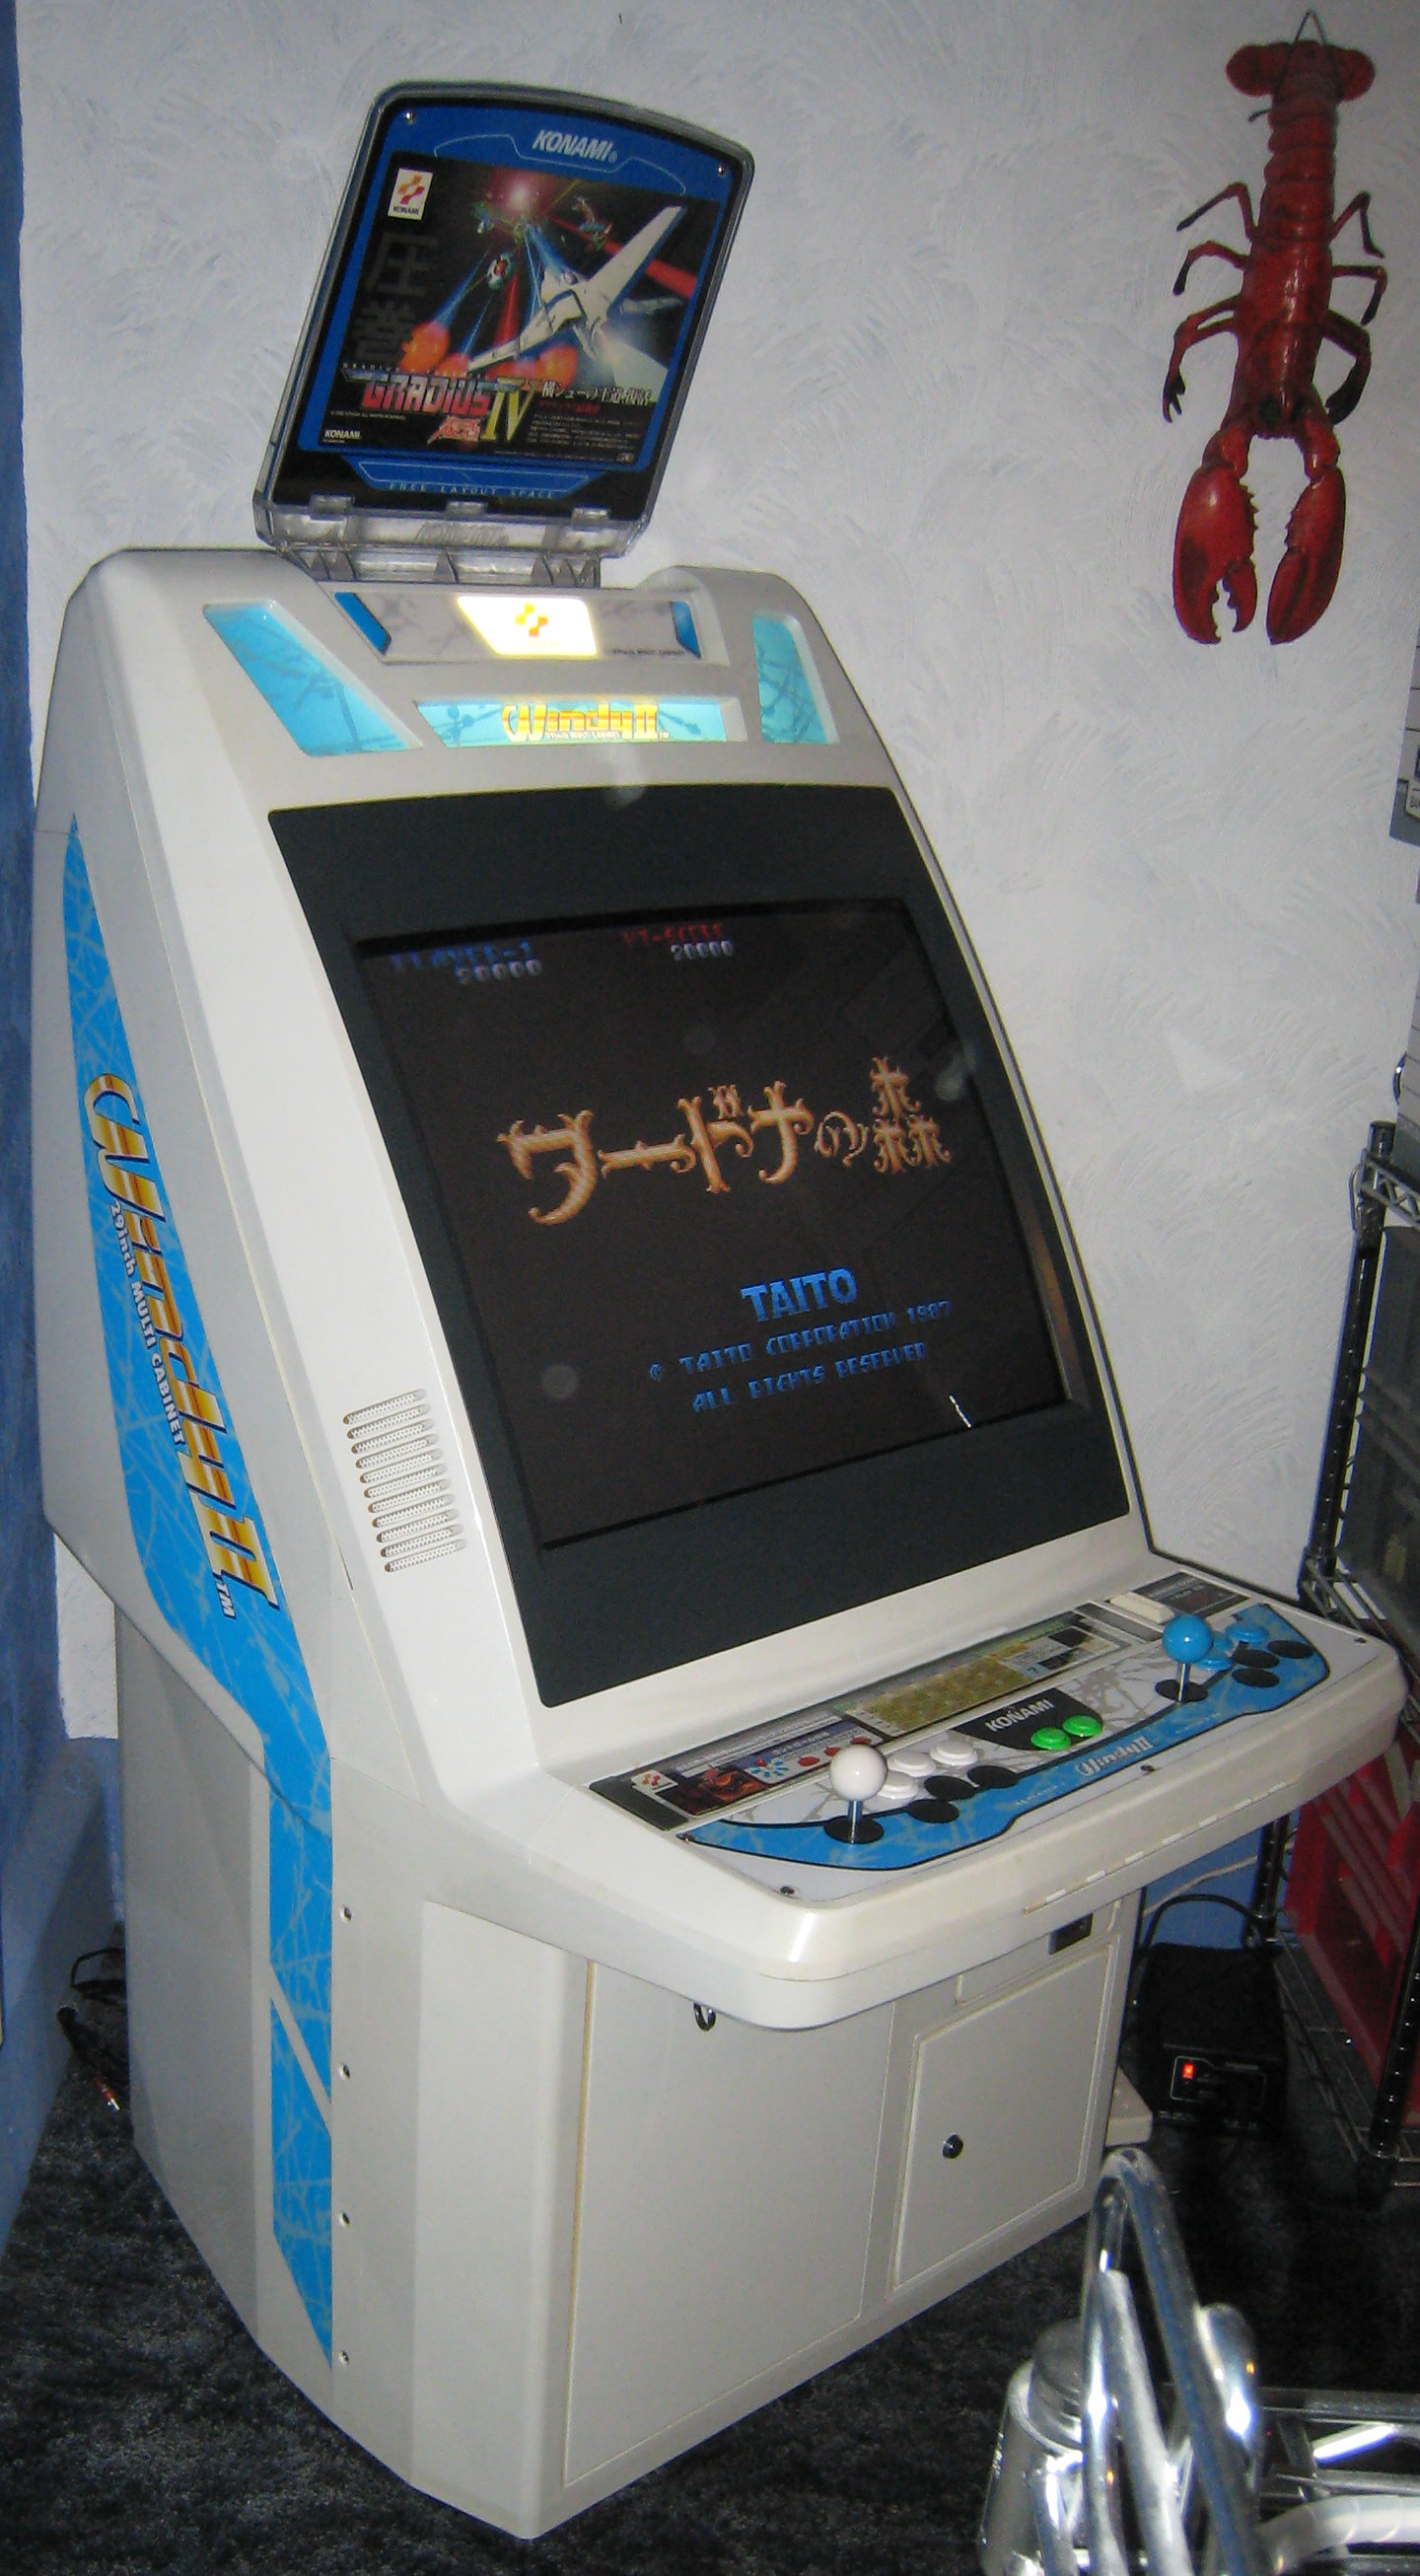
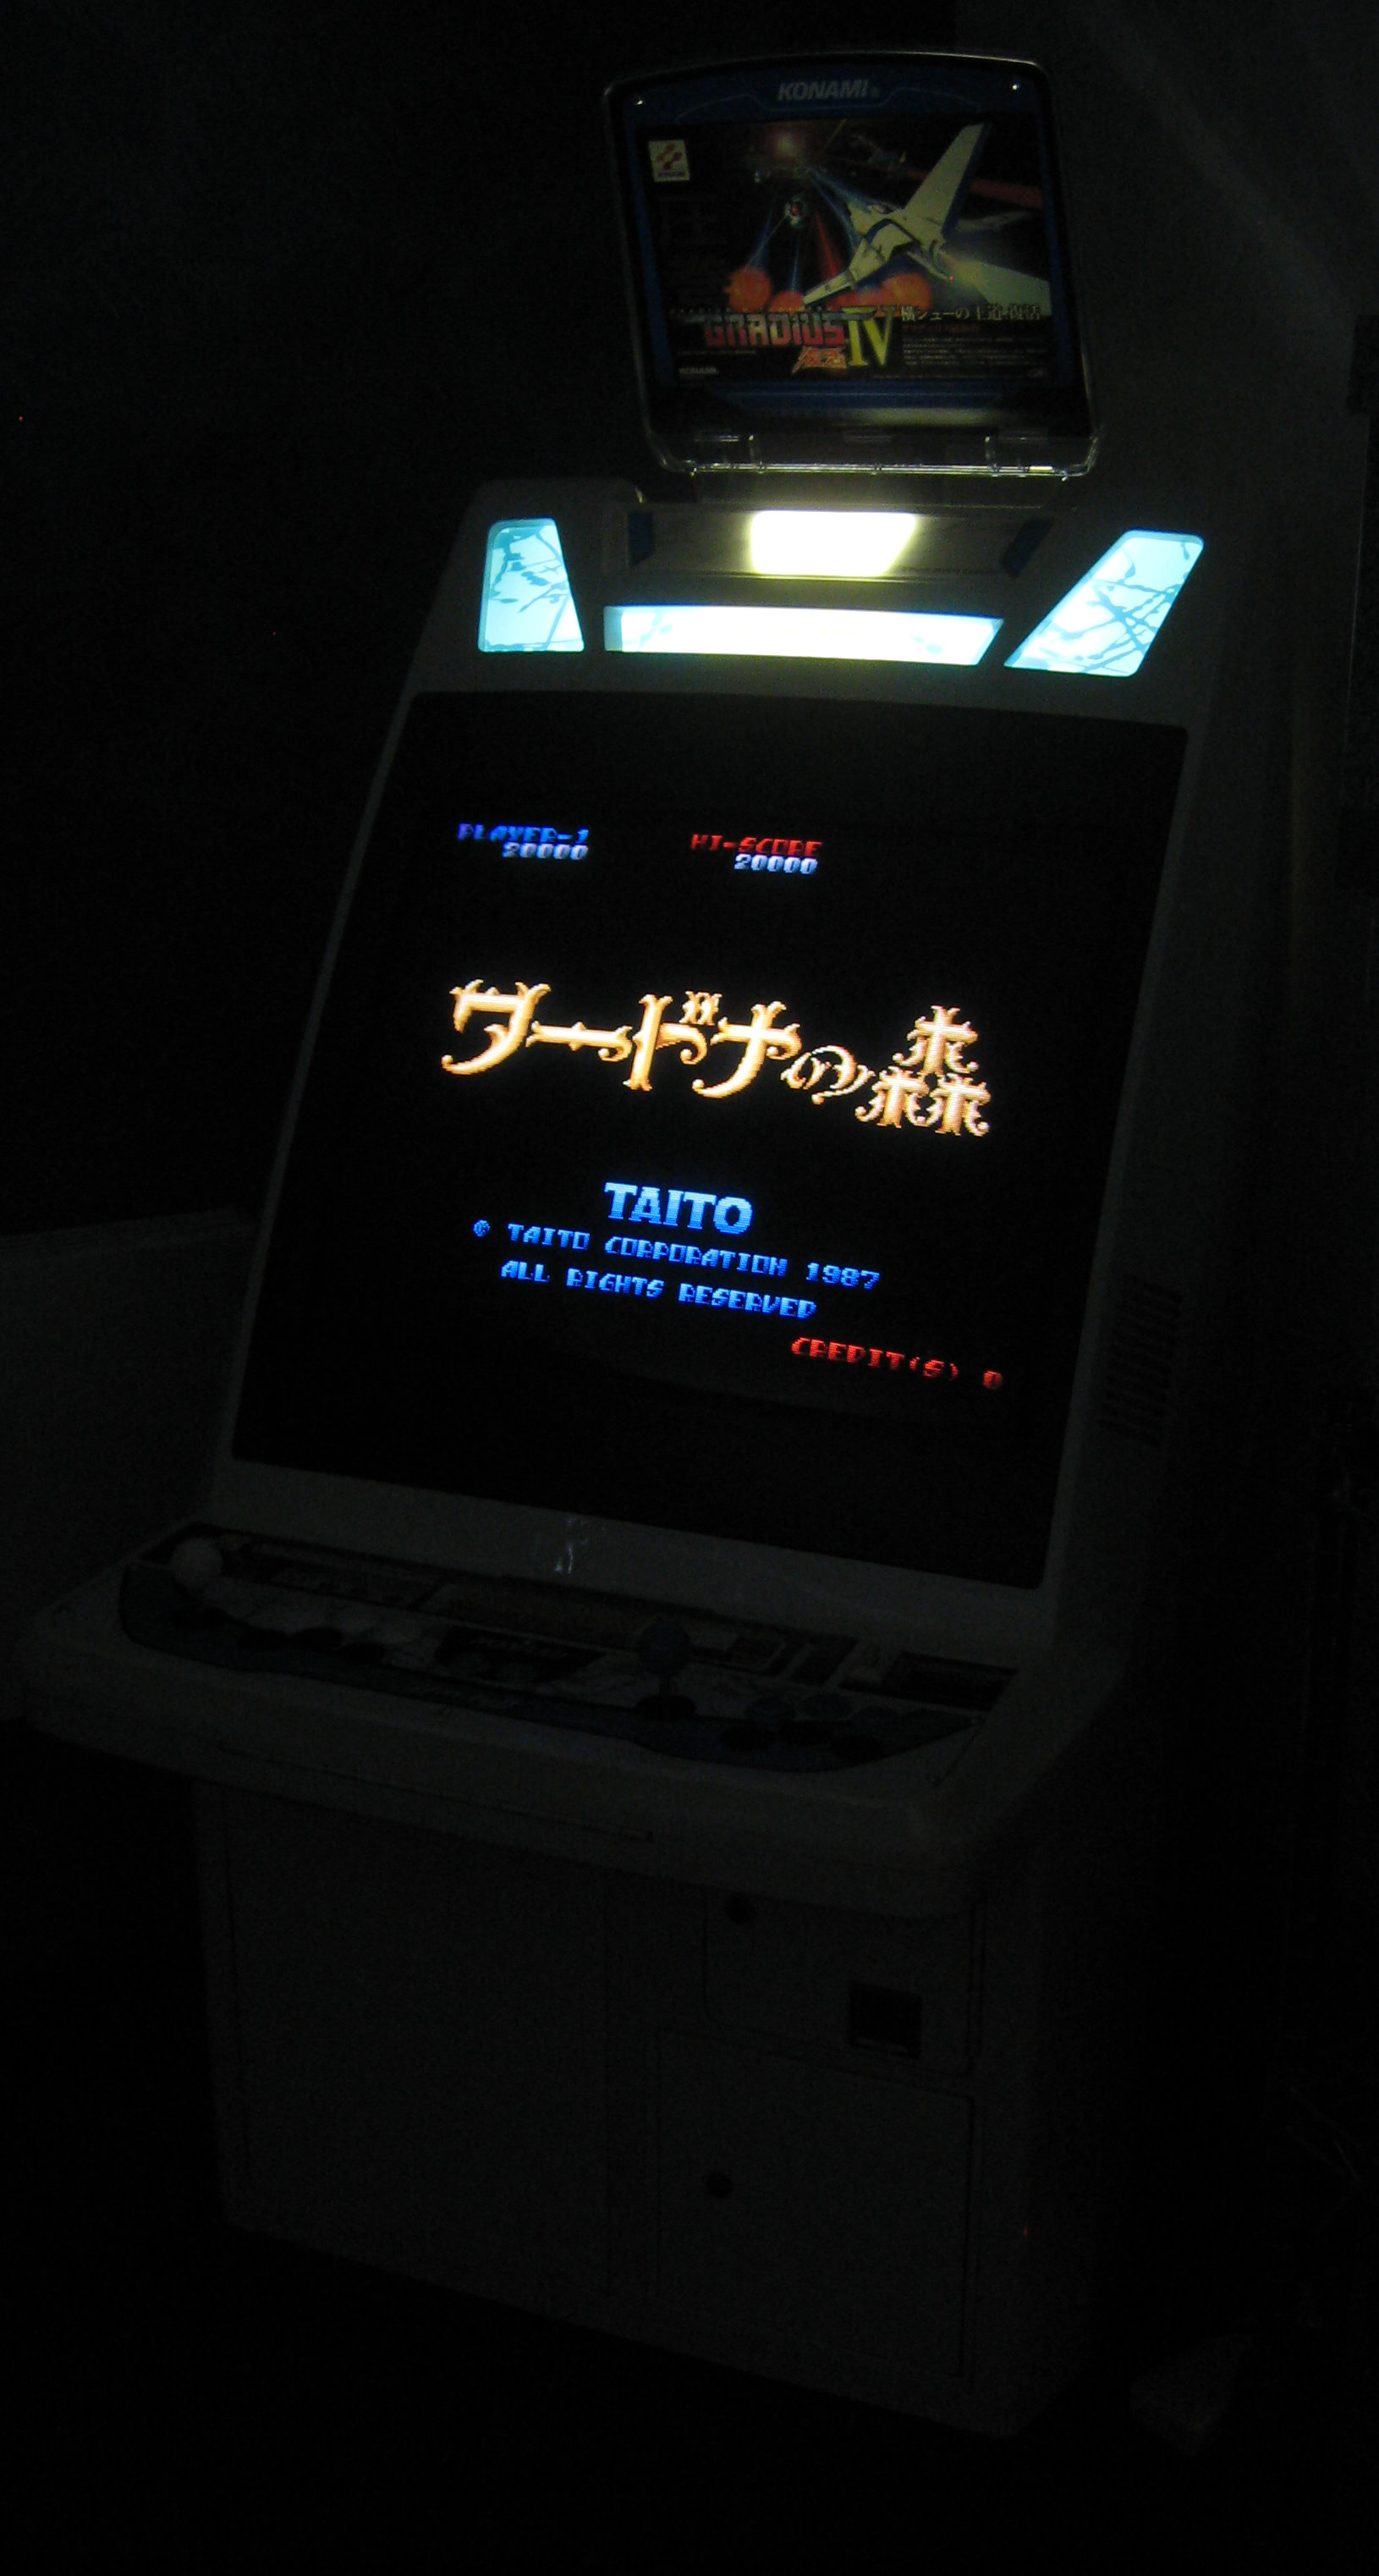
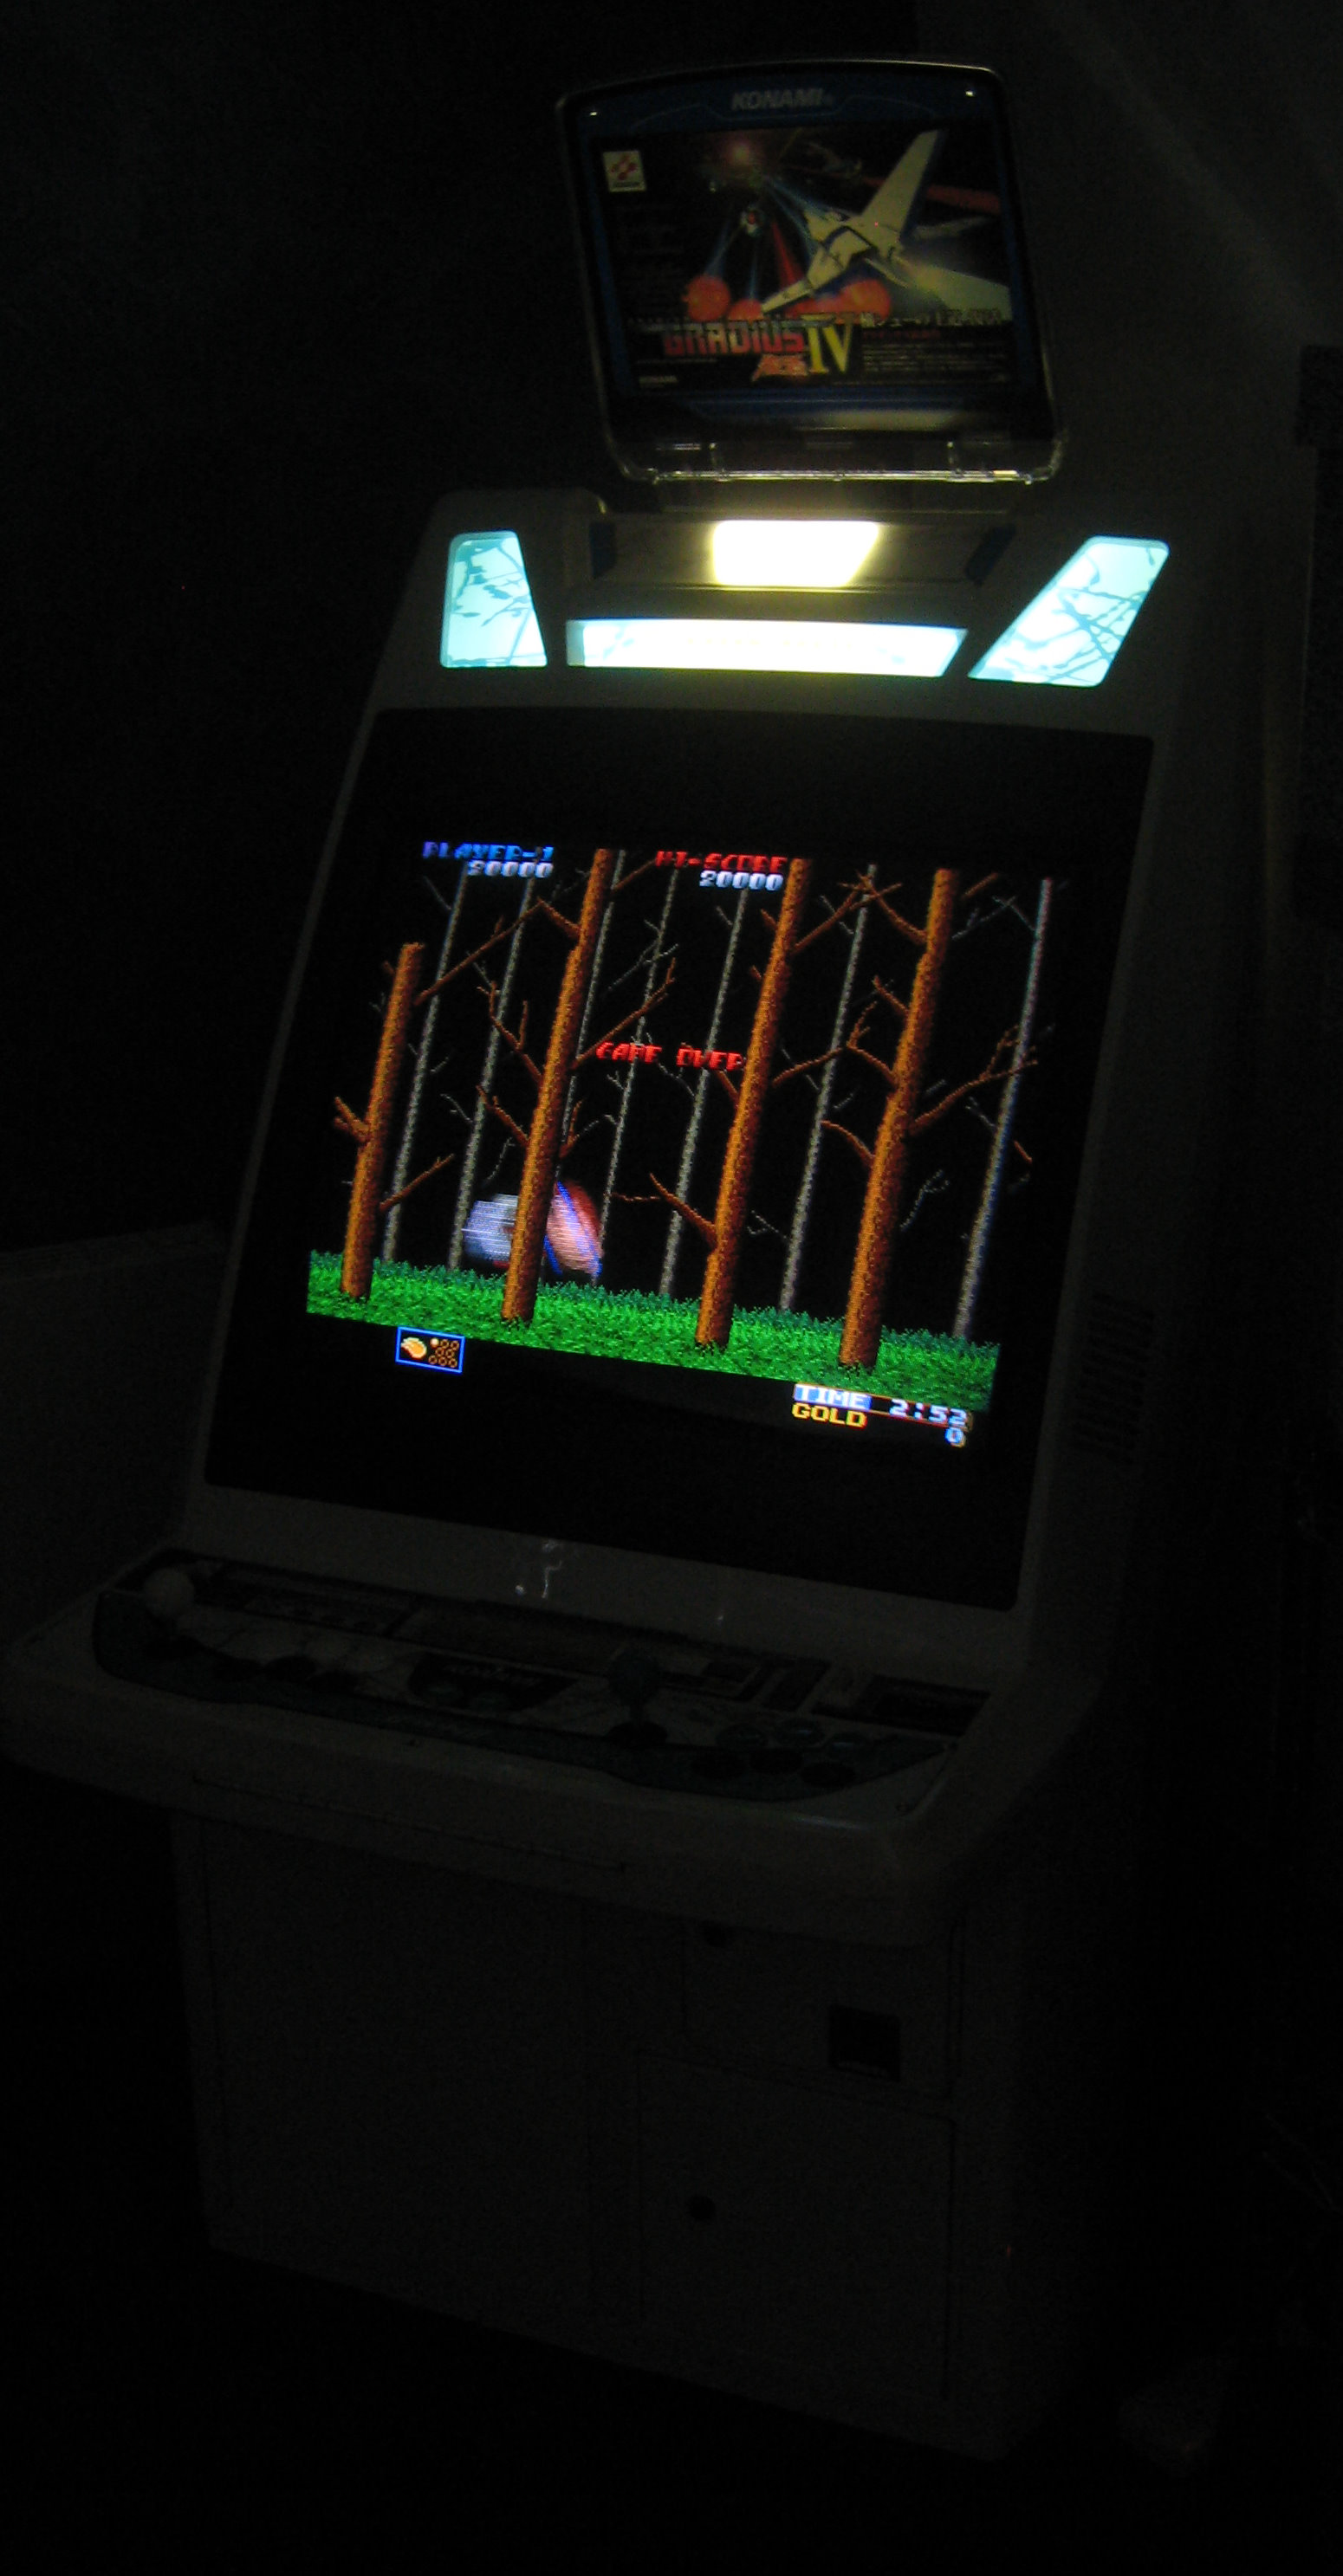
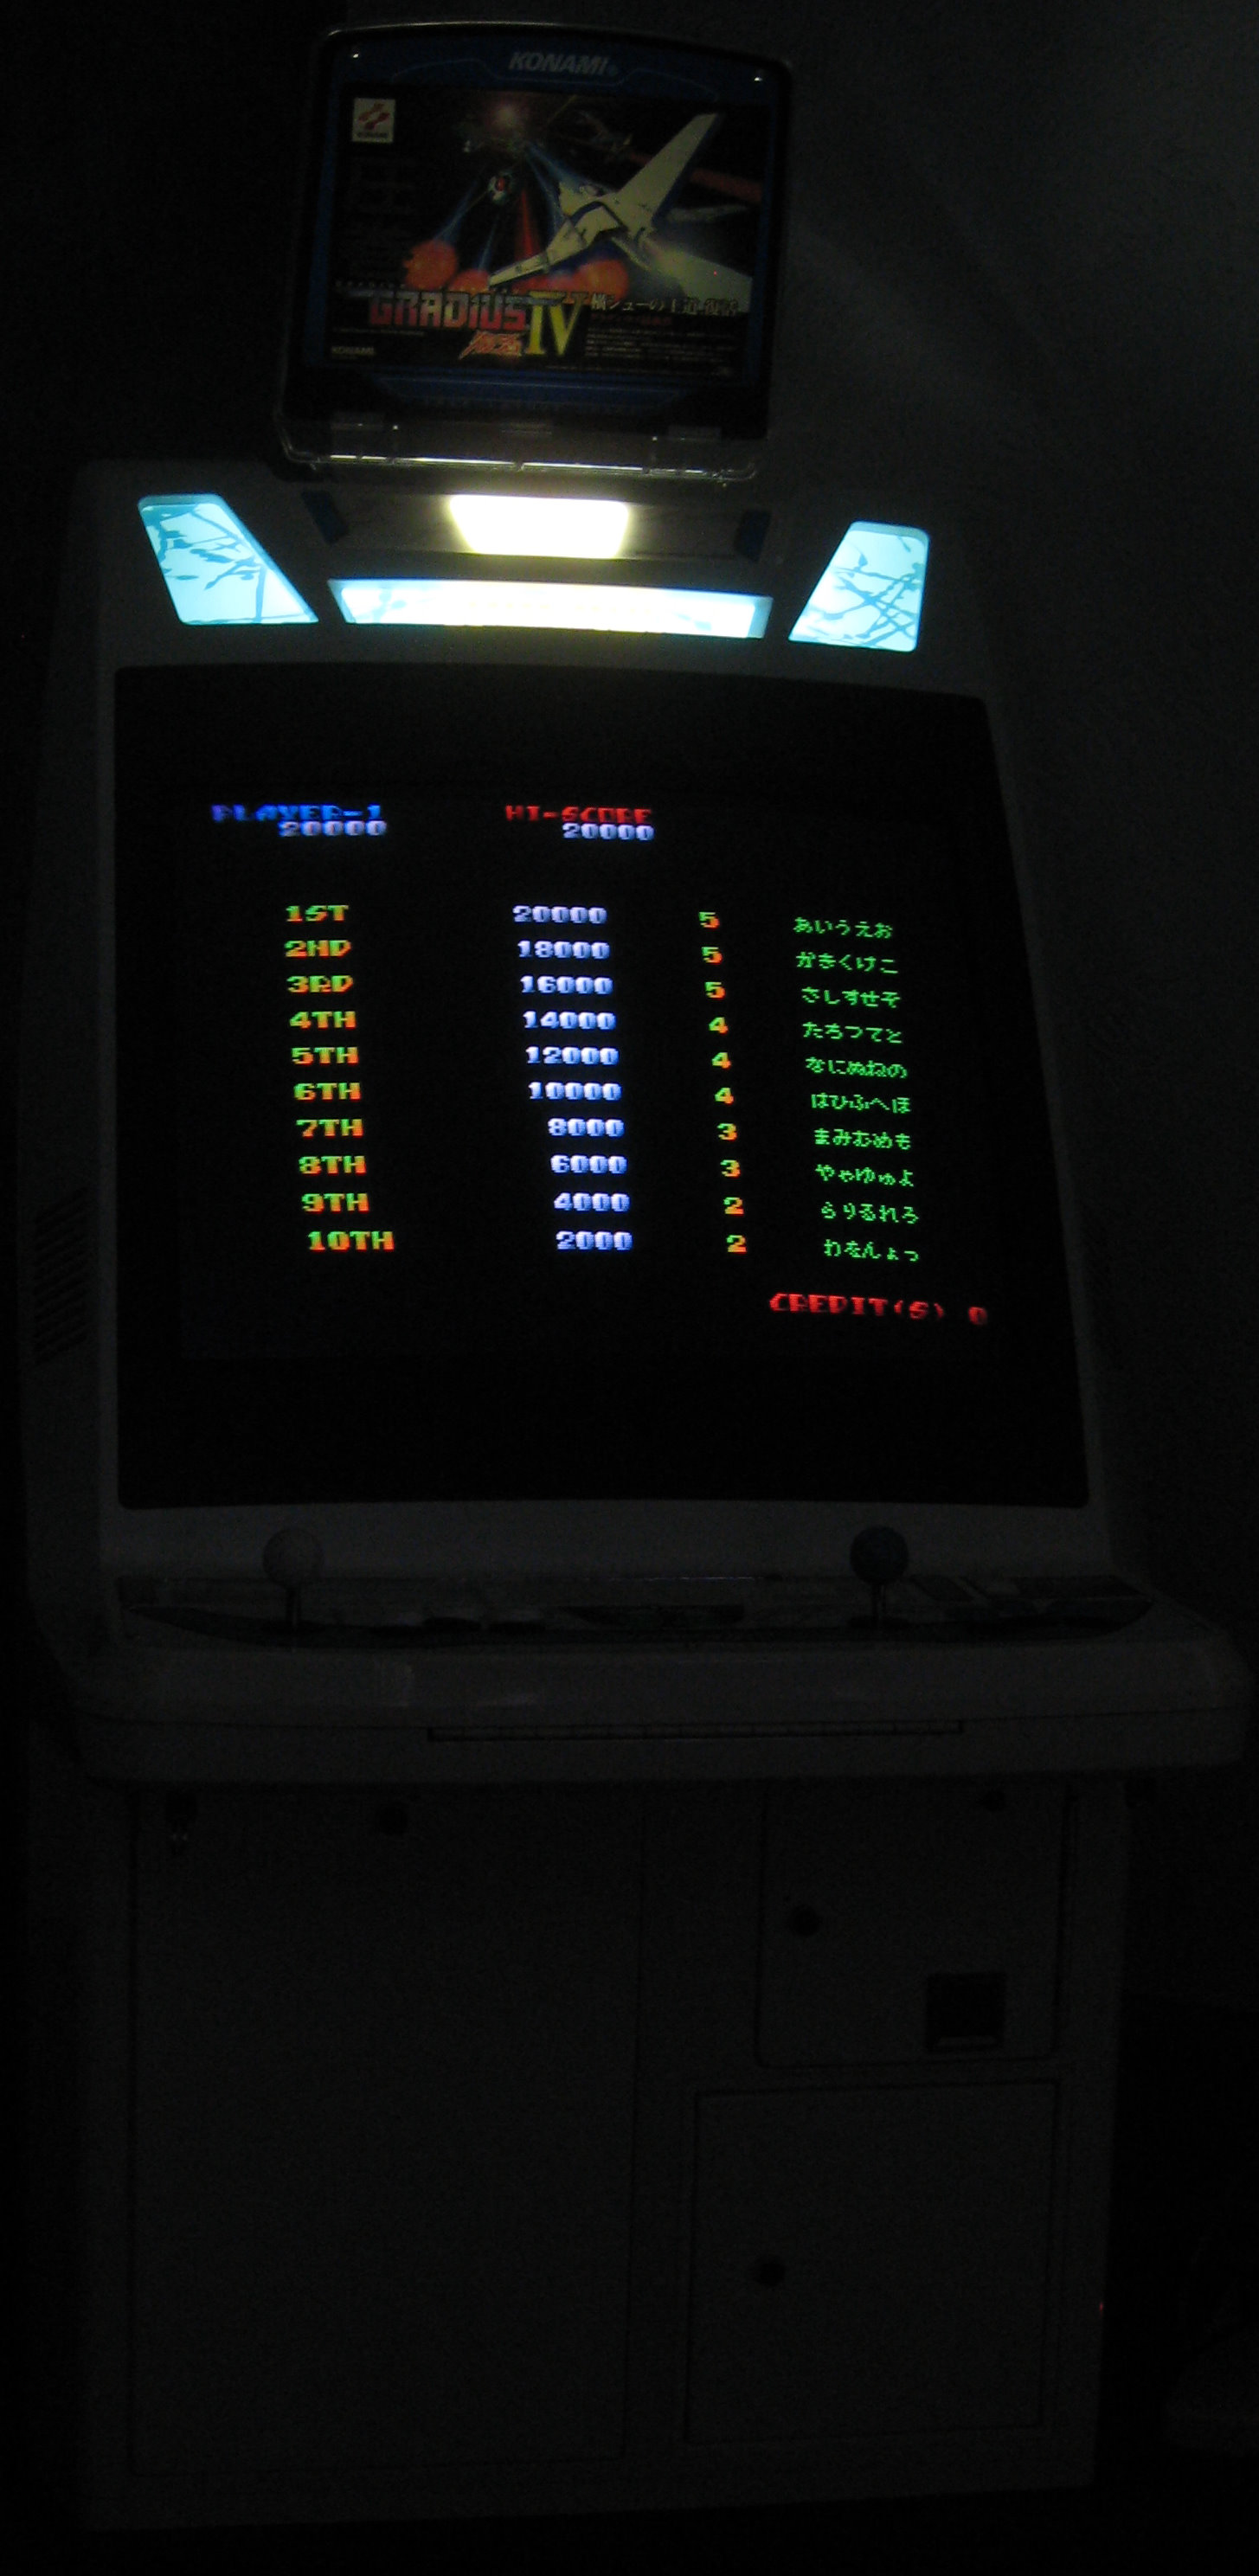
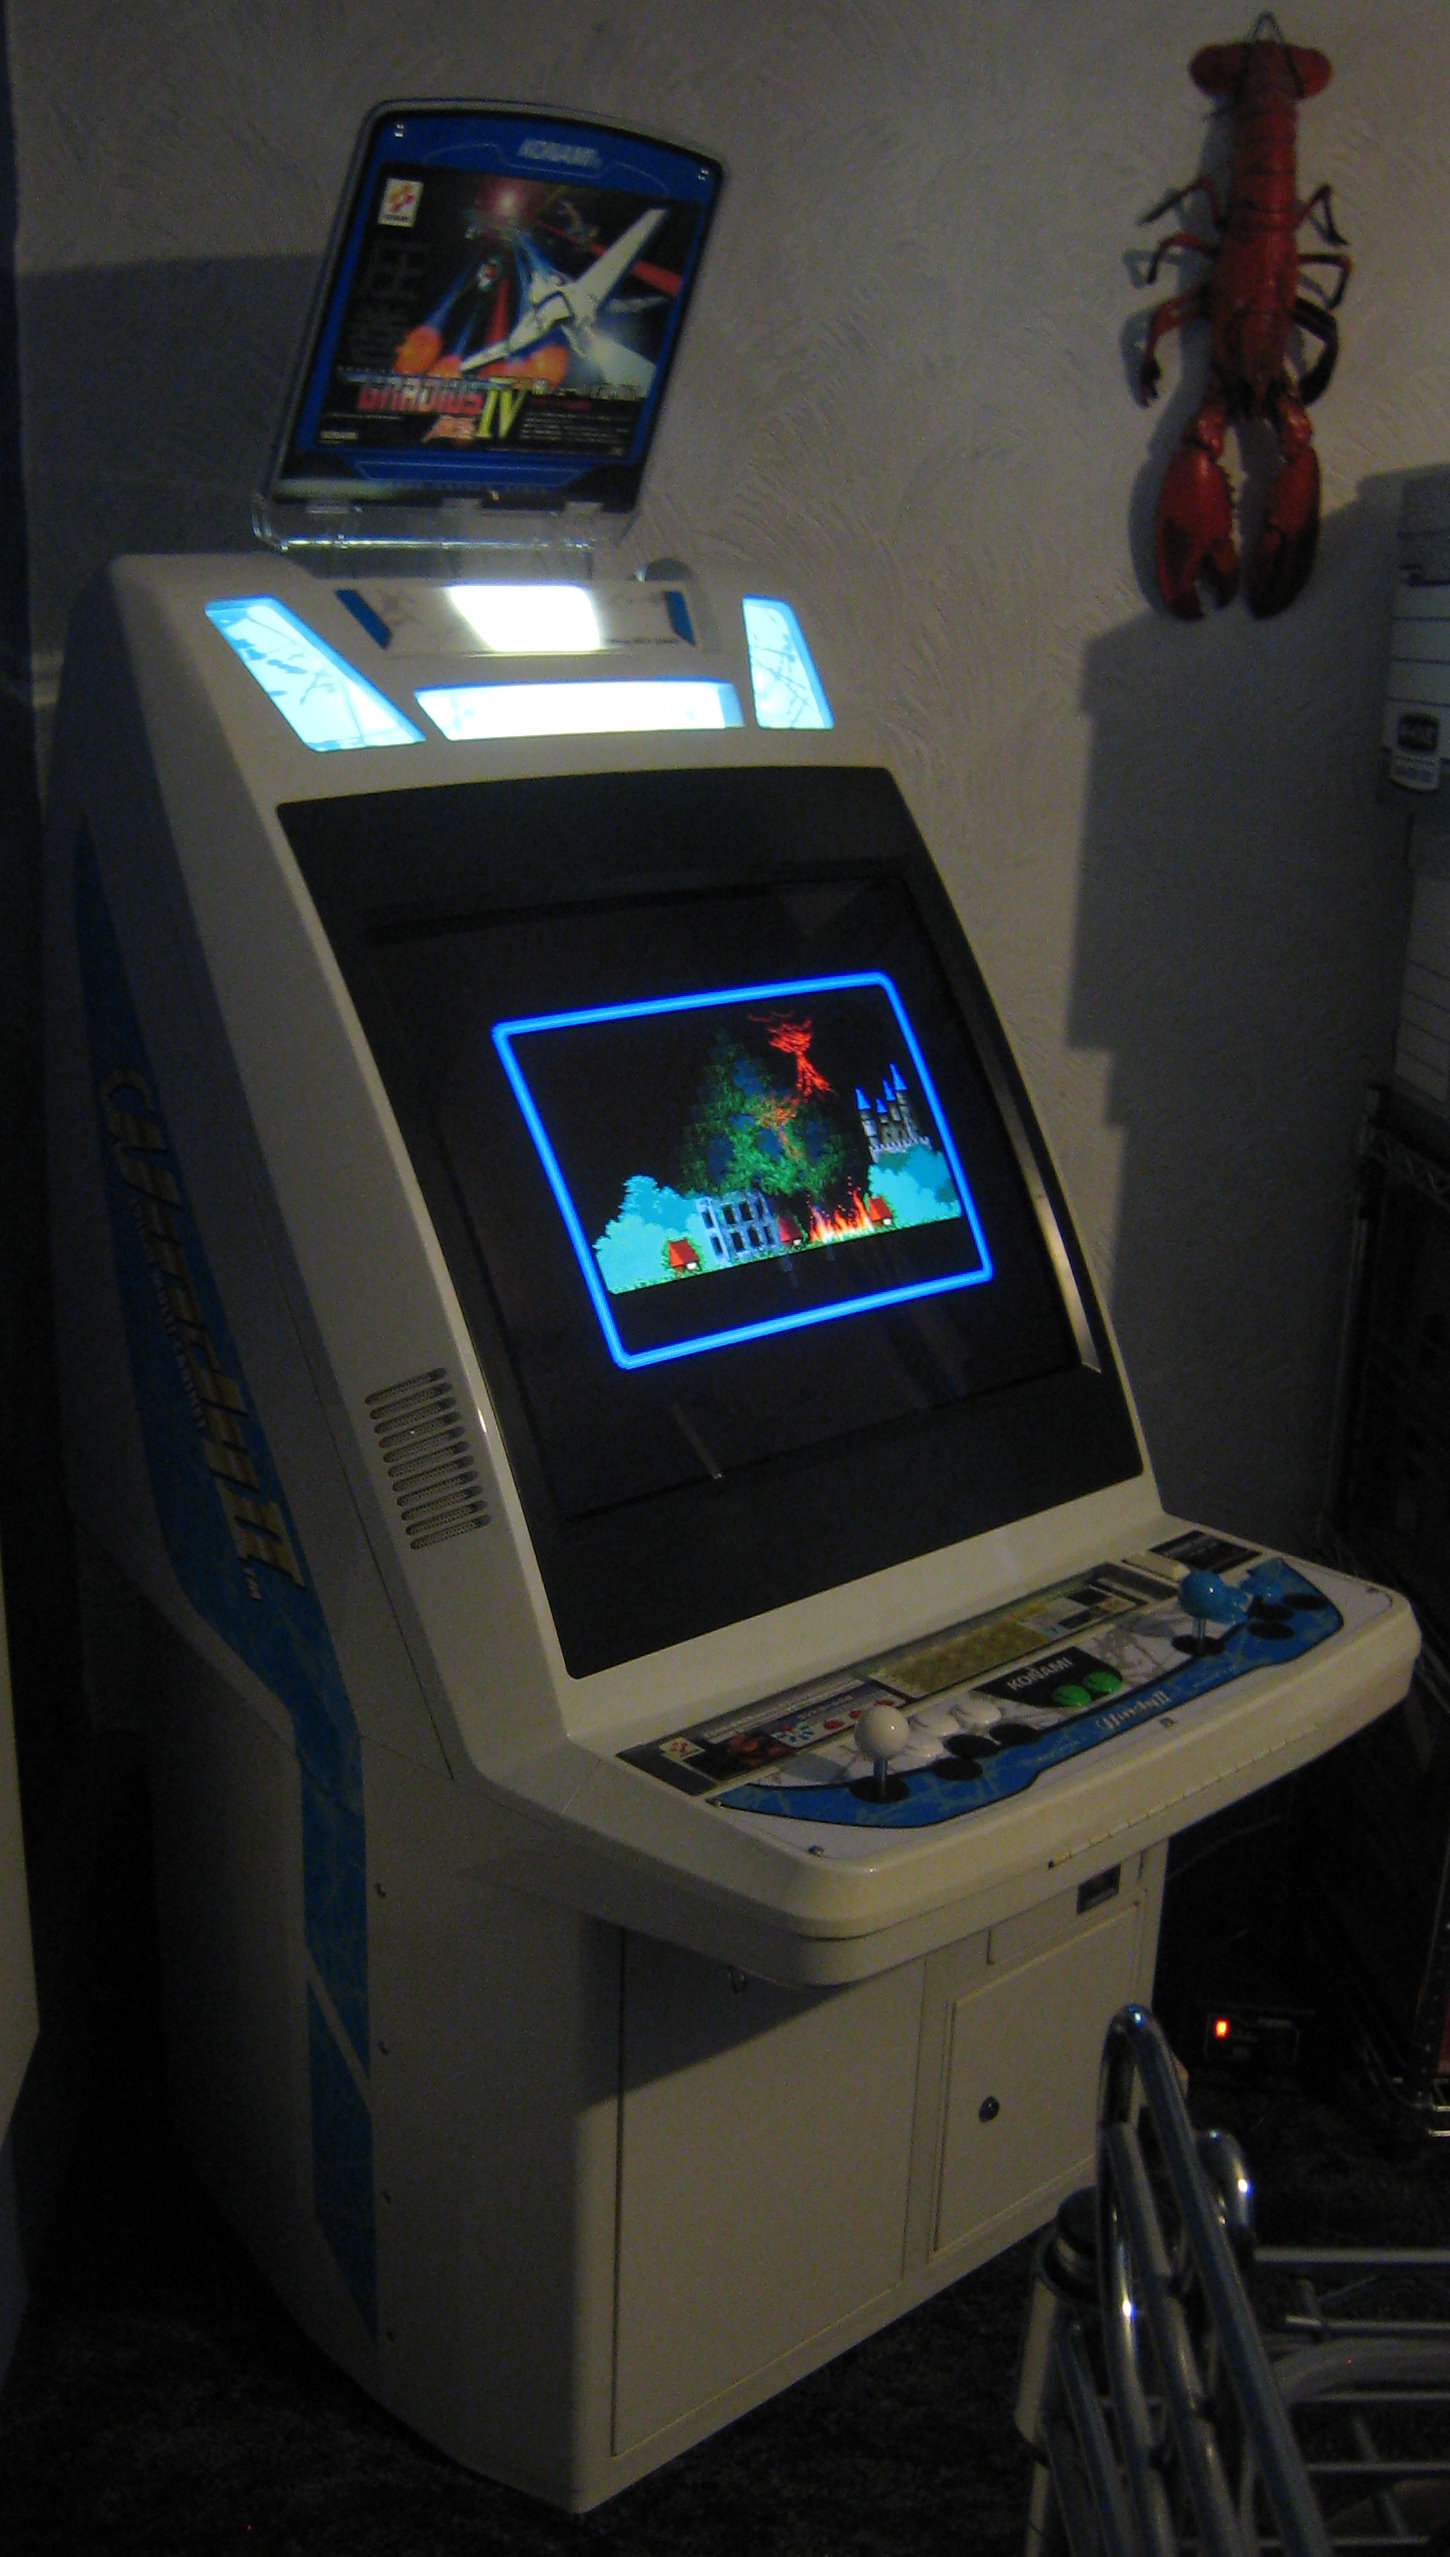
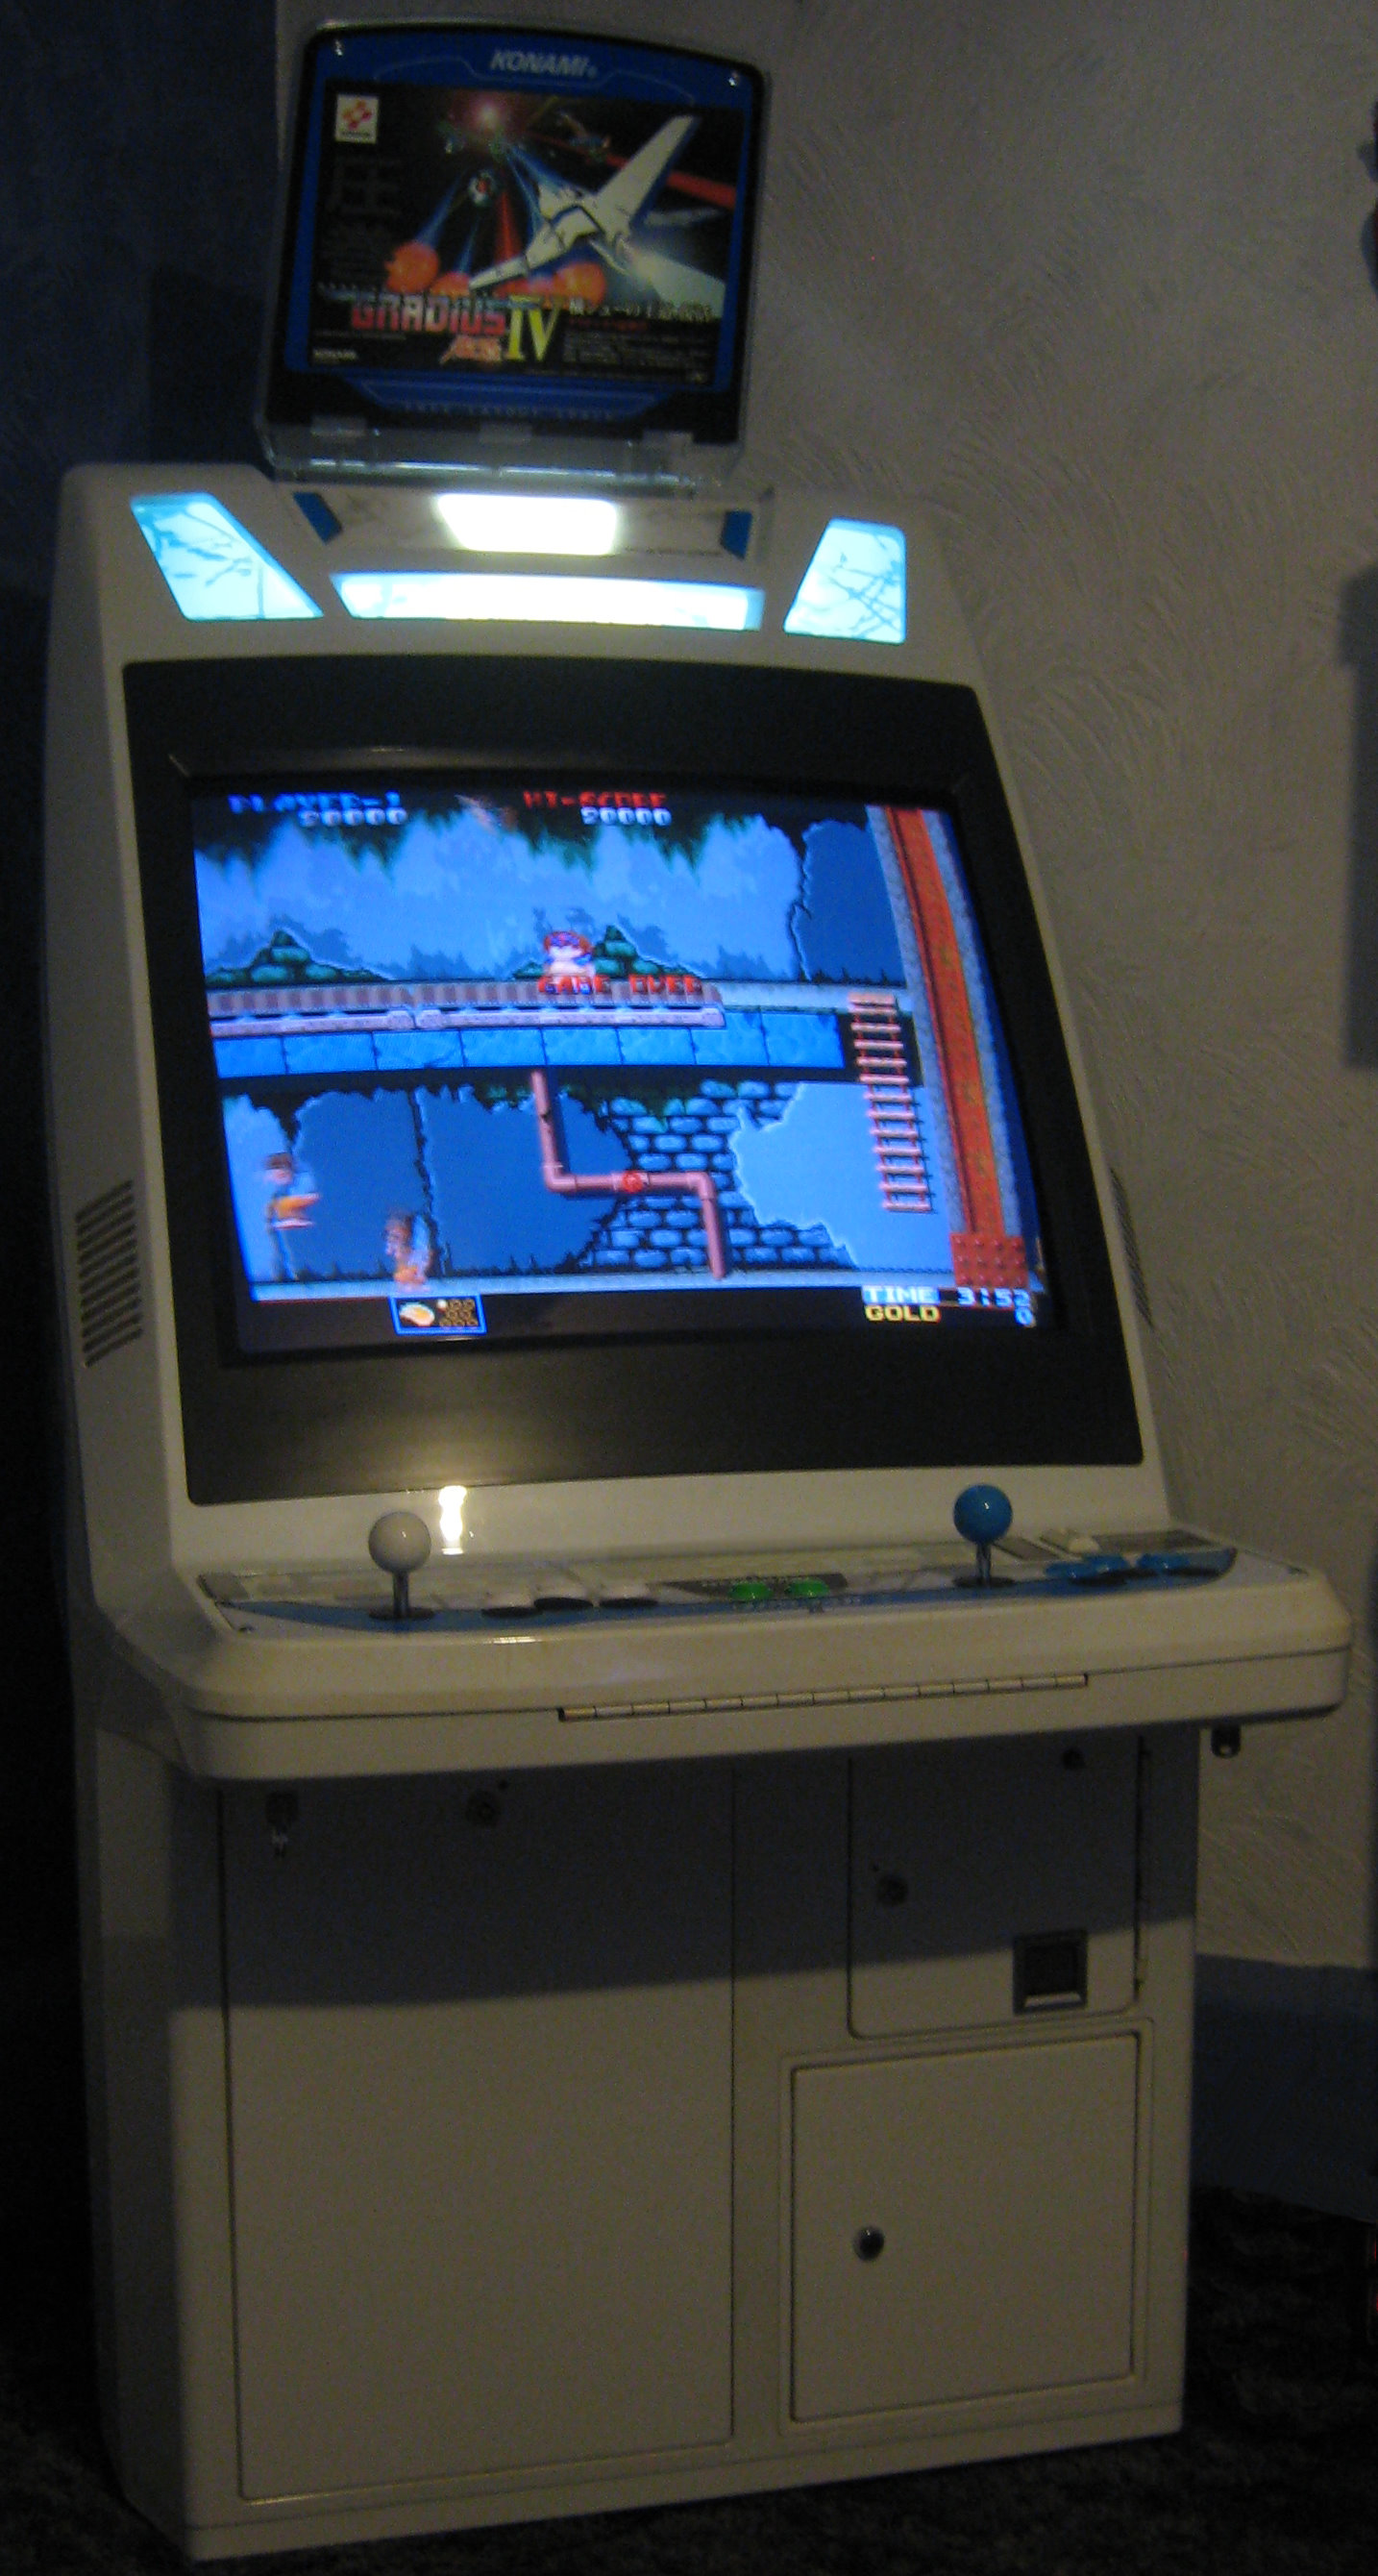
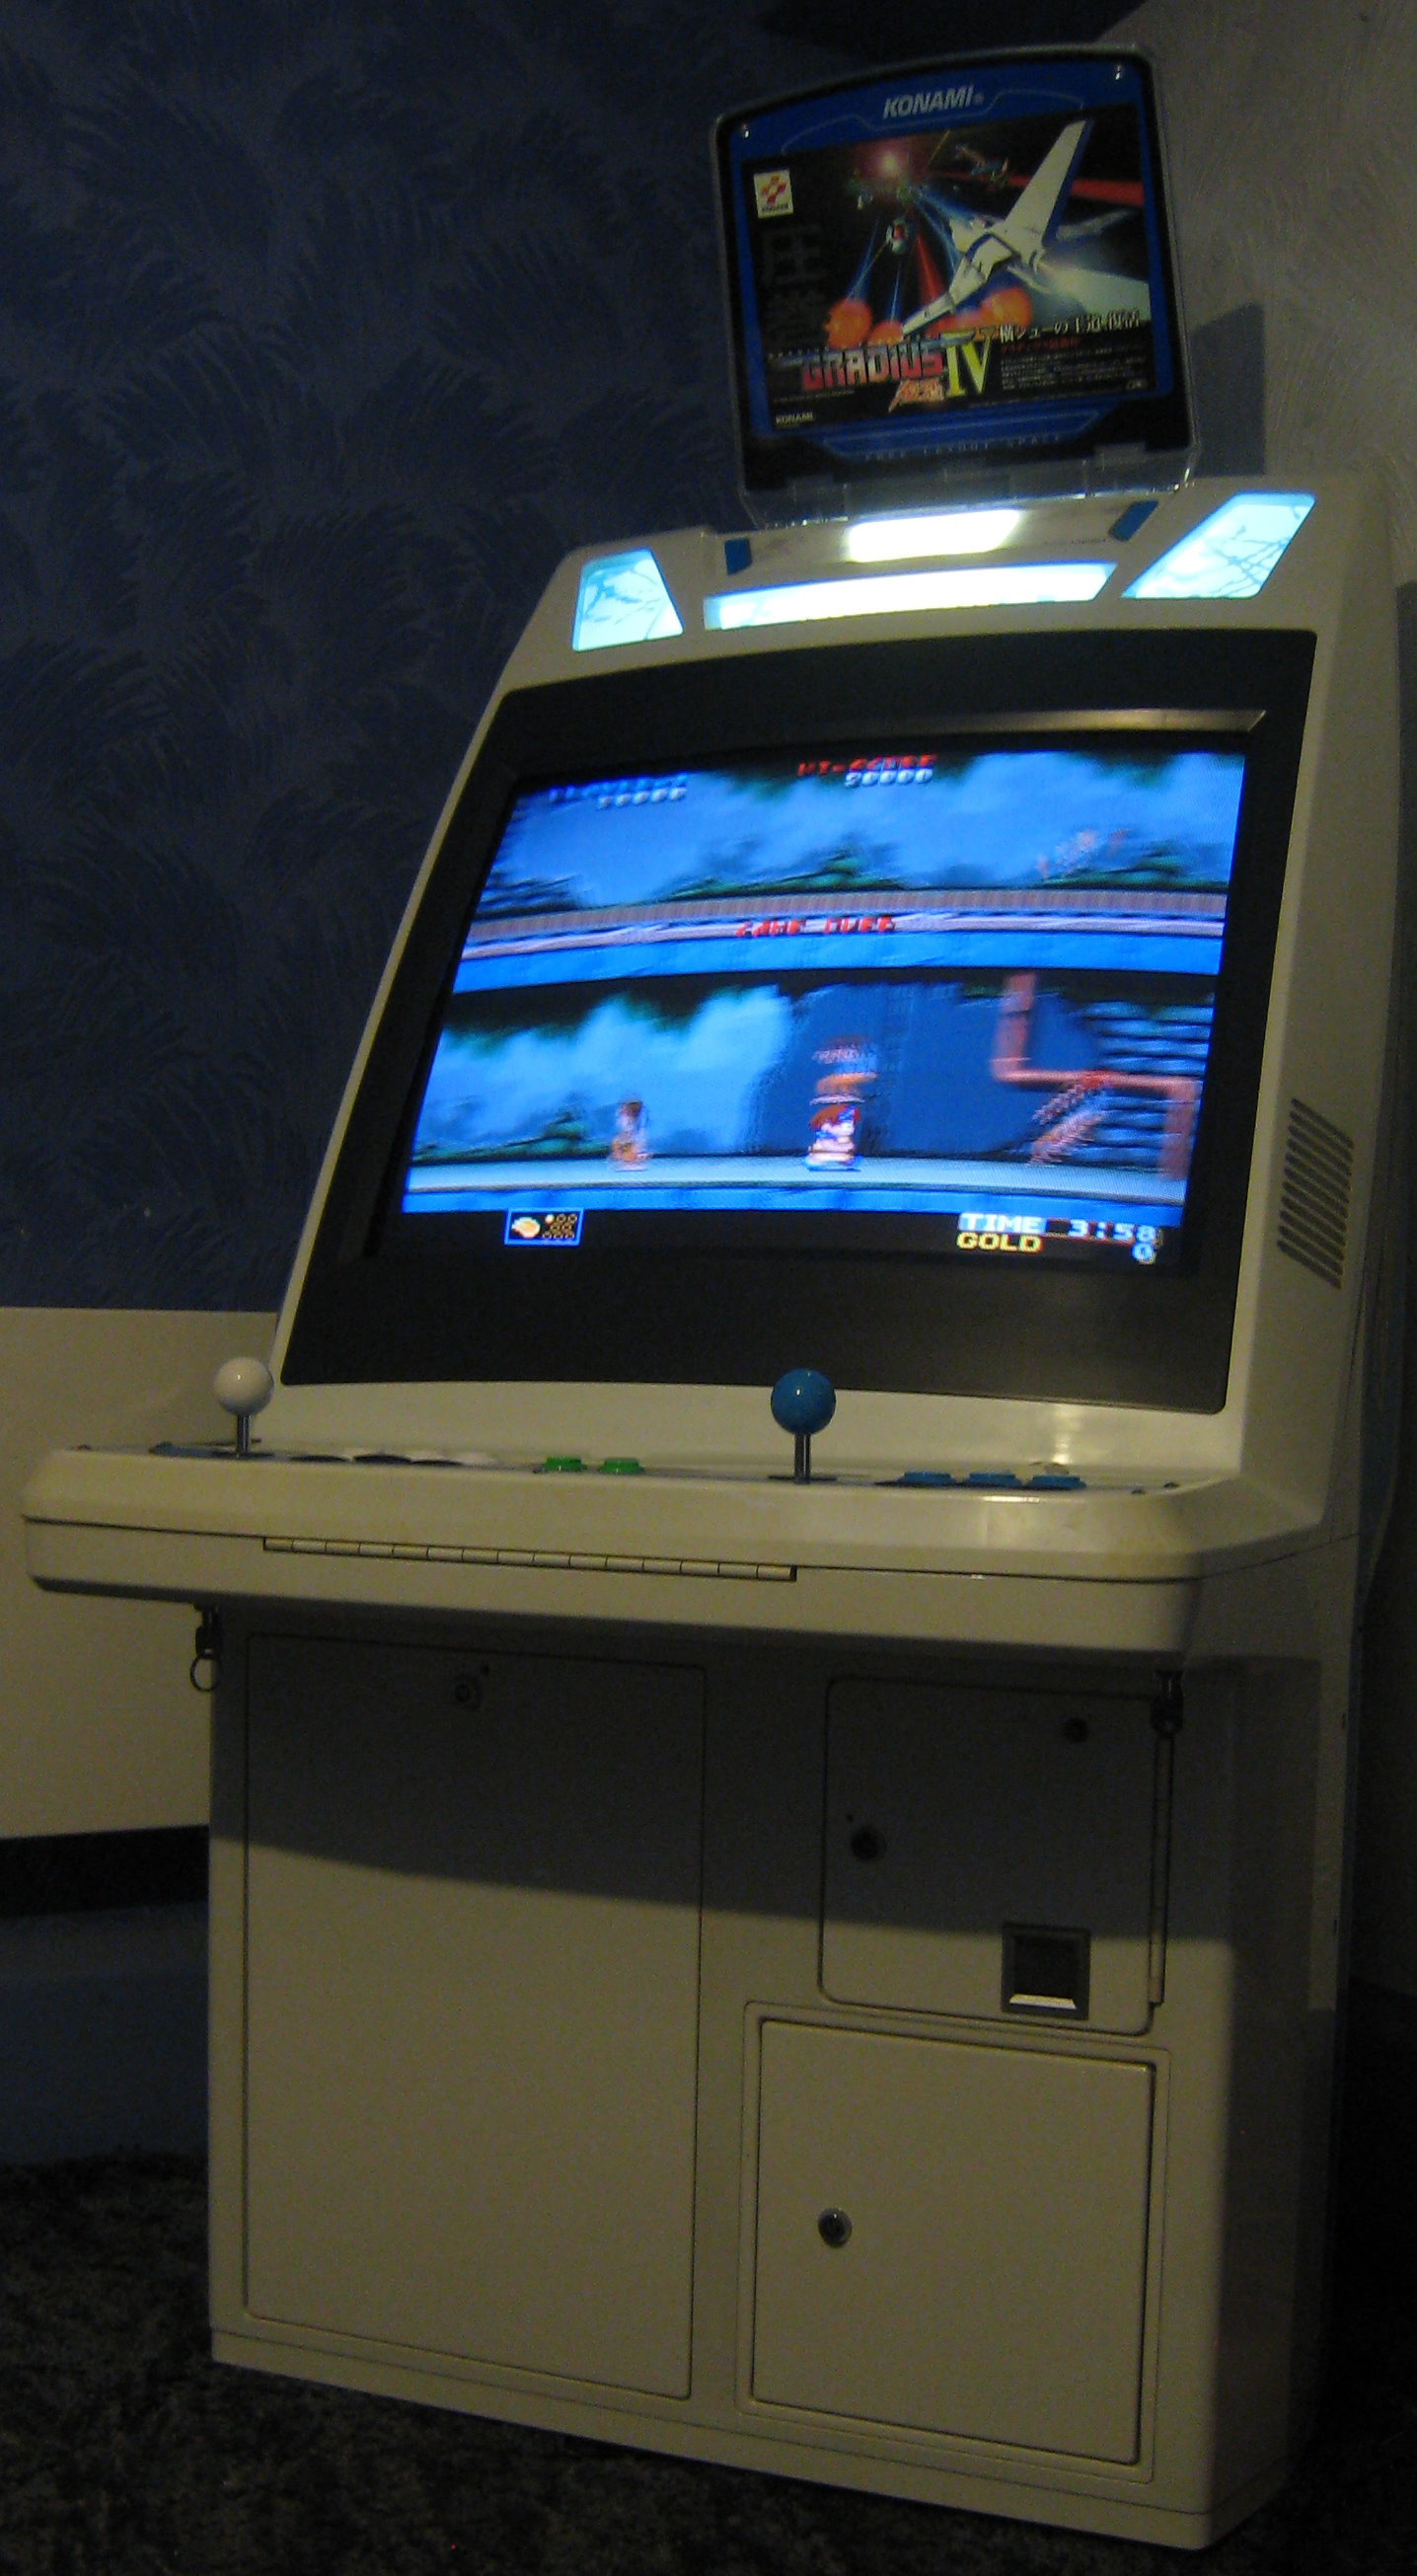
Taito Corporation - Wardner no Mori - 1987 株式会社タイトー - ワードナの森
Classic platform action from Taito, this is one of the games I could actually complete back in the day.
[T O P]