
|
|
|
|
|
|
|
Hori GSRcade
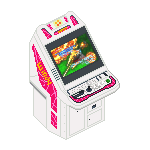
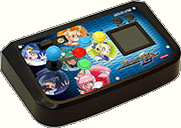
Otomedius Hyper Stick Pro Otomedius Gorgeous Ver
I bought the Otomedius Hyper Stick Pro Otomedius Gorgeous Ver joystick and have been using it for many other games but because it only has four buttons some games cannot be played.
HORI Real Arcade Pro.EX
I've bought the excellent HORI Real Arcade Pro.EX, while it's construction and the Sanwa Joystick (Part# JLF-TM-8T-SK-K) are excellent, the Sanwa Hori Original Arcade Spec buttons suck, I also don't like the Hori (Horrible) button layout and the smudge magnet black finish, why is it everything has to be a gloss finished nowadays.
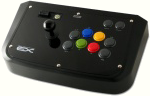
Nice review of the stick with lots of internal shots (Japanese Link)
http://game.watch.impress.co.jp/docs/20080710/ggl.htm - Translated to English
So I'm going to make a new top panel with my previously used MOTH button layout instead.
Wiring Colours
| Windows Button | Xbox 360 Button | Xbox 360 Button | GSRcade Button | Wire Colour |
|---|---|---|---|---|
| 01 | A | Green | Green | Green |
| 02 | B | Red | Red | Red |
| 03 | X | Blue | Blue | Blue |
| 04 | Y | Yellow | Orange | Yellow |
| 05 | LB | White | White | Brown |
| 06 | RB | White | White | Gray |
| 07 | Back | White | 2 Player | Black |
| 08 | Start | White | 1 Player | White |
| 09 | LT | White | Black | Violet |
| 10 | RT | White | Black | Orange |
Joystick Connections
| Joystick Direction | Ribbon Cable Pin Number |
|---|---|
| Up | 1 |
| Up | 2 |
| Down | 5 |
| Down | 6 |
| Left | 3 |
| Left | 4 |
| Right | 7 |
| Right | 8 |
Player Buttons
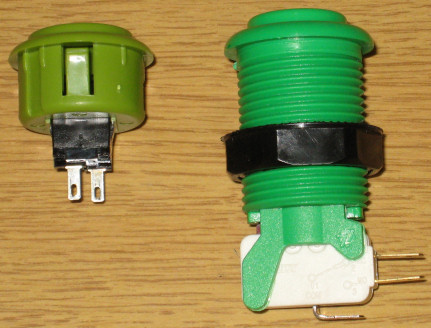
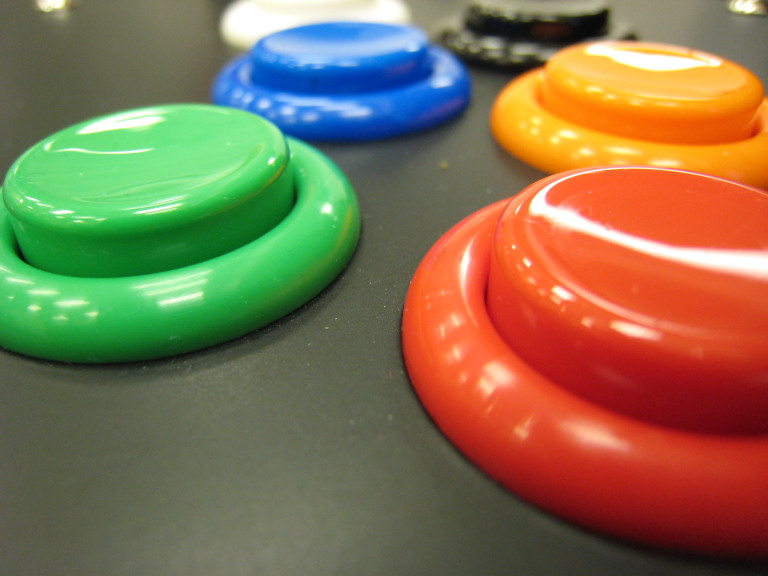
The standard Sanwa Buttons (Part# OBSF-30) Hori Original Arcade Spec are way too squishy and don't have a positive click I'm used to in an arcade button.
So I've decided to change them to standard HAPP arcade style buttons, they are bigger and more chunky but also have a nice click to them.
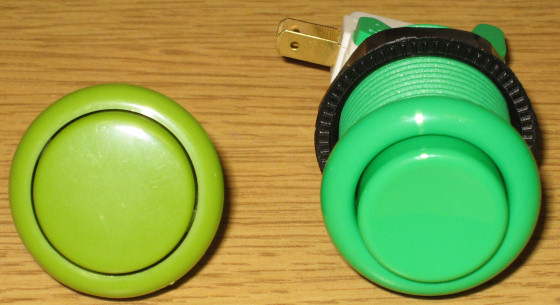
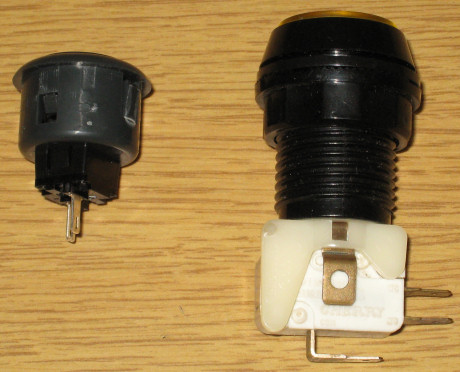
Hori button on the left
Start and Select Buttons
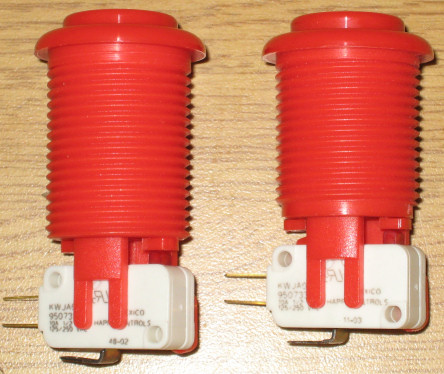
Same as above but these are smaller 25mm buttons, I had some old 1 and 2 player buttons hanging around so chose to use them, they will not be back lit even thought the buttons support that feature.

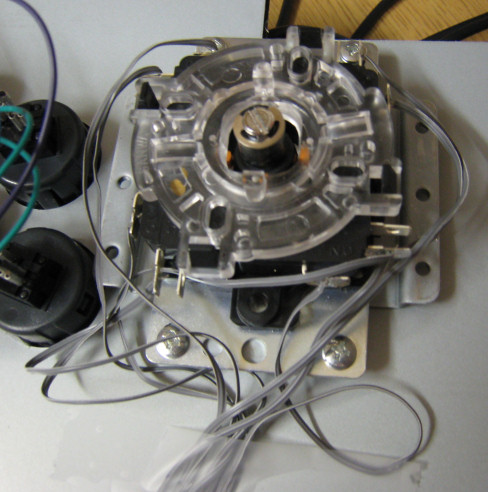
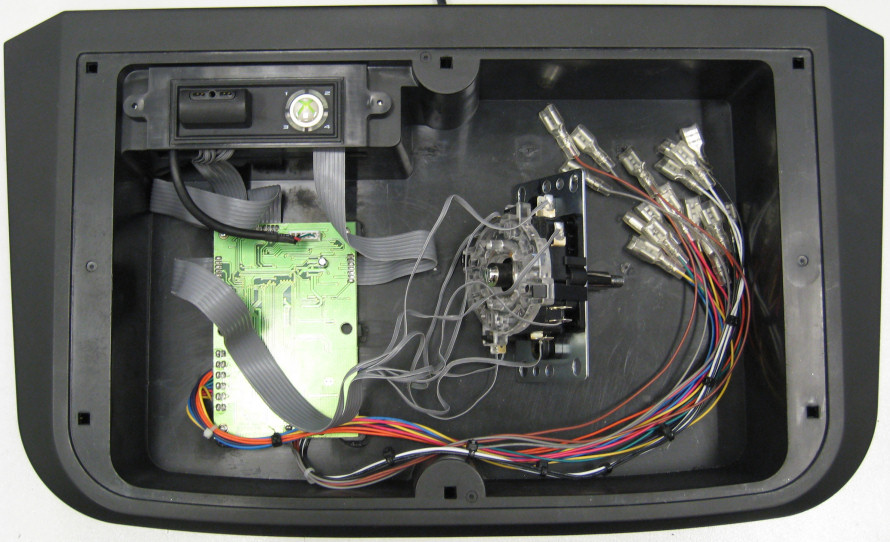
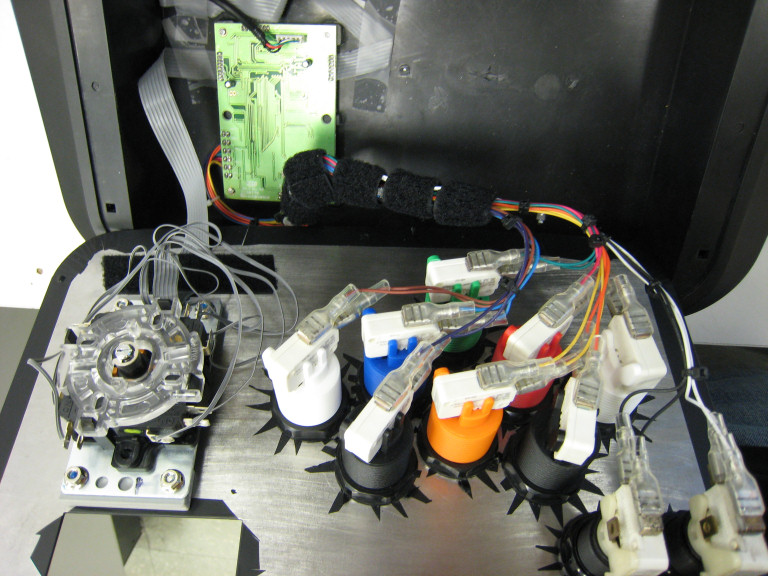
Main Control PCB
The first problem I came across is that HAPP changed the HAPP buttons I normally use on my arcade projects.
They are now longer which is good if you have the clearance like a wooden panel but with the sheet metal the longer ones touch the PCB in the Hori enclosure.
As you can see from the image below, they used to make shorter buttons which would have missed the PCB but I only have two red buttons of that length.
So I have to use the slightly longer type and move the PCB.
I'll be cleaning up the cable mess with lots of cable ties.
The smaller type spade connector also had to go and be replaced with the larger type, as you can see I have started organizing the cables with cable ties.

The Main Control PCB mounts on the six plastic lugs you can see in the image below.
It's going to be move underneath the joystick as there is plenty of room.
The PCB will be mounted where the white piece of paper is, I've glued six new mounting points made out of six small 5mm thick pieces of plastic.

Underside of the Sanwa Joystick (Part# JLF-TM-8T-SK-K)
Control Surface - Version 1
As I didn't like the button layout (or the buttons), I decided to use my MOTH button layout from my other joystick projects with a few dimensional tweaks.
Thanks to Mred for lots of help and Boris for the welding.
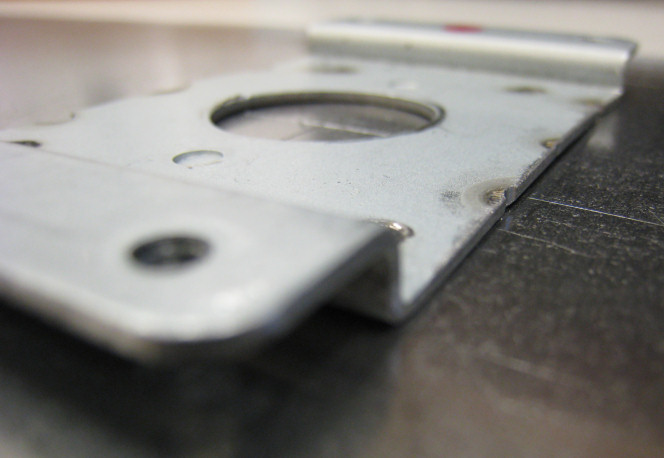
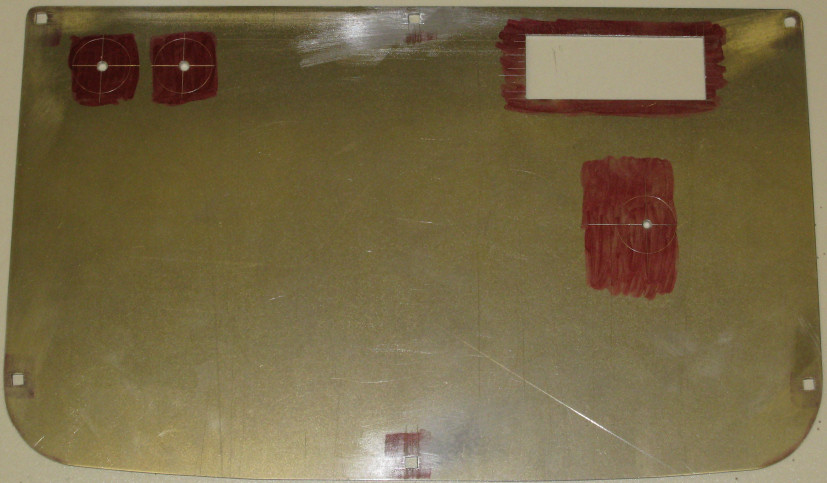
The original control surface had a bracket spot welded on so that the joystick has no visible fasteners, rather than make one of these I drilled out the spot welds on the Hori control surface and removed the bracket.

The bracket can have the joystick bolted horizontal or vertical, as its only connected vertically, the two side brackets where cut off to make it easier to weld.
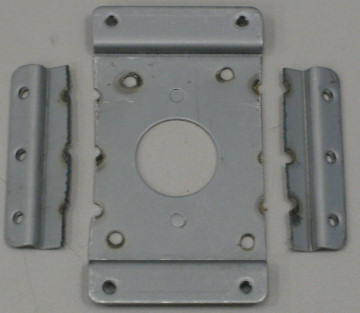

The underside was then cleaned and made flat for the next step.

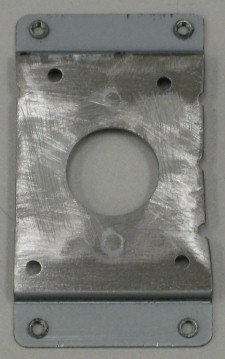
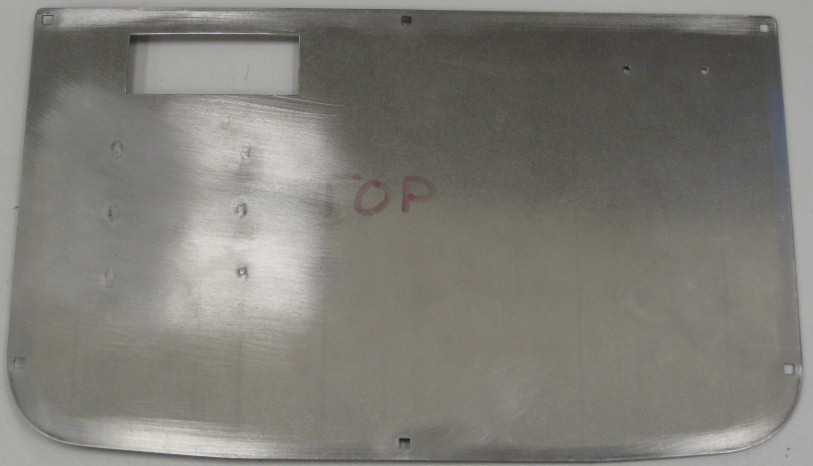
New blank control surface, 1.5mm Sheet Steel cut and formed to the same dimensions as the original Hori by Mred.

Underside view of where the joystick bracket will go.


I didn't want any marks showing on the top surface so spot welding was out of the question, MIG welding was chosen but in the end it still had marks on the top surface anyway, plus the heat of even just a few tack welds distorted the main surface by a noticeable margin.
It will still pull down when bolted to the main chassis but because of this small doubt this version is scrapped.
I've started Version 2, trying a different approach of how to connect the joystick to the control surface.
Version 1 has been cancelled, I was just not entirely happy with the distortion on the control surface.
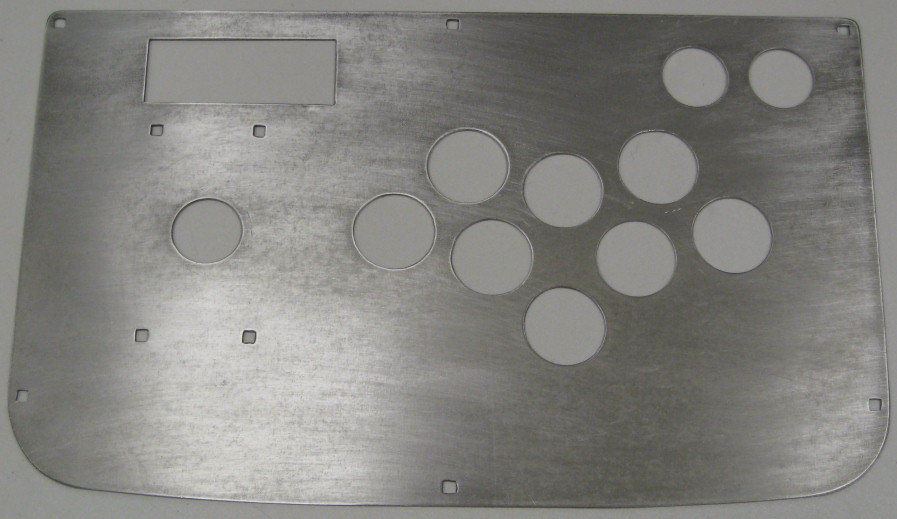
Control Surface - Version 2
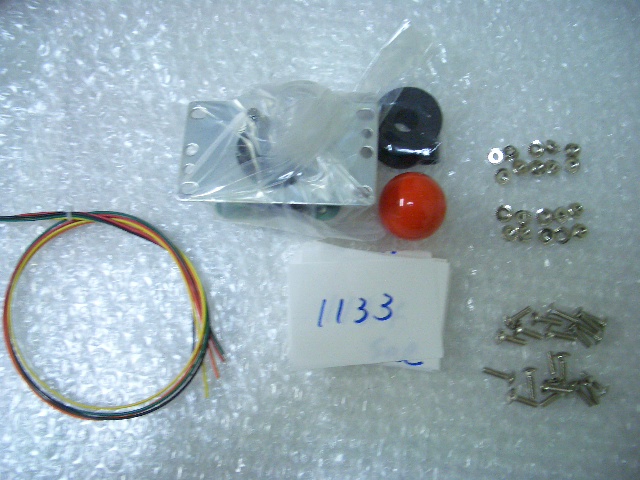
The parts I've ordered from Japan have now been sent, including small M4 Coach Bolts for the Joystick mount and a second joystick with my favourite Vermilion coloured ball.
As the version 1 top surface has some deformation with the welding I decided to make version 2 the non welded version which will use coach bolts to hold the joystick.
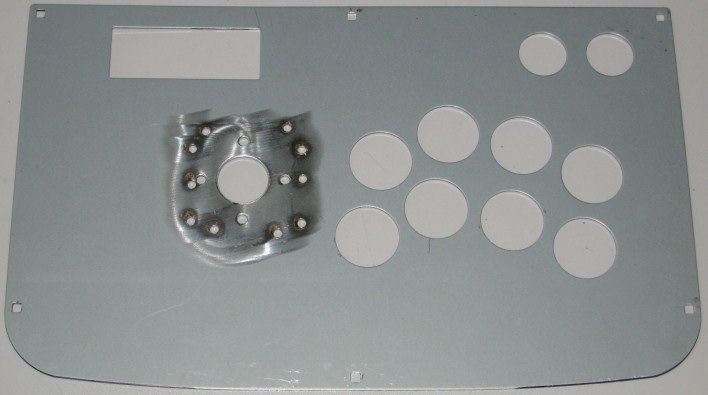
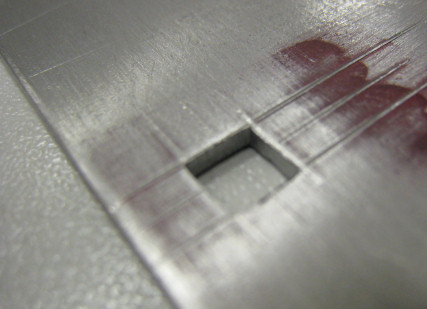
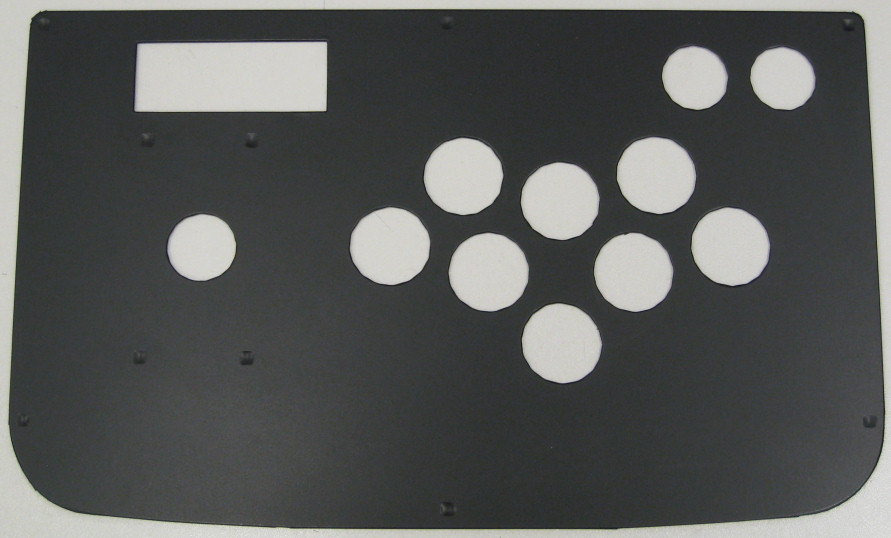
The panel has six square fixing holes drilled and four for the joystick, they are 4.4mm square holes that were drilled at 4.2mm and then using a needle file to make them square (which took quite some time).
The rectangle hole for the headphones and Xbox button was gun drilled with a 5mm drill every 5mm and then cut out with a junior hack saw blade then filed square and flat.
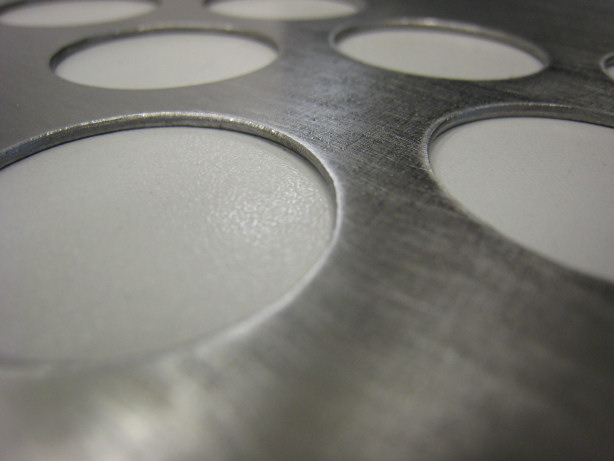
The limited availability of Hole Saws (Tank Cutters) in the sizes I needed meant I had to drill the three 24mm holes 25mm and the eight 30mm holes 29mm, the buttons still fit as they have quite a large flange on them.
Circuit board repositioning

Fablon
It's a sticky back plastic you can buy in many shops, it can be used for covering anything that's smooth like shelves and furniture.
I went for a Matt Black Fablon for the Joystick covering and I'm very impressed with the finish that's been achieved, in fact I think it looks better with the matt effect compared to the original finger print magnet gloss.
It's only 0.1mm thick which makes it quite easy to cut and form around corners.
You have to make the surface debris & grease free, plus make sure when you put the Fablon on, be very careful not to stretch it.

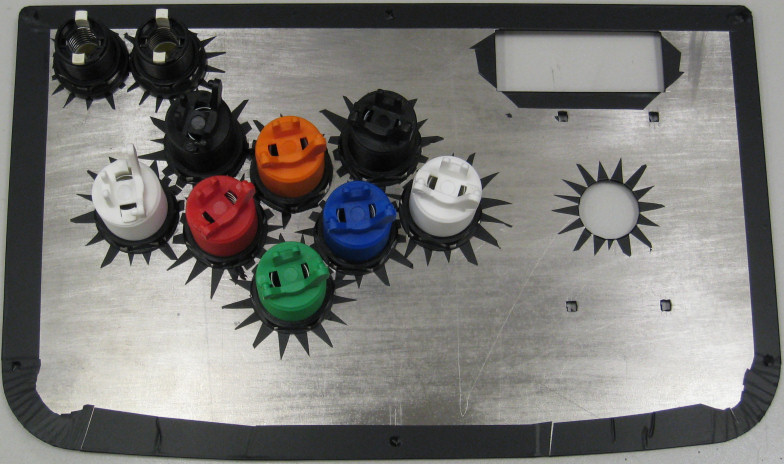
I cut through the holes with a scalpel and folded the Fablon back for all the holes.

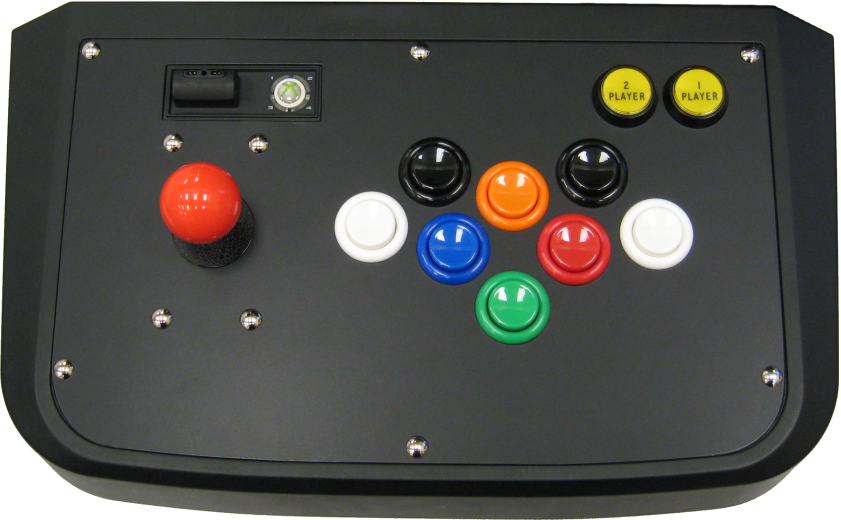
Buttons Fitted
I did not have any yellow buttons free so I fitted an orange one instead, but when you look at the Xbox 360 buttons it looks more orange than yellow anyway.
The fixing holes were just poked thought with a scalpel in an X pattern, then folded back to the square holes.
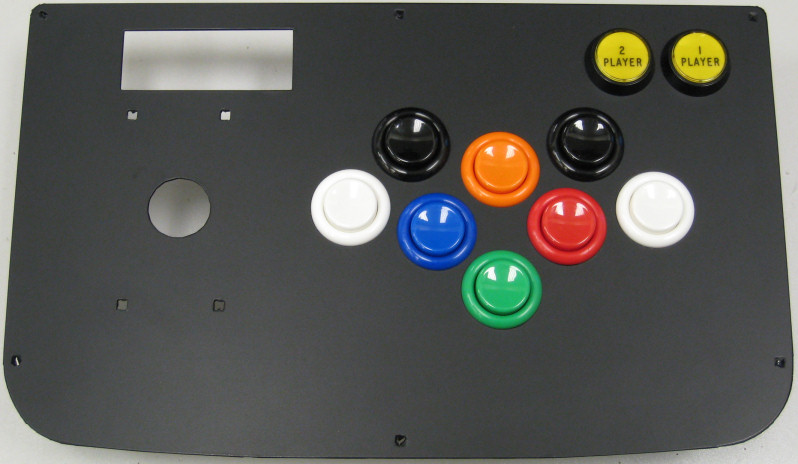
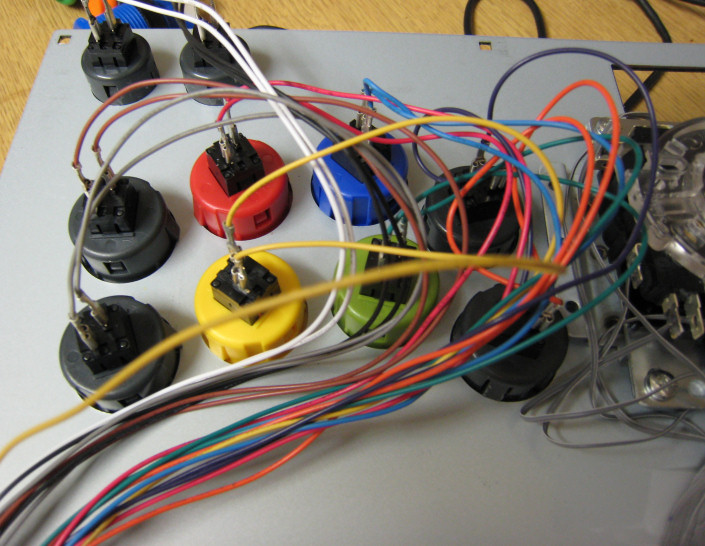
I temporally fitted the loom to work out the button orientation before bolted the buttons in this position, I like the loom to just flow nicely across the joystick.
Wiring connected
I've done a much better job at making the loom neat and tidy
I taped the ribbon cables down with Scotch Magic Tape and wrapped the loom with the smooth side of Velcro so the loom does not make any noise when the joystick is shaken.
Also used smooth half of Velcro to tape the fragile joystick loom to the lid.
You can just see the two gray plastic spacers use to make the joystick the correct height, I also use Thread Lock (Loctite) 234 on the joystick nuts so they don't rattle loss when playing games (Nilock nuts would have been better but I used what I had available).
Finished
Some up close finished shots
Job Done
After all the hard work, I think it came out pretty well.
The thing I'm most impressed with is the Fablon, much quicker than painting and it's a tough plastic wipe clean surface.
This USB Joystick works on the Xbox 360 but also works fine on a standard Windows PC.
I will add that this stick was not made for Beat'em-ups like Street Fighter even though you can get away with it using six buttons (not the white and black buttons on the left). For example:- Green-Red-White for the three levels of Kick and Blue-Orange-Black for the three levels of Punch work quite well.
The layout was chosen for Shoot'em-up like Gradius, Otomedius etc... If you can do better then go right ahead and stop complaining.
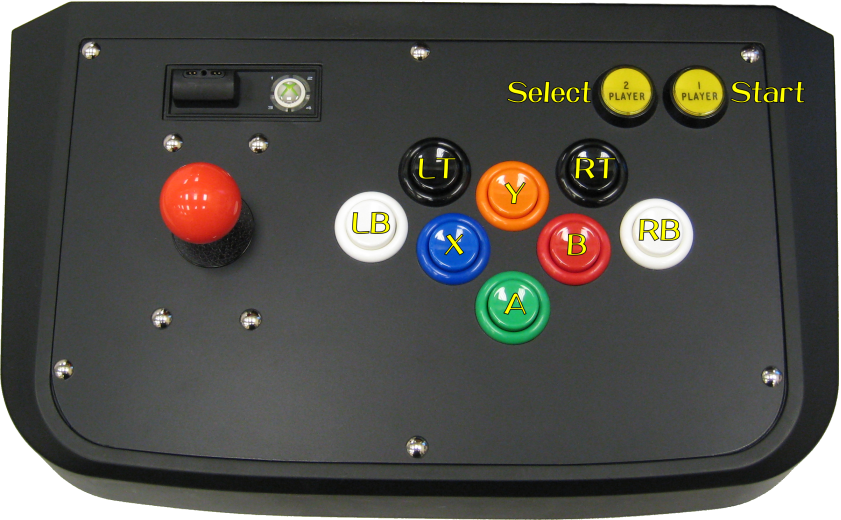
The completed MOTH button layout was originally based on the PlayStation joypad but was adapted for the Xbox 360 button layout with the shoulder buttons on ether side of the main four buttons.
This has worked out to be a great, large enough to use on the table or on your lap.
[T O P]