Bike Modifications - Repairs.
![]()
 Number Plate Modification. |
 Sub Cowling (Belly Pan). |
 Evotech Crash Bobbins. |
 Mole Repair Replacement |
 Powerbronze Windscreen |
 Front Wheel Touch up. |
 Charger Connections. |
 Throttle Cable Anti-Chafe Sleeve. |
 Dual Headlight Modification. |
 No Feature Yet. |
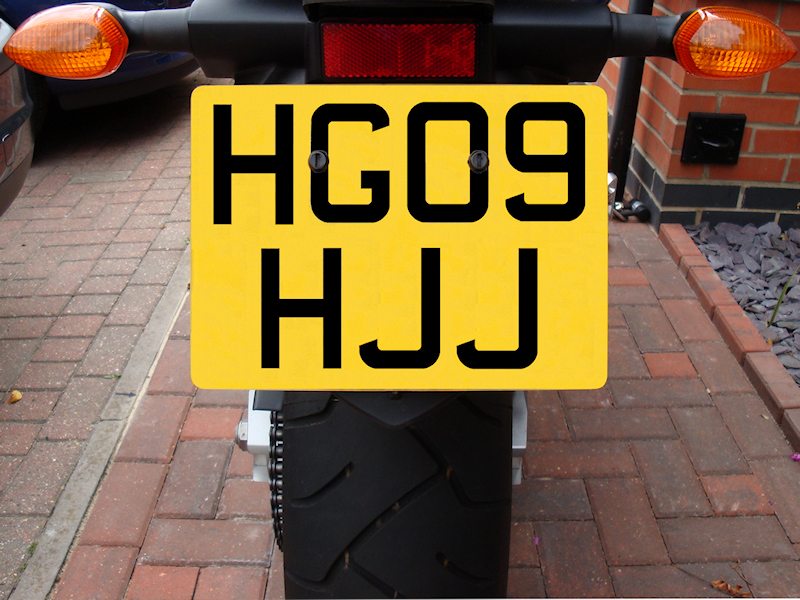
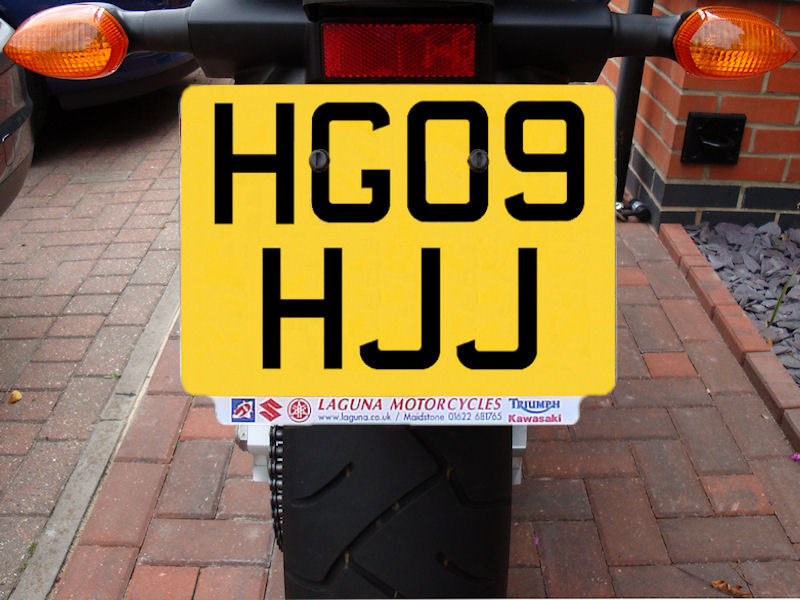
Number Plate
|
There is a legal size requirement with regards to number plates which is basically controlled by the font, (Charles Wright) it's size and the line spacing. There are also various categories of number plate covering all ranges of vehicle but the main two are for cars and motorcycles. The law states that the number plate should be displayed on the rear of the vehicle, it should be easy to read and conform to the UK standard. The lettering should be black on a yellow background. The background should be reflex-reflecting while the lettering should be solid black. The lettering size for the character should be 64mm tall, 44mm wide. Motorcycle Plate Sizes:
|
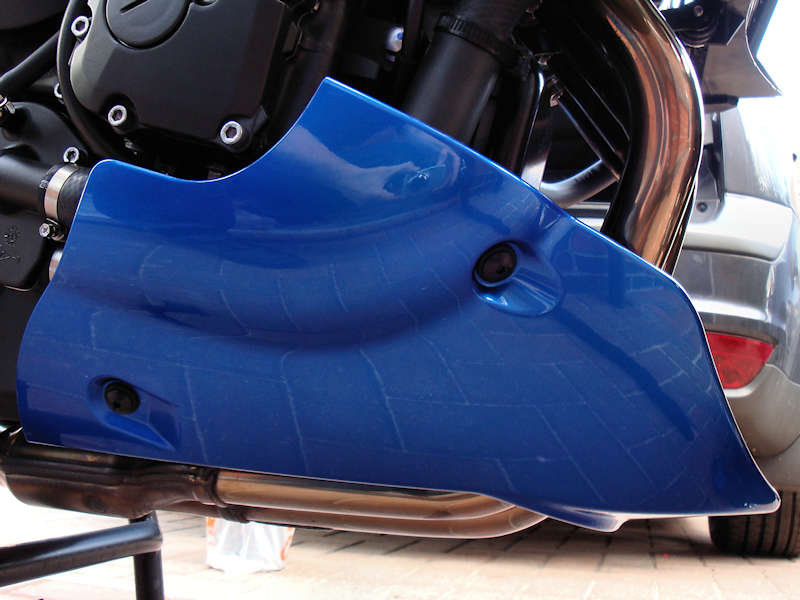
Sub Cowling
|
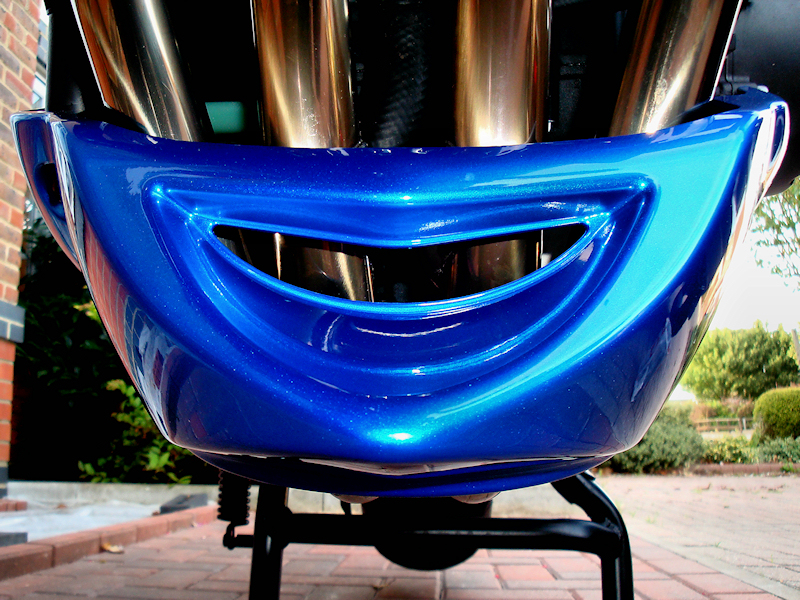
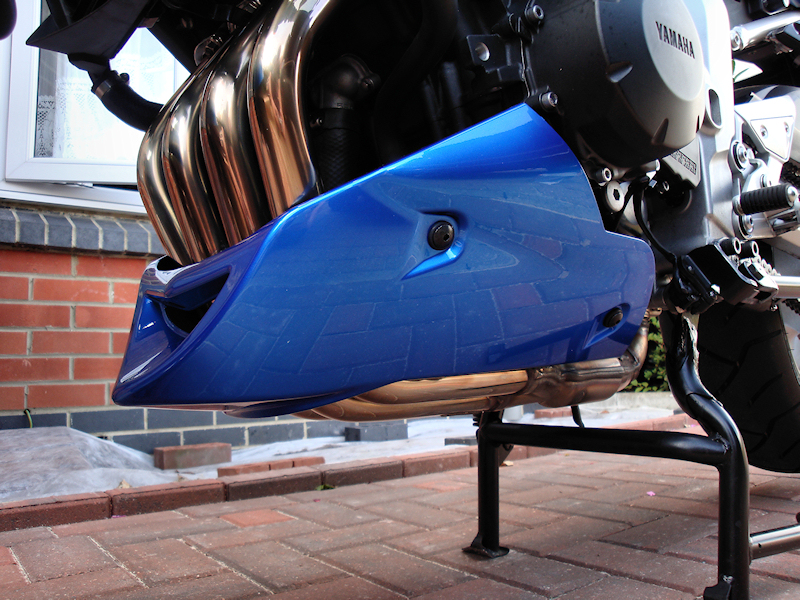
One of the optional extras that I really liked the look of was the Sub Cowling or Belly Pan as it is also referred to on occasion. I liked the idea of breaking up all the silver on the bike, (I still prefer the black frames) and as I like this Power Blue colour anyway I thought it would look pretty good. Not getting much change from £200 I thought it a bit pricey but like I say I liked it so what the hell. Use this link for an excellent more detailed explanation of how to fit this optional extra. Other Views:
|
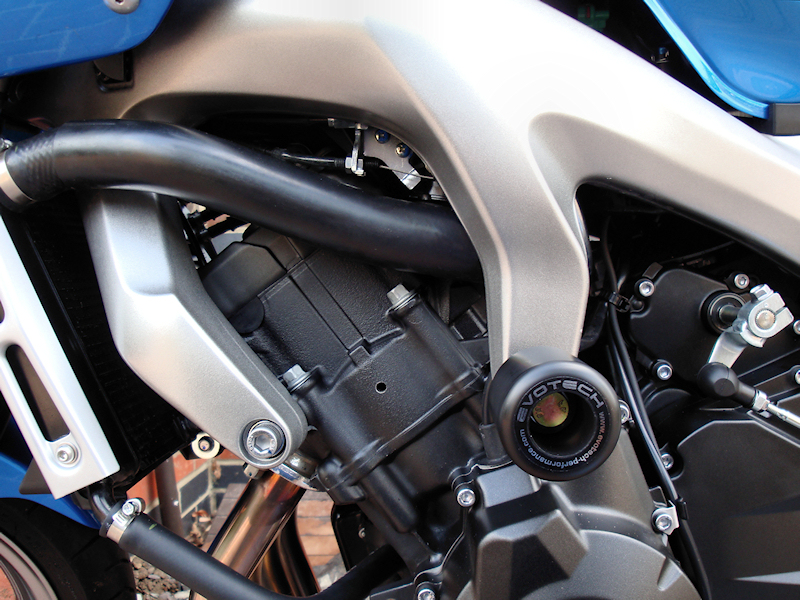
Evotech Crash Bobbins
|
The Evotech Crash Bobbins are designed to help to protect the components of the bike that could get damaged in the event of an accident. Not designed to eliminate damage from a high speed accident it could still help to save certain parts of the bike from major damage thus making any repairs cheaper. Should the bike topple over for any reason the crash bobbins should be very effective at preventing damage to any "sticky outy" bits. The "Bobbins" are available for fitting to various parts of the frame and there are numerous designs that also fit to the wheel spindle ends by means of a bolt passing through the hollow wheel spindles. In The Kit:
Use this link for a more detailed explanation of how to fit the Evotech Crash Bobbins. |


Mole
Repair /
|

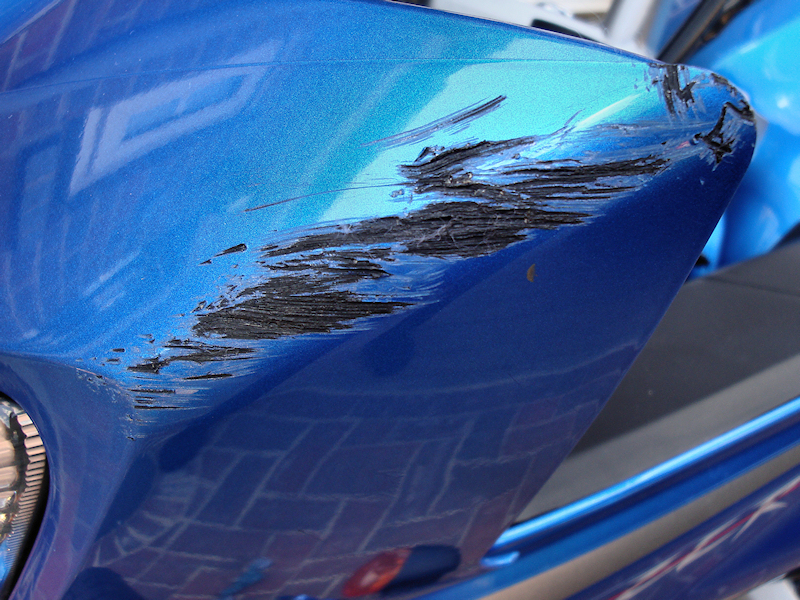
. |
|
Having damaged one of the Mole covers on the front fairing I found a place that did supposed paint colour matching. The company would put the paint into an aerosol can for you so I decided to give them a go to see if I could repair the damaged Mole myself.
After filling sanding and spraying with filler primer I finally managed to get the damaged Mole looking pretty good. I even replaced one of the securing tabs that had snapped off making a new one out of an old CD case and gluing it on, (the plastic was the same thickness).
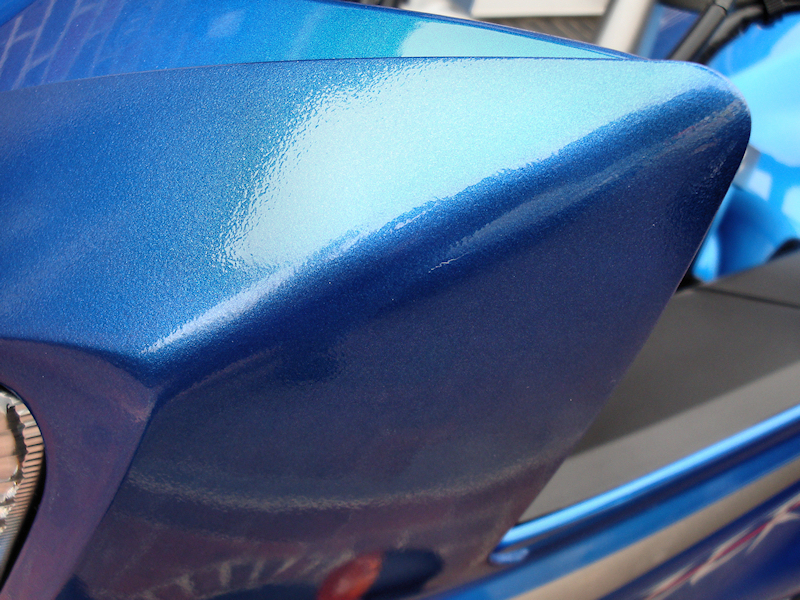
It wasn't until I put the Mole back on the bike that the colour difference became blatantly obvious. I have since found out that these "Mole" units can be bought separately from Yamaha dealers after all, (not in pairs as I was originally informed) so that is the course of action I ended up taking, (£55 for a single side), I should have done this in the first place as the paint & lacquer cost £35 plus the amount of time preparing the Mole was also wasted. At least I know better next time!
Fitting the new Mole is the reverse procedure for removing it not forgetting the protective rubber strip that protects the light lens.
Quick Guide To Repair Stages:
| 1. Remove the damaged Mole from the bike. | 6. Sand down to leave a smooth surface. |
| 2. Clean damaged area of the Mole, allow to dry. | 7. Re spray with more primer if build up is required. |
| 3. Fill damaged area with plastic padding or similar filler. | 8. Spray with coloured paint in even strokes. |
| 4. Sand back filler to form Mole original shape. | 9. Apply coat of lacquer to attain final finish. |
| 5. Prime with filler primer and allow to dry. | 10. Re-fit Mole to bike when the lacquer is dry. |
Power Bronze
|
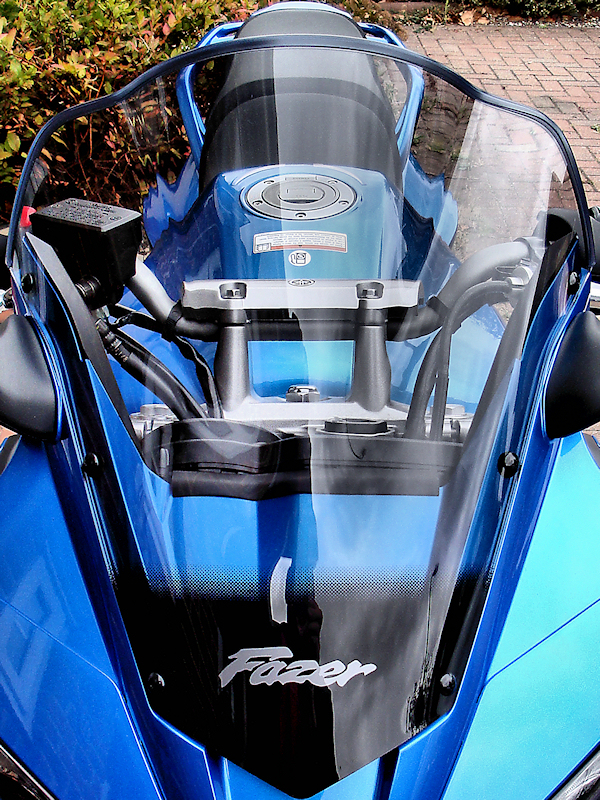
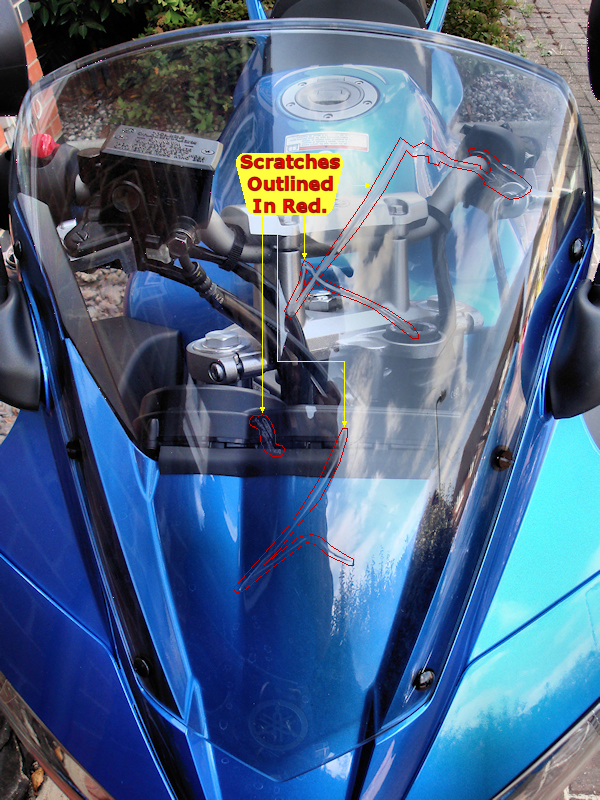
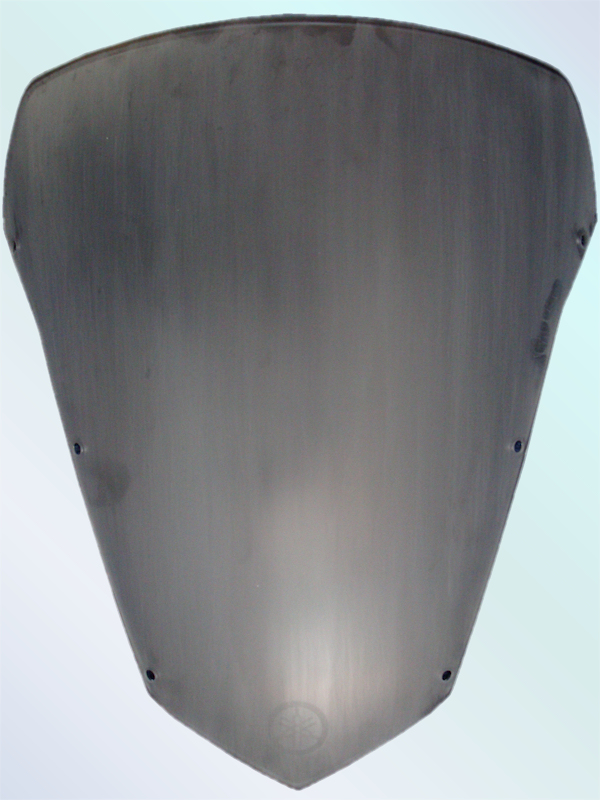
Having damaged the original Yamaha windshield with my little off road excursion this is by way of repair rather than a modification although I was contemplating changing the windshield for one with a different airflow profile anyway so damaging the original forced my hand a little bit. Other Pictures:
|
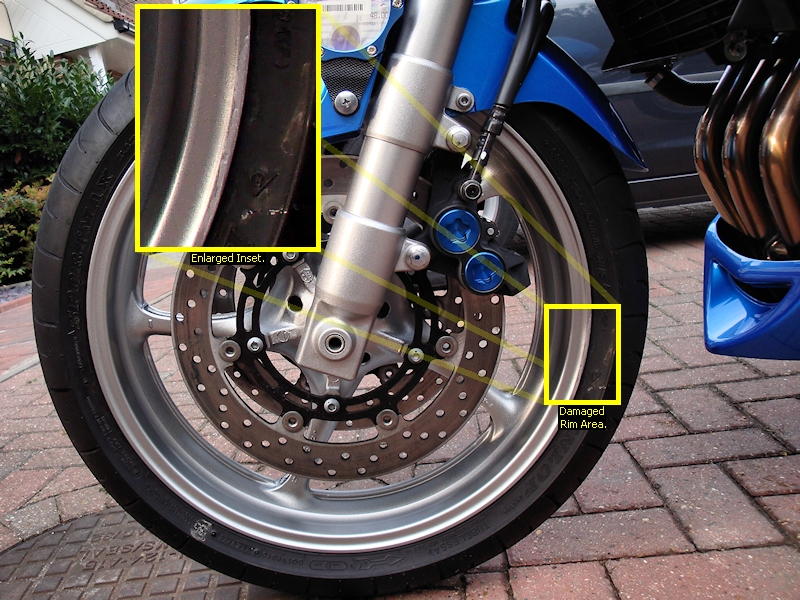
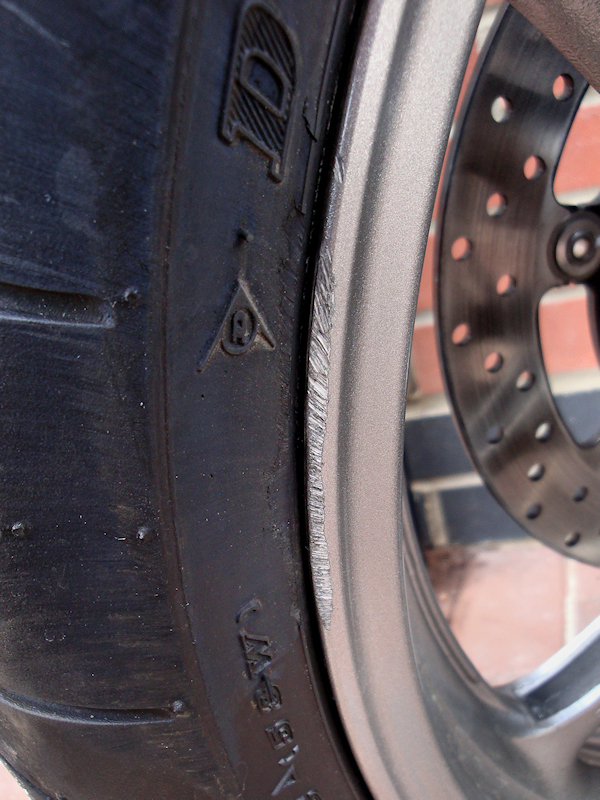
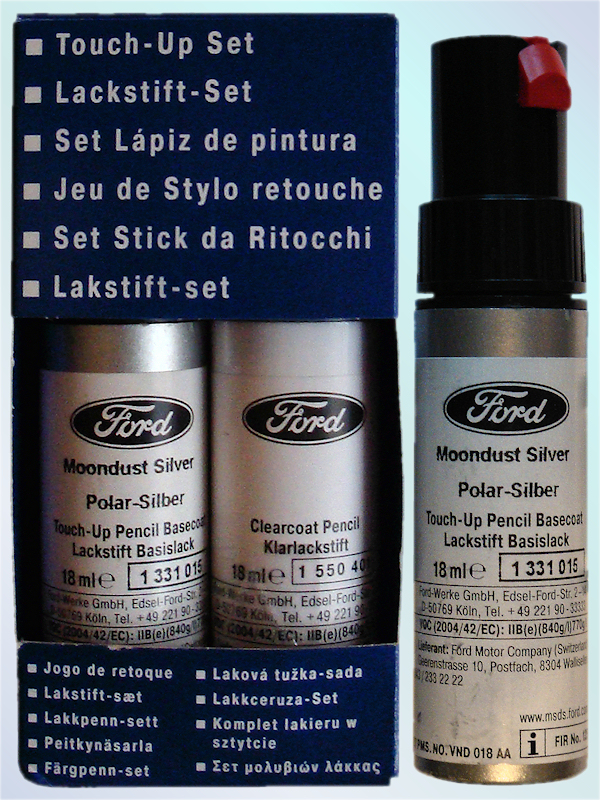
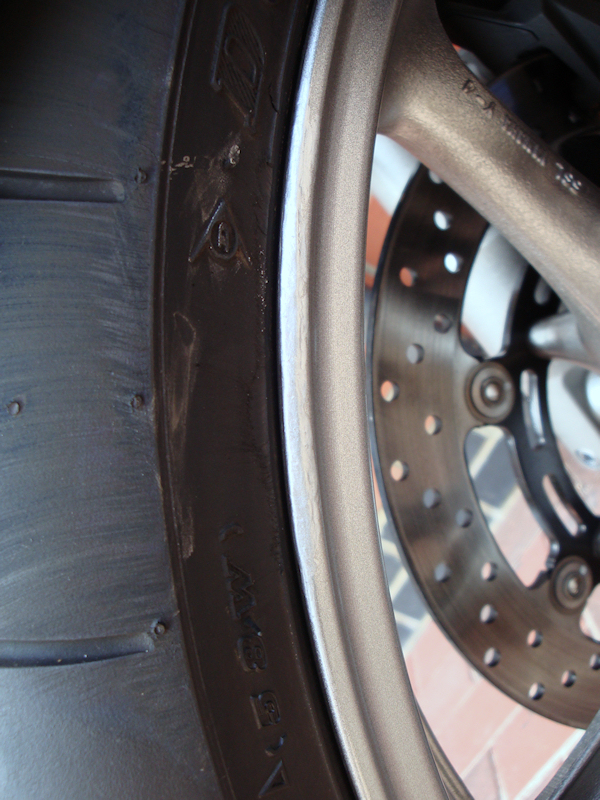
Front Wheel
|
Once again this is a repair rather than a modification, in fact it is more of a cover up than a repair but what the hell. I managed to put a scrape on the rim of the wheel that did not look to pretty. I had the wheel checked for run out and it was well within the limits given in the handbook so I opted to make it look a bit better rather than get it repaired or replaced. All I did was made sure the scuff grooves were clean then layered silver touch up paint into the grooves to build it back up somewhere near to it's original profile. The wheels are painted anyway so I could not see any problems from doing this. The only trouble I had was finding a colour match in a touch up paint. Other Pictures:
|
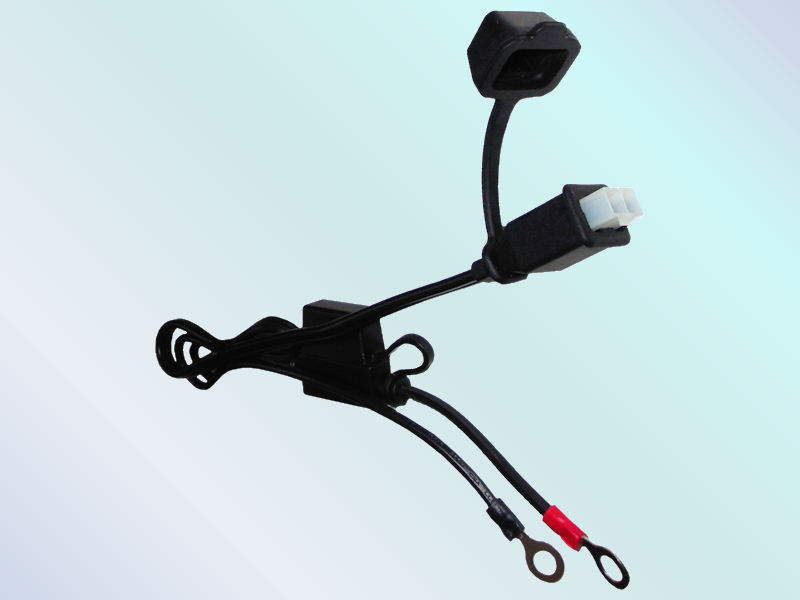
Optimate 4 Charger
|
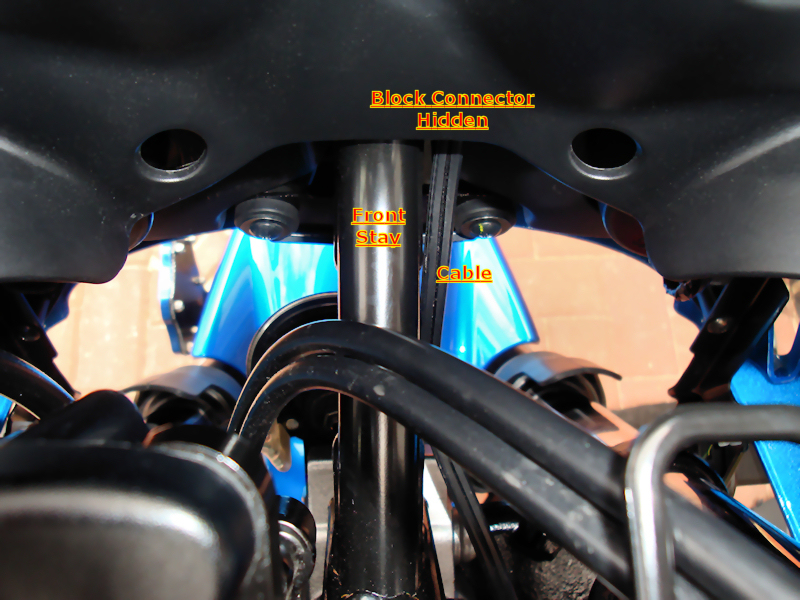
The Optimate 4 battery charger that I purchased, (see the Bike Accessories Extras page for more information) came with an option lead, (TM-71) that has two battery terminals, (positive terminal is fused) and a block connector. The block connector end has a water resistant rubber cap seal to protect the electrical contacts when it is not in use. Cable Connector Proposed Layout:
|

Throttle CableAnti-Chafe Sleeve: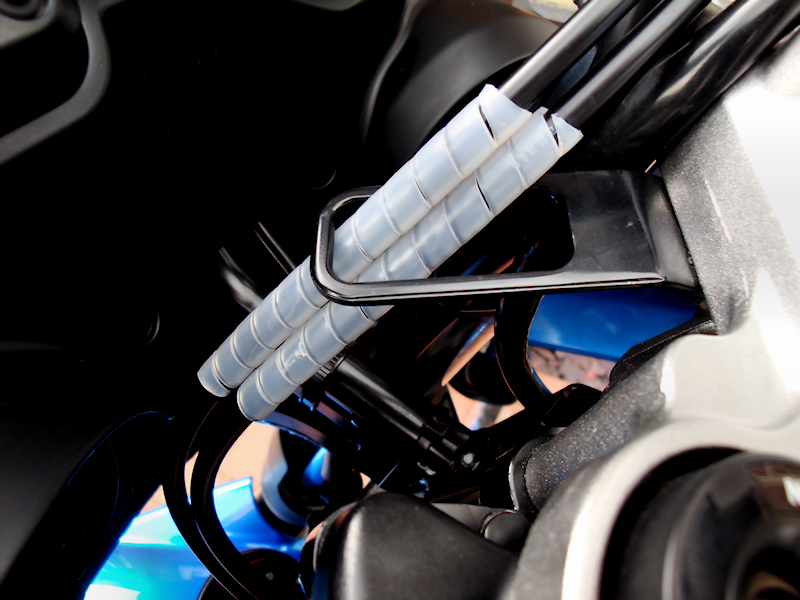
Cost About £20 for 3 Meters. |
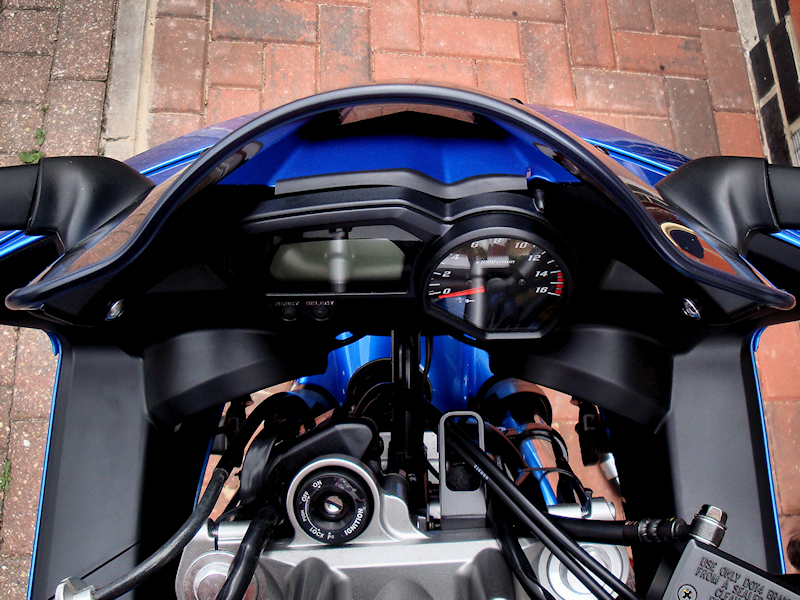
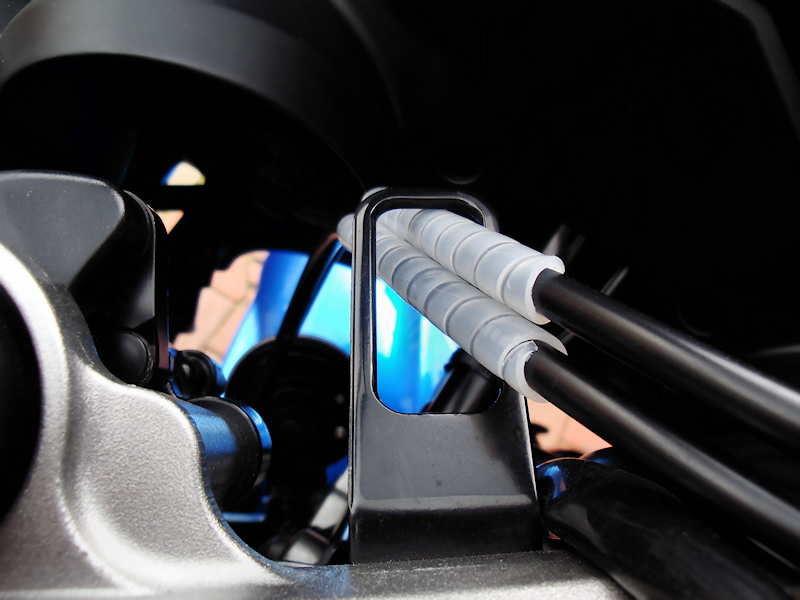
The throttle cables on the Yamaha FZ6 Fazer S2 are routed in such a way that they do not get caught up or snagged on other parts of the bike causing improper function of the throttle which could be potentially dangerous. This means the cables have to be routed through a slotted bracket to keep them tidy at the handlebar steering section of the bike. Steering Lock Left To Right:
|

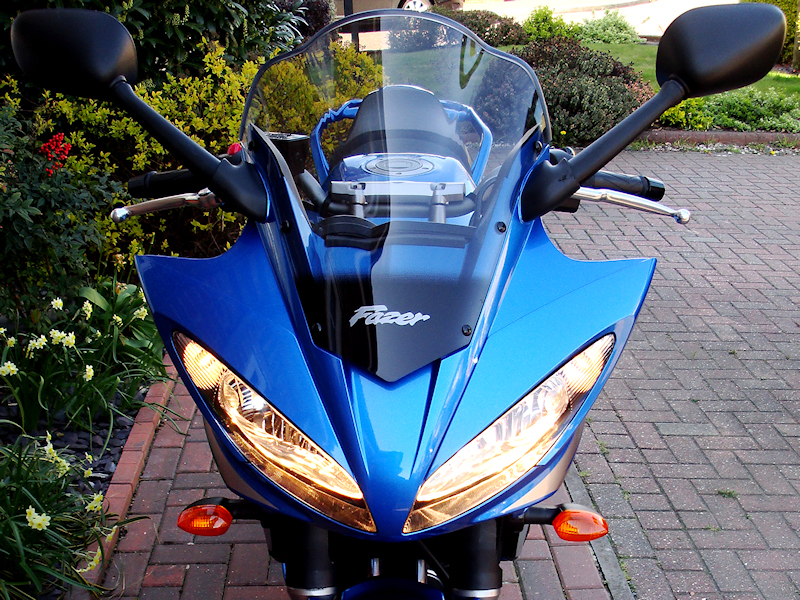
Dual Headlight
|
Yamaha give the FZ6 Fazer S2 a nice pair of headlights which in Europe are both on in "dipped beam" mode with a single "high beam" on the right hand side, (from the perspective of sitting on the bike). So what do they do for the British market, single "dipped beam" for the left hand light, single "high beam" for the right hand light, why is anyone's guess. Personally I think two headlights is safer than one from a visibility and illumination point of view. This simple modification enables the running of both headlights on dipped beam as it should be. Headlight Terminal Blocks:
|


No Feature
|
Space reserved for next article review or description. No Pictures Yet: |