MD80 Mini DV Camera Rear Footpeg Mount.
![]()
Alternative Placement:Having made numerous brackets, clamps and housing bodies for the MD80 Mini DV camera I thought it would be a good idea to be able to mount it in different positions on my Yamaha FZ6 Fazer S2 using existing mount points. This proved to be a bit difficult without making additional mounting points as the areas on the bike were somewhat limited.Rear Facing:I wanted to capture some rear facing footage so as to be able to edit it along with some front facing footage thus giving a different point of view. The idea was to make a small film swapping between the two views to add interest to the movie. To do this I needed to make up a post or bar of some sort to clamp one of the homemade MD80 Mini DV camera housing bodies to, (planning to use either the Mark II or Mark III bracket).Components:All the components used for the MD80 Mini DV camera rear footpeg mount are standard bought items except for the length of Chrome plated steel tube that I found in my shed! Alas I forget where it came from originally but any diameter tube from 10mm to 18mm can be used with the Mark III MD80 Mini DV Camera Mount Bracket as it has a wider range due to the nature of the "Vee" clamp arrangement. Here is a rough shopping list of the required components...
The Bike Rear Footpeg Bracket:This is where I decided to mount the camera for it's rear facing footage as it required no other work apart from lowering the footpeg to it's "in use" position then fitting the Chrome plated steel mounting tube, washer, nut and bolt assembly to the bikes rear footpeg bracket. Figures 8, 9 and 10 demonstrate this function.Figure 11 shows an animated GIF that gives a visual representation of all the components being fitted into position on the bikes rear footpeg bracket. The Footage:Using the picture link, (figure 12) you can visit You Tube and see some of the video footage captured from this camera using footage from rear facing mount. Bear in mind the original video quality has been compressed for uploading and as a result is not as good. |
 M8 x 1.25mm Nylock Nut.
Figure 1. |
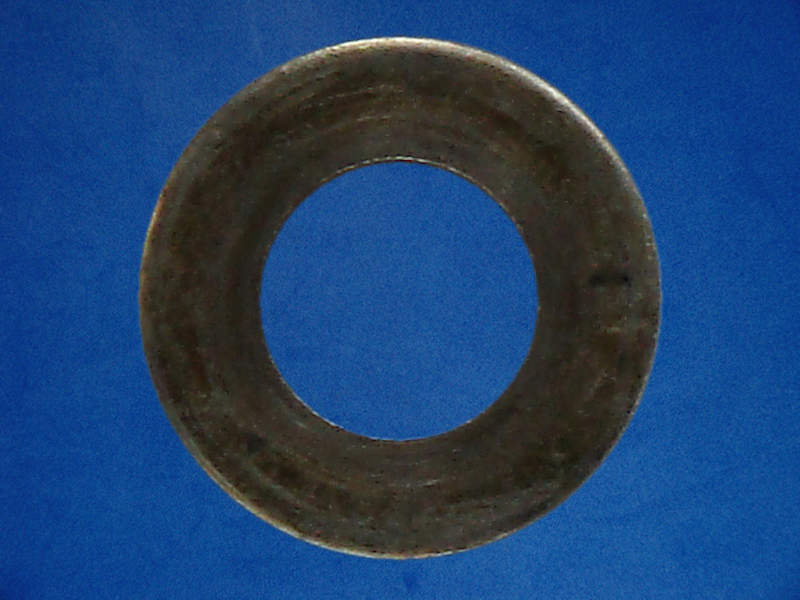 Small 8mm Bore Washer.
Figure 2. |
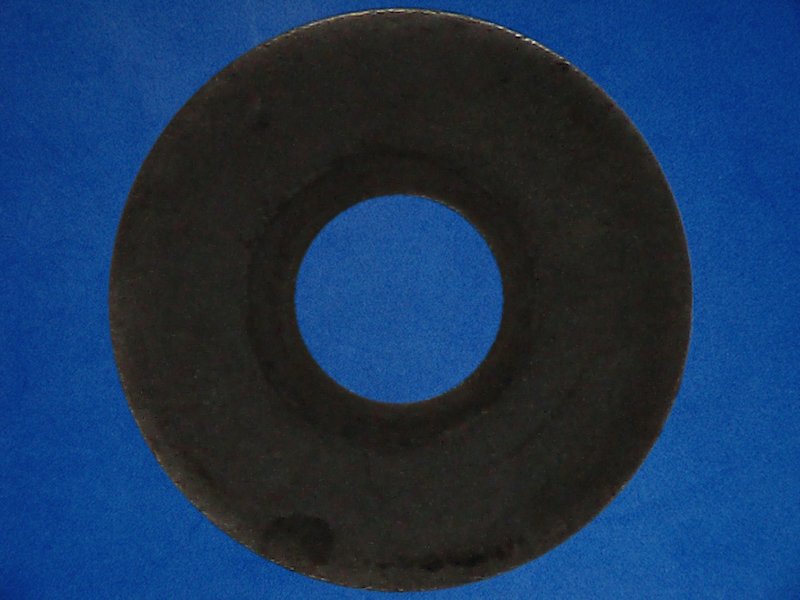 Large 8mm Bore Washer.
Figure 3. |
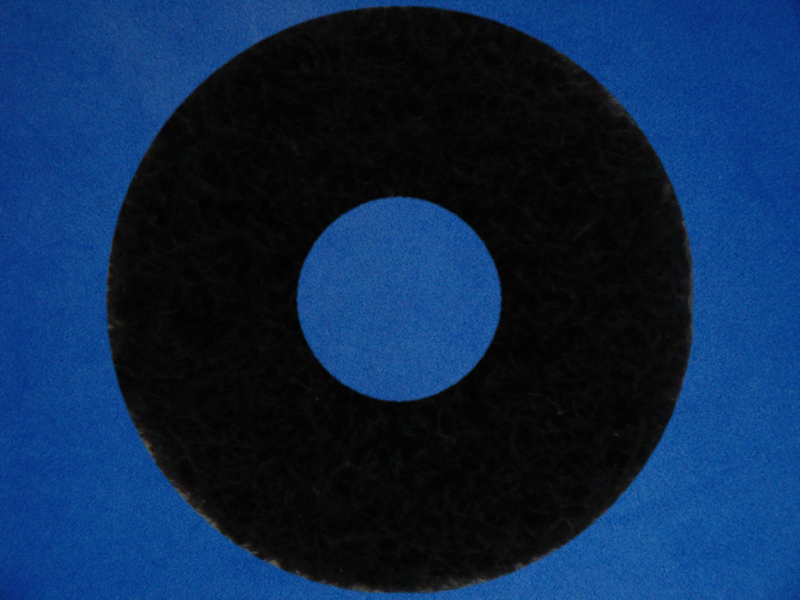 Felt Padded Large Washer.
Figure 4. |
|
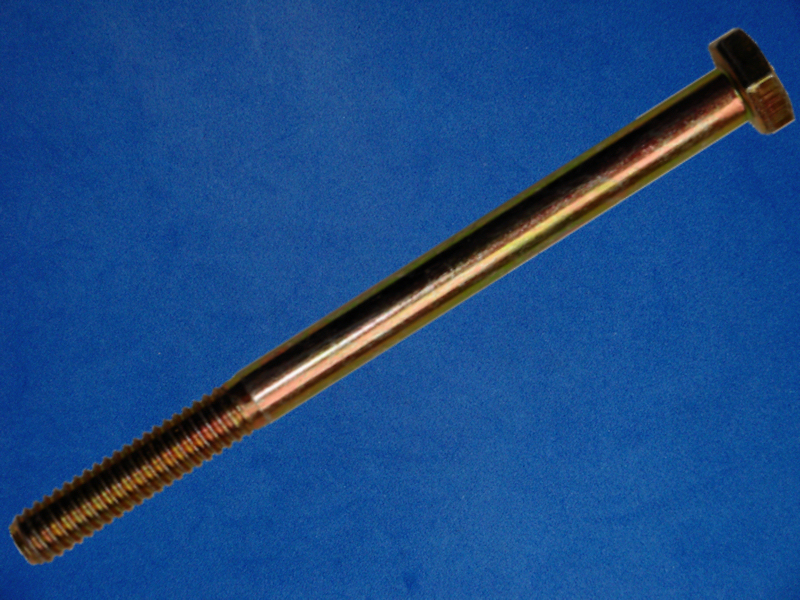 M8 x 1.25mm x 100mm Bolt .
Figure 5. |
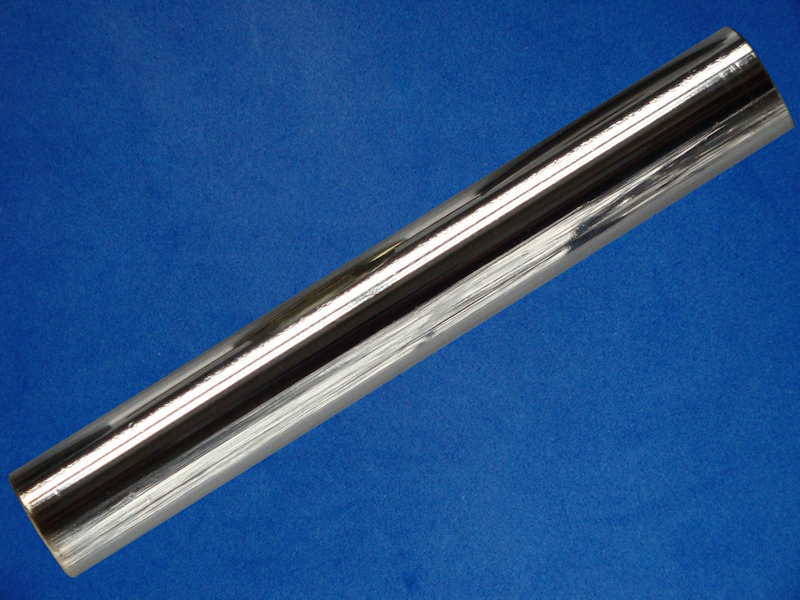 Chrome Plated Ø10mm Tube.
Figure 6. |
|
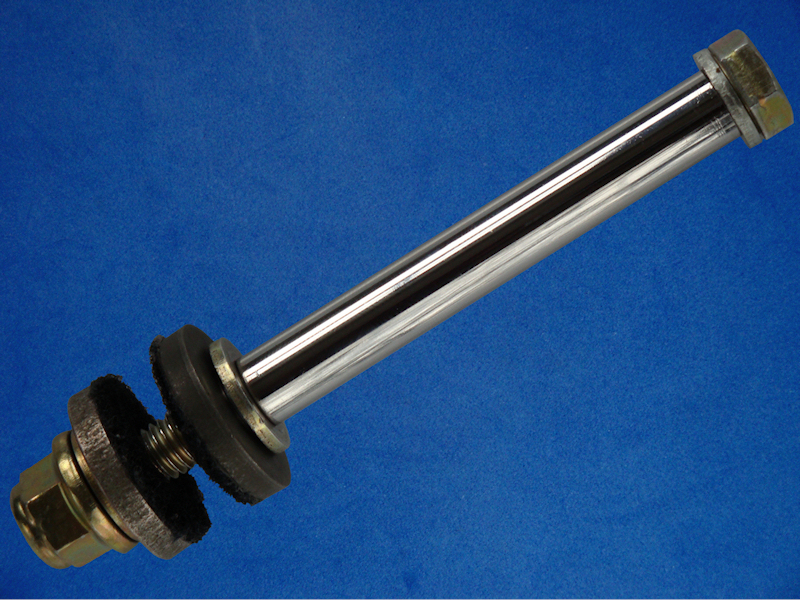 Assembled Components.
Figure 7. |
 Rear Footpeg.
Figure 8. |
|
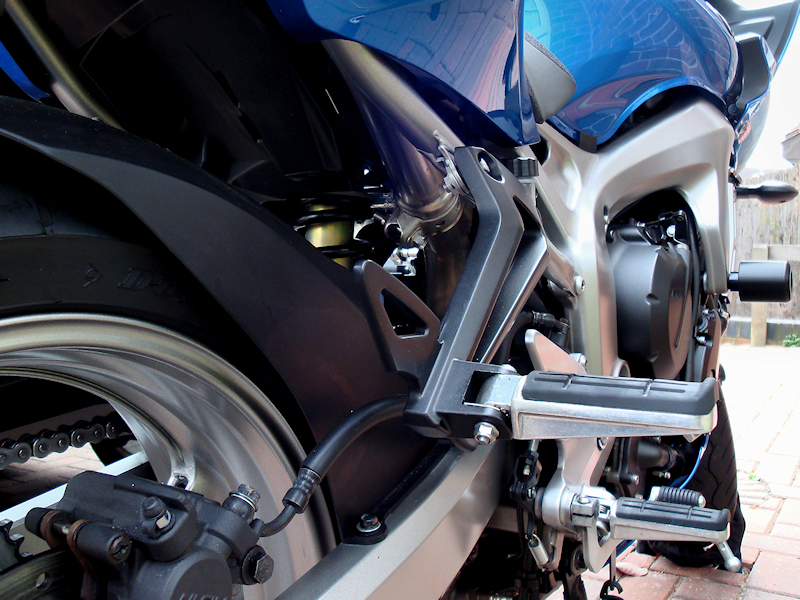 Rear Footpeg.
Figure 9. |
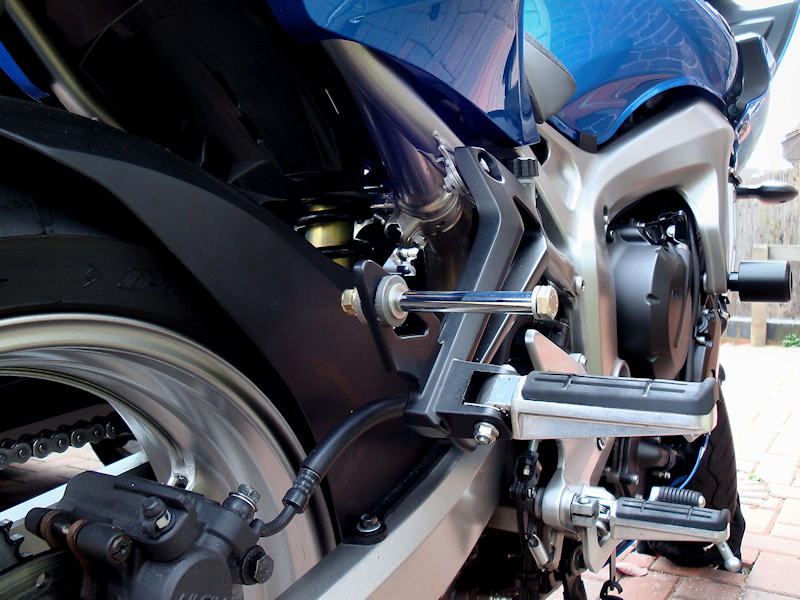 Rear Footpeg & Mount.
Figure 10. |
|
 In Position GIF Animation.
Figure 11. |
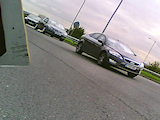 You Tube Video Link. Figure 12. |