Watermark Style Background.
![]()
Created Using Paint Shop Pro 7  .
.
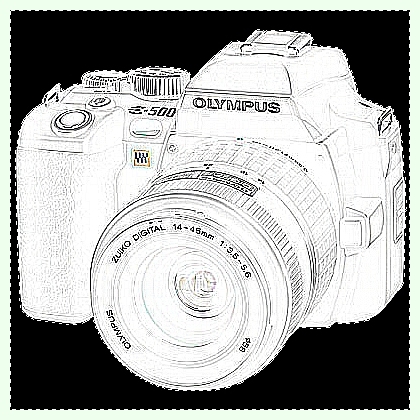
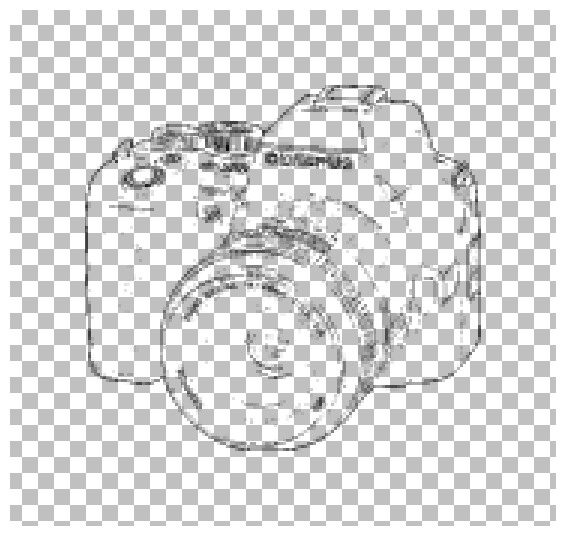
Step 1: |
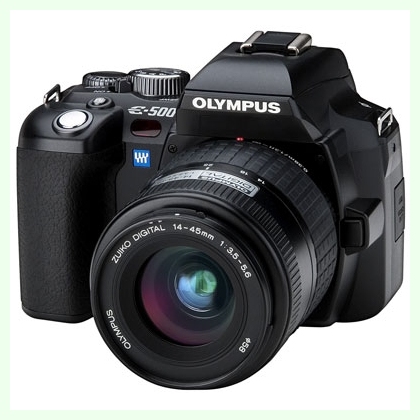 Original Start Image. |
|
|
Step 2: |
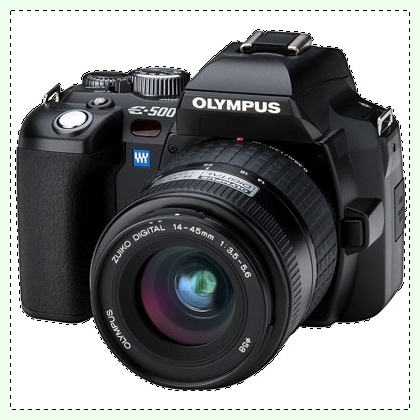 Layer, Selected White. |
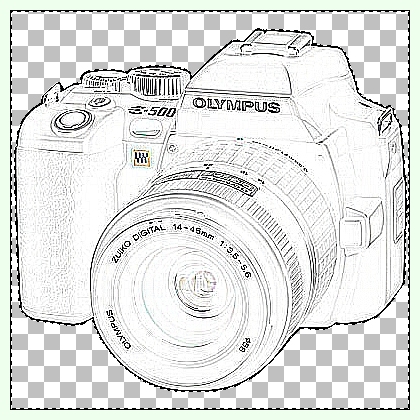
Step 3: |
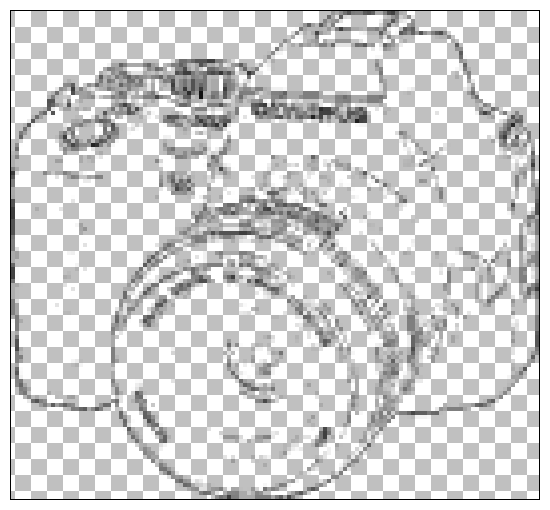
 White Area Deleted. |
|
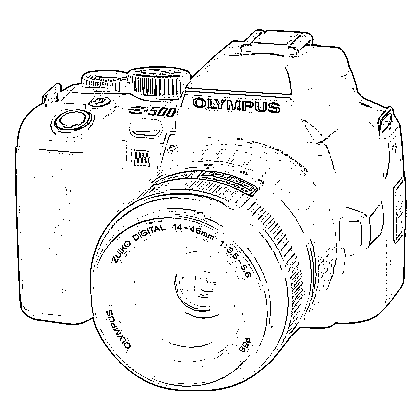
Step 4: |
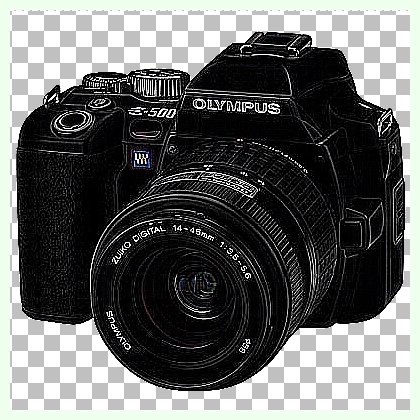 Reduced Detail Image. |
|
Step 5: |
 Negative Coloured Image. |
|
|
Step 6: |
 Selected Flood Fill. |
|
Step 7: |
 Reduce Selection & Delete. |
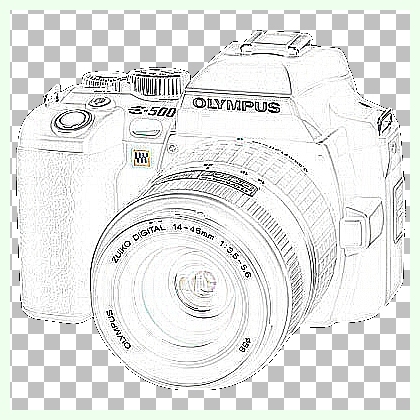
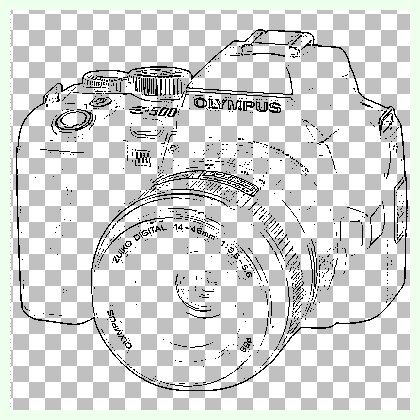
Step 8: |
 Two Colour Image. |
|
|
Step 9: |
Increase Depth & Promote. |
Step 10: |
 Select White & Delete. |
|
|
Step 11: |
 Crop & Resize. |
Step 12: |
 Resize Layer By 50 Pixels. |
|
Step 13: |
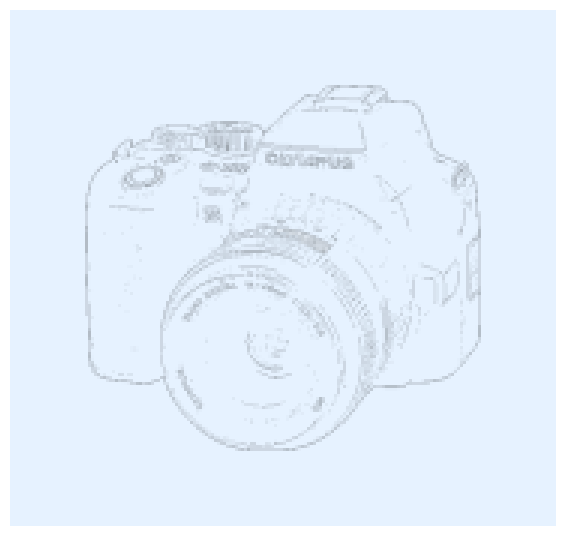 Watermark Image On Blue Background. |
![]()
All trademarks and copyrighted material are property of their respective owners