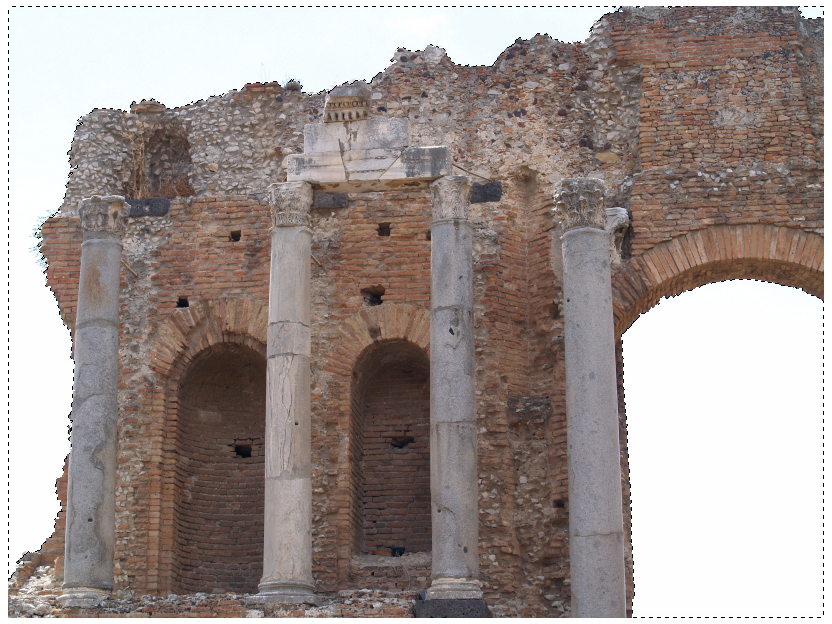
Original picture with "Burnt Out" sky details and un-sharp, blurred brick detail.
Use the Magic Wand tool to select the burnt out white sky area.
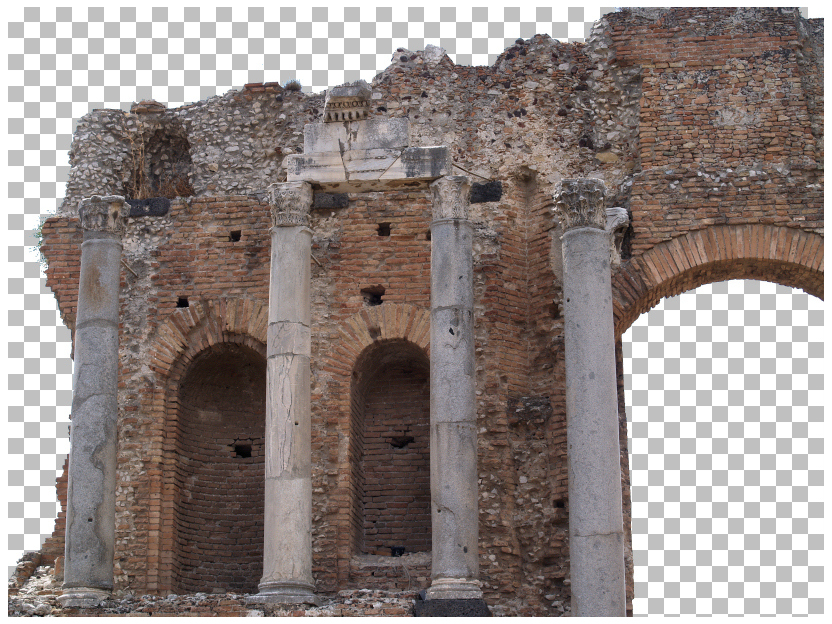
Delete the selected burnt out white sky area.
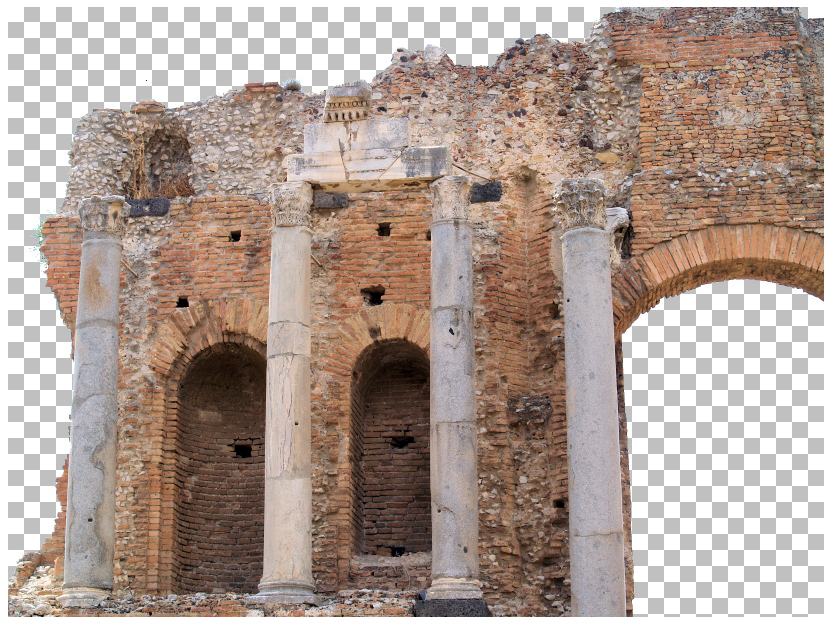
Use the Clarify and Unsharp Mask tools to clarify and sharpen the image.
Use the One Step Photo Fix tool to give a generally better look to the image.
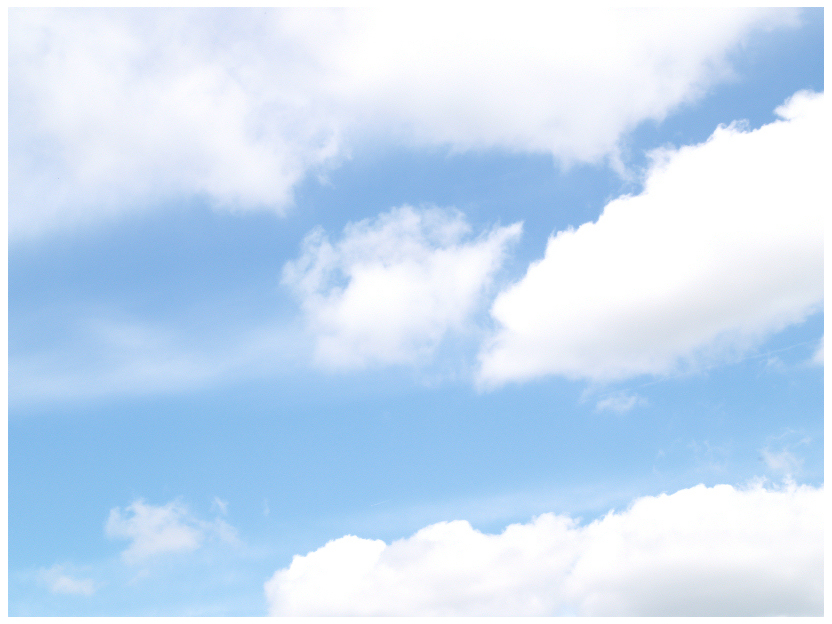
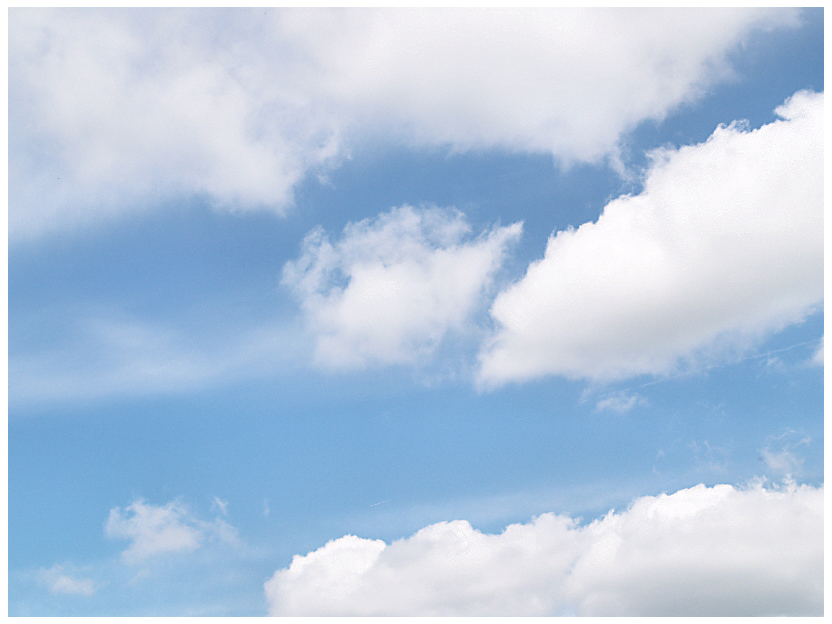
Larger image of a suitable sky image that will replace the original white areas.
Use the Clarify tool and adjust the Brightness and Contrast to darken the sky image.
Copy the new sky image and paste it into the original image as a new layer.
Make sure the sky image layer is behind the original image then "flatten" both layers.
Optional settings dialogue box for the Magic Wand tool.
Clarify tool dialogue box.
Unsharp Mask dialogue box.
Smart Photo Fix dialogue box.
A list of all the various "Save As" formats available.
Enhancement Made Using Corel Paint Shop Pro Photo X2 Ultimate.
The Plan:
The idea in this tutorial is to take a picture that is not very good and merge it with another picture with a few other enhancements along the way to try and improve how it looks.
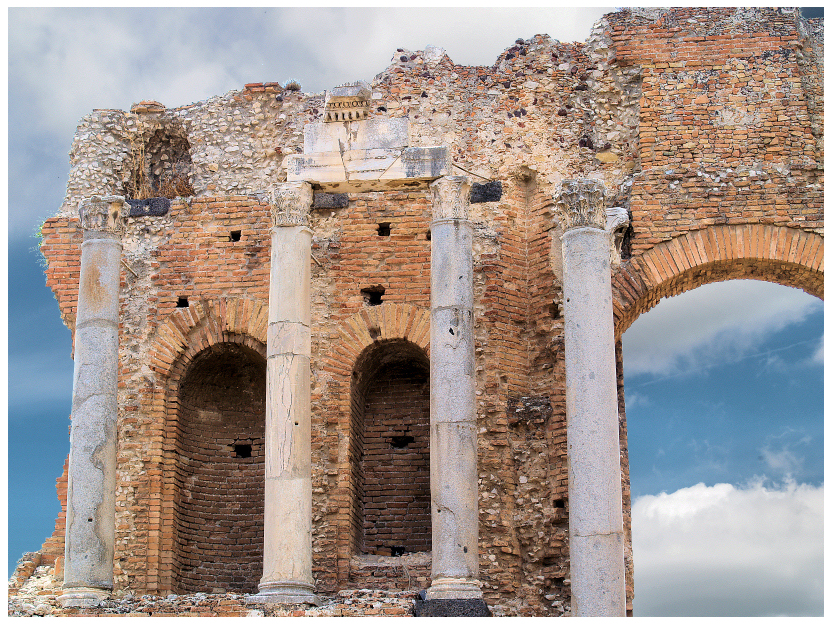
The photograph I have chosen to is one that was taken of some ruins in Italy. Although the main building looks fairly good the sky is over exposed with no visible cloud detail making the photograph look rather washed out so what I intend to do is merge another sky image to replace the one in the original photograph.
Original Start Image.
Step 1:
Open the desired image to be edited then promote the background image to a layer from the dropdown menu by selecting "Layers" / "Promote to layer".
Select the white area outside the image using the "Magic Wand" selection tool. Set the "Magic Wand" Tool Options to a tolerance of 0 with no feathering of the edges.
Hold down the Shift key on the keyboard and select more areas if all the white area does not get selected this will add to the original selected area.
Alternatively increase the tolerance match to a more preferable setting say 15 to select a broader scale of near white pixels.
Layer,
Selected White.
Step 2:
Delete the selected white area leaving an image that is transparent where the white area used to be then deselect the selection using the "Magic Wand" selection tool and right clicking on the image.
At this point it would be a good idea to save the image as a .png file. From the dropdown menu select "File" / "Save as" choose a destination folder and give the image a meaningful name, for example building.png.
White Area Deleted.
Step 3:
As with the sky in the image the building looks slightly washed out so I corrected this using the Clarify tool. From the dropdown menus select "Adjust" / "Brightness and Contrast" / "Clarify" and set the Strength of effect to 2.0 in the dialogue box.
Step 4:
The image could do with sharpening a little to bring out the detail of the brickwork, do this using the Unsharp Mask tool. From the dropdown menu "Adjust" / "Sharpness" / "Unsharp Mask"and set the following attributes in the dialogue box... Radius 2.00, Strength 100 and Clipping 4 which is a fairly mild enhancement.
Clarify & Sharpen The Image.
Step 5:
Corel Paint Shop Pro Photo X2 Ultimate comes with a neat little tool that does a "One Step Photo Fix" that gives reasonably good results and if you are not happy with it a simple undo ("Ctrl Z" on the keyboard) will rectify the adjustment back to normal. To find this tool in the dropdown menu it is "Adjust" / "One Step Photo Fix".
If you want more control you can use the "Smart Photo Fix" tool which is found in the dropdown menu under "Adjust" / "Smart Photo Fix" this enables you to adjust various attributes using the sliders or typing in value. This is the final stage for editing the building photograph.
One Step Photo Fix.
Step 6:
Find a suitable image that will serve as a replacement for the white burnt out areas in the original photograph. All I did was get my camera and take a few photographs of the sky and picked out one that looked reasonable with a similar viewing angle to the original building photograph.
Suitable Sky Photograph.
Step 7:
The sky looks slightly washed out so using similar techniques as before I corrected this using the Clarify tool. From the dropdown menus select "Adjust" / "Brightness and Contrast" / "Clarify" and set the Strength of effect to 2.0 in the dialogue box.
Save this Photograph as a .png like before with the "buildings" photograph. From the dropdown menu select "File" / "Save as" choose a destination folder and give the image a meaningful name, for example sky.png.
Adjust Brightness & Contrast.
Step 8:
If they are not open already, open the two newly created photographs, ("building.png" and "sky.png"). Click on the "building.png" window and from the dropdown menu "Edit" / "Copy" this copies the "building.png" photograph to the clipboard.
Click on the "sky.png" window and from the dropdown menu "Edit" / "paste New Layer" this places the transparent "building.png" photograph layer on top of the "sky.png" photograph background.
Merge the two Photographs.
Step 9:
All that remains now is to "Flatten" or "Merge" the two images and then save the result in the desired format. To do this from the dropdown menu select "Layers" / "Merge" / "Merge All (Flatten)", (you can opt for "Merge Visible" if all the layers are active).
To save the Photograph in any desired format, from the dropdown menu select "File" / "Save As" then choose your desired format from the ones available on the flyout list. It is probably best to stick to either .png, .jpeg, or .gif, as these are the only format supported by Internet web browsers at this time.
Flatten Layers & Save As.
Hosted on
All trademarks and copyrighted material are property of their respective owners
 Enhancement Made Using Corel Paint Shop Pro Photo X2 Ultimate.