Photography Tips.
![]()
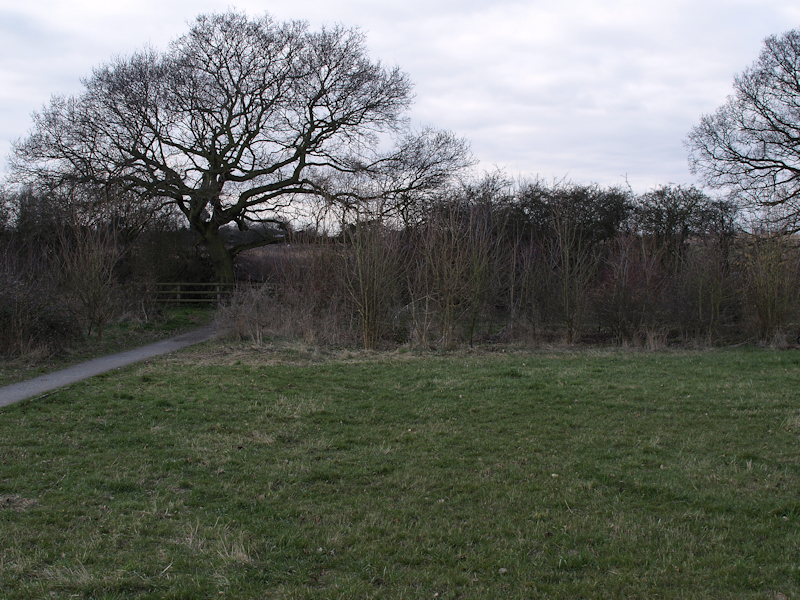
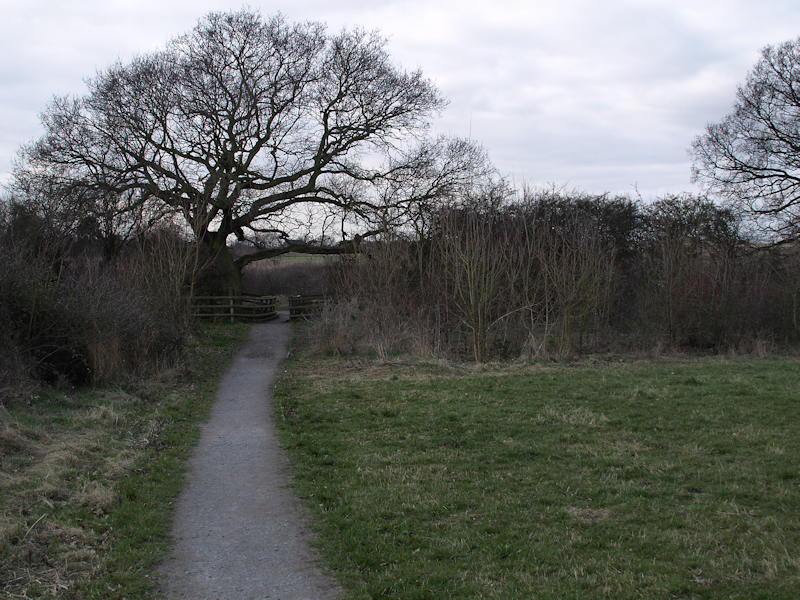
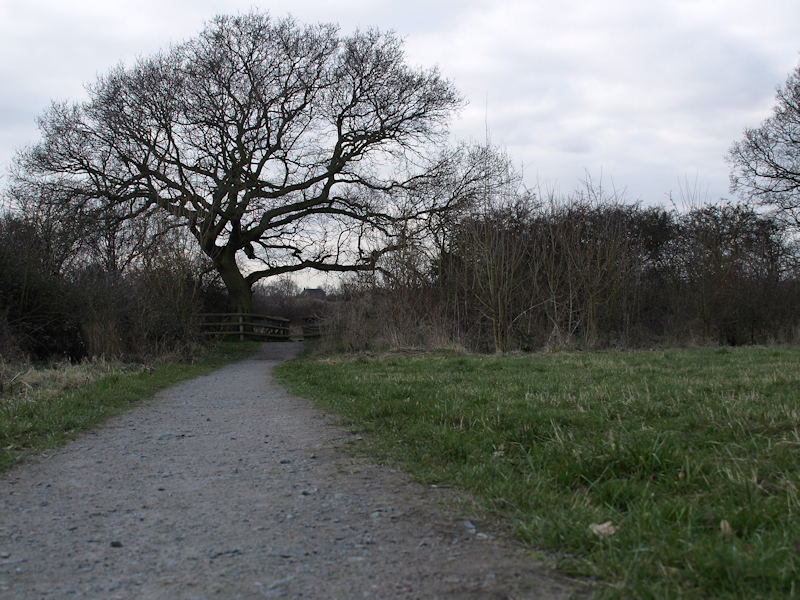
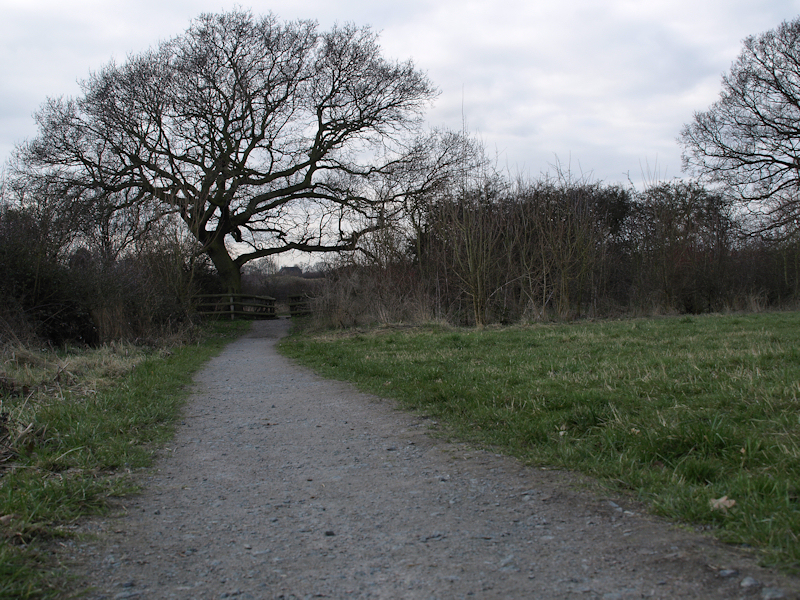
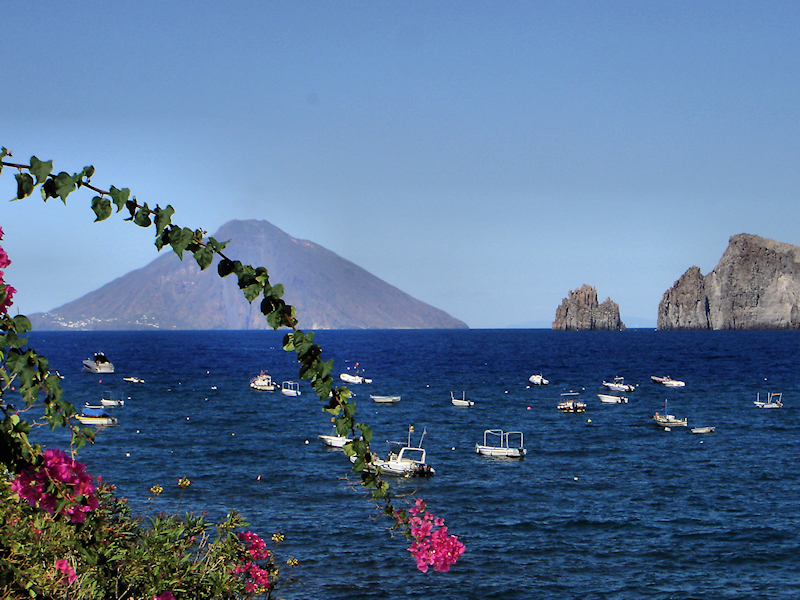
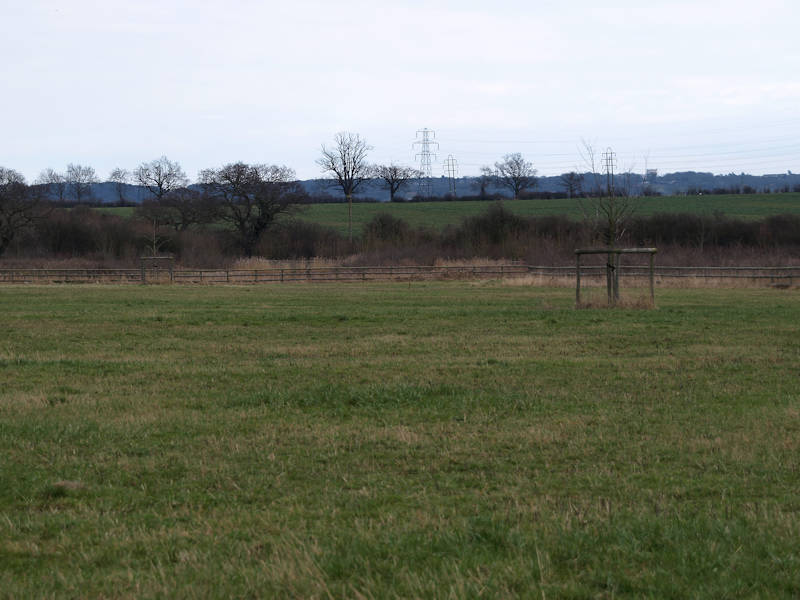
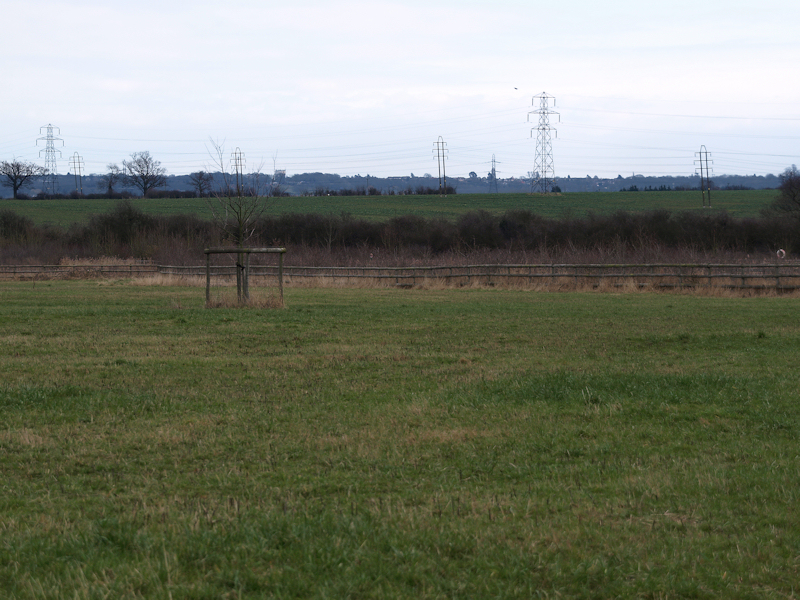
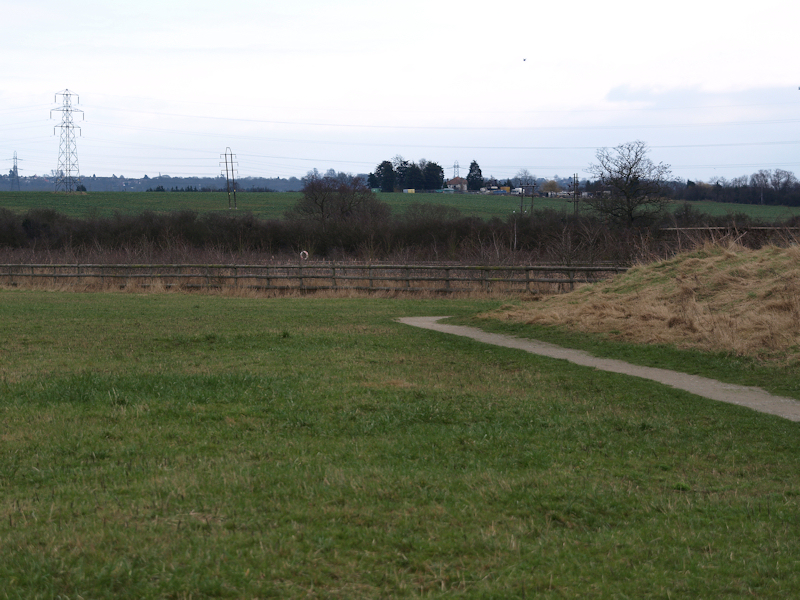
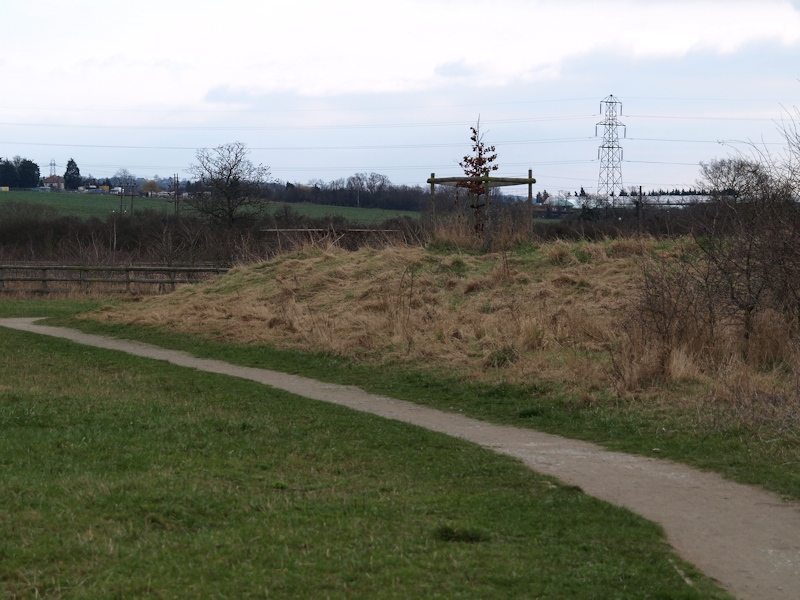
Rule Of Thirds:One of my greatest failings is that I tend to aim the camera at the subject with the subject image in the centre of the view finder, not that there is anything wrong with this as there are no golden rules as to how you should compose a picture but it can lead to a lot of uninteresting areas within the photograph if the subject is bang in the middle of the picture.I have tried to get into the habit of re-positioning where the main focal point of a scene is to make it more interesting. What I do is imagine a grid of four lines, (2 evenly spaced horizontally and 2 evenly spaced vertically) in the viewfinder and then pick the focus point for the subject at a point where the lines cross, as shown in these examples. I have found that using this technique, (sometimes referred to as "The Rule of Thirds") it can dramatically change the outcome of how a picture can look. |
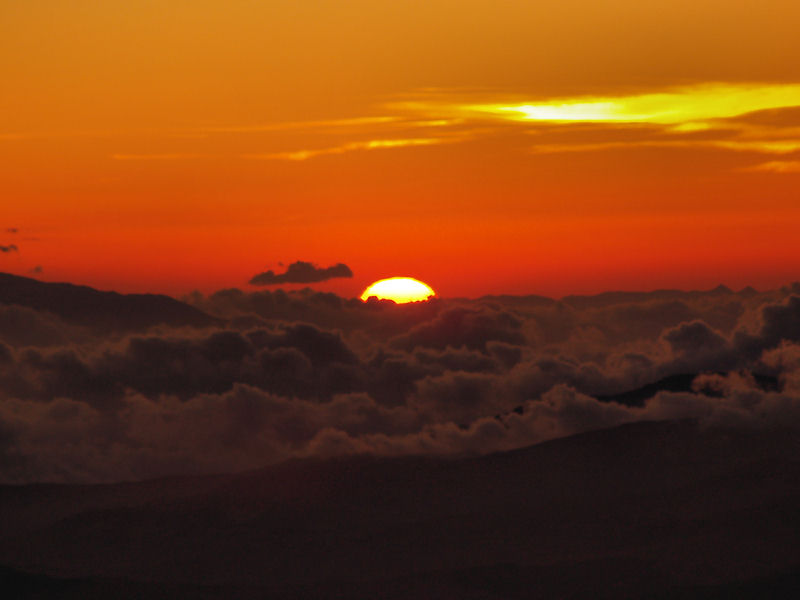 Subject Centred. |
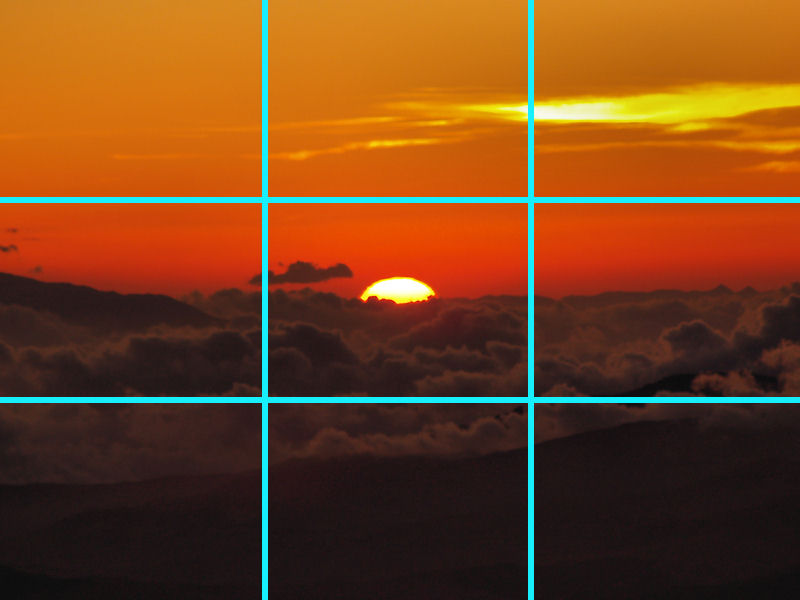 Imaginary Grid. |
||
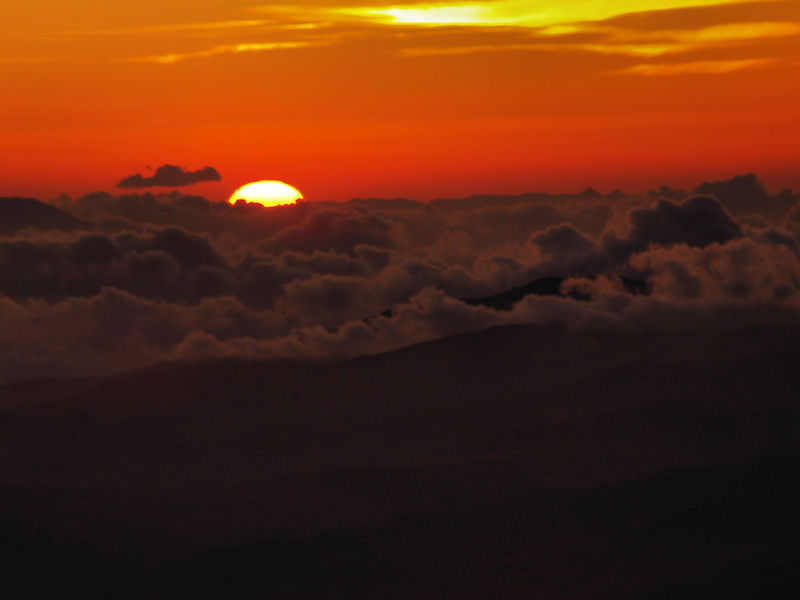 Upper Left. |
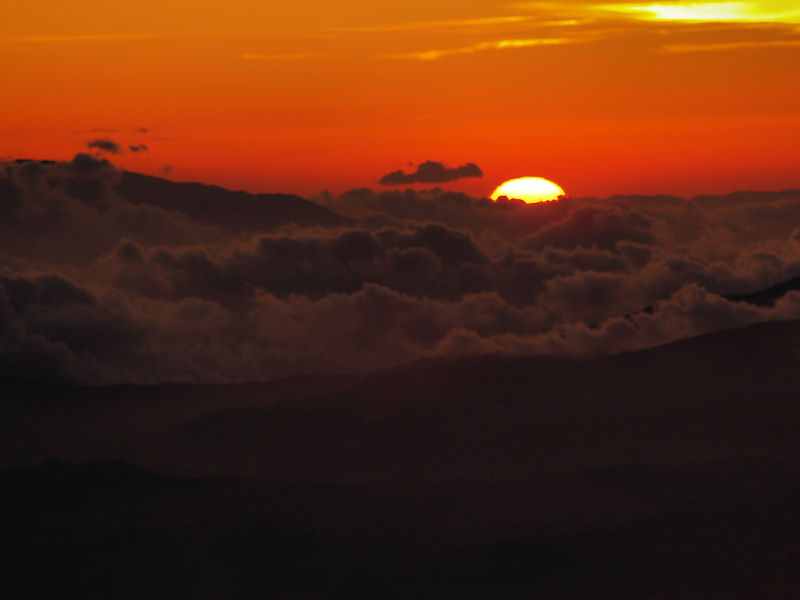 Upper Right. |
 Bottom Left. |
 Bottom Right. |
|
Impact Focus Point:Sometimes when you take a photograph it can be rather cluttered with the amount of information that is in focus within the photograph so much so that it distracts from the subject image.Reducing the depth of field can add more impact to a photograph by concentrating on the subject image focus and having the rest of the image out of focus to give a blurred effect. This draws the eye to pay more attention to the subject image. To achieve a lesser depth of field the camera settings need to be adjusted and a general rule of thumb is that the smaller the ƒ number, (larger aperture) the less depth of field is achieved although shutter speeds and ISO values also play a big part. However using this technique requires more precise focusing on the subject image and is more vulnerable to camera shake due to the slower shutter speeds that might be used. |
 More In Focus, Larger Depth Of Field. Picture Taken With A Small Aperture. |
 Less In Focus, Smaller Depth Of Field. Picture Taken With A Large Aperture. |
||
Point Of View:Another of my failings when taking photographs is to always take them at the same height so they always give the same "point of view" as the camera is always at the same point relative to the ground.Crouching down lower to the ground to take the photograph can again change how the photograph presents itself. Although this can lead to composition problems as you may find yourself sprawled on the floor trying to look through the viewfinder! This is where cameras with "Live View" come into their own. Taking a few steps to the left or right can also effect the perspective of the photograph as shown by these examples. |
 Camera Placed To The Right. |
 Camera Placed In The Centre. |
 Camera Placed Lower Down. |
 Camera Centred Lower Down. |
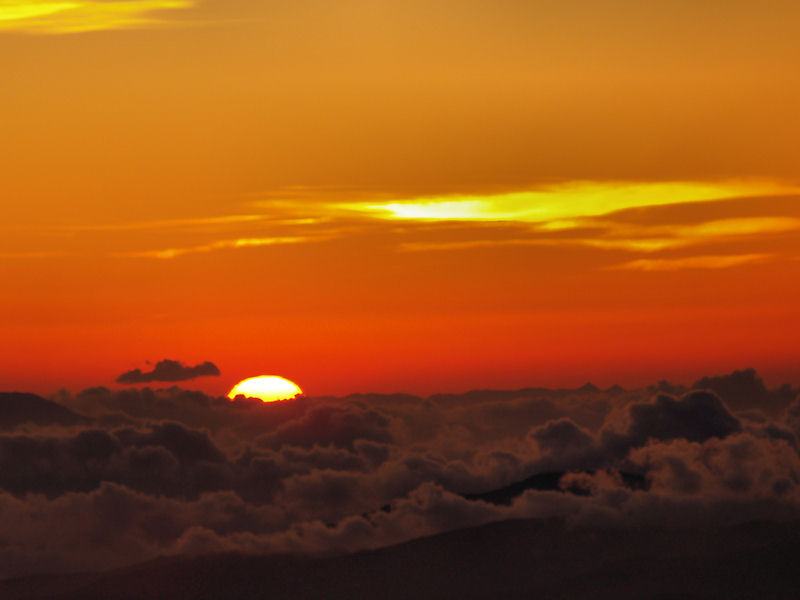
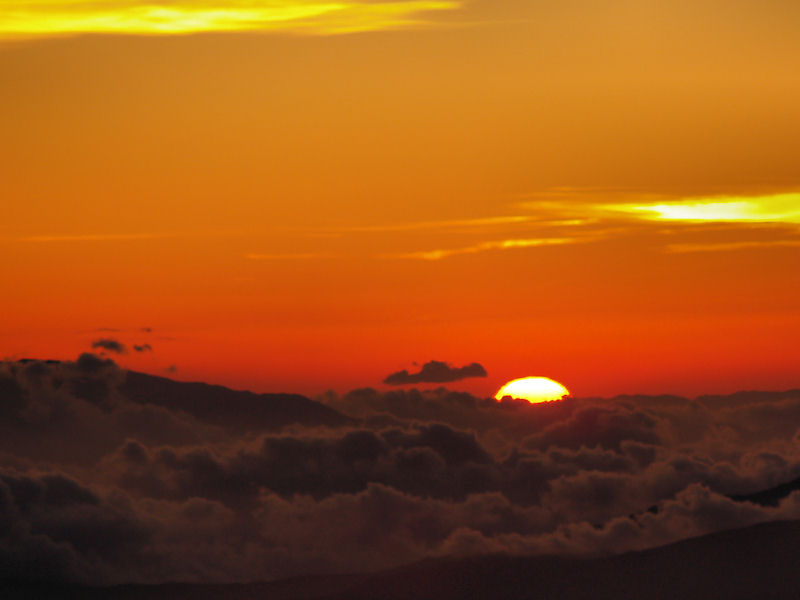
Sun Spots:It is a general rule that you should take a photograph with the sun behind you and not in front of you this way the light source illuminates the subject and does not create "sunspots" on the photograph. However as with most rules they can be broken with some interesting results.Another favourite of mine is to take photographs of the sun reflecting off of water, again generally frowned upon but the photographs can prove interesting. |
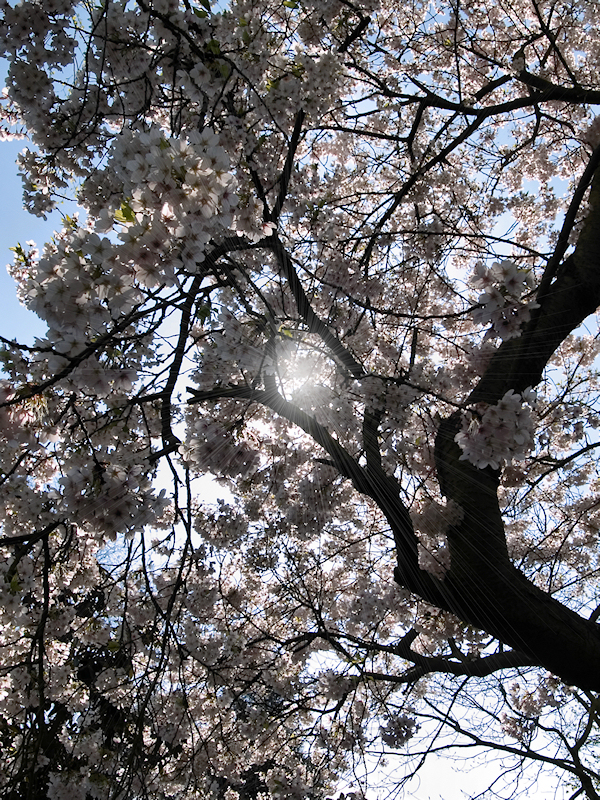 Sun Shrouded By The Tree Branch. |
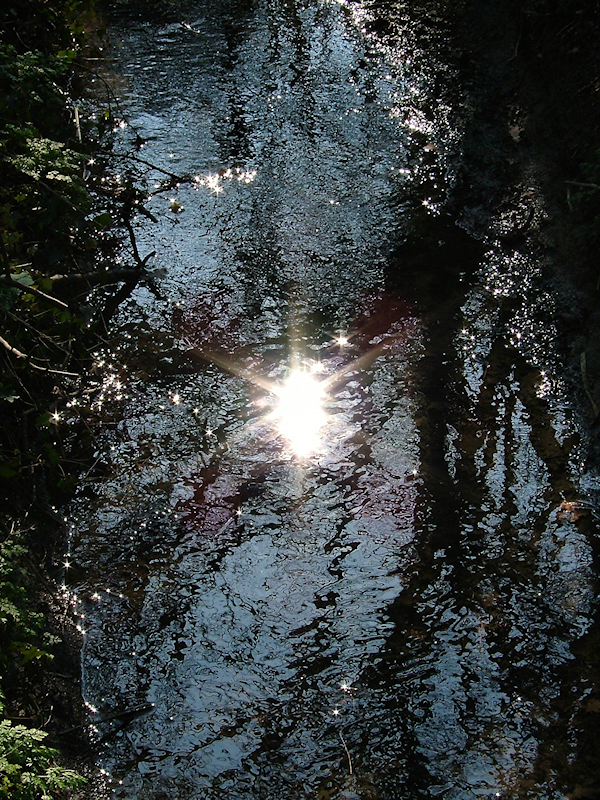 Sun Reflection On Water. |
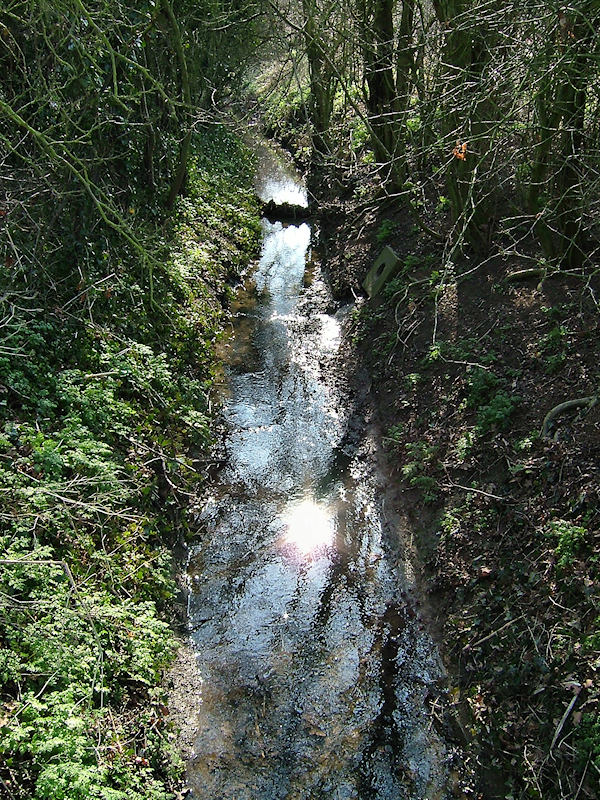 Sun Reflection On Water. |
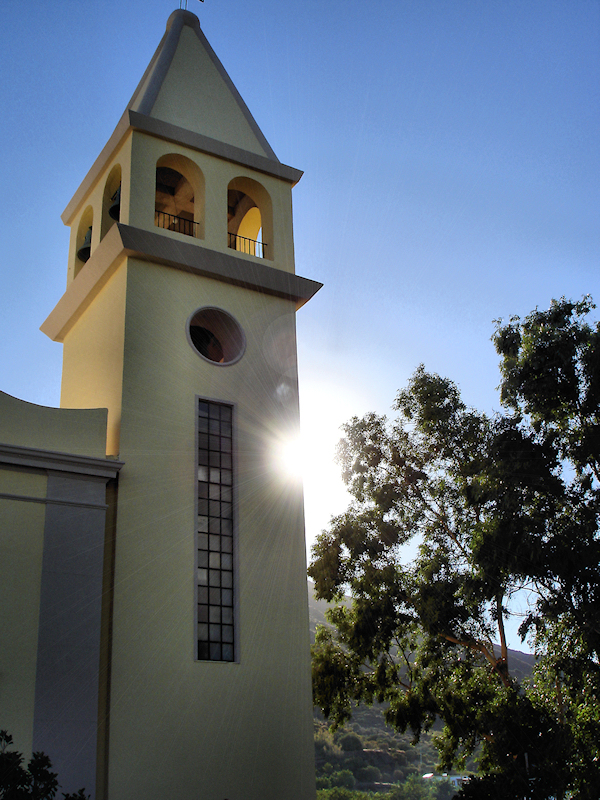 Sun Shrouded By Church Tower. |
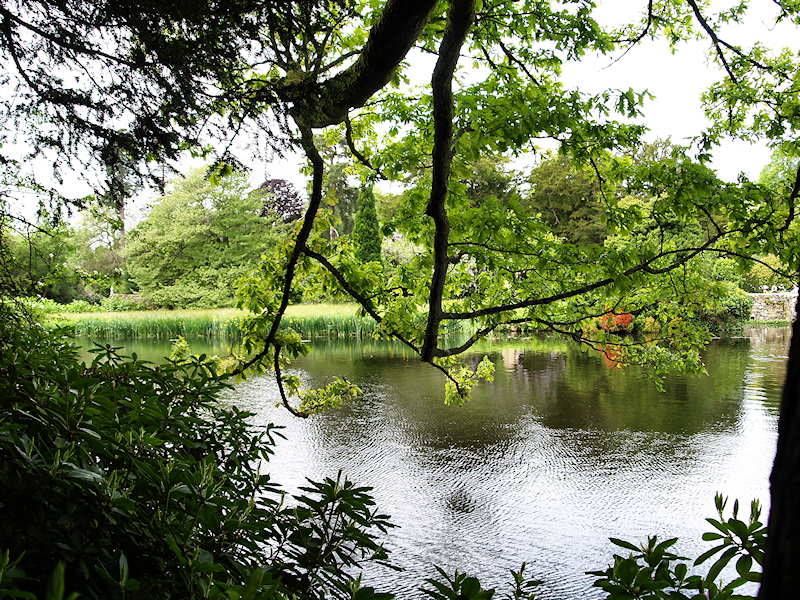
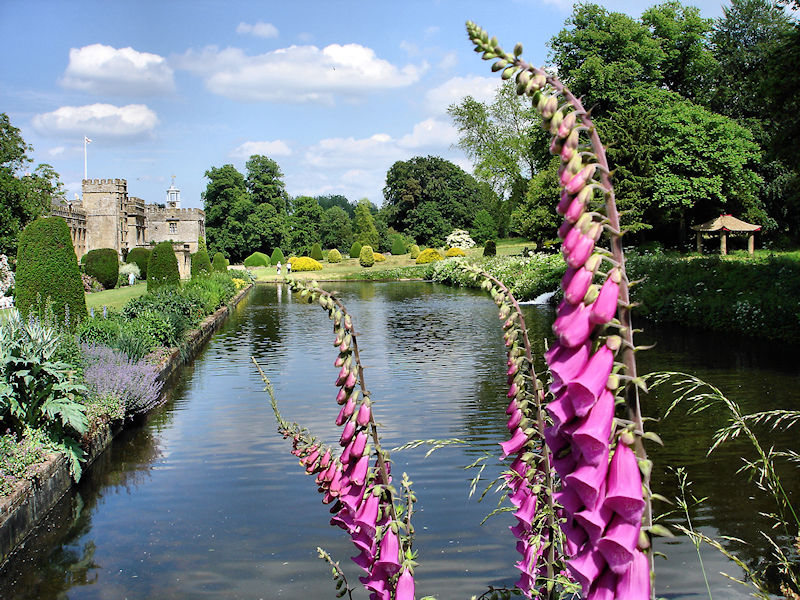
Framing The Shot:There are many different ways to make a photograph look more interesting one of them is to use natural surroundings that help you to frame or lead the eye to the main subject of the photograph. This generally means that the subject is going to be in the centre of the photograph but as mentioned earlier there are no golden rules when taking a photograph only guidelines. |
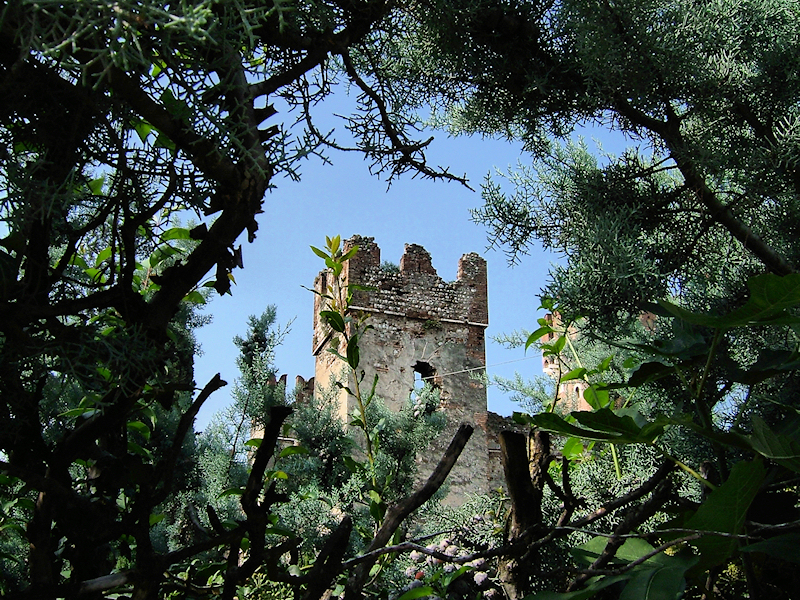 Trees Used As A Natural Frame. |
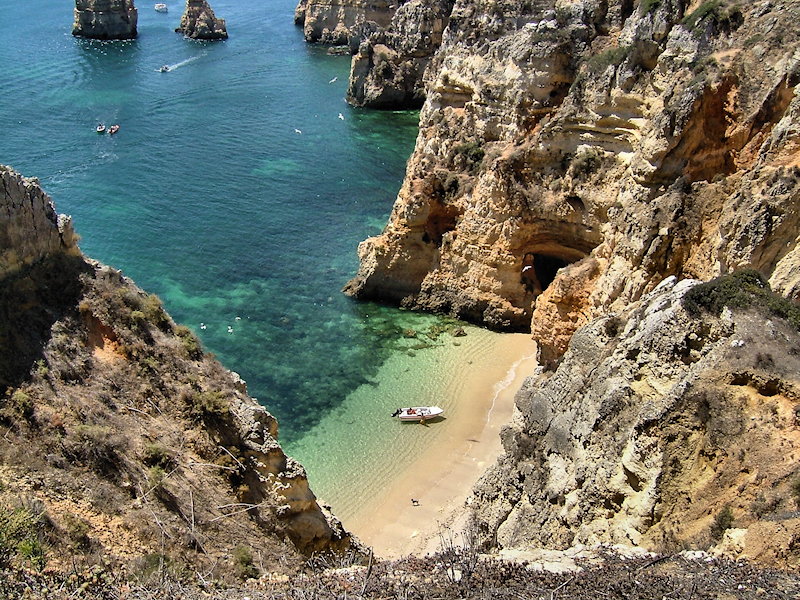 Surrounding Cliffs Lead In The Eye. |
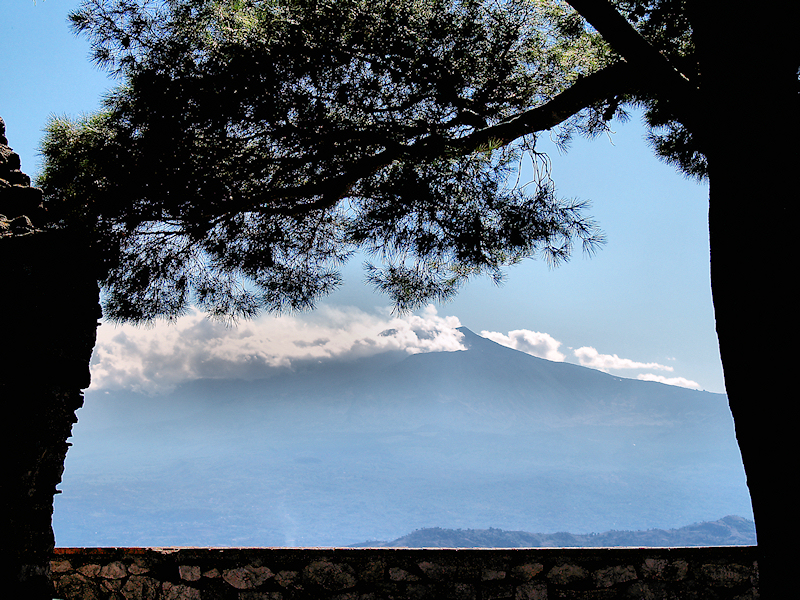 Tree And Wall Used As A Frame. |
 Trees Used As A Natural Frame. |
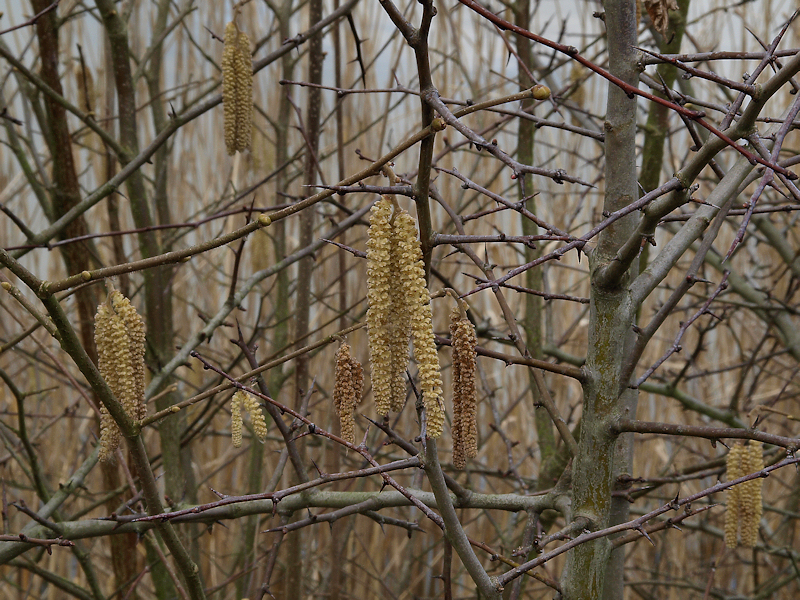
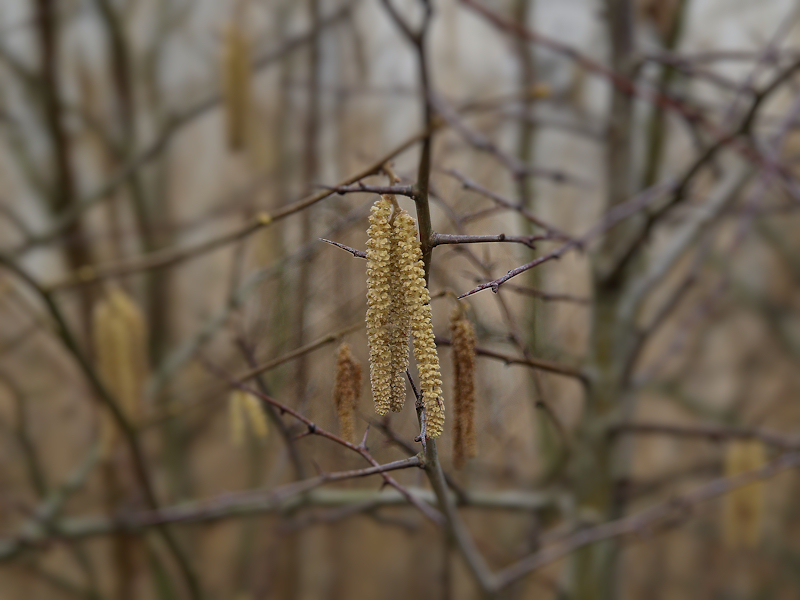
Texture:There are many textures in nature that can make for a good photograph it is just a matter of keeping an eye out for that interesting subject. It is worthwhile carrying a tripod or mono pod with you as well because sometimes getting into those awkward areas can be difficult and a bit of extra stability can be a godsend.I tend to go for the natural wooden textures as I think the bark and the annual rings can be very interesting especially if the wood has started to split or if it has some sort of creature or fungus invading it but this is just my preference, basically if it looks good take a photograph of it. |
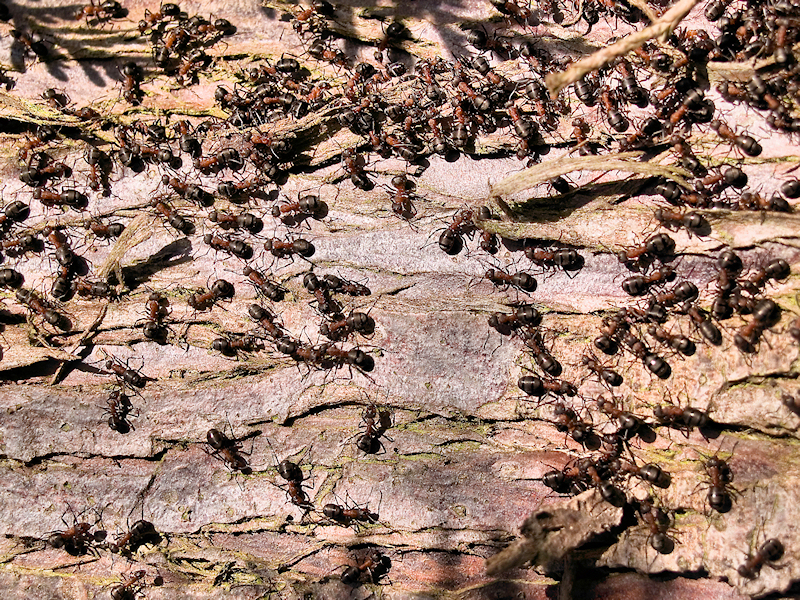 Tree Ants And Bark Make An Interesting Subject For Texture. |
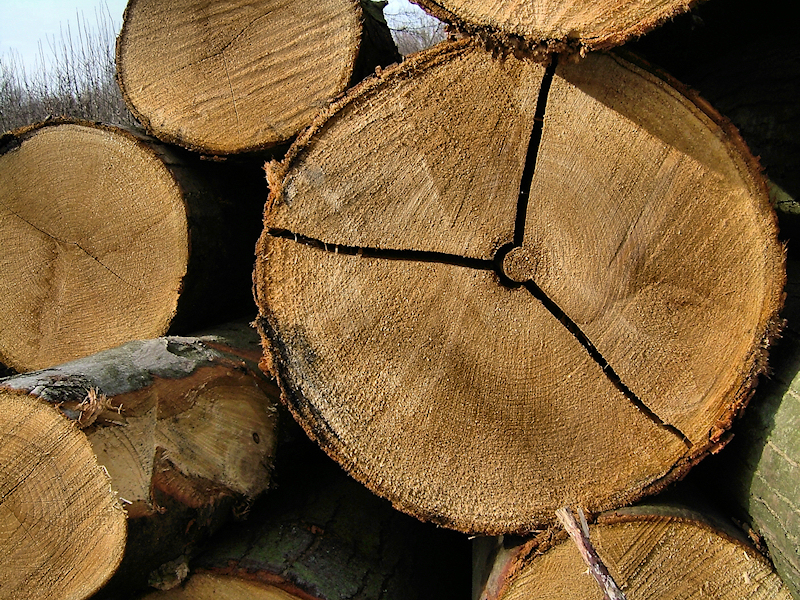 The Annual Rings On These Logs Also Have An Appealing Texture To Them. |
||
Foreground:As with using natural surroundings to spice up the photograph, having objects that interfere with the main focus point can also make for an interesting photograph. Picking a subject that has an obstruction close to the camera can make a surprising difference to the outcome of the picture. |
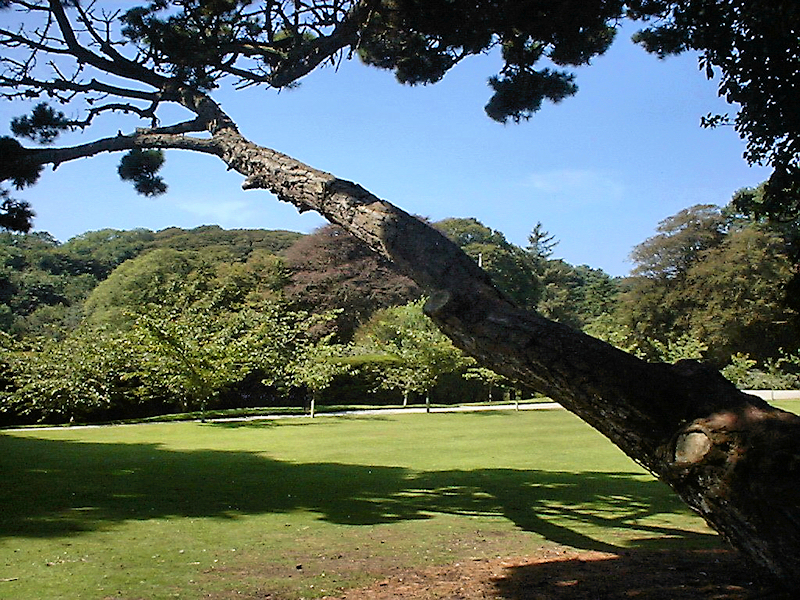 Tree Branch In The Foreground. |
 Tree Branch In The Foreground |
 Flower Obscures The Foreground. |
 Flower Obscures The Foreground. |
Motion Blur:When I use my Olympus E-510 DSLR on the auto setting it tends to default to the widest aperture and fastest shutter speed for the condition in question and as a result the photograph is very static looking with an almost "freeze frame" feel to it. A way to give the photograph more life to represent movement is to use a slower shutter speed and smaller aperture to give a blurring effect of anything that is moving when the photograph is taken, running water is an excellent example medium to show this. Using the image stabalizer built into the E-510 body I was able to get away with a shutter speed as low as 1/8th of a second at ƒ16 without to much camera shake but a tripod would have suited for these examples better. |
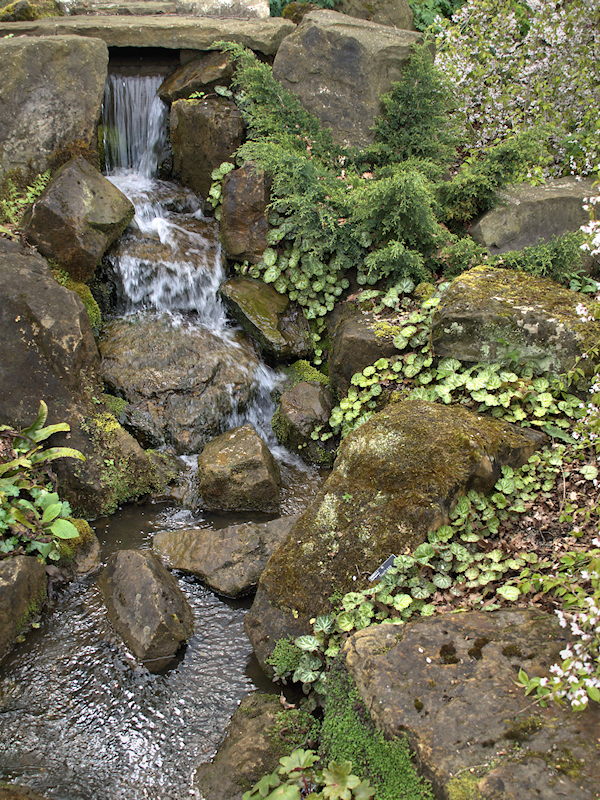 Water Cascade ƒ4 Speed 1/60. |
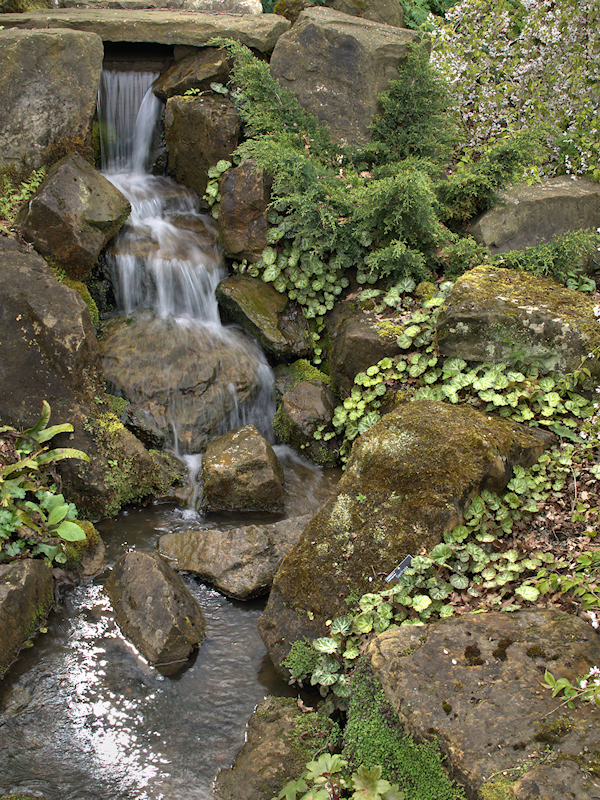 Water Cascade ƒ11 Speed 1/8. |
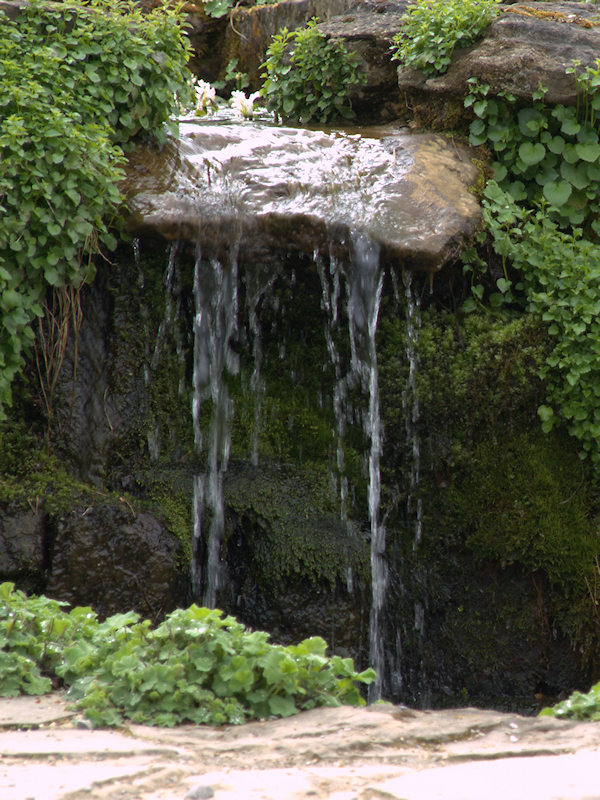 Water Cascade ƒ5.9 Speed 1/60. |
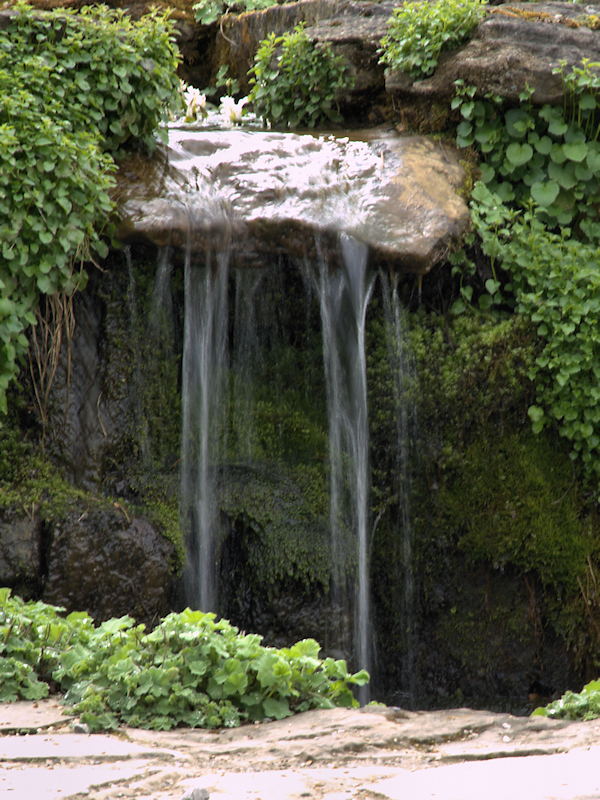 Water Cascade ƒ16 Speed 1/8. |
Panoramas:There is a neat tool that comes with Windows Live Photo Gallery where you can stitch overlapping photographs together to create a panoramic view similar to what you would expect to get from a high quality "Fish Eye" lens.To make it work successfully you really need to mount the camera on a tripod and index around to achieve best results although this is not essential. Make sure there is enough overlapping information in the preceding and following photographs to get a good analysis for stitching the images together, you can use as many photographs as you like my example uses seven photographs as seen opposite, (the technique can be used in the vertical plane as well as the horizontal). |
 Panorama Image 1. |
 Panorama Image 2. |
 Panorama Image 3. |
 Panorama Image 4. |
 Panorama Image 5. |
 Panorama Image 6. |
 Panorama Image 7. |
 Panorama Result. |
|
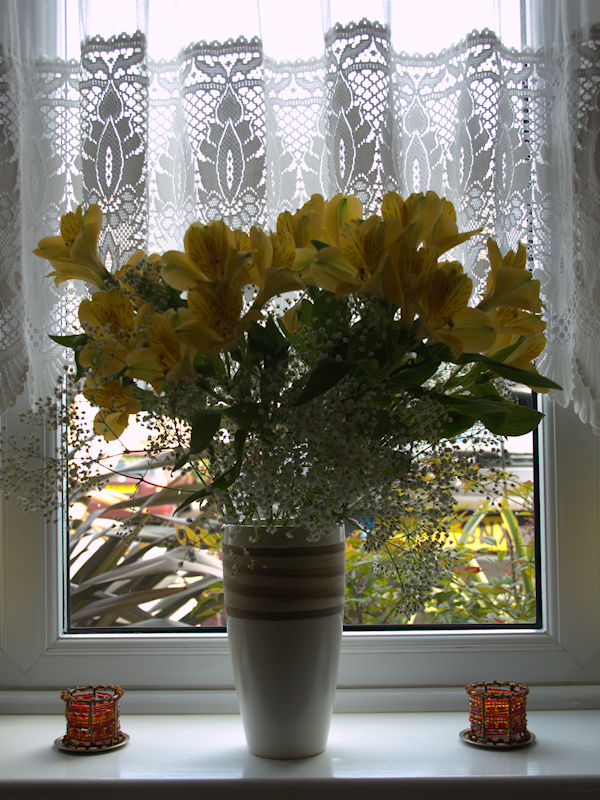
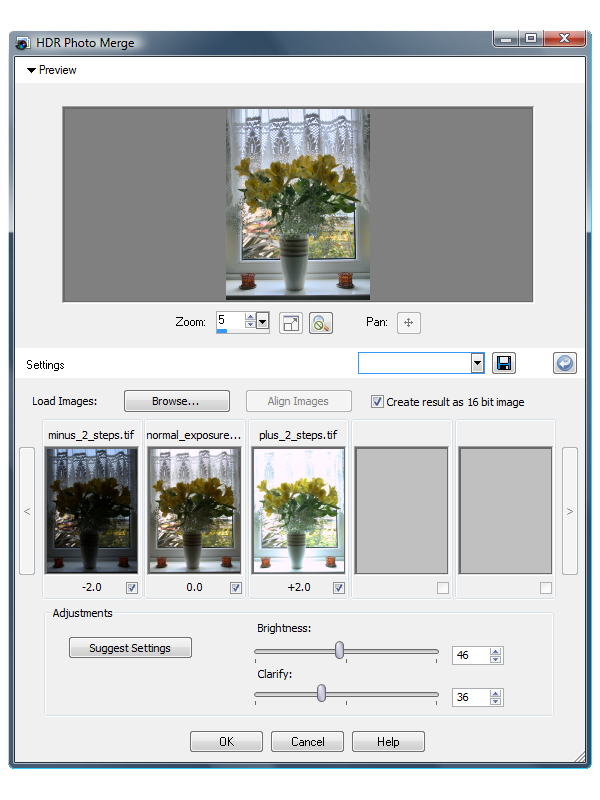
HDR Photography:HDR (high dynamic range) the idea is to merge a number of photographs that are of the same subject some of which are over exposed some of which are under exposed with the intention of achieving a photograph with a higher dynamic range to it. For this demo two photographs were taken either side of normal, manually adjusting shutter speeds by 2 stops + & -Paint Shop Pro Photo XII Ultimate has an HDR merge tool that is quite good. Access it from the drop down menu as follows... File / HDR Photo Merge, this launches a dialogue box where you can import your photographs for merging. Align the photographs and a preview of the result can be seen, use the suggested settings button and click OK which produces the merged photograph results as a new image for further editing should it require it. |
 Normal Exposure Camera Ideal Shutter Speed. |
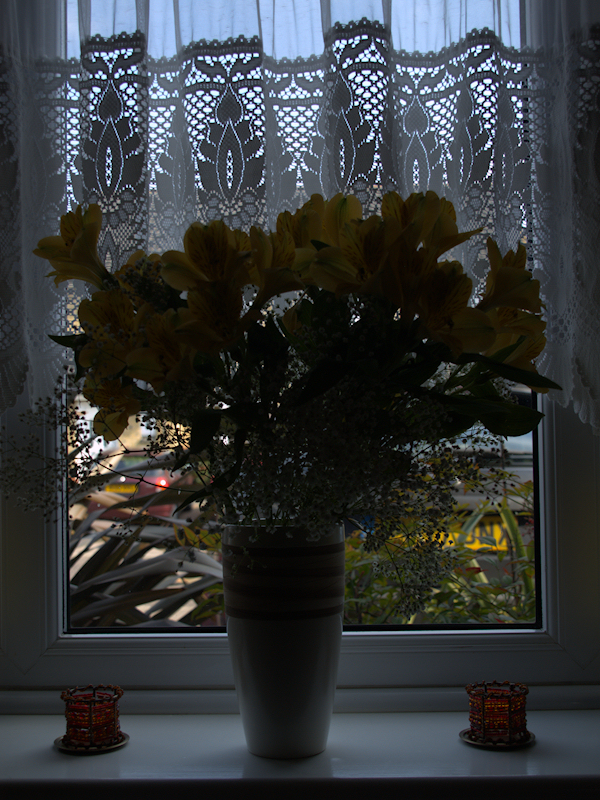 Under Exposure Minus 2 Stops Shutter Speed. |
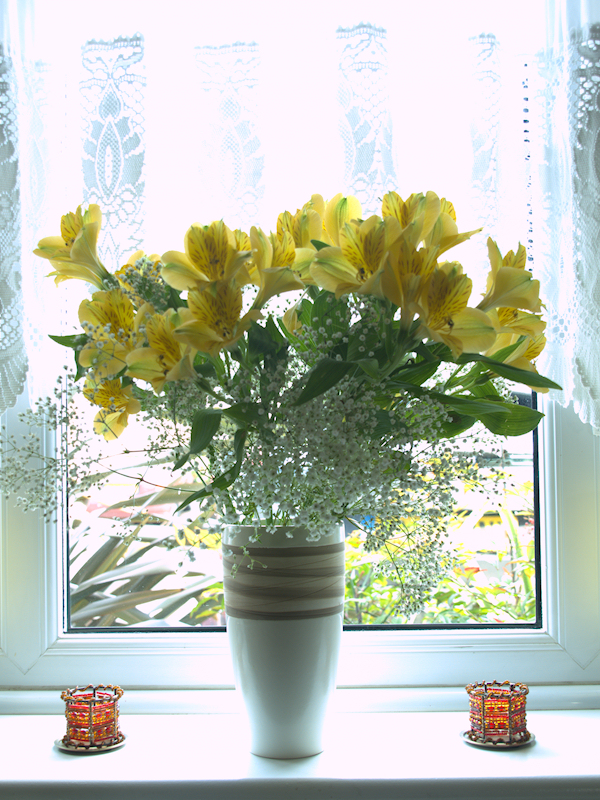 Over Exposure Plus 2 Stops Shutter Speed. |
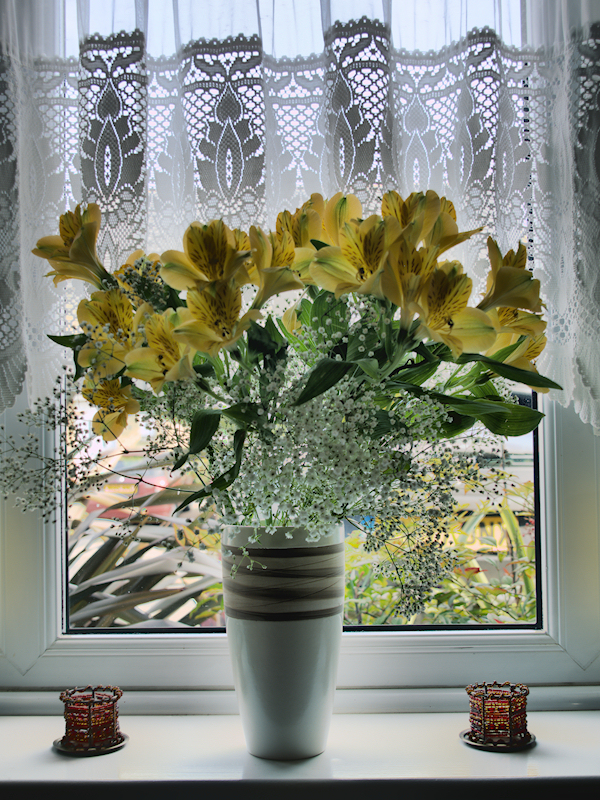 HDR Result Of The Three Merged Photographs. |
![]()
All trademarks and copyrighted material are property of their respective owners