Tripod Extender Kit.
![]()
What Does It Do:Not quite sure why I called it a Tripod Extender Kit because it does not extend so to speak however...The idea was to use the original centre column as a boom so as to be able to place the camera off to the side of the tripod and get in to awkward areas without the tripod getting in the way. I wanted it to be able to allow for all adjustments, slide and twist, up and down and any pivot or rotary positions, it needed to be easy to achieve these positions with the boom/column therefore the adjusters needed to be simple. Another design element that I hoped to achieve was to make it as light as possible for transportation reasons but sturdy enough to do the job. |
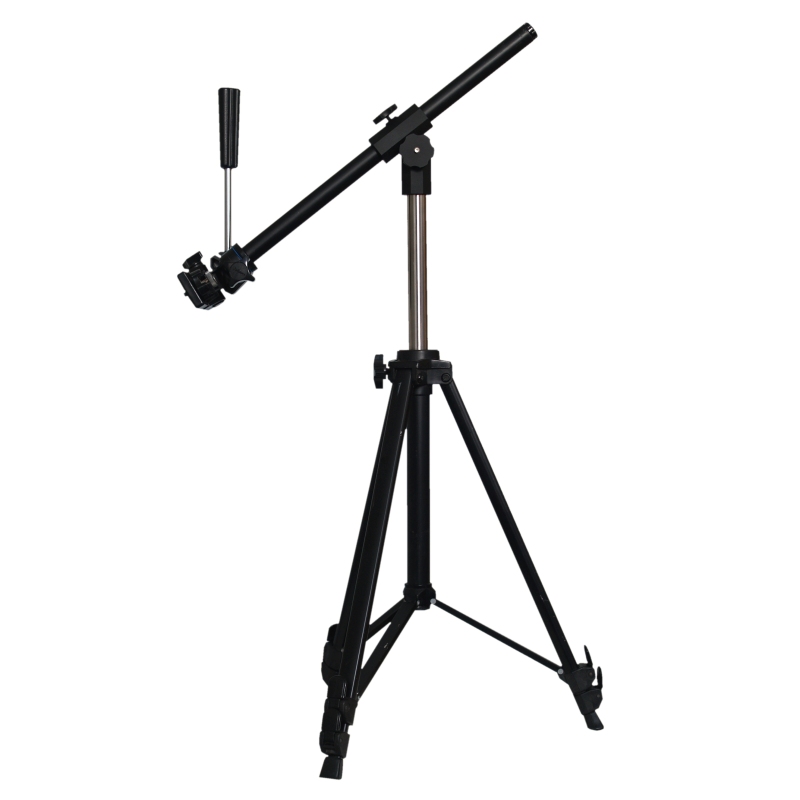 Tripod & Extender Full. |
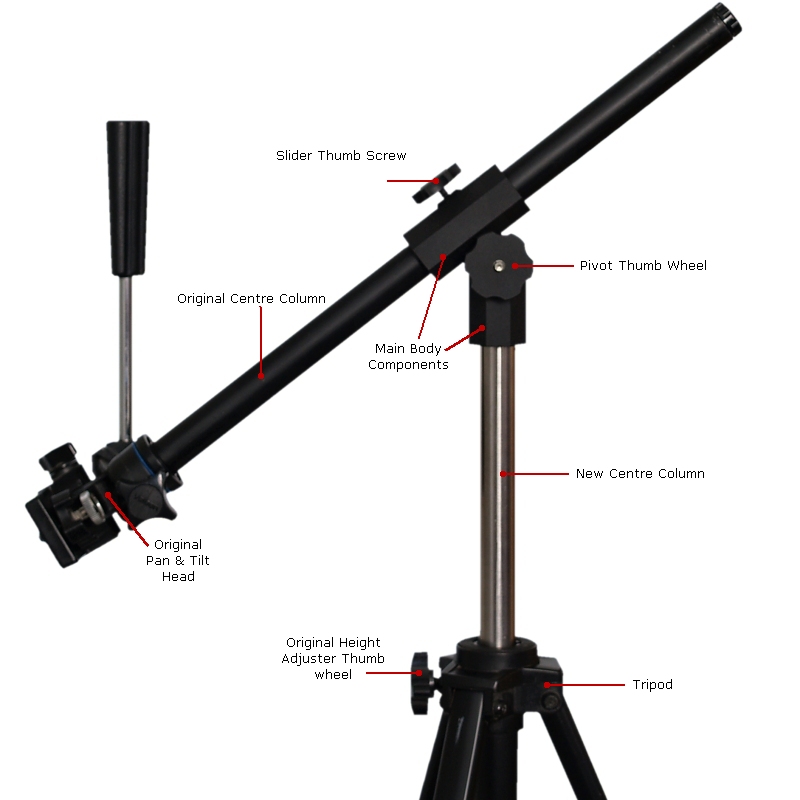 Tripod & Extender Zoom. |
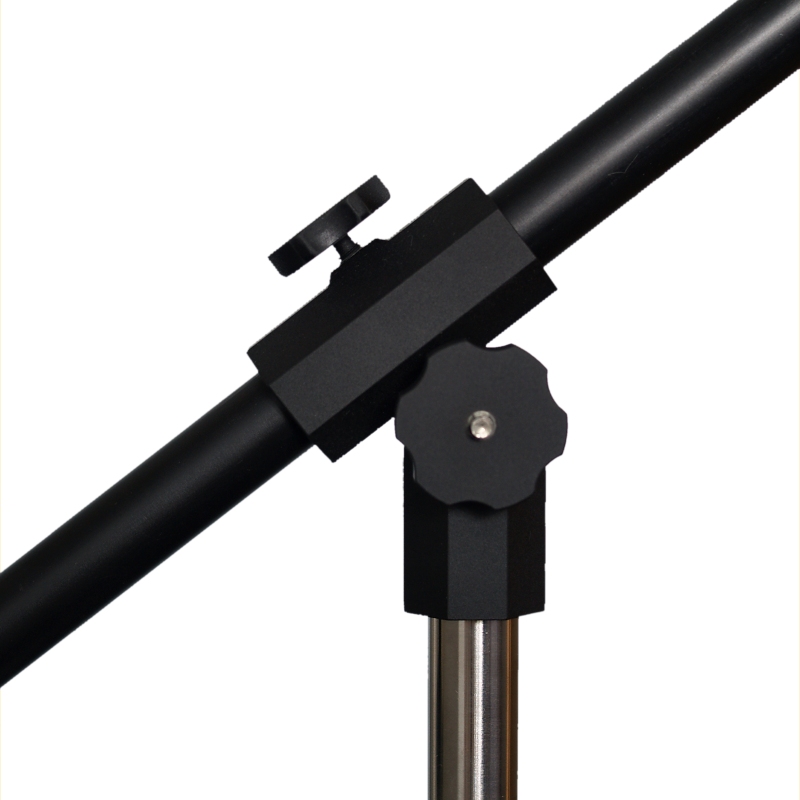 Pivot & Thumb Wheels. |
Component Parts:Luckily I have access to machinery and materials where I work so making the components is quite easy for me. The principals of making the items is simple enough though and the general idea can be employed on much simpler designed items.For more detailed drawings for each component part use the "Diagrams & Dimensions" button link at the bottom of the page. |
The Centre Column:Probably the easiest to make especially if a piece of material is found the correct diameter to start with (20mm). Basically a hole is drilled in the bar to create a tube thus making it lighter and an M10 x 1.5mm thread is cut on the end. |
Homemade Centre Column. |
The Bottom Pivot:Quite complex in design as it is machined from solid aluminium however there should be a way of simplifying the design.There is a M10 x 1.5mm tapped hole in the base that the centre column screws in to, it is octagonal in shape and there is a counter bored hole for a location dowel to fit into with a 6mm drilled hole in it, this is a clearance hole for a screwed stud. |
 Bottom Pivot. |
The Top Pivot:The most complicated part, again machined from solid aluminium. The section shape is again octagonal and houses a diameter 20mm hole through the centre. The tab has a counter bored hole with an m6 x 1.0mm tapped hole in it which accommodates the M6 stud. |
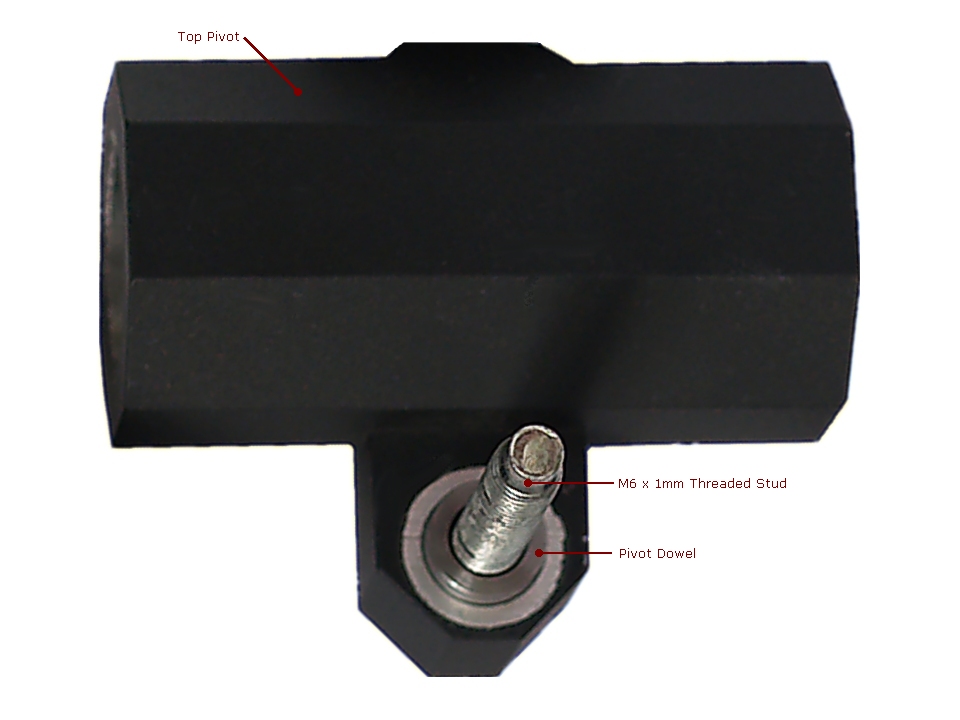 Top Pivot. |
The Threaded Stud:Is a standard bolt, (M6 x 1mm) with the headed section cut off to the required length, (46mm). |
The Pivot Dowel:A simple turned hollow dowel pin 10mm diameter, 10mm long with a 6.2mm diameter hole drilled through the centre. |
The Thumb Wheel:Turned from solid aluminium with an M6 x 1mm threaded hole in the centre. |
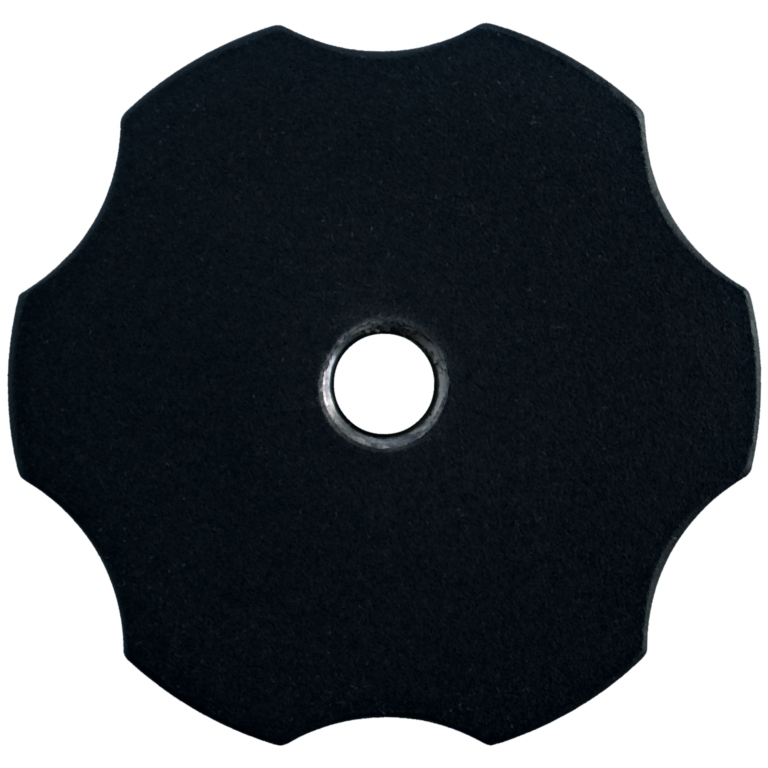
The Top Screw:Made from nylon with an M6 x 1mm thread and six cut-outs in the top to assist grip for turning. |
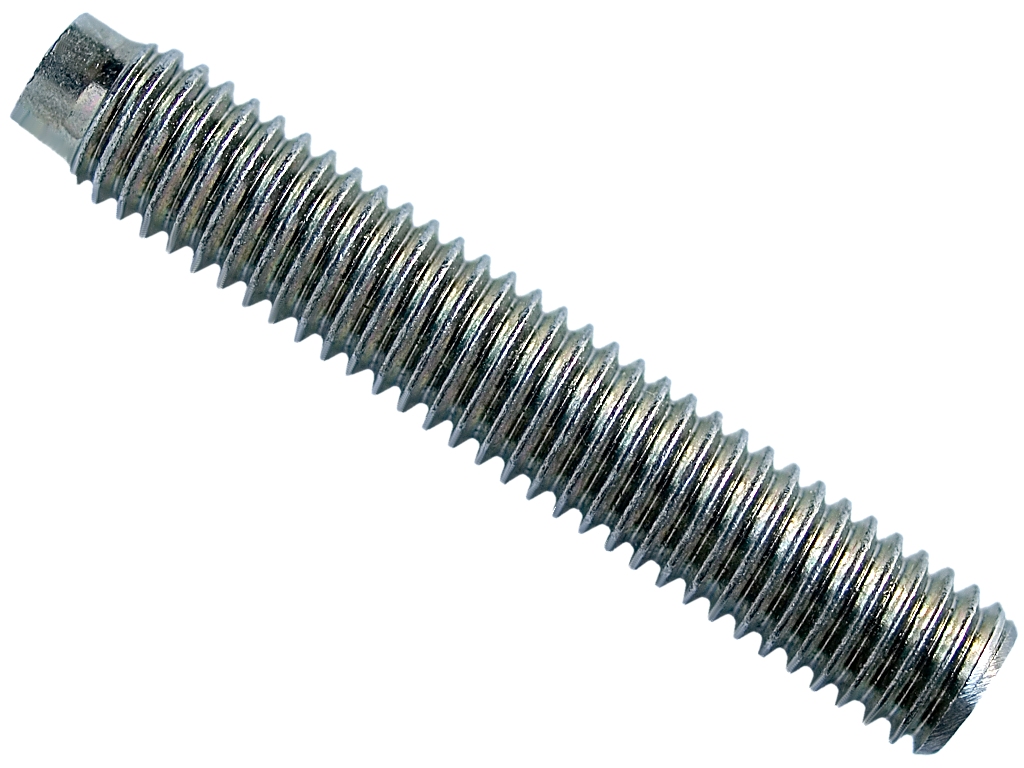 M6 Threaded Stud. |
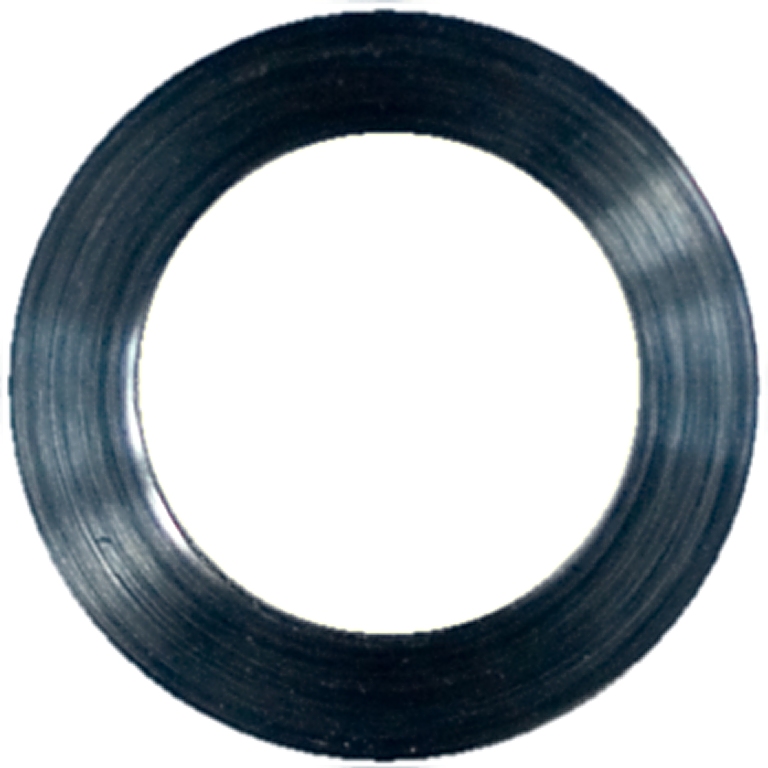 Pivot Dowel. Top View. |
 Pivot Dowel. Side View. |
 Thumb Wheel. Top View. |
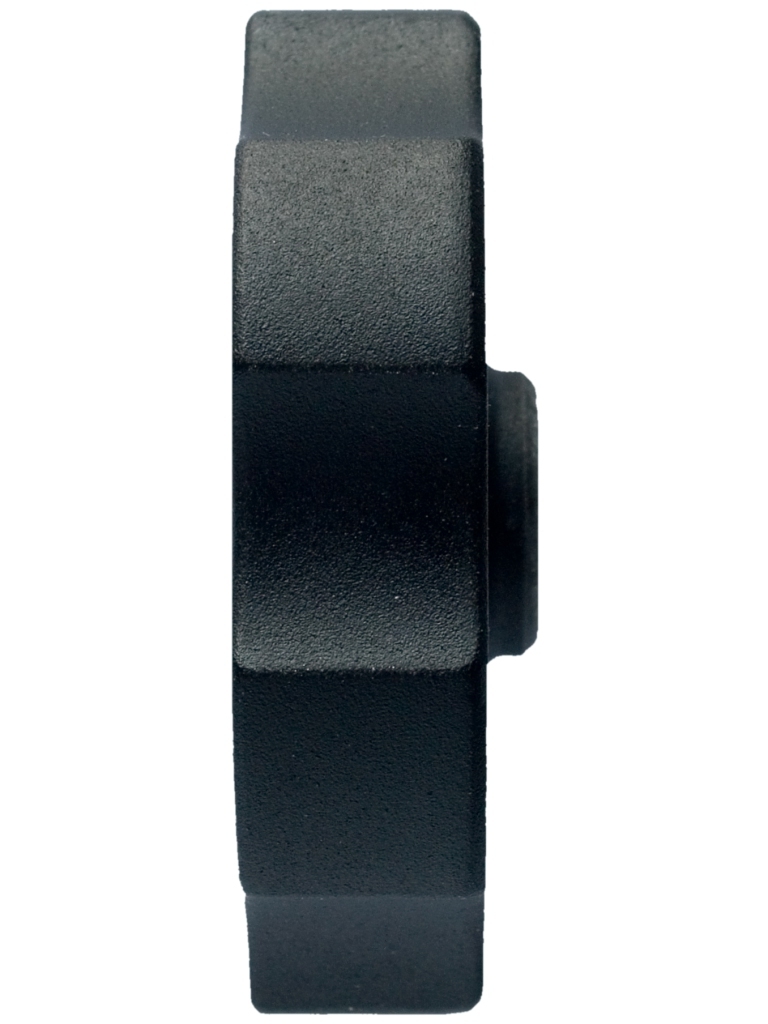 Thumb Wheel. Side View. |
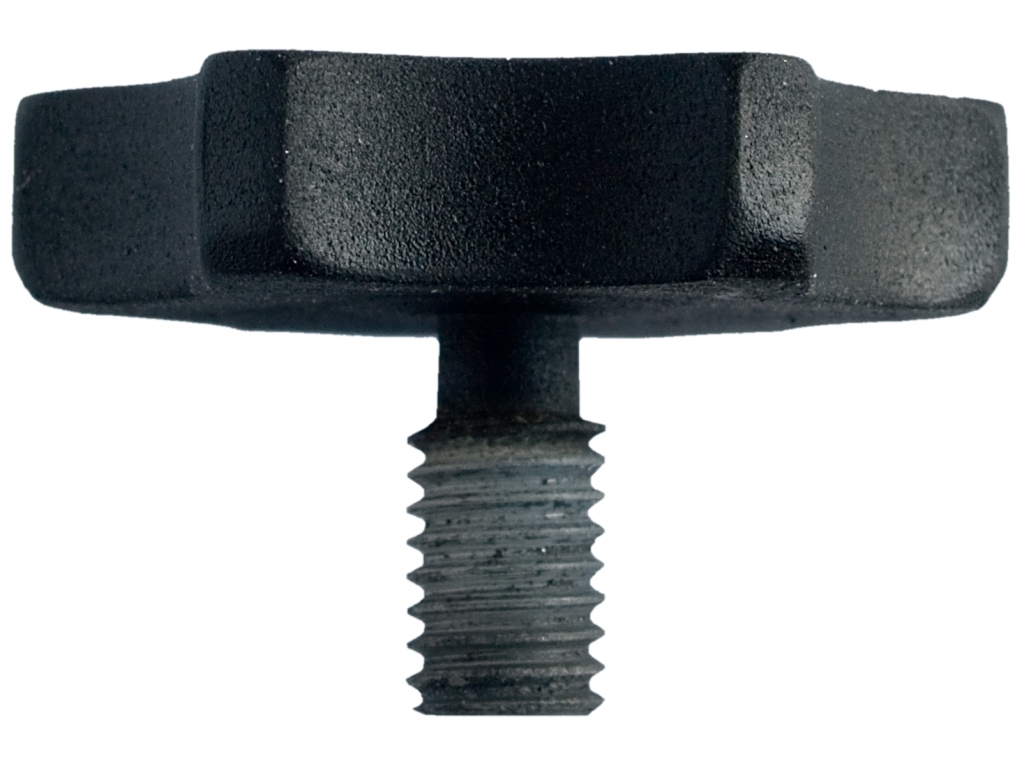 Top Screw. Side View. |
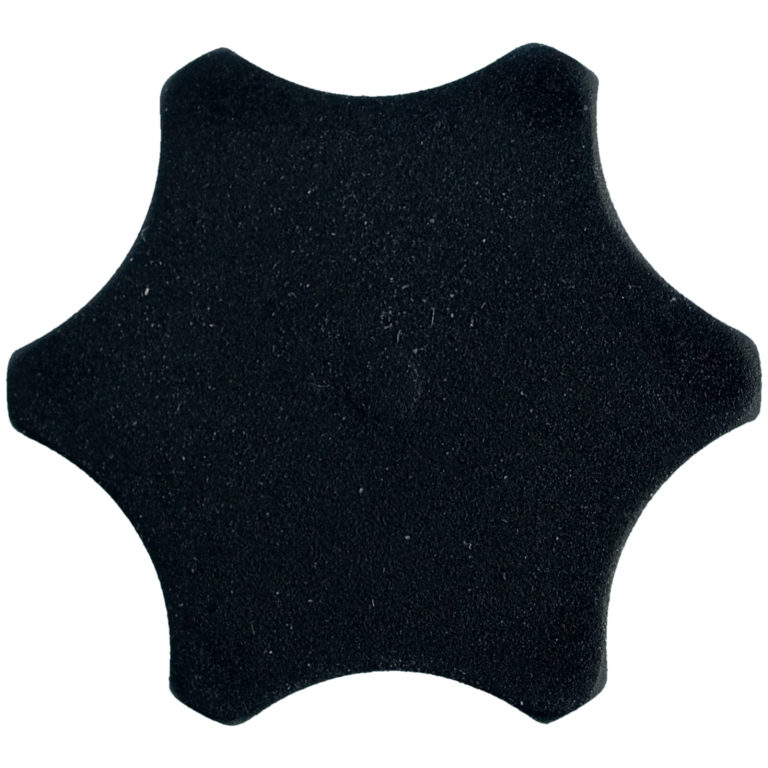 Top Screw. Top View. |
Note:All the items showing a black colour effect are in fact sprayed with satin black paint to try to match the original tripod colour and could of course be sprayed any colour of choice. |
Was It A Success?For the most part the design was over complicated for what it is, this is mainly due to my engineering background and as a result things I make tend to be over engineered, however it could easily be made a lot simpler.Because of the weight of the camera at the end there was a tendency for the tripod to over balance when the boom was extended to it's extremes so a substantial weight was needed in the centre to counter-balance the effect. This was easily achieved using a piece of string and something heavy that was to hand, say a rock or piece of wood. The home made Centre Column could easily be modified to incorporate a hook for this purpose although carrying a large weight around is not such a good idea. Used with a reasonable overhang the modification was fairly successful to achieve my original goal of being able to use the camera off to the side of the tripod and probe into confined spaces. All homemade items featured on this page can be found in picture diagram form at this location. |
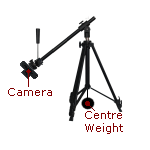 Proposed Counter-Balance Centre Weight. |
![]()
All trademarks and copyrighted material are property of their respective owners