Tripod Quick Release Block.
![]()
What Does It Do:Basically it attaches to the base of the camera using the 1/4"-20 tpi UNC, that is standard on almost every camera, (larger older cameras had a 3/8"-16 tpi UNC thread fitting).This block then stays on the camera and enables quick attachment or release of the camera to or from a tripod that houses the mating part of the quick release mechanism. Although a common design these blocks vary from tripod to tripod and unfortunately are not cross compatible, they even vary with the same tripod manufacturer. Note:BSW, (British Standard Whitworth screwed threads can be used if UNC screws are unavailable but the thread angle differs, UNC is 60° inclusive angle, Whitworth is 55° inclusive angle. |
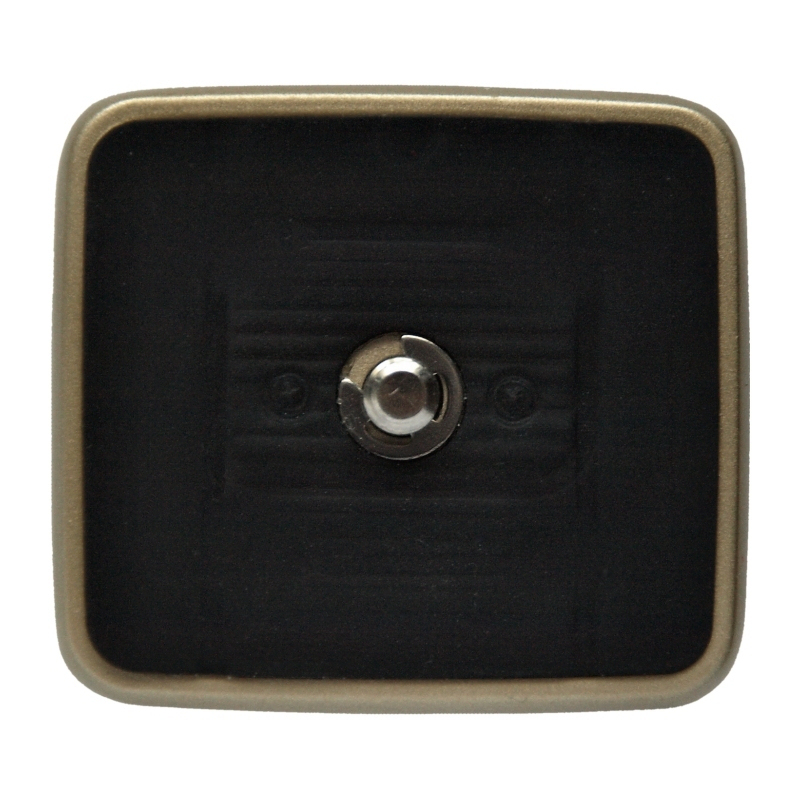 Original Release Block Top View. |
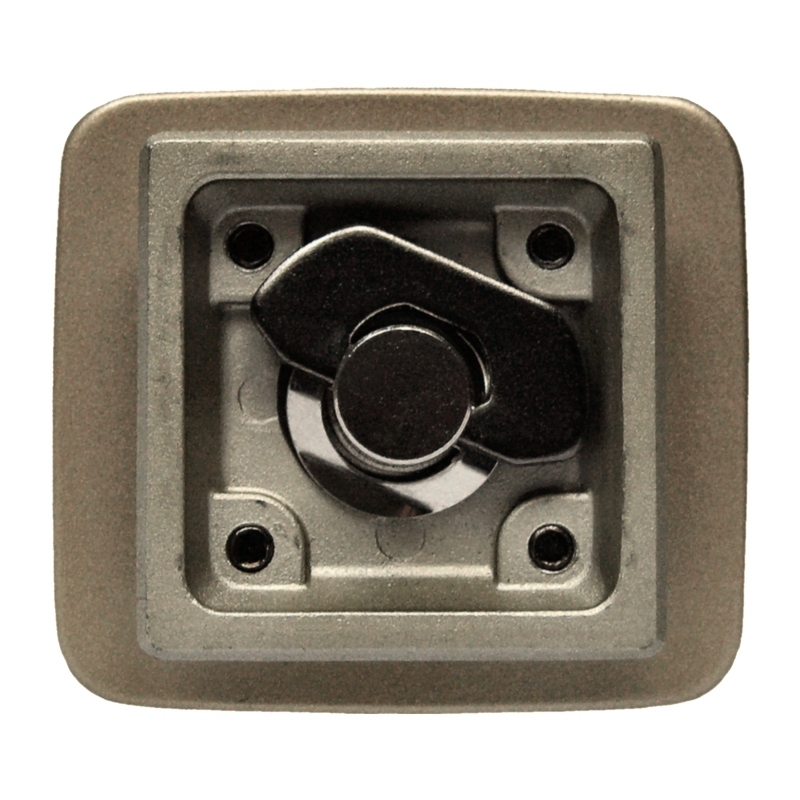 Original Release Block Base View. |
Original Block End View. |
Original Rlease Block Side View. |
Component Parts:To make this Tripod Quick Release Block myself I needed to work out what component parts were needed but I did not want to destroy my original.Looking at the original I assumed it was two items screwed together with a hole in the centre of each for the 1/4"-20 tpi UNC screw to pass through which was then held in place with a circlip. The screws holding it together were then covered with the protective rubber pad which seemed to be glued on. All homemade items featured on this page can be found in picture diagram form at this location. |
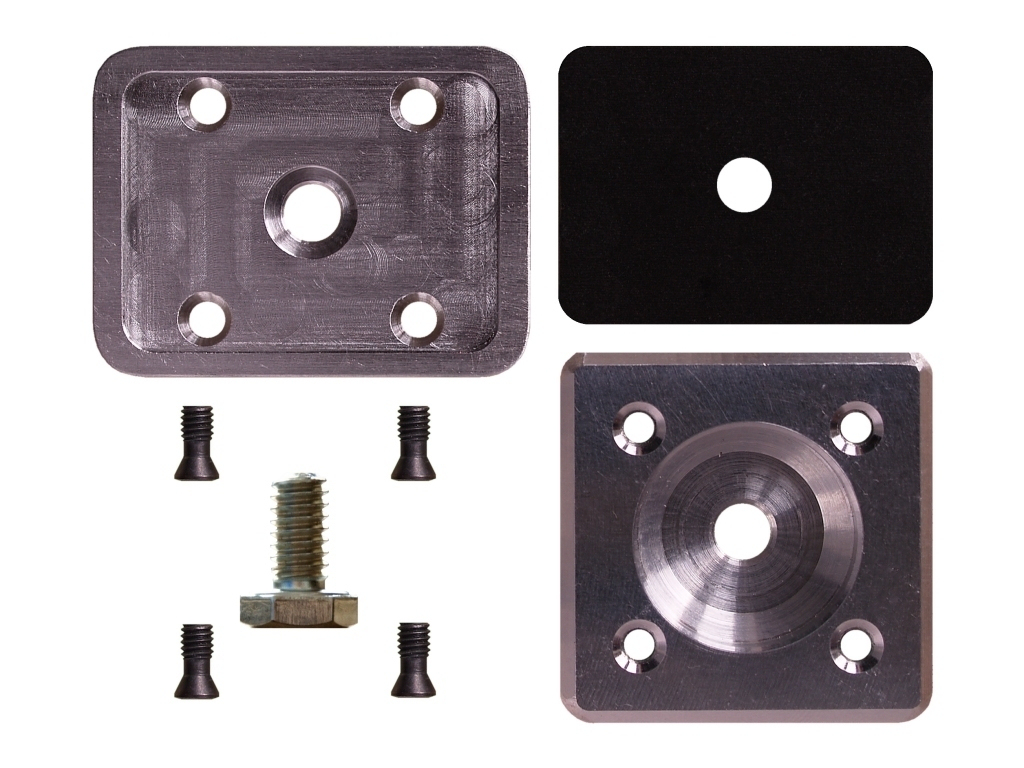 Layout Of The Component Parts. |
 M4 x 0.7mm x 8mm Countersink Screws. |
Assembly Screws:I found four M4 x 0.7mm x 8mm black countersink screws that I thought would be ideal to fix the two plate components together. |
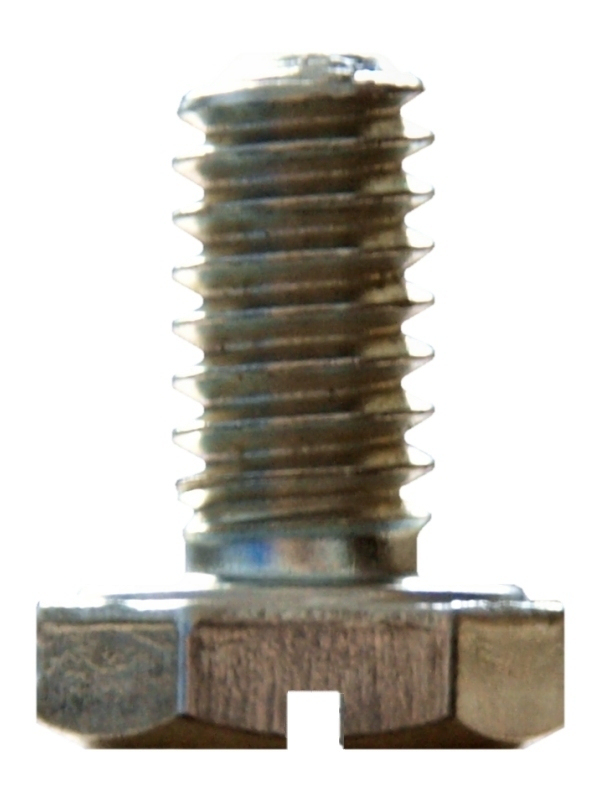 1/4"-20 UNC Bolt |
The Fixing Bolt:Again I was lucky and managed to find a 1/2" long 1/4" UNC bolt in amongst my odds and sods tin. All I needed to do was cut a screwdriver slot into the hexagon head with a hacksaw. |
Rubber Or Foam Pad:I got some high density self adhesive sticky backed foam padding that was approximately 2mm thick and cut it to match the top plate cut out profile.This will protect the camera base. |
The Top Plate:This is a piece of aluminium plate 4mm thick with a machined recess 0.5mm deep, (the same profile as the foam pad) and a series of matching countersunk screw holes for fixing it to the threaded holes in the base plate. |
The Base Plate:Made from aluminium Plate 10mm thick the Base Block has a wedge or Dovetail form. It has a centre counterbore to clear the head of the 1/4" UNC bolt and four M4 x 0.7mm tapped holes. |
 2mm Thick Foam Pad. |
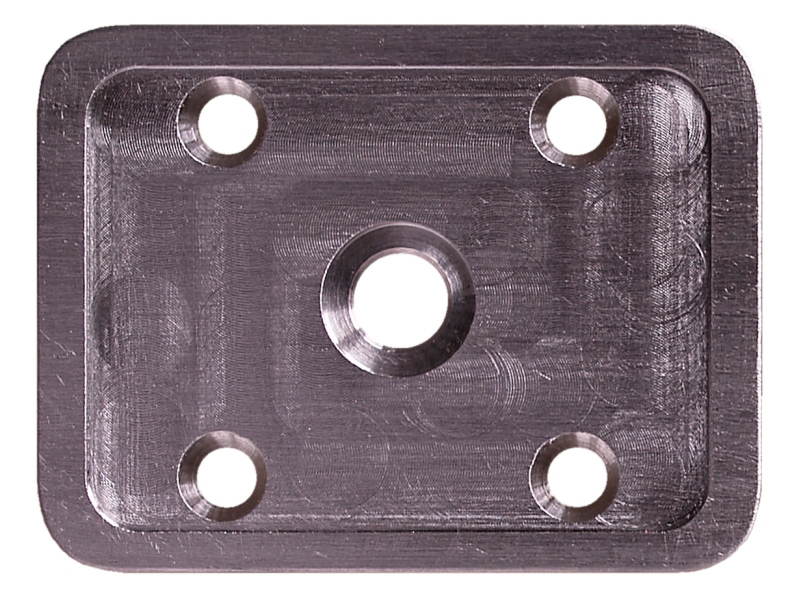 4mm Thick Aluminium Top Plate. |
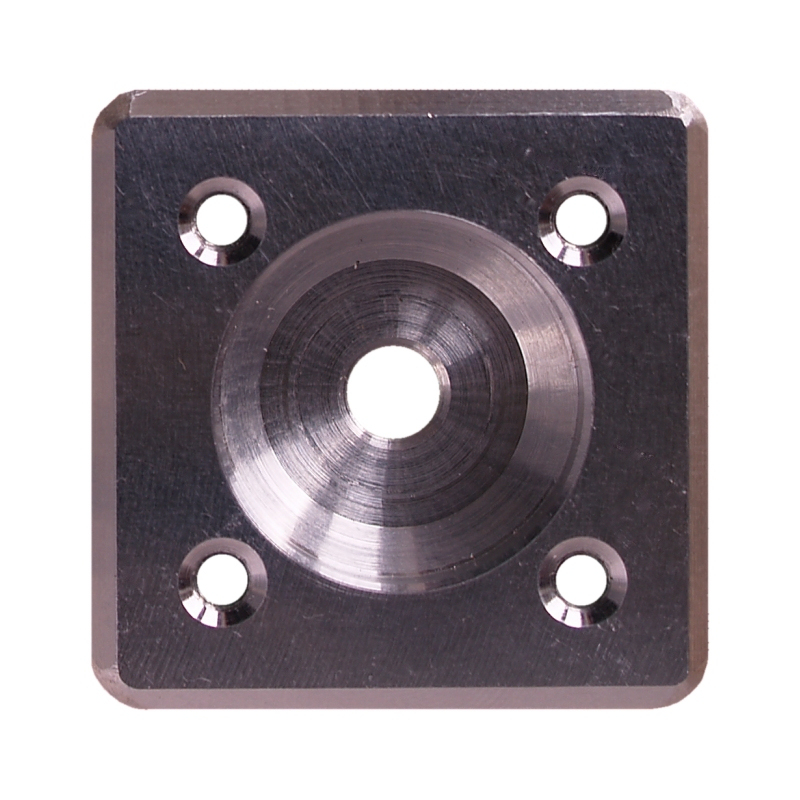 Base Block Top View. |
Base Block Side View. |
Unit Assembly:1. Fix the Top Plate to the Base Plate using the four M4 x 0.7mm countersink screws.2. Pass the 1/4" UNC bolt through the centre hole and retain with a circlip (if available). 3. Glue or stick the Rubber or Foam pad to the Top Plate locating in the recess. 4. Screw the assembly to the base of your camera with the 1/4" UNC bolt. All homemade items featured on this page can be found in picture diagram form at this location. |
![]()
All trademarks and copyrighted material are property of their respective owners