Universal Handlebar Platform Mount.
![]()
The Idea:I wanted to manufacture a platform that could be fitted to the bike either by using existing bolts or bolt locations. What I did not want to do is start to drill holes or modify any part of the bikes existing components to add my own homemade part. The reason for this is so that at any given time I could remove my homemade part and the bike would still be as standard.The Placement:I opted for placing the homemade platform over the handlebar clamp, my way of thinking was this. As the platform was on the handlebar clamp which is in turn connected to the forks a natural damping effect would occur so that any components added to the homemade platform would suffer less vibration as it would be positioned centrally to the bike using the forks suspension movement.The Platform & Posts:I decided the best way to fit the homemade platform to the bike would be to use cable ties, now although this does not sound to sturdy it depends on how the parts fit together, there would not necessarily be a lot of force required to hold the homemade platform in place.First I needed to make four posts to raise the platform above the existing handlebar clamp. These would comprise of tubes made from a relatively soft material, (Nylon or Plastic) with an outside diameter of 18mm, a hole through the bore of 11mm diameter, (this is the hexagonal Whitworth size of the existing retainer bolts) and a length of 18mm. This was a simple turning job using a lathe and the right size drill and parting the post to length. For more details see the Riser Post diagram as drawn in figure 10.
The Basic Platform:This component is going to be used to house any item that I see fit to mount to it. At the moment I have a MD80 Mini DV camera in mind but the idea is to be able to adapt or modify the platform at a later date to be able to house other useful items, (a satnav system for example).
Fitting To The Bike:Simply place the four holes in the posts that are glued to the homemade platform over the existing bolt heads that retain the handlebars. Pass two cable ties through the holes in the homemade platform and under the existing handlebar mount to secure it to the bike. The tension in the cable ties is enough to hold the platform firm enough to the bike where as the holes and counterbores crated earlier mean none of the components can slip or break away. To remove the homemade platform simply cut the cable ties and lift it off! |
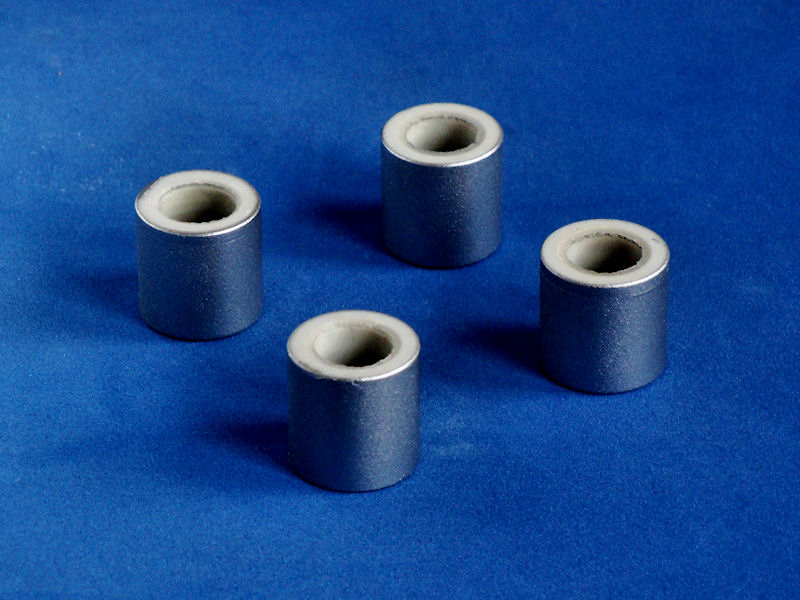 Riser Posts Isometric View.
Figure 1. |
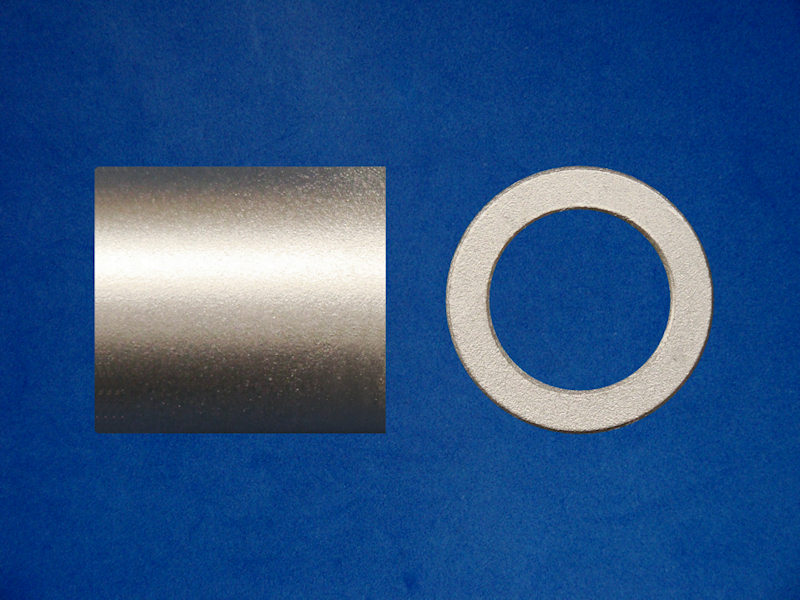 Riser Post Side & End View.
Figure 2. |
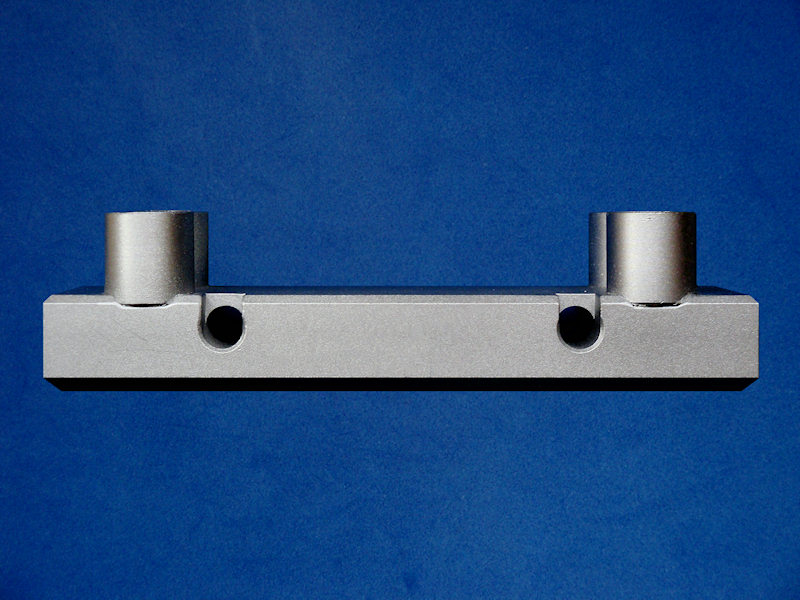
 Platform Top View.
Figure 3. |
 Platform Side View.
Figure 4. |
|
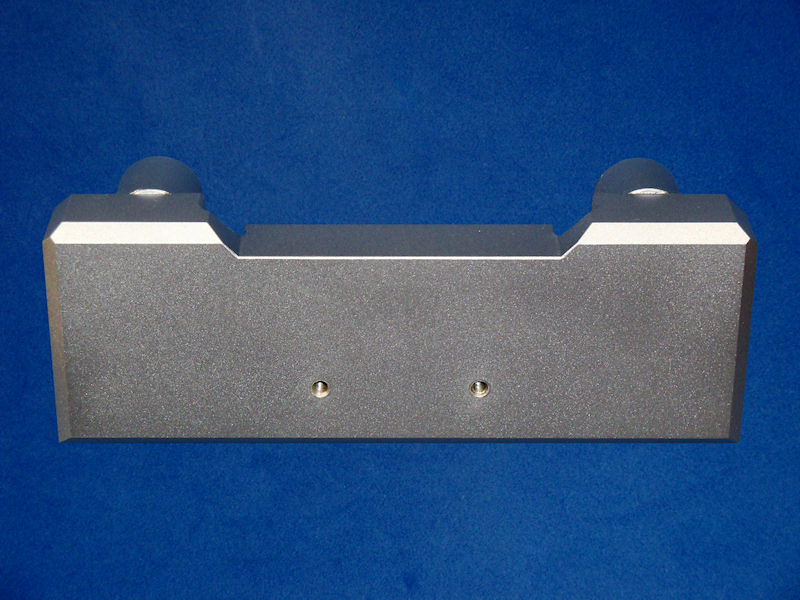
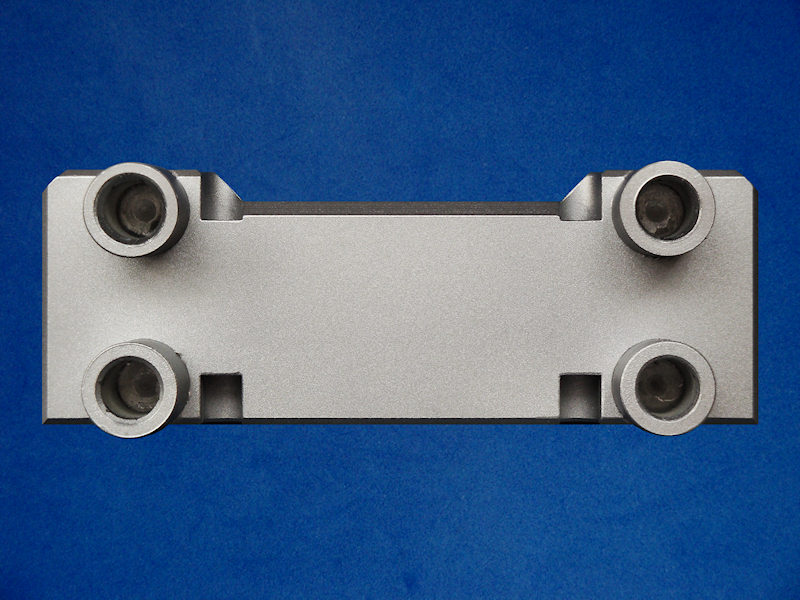 Platform Underside View.
Figure 5. |
 Platform Fitted Front View.
Figure 6. |
|
 Platform Fitted Side View.
Figure 7. |
 Platform Fitted Rear View.
Figure 8. |
|
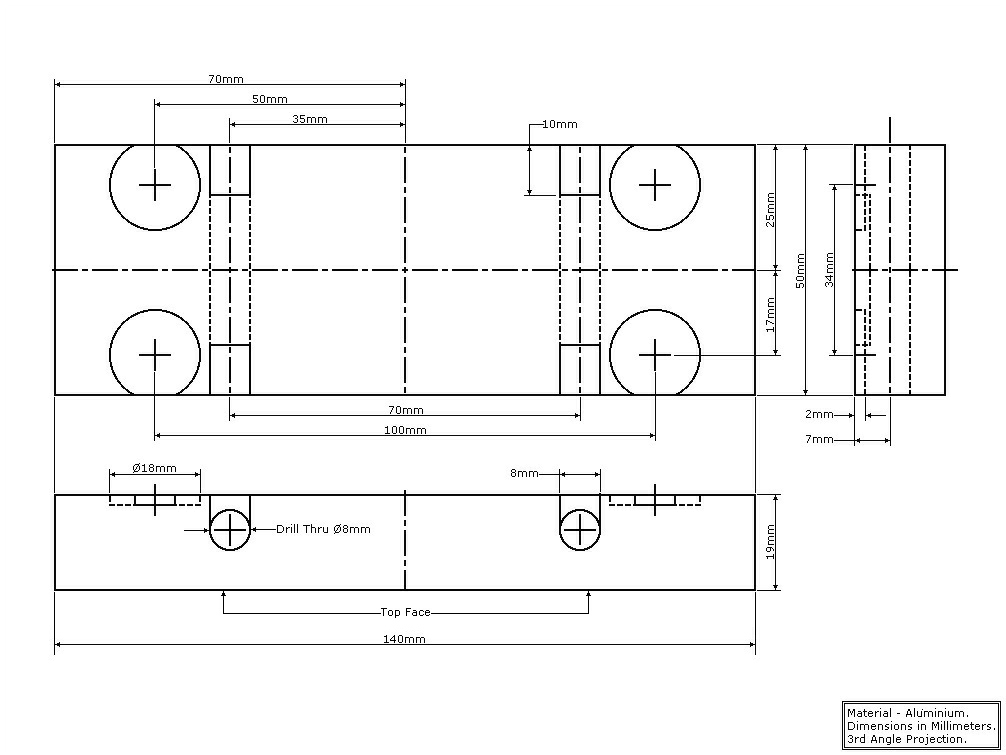 Platform Diagram.
Figure 9. |
 Riser Post Diagram.
Figure 10. |