Ground & Wall Anchor.
![]()
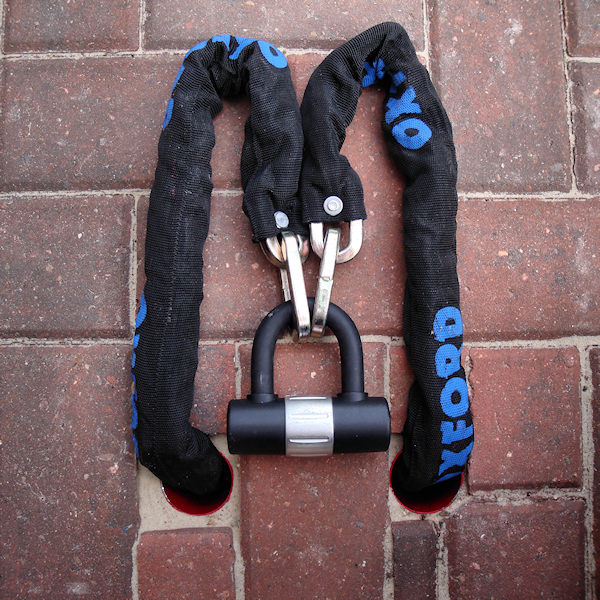
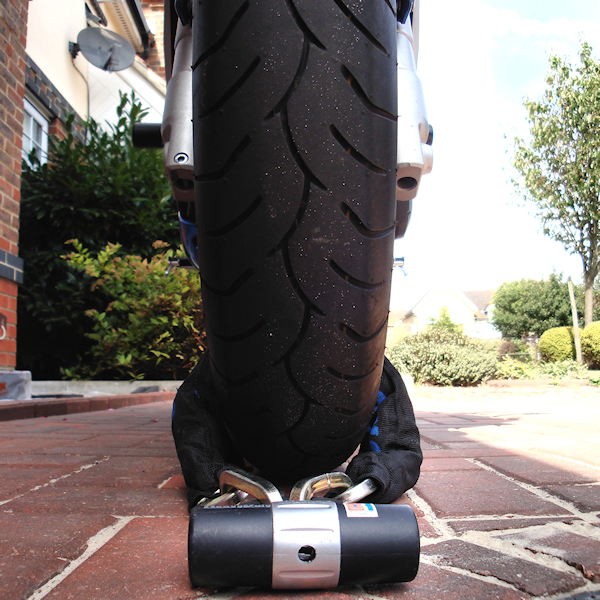
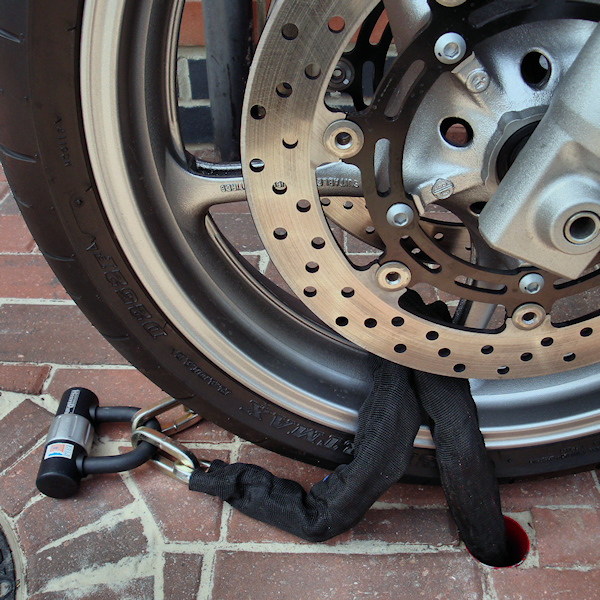
What Do They Do:These devices are designed for bike security with the intention of preventing theft or unauthourised removal of the motorcycle.The ground anchor is designed to be concreted into the ground with the intention of passing a chain through it and the motorcycle. This is then secured with a heavy duty padlock to prevent the motorcycle being lifted and carried away. The wall anchor works in the same way only this time it is bolted to a wall with heavy duty rawl bolts, the counter bores for the bolts are then blanked off to prevent bolt removal. The chain is passed through the hardened metal loop and through the motorcycle and again secured with a heavy duty padlock. |
|
|
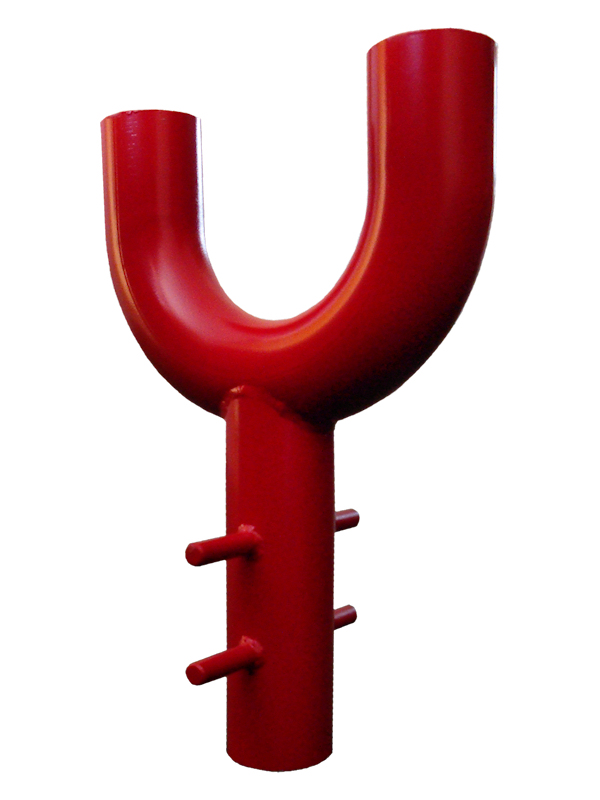
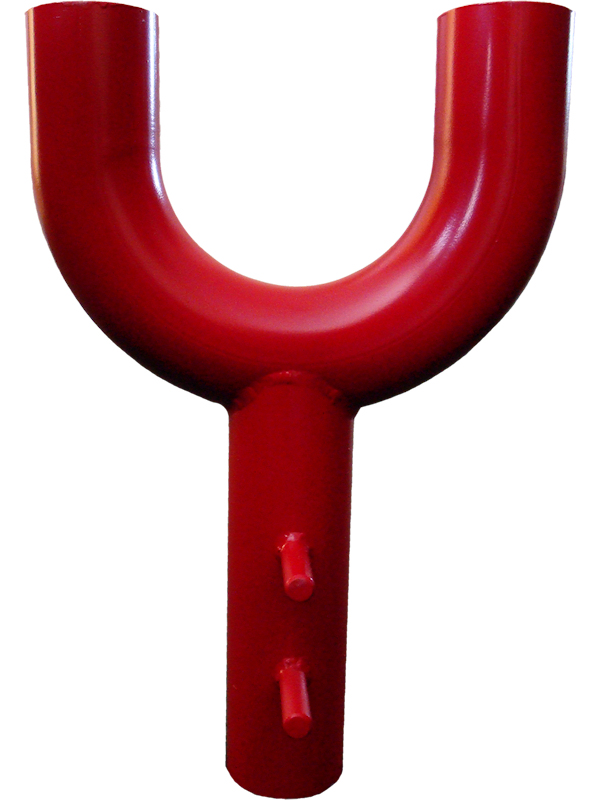
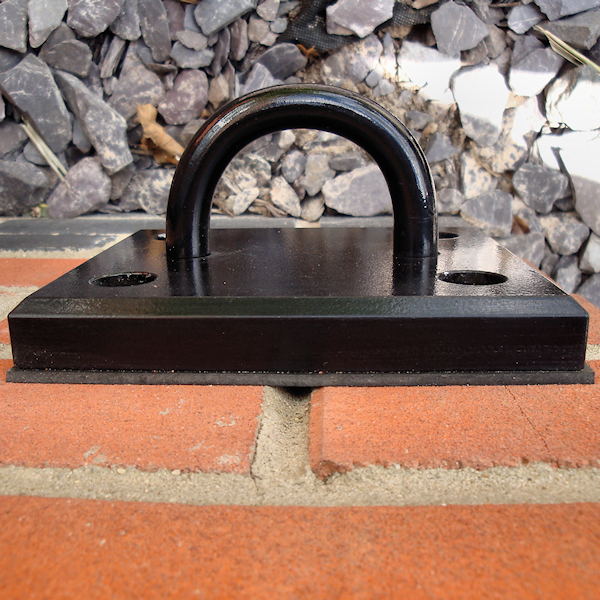
Ground Anchor:This is made from 50mm diameter stainless steel exhaust pipe which has a bore size of 45mm diameter giving a wall thickness of 2.5mm. The first section of pipe was bent into a "U" shape using a special rolling jig, this gives the curve that will be set into the ground for the security chain to pass through.The second section of pipe had the form of the pipe cut across the end section, (Diameter 50mm) to ensure it was a good fit to the "U" section. A hole was cut in the bend of the "U" section at the point where the straight piece of tube is attached and welded giving the ground anchor it's "Y" shape, this hole is to allow any water that gets into the "U" bend to drain away. Once the "U" bend and Straight piece of pipe had been welded together, two diameter 10mm holes were drilled through the Straight section spaced about 50mm apart. This is to allow two pieces of diameter 10mm solid steel 130mm long to be passed through the pipe and then have them welded into position. These solid steel pins are to assist in "gripping" the concrete when the Ground Anchor is set into the floor. The Ground Anchor was painted red to help prolong corrosion of the pipes in the ground although being Stainless Steel it should not be an issue. |
 |
Driveway Modification.One of the projects that was required when I purchased the bike was to make more room on the driveway. This meant loosing a couple of flower beds and replacing them with block paving to match the original block paved driveway. Whilst the ground work was being done was the stage that the ground anchor was concreted into the floor. Set below the block paving level the pipe ends were to finish flush with the driveway surface when the paving bricks were laid. The pipe end bores are where the security fixing chain could be passed through. |
|
|
|
Ground Anchor Diagram & Dimensions.The drawing is a png image! Right click and "Save Picture / Image As" if a copy is required. |
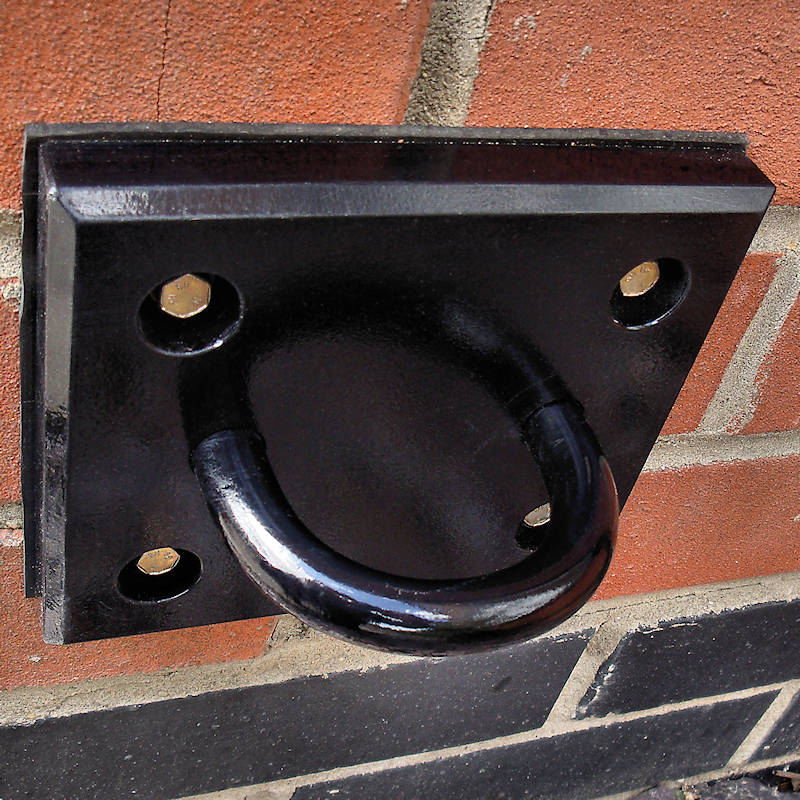
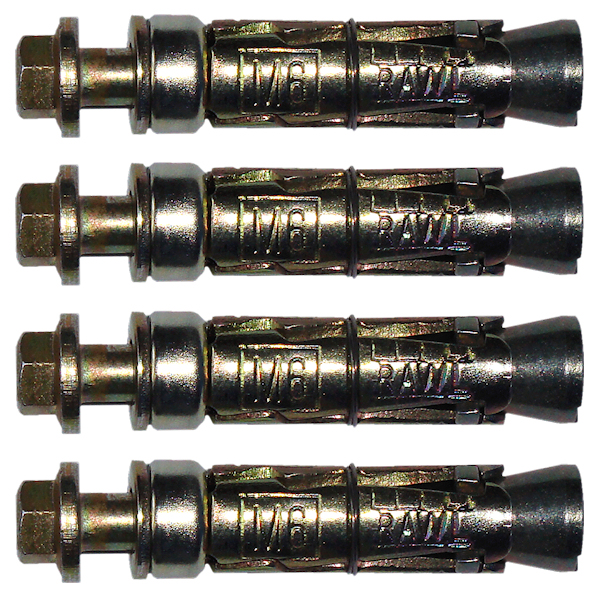
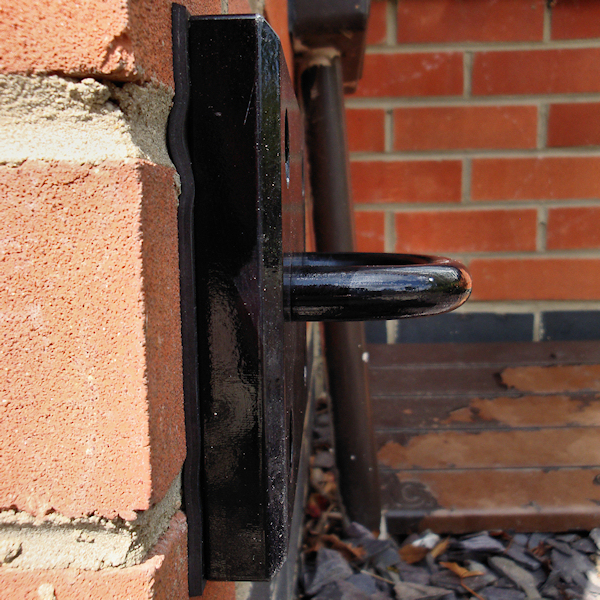
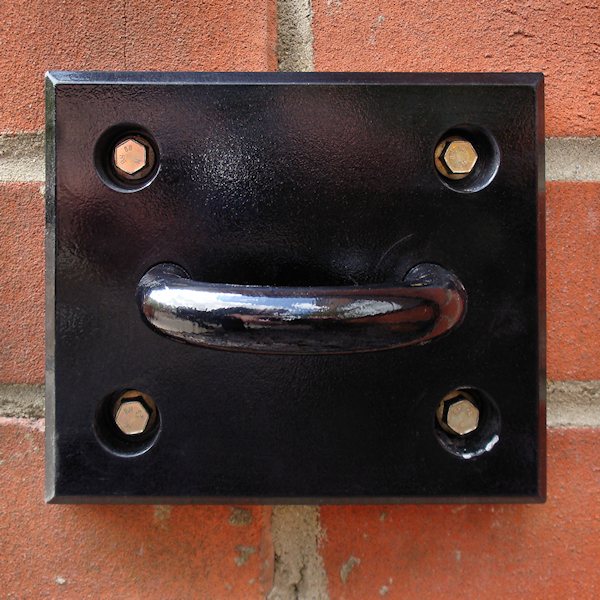
Wall Anchor.This was actually the first security device to be made for securing the bike to the wall of the house as it was easier to fit than the Ground Anchor. All that was required was four rawl bolts for securing it to the wall and some anti-tamper end caps.The steel backing plate was made from 19mm thick steel and the "loop" for the chain to pass through was from diameter 15mm bar which was hardened and tempered after bending to the correct "U" shape. The "U" shape was formed by bending the steel bar around a 60mm diameter bar to 180 degrees giving an internal radius of 30mm, the leg lengths were then cut so the overall "U" length was 75mm which was also the pitch between the leg centers. Two 15mm diameter holes were drilled about the centre of the steel plate, (plate size 150mm x 125mm x 19mm) these holes then had a 10mm deep 45 degree chamfer put into them. The bar ends were passed through these holes until they were flush with the other side then the chamfers were filled up with weld securing the "U" loop. Four counter bored holes that match the rawl bolt sizes were then put into the plate to match the mortar pitch between house bricks, (in my case 76mm but it could vary). Drilling into mortar is easier than brick plus it is easier to repair should the Wall Anchor ever need to be removed. I chose 100mm for the other pitch of holes across the length just to make it look even. Just to make the Wall Anchor look a bit neater I machined a 4mm deep 45 degree chamfer around the profile. The Wall Anchor was finished off by shot blasting, priming and spray painting with black paint which then had a couple of coats of lacquer for good measure. When fitted to the wall the counter bores where the bolt heads were are blanked off with the anti-tamper end caps. |
|
|
Wall Anchor Diagram & Dimensions.The drawing is a png image! Right click and "Save Picture / Image As" if a copy is required. |
| Finally Thanks to... Mr. D. Mitchell for his welding expertise and bar bending skills. Mr. M. Tyler for supplying the stainless steel pipe components. Mr. M. Clarke for his turning skills making the Anti-tamper caps. |